Review of 'Zoraxy', a free and open source reverse proxy that allows multiple settings to be made using only a GUI

' Zoraxy ' is a reverse proxy that distributes external access to various servers depending on the settings. In addition to being open source and free, it is said that various settings such as forwarding can be completed from a control panel accessible from a browser, so I actually tried to check its usability.
Reverse Proxy Server | Zoraxy
Visit the official website and click 'Open' to the right of 'Download.'
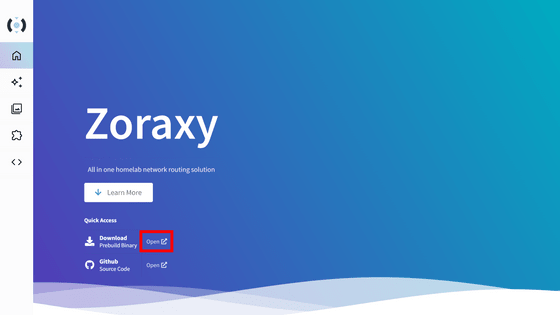
There are two types of executable files for Windows. If you are using Windows 7, use 'zoraxy_windows_amd64_NT6-1.exe', otherwise use 'zoraxy_windows_amd64.exe'. Since we are using a PC with Windows 11 this time, we will download 'zoraxy_windows_amd64.exe'.
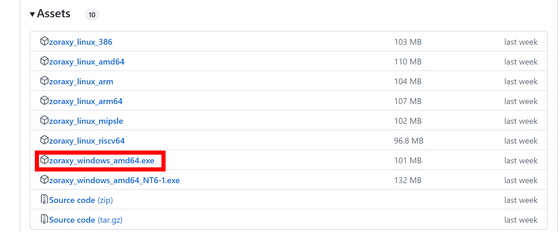
Double-click the downloaded 'zoraxy_windows_amd64.exe' to run it.
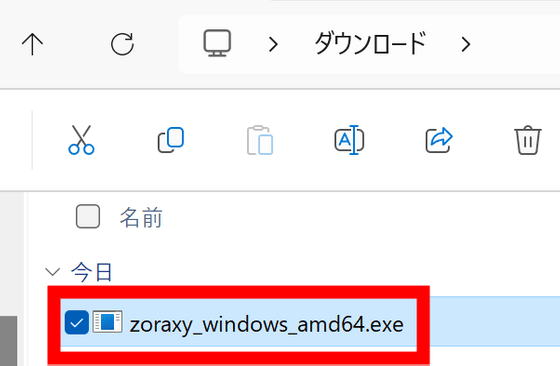
Click Run.
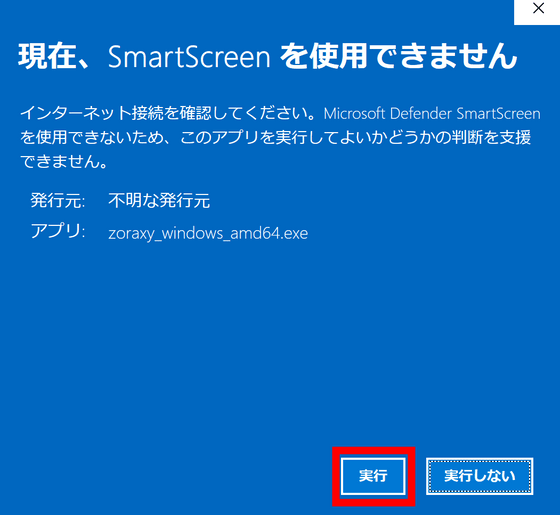
Zoraxy started successfully. To access the control panel, simply open 'http://localhost:8000' in your browser. If port 8000 is in use by another app when you try to start Zoraxy, it will fail to start, so it will be easier if you open port 8000 first.
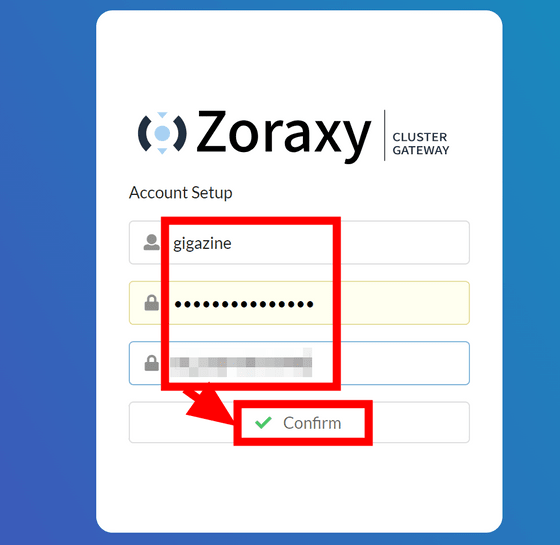
First, create an administrator account. Enter your ID and password and click 'Confirm'.
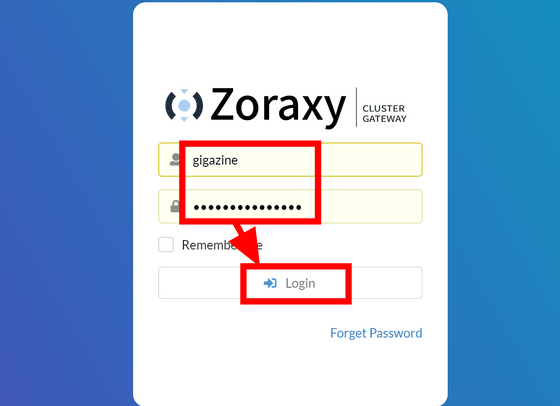
The login screen will appear, so enter the ID and password you entered earlier and click 'Login'.
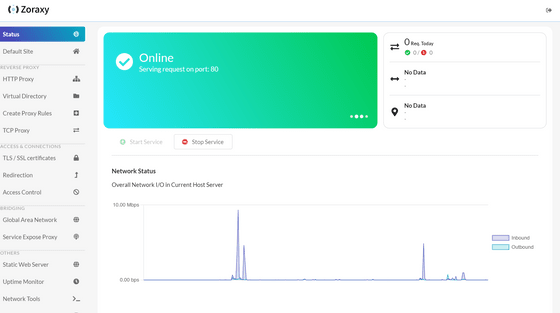
The dashboard opens, where you can see information about the traffic Zoraxy has processed.
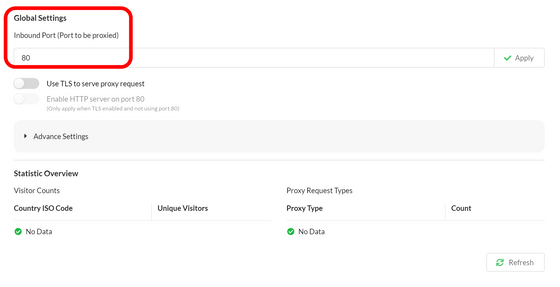
Scroll down to see the listening port information. By default, port 80, which is the default port for HTTP communication, is set.
When you access Zoraxy's listening port, you will see the message 'Welcome to Zoraxy's static web server!'
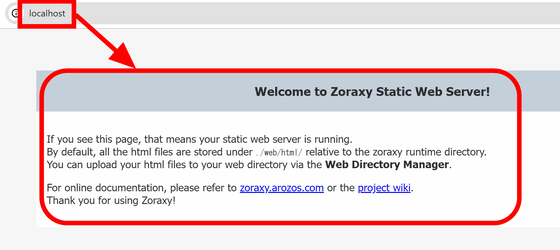
The numbers on the dashboard increased, and we could see that traffic was getting through.

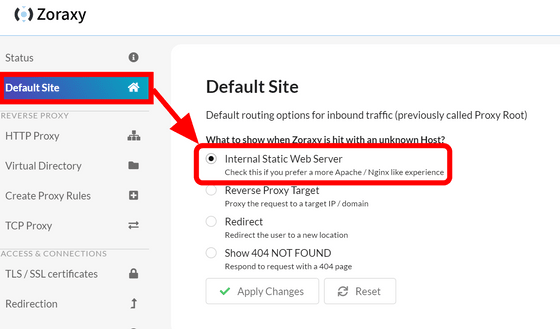
If you look at the 'Default Site' in the Zoraxy management menu, you will see that the 'Internal Static Web Server' is set. Therefore, when you accessed the listening port earlier, it was routed to the internal static web server.
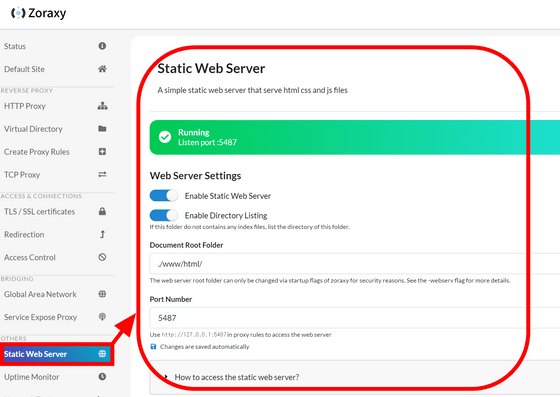
Zoraxy's static web server can be managed in the 'Static Web Server' menu. In addition to 'Whether to use a static web server,' you can set the document root, port number, etc.
Next, let's set it up as a reverse proxy. In this example, we've installed Zoraxy at '93.184.216.34' and are assuming that when accessed via the domain 'example.com', traffic will go to a static web server, and when accessed via the domain 'arozos.example.com', traffic will go to another server. First, set the DNS as shown in the figure below.

In this case, the routing from 'example.com' to the static web server has been completed in 'Default Site', so you only need to set up 'arozos.example.com'. Go to the 'Create Proxy Rules' tab in the management screen, enter the domain and destination to be routed, and click 'Create Endpoint'.
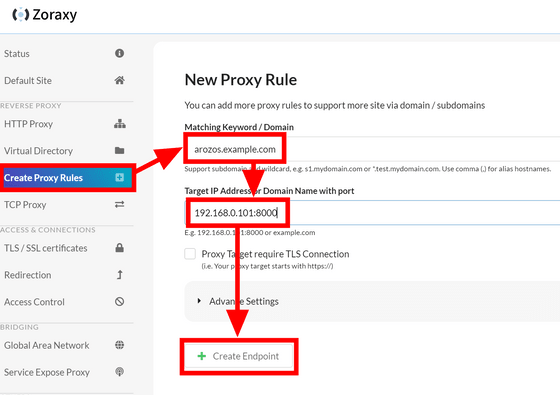
This completes the routing settings. You can check the list of configured proxies by looking at the 'HTTP Proxy' tab.

If you want to access using TLS/SSL, you can configure it in the 'TLS/SSL Certificates' tab. If you already have a certificate, just upload it.
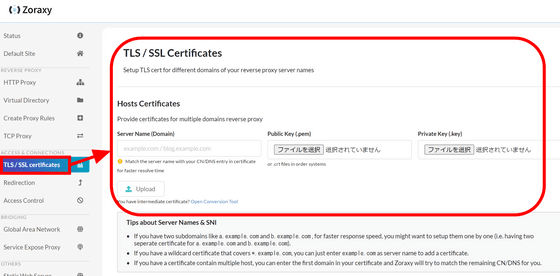
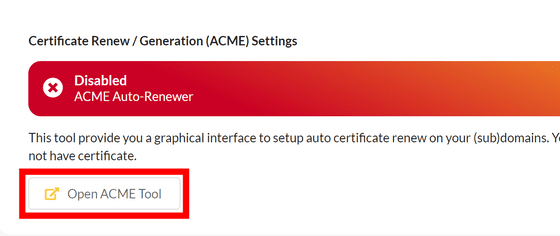
If you do not have a certificate, you can use the certificate issuance function using Let's Encrypt. Scroll down the 'TLS/SSL Certificates' page and click 'Open ACME Tool'.
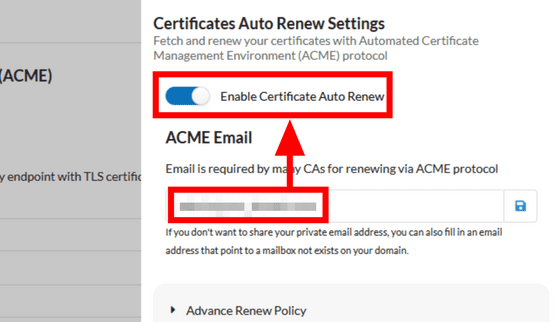
Enter your email address and click 'Enable Certificate Auto Renew'. Your certificate will now be automatically renewed.
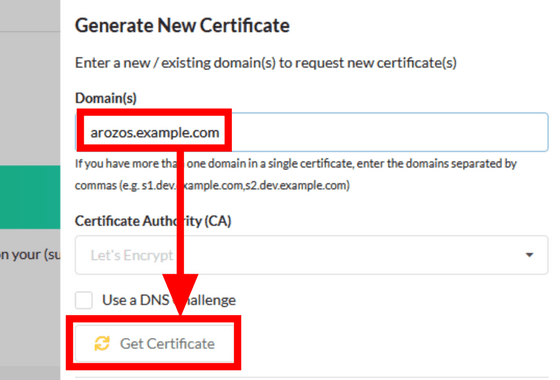
Enter the domain for which you want to issue a certificate and click 'Get Certificate'. When obtaining certificates for multiple subdomains at once, just enter them separated by ','.
It will take a few minutes to issue the certificate. Once the certificate has been issued, return to the top page of the dashboard and click 'Use TLS to serve proxy request' under the listening port number to enable TLS. You will be asked whether you want to change the listening port number to '443', so click the check mark.
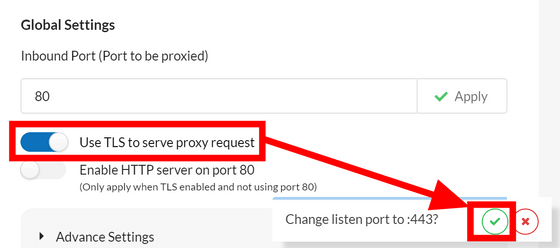
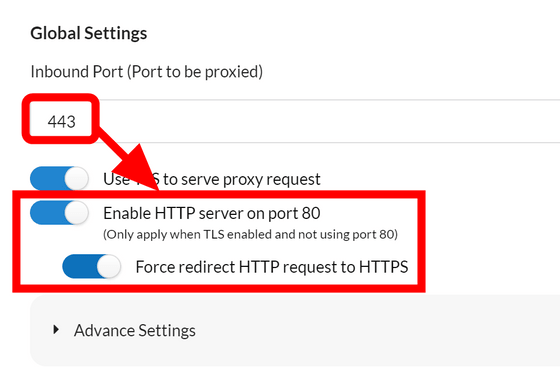
The listening port has changed to 443, and it is now possible to access using https. By enabling 'Enable HTTP server on port 80', you can continue to access via HTTP, and by enabling 'Force redirect HTTP request to HTTPS', it is possible to redirect to HTTPS when accessed via HTTP.
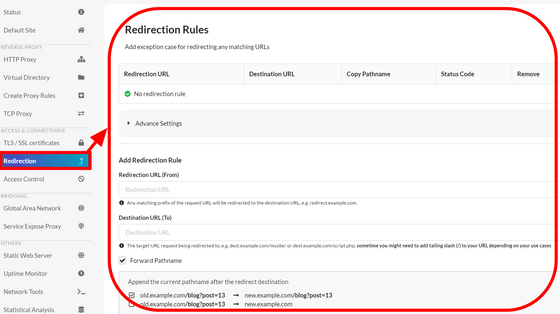
You can configure redirection settings in the 'Redirection Rules' tab.
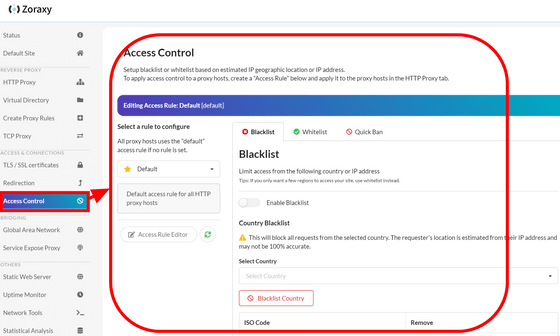
The 'Access Control' tab allows you to set access control based on IP address and country.
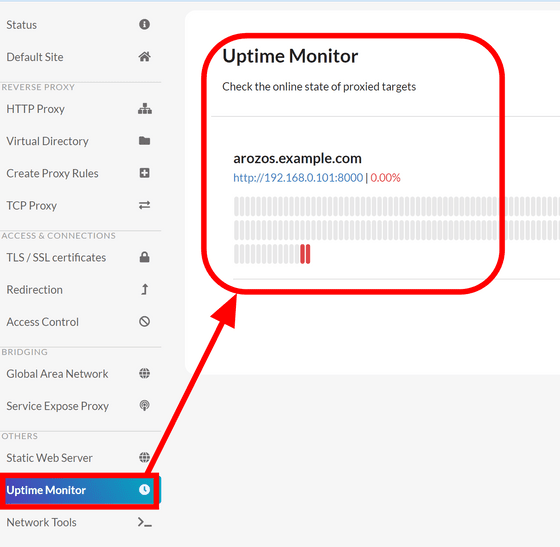
Status checks are performed automatically for destinations with proxy settings, and past records can be checked on the 'Uptime Monitor' tab.
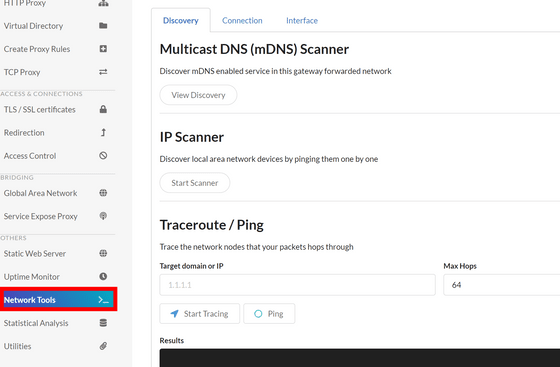
The 'Network Tools' tab allows you to run commonly used commands such as an IP scanner to detect LAN devices, as well as 'Traceroute' and 'Ping.'
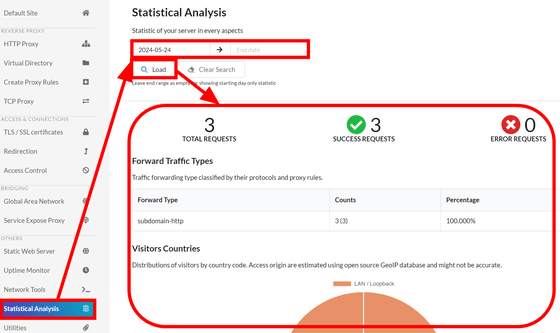
'Statistical Analysis' allows you to view traffic statistics for a specific date.
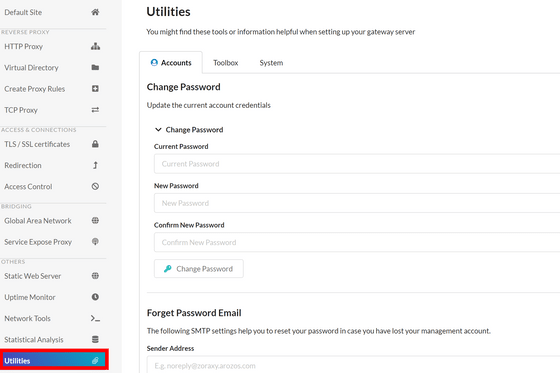
The Utilities tab allows you to change your password and configure account and system related settings, such as sending emails to reset your password.
In addition, if you are running Zoraxy on Linux, it has a 'Web SSH' function that allows you to connect to a server on your LAN via SSH from your browser.
Related Posts:
in Review, Software, Web Application, Posted by log1d_ts
