A free FTPS server that runs lightly on Windows "Cerberus FTP Server"
It operates lightly with a small memory, it supports native support not only for 32 bits but also for 64 bits, it can operate as a service on Windows, IPv6 compatible, since the character code of the file name is UTF - 8 compliant, Japanese filenames etc are also OK, created There are unlimited number of possible users and groups, and not only usual FTP but also amazing software that can operate as a more secure FTPS server this "Cerberus FTP Server"is.
All of these functions are available free of charge, it is very powerful, easy to set up and easy to understand.
So, the procedure from actually downloading and setting up and making it operate as FTPS server is as follows.
Cerberus FTP Server - Secure and reliable FTP, SFTP and FTPS Server for Windows
https://www.cerberusftp.com/
◆ Download and Installation
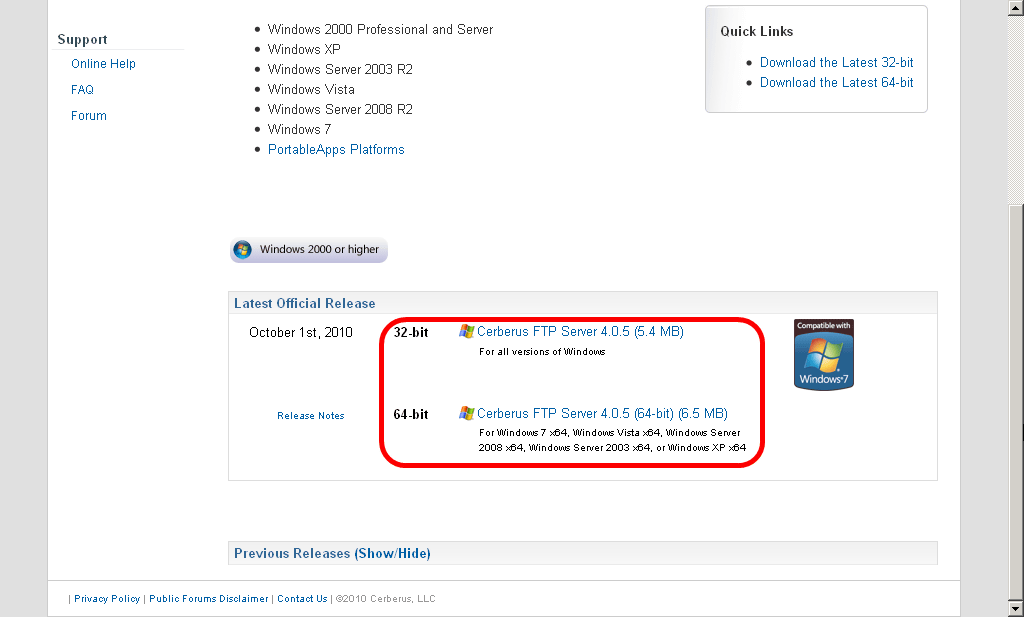
FirstThis pageSelect the 32-bit version or the 64-bit version, and click to download the installer.
Click on it to start the installer
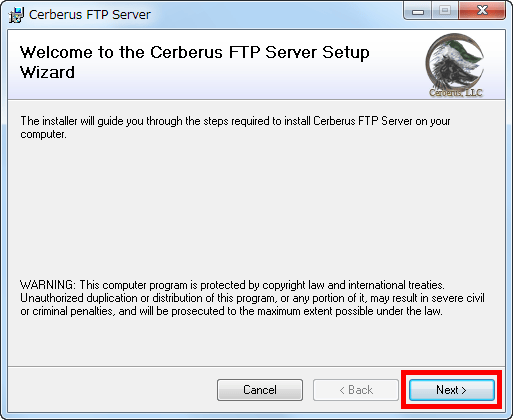
Click "Next"
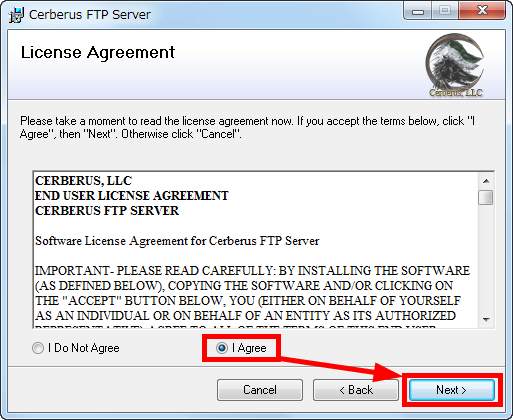
Check "I Agree" and click "Next"
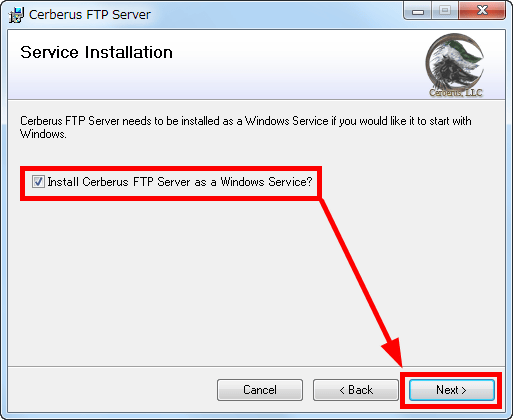
If you want to operate as a Windows service, check it and click "Next". If it is running as a service, it will also start on the login wait screen which is not logged in to Windows, so it is convenient when you want to move it as a full-scale FTP server.
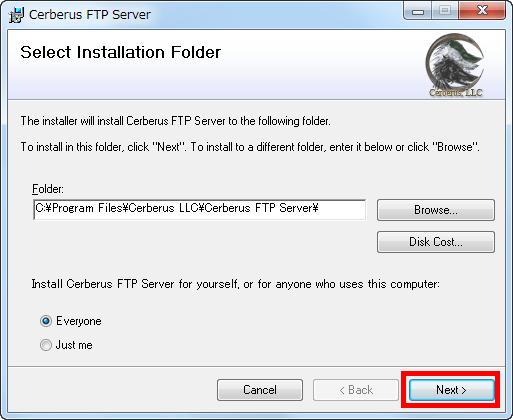
Click "Next"
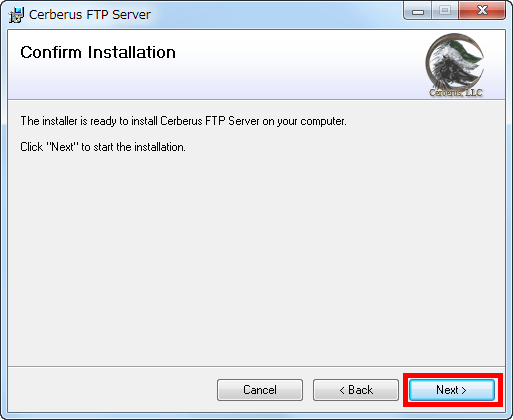
Click "Next"
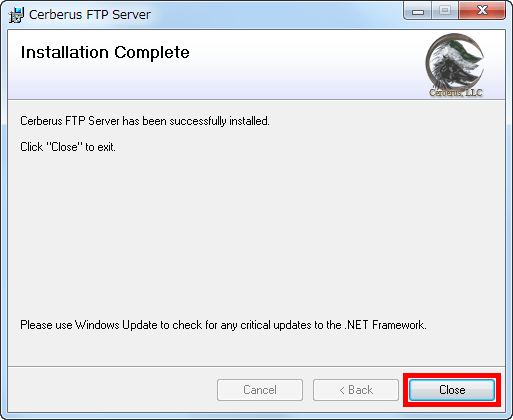
Click "Close"
◆ Set up the first user first
Since an icon appears on the desktop click on it

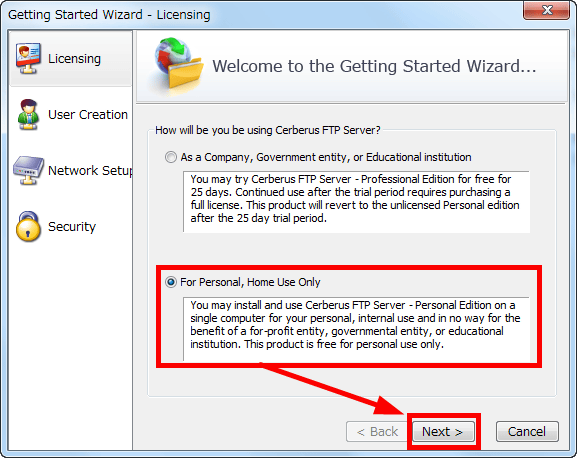
Since "Cerberus FTP Server" can be used for free as a personal version only for individual and home use, check "For Personal, Home Use Only" below and click "Next" .
Next, we are going to create the first user
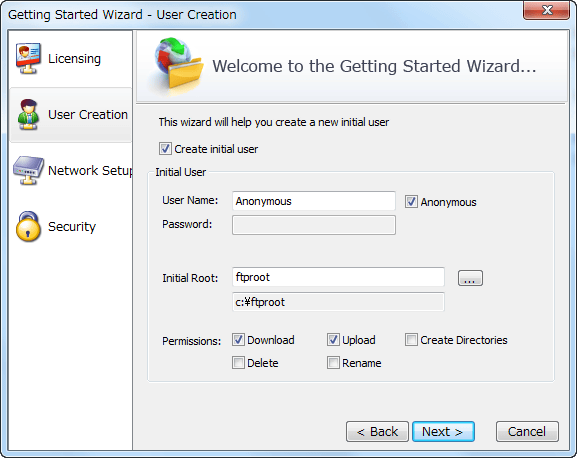
Uncheck "Anonymous", set the user name, then set the password, click "...", specify the location of the first visible folder, ie the root folder when logging in with FTP, finally Check the items you want to allow among "Download", "Upload", "Create Directories", "Delete" and "Rename". This is quite useful as there are many cases where you can not separate the permissions for deletion and rename with a common Linux FTP server. After setting, click "Next".

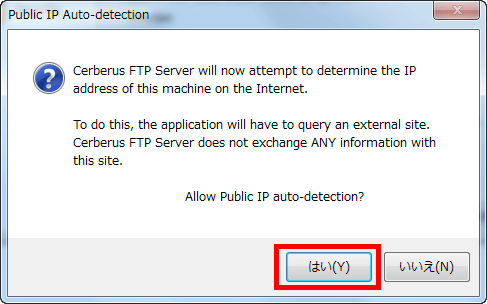
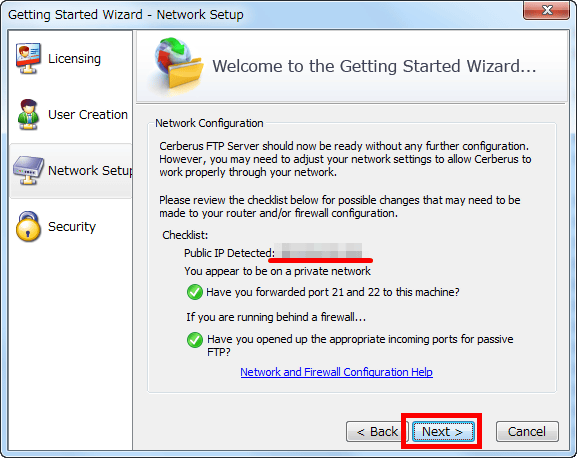
Since it is necessary for the server to acquire the global IP address when accessing and publishing the FTP server via the Internet, click "Yes" here.
This will display the global IP address, so click "Next"
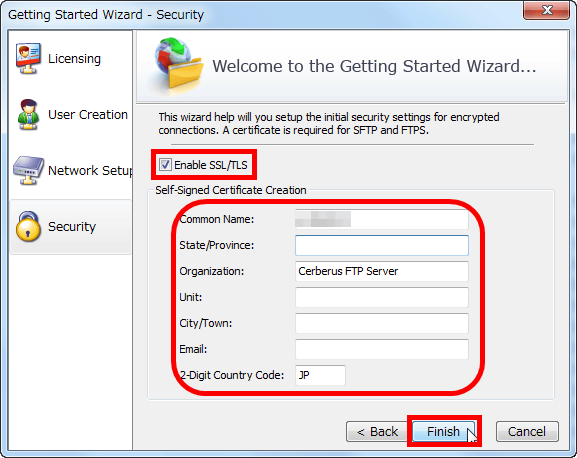
Please check "Enable SSL / TLS" in order to correspond to FTPS, fill in blanks appropriately and click "Finish". The blanks will move at least as long as they fill in "Common Name" "Organization" "2-Digit Country Code". Items set here will be displayed when connecting with FTPS compatible client software, so keep it in mind and proceed smoothly.
Click "OK"

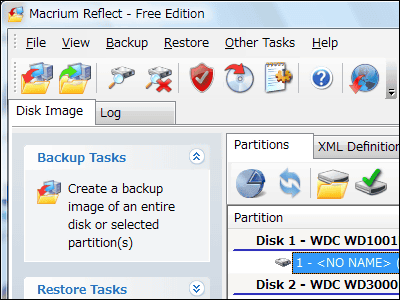
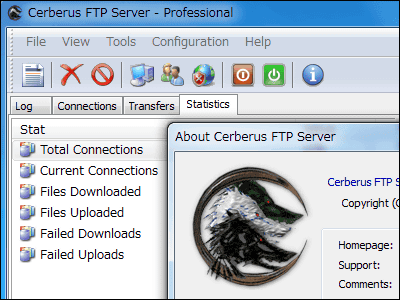
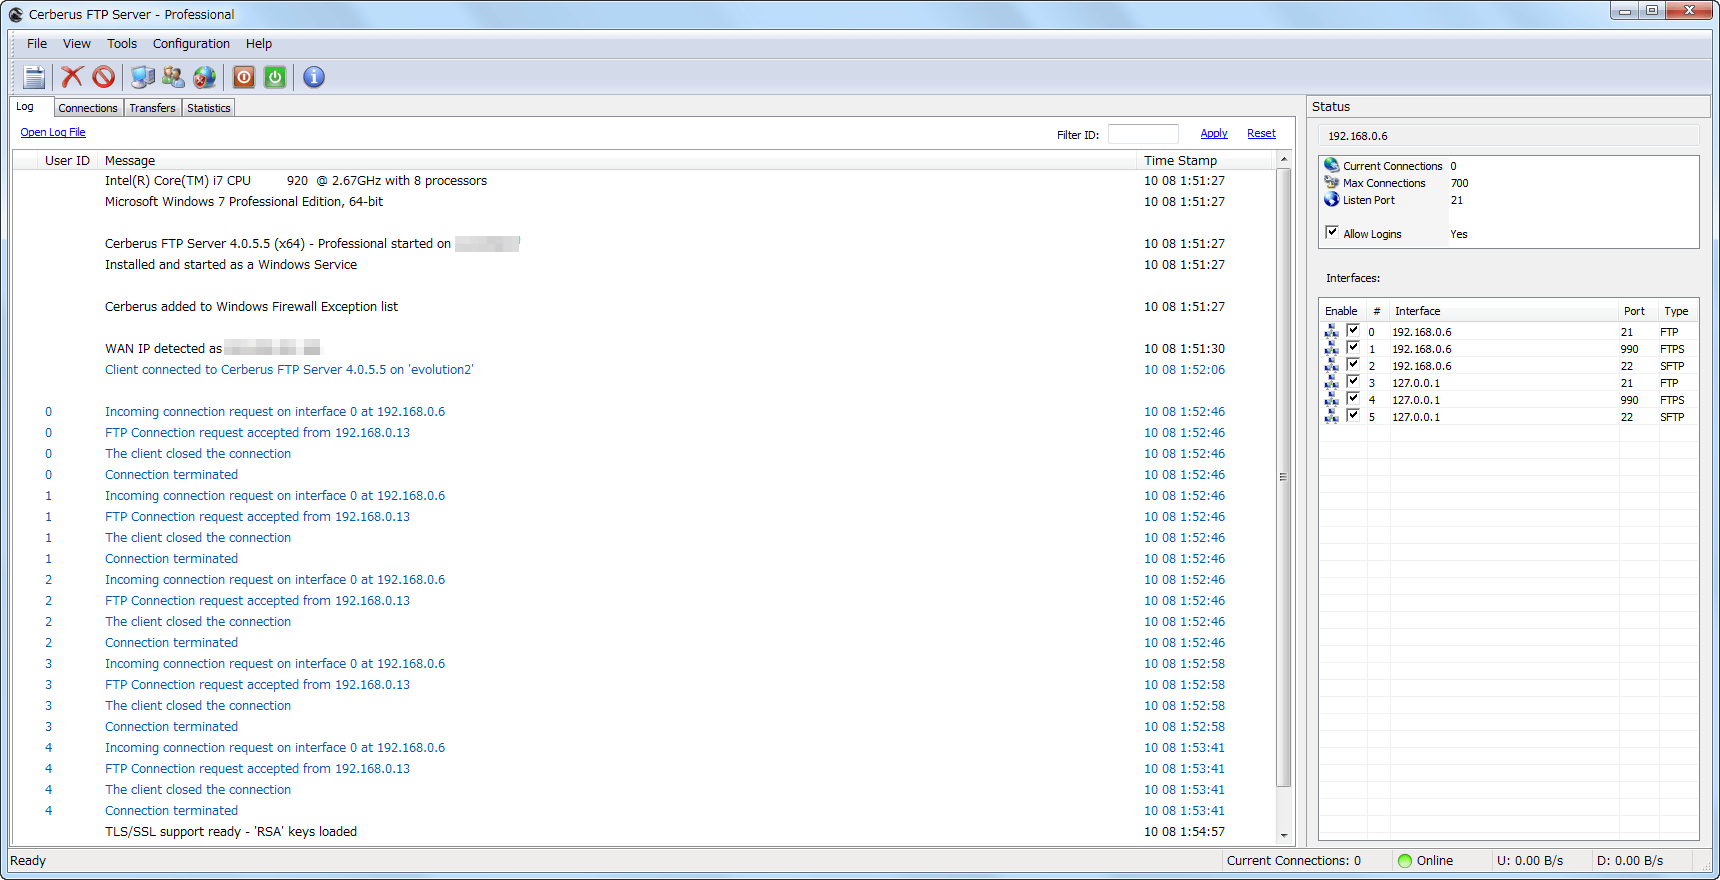
This is the initial screen, the "Log" tab is selected, and the status of the FTP server is displayed every moment.
◆ Create groups and easily manage later
If you set up an FTP server, you will have to create multiple users, but if you group them from the beginning you can add users later. For this time, I decided to create a group called "download and upload, create directories and rename files, but do not allow deletion, and make specific folders the root directory", and I will register users one after another I will.
Click this button first

Click "Groups" and click "New"
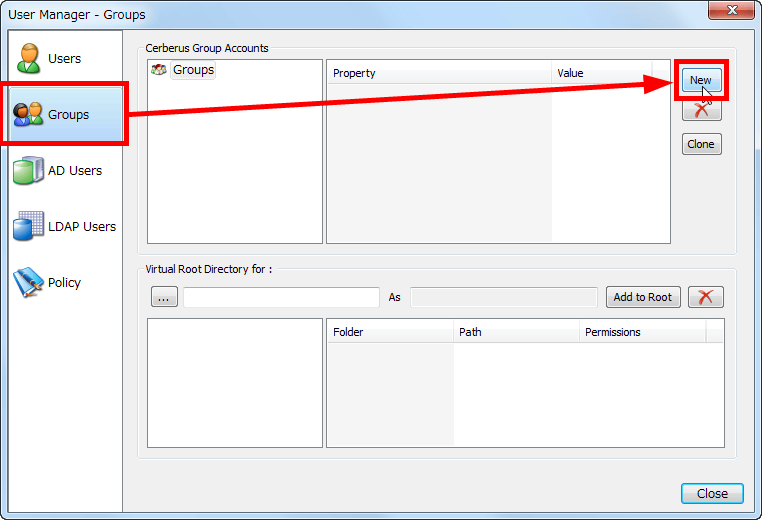
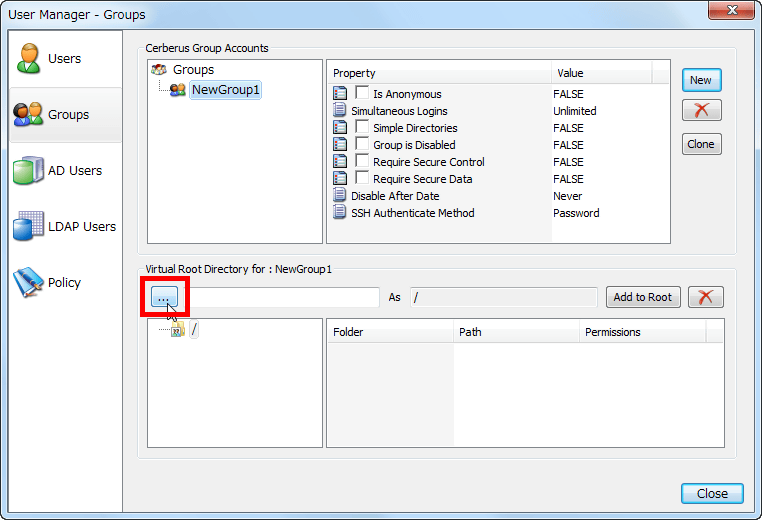
A new group "NewGroup 1" will be added. You can change the name by right clicking on this group name and selecting "Rename". Next, click "..." to specify the root directory.
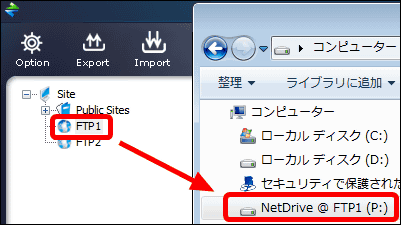
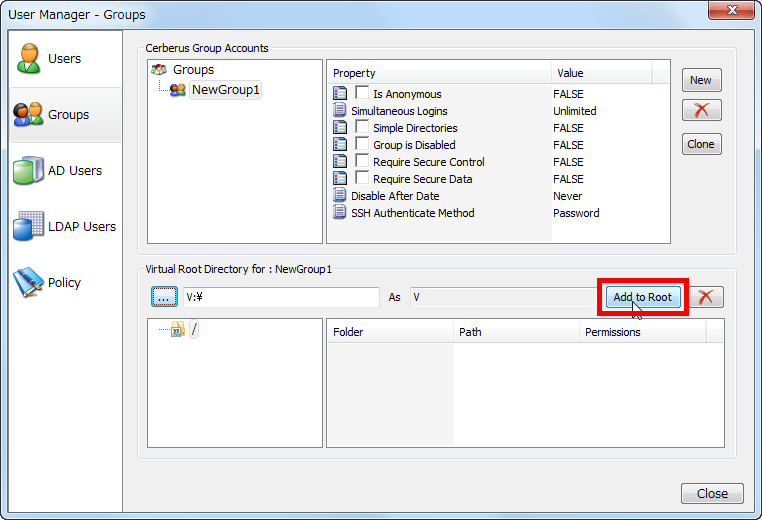
Select the folder you want to display when logging in with FTP and click "OK". In many cases, even if you specify a network drive, it does not recognize it well, but you can recognize by specifying it from "network" in order.

Click "Add to Root" to add it. In addition, you can add as many root directories as you like, you can change the name by right clicking on the root directory name and selecting "Rename".
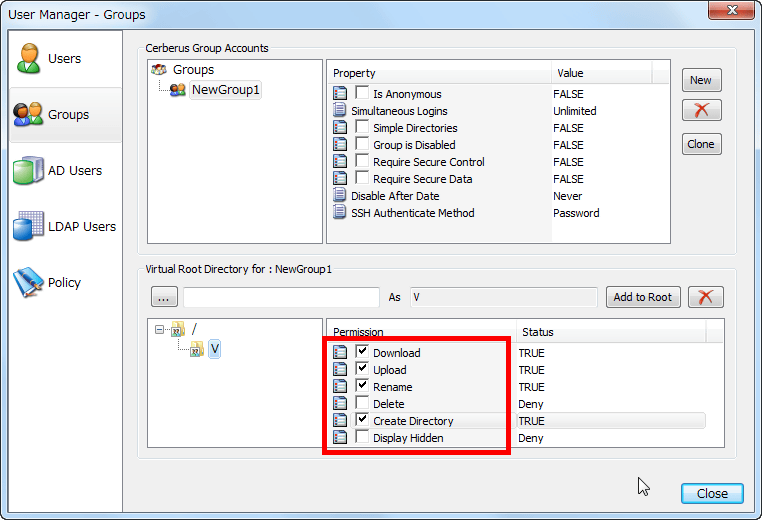
Next we will set the permissions. This time it is "downloading and uploading, directory creation and file name change are permitted, but deletion is not permitted", so it became like this. The group setting is complete with this.
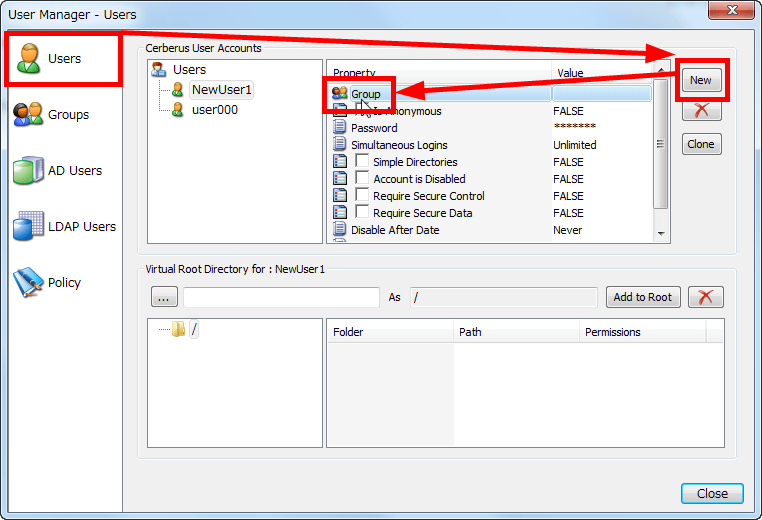
To add a user to this group Click "Users", select "New" to create a user, then click "Group".
Select "NewGroup 1" created earlier and click "OK"

Now that the root directory and privileges are set automatically, just click on "Password" and enter the password.
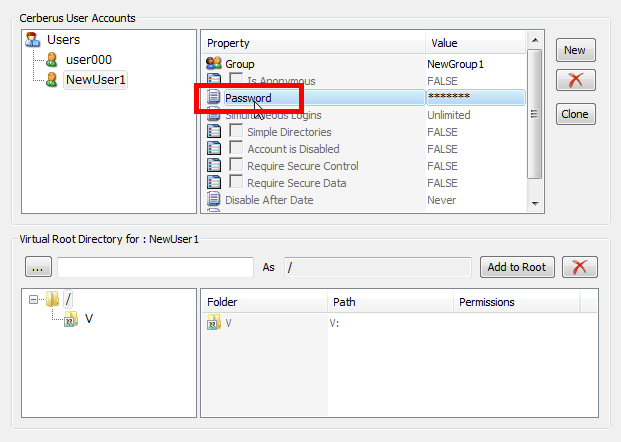
After entering the password twice, click "OK" and it is done. If you repeat this it is easy to make users with non-password set from the beginning easily from the beginning, addition and deletion from the rest is also easy. If you divide them in advance such as "groups that let you download only" or "groups that only makes uploads," management is easy even as users increase.

◆ How to use the administration screen
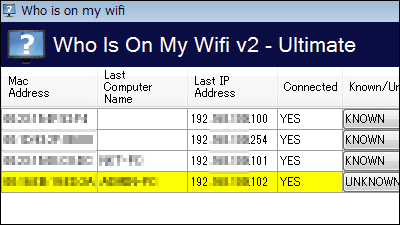
From the "Connections" tab, you can see the users currently connected to the server and logged in.
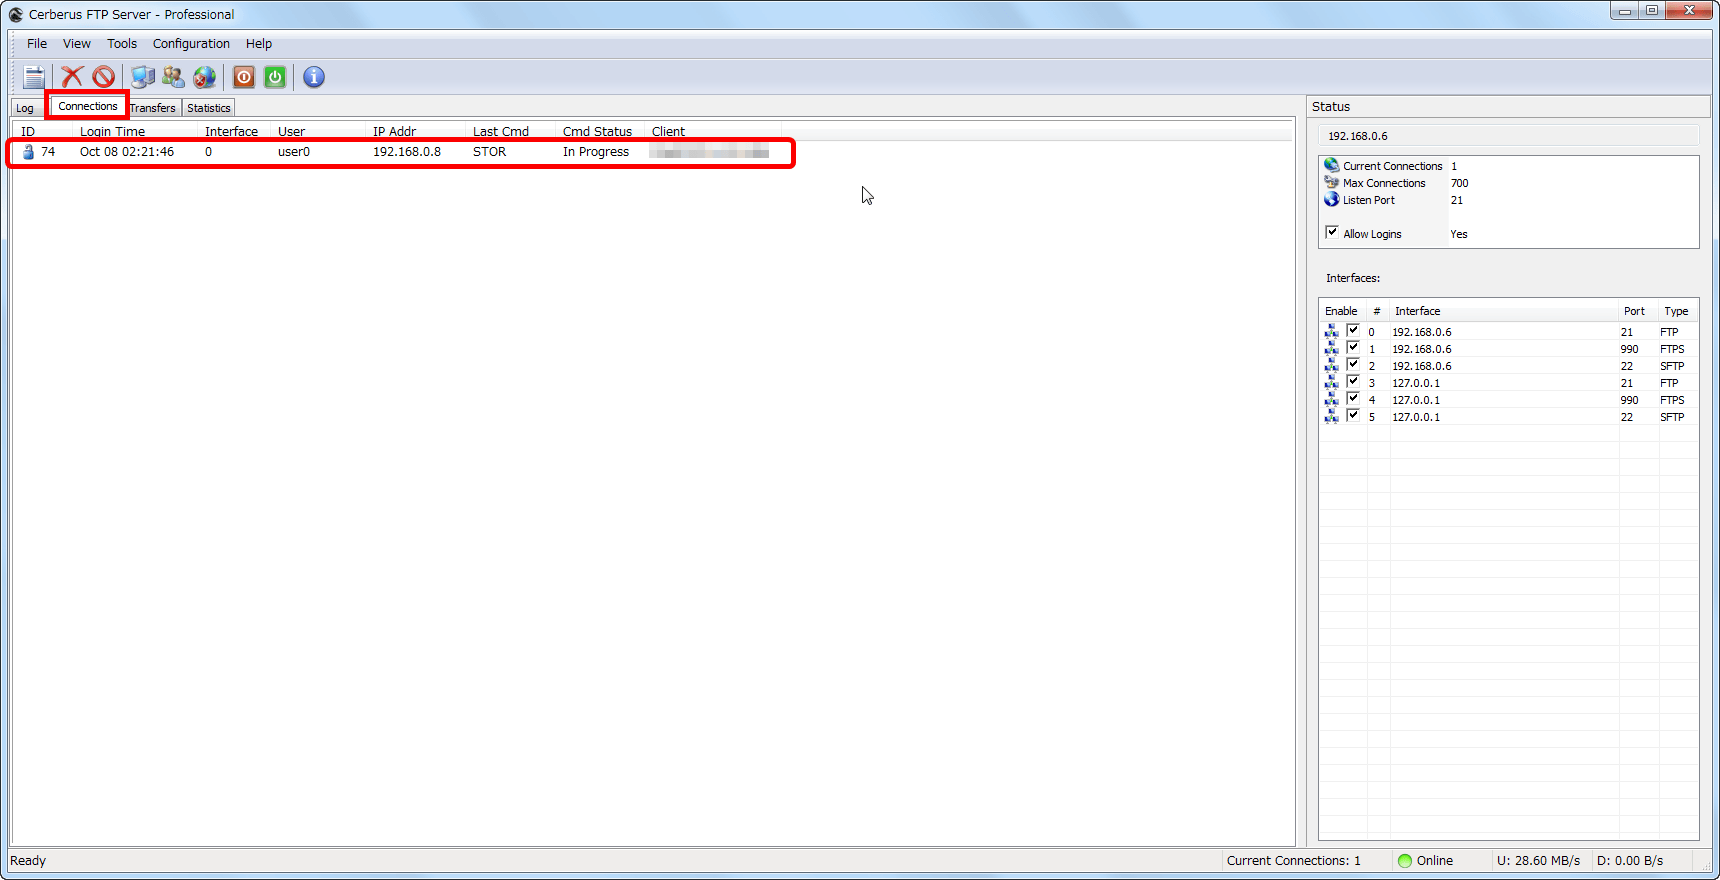
Also, if you right-click on a user name and select "Terminate User", you can forcibly disconnect, and if you click "Block Address", you can designate that IP address as disabled. You can set the black list that refuses connection with this IP address and the whitelist function that allows connection only for the range of the specified IP address from "IP Manager" of "Configuration".

To allow only FTPS connection and disallow FTP connection, check only the one written as "FTPS" with the local IP address port number 990 from "Interfaces" at the bottom right It is possible to enable it and remove other checks.

Also, if you are connecting with SFTP or FTPS, a kagimark is added at the beginning in this way

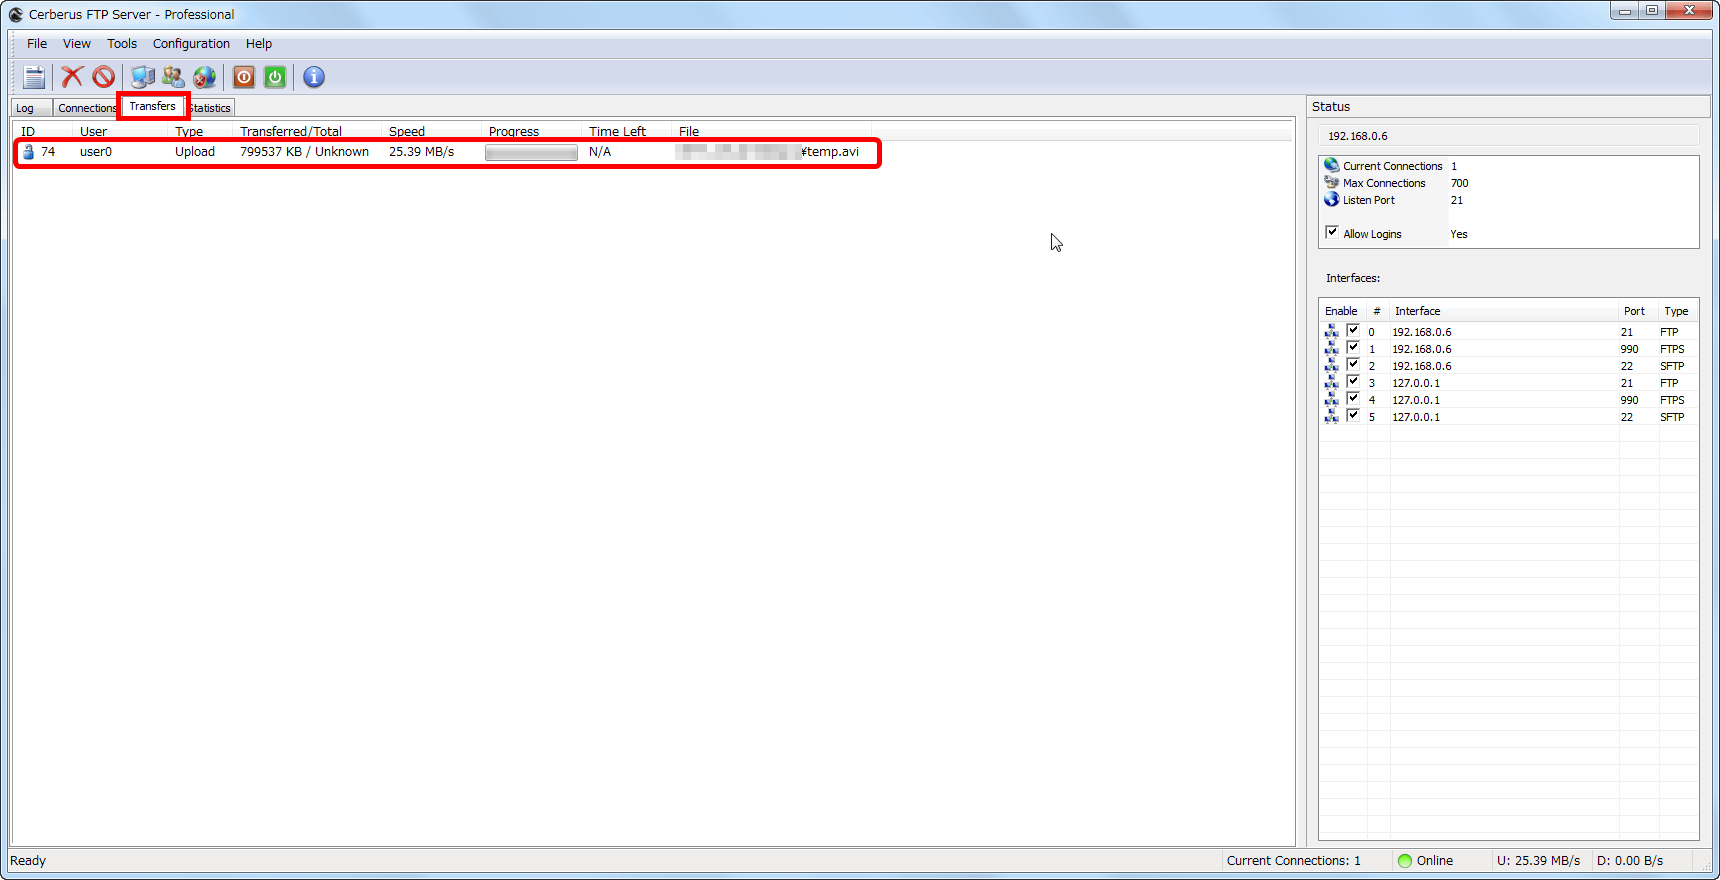
From the "Transfers" tab you can see what files are being transferred.
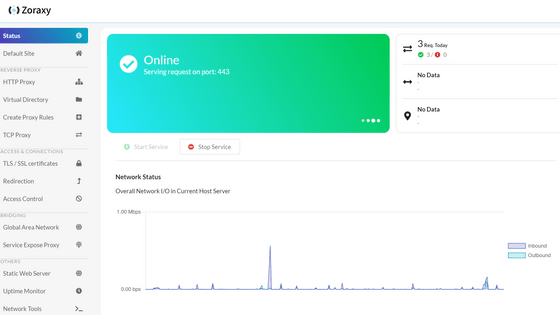
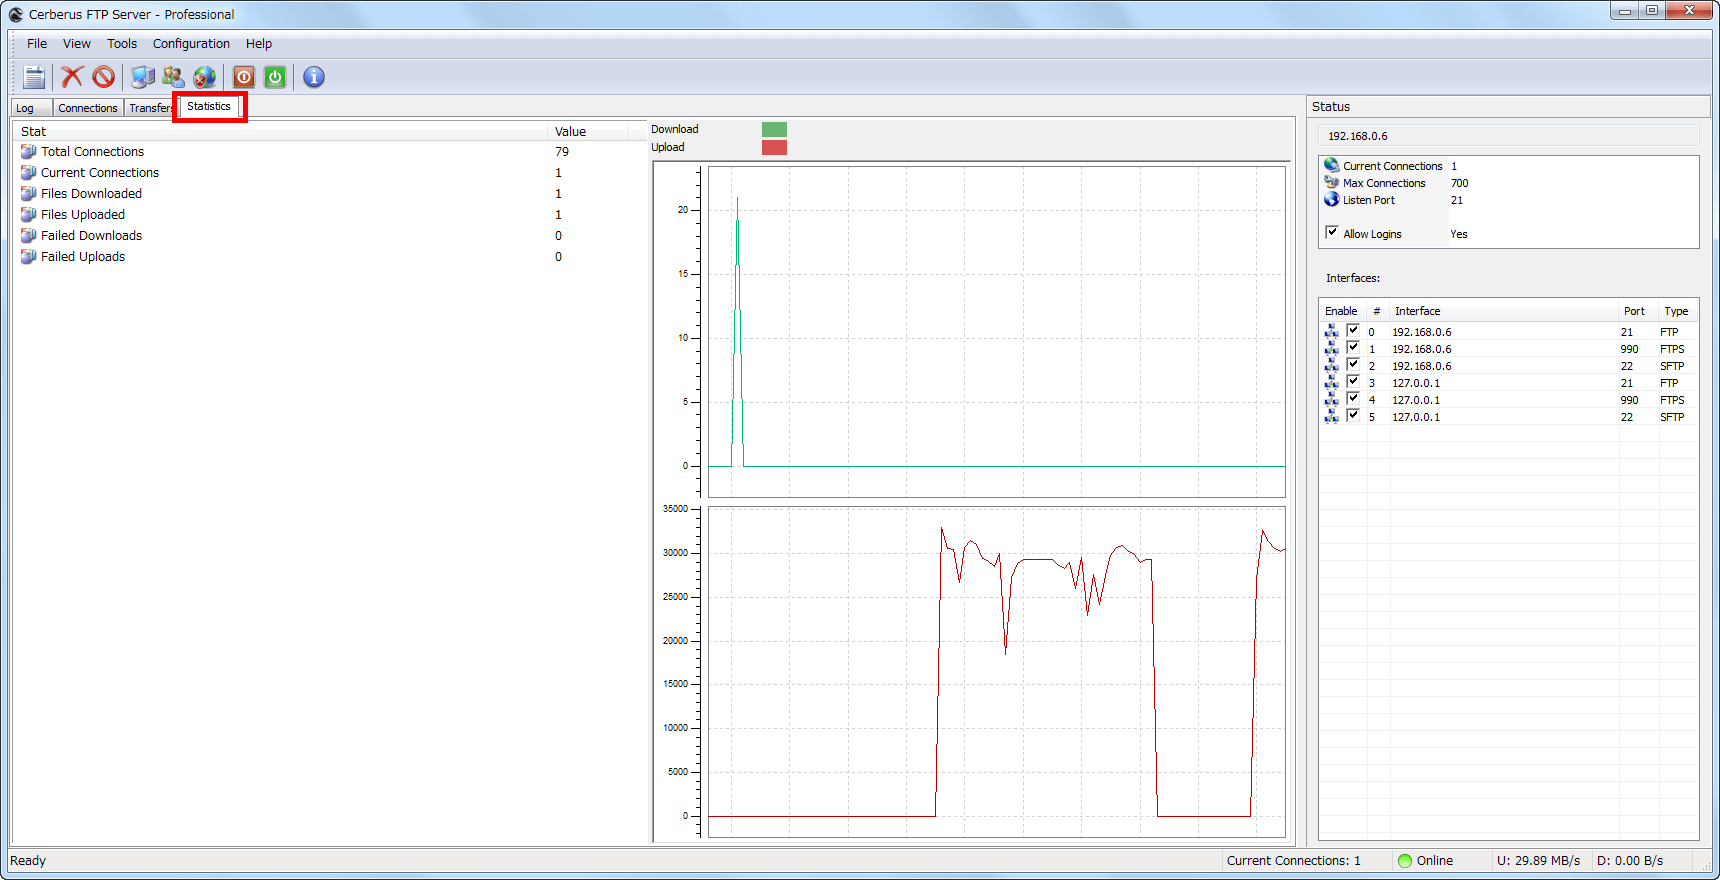
Statistics reports can be viewed from the "Statistics" tab, so you can see real time the number of connections, the number of downloads / uploads of files, the number of failures, the transfer amount graph, etc.
Click this button to stop the server

The right end of the status bar looks like this, going offline, no one can connect

Conversely click this button to start the server

The right end of the status bar becomes like this, it becomes online and it becomes connectable

◆ More detailed settings
Click this button to control more detail

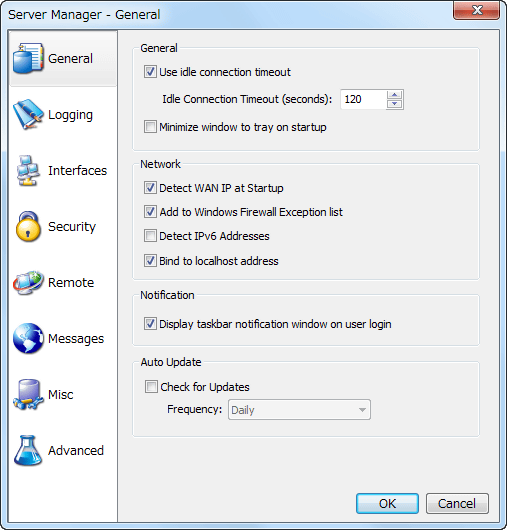
General settings. It is convenient to set the timeout time especially when not doing anything.
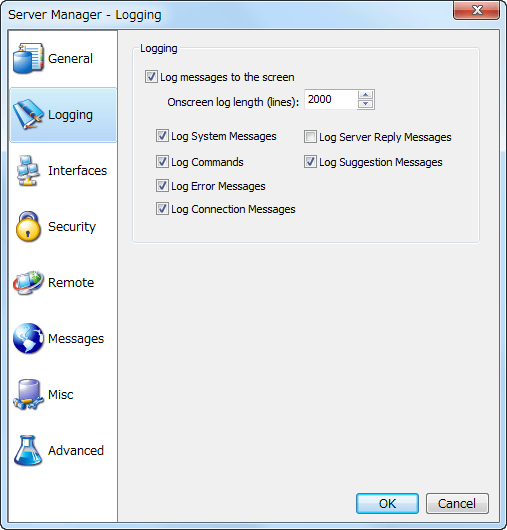
Log setting. You can specify what type of log you want to display.
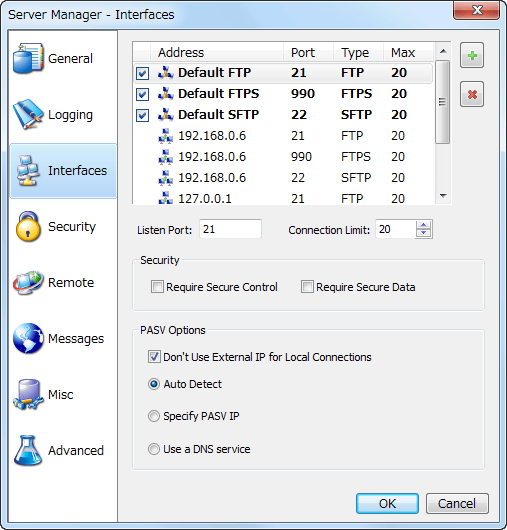
Interface setting. For FTP, FTPS, SFTP, it is possible to assign which port the setting is made.
security settings. It is a certificate relation mainly used for FTPS and SFTP.

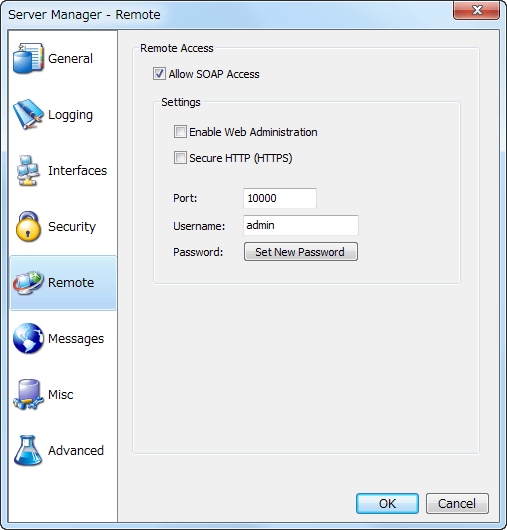
Remote configuration. It does not matter with Personal which is the free version of "Cerberus FTP Server", but in the case of the paid version of Standard or Professional, it is possible to use the management screen via the web.
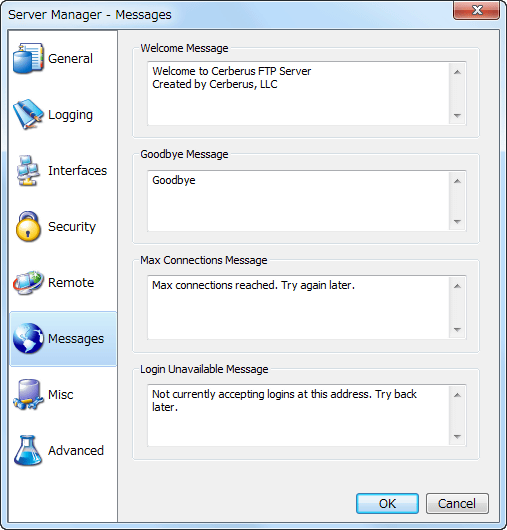
message. Welcome message displayed on the log screen of the FTP client when logging in, Goodbye message when disconnected, message when reaching the maximum number of connections (Personal version has no limit on the number of users but can connect at the same time to 20 There is a limit), you can specify the message when login is disabled.
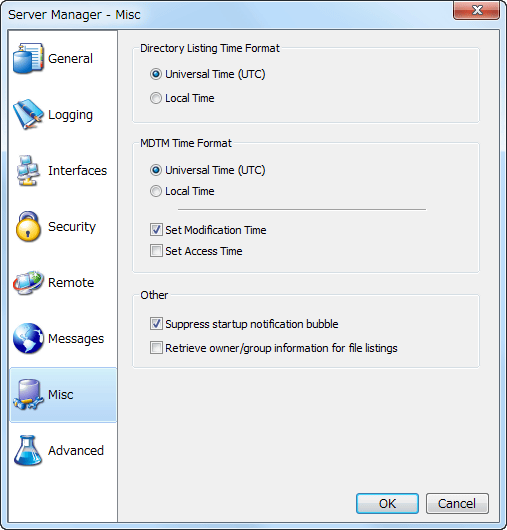
Other. It is mainly time relation.
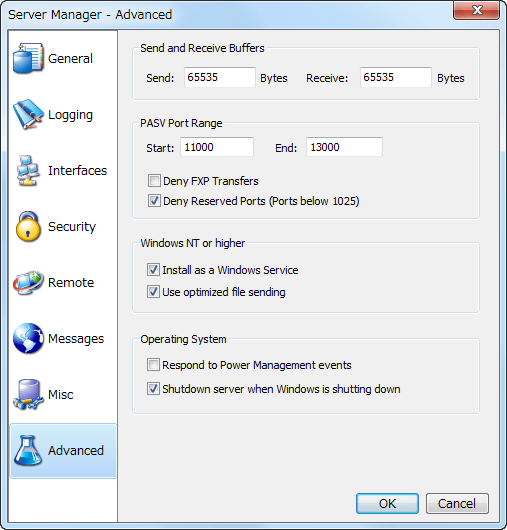
Advanced setting. "PASV Port Range" is the port range specification in PASV mode.
By the way, in the paid version, "FIPS 140-2", "cooperation with Active Diretory", "cooperation with LDAP" and "use of SFTP" are possible, and the number of concurrent connections is 50 for Standard and unlimited for Professional. It becomes Professional until 25 days pass even after installation on Personal, and after 25 days it will be Personal. The difference between FTPS and SFTP etchereIt is easy to understand.
I felt it was fairly well done FTP server software even though it was thought from the lightness of performance at the time of large capacity file transfer and ease of user management as actually used impression. Especially it is quite excellent that FTPS function is available even if it is free and there are no limits on the number of users though it is possible up to 20 simultaneous connections. As free FTP server software for Windows, it is Pikaichi at the moment.
Related Posts: