"Macrium Reflect FREE Edition" free software that allows you to image the whole hard disk while Windows is running
It is "Macrium Reflect FREE Edition" which is a very excellent free software that runs on Windows XP and Vista (including 64 bit version) and is able to back up images of the whole disk while Windows is running. Available on Windows "Volume Shadow Copy ServiceBy using such things, it is possible to copy even files that are in use. The image to be created can be saved by burning it to another partition, via a network, an external HDD with USB / IEEE connection, direct DVD, etc. It is also possible to specify the compression ratio and so on. Also, it is possible to create a rescue CD, and it will be restored from this rescue CD (either Linux base or BartPE base can be selected) at the time of restoration. It is also possible to back up with a schedule specified, and it has become quite powerful content.
So, how to install and backup, extract files from the backed up image, how to schedule backups, how to restore etc are described below.
■ First from installation
Macrium Reflect FREE Edition - Information and download
http://www.macrium.com/ReflectFree.asp
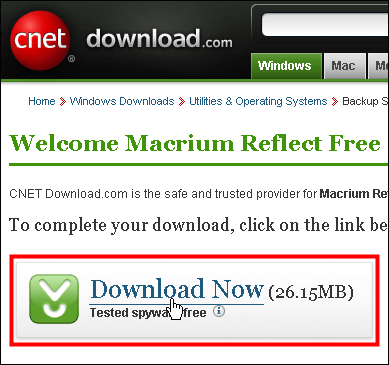
Click the download button on the above page

Click "Download Now"
This is the downloaded installer. Let's click and run.
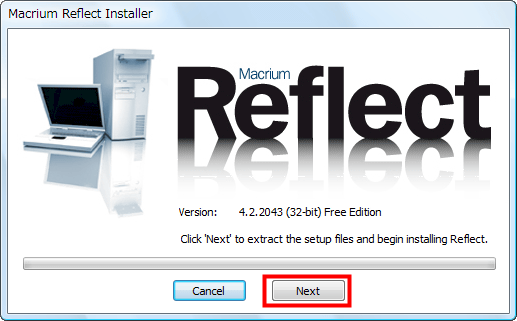
Click "Next"
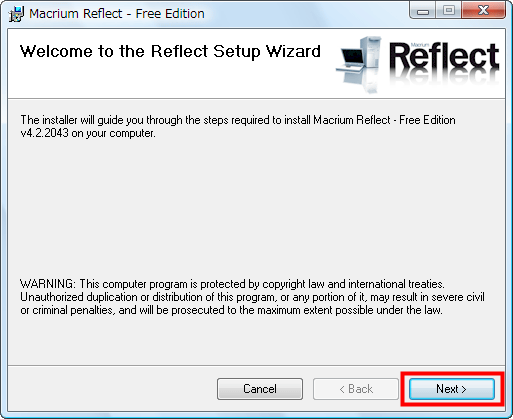
Click "Next"
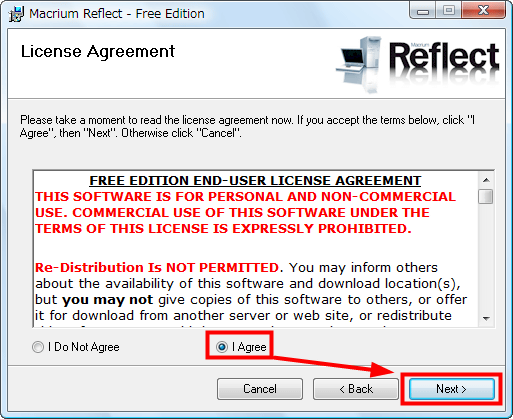
Check "I Agree" and click "Next"
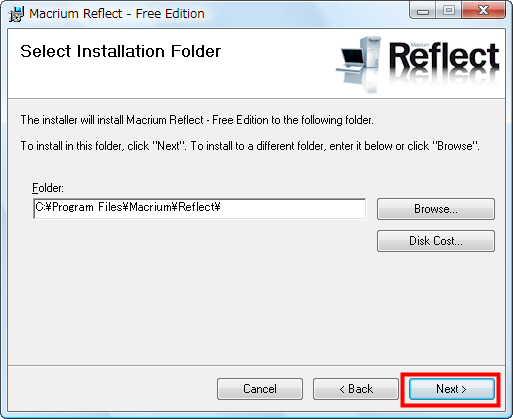
Click "Next"
Click "Next"

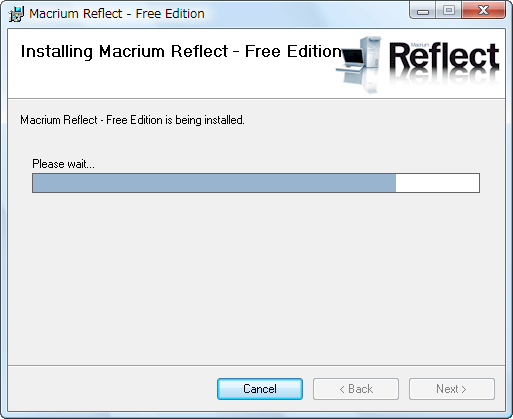
Wait for a while while installing
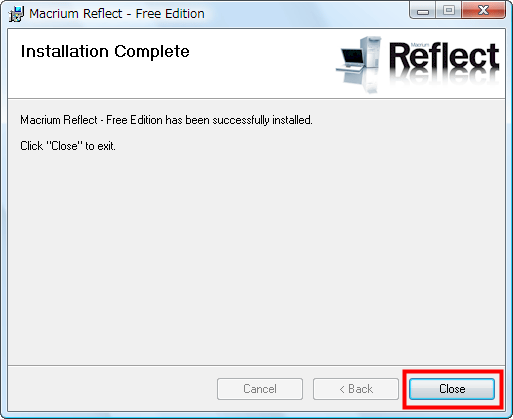
Click "Close"
■ Back up the whole drive
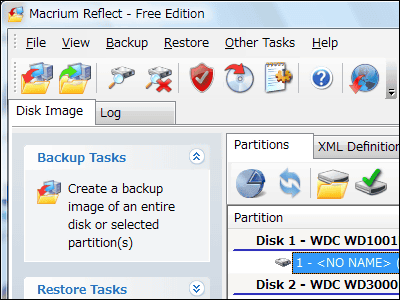
Click on the desktop shortcut to launch

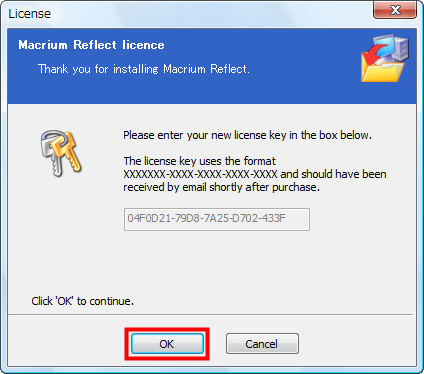
Since the authentication of the free version is done via the net, if you have a firewall or the like running, temporarily disable it or allow "communication" and click "OK"

Click "OK"
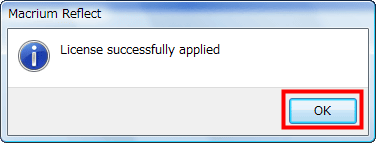
Authentication succeeded, click "OK"
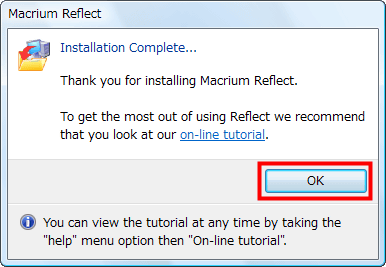
Installation is now complete and click "OK"
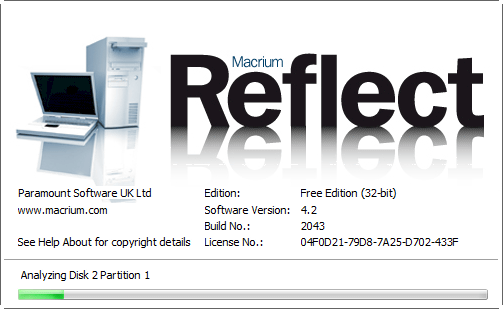
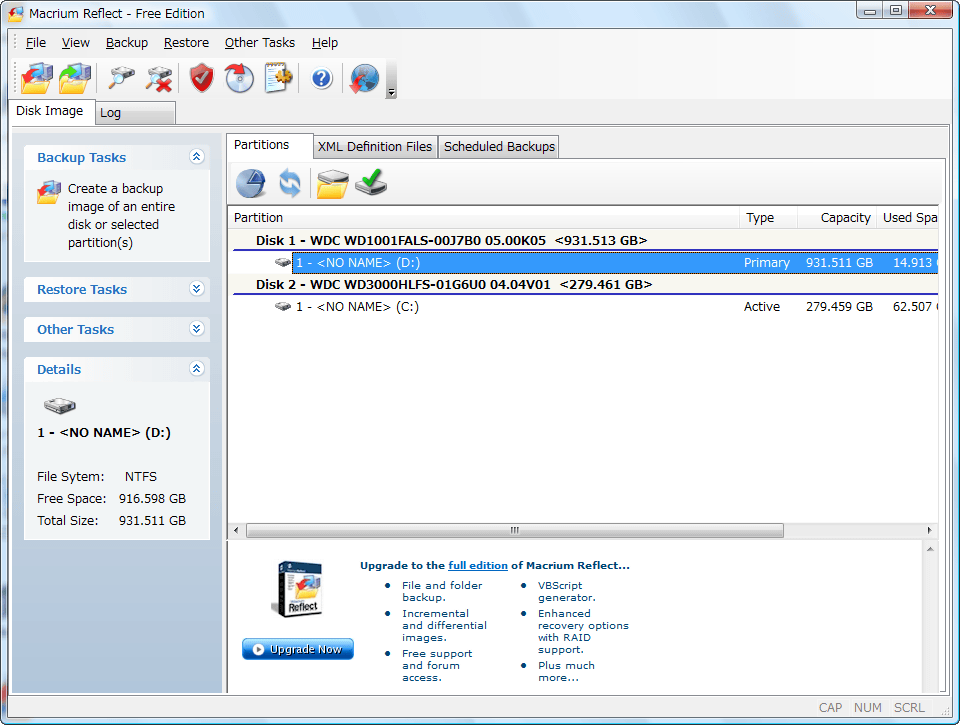
Analyzing partitions automatically during startup
This is the initial state
Click this button to back up the whole disc
Click "Next"
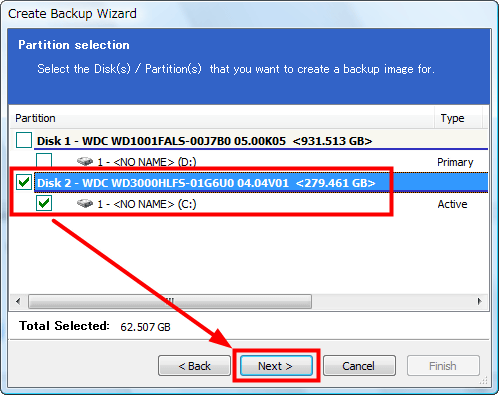
Select the partition or hard disk you want to back up. This time I will back up my entire C drive. When you choose, click "Next".
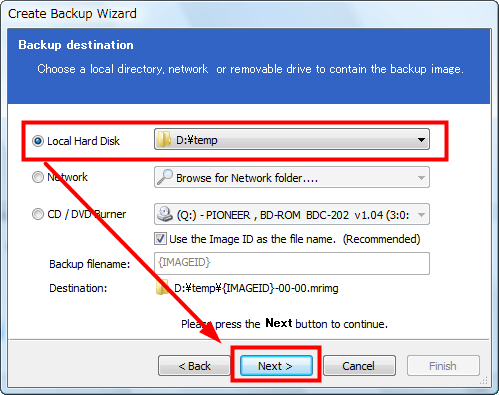
The backup destination can select local hard disk, somewhere via the network, CD / DVD. This time I will choose a local hard disk. Click "Next".
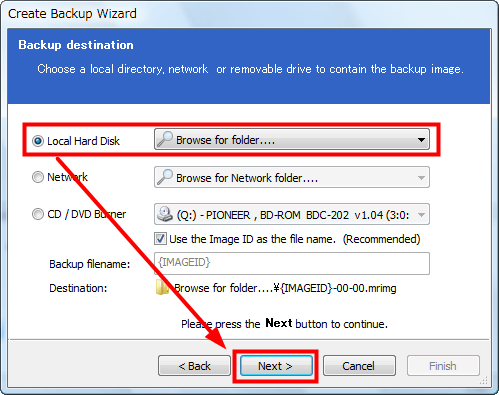
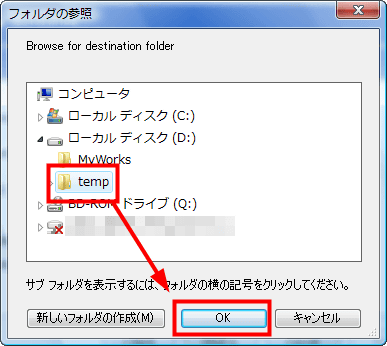
I want to save the image that I backed up in the "temp" folder of drive D, so please select it, then click "OK"
Confirm that it is properly selected and click "Next"
Since settings up to this point are displayed, click "Advanced"
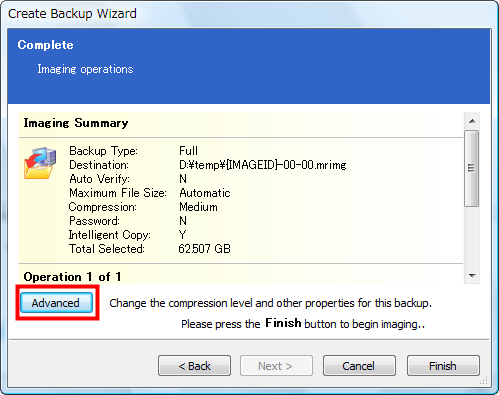
Choose either Intelligent Sector Copy or Full Copy. The initial setting is intelligent sector copy, and if you are using 100 GB with 300 GB hard disk, for example, the created image file is a method of backing up only the part of actual use of 100 GB, the minimum file size It is enough. On the other hand, if you select complete copy, you will back up all free sectors that have nothing stored, so back up everything 300 GB. Instead, it backs up all sectors, so you can restore deleted files etc from the trash can. This time I chose Intelligent Sector Copy.
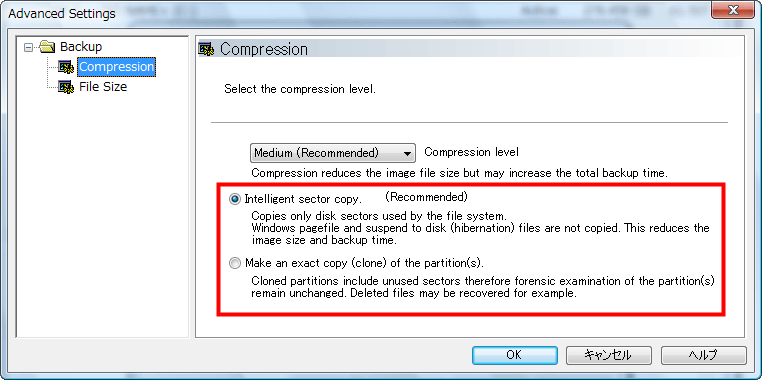
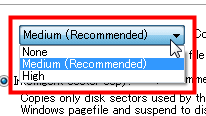
Choose a compression ratio from here. Since "None" is uncompressed, the free space required for backing up 100 GB of actual use is 100 GB. "Medium" will apply moderate compression and the file size will be considerably smaller. "High" is able to make disk capacity as small as possible by maximizing compression. When it is uncompressed, the transfer speed of the hard disk takes time, and it takes a long time to use the CPU to compress it if it is high compression, so the reason is that "Medium" can be backed up at the fastest speed. So I chose "Medium" this time.
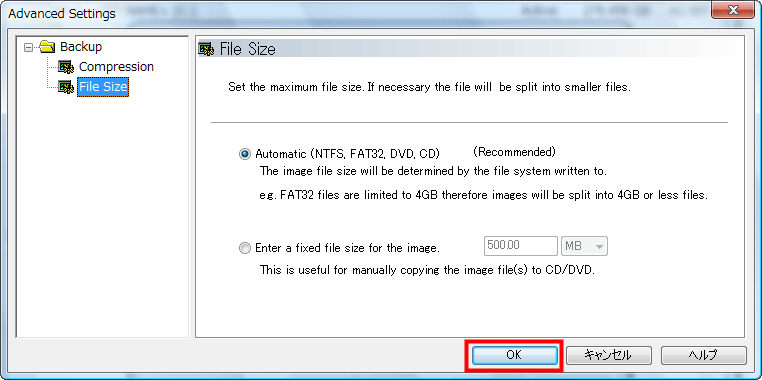
In addition, you can select the file size from "File Size". In this time, I will back up the C drive to the D drive, but after that, if you further divide it into a DVD and save it, by designating the capacity to save per DVD first from here, the file size It is divided into each and backed up. For now, I will not specify anything this time, so I will make it all one file and click "OK".
Click "Finish"

Click "OK" to start the backup
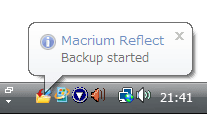
During the backup, that fact will be displayed in the task tray at the bottom right
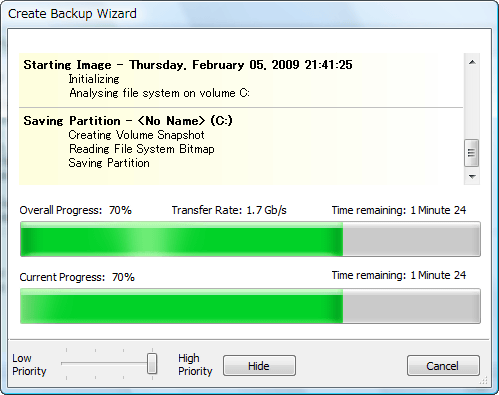
Also, such a window will be displayed. You can hide it by clicking "Hide", you can back up while doing any work. If a lot of CPU is taken by the backup work and other work becomes too heavy, sliding the lower right slider to the "Low" side can lower the CPU usage rate.
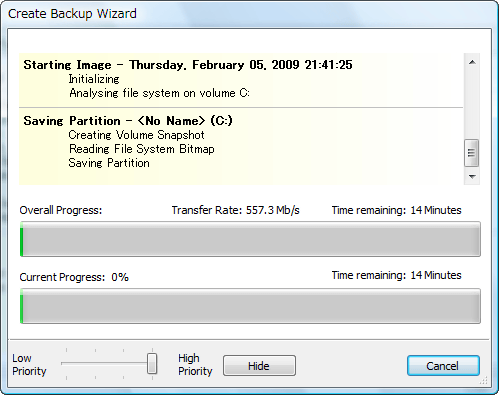
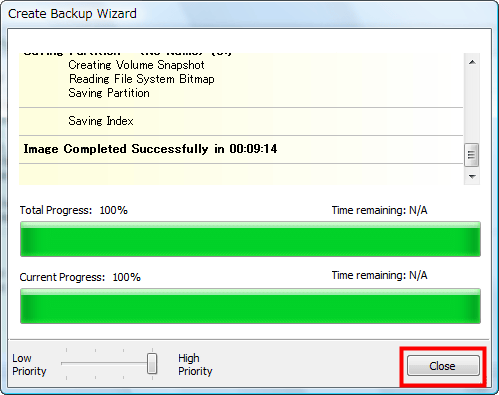
This time I tried to back up with the fastest CPU utilization.
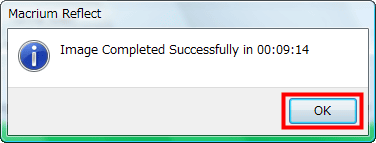
Backup is completed in 9 minutes and 14 seconds. Click "OK".
Click "Close" to close
■ Extract and extract a specific file from the contents of the backed up image
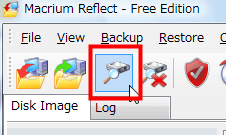
Backing up the contents of the hard disk as a whole file is convenient for cases like "Oh, I want that file only" later. Click this icon to check the contents of the image and extract the file.
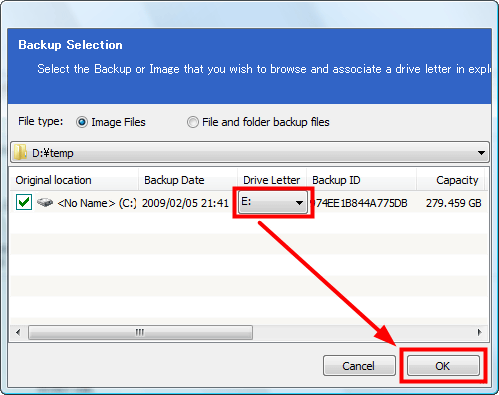
I will decide on what drive the hard disk image file is assigned here. I will make it "E" drive this time. Click "OK".
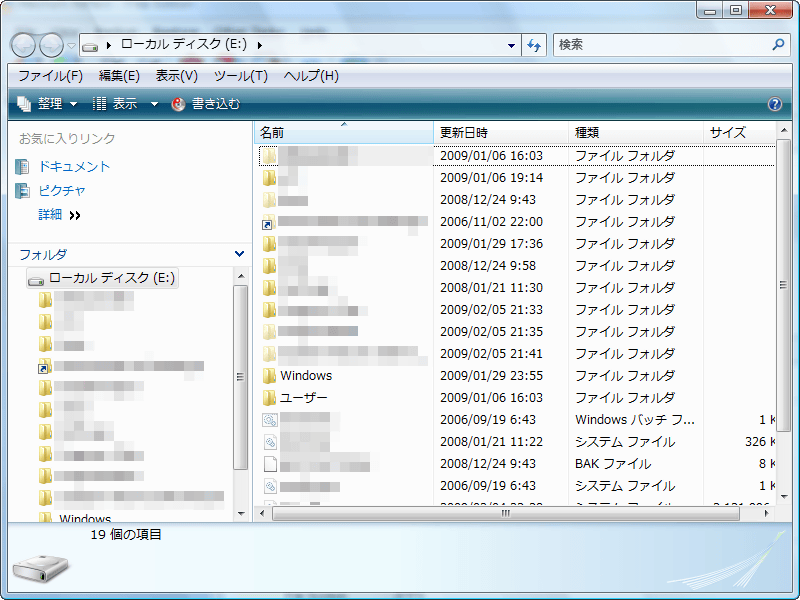
Then E drive appears in Explorer, it is possible to copy the file inside.
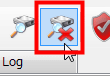
Please extract this file and click on this button
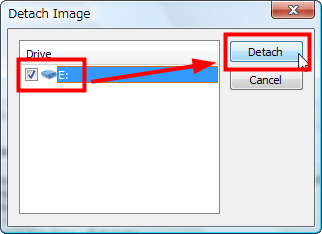
Check it and click "Detach", E drive will be gone, so it's done
■ Back up regularly
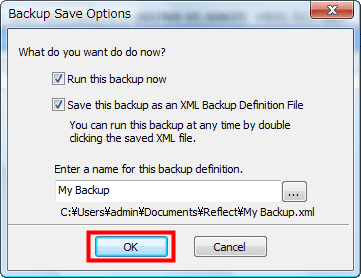
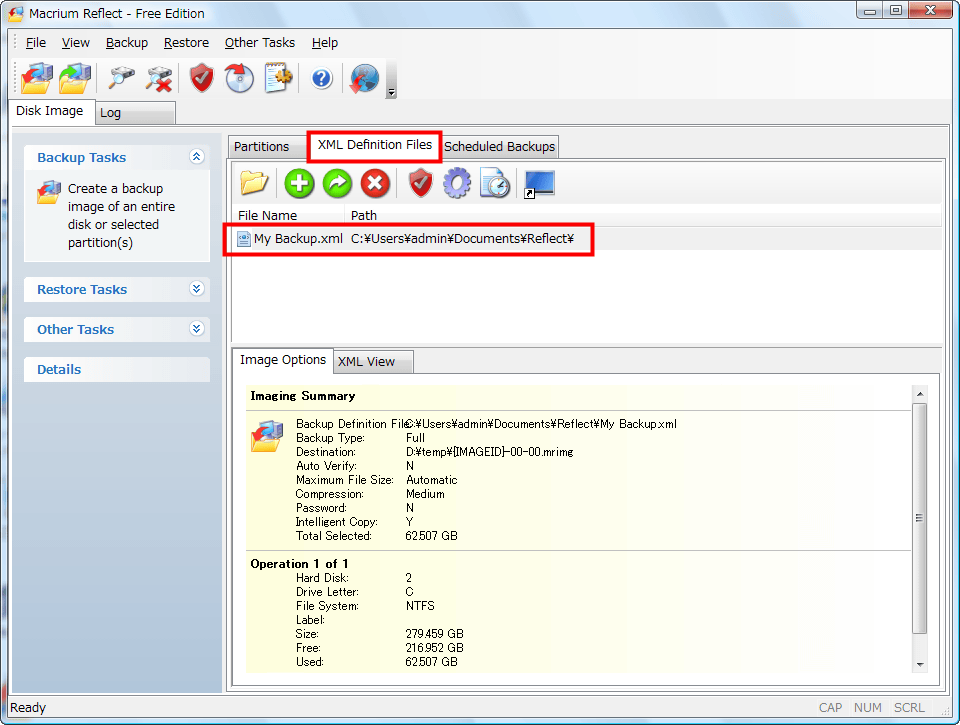
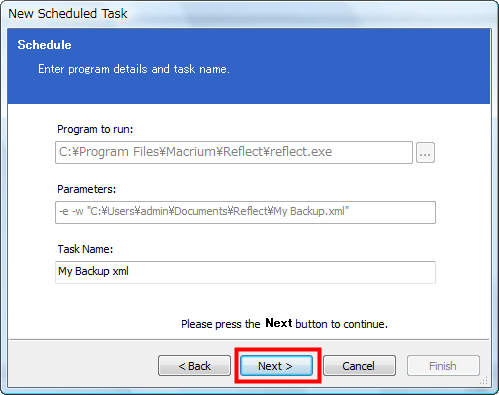
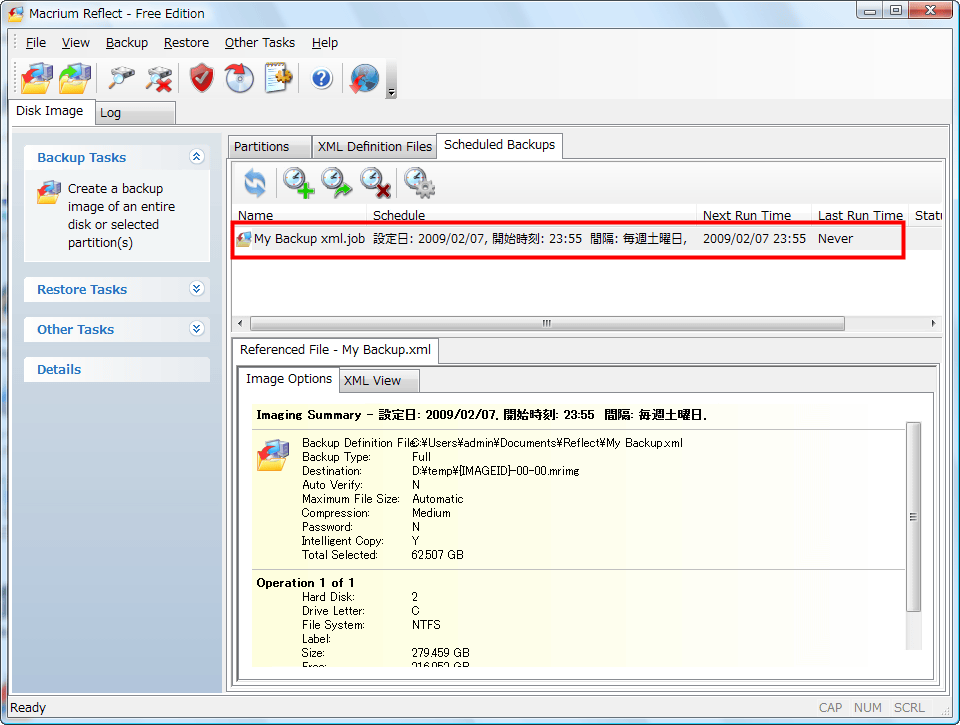
Once backed up, the setting at that time is saved as an XML file. By default, it is displayed as "My Backup.xml" in this way.
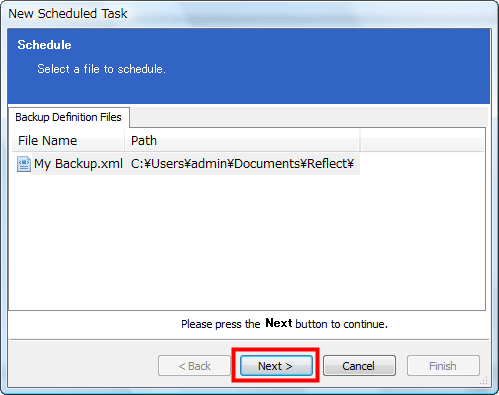
Click the "Scheduled Backups" tab and click this button

Click "Next"
Determine the task name and click "Next"
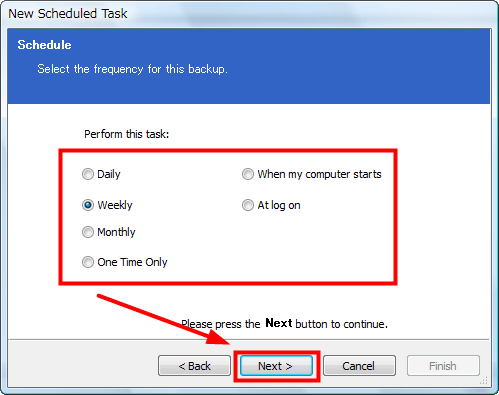
Select the backup interval and click "Next". "Daily" for every day, "Weekly" for the weekday specified every week, "Monthly" for the monthly date, "One Time Only" for one time, "When my computer starts" for startup, "At log on" At logon time.
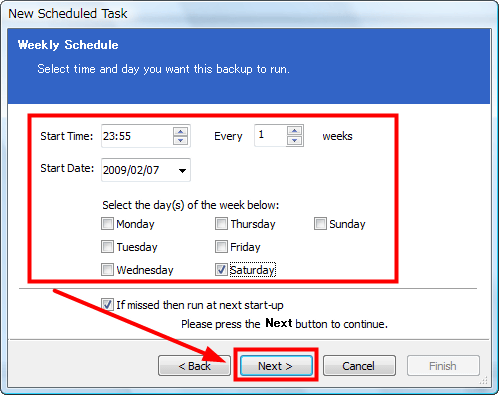
Since we chose "Weekly" this time, decide what day of the week to back up automatically and click "Next"
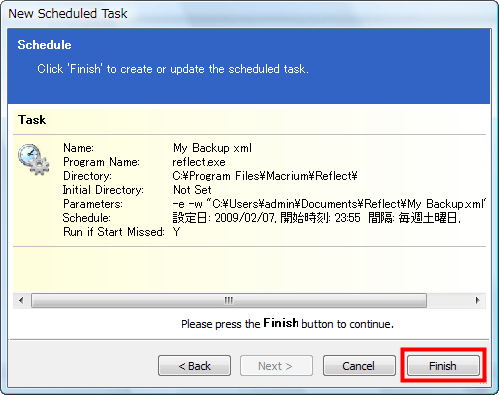
Click "Finish"
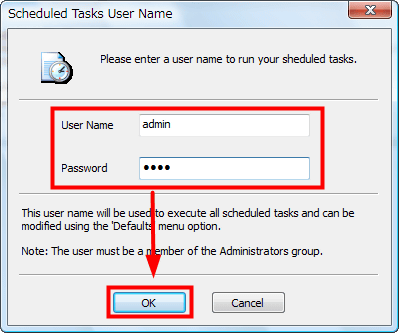
Since you can not back up unless you are a user with administrator privileges, enter the name and password of a user who has administrator privileges, then click "OK"
Then the schedule was reserved in this way
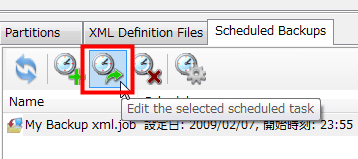
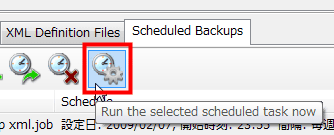
To change the content of the schedule later click this button
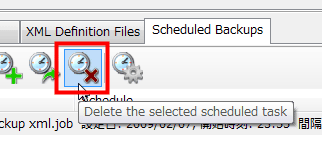
Click this button to delete
It is OK if you click this button to move it now and try it
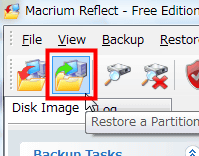
■ Restore from backed up image file
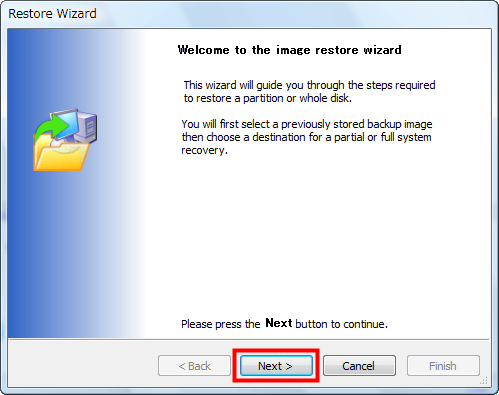
First of all, click this button to start the restore
Click "Next"
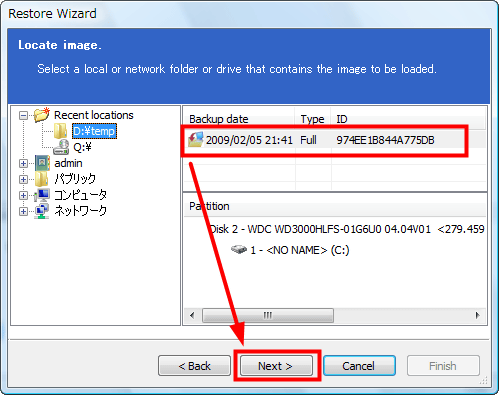
Select the image file you want to base and click "Next"
Select the partition to restore from the partition backed up in the image file. Since this time includes only C drive, click "Next" as it is.
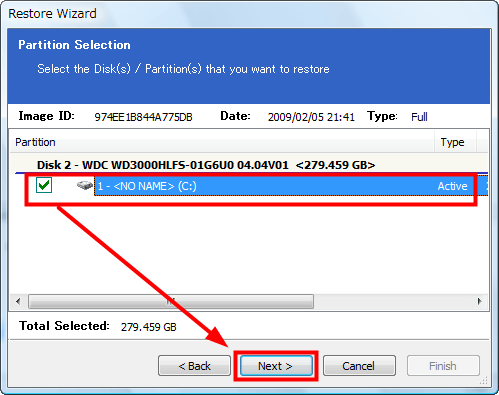
Select which partition on the actual drive to overwrite and restore. In this example, I want to overwrite the C drive in the image file to the actual C drive and restore it, so select C drive and click "Next". Restoration will be started.

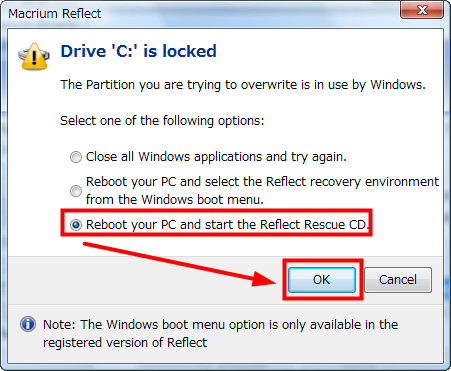
However, since this time it is always running with the C drive, that is, the Windows main unit, it can not be restored as it is. If it's a paid version, you can choose the middle choice and restore it from the Windows boot menu, but the free version needs to create a rescue rescue CD. Please select the bottom option and click "OK".
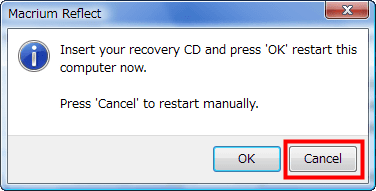
I have not made a rescue CD for recovery yet, so click "Cancel"
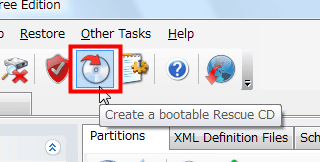
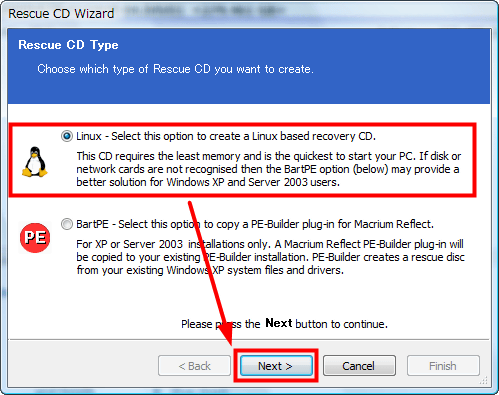
Click this button to create rescue rescue CD
This time I will make a Linux-based rescue rescue CD so click "Next" as it is. In addition, if hard disk recognition and network recognition do not go well, let's choose "BartPE".
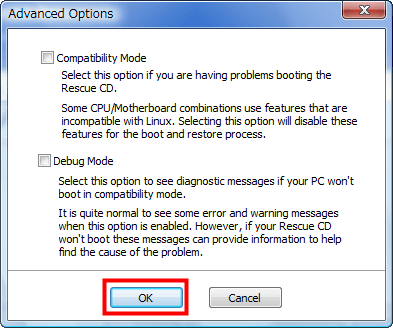
Click "Advanced"

If motherboard recognition etc. does not work, check "Compatibility Mode". If it still does not work well, if you check "Debug Mode", you will be able to solve the problem as you can see the error contents. As normal is not necessary, click "OK" as it is.
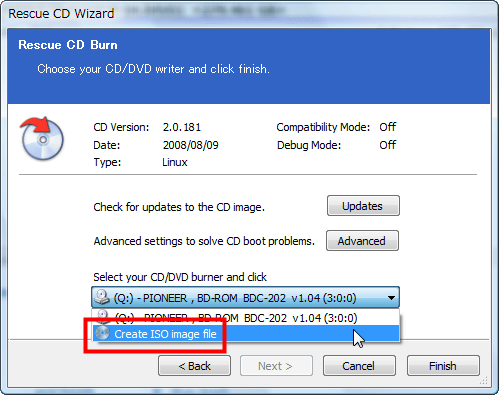
Although it may be burned directly to CD - R etc, we will make it as ISO image this time. Select "Create ISO image file".
Select "Finish"
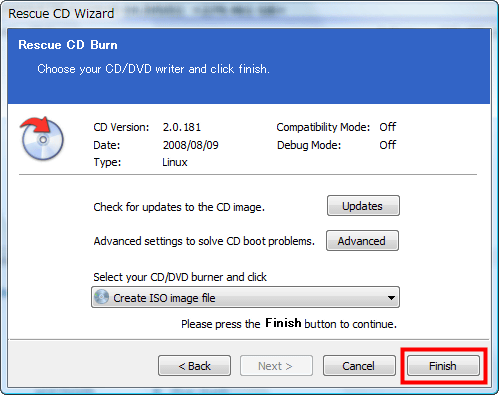
Click "Save"

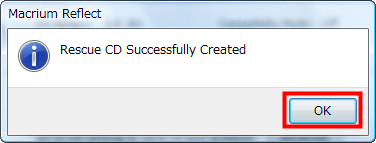
Click "OK" to complete
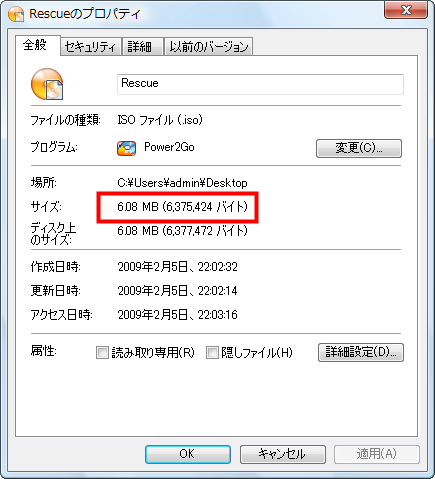
The ISO image created is only 6.08 MB, fairly small
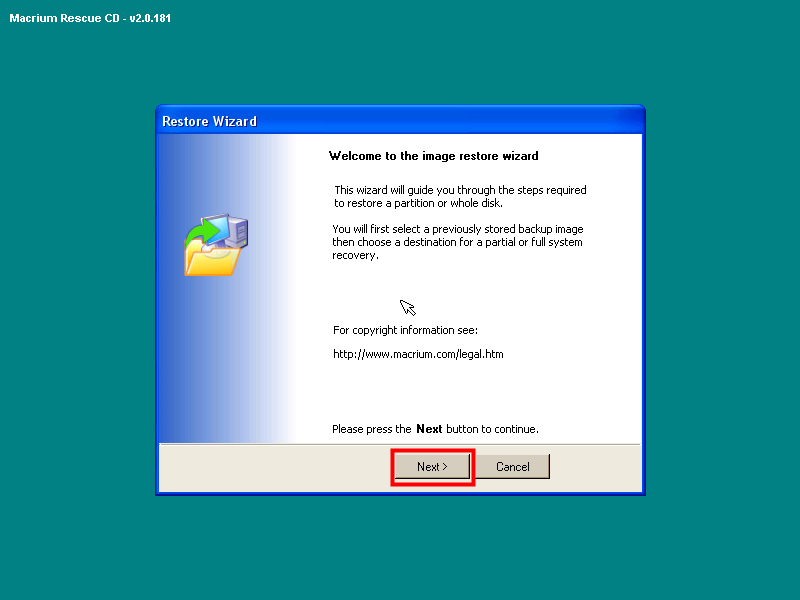
When you start up from this rescue CD, it becomes like this. Click "Next".
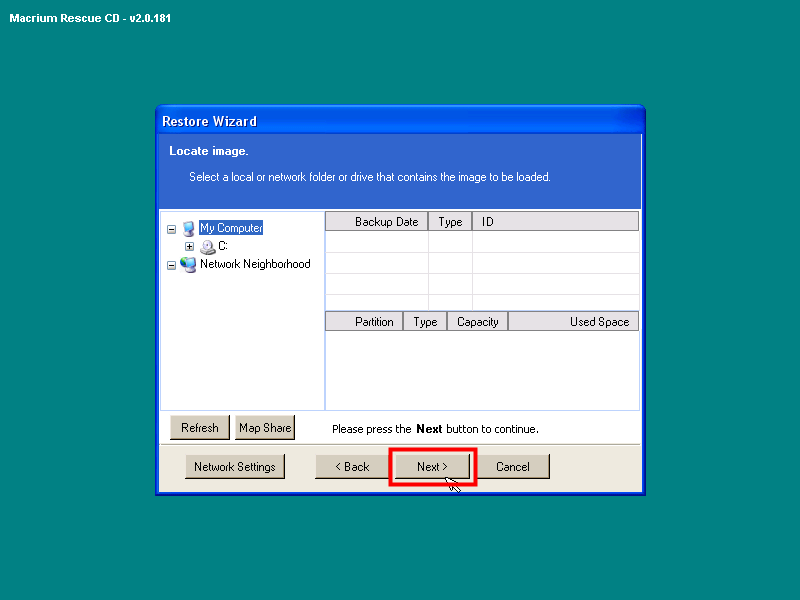
The rest is basically the same as the procedure described above, selecting the backed up image file, selecting the partition to restore from, and then selecting the partition of the actual hard disk to be restored.
For paid version of $ 39.99 (about 3500 yen), incremental backup, incremental backup, notification of task completion by e-mail, password protection, AES encryption, automatic image verification function, before and after backup Function to start specific software, shut down after completion of backup, support event log, create a Windows PE 2.0 based rescue CD supporting RAID, and make it possible to select restore menu from Windows boot menu at restore (create rescue CD Because it becomes unnecessary, functions such as convenience) are added.
I felt that I could withstand regular usage with free version as long as I can not back up and restore from the rescue CD capacity enough to back up the image of the entire disk every time.
Related Posts: