Free partition operation software available from Windows "EASEUS Partition Master Home Edition"
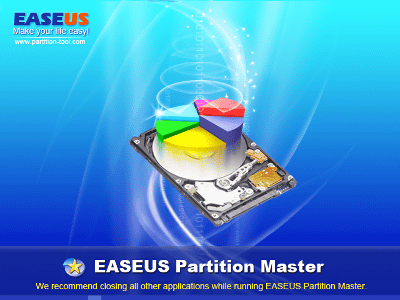
Free software that all functions such as resizing, partitioning, and joining of partitions are available on Windows is "EASEUS Partition Master Home Edition"is.
Windows 2000 / XP / Vista / Windows 7 (32/64-bit), in addition to functions such as deletion and copying, allocation of free space of another drive with sufficient margin to the drive with insufficient space, creation and release of hidden partitions, ), And it is also possible to create Linux EXT 2 / EXT 3 partitions.
Download and install, the actual usage is as follows.
Best FREE Partition Manager Freeware for Windows 2000 / XP / Vista / Windos 7 32 bit & 64 bit. EASEUS free Partition Manager Software Home Edition.
http://www.partition-tool.com/personal.htm
◆ Download and install, and until startup
Scroll down in the above page
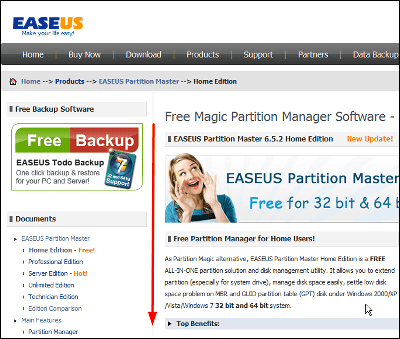
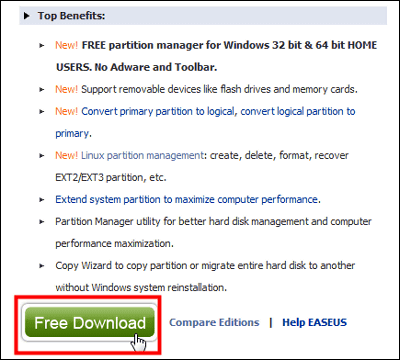
Click "Free Download" in "Top Benefits"
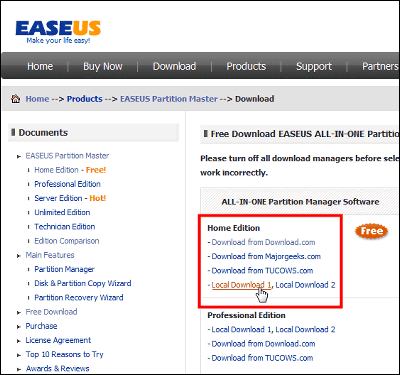
Select the download destination in "ALL-IN-ONE Partition Manager Software" and click. This time we will make it "Local Download 1"
Because the file compressed in ZIP format on the desktop will be created, decompress it

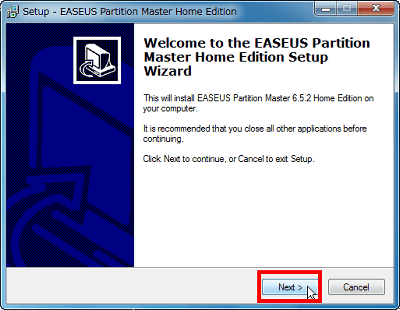
Click on the unzipped installer to run it

Click "Next"
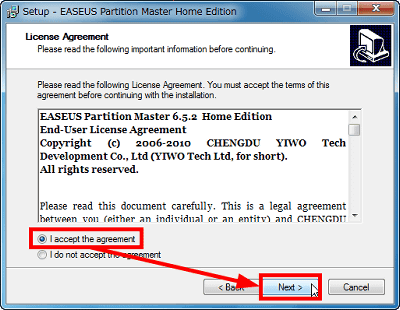
Check "I accept the agreement" and click "Next"
Click "Next"
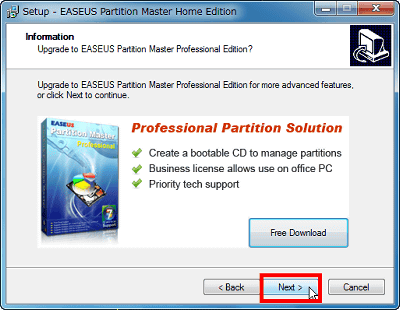
Click "Next"
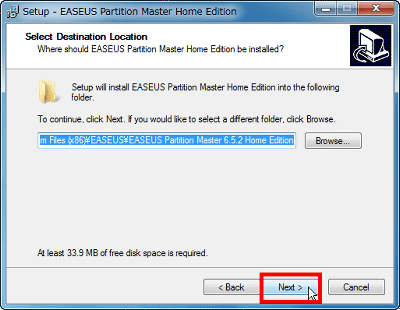
Click "Next"
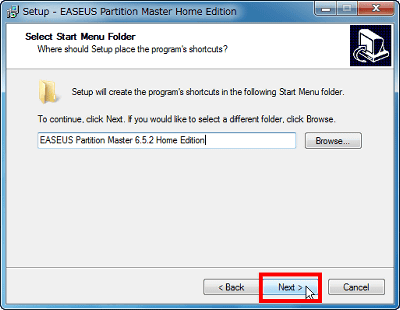
Click "Next"
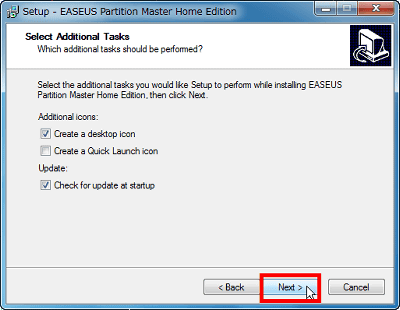
Click "Next"
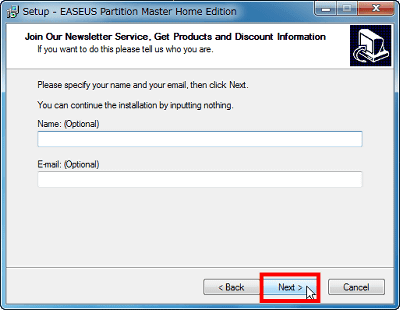
Click "Install"
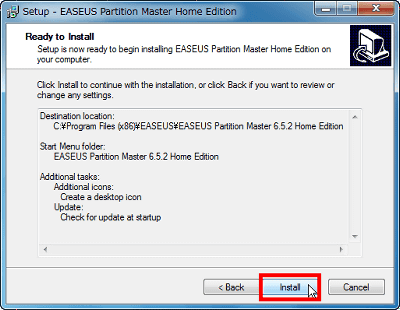
Click "Finish" to complete
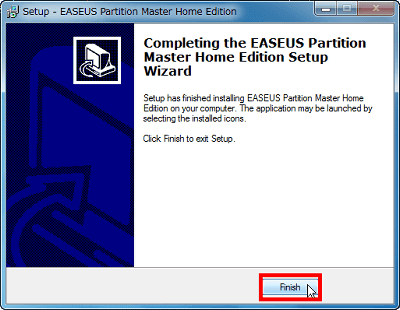
Click on the desktop shortcut to launch it
During startup……

This will be the initial screen
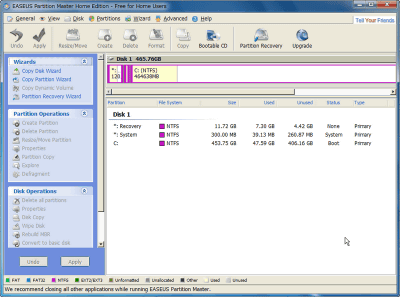
◆ Resize the partition to create free space
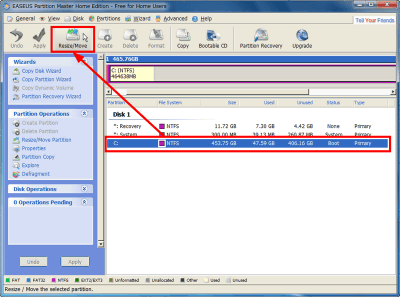
Select the drive for which you want to create free space and click "Resize / Move"
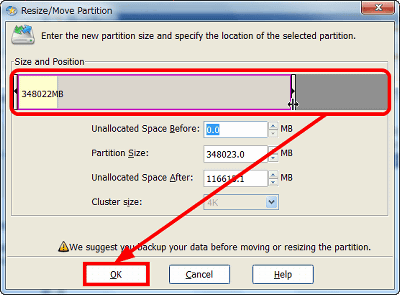
By dragging the right edge and sliding it to the left, you can make the free space not used by the drive a separate partition
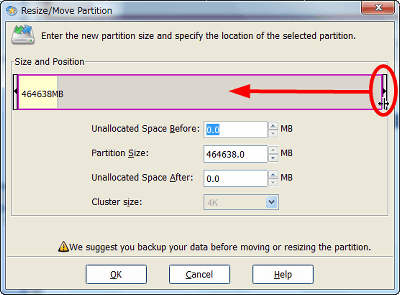
After sliding it up and changing the partition size of the drive, click "OK". It is safe because it does not actually apply until you finally click "Apply". Let's move on to the next task.
◆ Create a new drive with free space
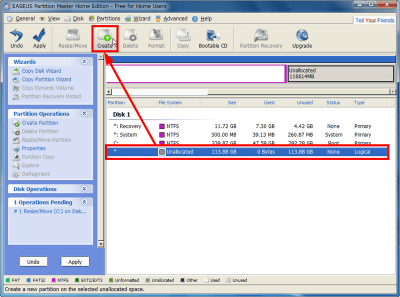
Assign the free space created earlier to the new drive. Select the free space to which no partition has been allocated, then click "Create"
Just click "OK" to complete
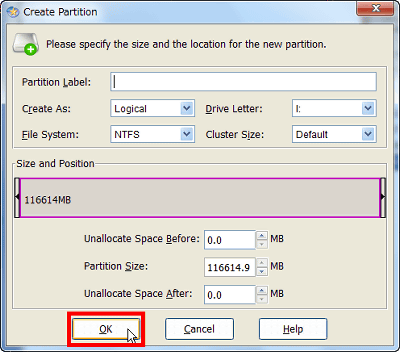
Fine customization is also possible, you can select either primary or logical

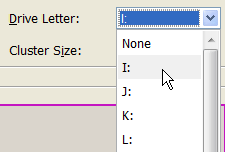
It is also possible to change the drive letter, that is to say whether it is I drive or J drive or Z drive
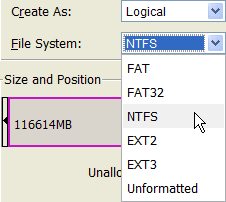
You can choose format other than NTFS
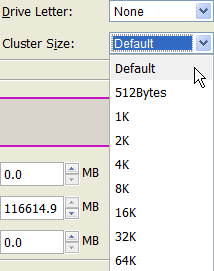
You can also change the cluster size other than the default value
◆ Actually apply
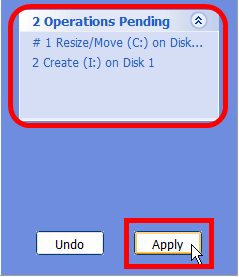
Since there is a history of the operation that I have been doing to "Operations Pending" at the bottom left of the start screen, click "Apply"
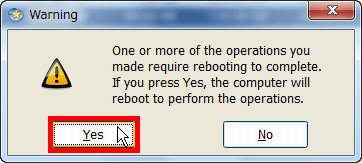
Click "Yes"
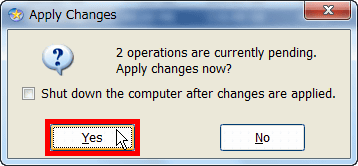
Click "Yes" to automatically reboot and the operation you made to the partition will be applied.
Like this
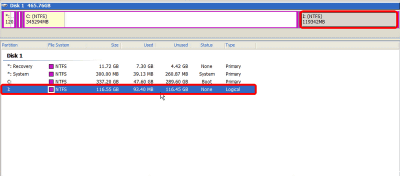
It is reflected also in Explorer properly

◆ Resizing and combining to increase partition capacity
In this case I divided it into the C drive and the I drive in this way, but if you want to increase the capacity of the I drive from a little more from the C drive, resize the partition and combine with the free space. Select drive C and click "Resize / Move"
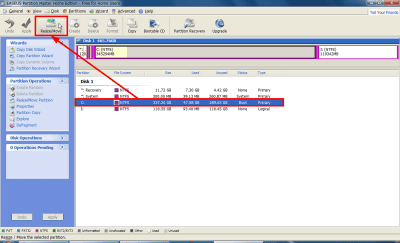
Just like before, slide it to the left by the amount of space you want to move and click "OK"
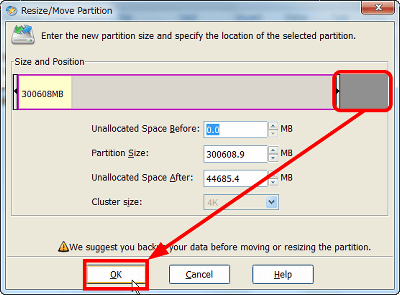
A new free space has been created
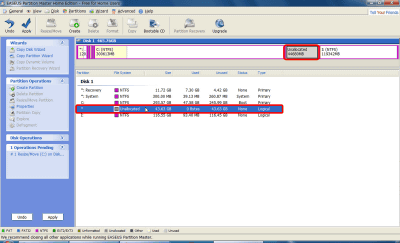
Next, select I drive and click "Resize / Move"
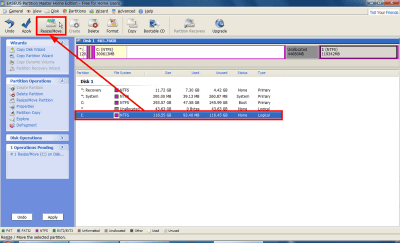
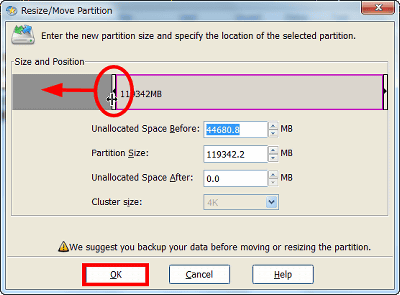
Slide to the far left and click "OK"
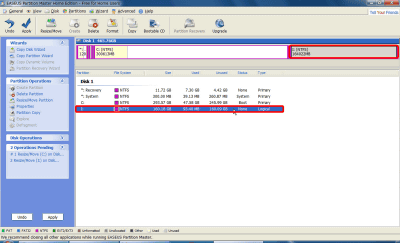
The capacity of I drive increased.
◆ Delete Partition
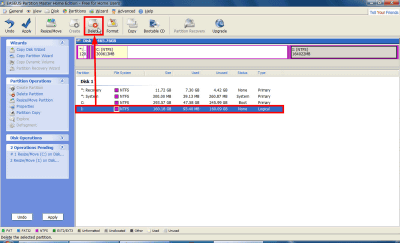
Select the partition you want to delete and click "Delete"
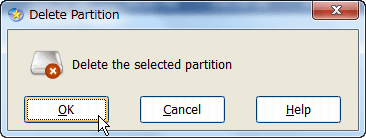
Click "OK"
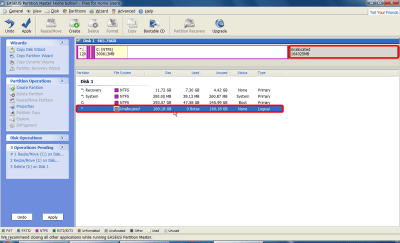
Deletion is complete
◆ Partition format
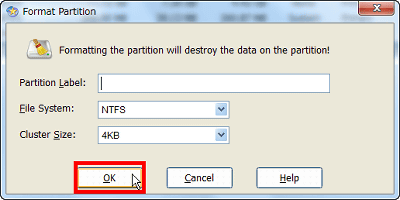
When formatting, same as when deleting, select the partition you want to format and click "Format"
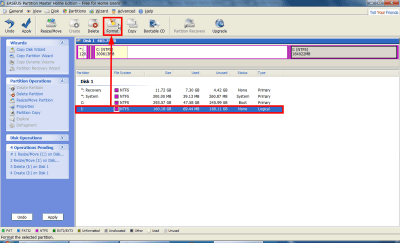
Since this kind of window is displayed, set the cluster size and so on as shown in "◆ Create free space using new drive" and click OK to complete.
◆ Copy partition
To copy the entire partition to another partition etc., select the partition you want to copy and click "Copy"
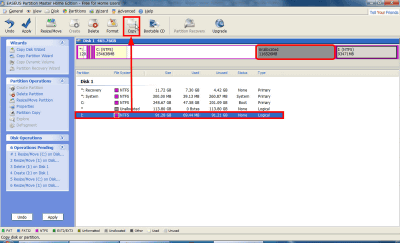
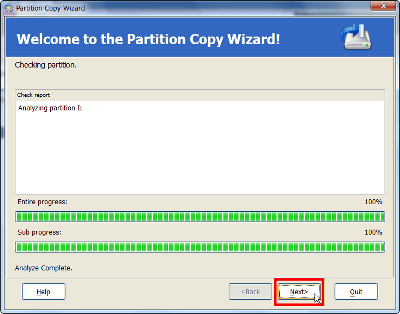
Click "Next"
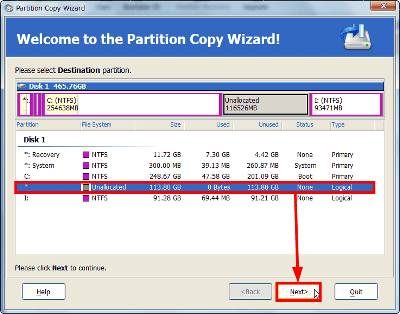
First of all, I decide where to copy. The only available copy destination is the free space. When you choose, click "Next"
If you select an empty area larger than the copy source, decide what to do with the remaining free space here. I will keep it as it is this time, so click "Finish"
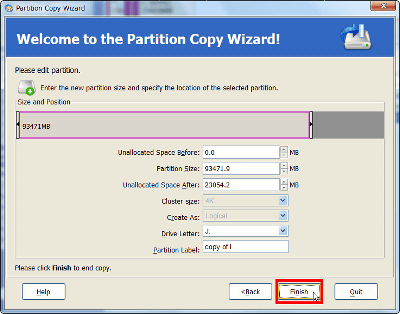
Copying is completed.
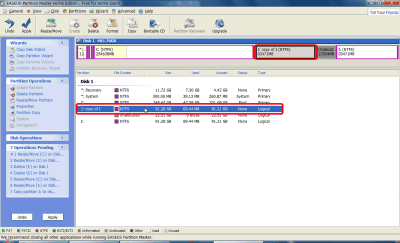
◆ Defragmentation
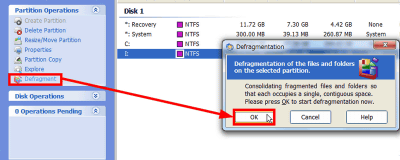
Defragmentation is done if too much free space can not be secured even if you create partitions. The segmented area is relocated from the beginning in the drive, and data can be reserved by eliminating fragmentation.
After selecting the partition to be defragmented, click "Defragment" in "Partition Operations" on the left side of the screen and click "OK" in the window that appears. Defragmentation will start.
◆ View information on partitions, change label name
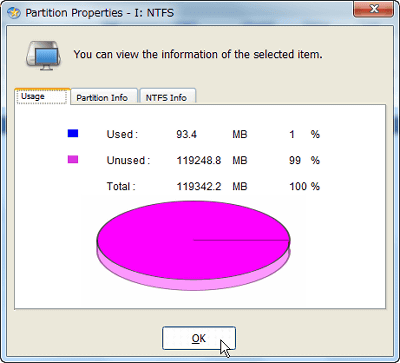
Click "Properties"
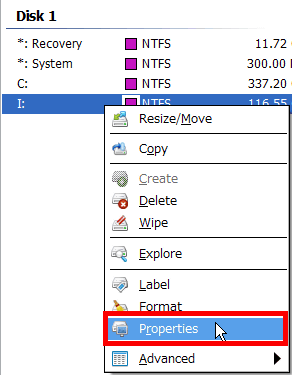
You can see the partition information like this.
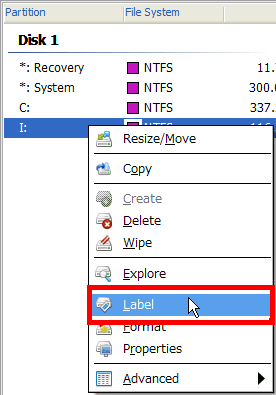
Click "Label"
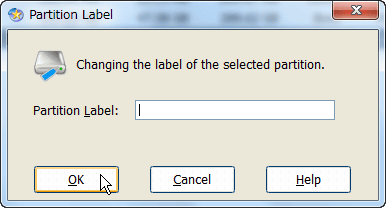
You can determine the label name of each partition. With this kind of feeling simple.
◆ Creating and releasing hidden partitions
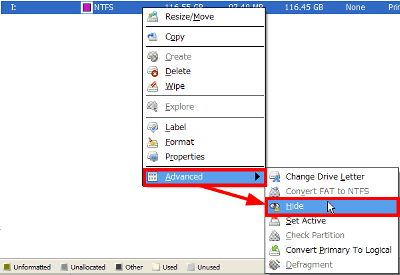
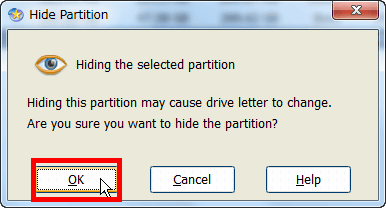
To create a hidden partition, that is, a partition that can not be accessed from My Computer or Windows Explorer, select the partition you want to hide, right click and select "Hide" from "Advanced"
Click "OK" to complete.
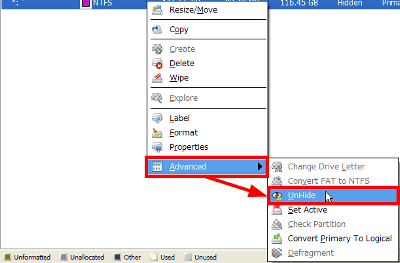
Also, to visualize the hidden partition so that it can be accessed, select "Unhide"
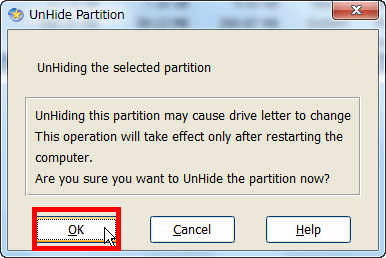
Click "OK" to visualize.
◆ Make data in the partition unrecoverable
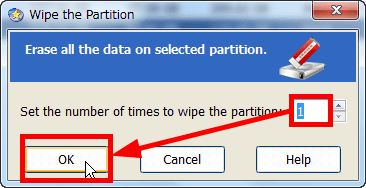
Select the partition whose contents you want to delete completely, right click and select "Wipe"
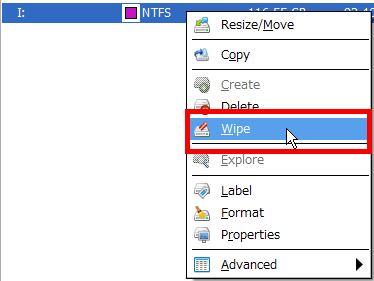
After deciding the number of times to wipe it is completed with "OK". This software's wipe is to overwrite partitions from 0x00 to 0xFF depending on the time when the algorithm moves alternately. The larger the number of times, the more difficult it is to restore the data, but it also takes time.
◆ Other functions
Other functions are as follows.
· Partition operation with external devices such as USB memory and SD card
Conversion from FAT partition to NTFS partition
· Restructuring MBR
· Check whether there is an error on the surface of the hard disk
· Supports hardware RAID
· Restoring deleted partitions
By the way, the difference between each version, there is a function comparison table below.
Compare EASEUS Partition Master Editions
http://www.partition-tool.com/easeus-partition-manager/comparison.html
This software has recently been upgraded to be usable on 64 bit version of Windows 7, and "Home Edition" can be used for free only for home use. Moreover, the difference from "Professional Edition" which is a paid version is "only the point where there is no bootable CD creation function for recovering", so it is a free software which is quite large and acts smoothly.
Also, in this review I used "Panasonic Let's note CF-S9 Windows 7 64-bit version", but there was no trouble such as losing data accidentally, so I was able to use each function without problems. It can be said that it is a safe software with less dangers common to partying software fiddling with.
Related Posts:
