I tried using "Amazon EC 2" and "Amazon S3" in practice, this time setup of operation environment of EC 2
Last time I created an AWS accountSo, this time is the setup method of EC2 operating environment. actually"Amazon EC 2There are two ways to use "Firefox plug-in tool"Elasticfox Firefox Extension for Amazon EC 2"It is a way to visually operate with and to command line using a command prompt. Both methods are introduced, but after all the visual one was easy to use and it felt convenient.
Details of the setup are as follows.
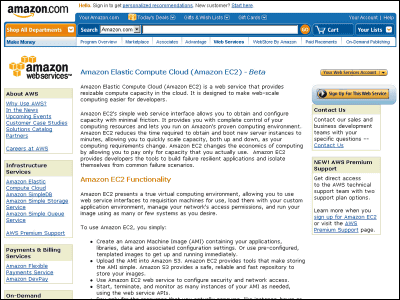
· Amazon Web Services Homepage
Amazon.com: Homepage: Amazon Web Services
· Amazon EC2's homepage
Amazon.com: Amazon EC2, Amazon Elastic Compute Cloud, Virtual Grid Computing: Amazon Web Services
· Getting Started Guide
Getting Started Guide (API Version 2008-02-01)
2. Setup
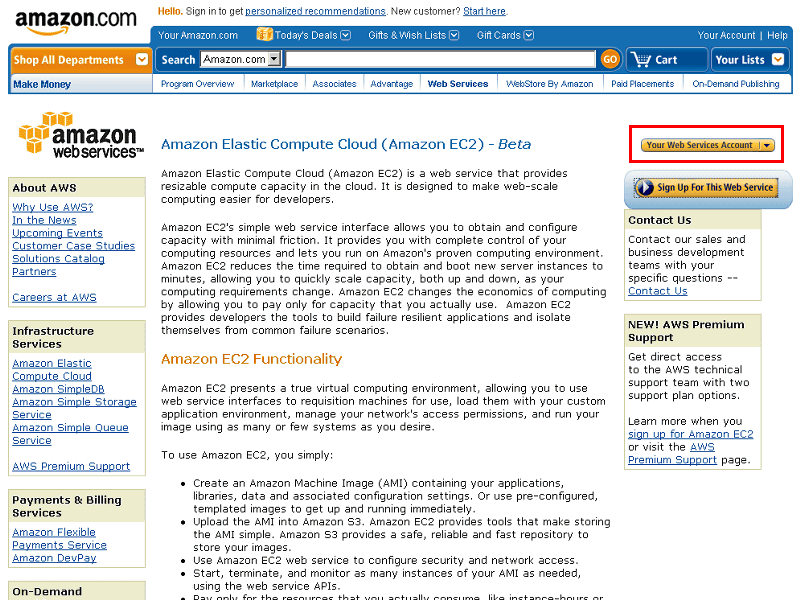
Amazon Web Services HomepageMove to "Your Web Services Account". If you do not have an AWS account, please create an AWS account. How to create an AWS accountThis articlePlease refer to.
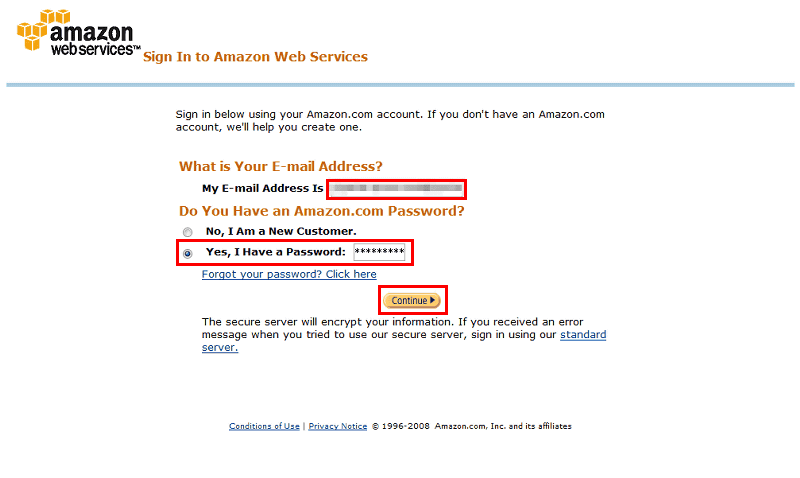
Enter the registered e-mail address and password at account creation and click "Continue".
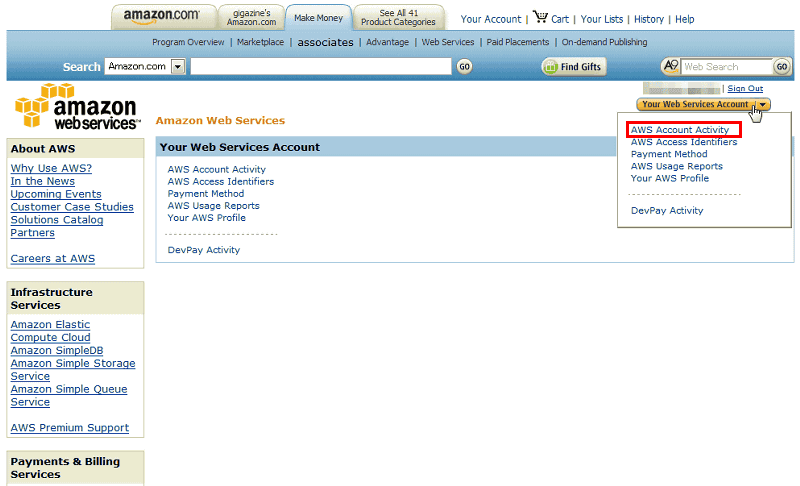
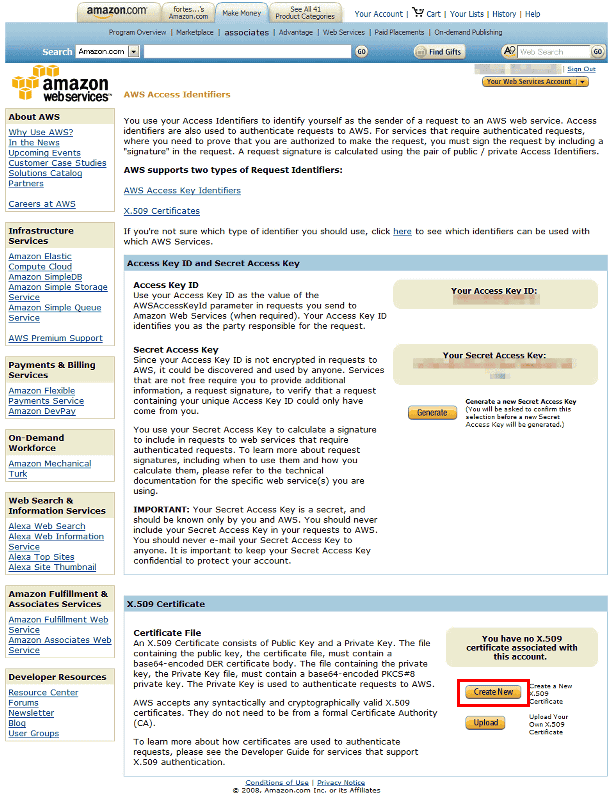
Click "AWS Access Identifiers"
Since access key and secret access key already exist, use as public keyX.509. Click "Create New".
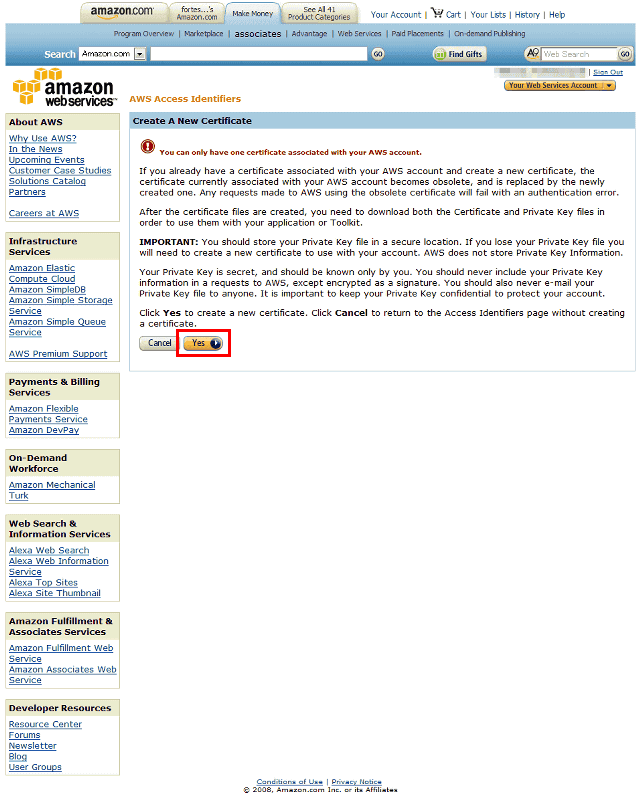
Click "Yes"
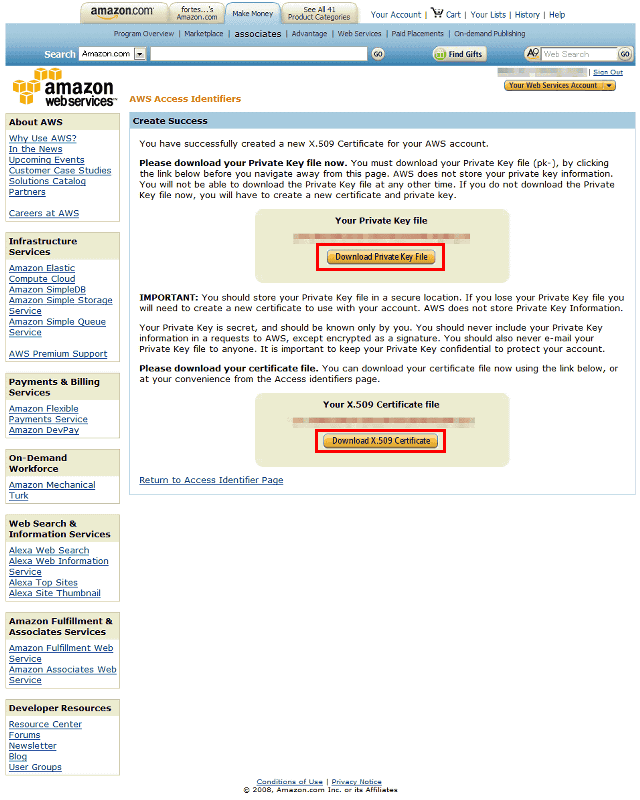
X.509 creation completed. "Private Key File", "X.509 certificate file" are downloaded.
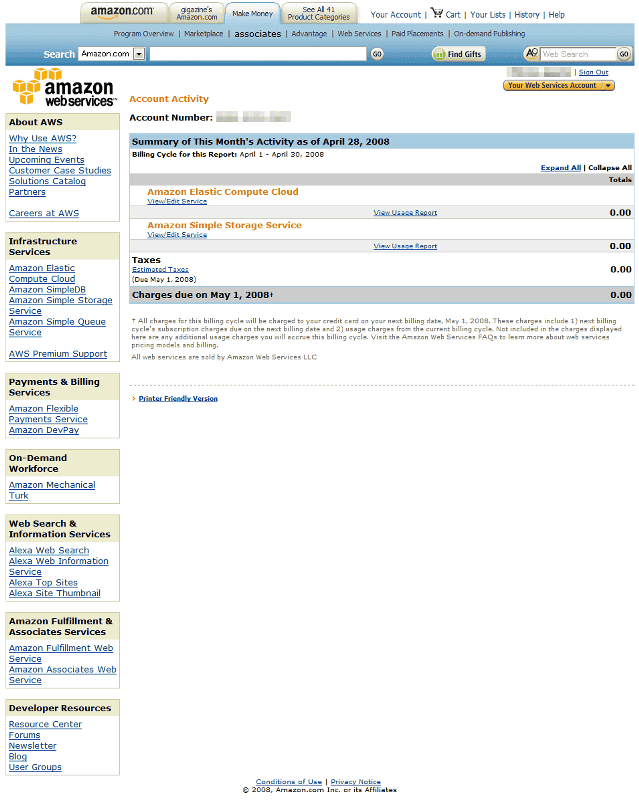
By the way, the Account Activity has not been displayed yet. If you actually use EC2 or S3 you will see the history and fee you used here.
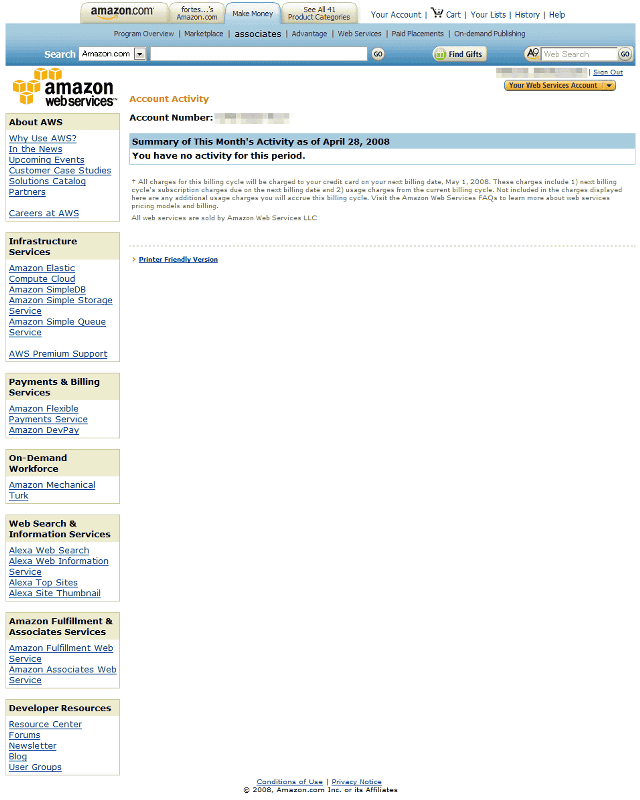
Also, since we have not used it yet, Account Activity uses 0 $ for all usage fee.
Next, the setting on the client side. This time the client OS is a Windows machine, the software isWinSCP,PuTTY, Use the command prompt included with Windows. How to set PuTTY and WinSCPHereAs a reference.
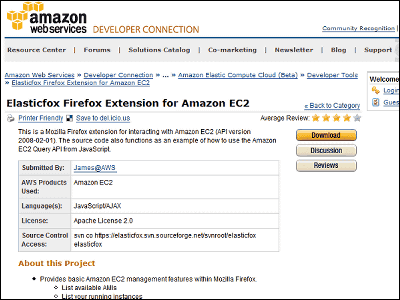
There are two ways to execute EC 2. One way is to use the Firefox plug-in "Elasticfox Firefox Extension for Amazon EC 2" that can easily use EC 2. This allows you to visually display a list of available AMIs, launch an AMI instance, manage the instance you started, and so on. The other way is to use the command prompt of Windows and operate by commands.
First of all, how to use Firefox plugin "Elasticfox Firefox Extension for Amazon EC 2".
HereTo the download screen of. click here.
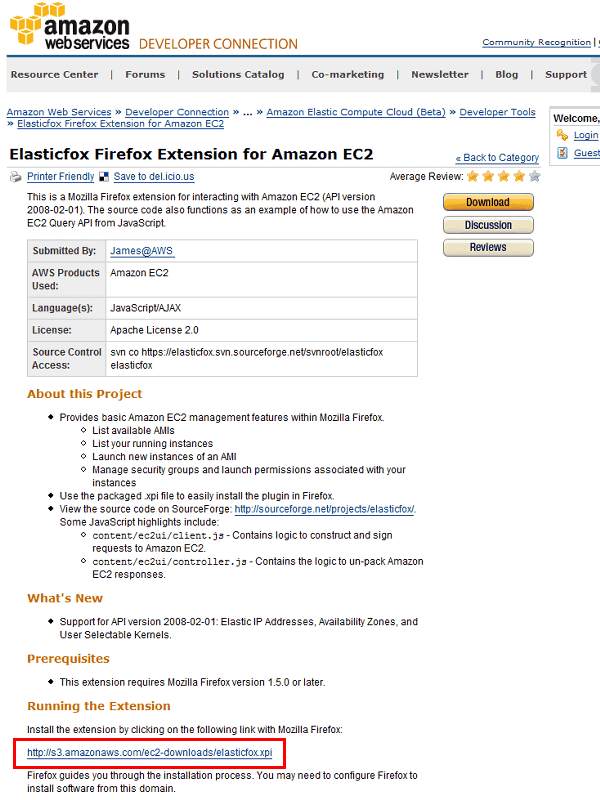
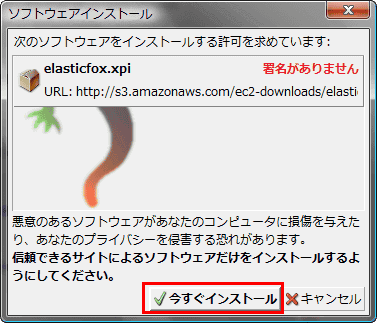
Click "Install Now" to install and restart Firefox.
When you click "Elasticfox" newly added to the tool of Firefox menu, this screen is displayed, so click "Credentials" in the upper left.
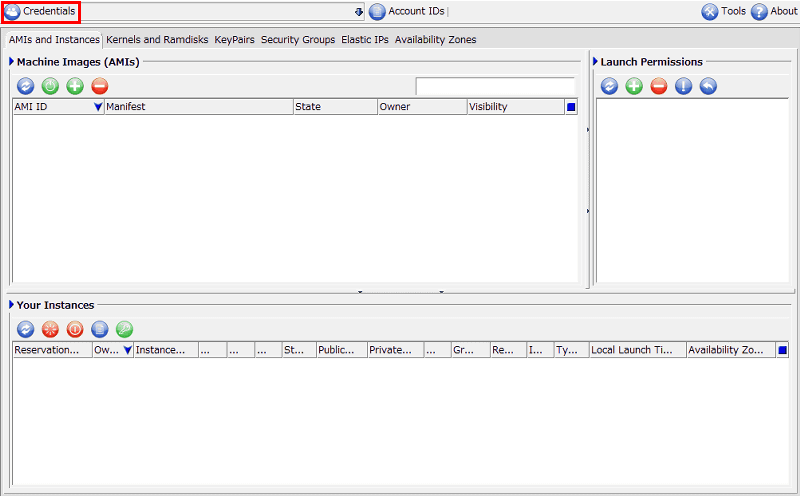
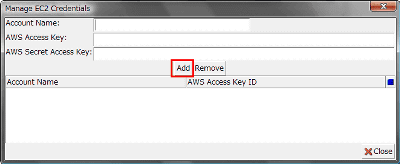
Enter "Account Name", "AWS Access Key", "AWS Secret Access Key" and click "Add", the account is added.
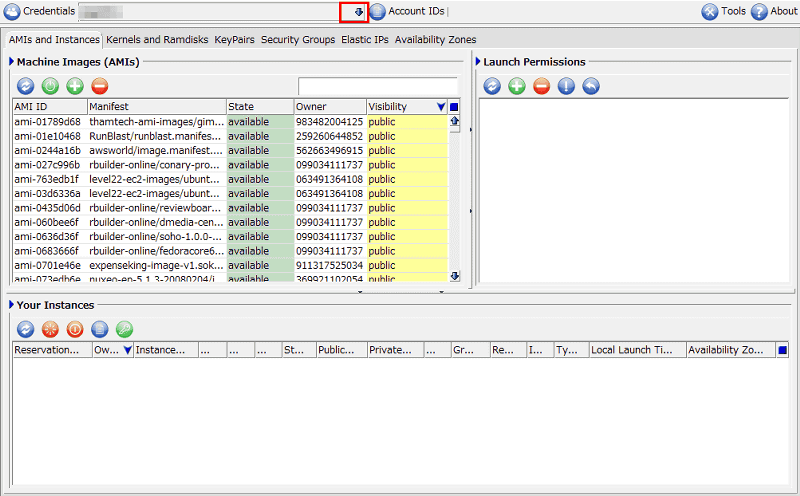
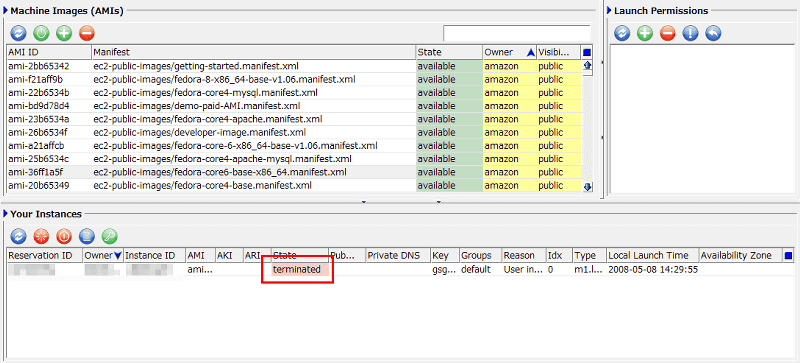
Click the down arrow next to the "Credentials" tab. The Account Name you entered earlier is displayed, so selecting it will display a lot of available AMIs on the "Machine Images (AMIs)" tab. If it is not displayed, click the blue button under the word "Machine Images (AMIs)".
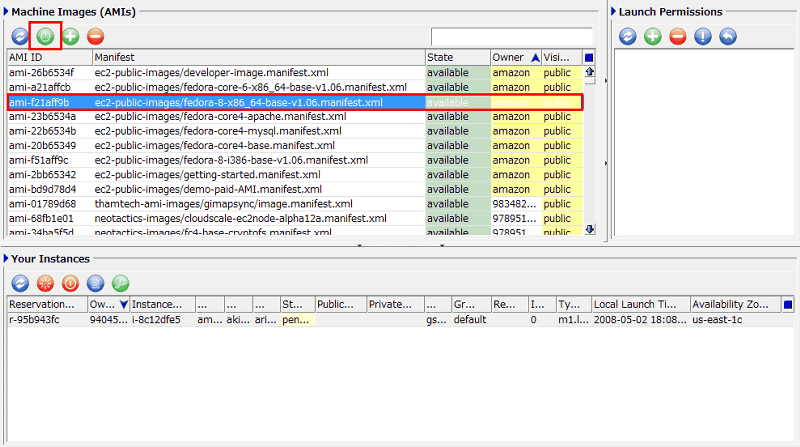
Since we started a large instance this time, we select AMI of x86_64 based Fedora 8 and click the start button in the upper left.
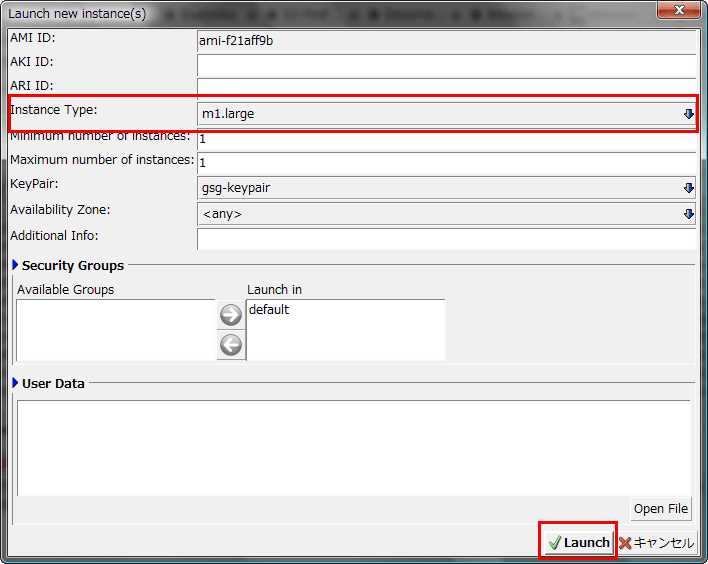
Select "Instance Type" and click "Launch"
During startup. "Pending" is displayed in the item of "State" in "Your Instance".
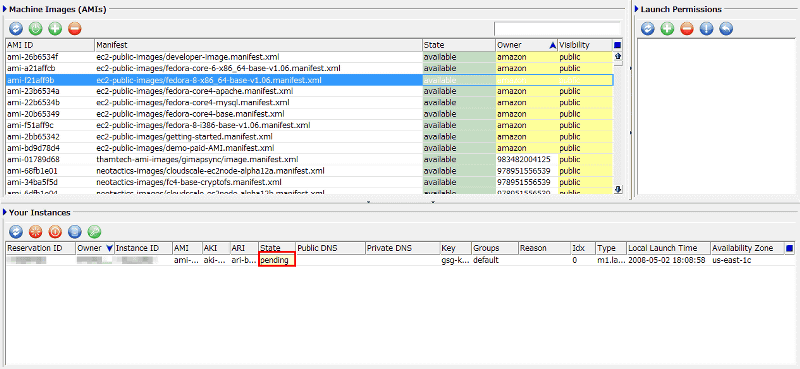
Startup complete. "Item" is changed from "Pending" to "Running", and "Public DNS" and "Private DNS" are added.

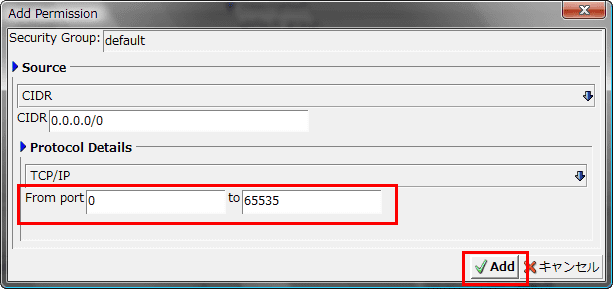
Next, set port permissions. Click the "Security Groups" tab and click "Grant Permission" in "Group Permissions".
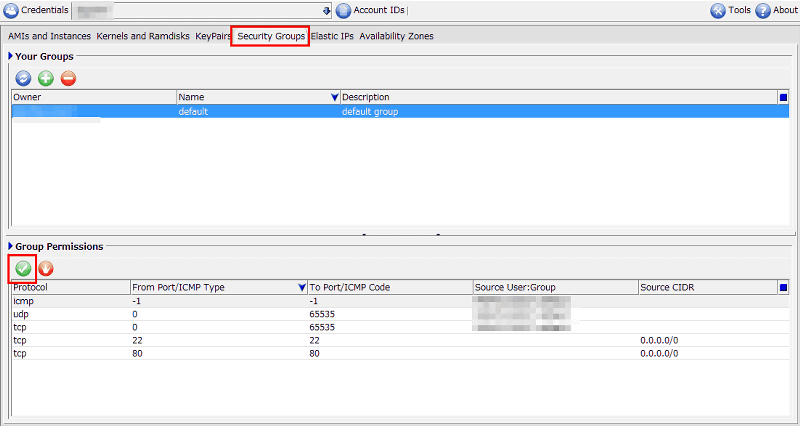
Enter the Port number to use and click "Add". This time Port numbers 22 and 80 are allowed.
Confirm connection. When the SSH connection succeeds like this.
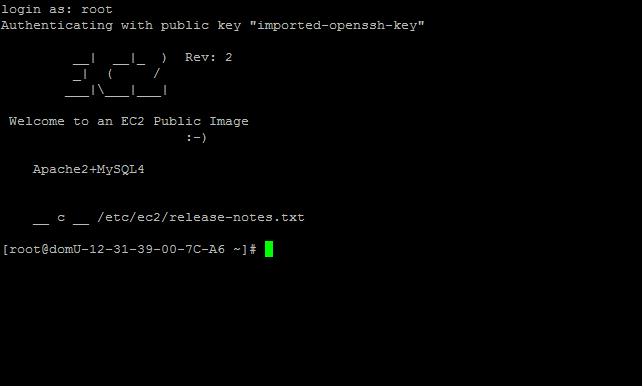
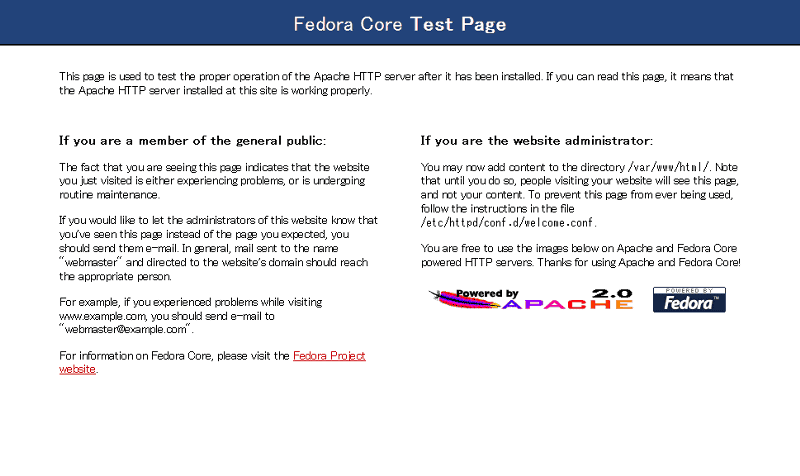
At the same time, when I try to connect from the browser, Apache is displayed like this.
Click the red "End Instance" button at the top left to close the instance. "State" item changed from "Running" to "Shutting".

When the shutdown of the instance is completed, the item of "State" is displayed as "terminated".
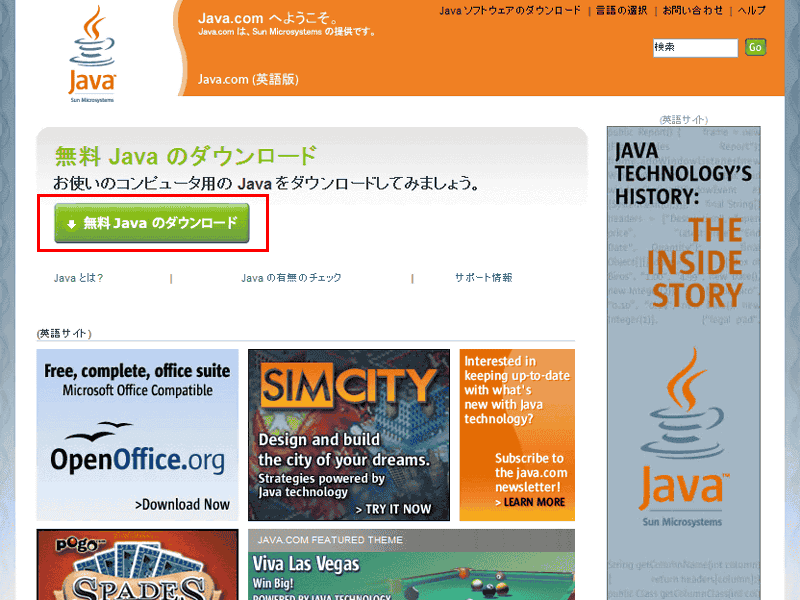
The next way to use the command from the command prompt. Since JAVA environment is necessary, if you do not install it, download it from here and install it.
Java software free download
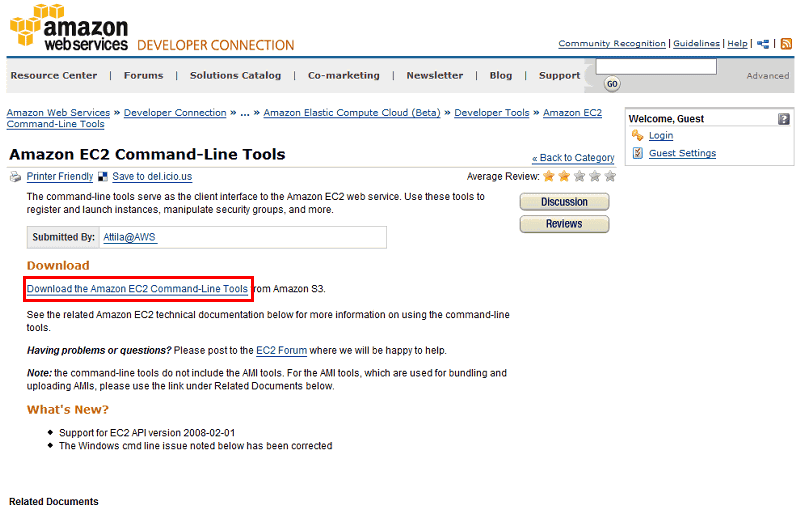
And get "Amazon EC 2 Command - Line Tools". To download, please access the following link and click "Download the Amazon EC2 Command-Line Tools".
Amazon Web Services Developer Connection: Amazon EC2 Command-Line Tools
Unzip the zip file of "Amazon EC 2 Command-Line Tools" downloaded. For ease of understanding, change the folder name of "Amazon EC2 Command-Line Tools" which was decompressed from "ec2-api-tools-1.3-19403" to "ec2" and move directly under the C drive.
Start the command prompt and enter the following command.
· Setting the EC2 tool location
C: \> set EC2_HOME = C: \ ec2
C: \> set PATH =% PATH%;% EC 2 _ HOME% \ bin
Setting of the two key files downloaded earlier
C: \> set EC2_PRIVATE_KEY = C: \ ec2 \ pk-XXXXXXXXXXXXXXXXXXXXXXXXXXXXXXXX.pem
C: \> set EC2_CERT = C: \ ec2 \ cert-XXXXXXXXXXXXXXXXXXXXXXXXXXXXXXXX.pem
Setting of installed JAVA location
C: \> set JAVA_HOME = C: \ "Program Files" \ Java \ jre1.6.0_05
· Confirm connection
Enter the following command and if some instances are displayed, the connection succeeded.
C: \> ec 2 - describe - images - o self - o amazon
· Find an Amazon Machine Image (AMI)
C: \> ec 2 - describe - images - o self - o amazon
· Creation of Keypair for SSH connection
C: \> ec 2 - add - keypair gsg - keypair
· Launch instance
C: \> ec 2 - run - instances ami - 25 b 6534 c - k gsg - keypair
· How to check the instance
C: \> ec 2 - describe - instances i - 9 e 824 ff 7
· Open port to be accessible
C: \> ec 2 - authorize default - p 22
C: \> ec 2 - authorize default - p 80
End instance
· CMD shutting down
C: \> ec 2 - terminate - instances i - XXXXXXXX
INSTANCE i - 71ee 2318 running shutting - down
· CMD shutdown complete
C: \> ec 2 - terminate - instances i - XXXXXXXX
INSTANCE i-71ee 2318 terminated terminated
Chapter 4. Setting up the Tools
Next time is finally the final round.How to create, register and delete customized AMII'd like to introduce_______
Related Posts:


in Software, Web Service, Review, Posted by darkhorse_log