I actually tried using "Amazon EC 2" and "Amazon S3", the last is custom creation, registration and deletion of AMI

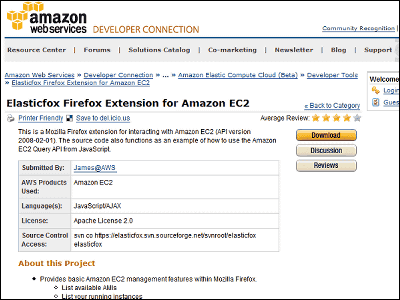
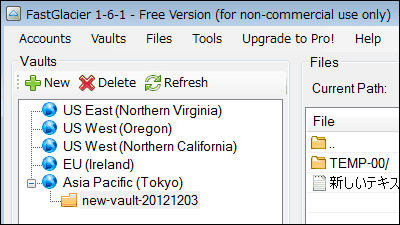
Create an AWS account two days agoThen,Last time I set up EC2 environmentSo, last time this is a way to save customized Amazon Machine Image (AMI) and delete AMI. Amazon's storage serverAmazon Simple Storage Service (Amazon S3)I save the AMI that I created, but a tool that can operate EC 2 "Elasticfox Firefox Extension for Amazon EC 2Like Firefox plug-in tool "S3 Firefox OrganizerSince you can operate from the browser using ", you can save the image to S3 unexpectedly easily.
Once you have created, saved, and registered customized AMI that has been set up for each purpose, you can start several servers in minutes in response to load conditions etc, saving you time and money Is not it?
Details of how to create, register and delete custom AMI are as follows.
· Amazon Web Services Homepage
Amazon.com: Homepage: Amazon Web Services
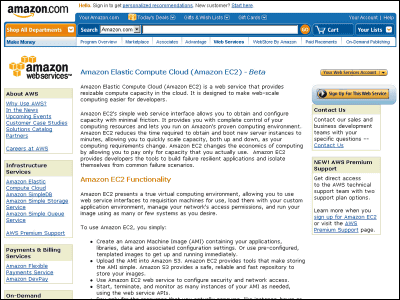
· Amazon EC2's homepage
Amazon.com: Amazon EC2, Amazon Elastic Compute Cloud, Virtual Grid Computing: Amazon Web Services
· Amazon S3's homepage
Amazon.com: Amazon S3, Amazon Simple Storage Service, Unlimited Online Storage: Amazon Web Services
· Getting Started Guide
Getting Started Guide (API Version 2008-02-01)
3. Creating Customized AMI
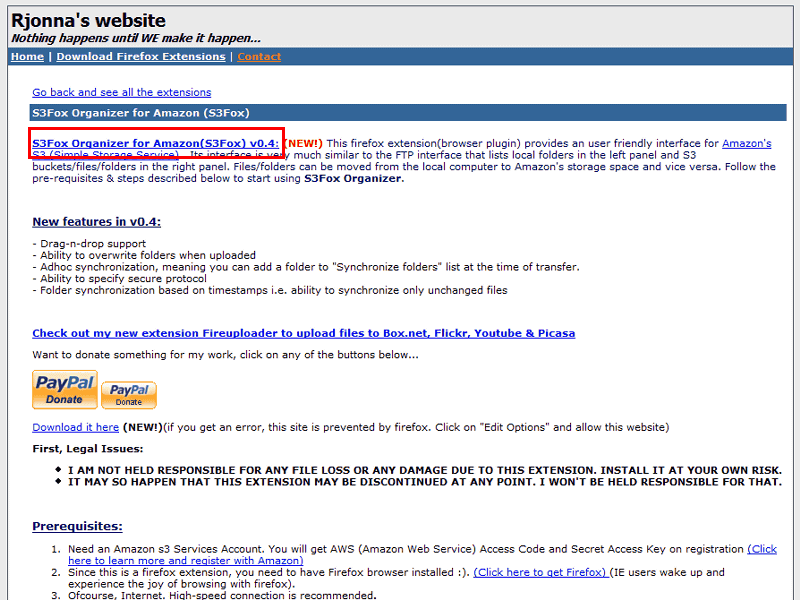
First, set up the Amazon Simple Storage Service (Amazon S3) to be used for storing the created AMI. This time, Firefox plugin tool "S3 Firefox Organizer"Was used and setting was done.
S3 Firefox OrganizerInstall it.
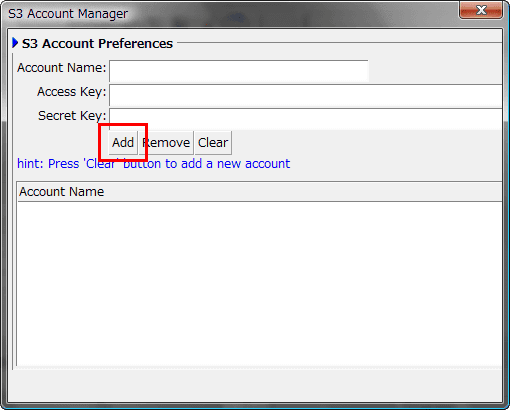
After installation, restart Firefox, select "S3 Organizer" of the tool and click "Manage Account" on the upper left of the screen

Enter "Account Name", "Access Key", "Secret Key" and click "Add" to register the account.
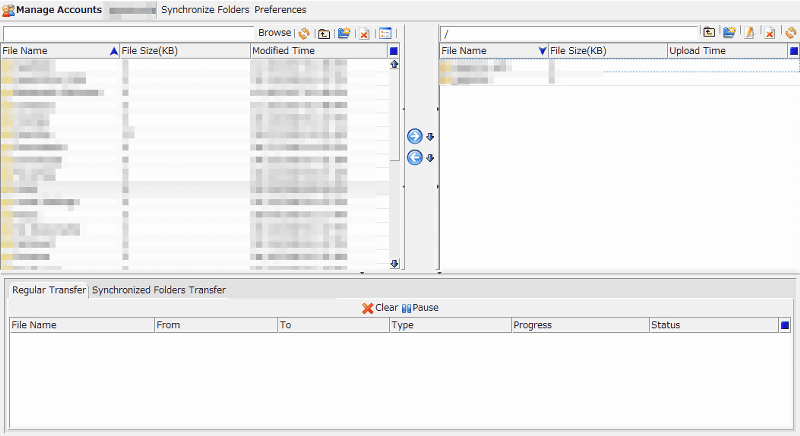
Data on the local machine is displayed on the left screen and data on S3 is displayed on the right screen.
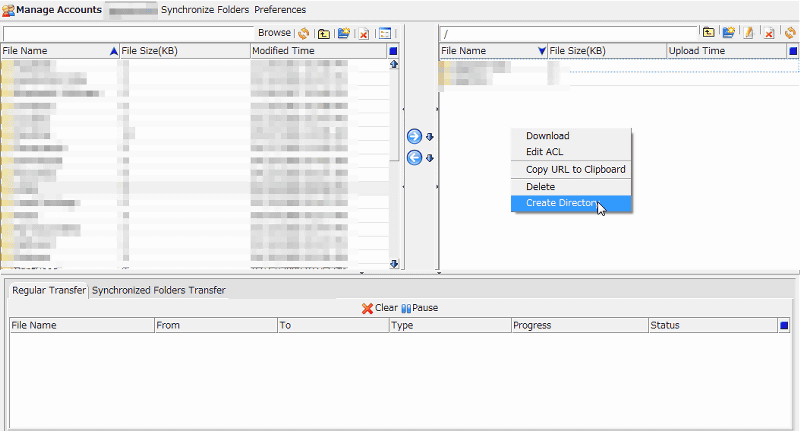
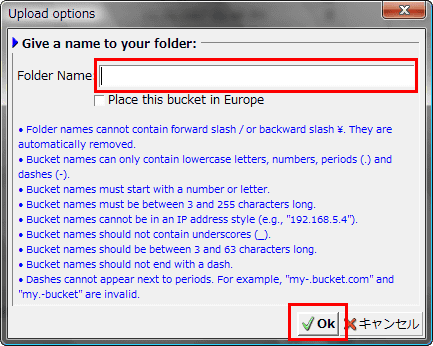
First, create a directory to save the AMI to create. Right click at the place where S3 data is displayed and select "Create Directry".
Enter "Folder Name" and click OK. By the way, if you check "Place this Bucketin Erope", a directory is created in the server in Europe.
Finally, right-click on the created directory and select "Edit ACL" to change the permissions.

· Copy Keypair to the instance directory "/ mnt"
Using WinSCP, copy the Private Key File (pk-XXXXXXXXXXXXXXXXXXXXXXXXXXXXXXXXX.pem) and X.509 certificate file (cert-XXXXXXXXXXXXXXXXXXXXXXXXXXXXXXXX.pem) to the directory "/ mnt" of the instance currently in use.
· Back up data from SSH to "/ mnt"
# Ec 2 - bundle - vol - d / mnt - k / mnt / "Private Key File" - c / mnt / __ X.509 certificate file "- u" AWS account ID "
"Private Key File" and "X.509 certificate file" are the ones copied to "/ mnt" earlier. "AWS account ID" is the ID automatically allocated at the time of AWS registration (Account Number at the top of the AWS Account Activity page).
· Confirm that AMI is created from SSH
# Ls - l / mnt / image.
· Upload AMI created from SSH to S3
- e "aws - access - key - id" - s "aws - secret - access - key"
In "your-s3-bucket", enter the directory created in "S3 Organizer".
4. Registering the created AMI
· Register the AMI uploaded to S3 from the command prompt. If it succeeds, the image name of AMI is displayed.
C: \> ec 2 - register "your - s 3 - bucket" /image.manifest.xml
IMAGE ami-XXXXXXXX
· Confirm the AMI registration from the command prompt. If there is an image name displayed at the time of registration, it is OK.
C: \> ec 2 - describe - images - o self - o amazon
5. Start up the created AMI
There are two ways to start AMI, using "Elasticfox" and command prompt.
First, use "Elasticfox". How to set up "Elasticfox" and how to use itHerePlease refer to.
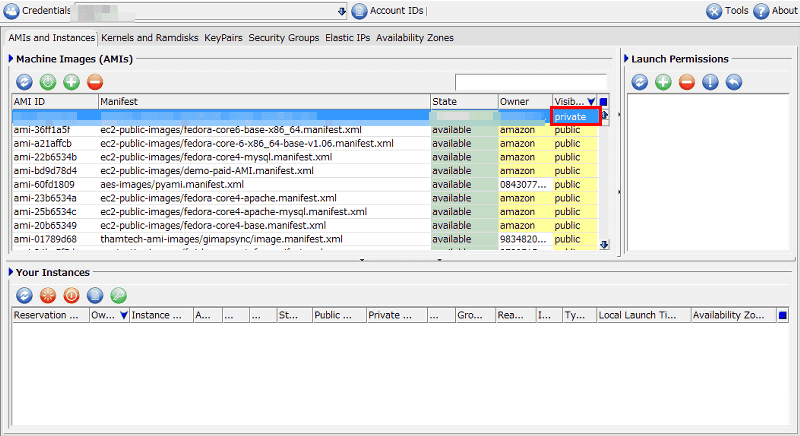
· Select "Elasticfox" in the tool of Firefox menu and activate the AMI instance displayed at registration from "Elasticfox". It is easy to find it by searching "Private" from the item "Visibility" on the far right side of "Machine Image" on the screen.
The next method is to start from the command prompt.
· Start the AMI instance displayed at the time of registration from the command prompt
C: \> ec 2 - run - instances ami - XXXXXXXX gsg - keypair
· Confirm the instance being started from the command prompt.
C: \> ec2-describe-instances
6. End the instance
There are also two ways to terminate an instance, using "Elasticfox" and a command prompt.
Click the red "End Instance" button at the top left to close the instance. "State" item changed from "Running" to "Shutting". When the shutdown of the instance is finished, the instances that shut down to "Your Instance" are not displayed.

The next way is to exit from the command prompt.
· Shut down the instance from the command prompt. The status is "running shutting - down" during shutdown.
C: \> ec 2 - terminate - instances i - XXXXXXXX
INSTANCE i - 71ee 2318 running shutting - down
· When the shutdown is completed, the status is "terminated".
C: \> ec 2 - terminate - instances i - XXXXXXXX
INSTANCE i-71ee 2318 terminated terminated
7. Unregister and delete the created AMI
· Unregister the AMI created from the command prompt. Enter the AMI image name displayed during registration.
C: \> ec 2 - deregister ami - XXXXXXXX
IMAGE ami-XXXXXXXX
· Delete data from S3 server from SSH
# Ec2 - delete - bundle - b "your - s 3 - bucket" - p image - a "aws - access - key - id" - s "aws - secret - access - key"
For details, please refer to these two links.
Chapter 6: Creating an Image
Chapter 7: Cleaning Up
Related Posts:

in Review, Software, Web Service, Posted by darkhorse_log