I tried using "Right Scale" which can actually try the same virtual server that Amazon is using for free
It is almost that I lend the Amazon environment of the famous online shopping site "Amazon EC 2Virtual server service "(so-calledCloud Computing). It is a pay-as-you-go service that pays as much as using a virtual server environment close to a dedicated server, and after releasing a small net service on a trial, it became very popular when I realized it! Even in the case like it, you only pay money according to the scale without worrying about the load, so it is possible to grow bigger for the first time at a fairly low cost. It is a great merit that you can concentrate on only the software part without thinking about expansion etc. of hardware more than anything.
However, it is quite troublesome and difficult to understand if you think to actually do it. Here you can use this "Right Scale"You can use Amazon EC 2 free trial for 10 hours. In addition to being able to graphically manage Amazon EC2, it is possible to load balance and auto scaling.
So, I tried to review what it actually can be trialed, from registration, installation to SSH connection.
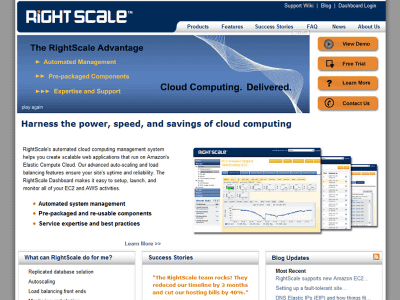
Official website of "Right Scale"
RightScale: Launch scalable Amazon EC 2 instances
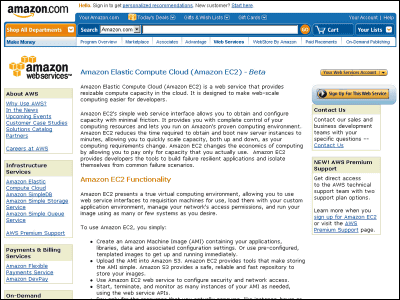
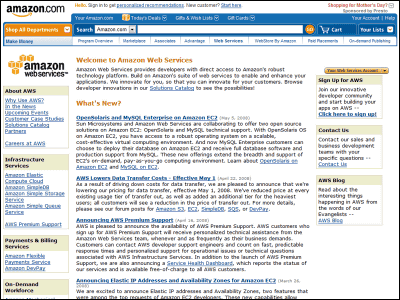
Official website of Amazon Web Services
Amazon.com: Amazon EC2, Amazon Elastic Compute Cloud, Virtual Grid Computing: Amazon Web Services
By the way, EC2 server spec can choose from 3 patterns, thatEC2 price system and specificationsIt is like this.
Small instance
Memory: 1.7 GB
CPU: 1
Storage: 160 GB
32 bit platform
Price: $ 0.1 / hour
Cost per month: $ 72 (approx. 7500 yen)
Large Instance
Memory: 7.5 GB
CPU: 2
Storage: 850 GB
64 bit platform
Price: $ 0.4 (per hour)
Cost per month: = $ 288 (approx. 30,000 yen)
Extra large instance
Memory: 15 GB
CPU: 4
Storage: 1690 GB
64 bit platform
Price: $ 0.8 (per hour)
Cost per month: 0.8 x 720 = $ 576 (about 60,000 yen)
Data transfer fee
Data in:
$ 0.1 for every 1 GB
Data out (one month):
$ 0.18 per 1 GB (0 to 10 TB)
$ 0.16 per 1 GB (from 10 TB to 40 TB)
$ 0.13 per 1 GB (50 TB ~)
1. Registration and installation
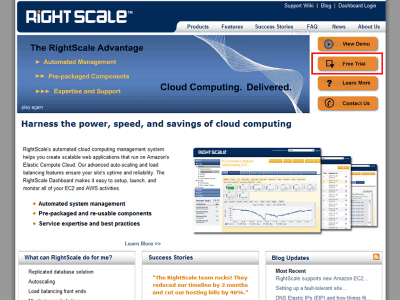
Right ScaleClick "Free Trial" in the upper right corner of the official website
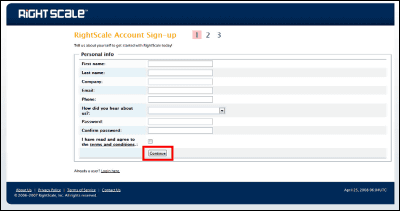
Enter the necessary items and click "continue".
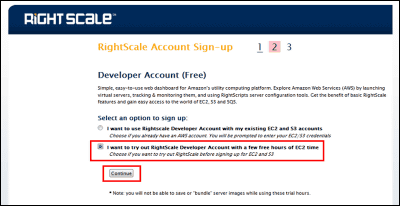
For this time, select the button below which you do not use the AWS (Amazon Web Services) account, then click "continue".
Click "Create My Free Trial Account".

Working.
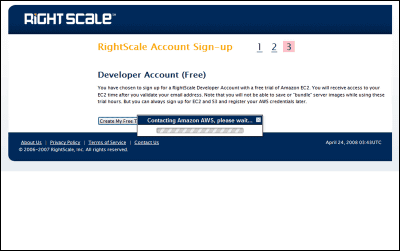
Registration is now complete. A confirmation e-mail is sent to the registered e-mail address.
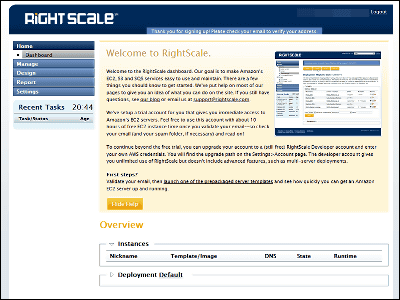
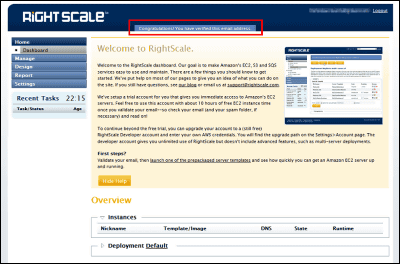
Registration is completed when you access the URL in the registered mail. "Congratulations! You have verified this email address." Is displayed.
The login screen looks something like this. Enter your email and password to login.
Login screen. There is nothing yet.
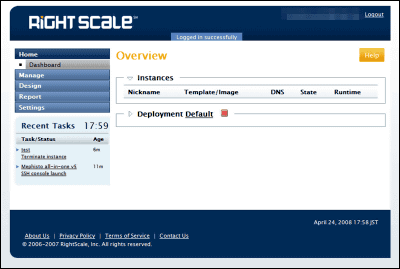
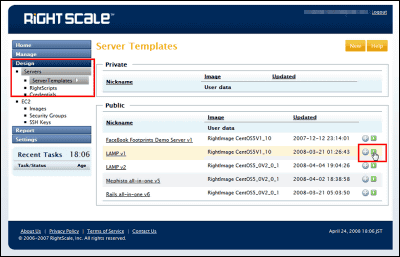
This time it's normalLAMPSince we decided to create a server with configuration, select "Server" → "Server Templates" in the menu on the left side and click the start button at the right end of "LAMP v1".
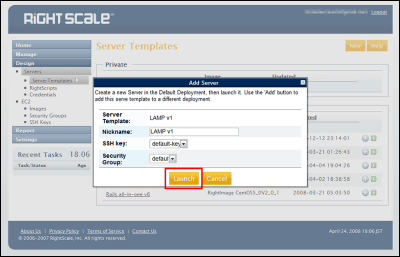
Click "Launch"
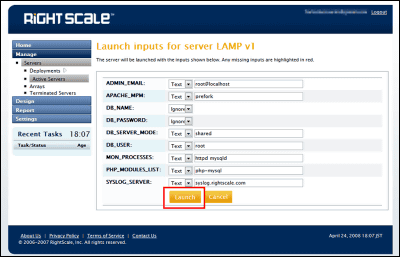
Again click "Launch"
State is "pending"
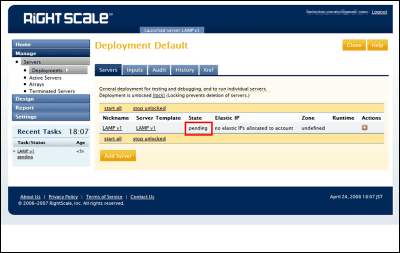
Wait a moment and reload the screen, State becomes "booting"
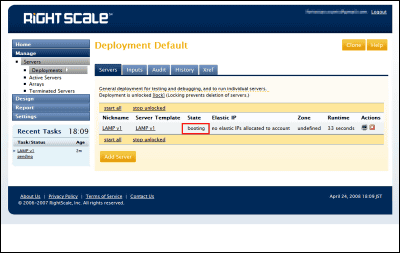
When State becomes "operational", startup is completed and operation becomes possible. The starting time is about 5 minutes.
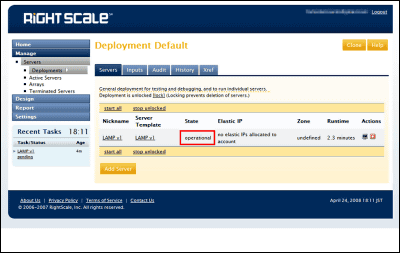
By selecting the menu "Home" → "Dashboard" and clicking DNS, you can check that Apache is running.
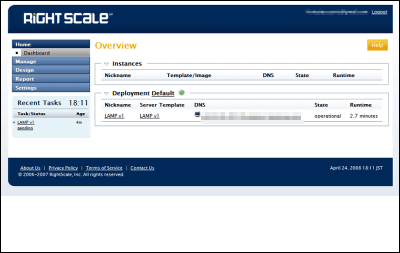
Like this
2. Server status
You can check detailed information and graphs from "Manage" → "Servers" → "Active Servers".
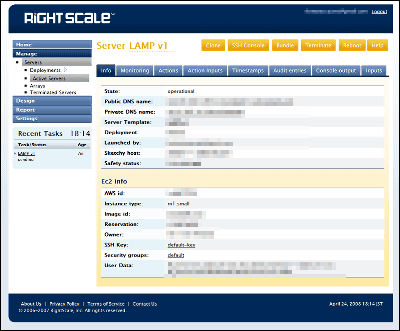
Firstly, the "info" tab on the right. It is detailed information of the server.
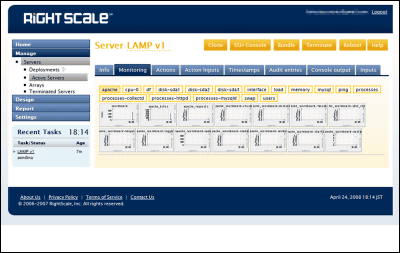
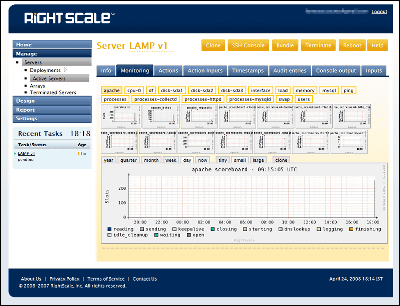
Next is the "monitoring" tab. You can check various invitations such as Apache and CPU on the graph. Clicking on a small graph will display a large graph at the bottom.
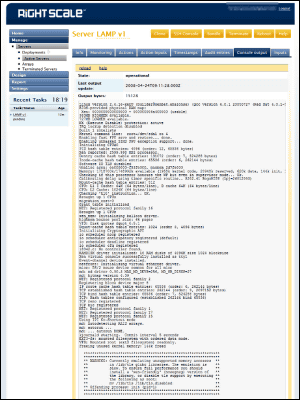
"Console output" tab. You can check the message from server startup.
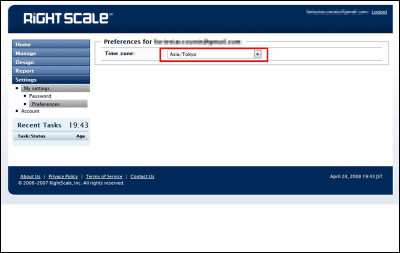
You can also set the time zone from the left menu "Settings" → "My settings" → "Preferences". However, it is not the time zone of the server, but the time zone of Right Scales.
3. SSH connection method from Windows machine
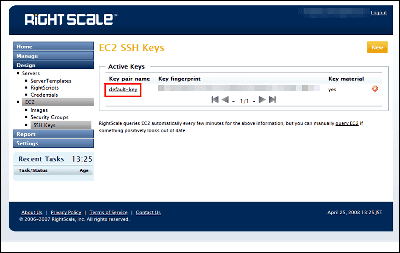
Select the left menu "Design" → "EC 2" → "SSH Keys". Click default-key, there is a key there. Save this key in a file.
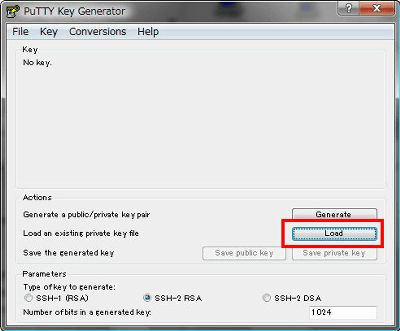
Terminal emulatorPuTTYUse PUTTYGEN attached to the file, convert the key obtained earlier.
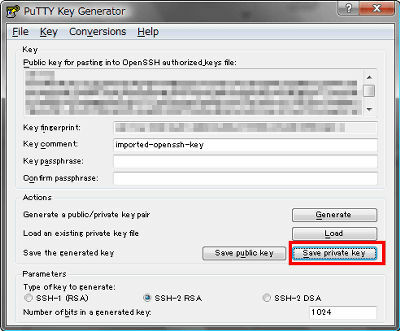
Launch PUTTYGEN.EXE. Click the "Load" button and load the key file saved earlier.
Click "Save private key" and create a key file for PUTTY.
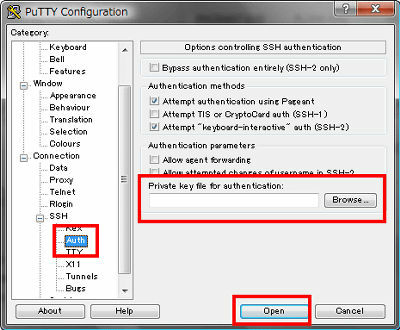
Start PUTTY.EXE. Set the key file for PUTTY in "Private key file authentication" in "Authentication parameters" of the left menu "Connection" → "SSH" → "Auth".
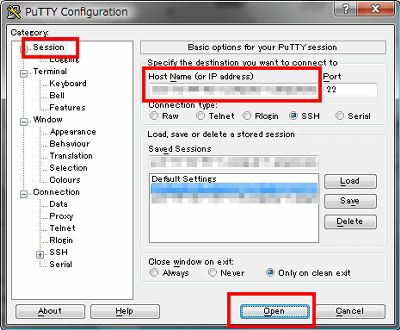
Enter the host name in the "Host Name" of the left menu "Session" and click "Open".
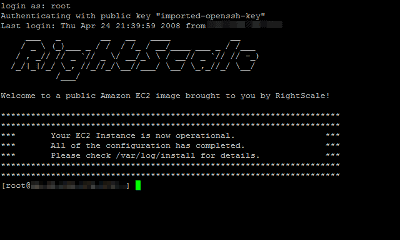
Enter Root and press Enter.

Login screen. It's written "RightScales".
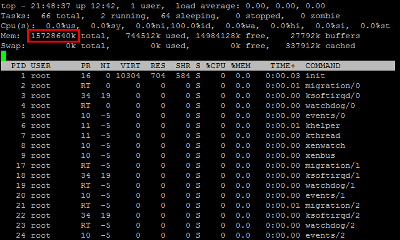
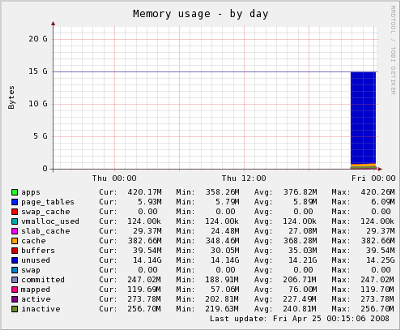
By the way, if you create a new instance and try logging in, the memory is 15 G. It is amazing.
Memory graph of munin. 15G is amazing after all.
Related Posts:
