I tried using "Amazon EC 2" and "Amazon S3" in practice, so let's start by creating an account
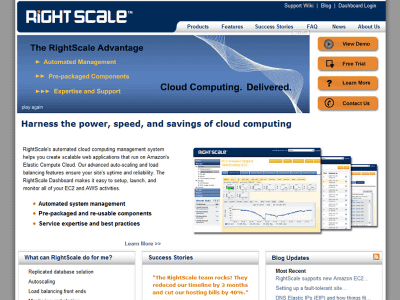
I mentioned earlier in Giazine"Right Scale" that you can try out the same virtual server that is actually used by AmazonBecause it was kinda very good feeling, this time direct Amazon Web Services 'compute cloud'Amazon EC 2"Internet storage"Amazon S3I used it in combination.
What I felt was a good feeling when actually wanting to run a single server, in the case of an exclusive dedicated server, contracting and setting up the server, procurement of hardware when preparing a server yourself, etc. unexpectedly until actual operation Although it takes time, when using Amazon Web Services EC 2 and S3, there is a big merit that "it is possible to operate multiple set servers quickly". It may be particularly recommended when multiple servers are needed in a relatively short period. However, in order to actually use Amazon Web Services, it is necessary to create a custom account of the account and to create and save images of Linux, which is a little troublesome work.
Also, for the normal instance called "High-CPU Instances" the other dayApproximately twice the instance of the CPU-enhanced versionIt also appeared, it seems that the variations of the instances that can be selected increased.
Therefore, "Create account", "setup"Create, register, delete" AMI (Amazon Machine Image) "will be introduced in three configurations.
First, how to create an account. Details are as below.
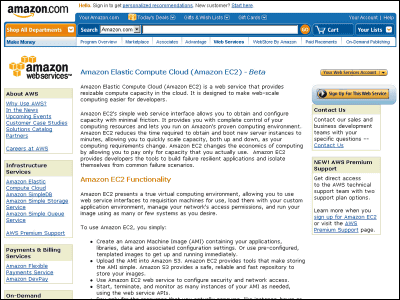
· Amazon Web Services Homepage
Amazon.com: Homepage: Amazon Web Services
· Amazon EC2's homepage
Amazon.com: Amazon EC2, Amazon Elastic Compute Cloud, Virtual Grid Computing: Amazon Web Services
· Getting Started Guide
Getting Started Guide (API Version 2008-02-01)
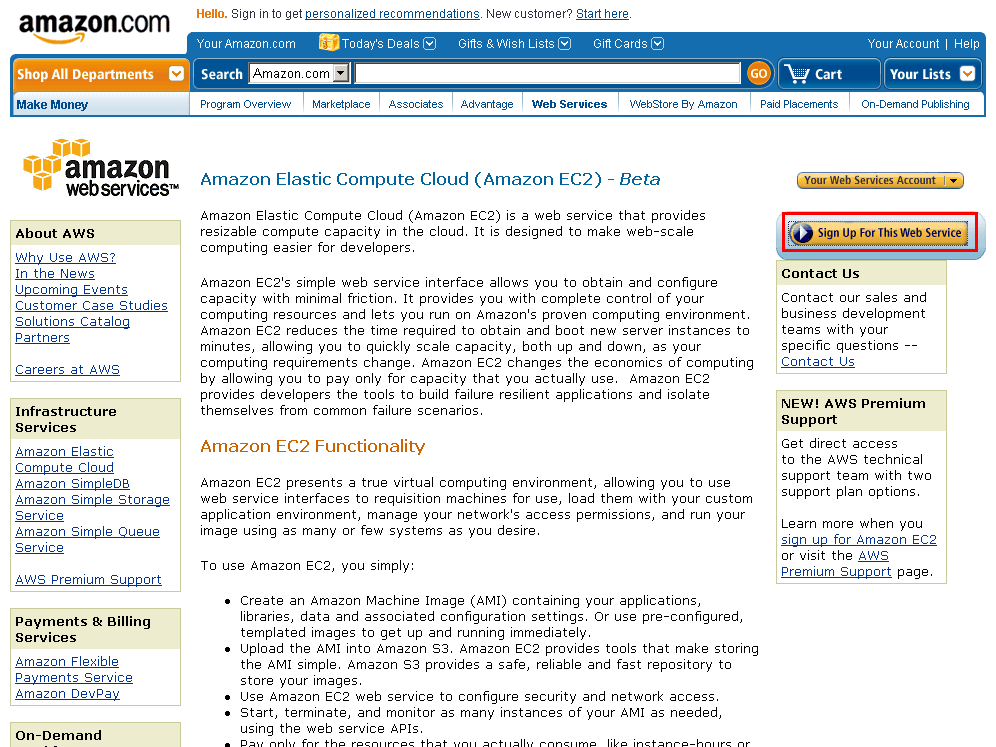
1. Create account of AWS
Amazon EC2 homepageAccess to "Sign Up For This Web Service".
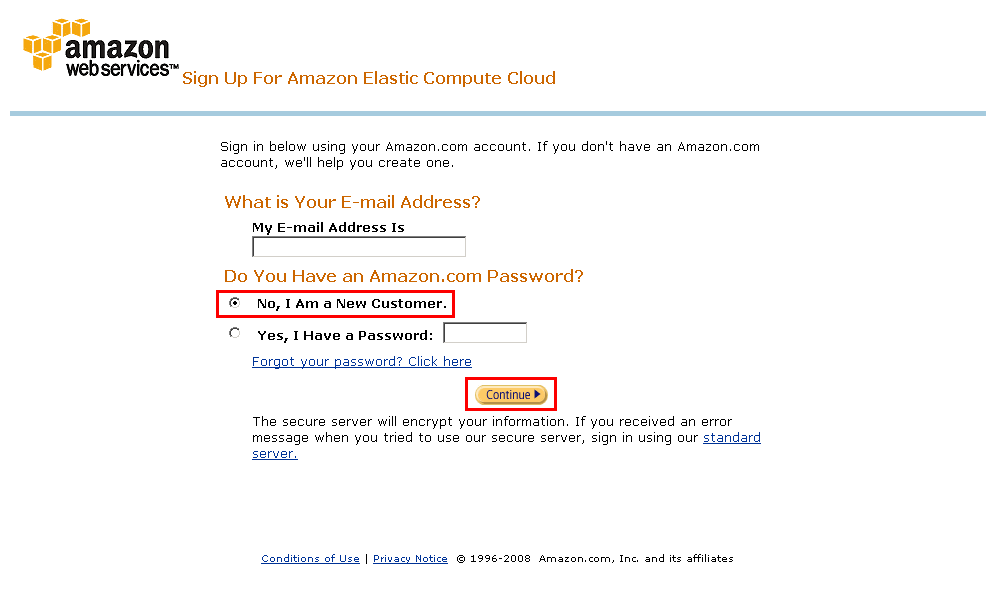
Select "No, I AM a New Customer." And click "Continue"
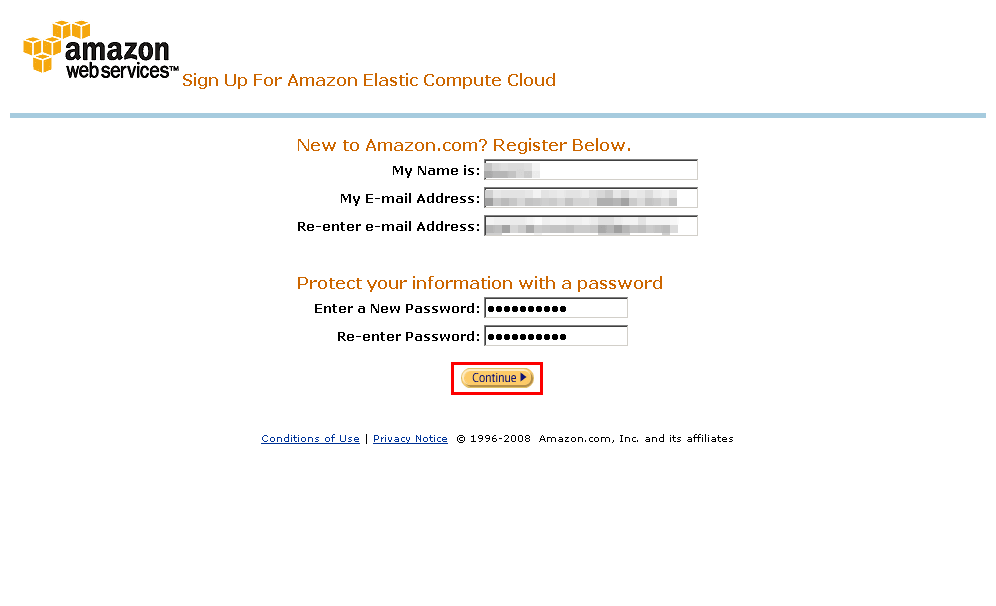
Enter your email address and password and click "Continue"
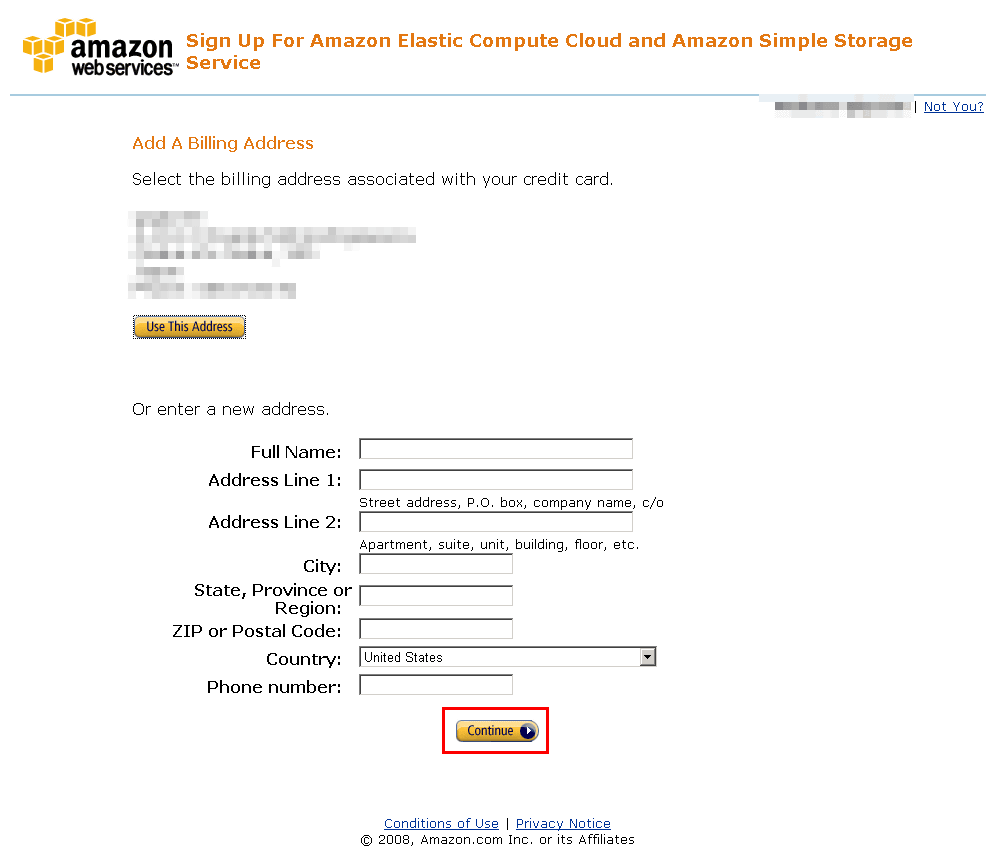
Enter AddressLine 1, City, State, Zip, Country, Phone Number, finally accept "AWS Customer Agreement" and click "Continue" after checking. As a precaution, ZipCode can not be entered with 7 digits.

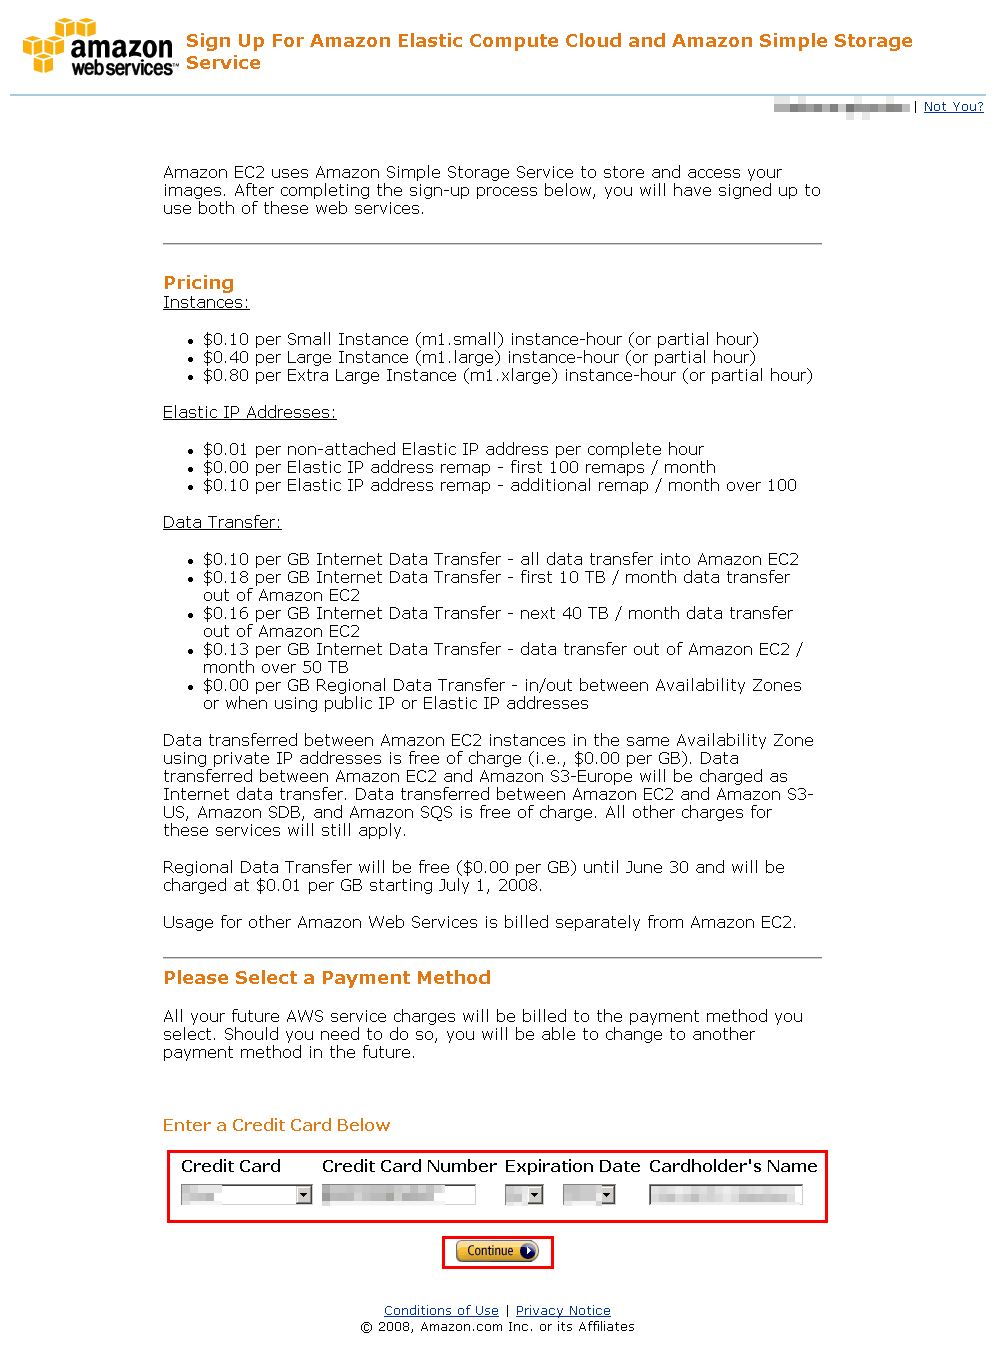
Enter the details of the credit card to be used for payment and click "Continue"
Click "Continue" without entering anything except when changing the address different from the address registered in the credit card.
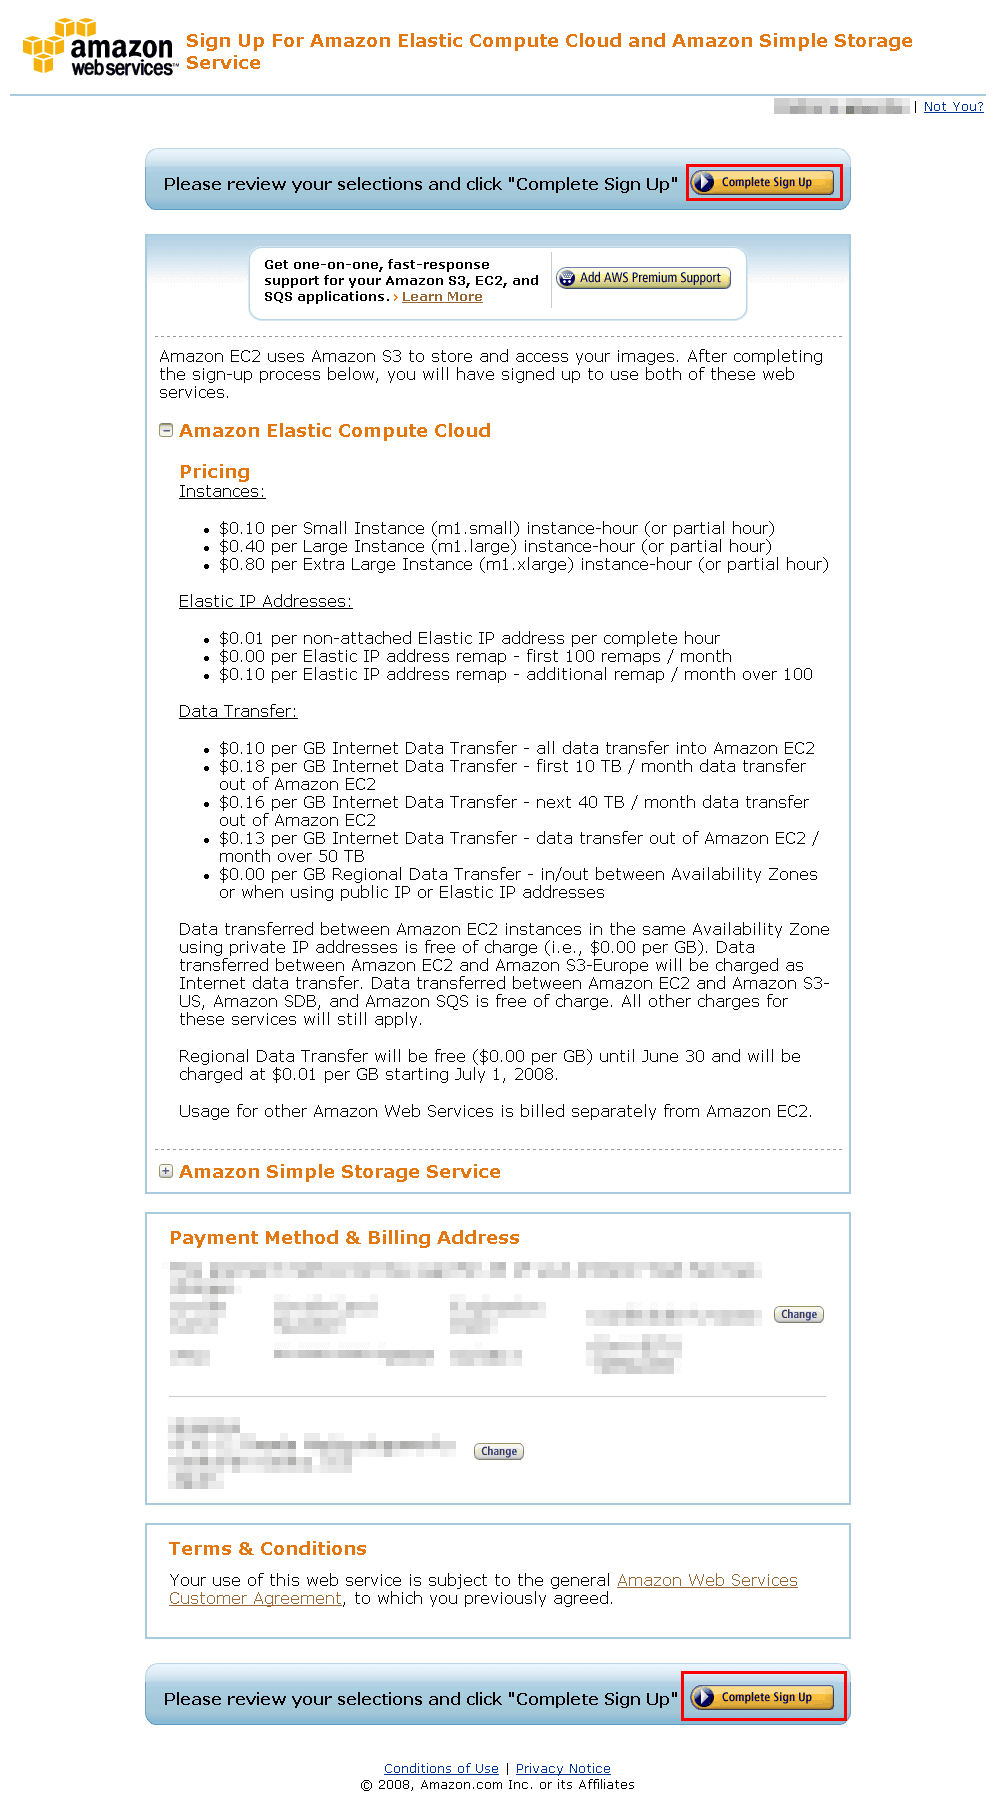
The price of AWS and credit card details are displayed, so click "Complete Sigh Up" if there is no mistake
When registration is completed, this screen is displayed.
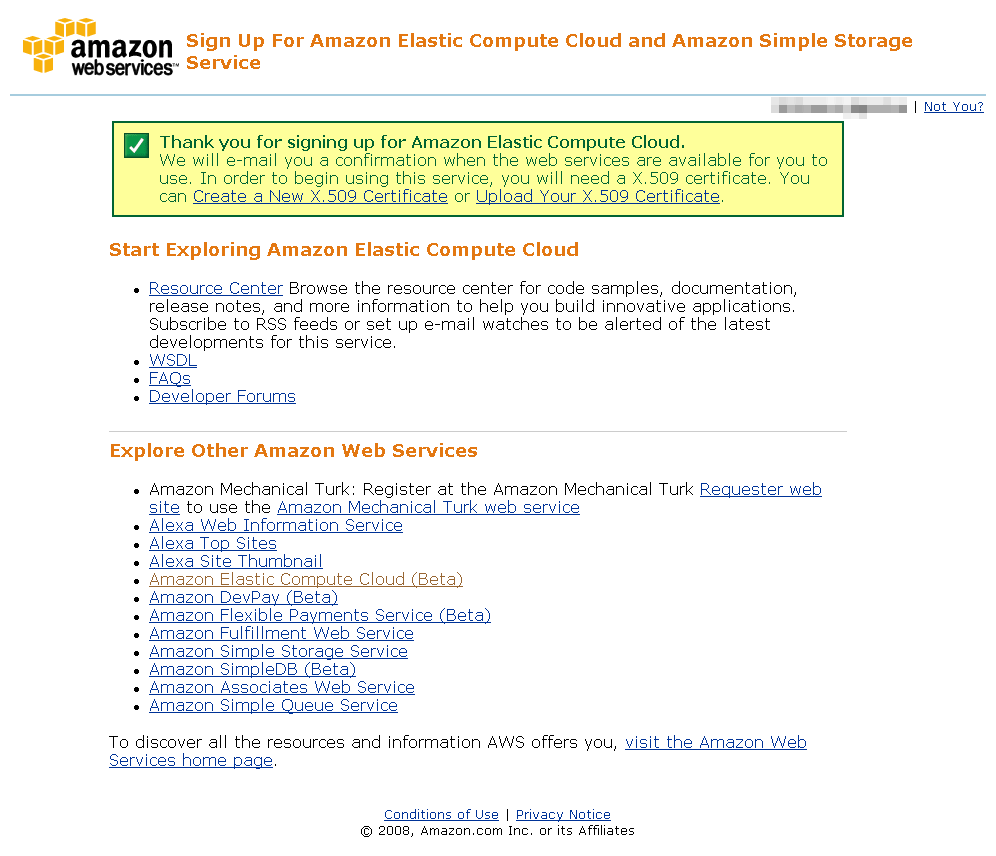
Also, when registration is completed successfully, you will receive such a mail.

next,Setting section.
Related Posts:


in Software, Web Service, Review, Posted by darkhorse_log