I tried using JetBrains' ``Writerside'', which allows you to create documents in the same way as code development.
JetBrains, a company that develops tools for developers, has released its document creation tool Writerside in early access. It is said that Writerside can be used for free during the early access period, so I actually tried it out.
Writerside - A new technical writing environment from JetBrains.
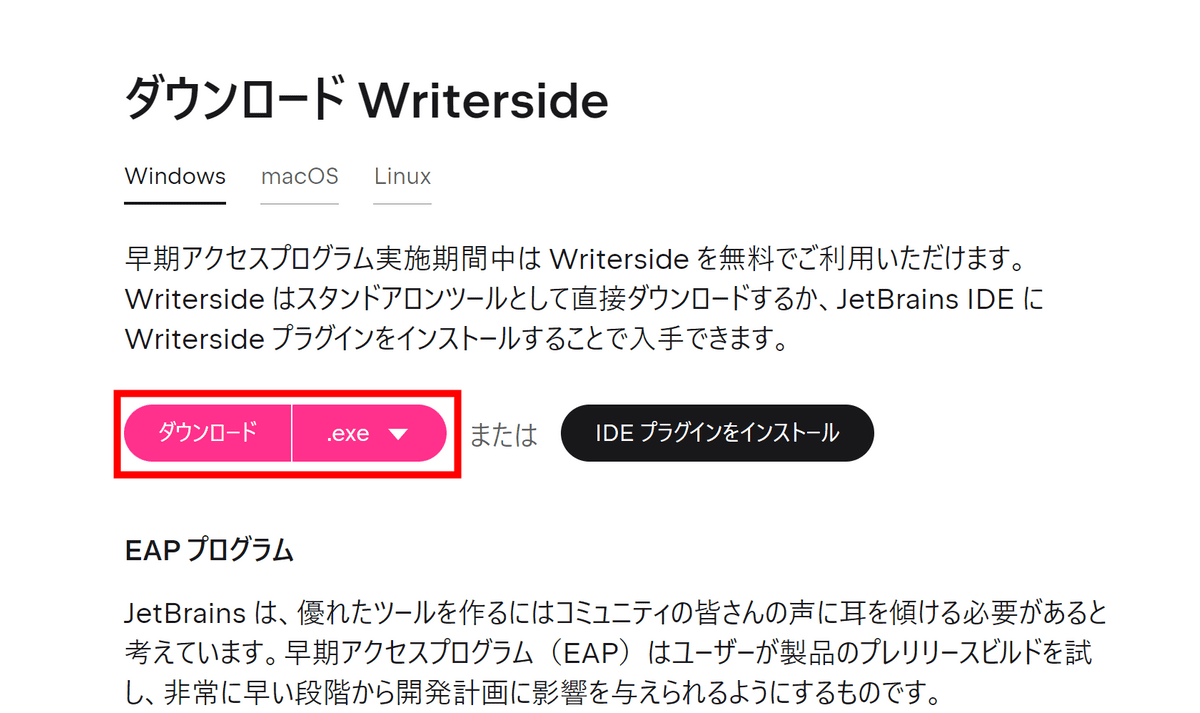
Open the official Writerside page and click 'Download'.
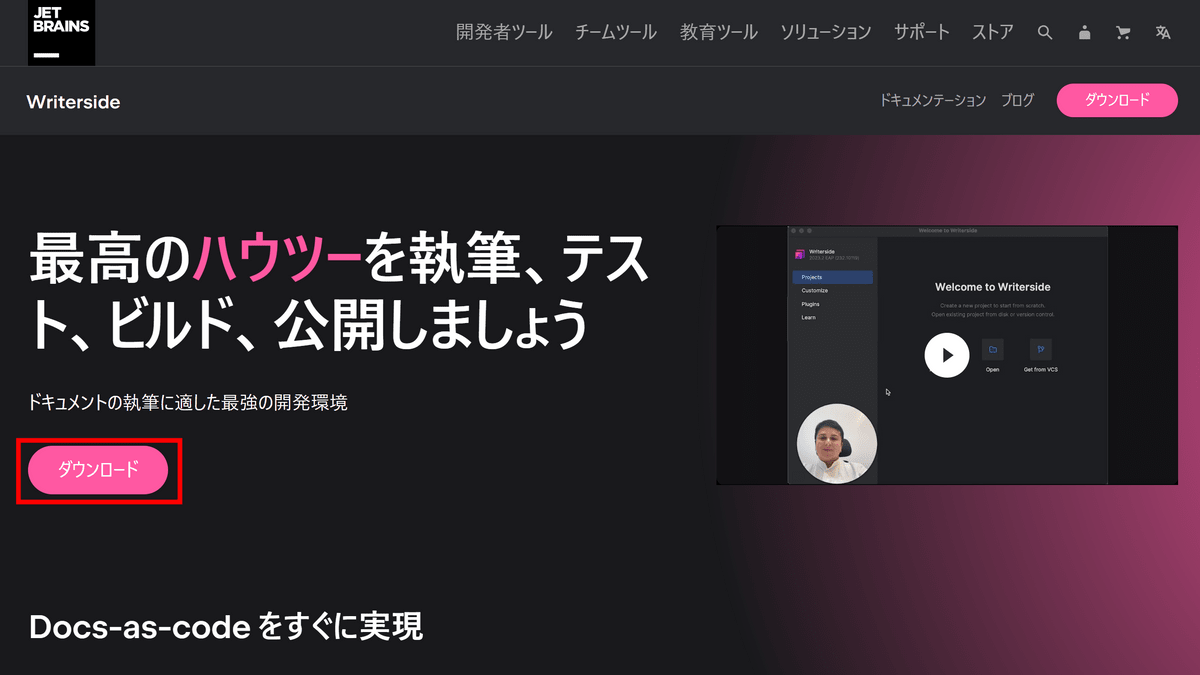
This time we will use it as a standalone tool, so click 'Download'. Those who use JetBrains IDE can also install it in the form of a plugin.
The installer will be downloaded, so double-click to start it.
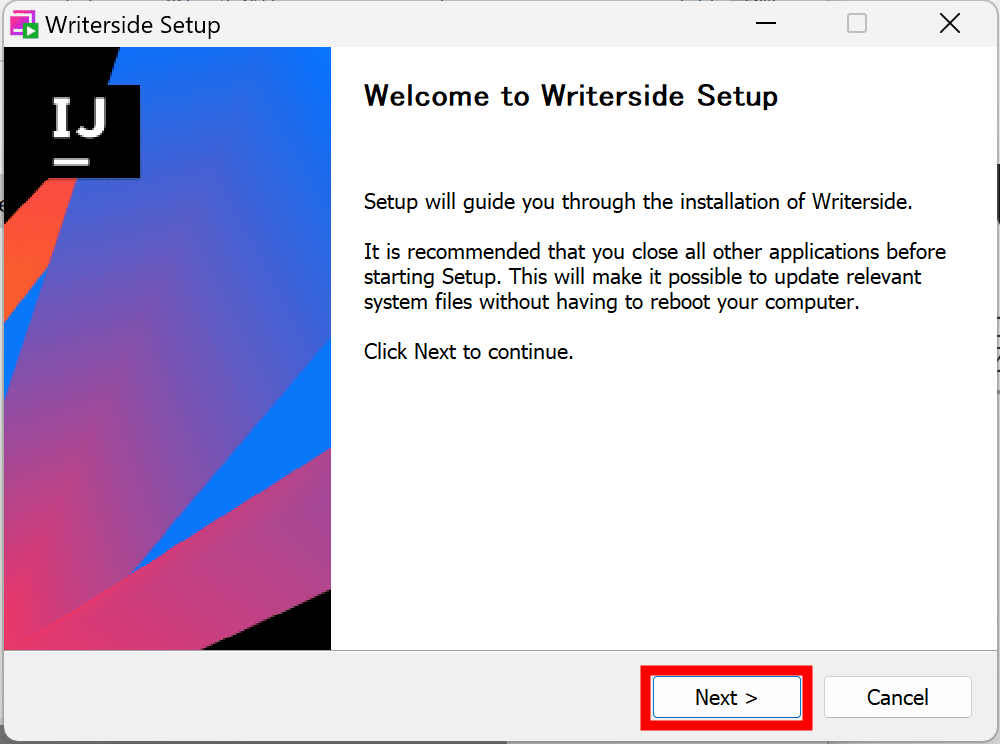
Click 'Next'.
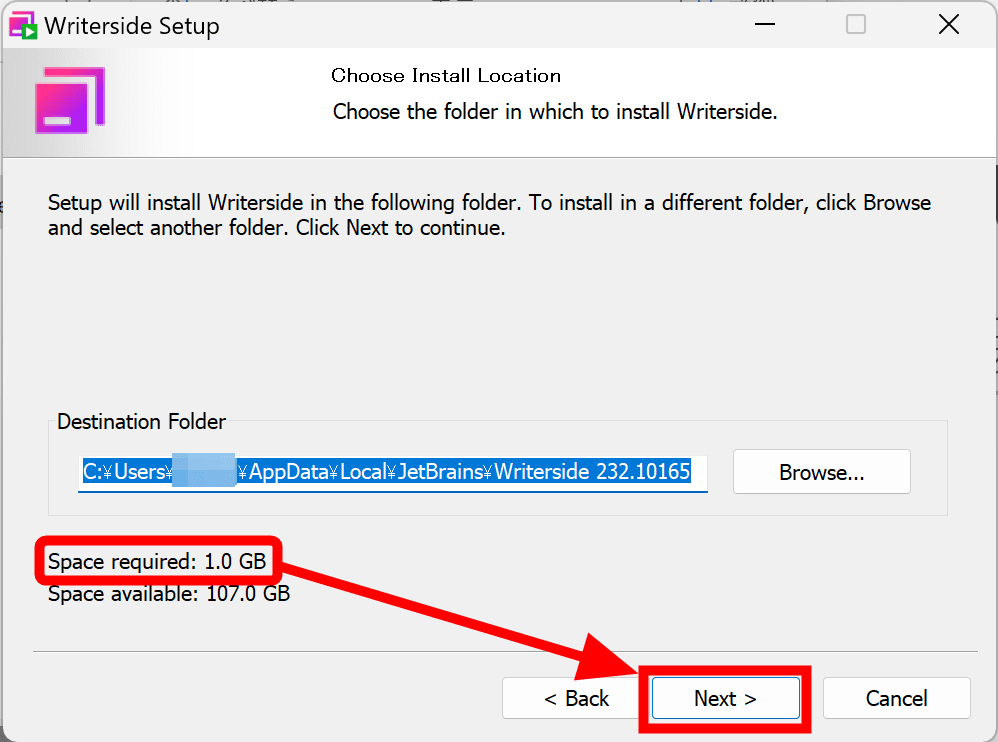
1.0GB of free space is required for installation. Click Next.
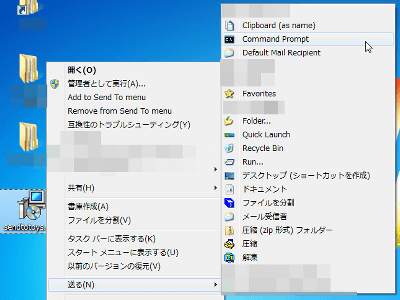
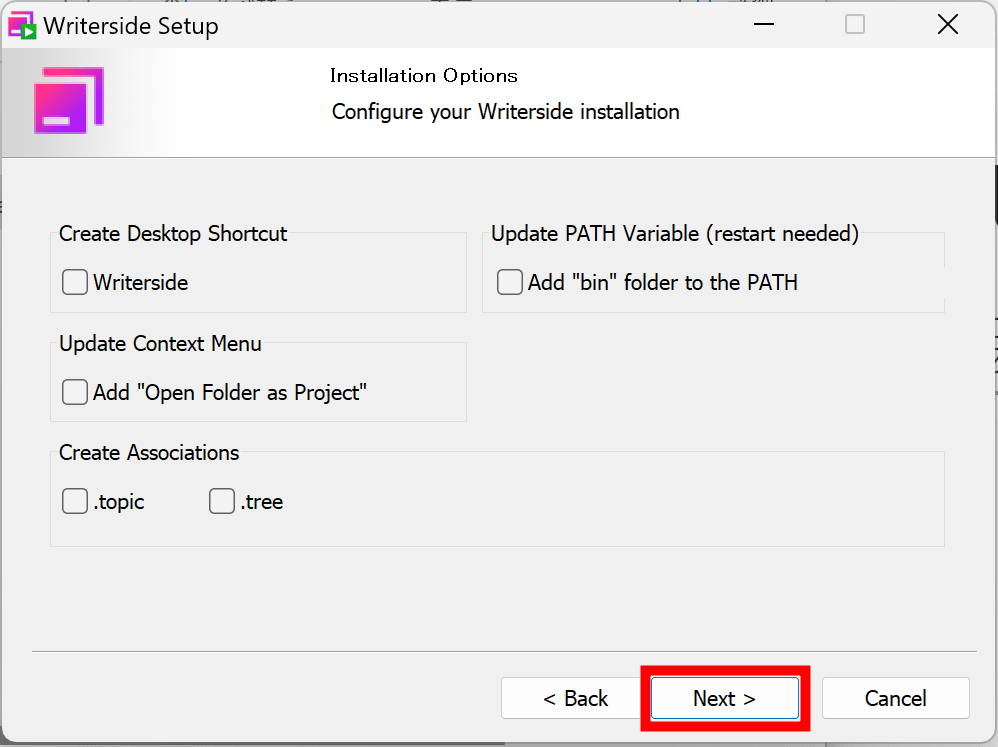
You can set shortcuts and context menus, but this time click 'Next' without changing anything.
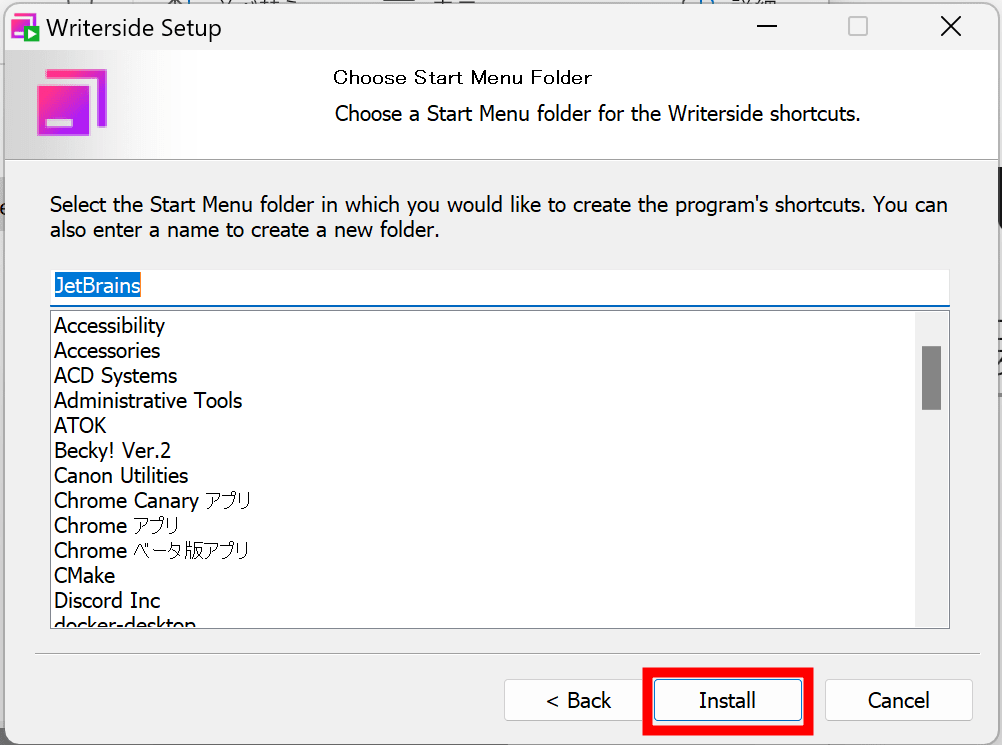
Click Install.
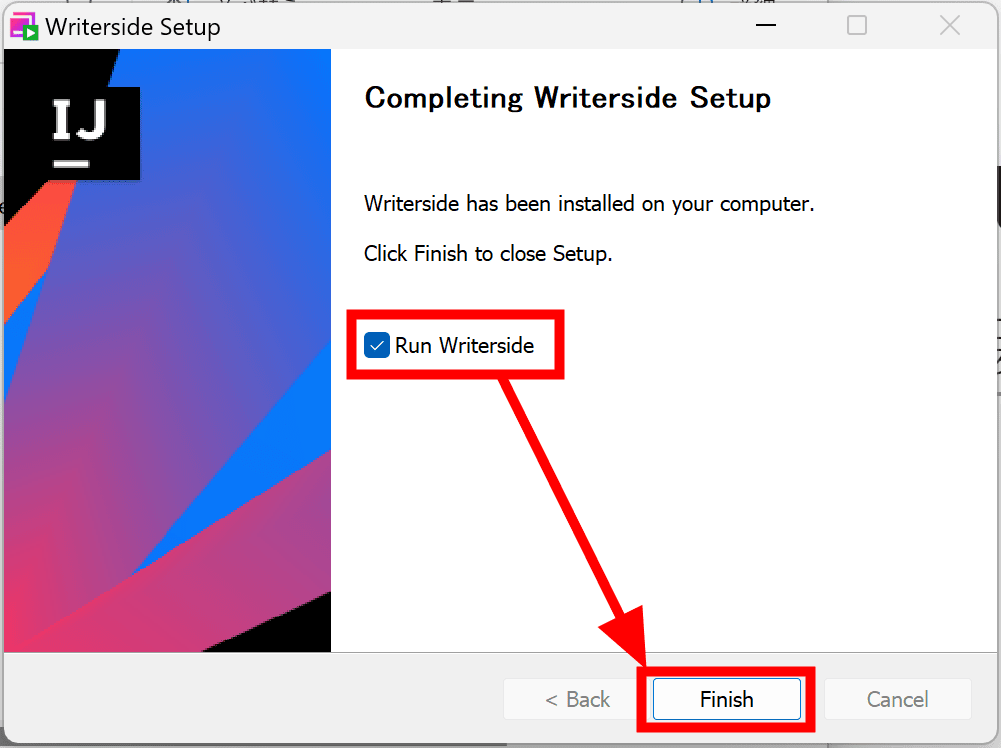
Installation is complete. Since you will be using Writerside right away, check 'Run Writerside' and click 'Finish'.
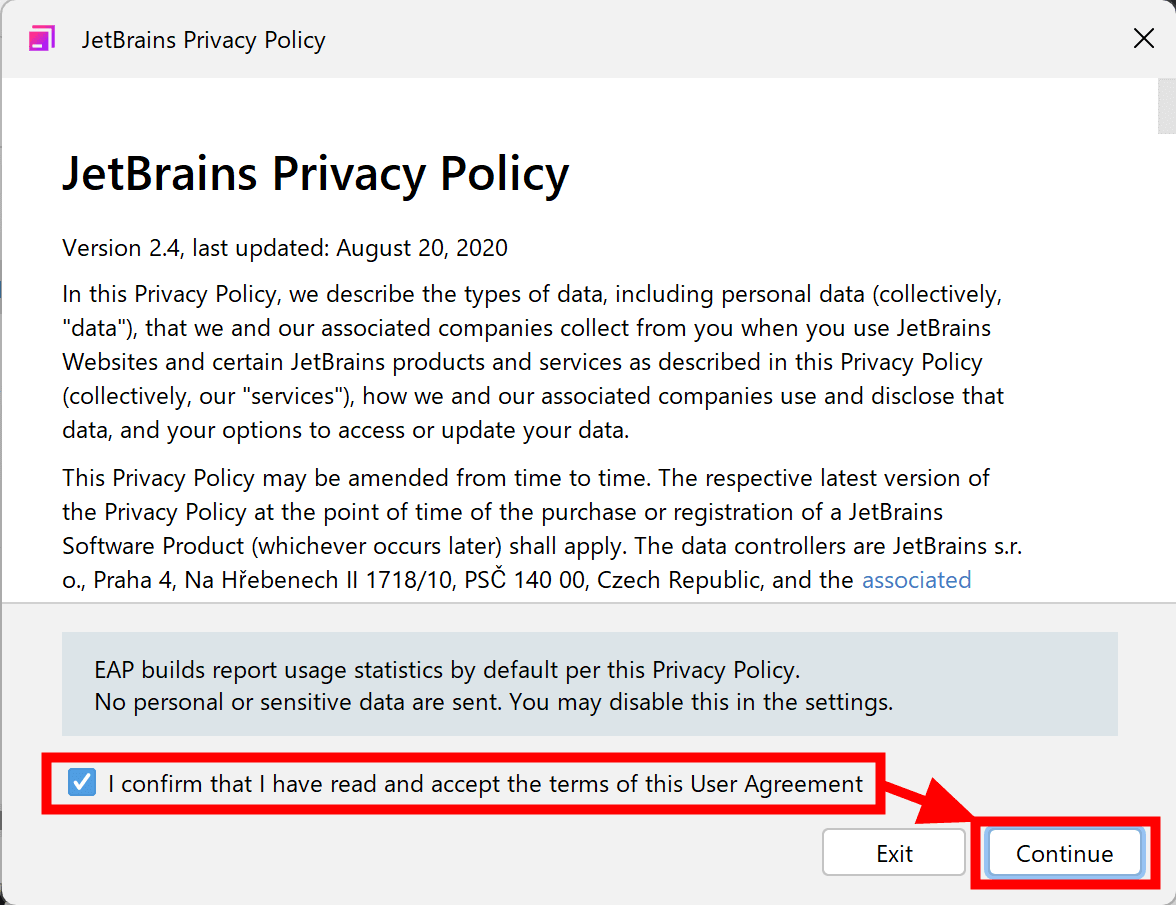
When starting for the first time, you will be asked to agree to the terms of use, so check the box and click 'Continue'.
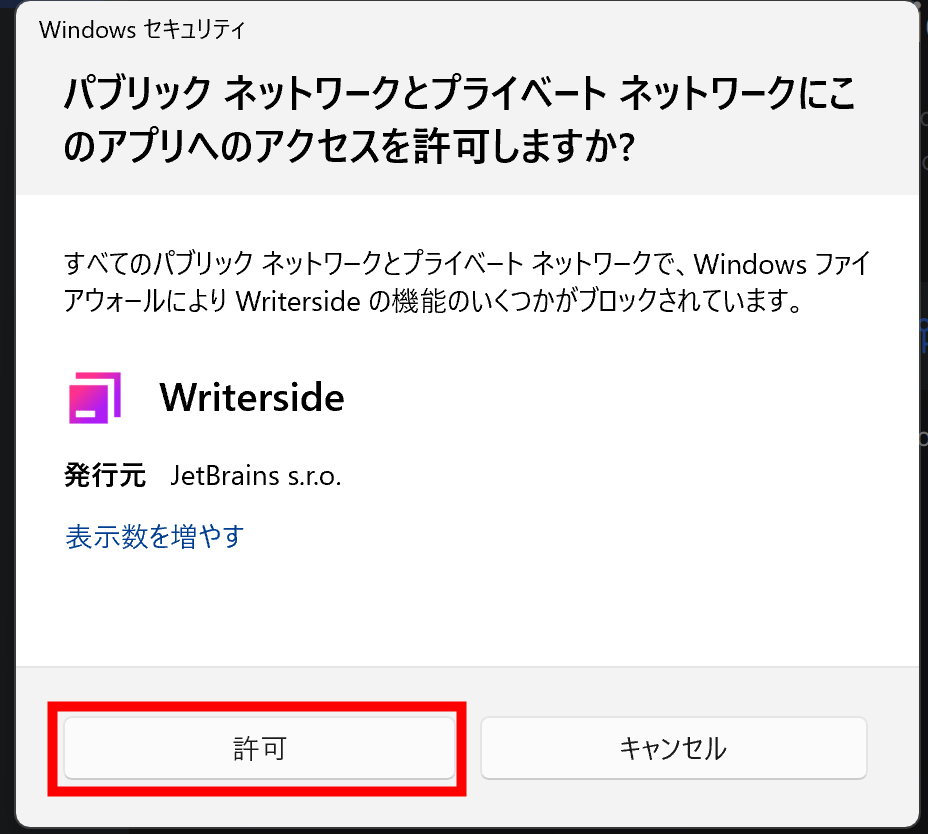
You will be asked for permission to access the network, so click 'Allow'.
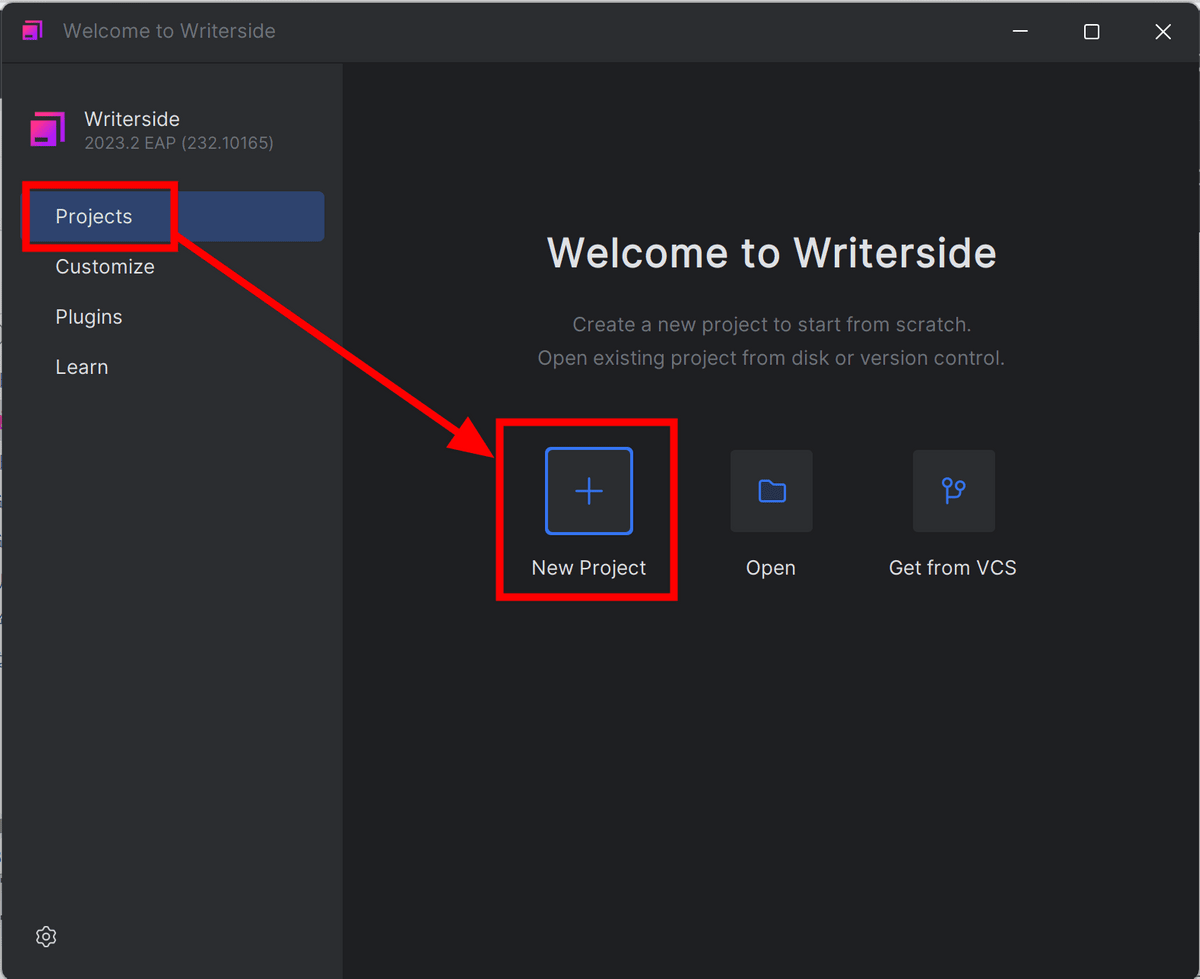
Now you can start Writerside. Let's create a project right away. Click 'New Project' on the 'Projects' tab.
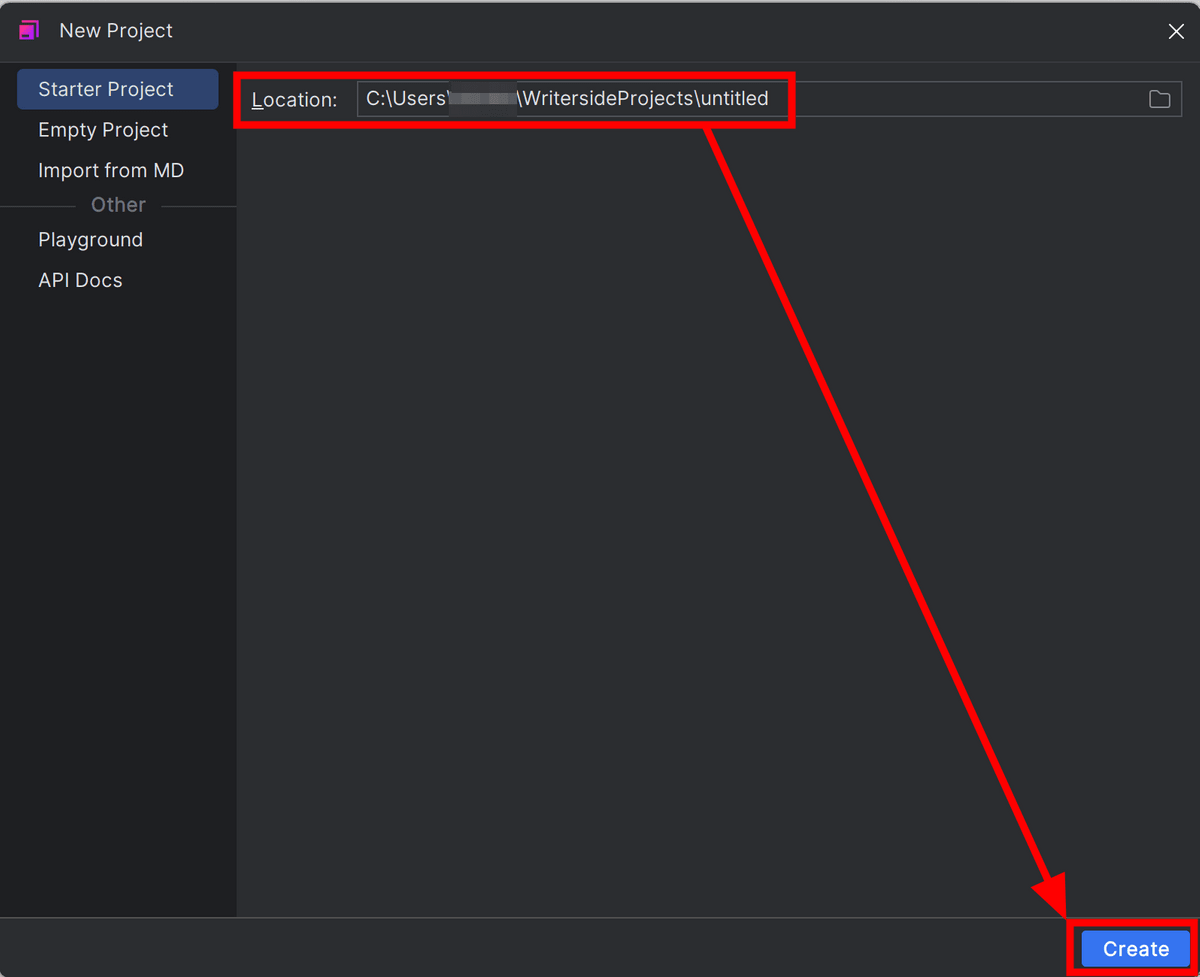
Set the save location for the project and click 'Create'.
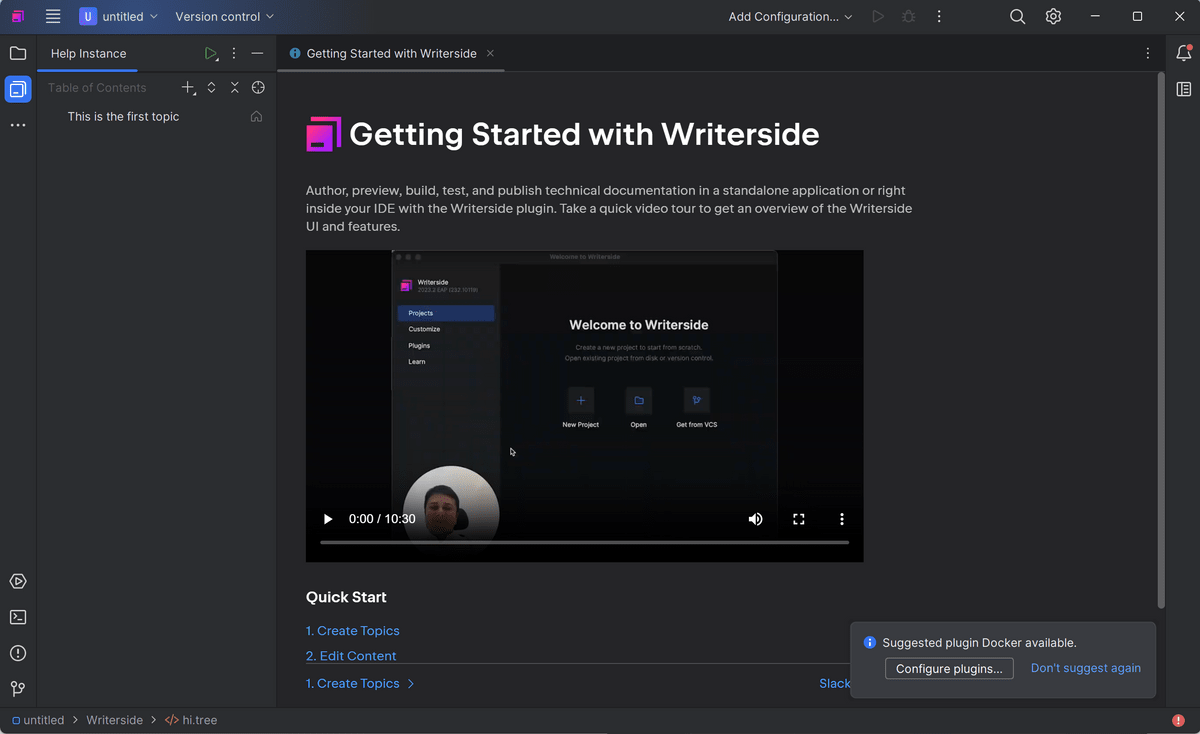
This is what the screen looks like when you open the project. A simple guide was provided.
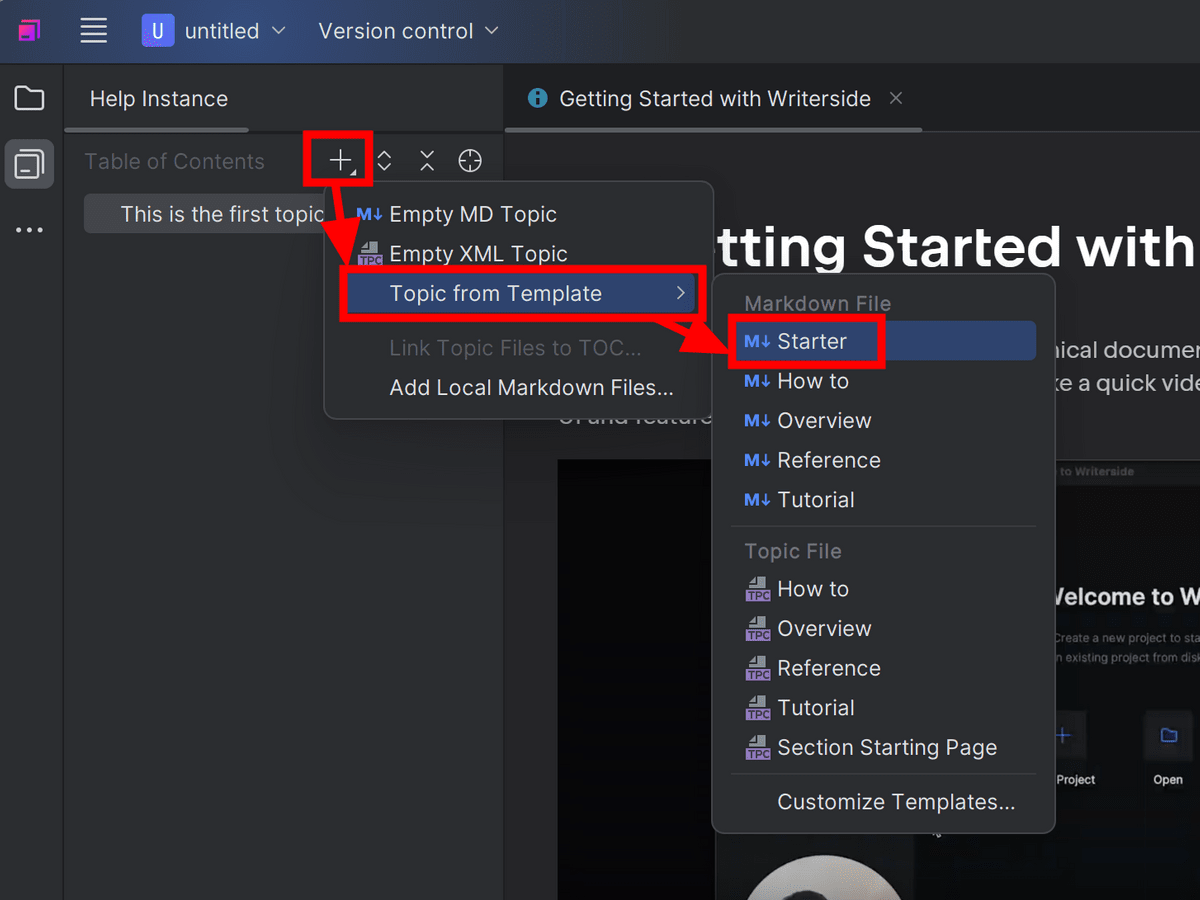
Writerside manages files and pages in units called 'topics.' I'll try adding a topic right away. I selected 'Topic from Template' from the '+' button above the side menu and clicked 'Starter'. Note that topics can be created in markdown or XML format.
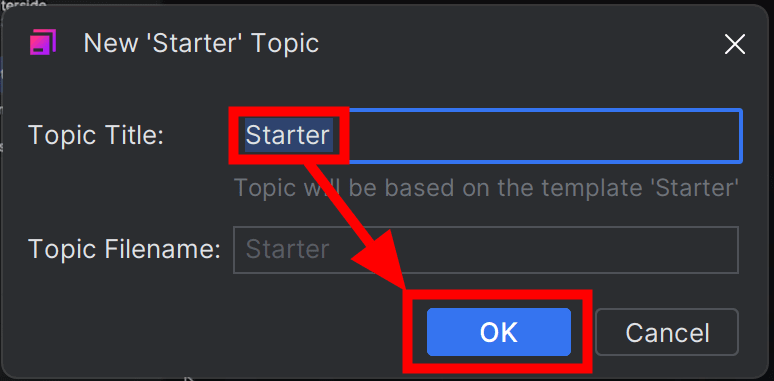
Name it a title and click 'OK'.
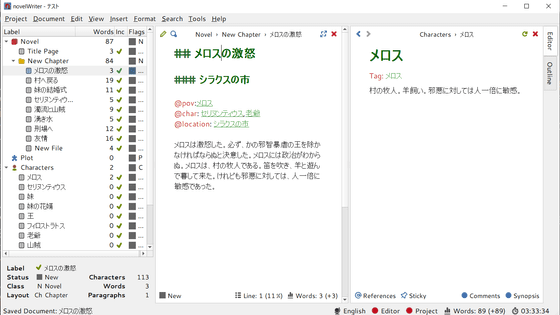
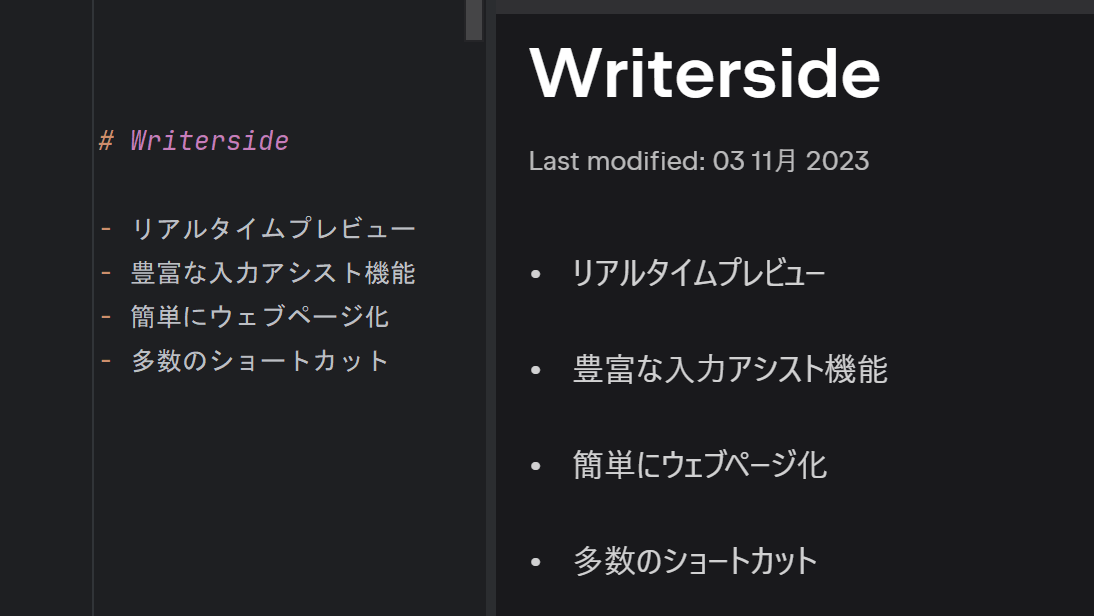
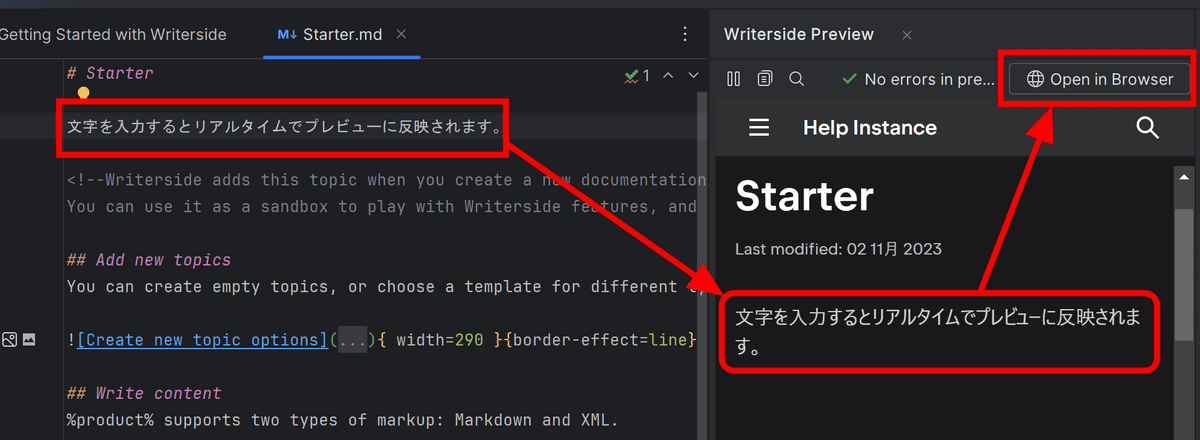
You have created a topic with a pre-filled 'Starter' template. A preview screen is displayed on the right.

If the preview does not appear or is closed, you can open it using the button on the right side menu.

As you edit the file contents in the editor, the preview will update in real time. Click 'Open in Browser' at the top of the preview screen.
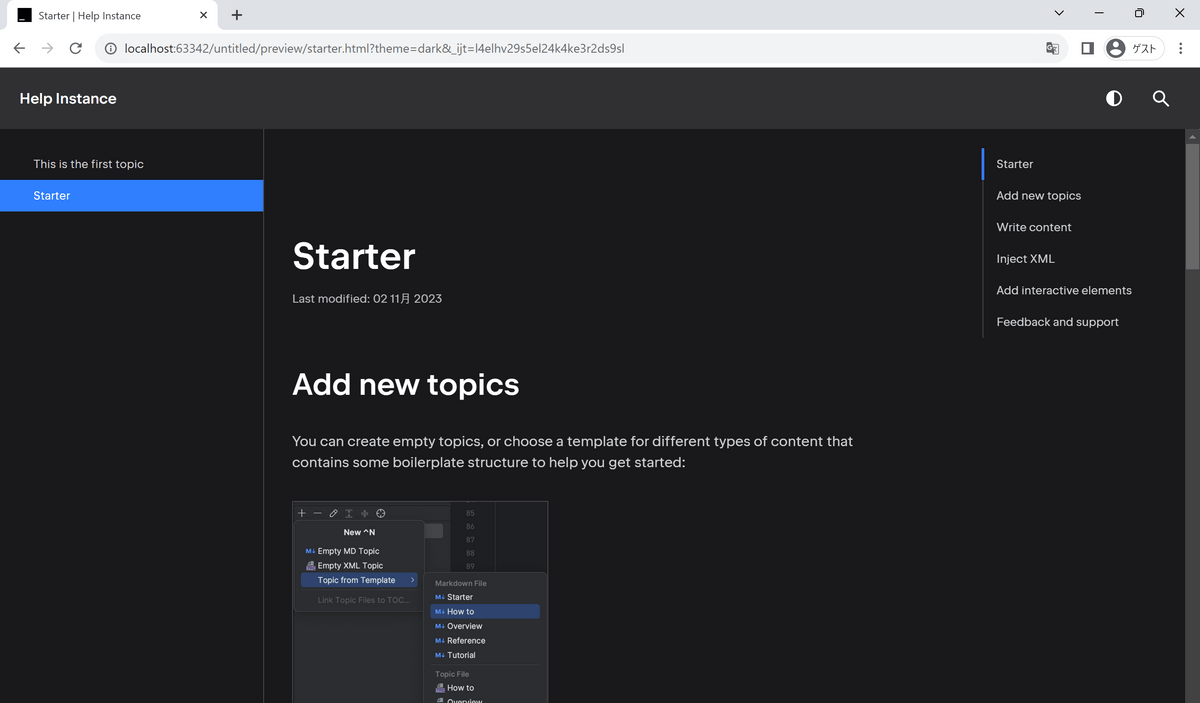
A preview will then open in your browser. You can see how the document will look when it is actually generated.
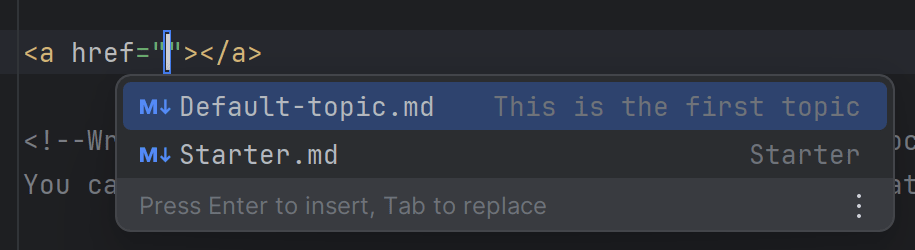
Also, JetBrains is a company that creates integrated development environments (IDEs) for programming, so Writerside is also equipped with various input assist functions. For example, if you type '<', various tags will be displayed.
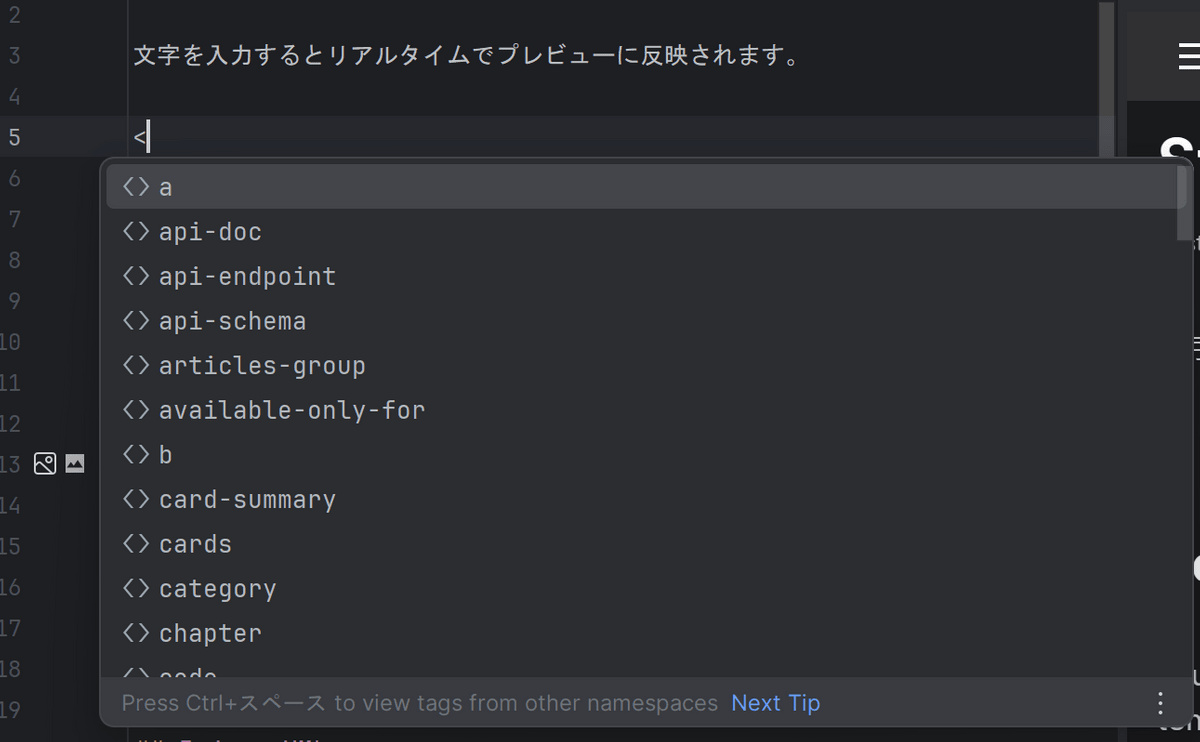
If you select the tag you want to input and press the 'Tab' or 'Enter' key, the tag will be input and the pointer will move to the place where the user should edit, which can be stressful for people who normally program with high-performance editors. It can be used without any problems.
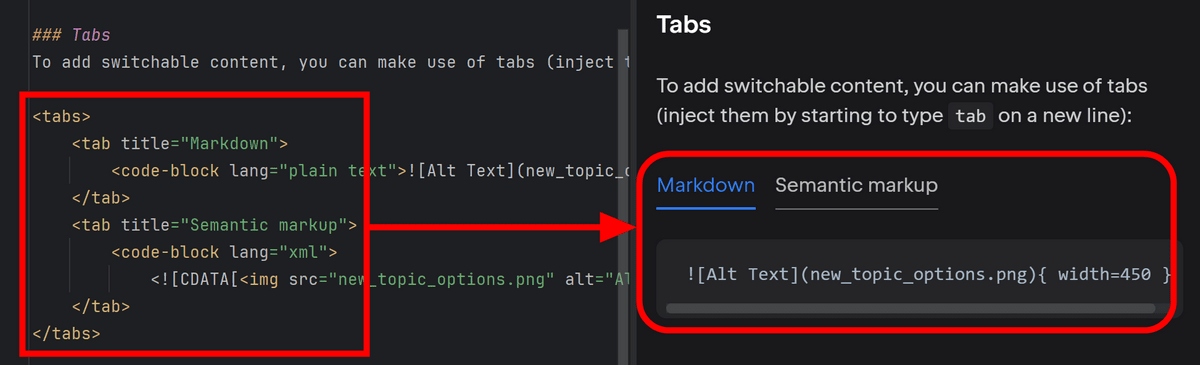
It is also OK to write in a mixture of markdown and XML formats. Even if it is difficult to implement in markdown format, such as the 'tab' function, you can do it by writing just that part in XML.
If you want to convert to XML format later, such as when you want to use the join function while creating a table, press 'Alt + Enter' and a conversion menu will appear. The range of conversion will be displayed, such as 'entire article', 'paragraph', 'selected range', etc., so you can select it according to your purpose.
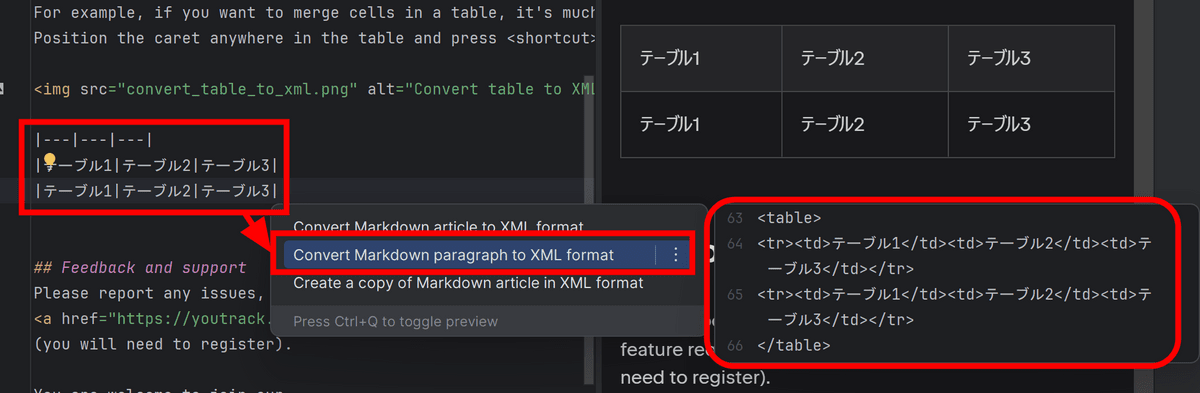
In this way, we can introduce merged cells into the table. It was convenient to be able to write in the easy-to-write Markdown format, and if I had a problem, I could convert it to XML, which is rich in functionality.

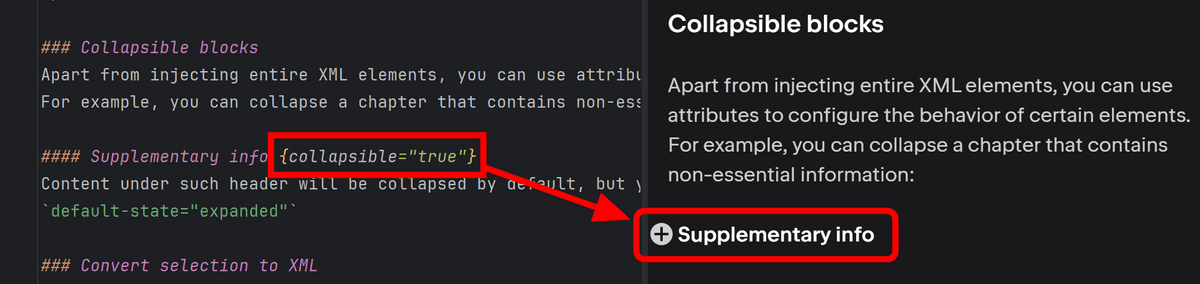
In addition, settings such as collapsing the contents are possible.
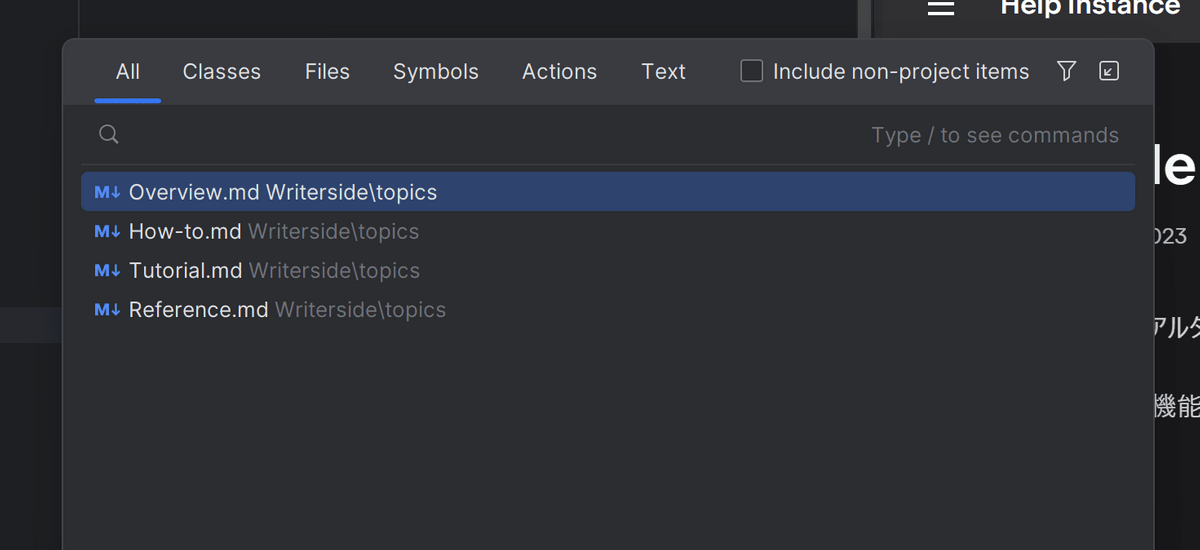
I've created some topics.
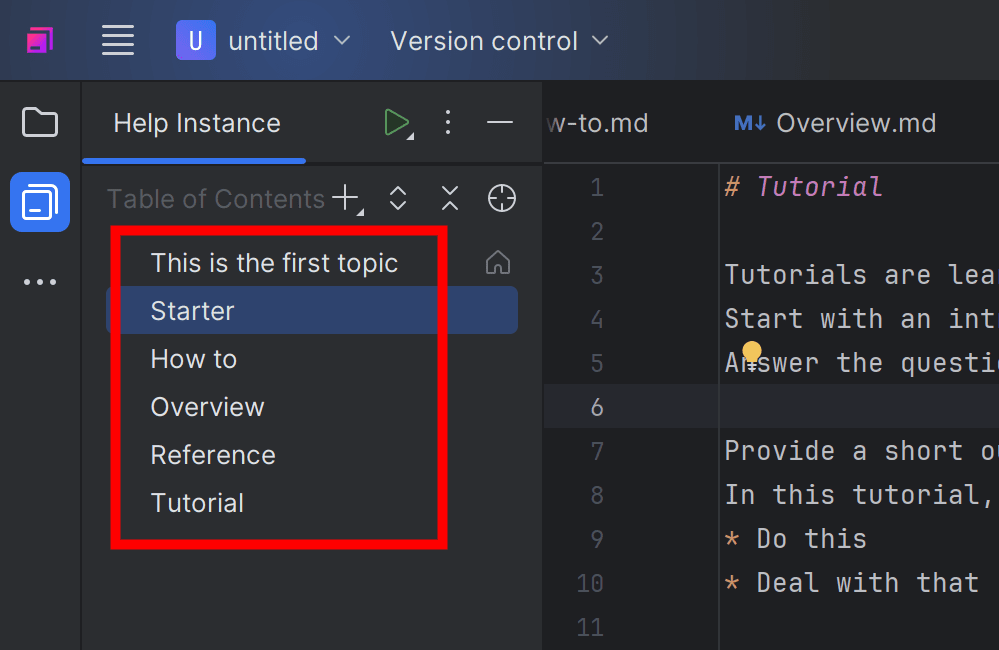
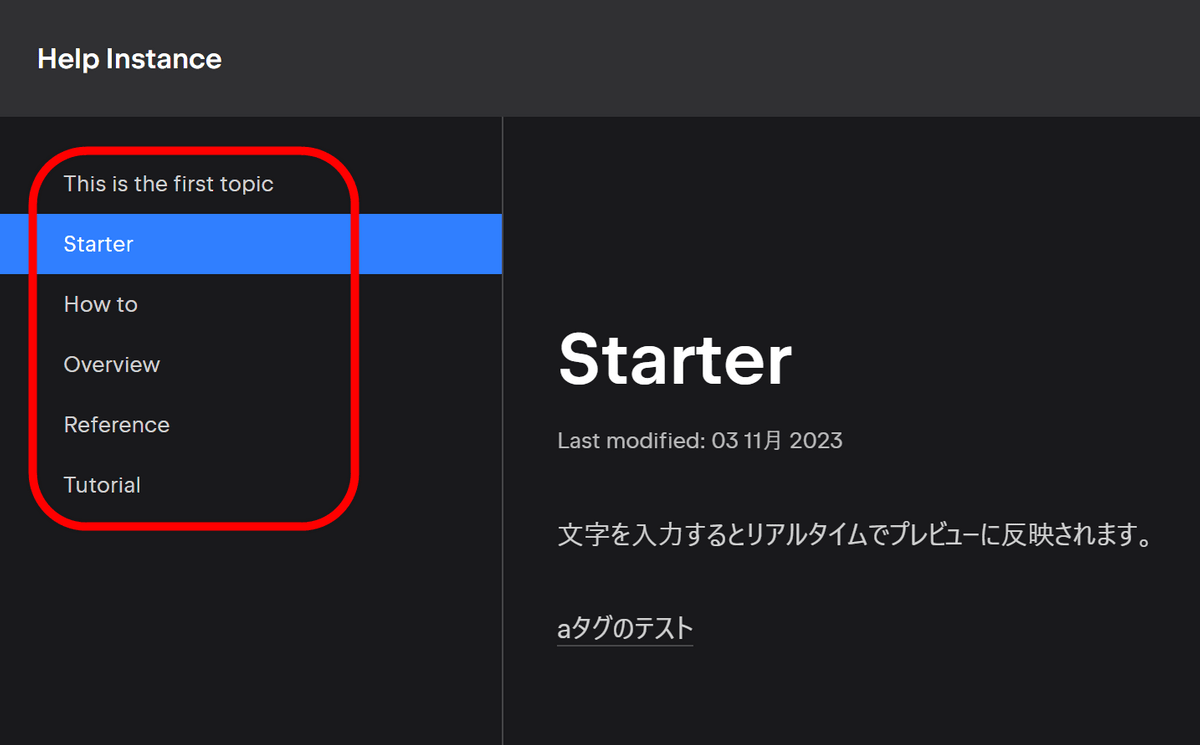
When converted to a web page, a list of topics will appear in the menu on the left.
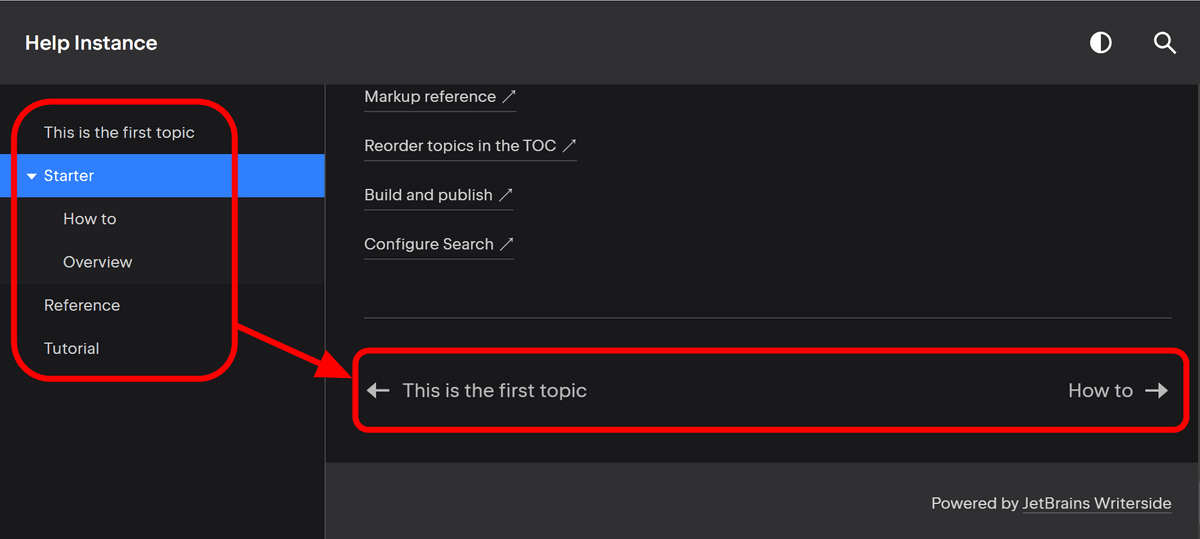
If you want to rearrange or create a nested structure, simply drag and drop topics.

It is easy to understand because it is displayed on the page exactly as it is displayed in the editor. Also, links to the previous and next pages were automatically inserted at the bottom of the page.
Writerside provides
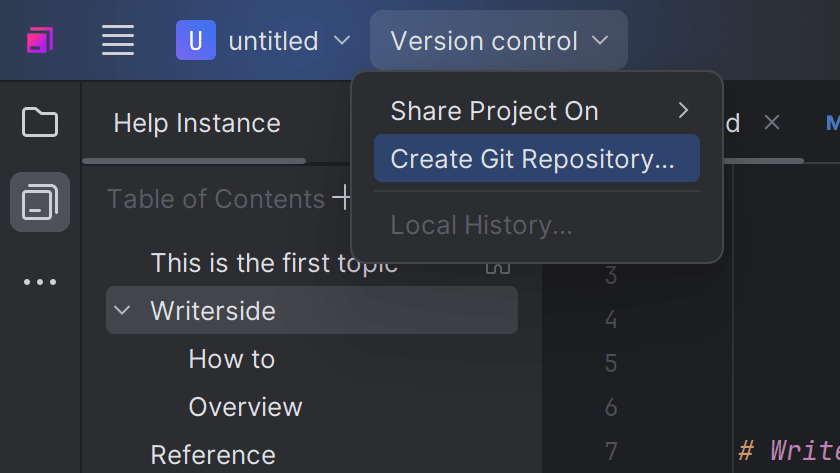
Since it is a tool for developers, it also allows version control with Git.
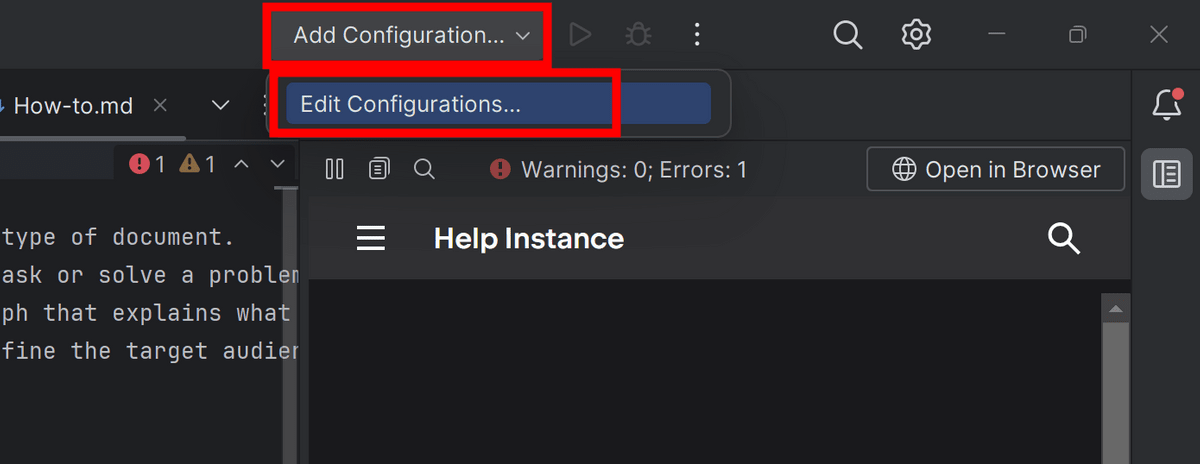
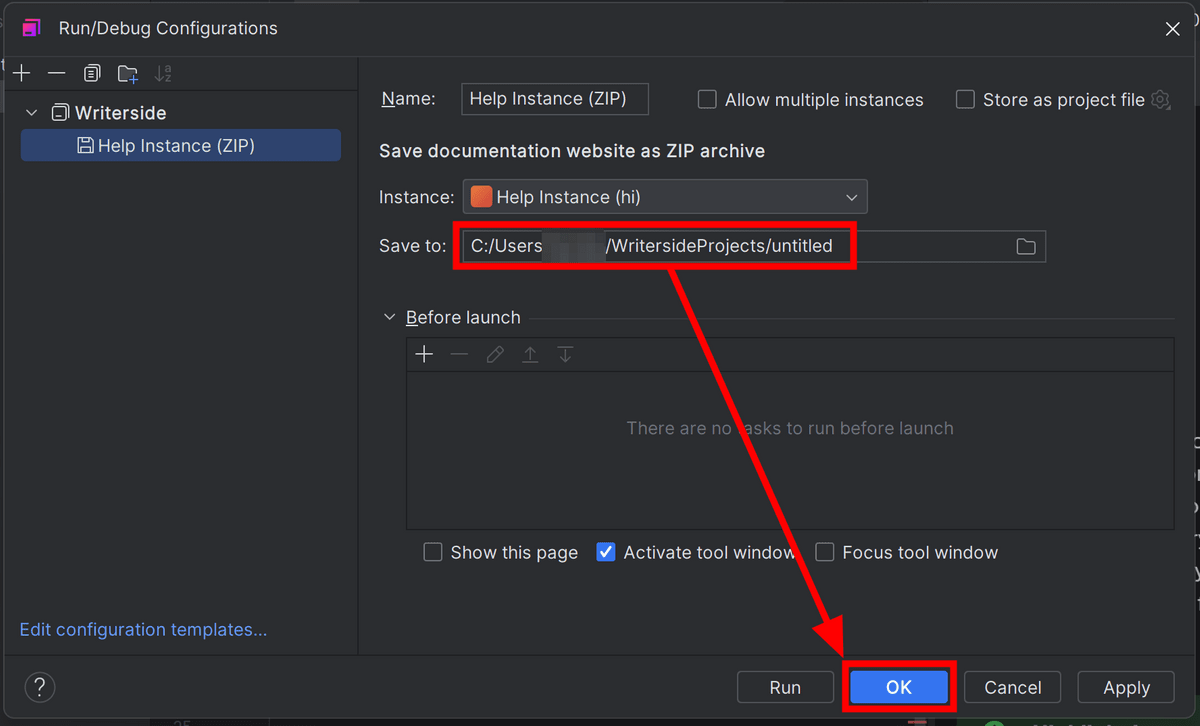
Once the document is created, configure the build settings. Open 'Add Configuration' in the menu above and click 'Edit Configurations'.
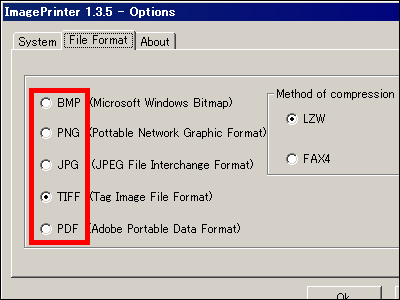
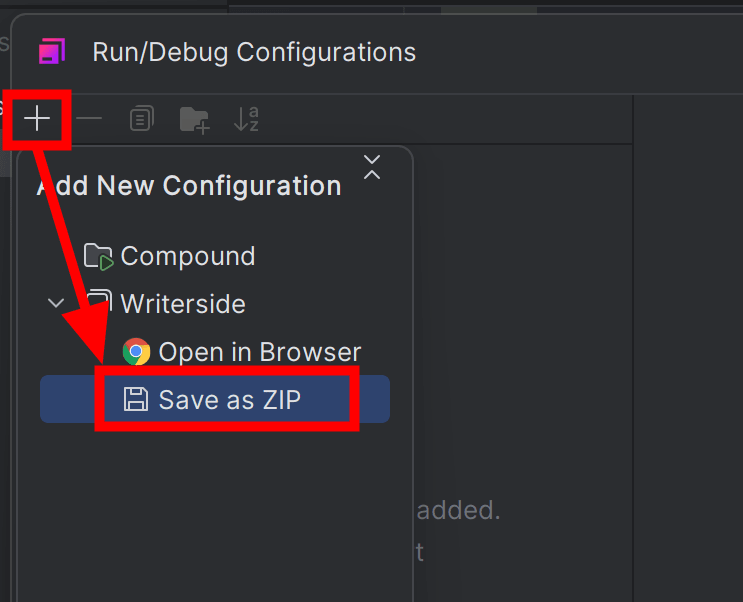
This time, I will try outputting to ZIP. Click the '+' button and click 'Save as ZIP'.
Select the save destination and click OK.
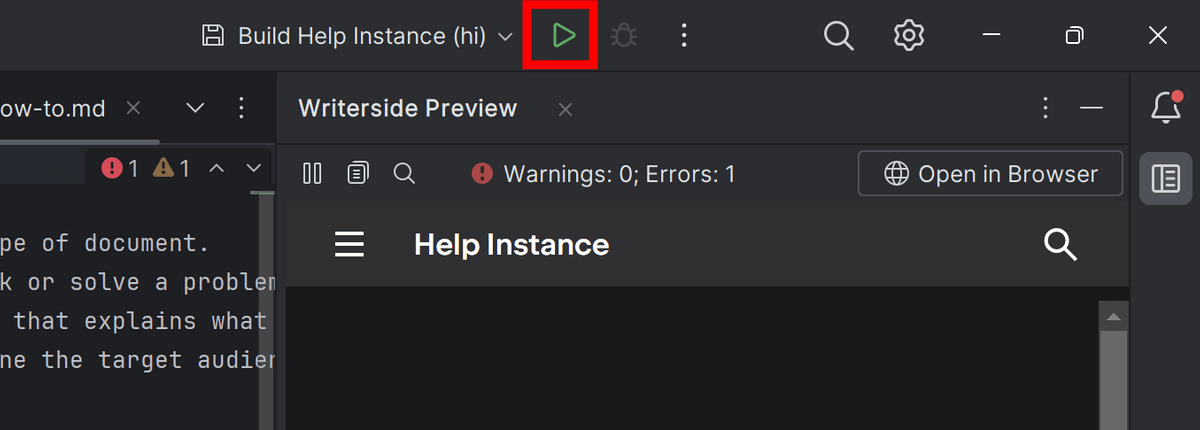
Once the settings are complete, click the play mark button.
A ZIP format file has been generated in the folder you specified as the save destination earlier.
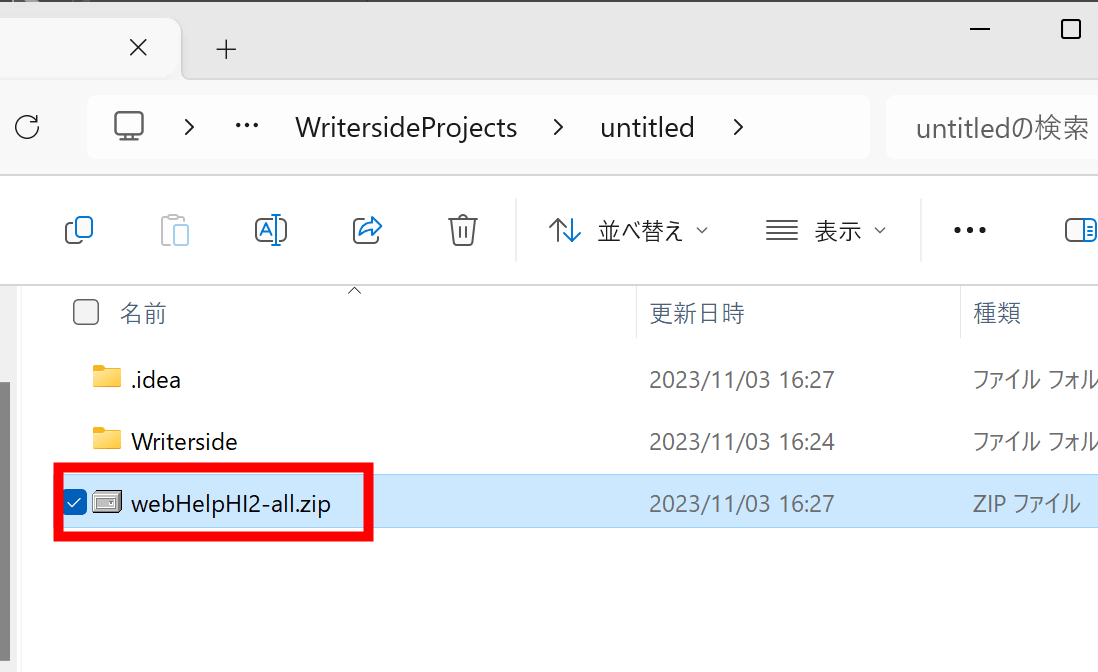
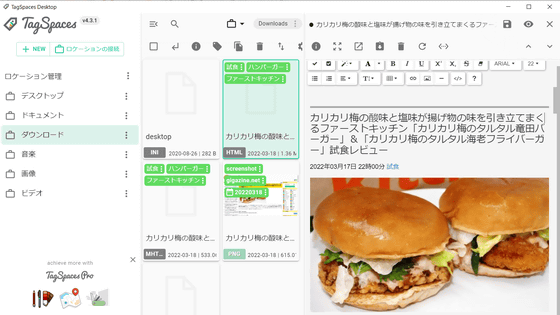
When I expanded the contents, it looked like this, and each topic was output as HTML.

Related Posts: