Free Markdown compatible text editor 'novel Writer' usage review
Some people who have written novels and long sentences on a PC have experienced scene-to-scene scene changes becoming messy, and there are too many characters and scenes to get out of control. There must be some. The open source text editor ' novelWriter ' that can be used for free can compose chapters and scenes in a tree format like Windows Explorer, and it is also possible to display it in
novelWriter – A markdown-like editor for writing novels
https://novelwriter.io/
◆ Installation
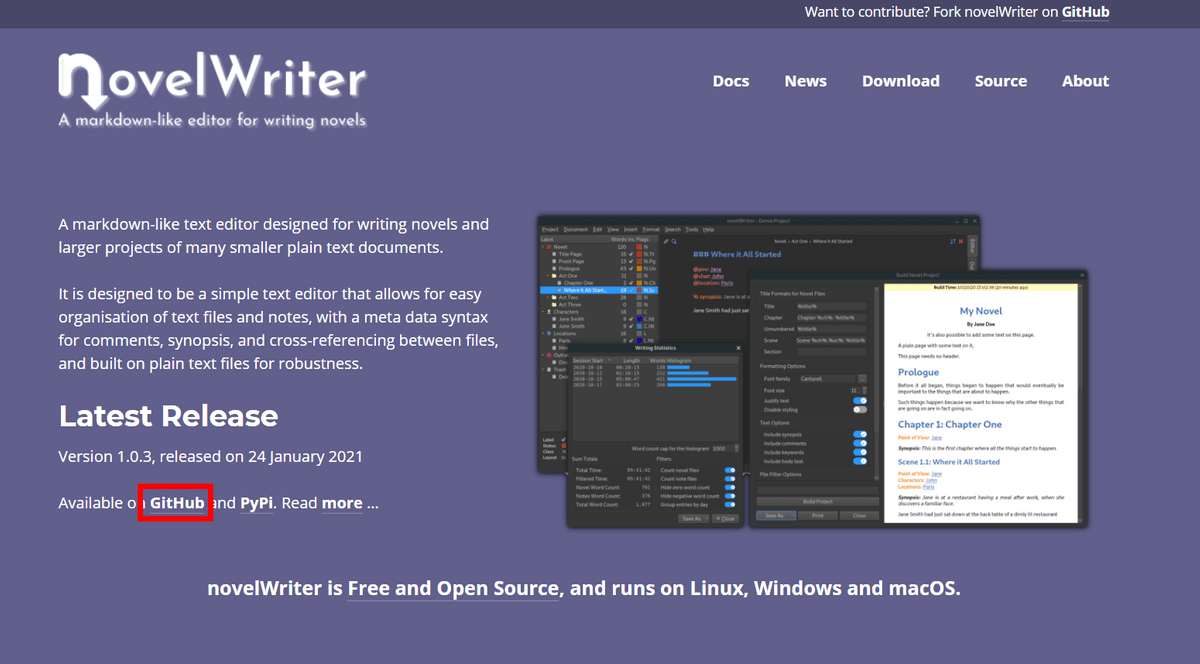
When you access the above URL, it looks like this. Since novelWriter is published on the software development platform GitHub, click 'GitHub' surrounded by a red frame.
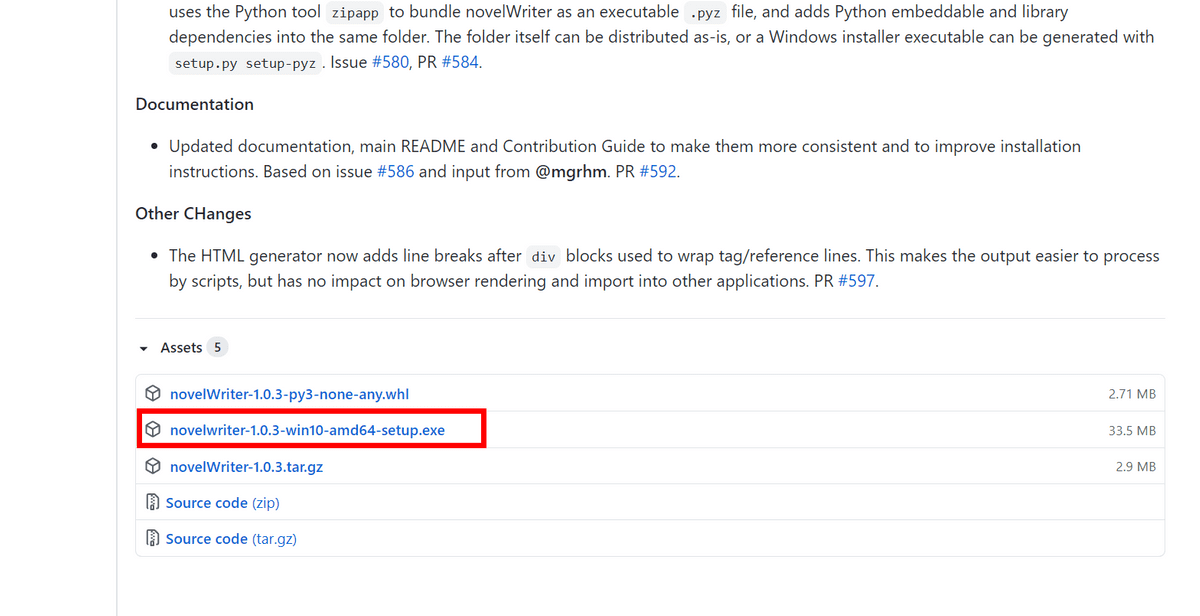
You will be taken to the release page of GitHub. Click 'novelwriter-1.0.3-win10-amd64-setup.exe' and save the installer to any location.
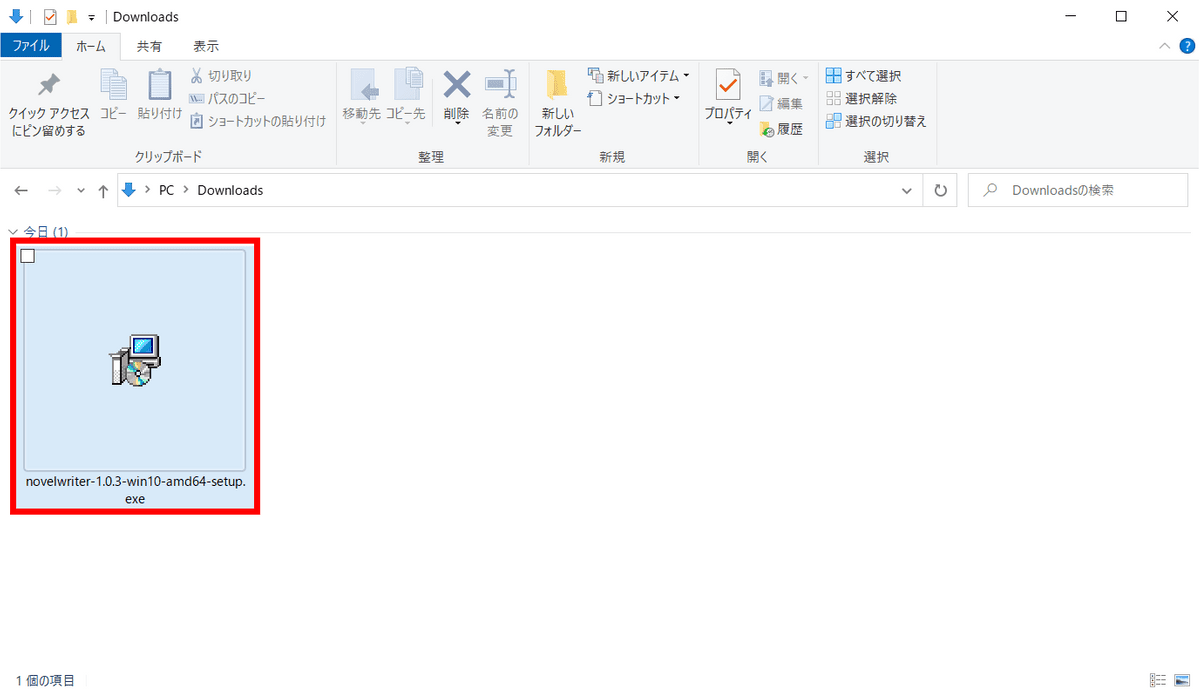
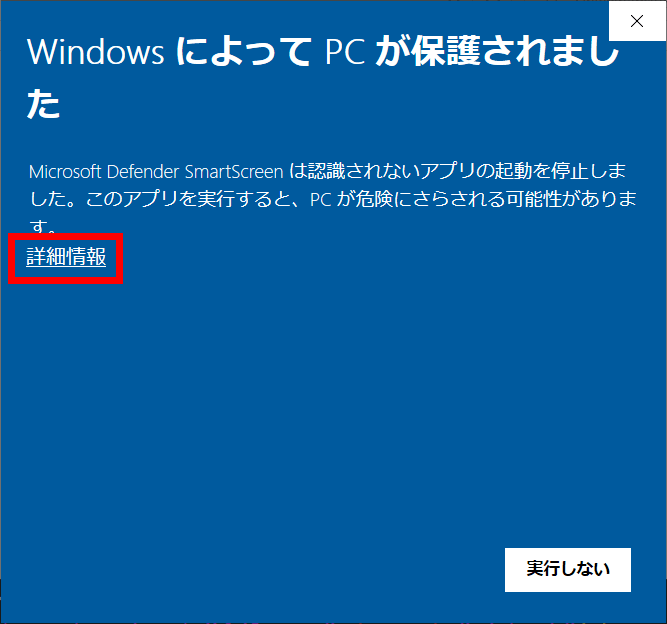
Then double-click the downloaded executable file to start the installation.
Click 'Details'.
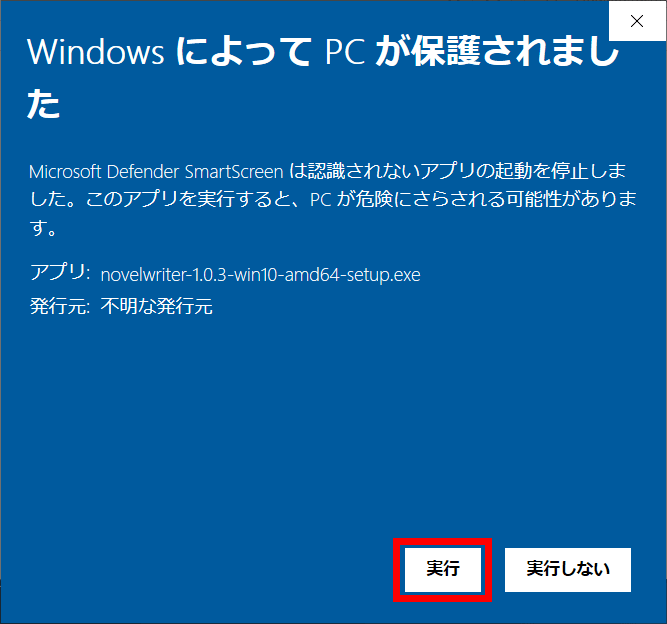
Click Run.
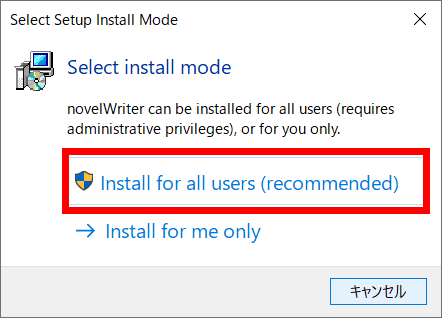
You will be asked if you want to install it for all users of your PC or only for yourself, so this time select the recommended 'Install for all users'.
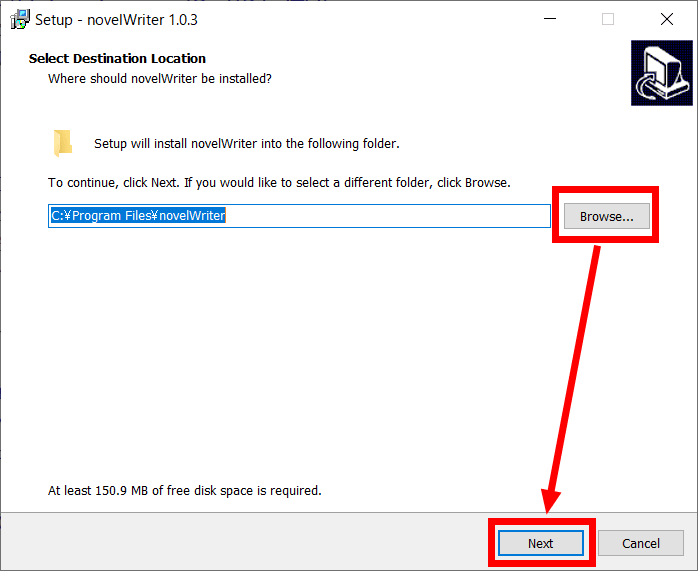
Specify the installation folder as appropriate and click 'Next'.
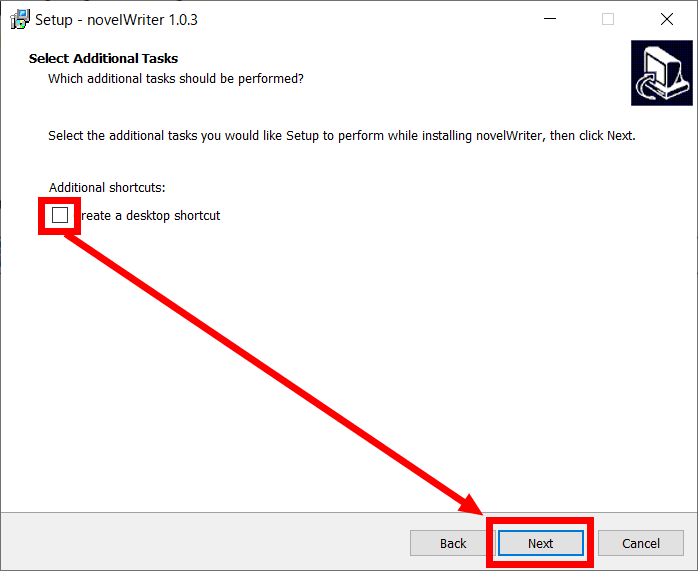
If you want to set a shortcut on the desktop, check the check box surrounded by a red frame, if not, uncheck it and click 'Next'.
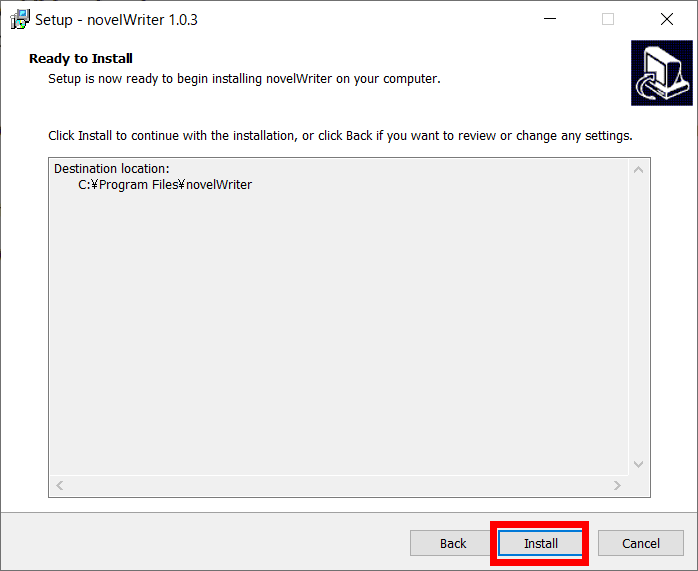
Click Install to start the installation.
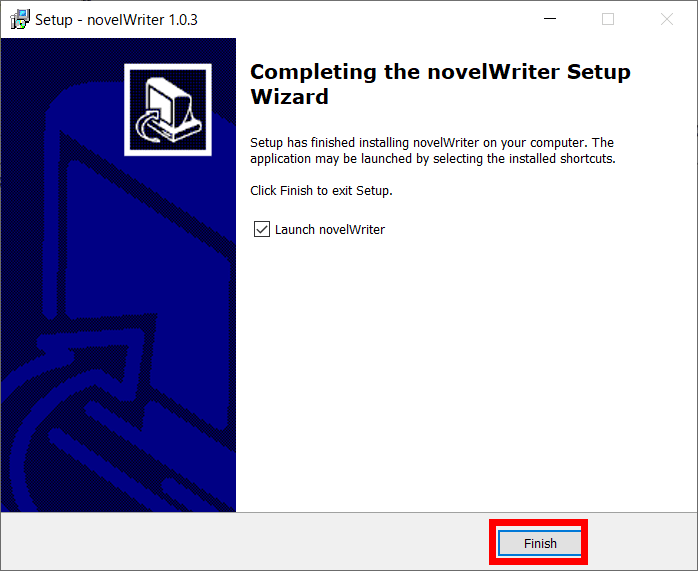
Click 'Finish' to complete the installation.
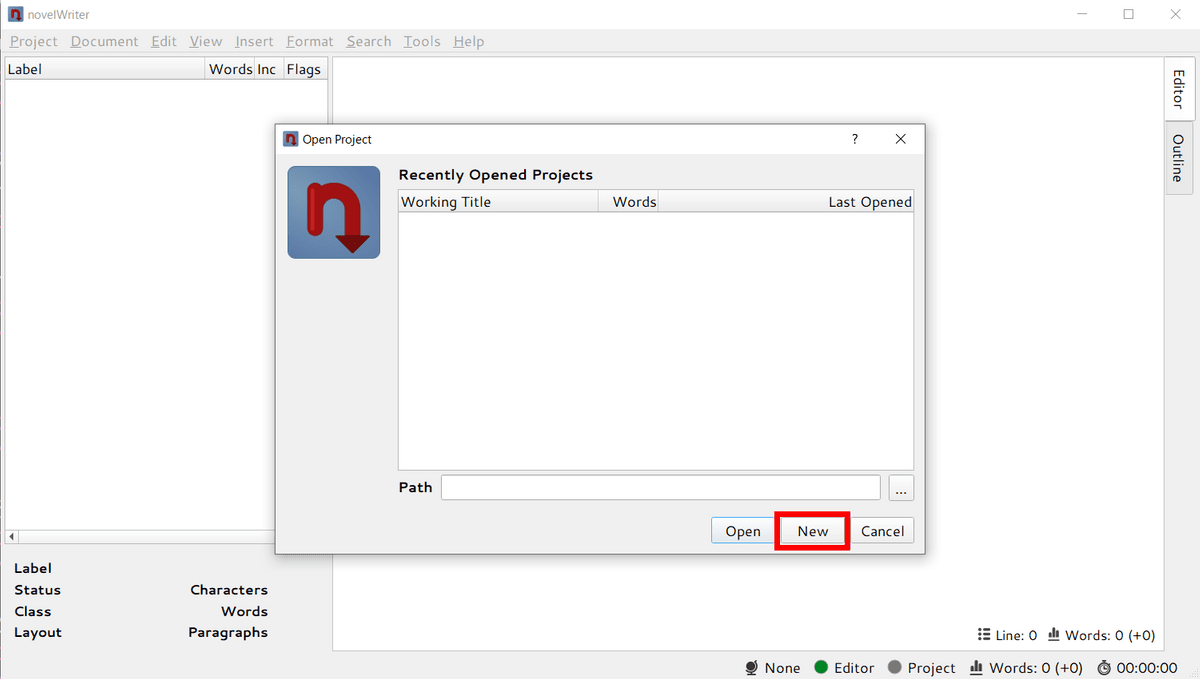
When you start it, you will be asked if you want to load the project, so click 'New' to create a new project.
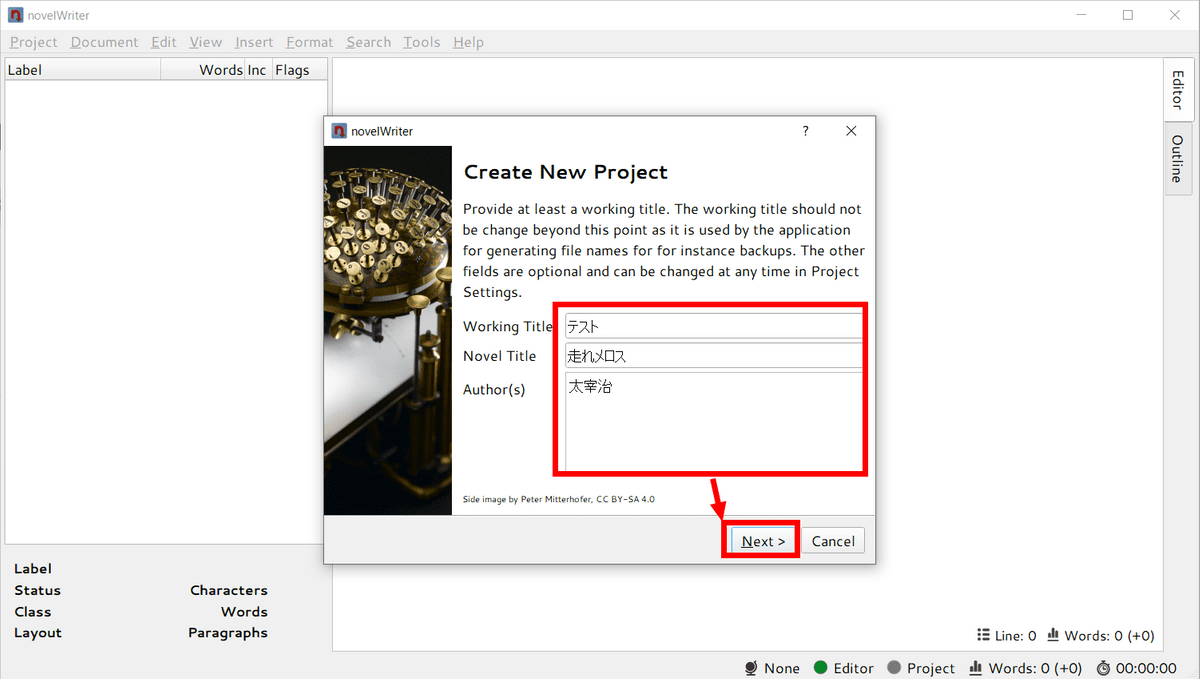
From the top, the fields for entering 'Working Title', 'Novel Title', and 'Author' are displayed. This time, I will try to write '
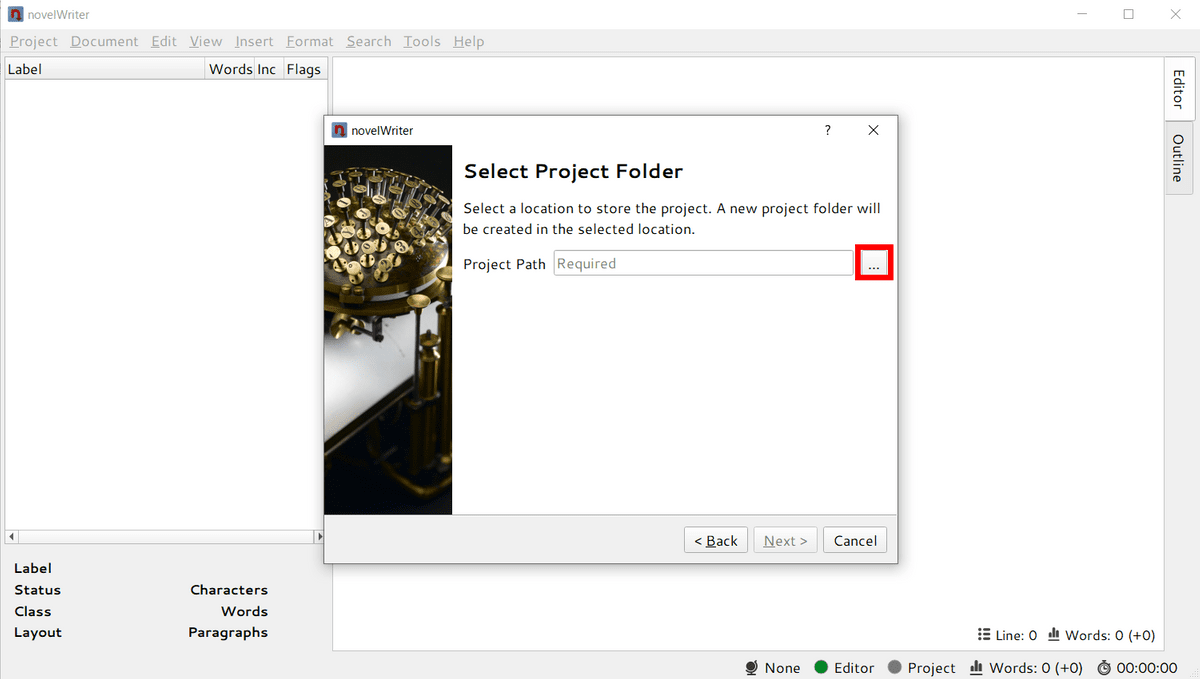
You will be asked to enter the save destination of the project, so click the button in the red frame.
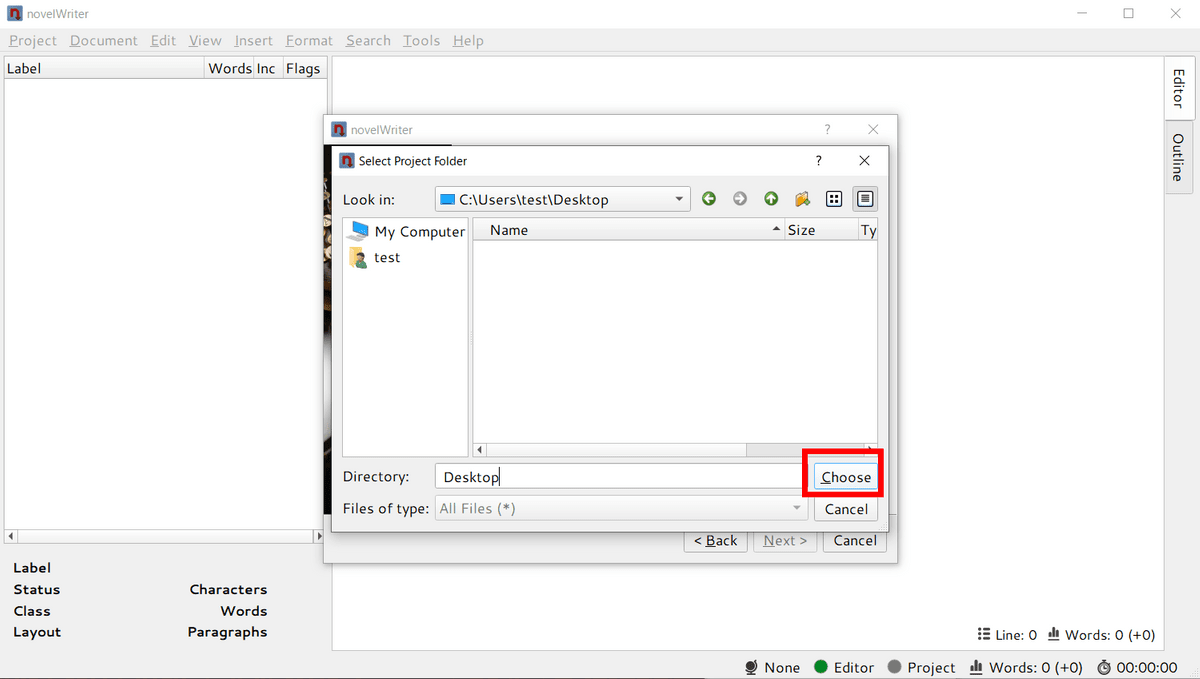
Select a destination of your choice and click Choose.
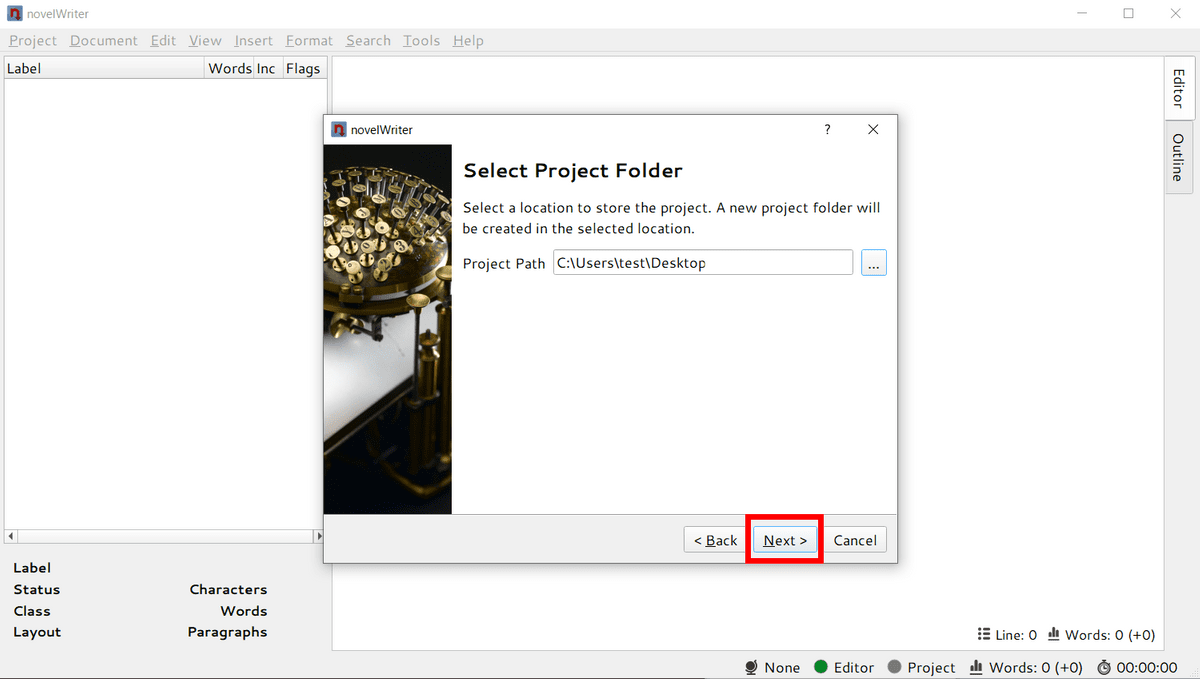
Click Next.
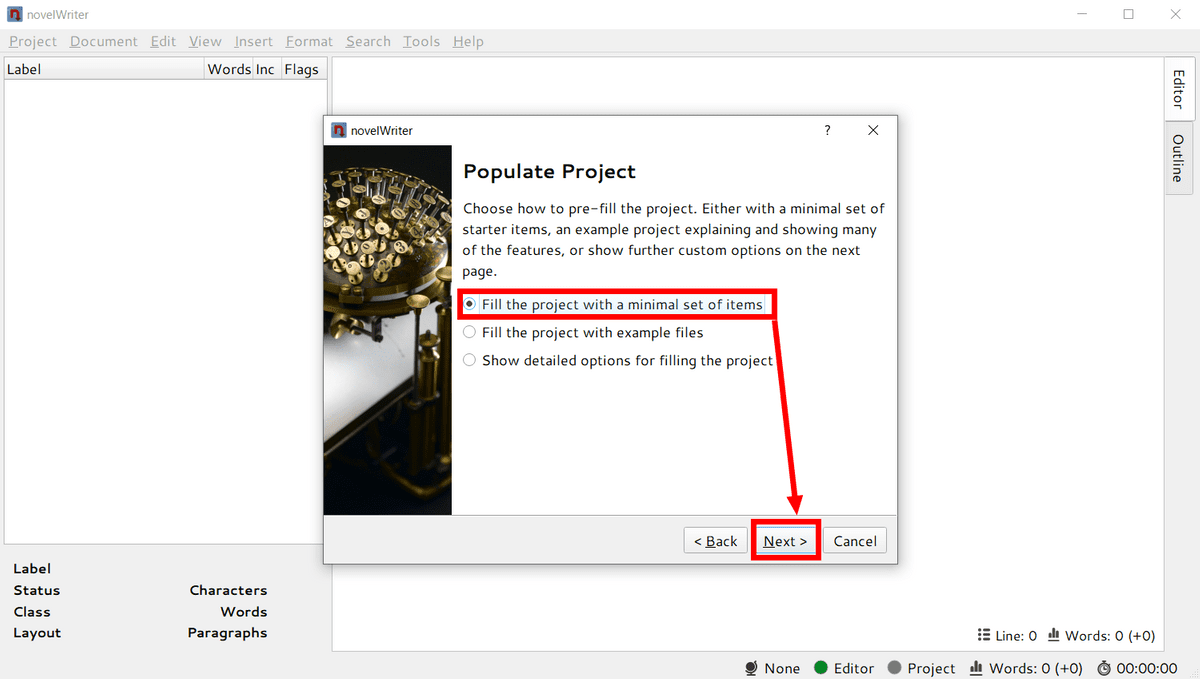
Finally, determine the project requirements. The three options are 'Minimum items only', 'Filled with samples', and 'Custom' from the top. This time select the top and click Next.
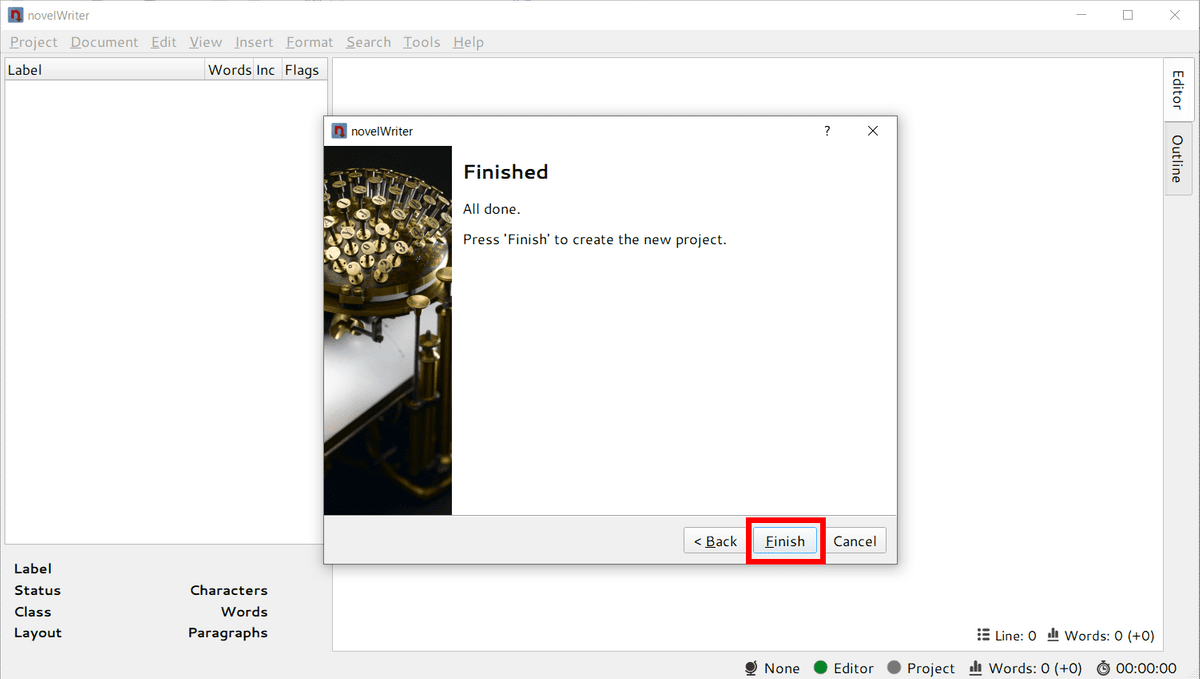
Click Finish.
◆ Try writing 'Run Meros' with novel Writer
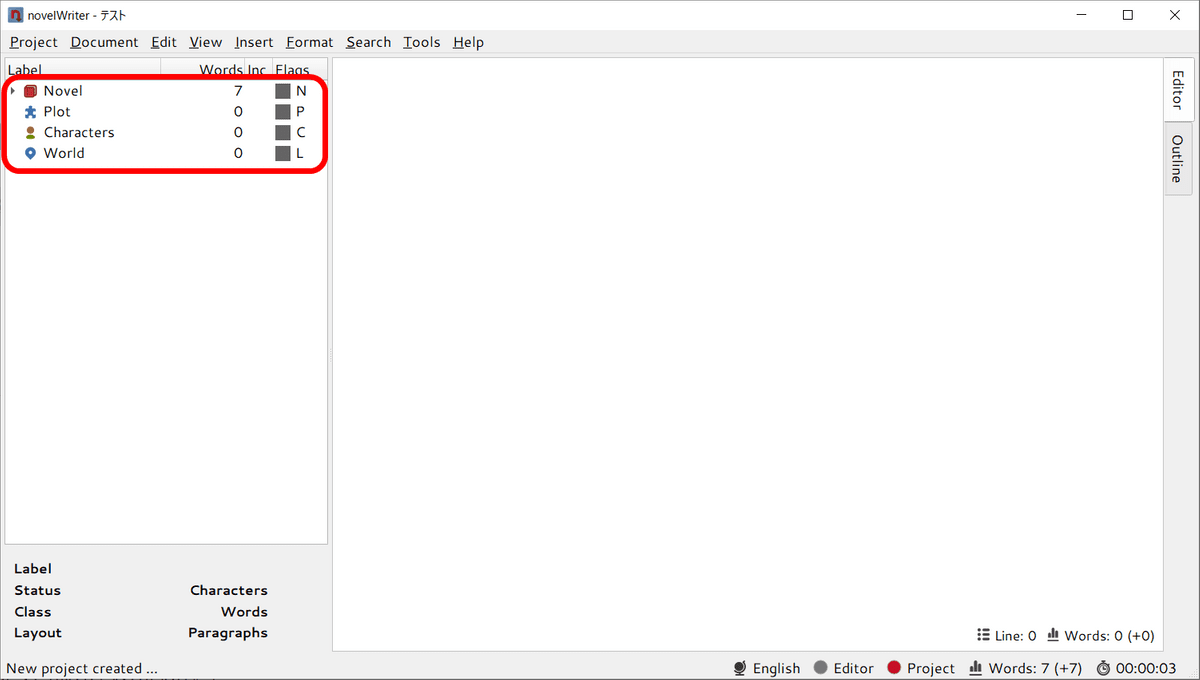
That's why the screen for writing a novel was displayed with novelWriter. The elements of the novel are displayed in a tree format in the left column, and the root folder of 'Novel (novel text), Plot (scenario), Characters (character), World (world)' is prepared from the beginning. ..
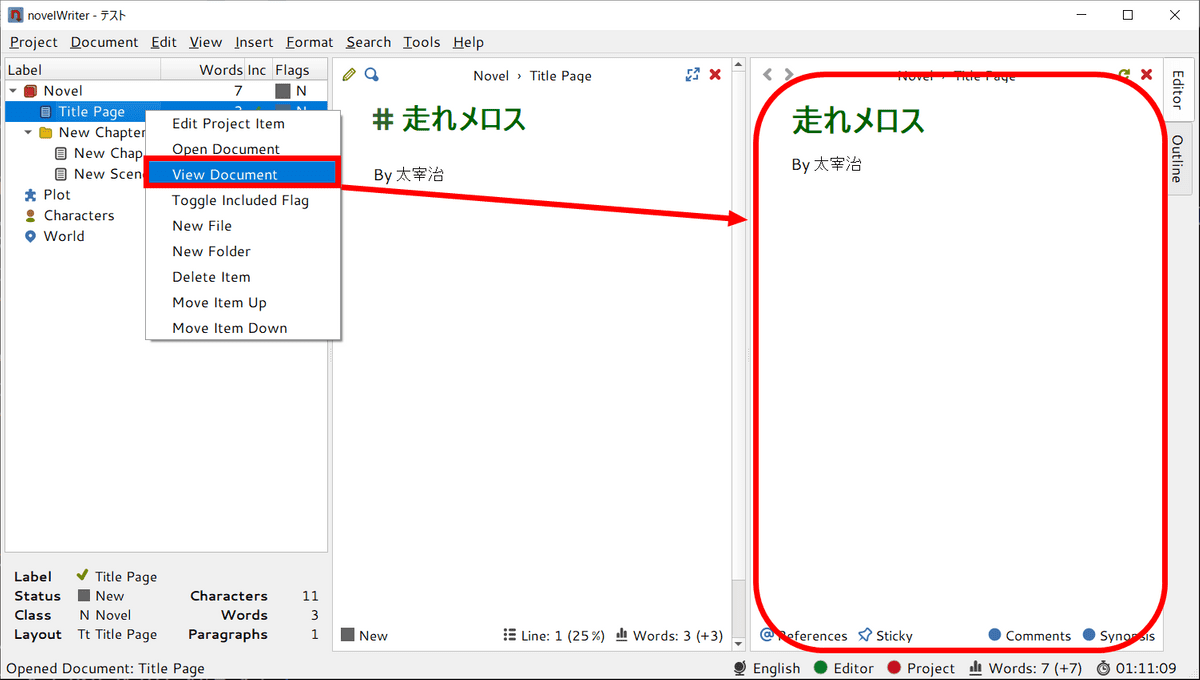
When I clicked Novel and then clicked 'Title Page', the title and author name of the novel I entered earlier were displayed in the 'Edit Panel' on the right.
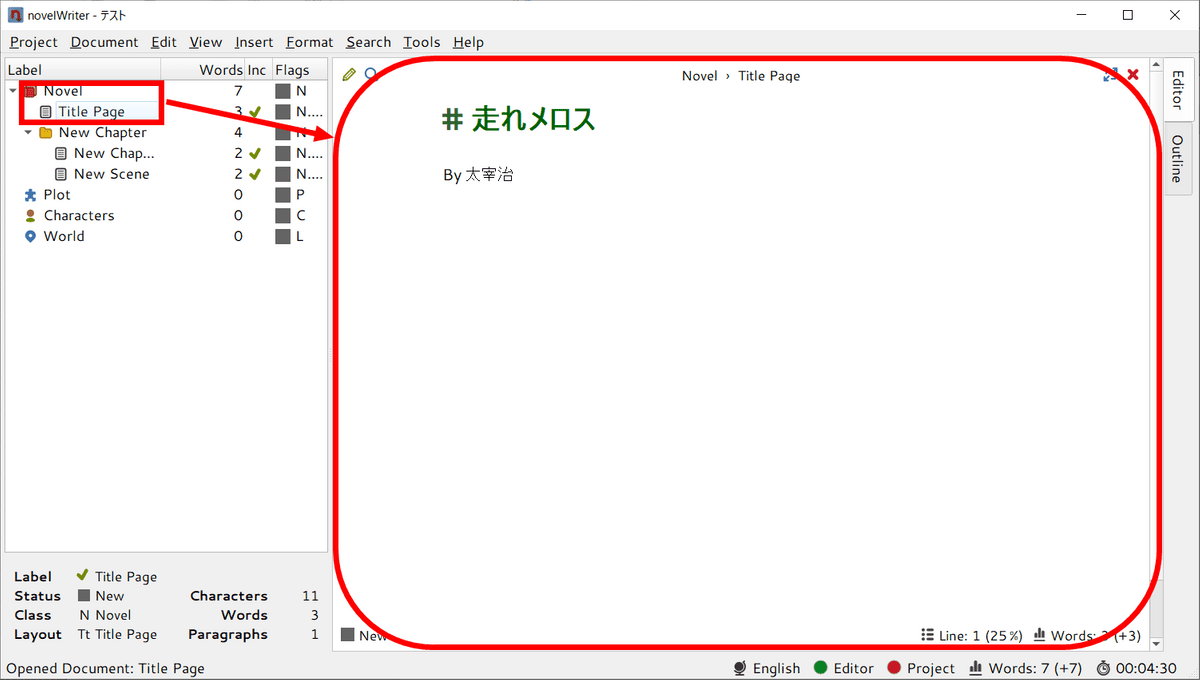
The title is '#Run meros', because the header is set in Markdown format. Right-click Title Page and then click View Document to see what it actually looks like in the View Panel on the right.
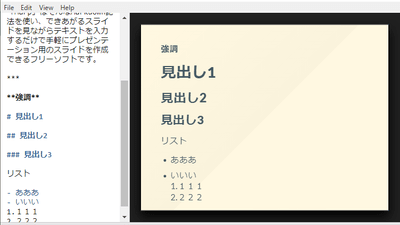
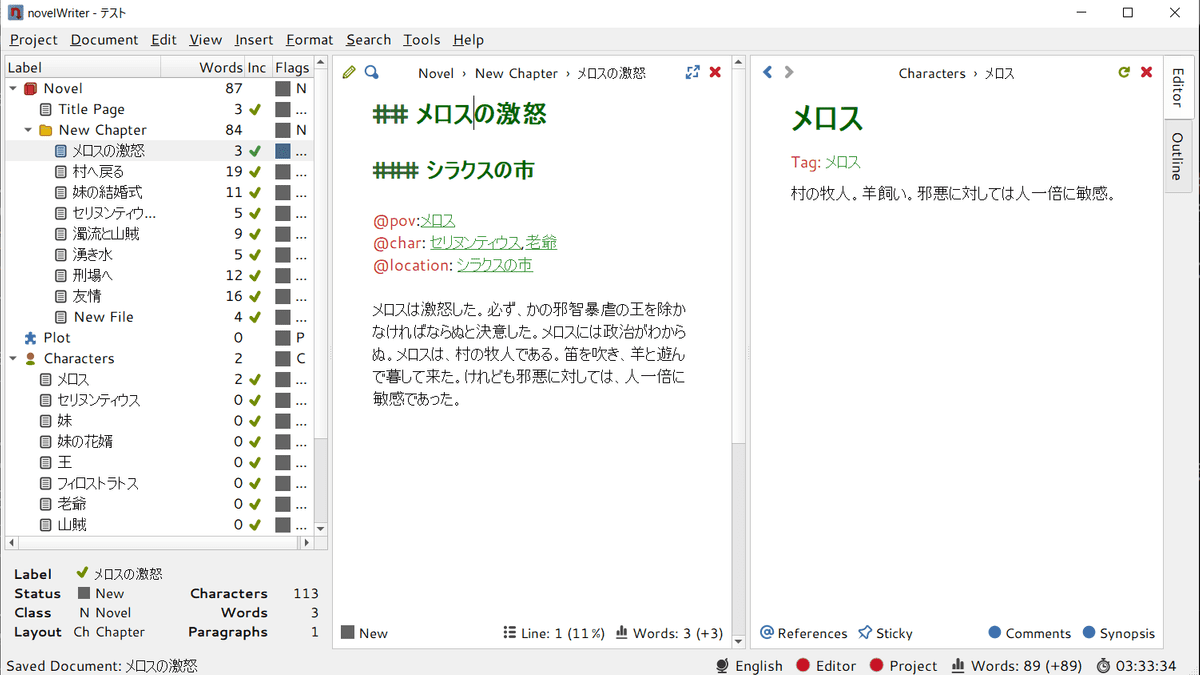
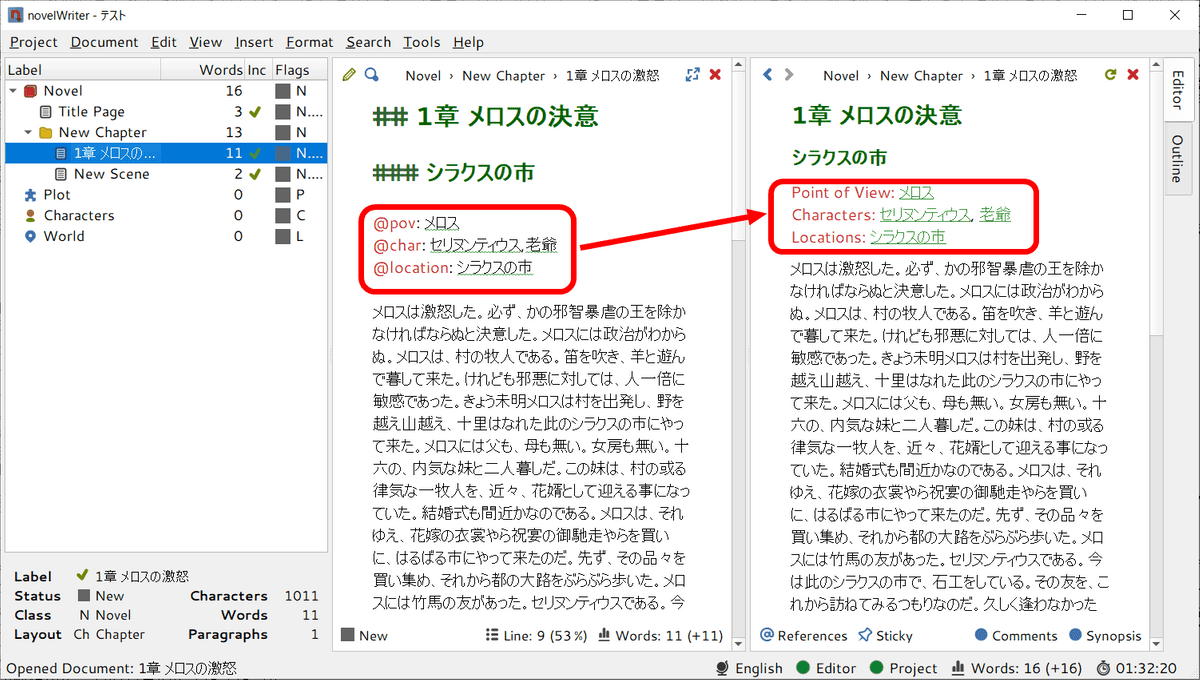
So, when I write the beginning of Run Meros, it looks like this. Before writing the text, it is possible to tag the characters with '@' and set the characters and scenes of the scene, '@pov (person who will be the viewpoint of the scene)' '@char (other characters) There are types such as '@location', '@time', and '@object'. You don't have to add this, but if you set it ...
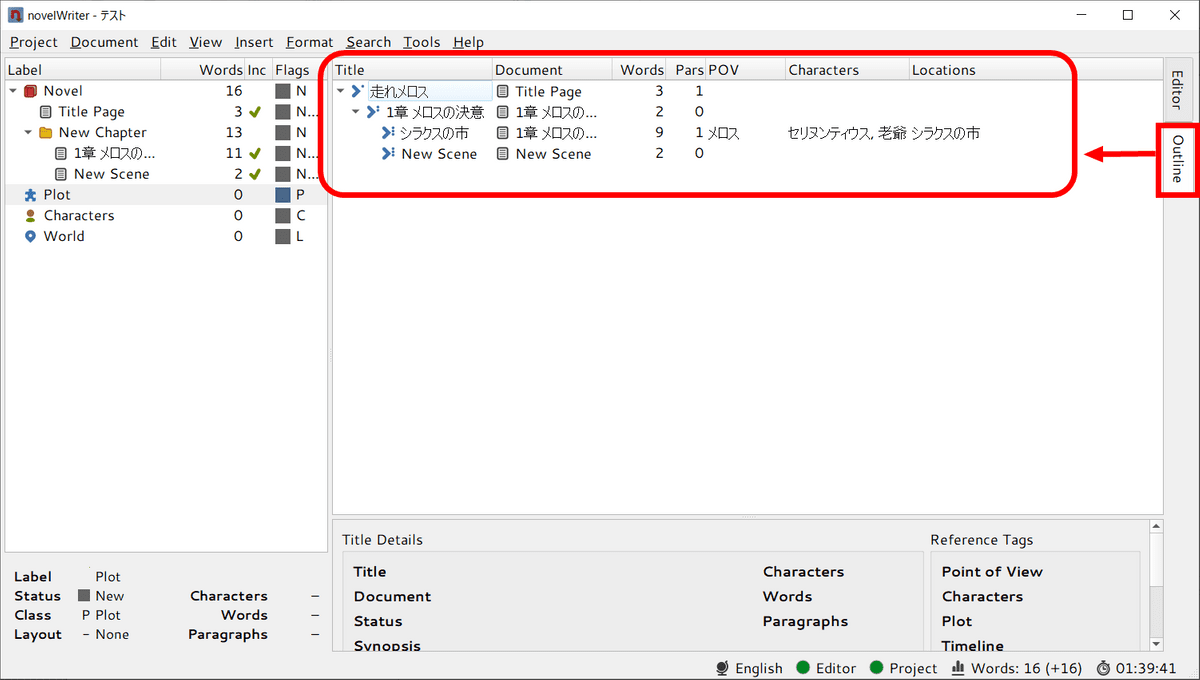
It is convenient because you can see the location and characters of the scene at a glance from the 'Outline' tab on the right.
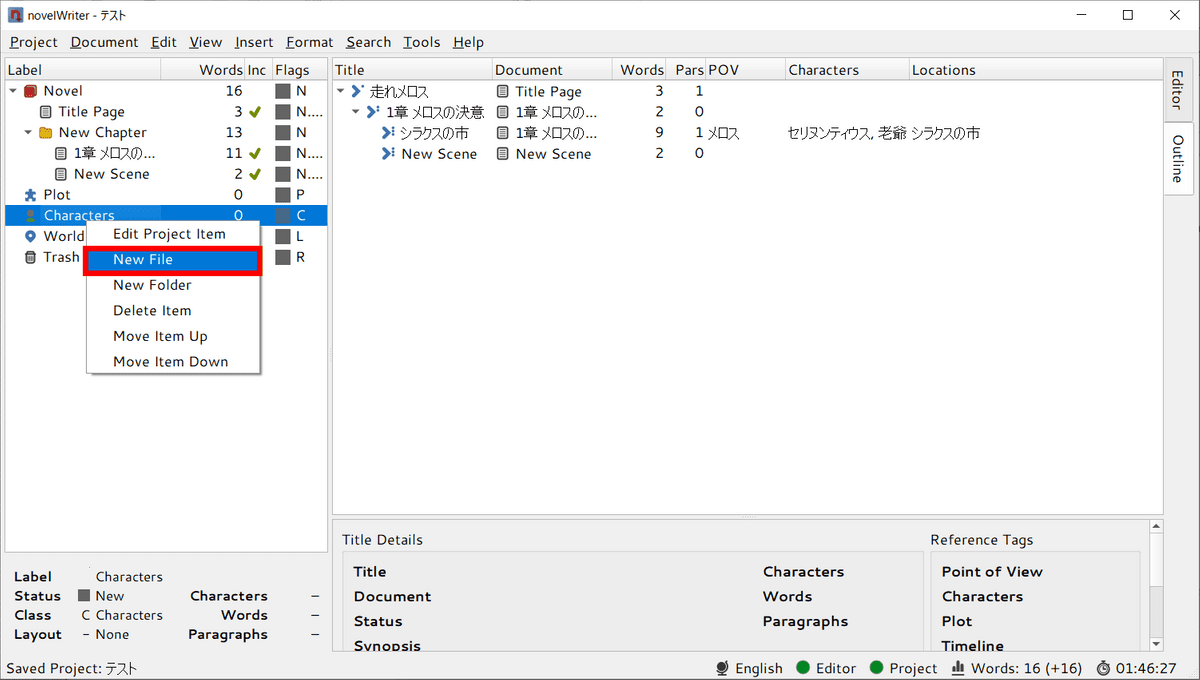
Since we have set the characters and places, we will incorporate them into the project. First, right-click the root folder of 'Character' and select 'New File' ...
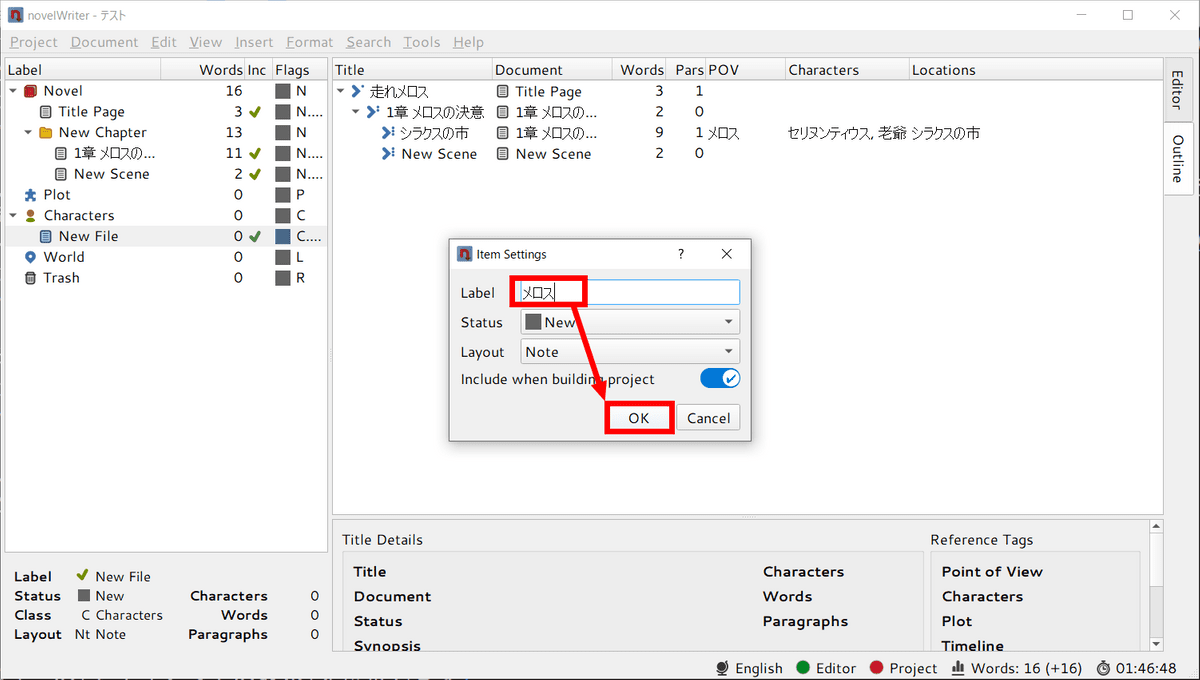
Enter 'Meros' in the 'Label' field and click 'OK'.
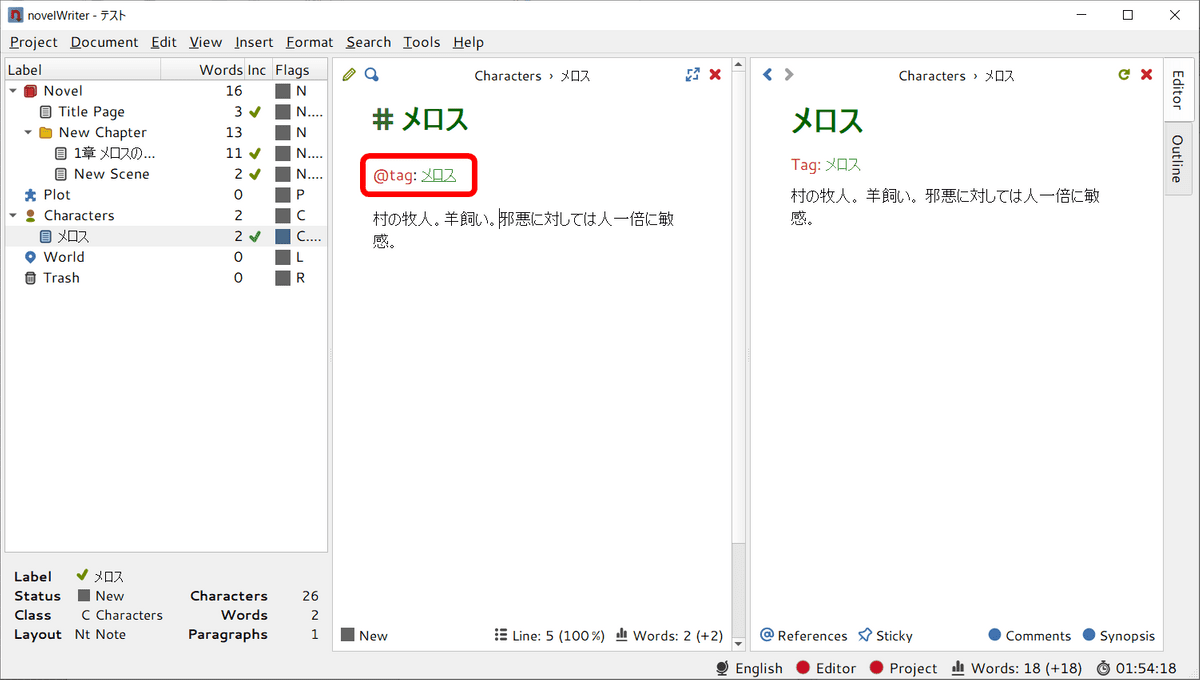
The item of the character Meros has been created. If you write '@tag: meros' here, the meros tag set with '@pov' or '@char' mentioned above will be linked to this item.
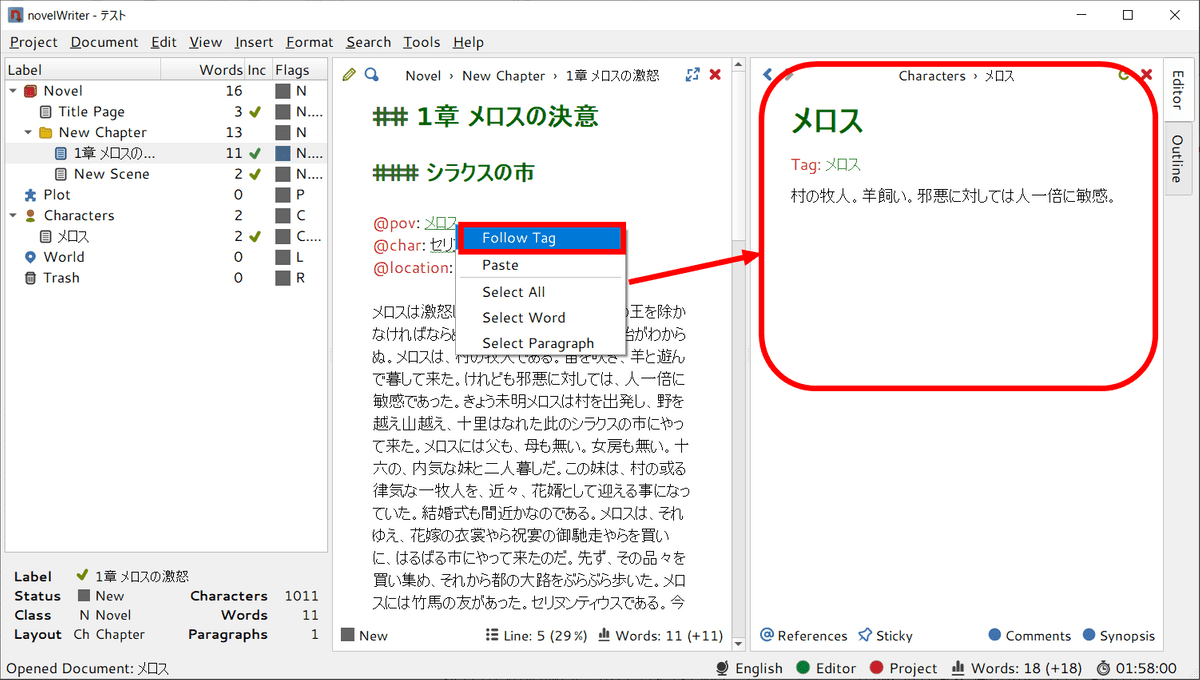
If you right-click Meros in the edit panel and click 'Follow Tag', you will be able to see the items of Meros at any time, so you can proceed with writing while checking the settings at any time.
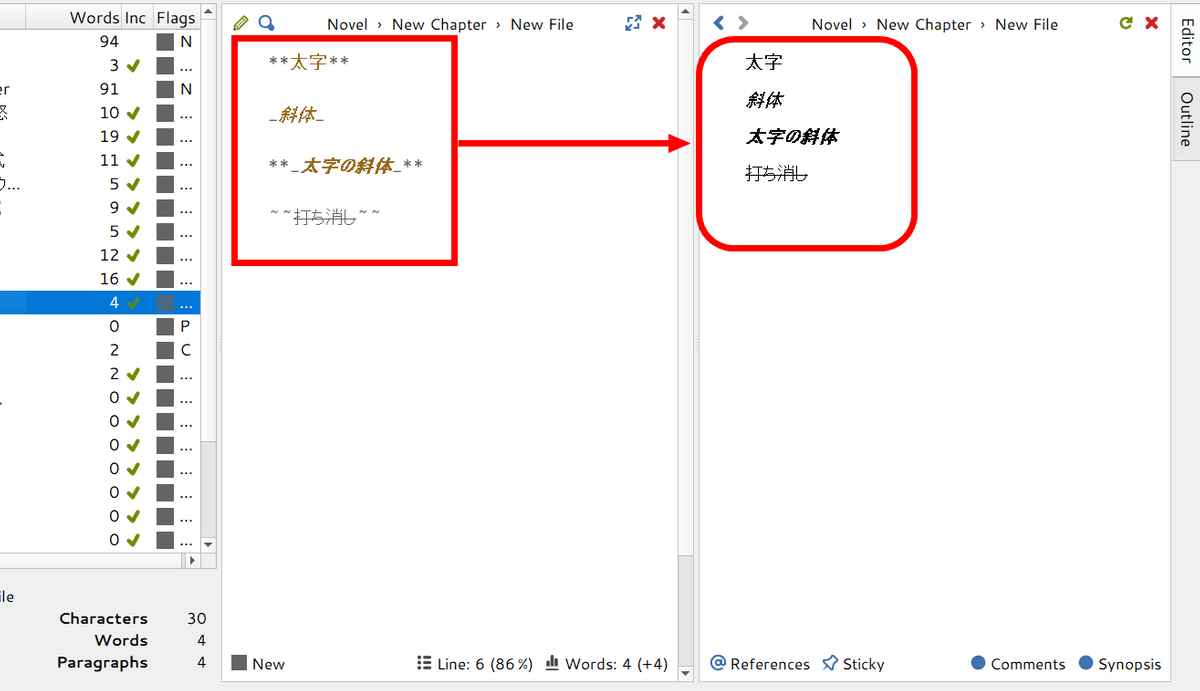
Not all Markdown notations can be used, but you can make it bold with '** (character) **', italic with '_ (character) _', and bold with '** _ (character) _ **'. You can also use italics, such as adding a strikethrough with '~~ (character) ~~'.
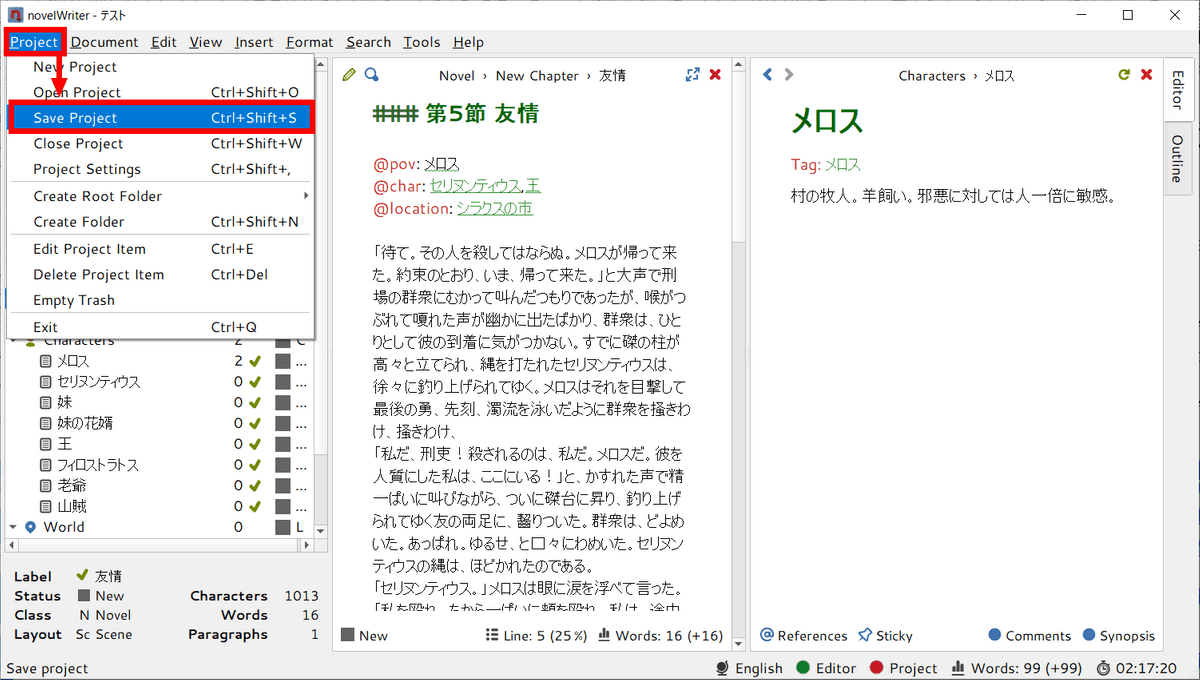
If you want to save the created project, select 'Save Project' from 'Project' to overwrite the project.
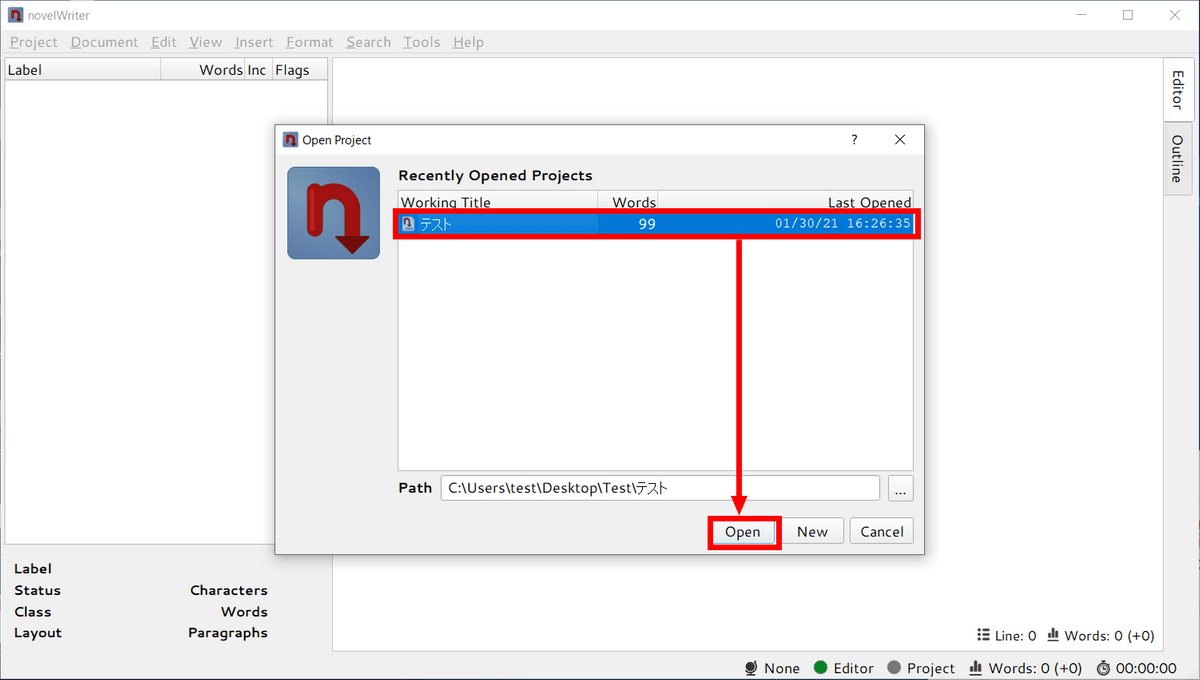
If you want to resume writing the saved project, start novelWriter and then select the saved project on the screen that appears.
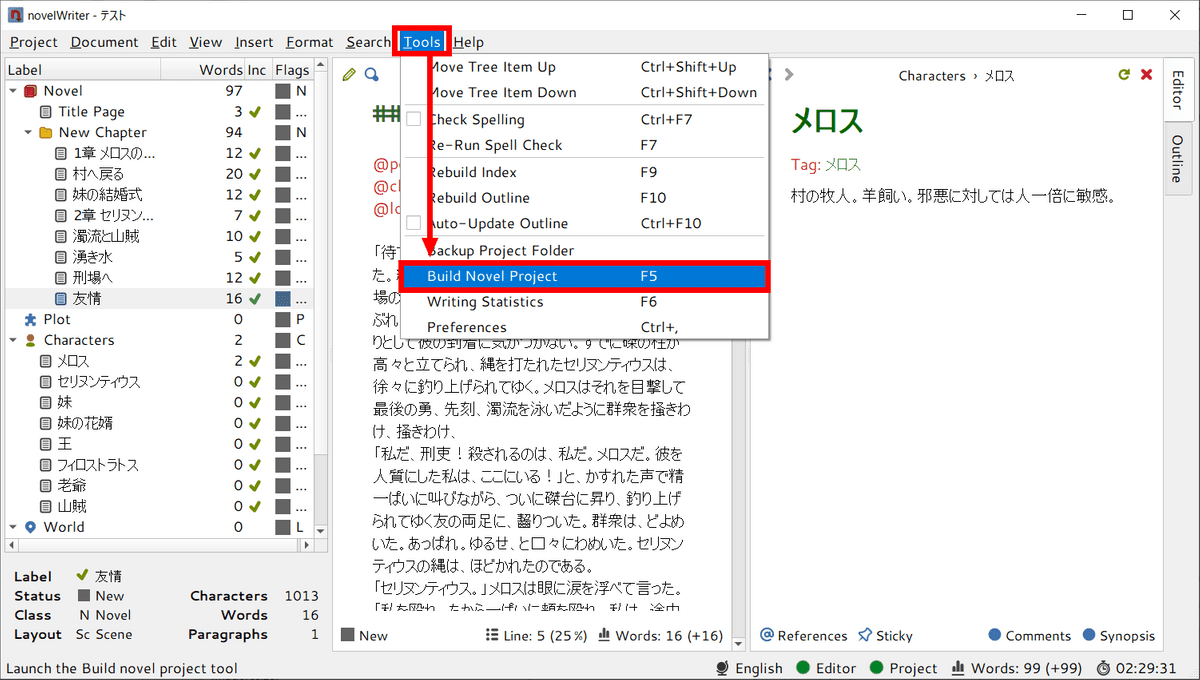
Also, if you click 'Build Novel Project' from 'Tools' ...
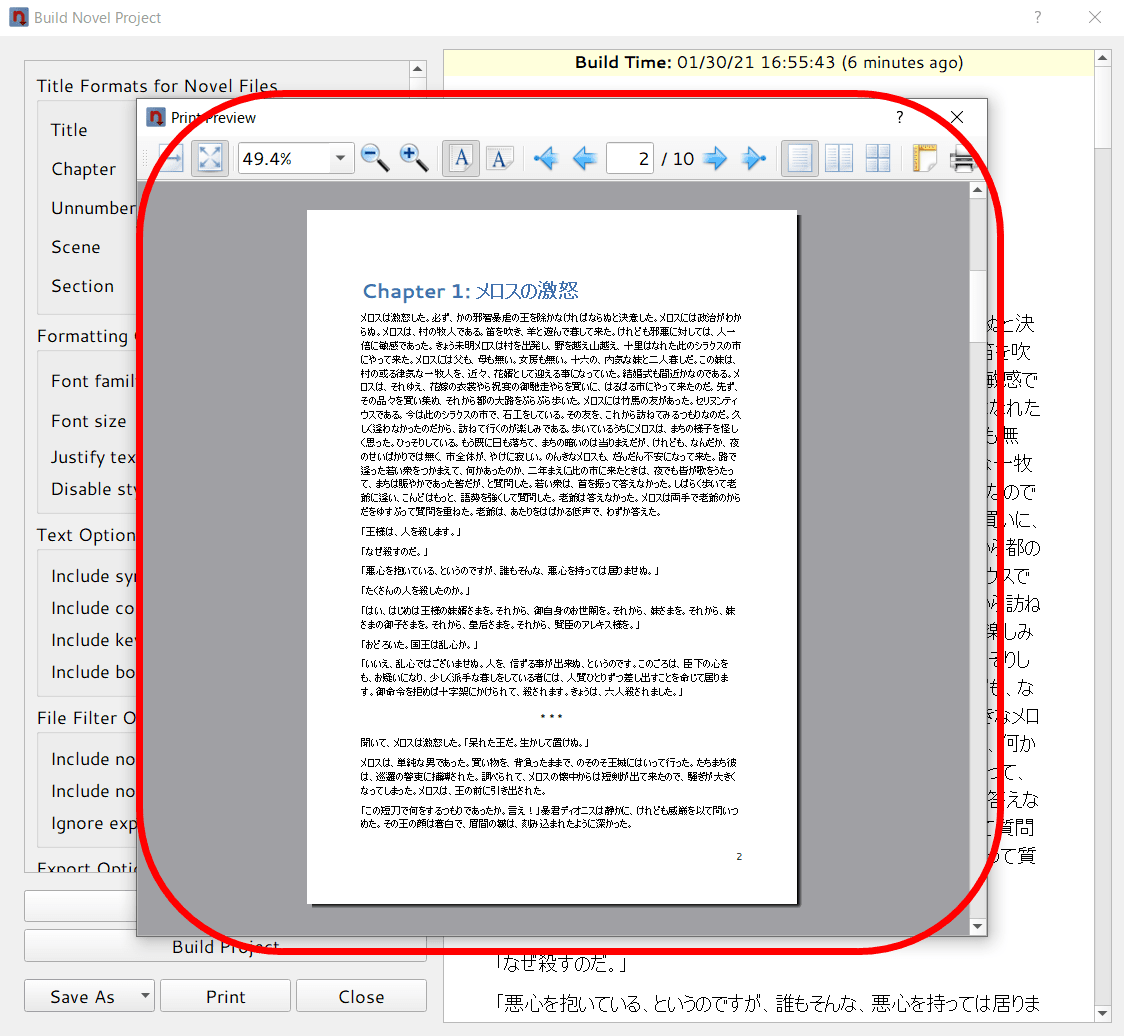
It is possible to output the project. Click 'Print' ...
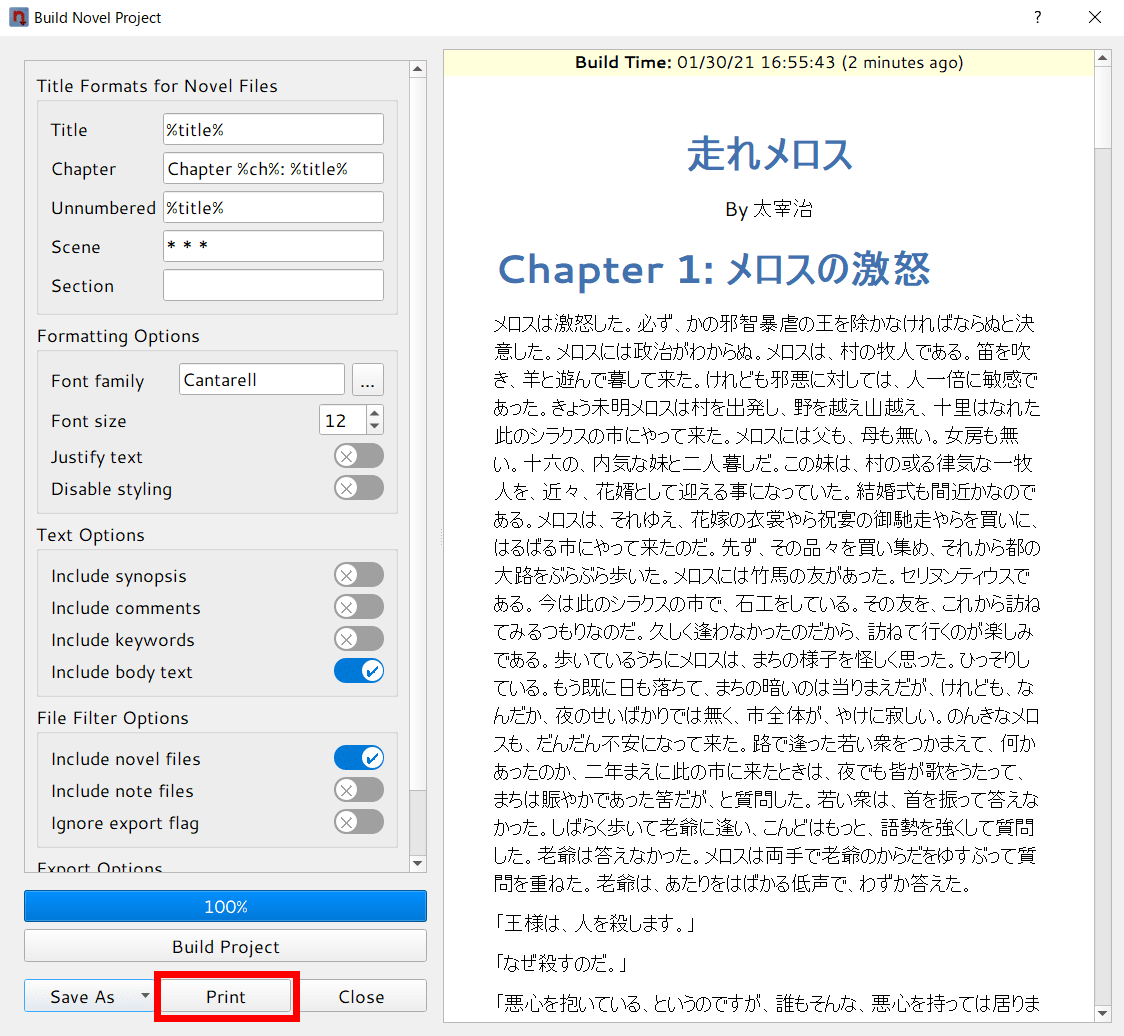
A print preview is displayed.
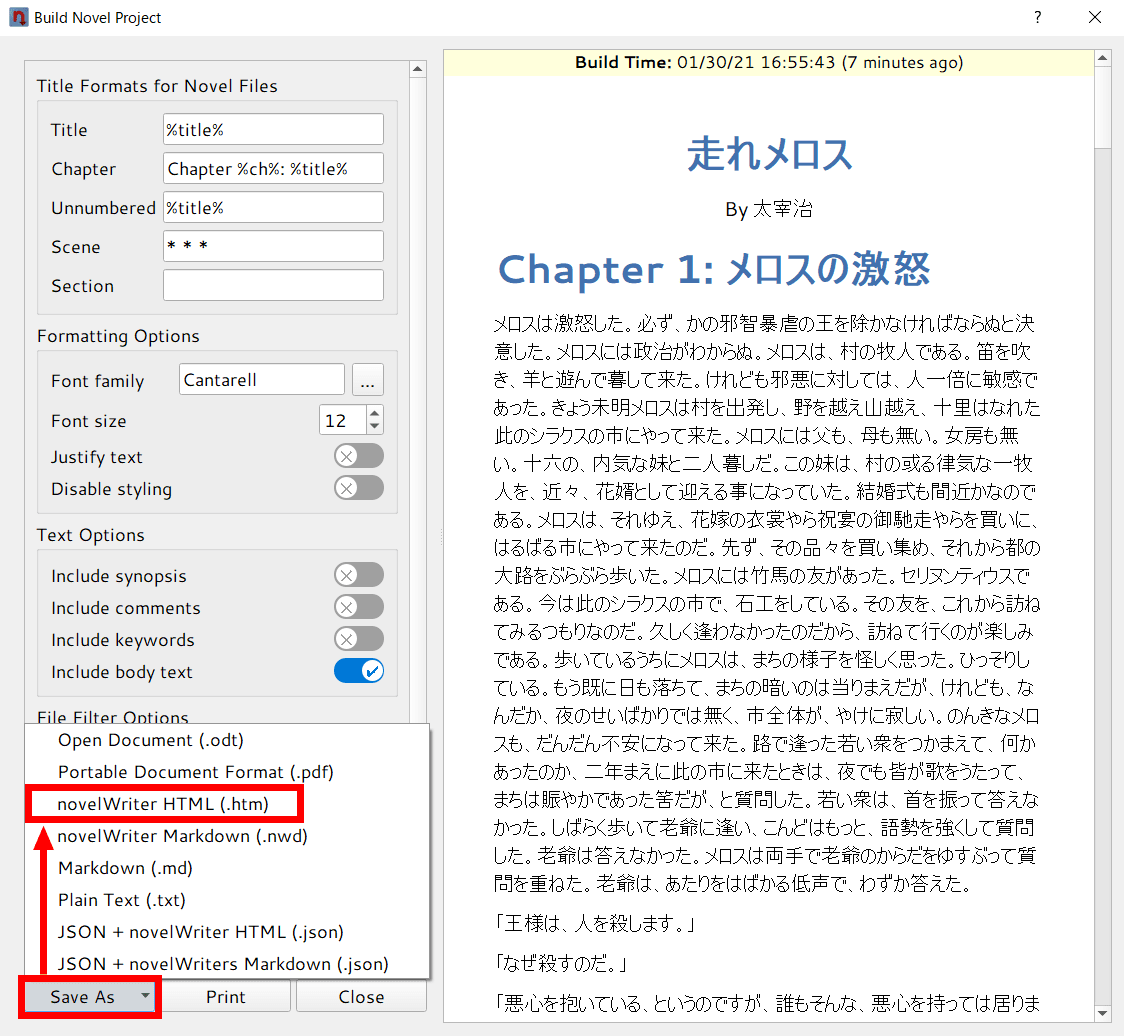
Click 'Save As' to select a save format such as Open Document format (odt) or PDF file. Here, I will try to select the HTML format.
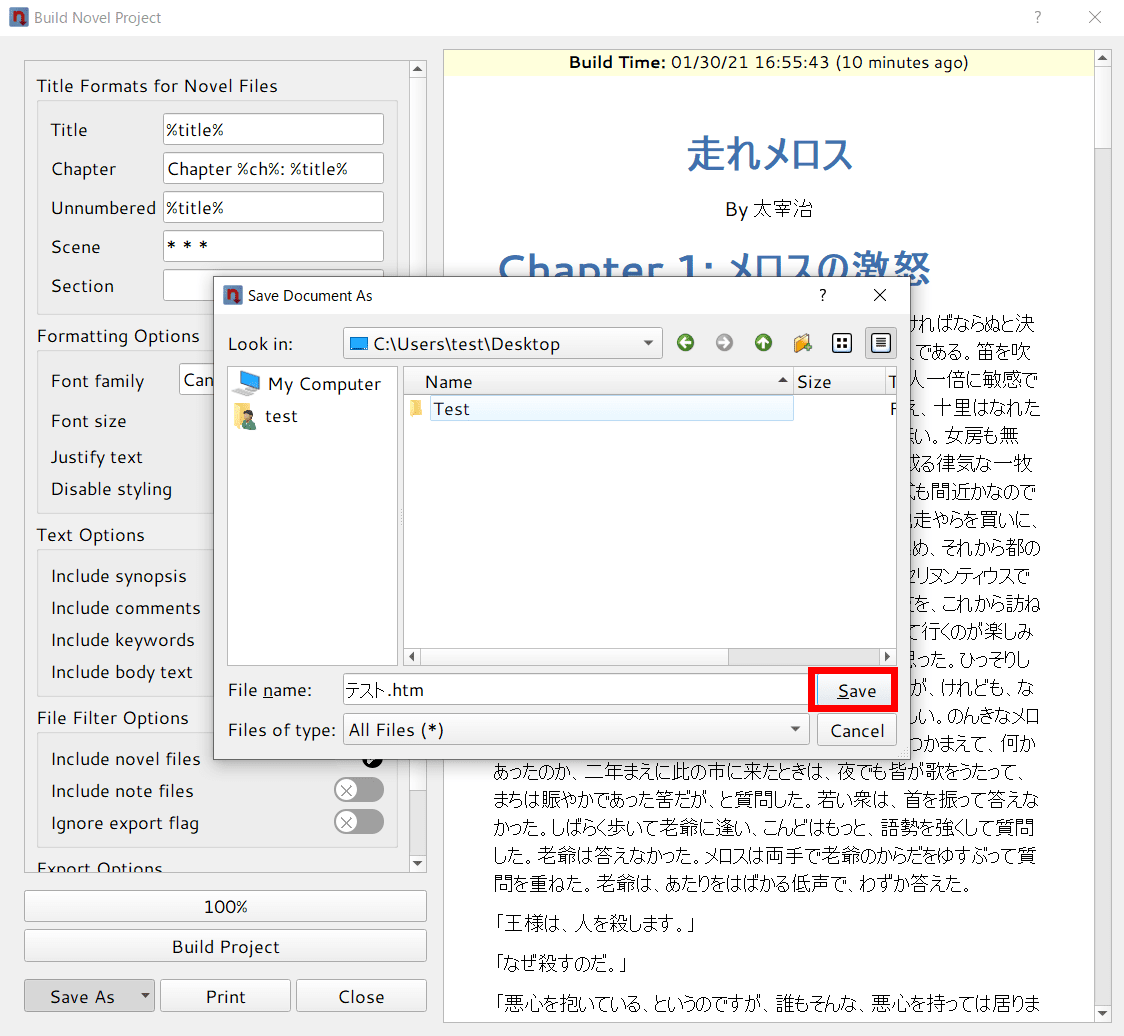
Select any save destination and click 'Save'.
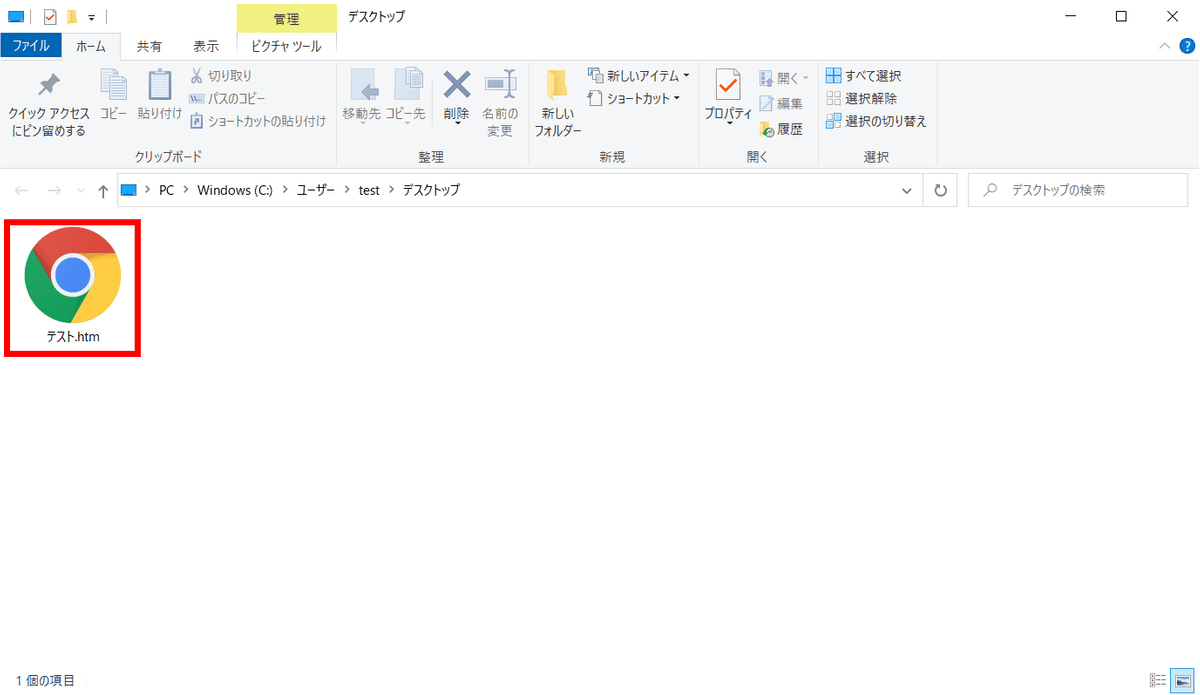
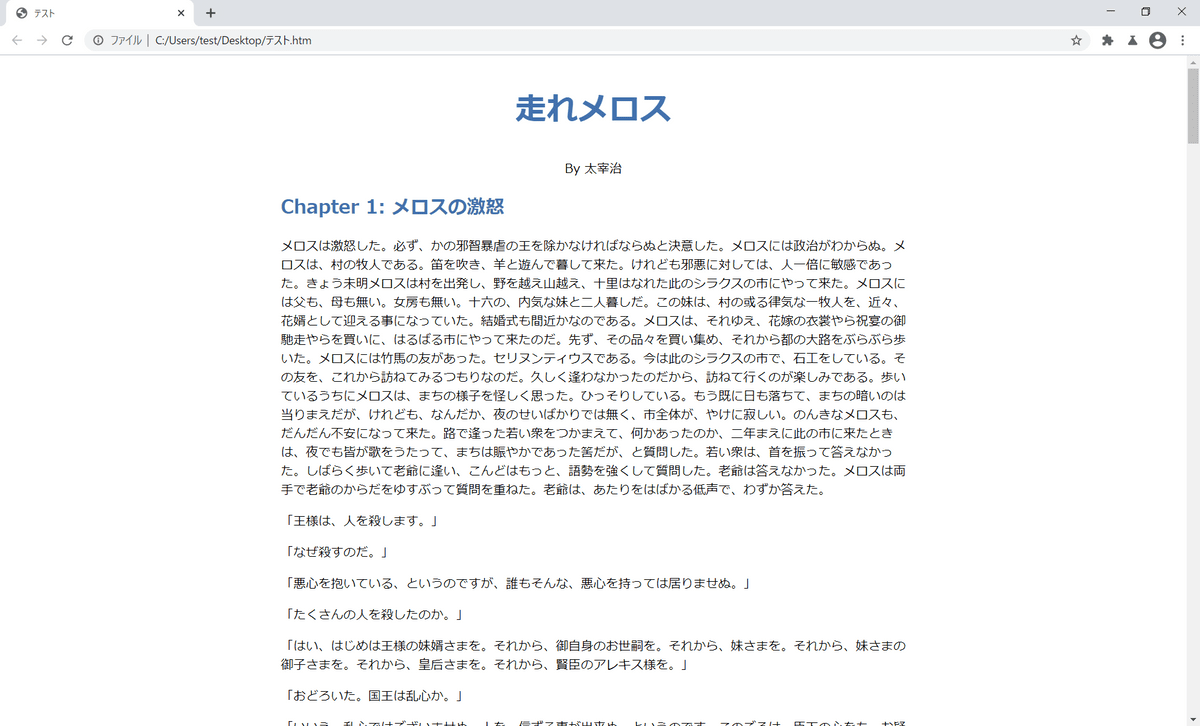
Then an htm file was generated in the selected location. Double-click to open it in your browser ...
It will be displayed like this.
Related Posts: