Yahoo! I installed "FreeBSD" which is adopted at large site such as live door, 2channel
Because we had to examine the server that had high reliability and demonstrated the best performance even under high load, as a result of searching variously,Yahoo! , Livedoor, 2channel and so on"FreeBSDI decided to try it.
According to the description on FreeBSD's own site,Stable, fast, high performance and safe,It provides advanced functions and many security functionsAnd that. It seems that there is a bit of a habit to say that installation is difficult with some reputation, but this high performance and stability etc. are "freeIf you can get it, I decided that it is worth installing.
So, for the time being, I will install FreeBSD as follows.
■ First download ISO file
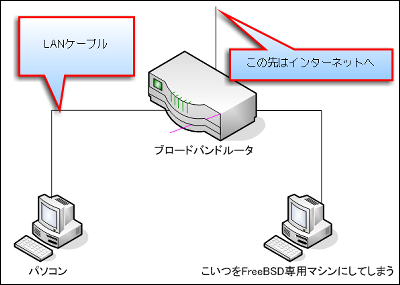
I will think about this kind of system configuration diagram this time. Feeling hanging right under the broadband router. Let's make a special machine for FreeBSD by using that entire area on one machine. However this time it is only a test,VMwareI decided to use.
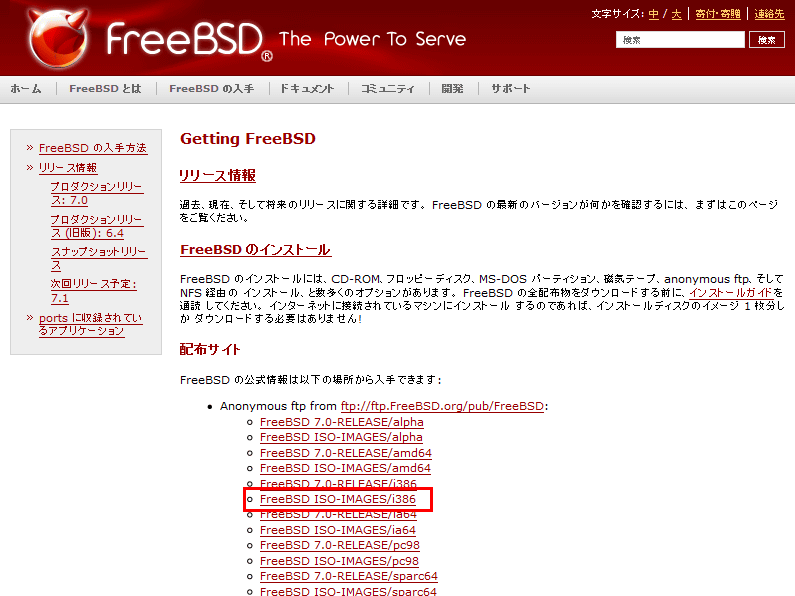
First of all, on the official website of FreeBSDThis pageDownload ISO file (burn it to DVD - R etc later). Click "FreeBSD ISO-IMAGES / i386".
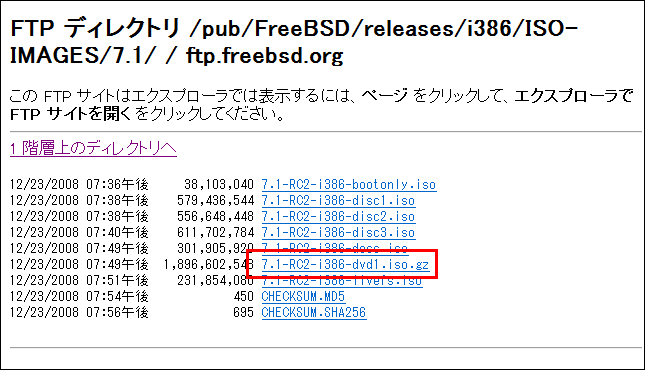
Click "Directory 7.1"

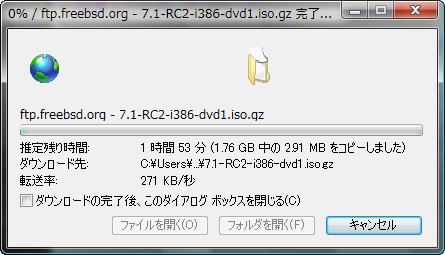
Click "7.1-RC2-i386-dvd1.iso.gz"
Click "Save"
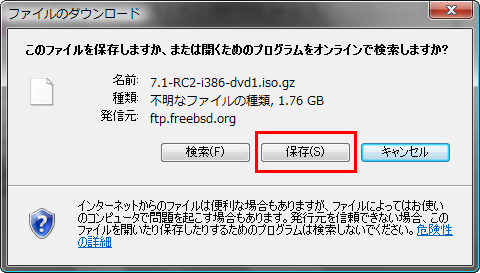
Click "Save"

Downloading. It will take quite some time so let's wait slowly. Or wait slowly!
■ Installation finally started
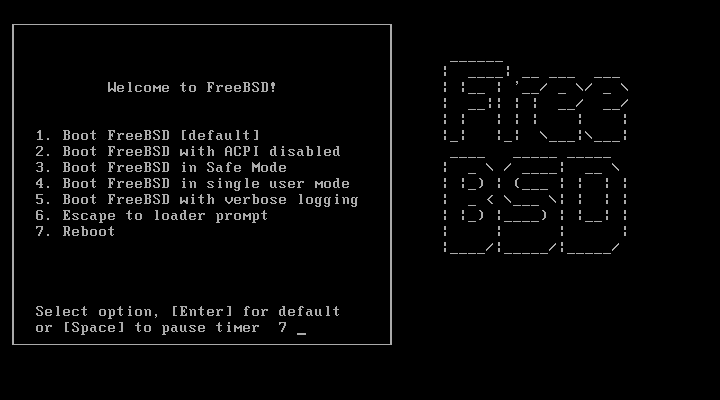
· 1:After downloading, you can copy the file with this extension ".gz"Decompression softwareWhen you decompress it with a file with the extension ".iso", it will burn it to blank media using DVD writing software and so on. It is OK if you start up the machine using this media (set it so that the CD / DVD drive can be booted from the BIOS). Since this time is a virtual environment, I started using this ISO file as it is. Then, such a screen appears.
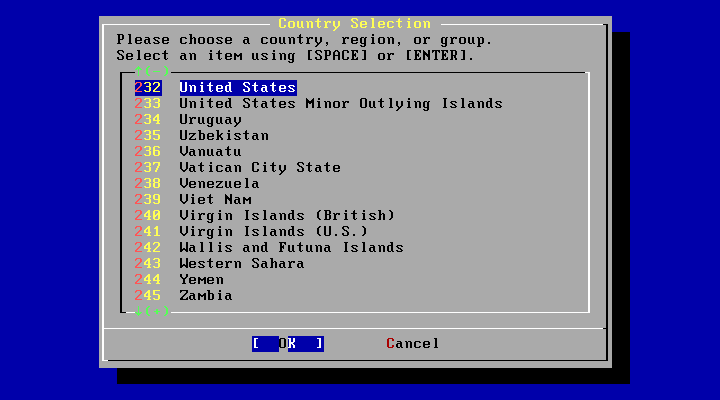
· 2:Choose your country.
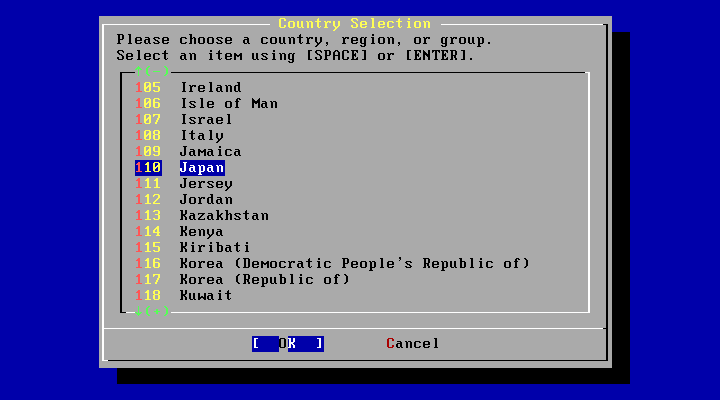
· 3:Since it is Japan this time, select "Japan" and press "Enter" key
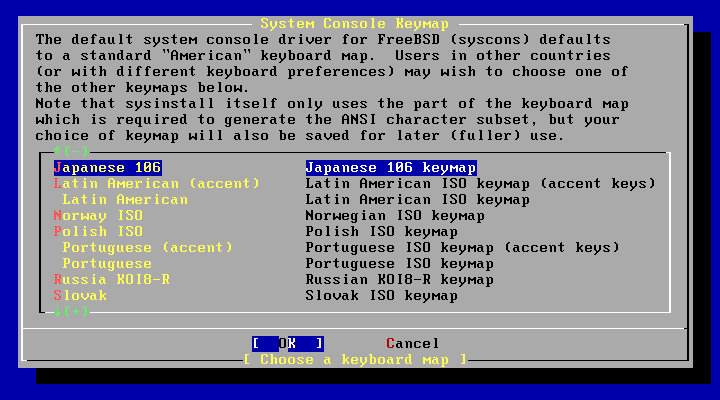
·Four:As it becomes the screen to select the keyboard you are using, select "Japanese 106" which is a normal Japanese keyboard and press "Enter" key
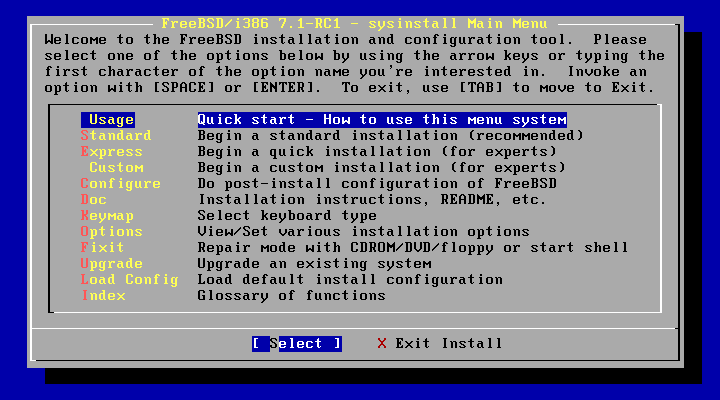
·Five:The main screen of 'sysinstall' which is a famous installer for FreeBSD's expert tastes will be displayed. Since it is difficult from here, let's put in a spirit.
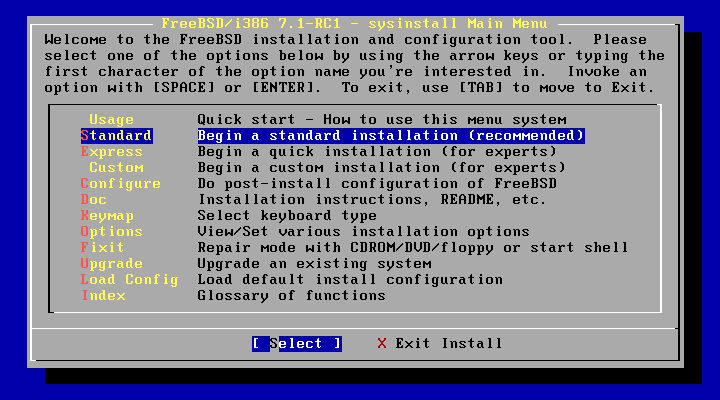
· 6:For this time select "Standard" and press "Enter" key
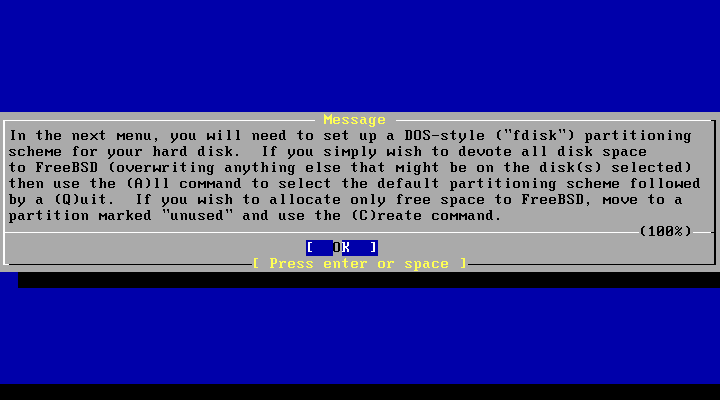
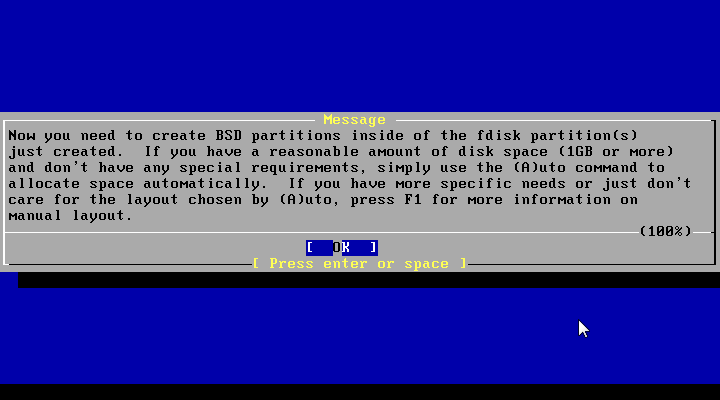
· 7:A message screen about the partition will be displayed, press the "Enter" key.
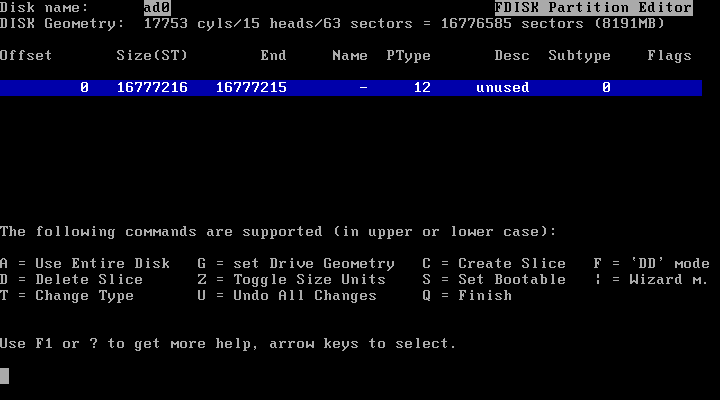
· 8:Setting the Partition Size The "FDISK Partition Editor" screen appears.
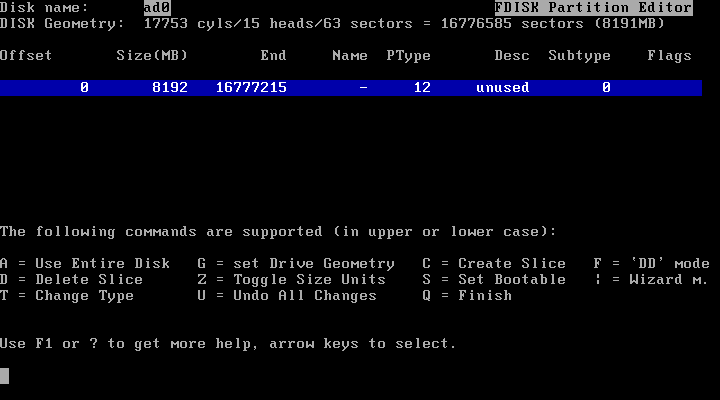
· 9:It is also possible to display the size display in units of easy to understand such as MB (megabytes) and GB (gigabyte) with the "Z" key. This time I decided to display it as "MB".
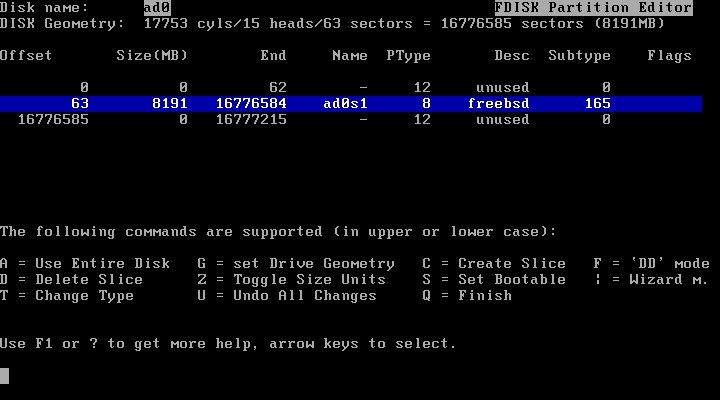
·Ten:Since we will use the whole disc this time, press the "A" key to select the disc to use and press the "Q" key to confirm.
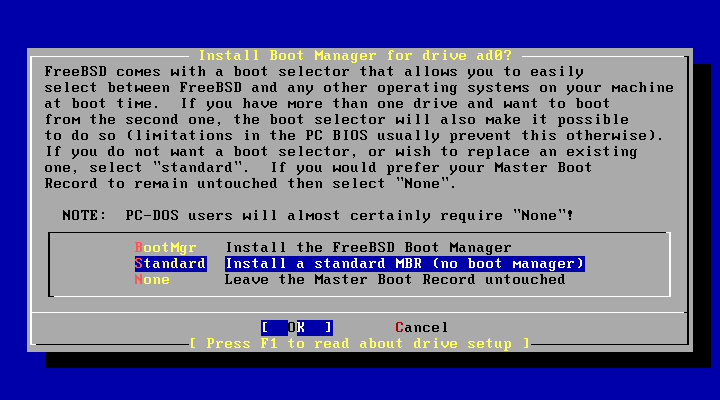
· 11:The "Install BootManager" screen will be displayed. This time I will use the whole disc to make it a FreeBSD exclusive machine, so select "Standard" and press "Enter" key.
· 12:As the message screen is displayed, press the "Enter" key.
·13:The "FreeBSD Disklabel Editor" screen will be displayed.
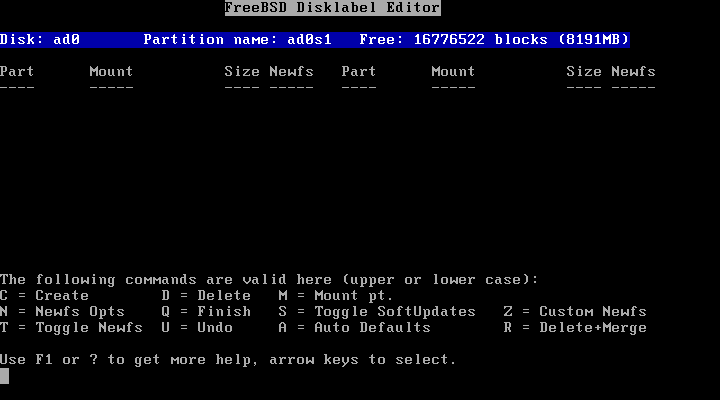
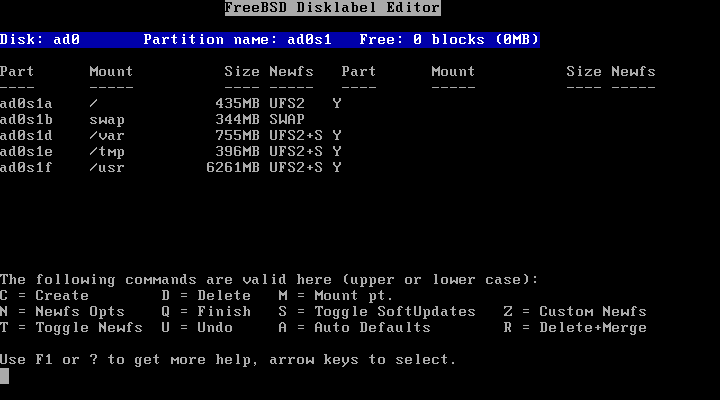
·14:Since we have not specified anything in particular this time, we will proceed automatically. Press "A" key to select, and select "Auto Defaults". If there is no problem, press "Q" key to complete.
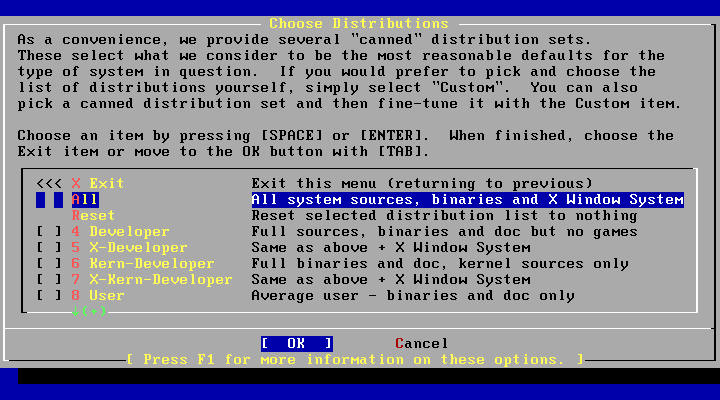
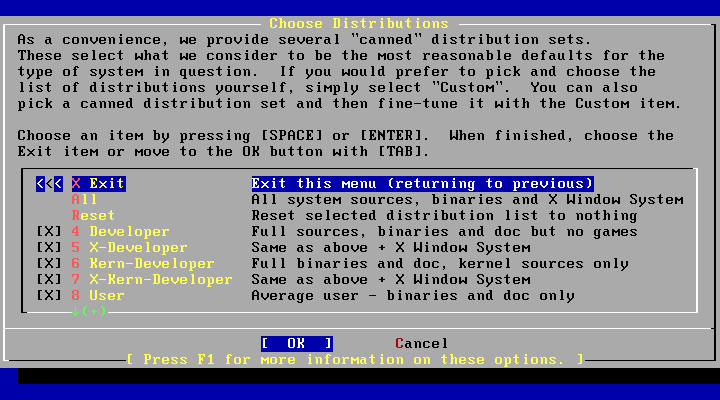
· 15:The screen for selecting the purpose of use (distribution) is displayed.

· 16:I do not know what I will do later. So, install everything in a safe manner Select "ALL"
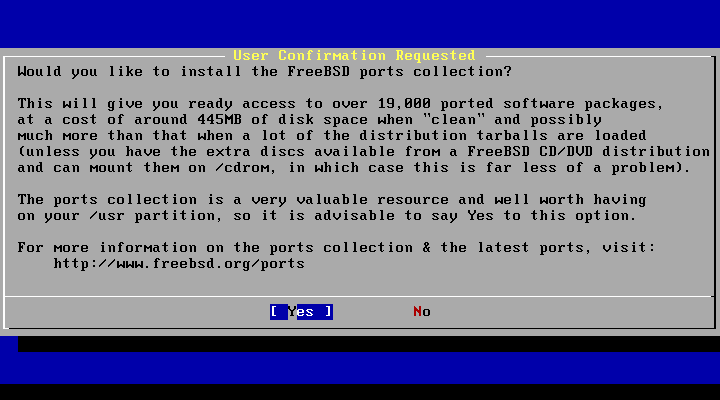
· 17:In FreeBSD the application is "FreeBSD Ports"If you want to install something, you need to install" port "(compile the source code of the original application on FreeBSD and install all necessary patches Set included) "will be used. If you have this "ports" it is extremely messy, so just press "Enter" key is OK.
· 18:Since the selection screen is displayed again, select "Exit" and press "Enter" key
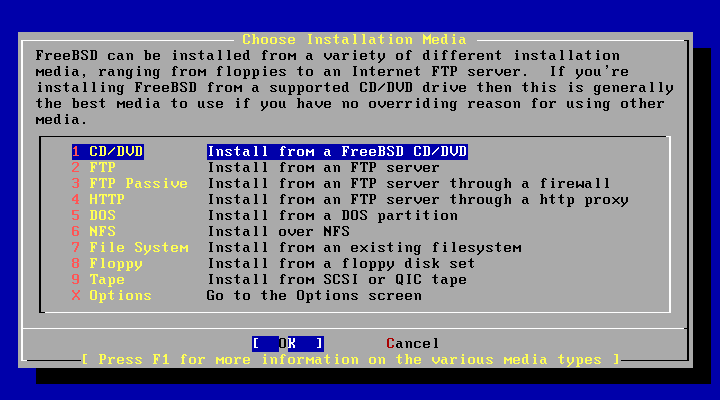
· 19:Select the media to install. Since I booted from the DVD this time, I select "CD / DVD" and press "Enter" key
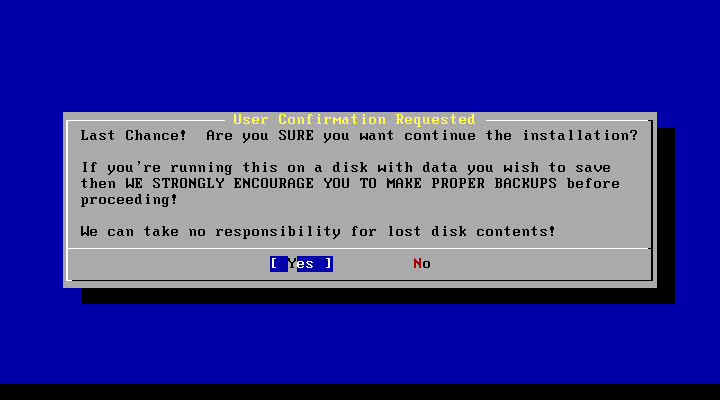
· 20:Select "Yes" and press "Enter" key to start installation.
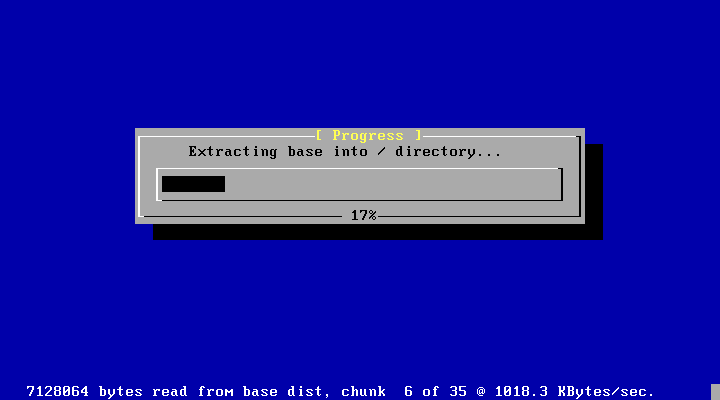
·twenty one:Installing. It took about 15 minutes.
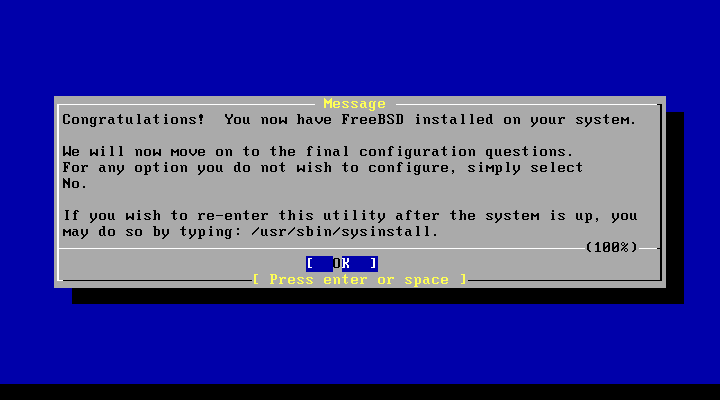
·twenty two:When installation finishes successfully, "Congratulations! (Congratulations!)" Is displayed, so press "Enter" key
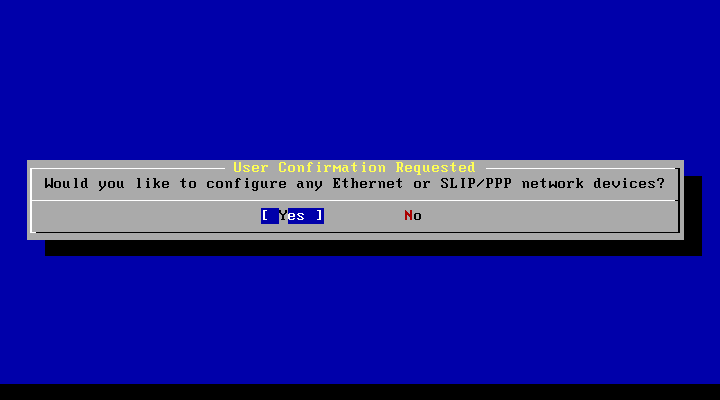
·twenty three:This time it is network setting. As shown at the very beginning this time, since you are planning to connect from the network in the broadband router, select "Yes" and press the "Enter" key
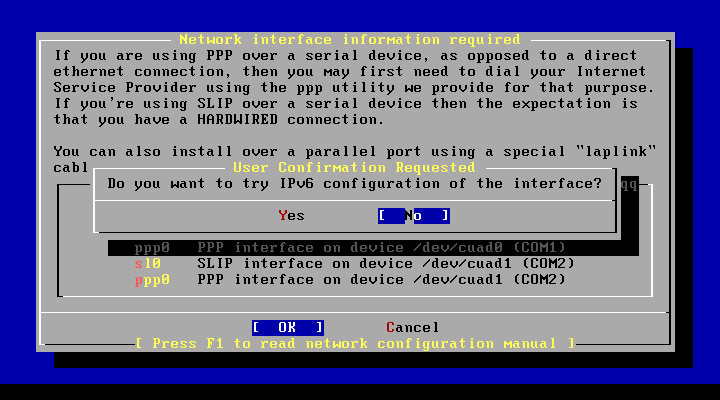
·twenty four:The setting screen of Network Interface (network interface) is displayed. Select "em 0" and press "Enter" key

·twenty five:This time"IPv6"Is not used, select" No "and press" Enter "key
· 26:Since the broadband router used this time uses DHCP by default, select "Yes" and press the "Enter" key.

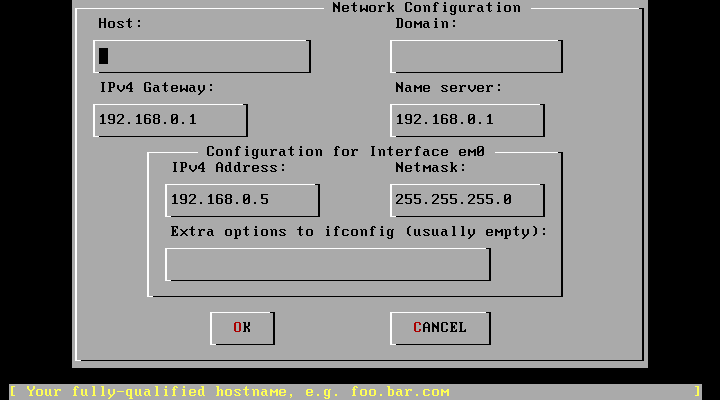
· 27:Enter "Host". Let's make it distinguished name as it is because this will become my computer name, so to speak. I made it "freebsd" just because it is a machine dedicated to FreeBSD this time.
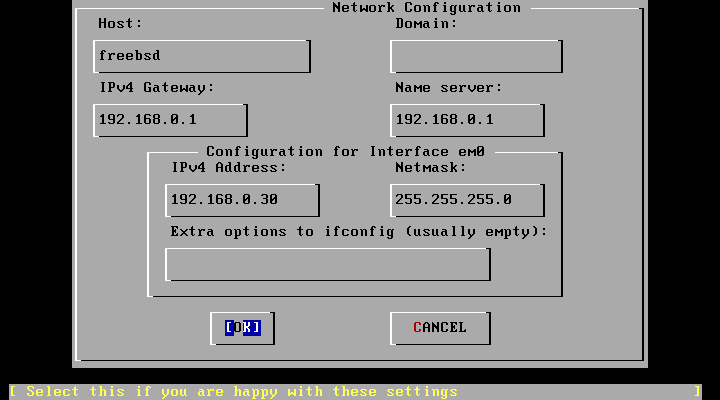
· 28:When input is completed, press the "Tab" key several times to select OK and press the "Enter" key.
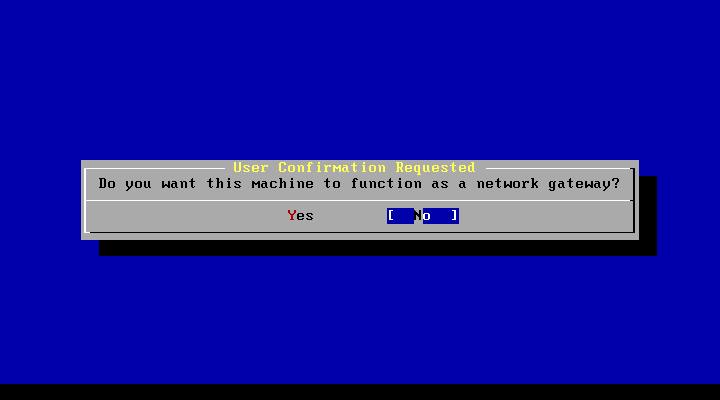
· 29:Since this time we will not make this machine the gateway of the network, in short it will be a router, select "No" and press the "Enter" key
· 30:Since it is assumed that various things like the server are not set at the time of installation, since it assumes that various things will be felt after the installation is completed, select "No" for "inetd" and press "Enter" key

· 31:That's why, to disable SSH login, select "No" and press "Enter" key

· 32:Since there is no plan to start anonymous FTP server, select "No" and press "Enter" key

· 33:Since it is not supposed to set this machine as an NFS server, select "No" and press "Enter" key

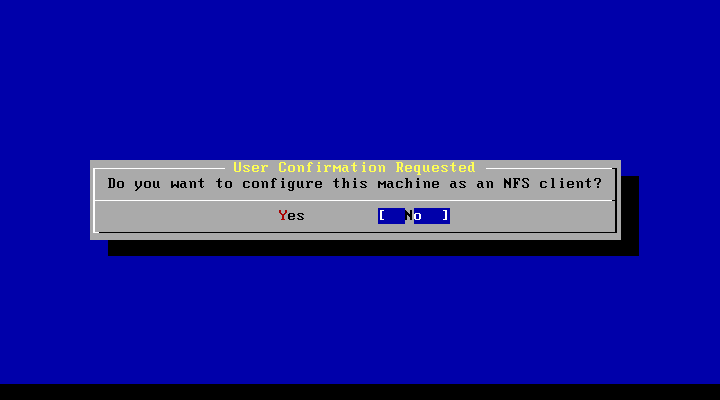
· 34:Since it is not supposed to be used as an NFS client, select "No" and press "Enter" key
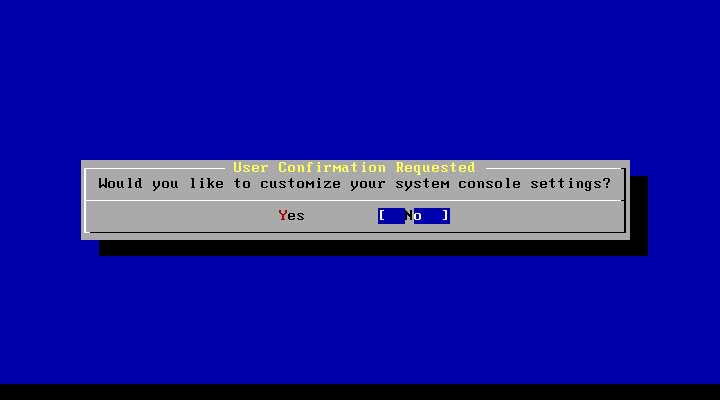
· 35:Since there is no particular need to set up the system console, select "No" and press the "Enter" key
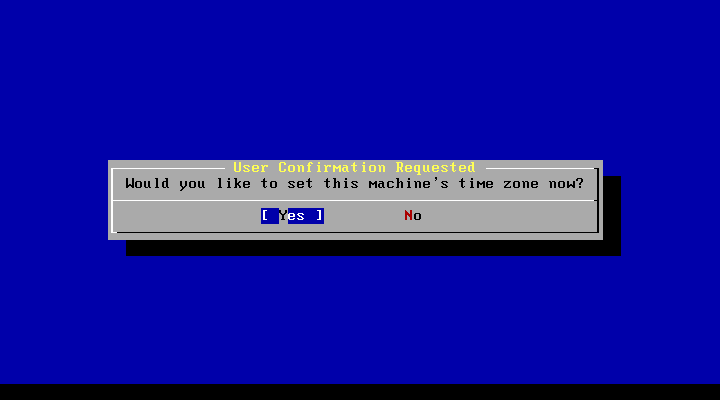
· 36:I want to set the time zone now, so select "Yes" and press the "Enter" key
· 37:UTCSince you do not need to set anything specifically, select "No" and press the "Enter" key

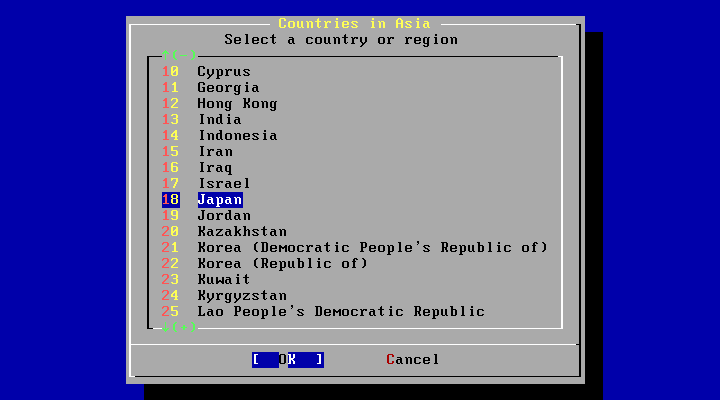
· 38:To select Japan, first select "Asia" and press "Enter" key

· 39:Locate "Japan" and press "Enter" key
· 40:Press "Enter" key

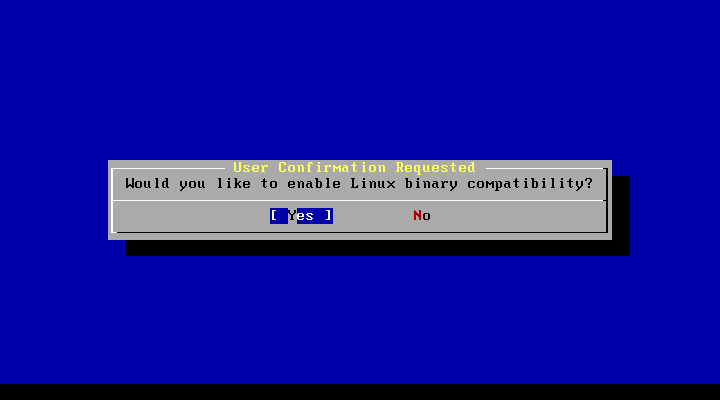
· 41:Select "Yes" to enable Linux binary compatibility function and press "Enter" key
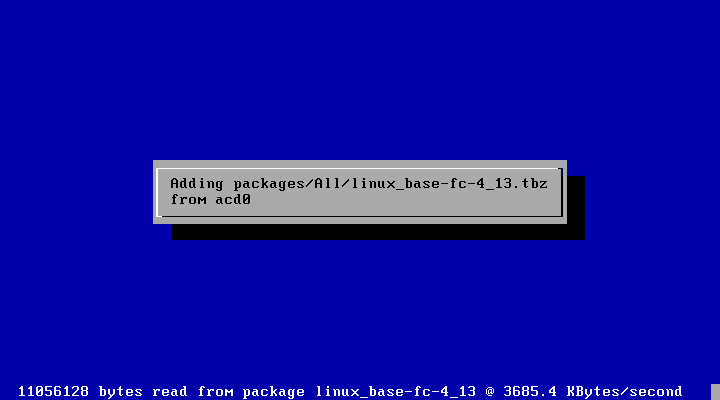
· 42:Installing binary compatibility for Linux
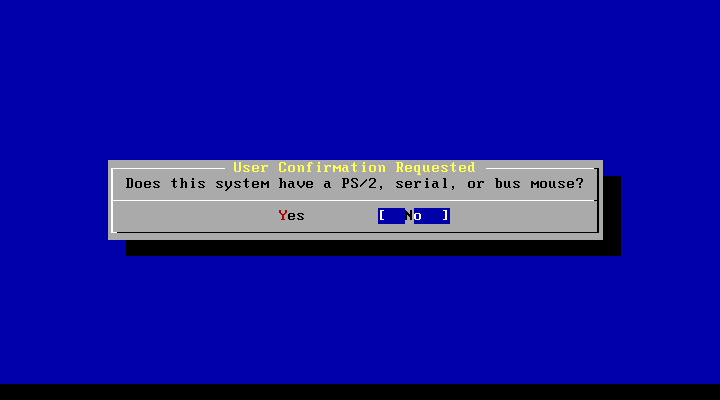
· 43:Since you do not use PS / 2 or serial connected mouse, select "No" and press "Enter" key
· 44:Package Collection (Packages CollectionThere is no need to refer to the explanation below), so select "No" and press the "Enter" key

· 45:To create a user other than "root" with administrator privileges, select "Yes" and press the "Enter" key

· 46:Select "User" and press "Enter" key

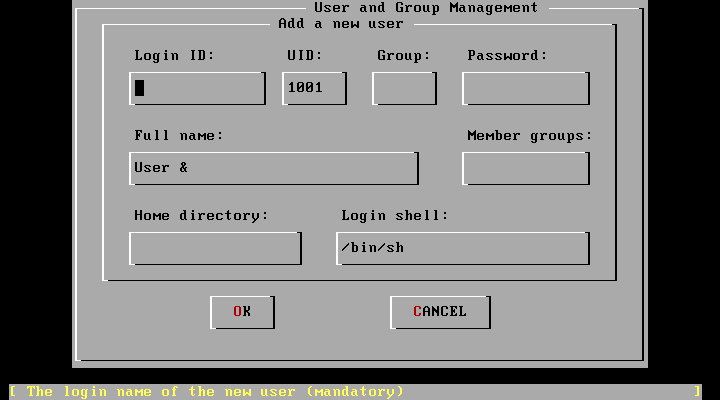
· 47:The "User and group Management" screen is displayed. Here we fill out the necessary items and create the user.
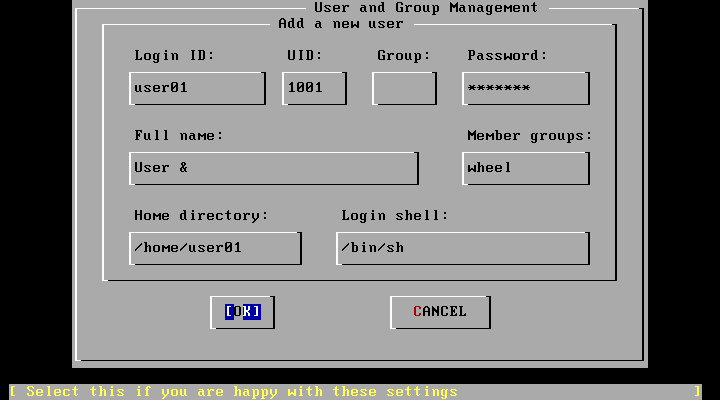
· 48:Please enter "Login ID (so-called user name)", "Password", "Member groups (user name belonging, this time it is wheel)" and press "Tab" key several times to "OK" And press the "Enter" key. Pay particular attention to "Member groups" as "wheel". If you do not do this, you can not change to root later, it seems to be a lot of trouble.
· 49:As user creation is completed, select "Exit" and press "Enter" key

· 50:Now press the "Enter" key to decide root password

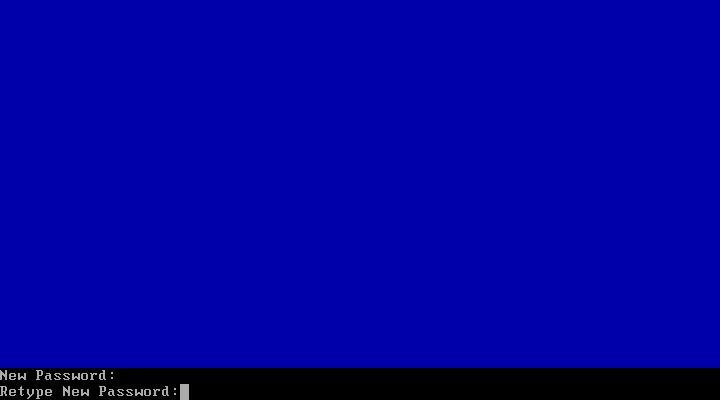
· 51:Enter the root password. Nothing is displayed on the screen, but since it has been properly entered, there is no problem. When you finish typing, press "Enter" key.

· 52:Again enter the same password as before and press "Enter" key
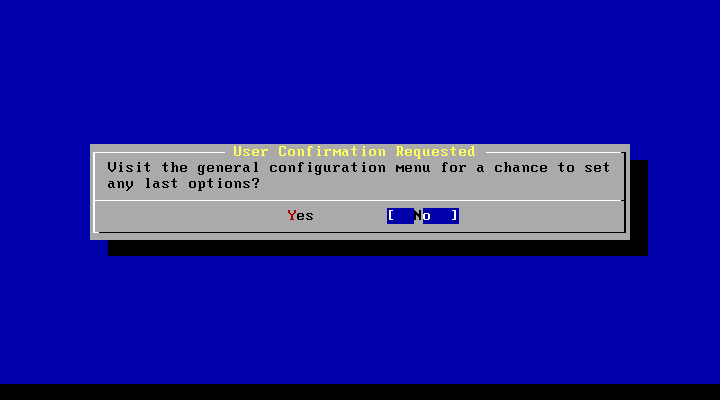
· 53:Select "No" and press "Enter" key
· 54:We will return to the "sysinstall" menu screen that was displayed at the beginning, so select "Exit Install" and press "Enter" key

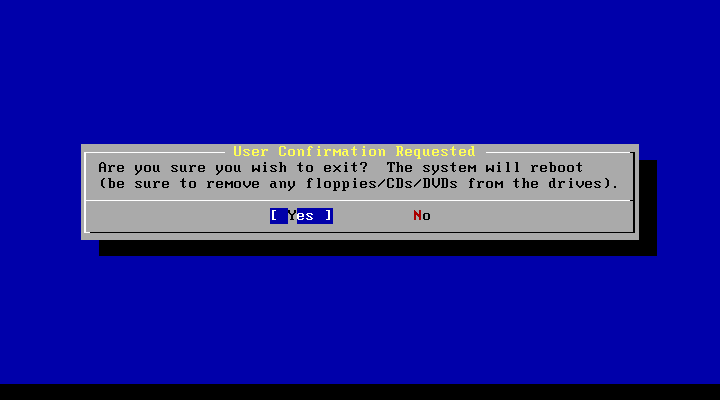
· 55:When this screen appears, unplug the FreeBSD installation media from the DVD drive, select "Yes" and press the "Enter" key
· 56:Wait a moment. Since it has not been frozen, let's wait for the screen to change as soon as it is calm. Perhaps the hard disk echoes the sound and the access lamp of the hard disk should be flickering.

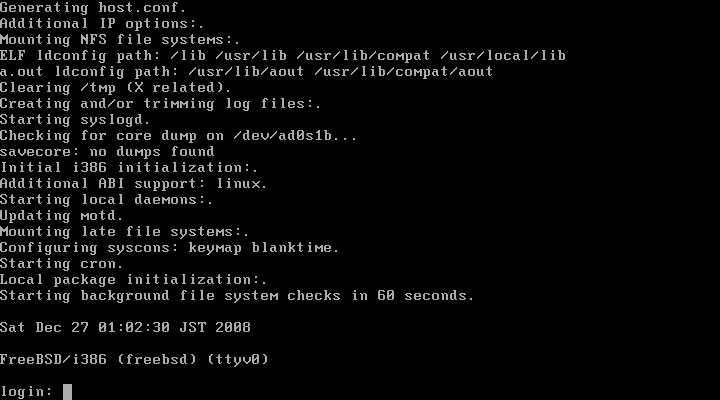
· 57:Congratulations on starting, Congratulations, FreeBSD dedicated machine was born. If left unattended, it will proceed to the next stage without problems. If you want to proceed as soon as possible, press the "Enter" key.

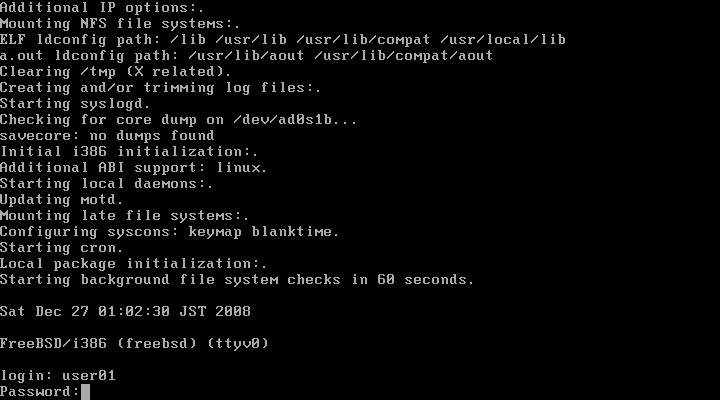
· 58:As the characters move on the screen at once, it will be displayed "login:" and wait until it stops. When it is displayed, enter the user name set during installation and press "Enter" key
· 59:As "Password:" is displayed, enter the password and press the "Enter" key
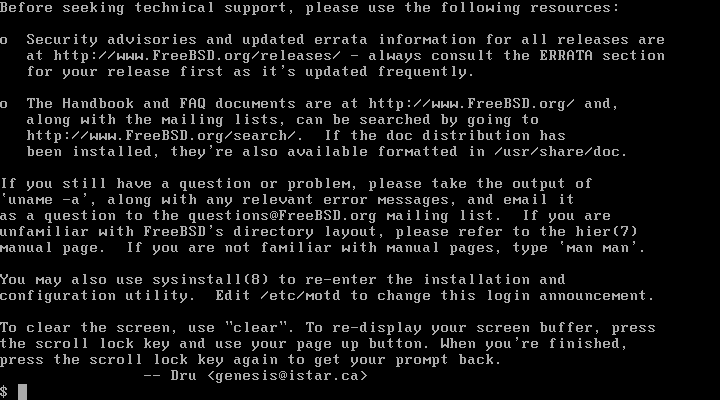
· 60:Login is complete with this. Let's investigate FreeBSD on the net and tinker as you like so that it fulfills the purpose. Congratulations!
Related Posts: