CloudReady capable of reusing missing PCs as Chromebooks supports dual boot with Windows

Software which can transform Windows PC into ChromebookCloudReady"We responded to a dual boot that can use Windows and Chrome OS properly while leaving the Windows OS environment. Although it is still saying that there is a limit to the dual boot construction in the beta version, I tried immediately whether I can build a dual boot environment with my own PC.
CLOUDREADY RELEASE: v 45.3 and Dualboot! - Neverware
http://www.neverware.com/blogcontent/2016/2/17/cloudready-release-v453-and-dualboot
Installation Instructions - Neverware
http://www.neverware.com/installation#installnotes
◆ Creating USB memory for installation
First, I will create a USB memory for installation to install CloudReady on a Windows PC. Please note that installation USB memory requires more than 8 GB capacity, memory is initialized at creation stage.
First official site (http://www.neverware.com/freedownload), Download the latest version of Cloud Ready installation ZIP file. The latest version file at the time of writing the article was "cloudready-free-45.3.39.bin.zip".
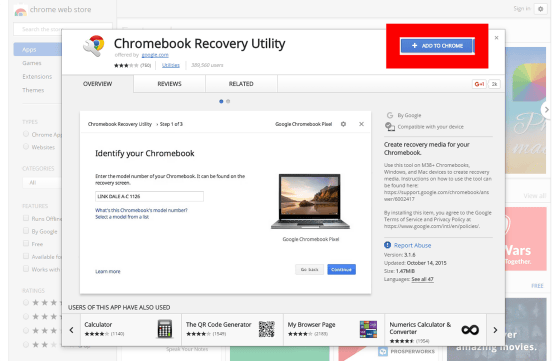
Next, in Google Chrome,Chromebook Recovery Utility"Is added. Click "ADD TO CHROME".
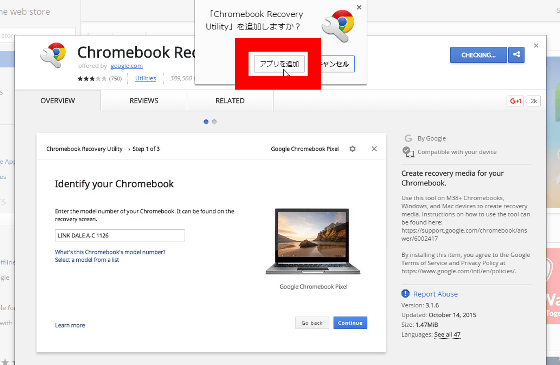
Click "Add application". At this point, connect the USB memory that becomes the installation USB memory to the PC.
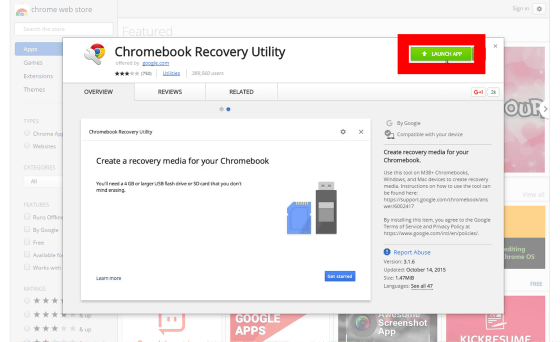
againChromebook Recovery UtilityOpen the page and click "LAUNCH APP".
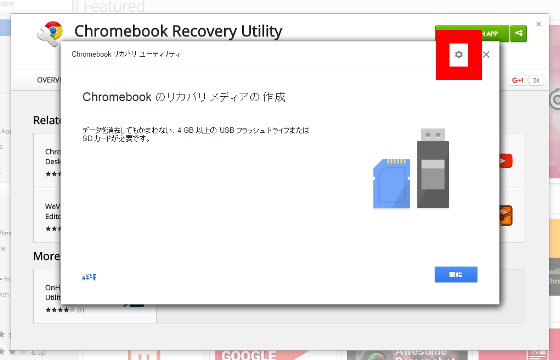
"Chromebook recovery utility window" starts up, click "gear icon" in the upper right.
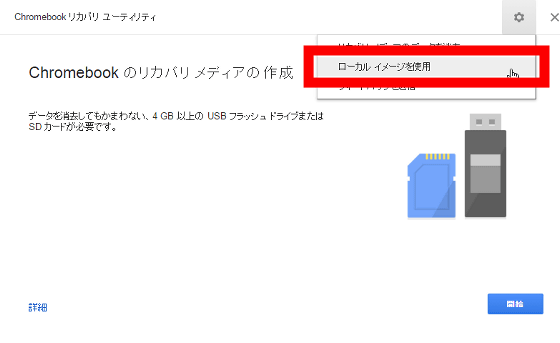
Click "Use local image".
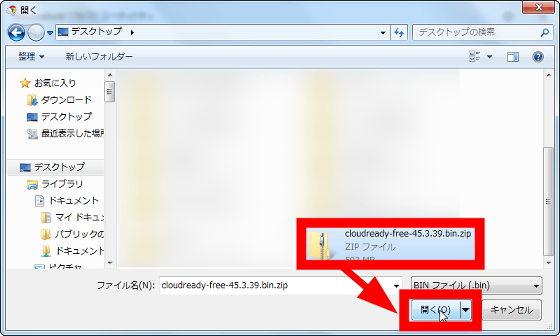
Specify the ZIP file for CloudReady installation that you just downloaded ... ...
Click "Select" to specify the USB memory.
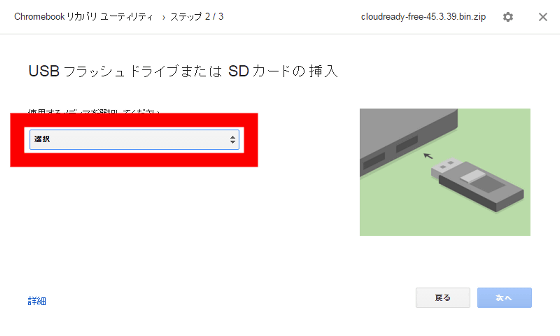
After specifying the USB memory, click "Next".
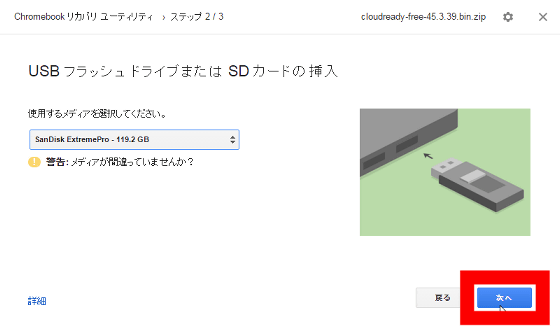
Click "Create now", the USB memory will be initialized and the creation of USB memory for installation will start.
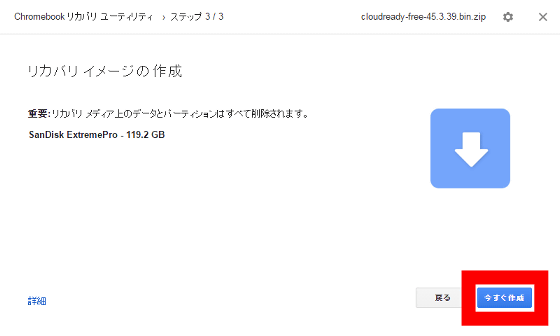
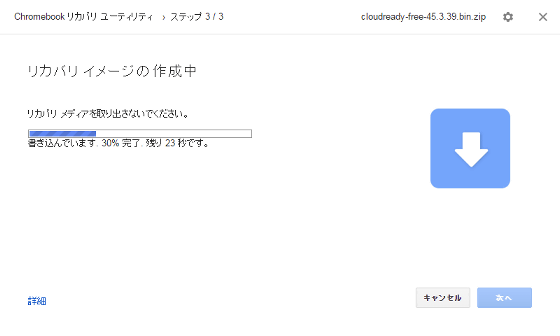
Wait a while ......
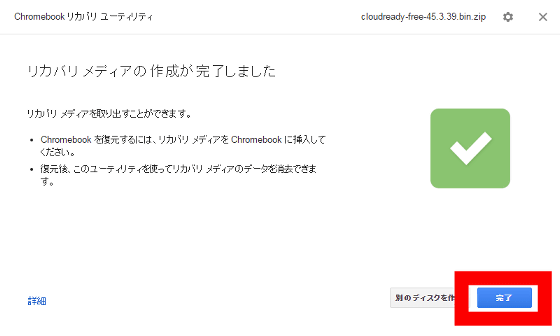
It is ok if it is written as "Recovery media creation is complete". When you click "Finish", you will disconnect the USB memory from the PC and shut down the PC.
◆ I tried building a dual boot environment
This time,"Homebrew PC using ASUS motherboard H97I-PLUSI will install CloudReady in a form that is shared with Windows 10 of OS. Incidentally,In order to create a dual boot environment, Windows must be installed in UEFI mode.

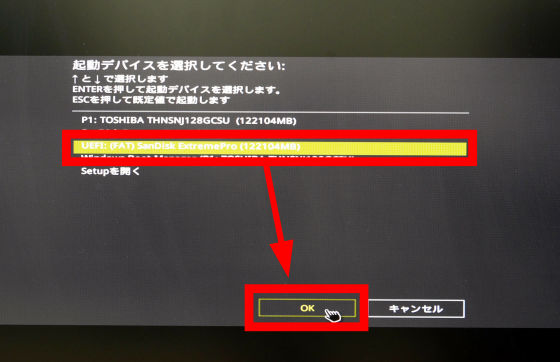
Insert USB memory for installation into the PC, select USB memory (UEFI) with the boot option, and boot from USB memory.
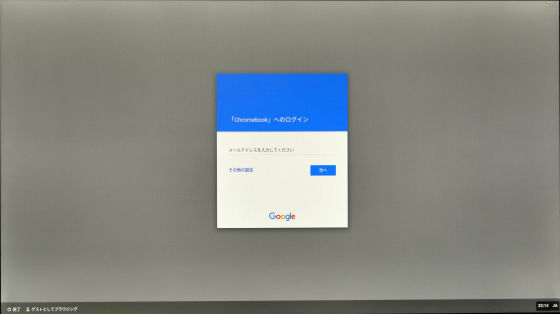
A screen called "cloudready" appeared.

A window prompting you to log in to the "Chromebook" will be launched, but you do not need to login to install it.
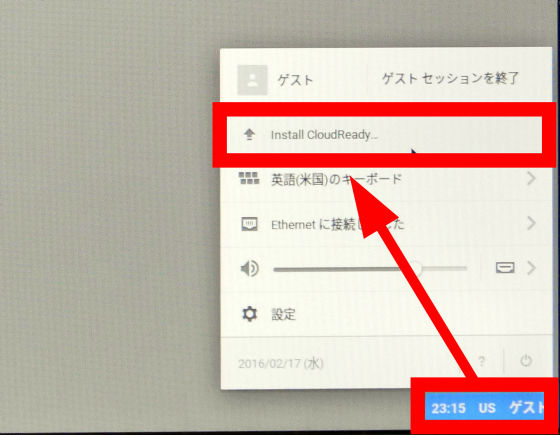
Click "US guest" → "Install Cloud Ready" in the lower right of the screen without logging in.
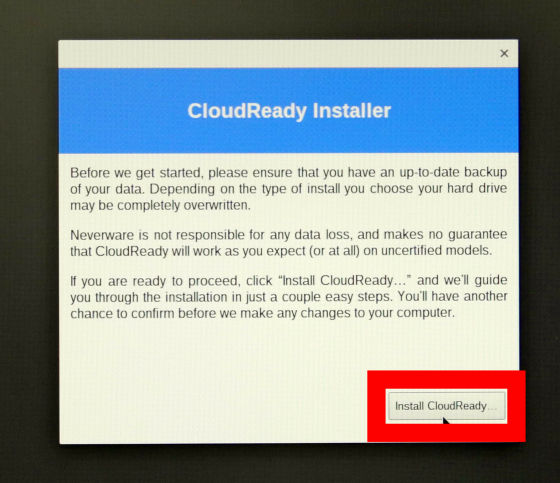
Click "Install Cloud Ready".
This time, I will create a dual boot environment with Windows 10 left, so click on "Install Cloud Ready Dualboot".
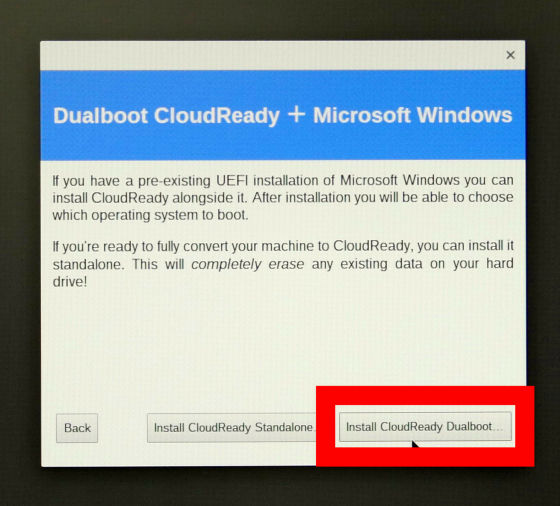
Click "Begin Dualboot Installation".
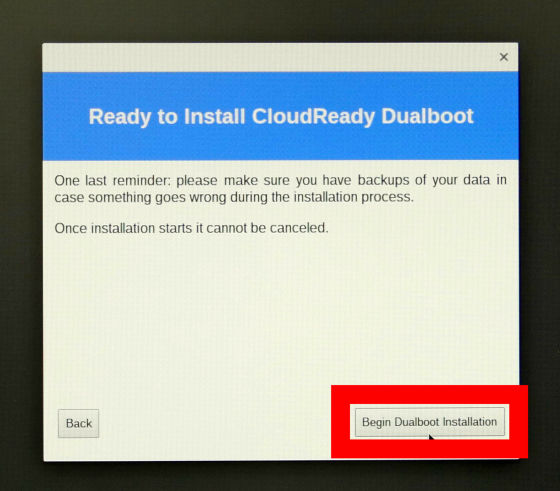
However, an error was displayed and installation could not be done.
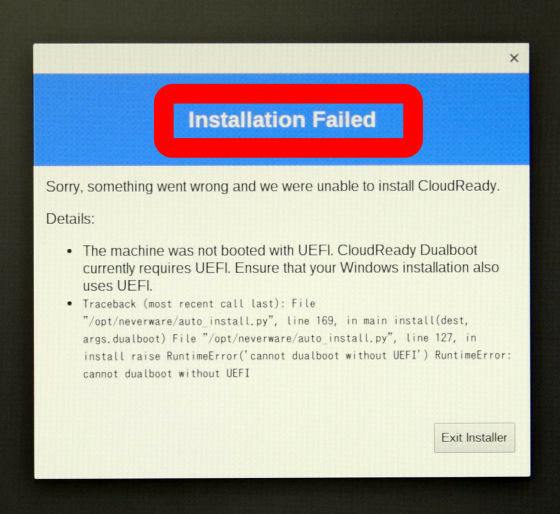
At the time of article creation, not all PCs can build a dual boot environment, PCs that succeeded in dual booting are published as a list on the following page.
CloudReady Certified Models & System Requirements
https://docs.google.com/document/u/1/d/1oaFfS3QZia17FE8UBMEF4xNKhz6U2iAtbPmxZTethF0/pub
◆ I tried clean installation with CloudReady alone
I will give up the dual boot environment and try installing CloudReady alone. Incidentally,When installing CloudReady alone, the Windows PC is overwritten and all data disappearsPlease be careful. Click "Install Cloud Ready Standalone".
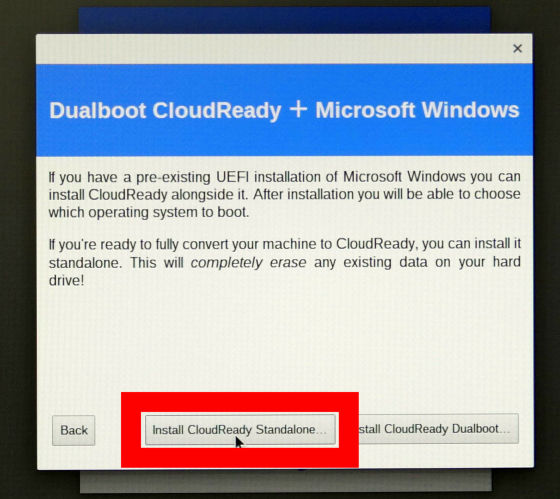
Click "Erase Hard Drive & Install Cloud Ready".
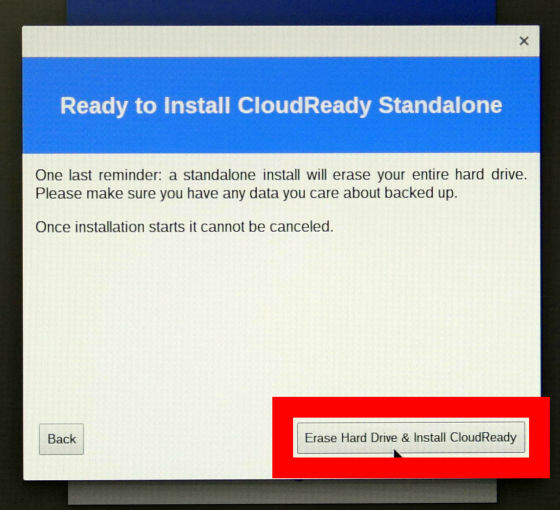
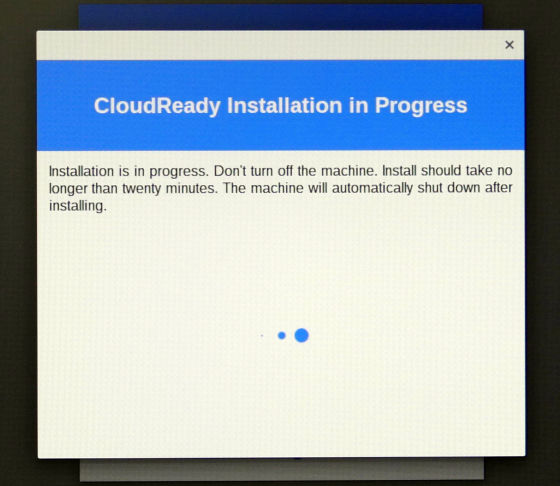
The PC shuts down automatically after the installation work has continued for a while.
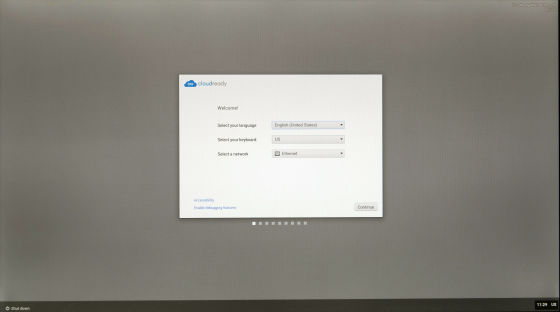
CloudReady started when you turned on the PC with the installation USB memory unplugged from the PC.
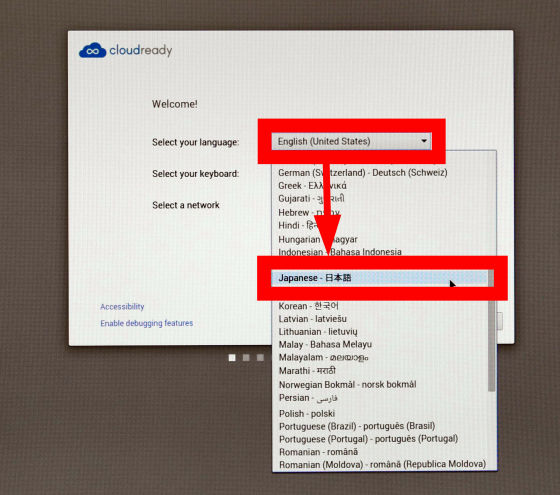
When "Select your language" is selected as "Japanese - Japanese", Japanese display is possible.
If you choose "Japanese" in "Select keyboard", Japanese input becomes possible.
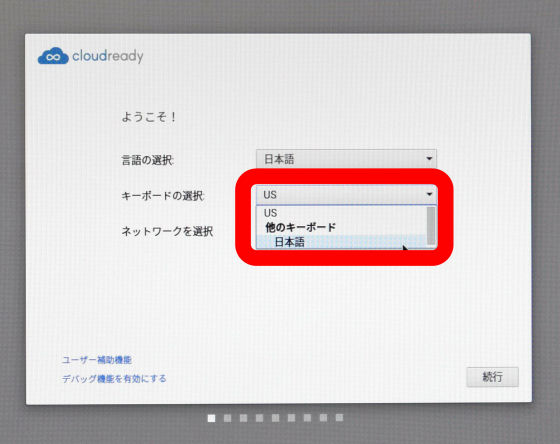
Click "Continue".
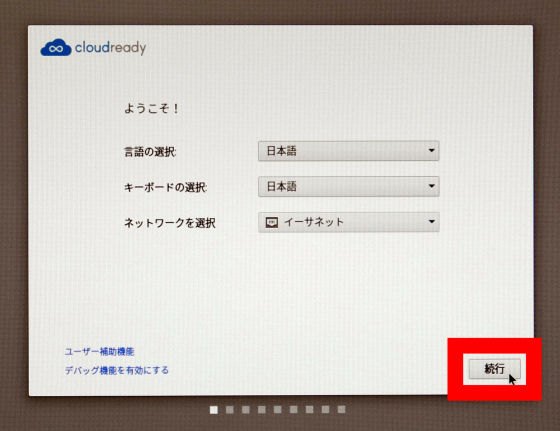
When the update confirmation is completed ......
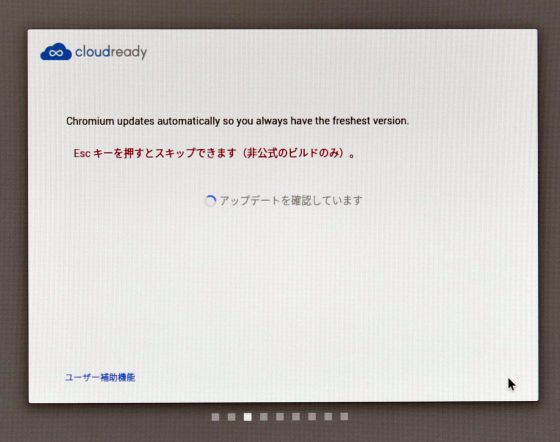
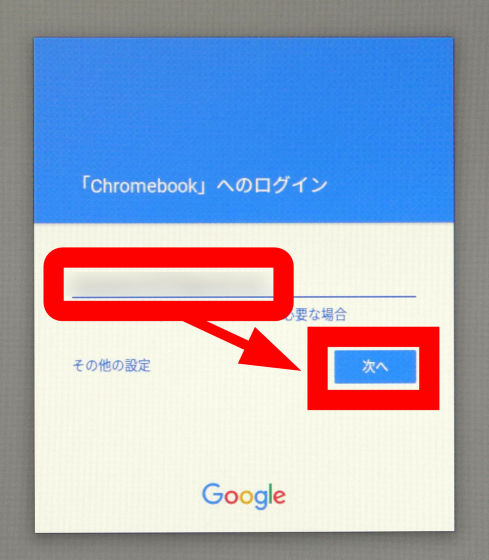
A window asking you to log in to the "Chromebook" will be launched.
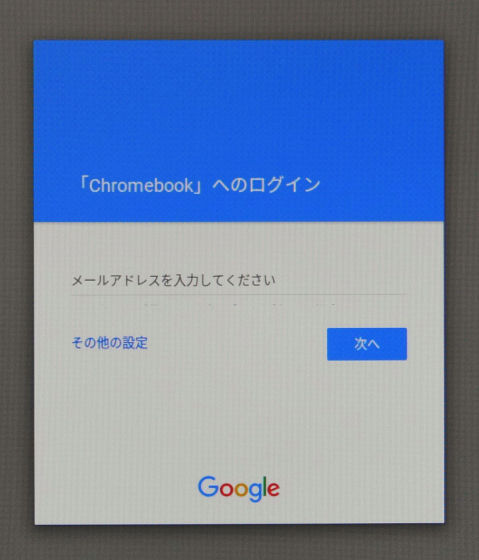
After entering your email address, click "Next".
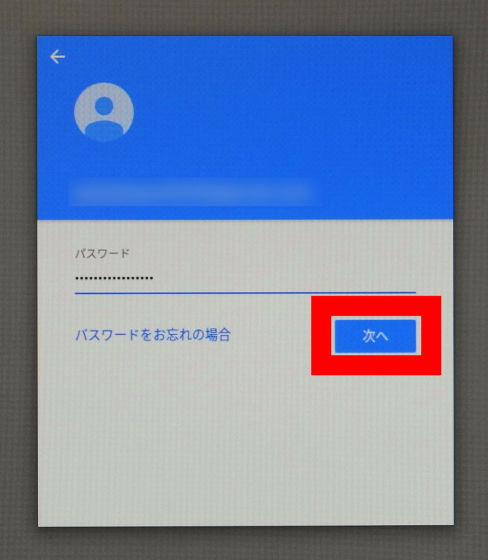
Enter the password and click "Next".
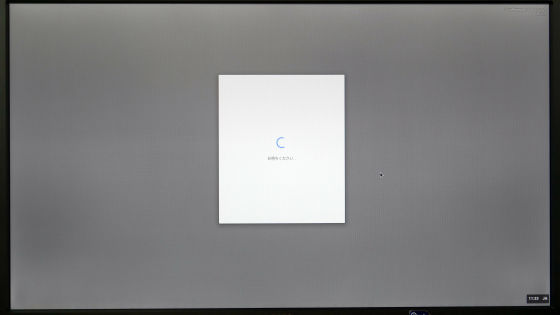
Wait for login ......
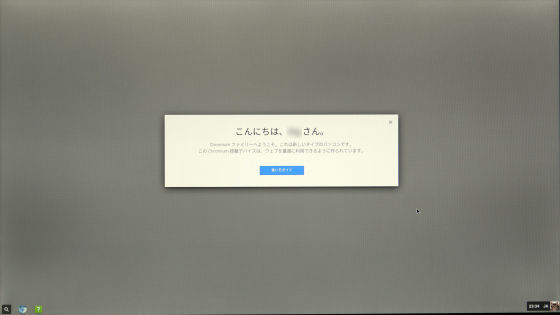
After selecting the image of the account, click "OK".

Preparation is complete. The Windows 10 PC has changed to a Chromebook.
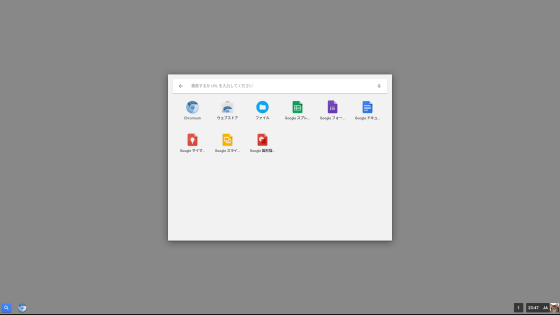
Click "Launcher (magnifying glass icon)" at the bottom left of the screen to display a text box for Google search and a shortcut to each application.
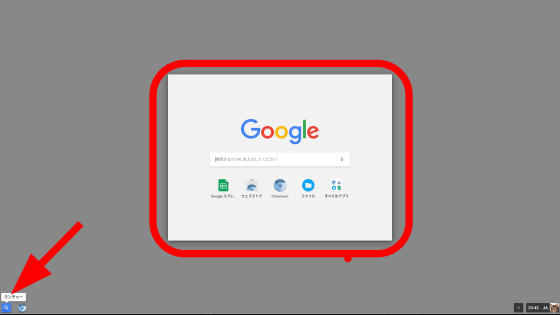
"Google spreadsheet"

"Web Store"
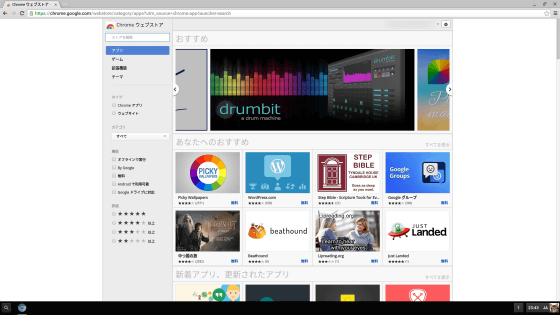
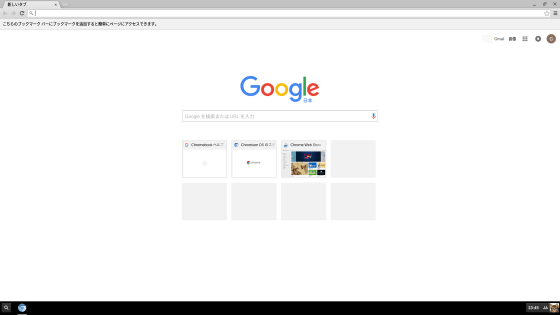
Unlike Chromebook, browsers are not Google Chrome but "ChromiumWhere it is.
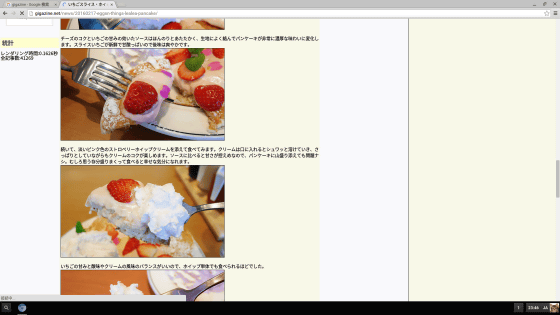
It is like this when GIGAZINE is displayed.

Because it is a Chromebook, it does not require specs as much as Windows, and it moves crisply comfortably.
"File" or ...
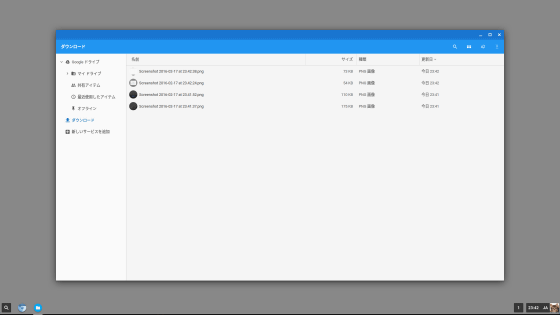
Exactly the same as Chromebook, such as "app".
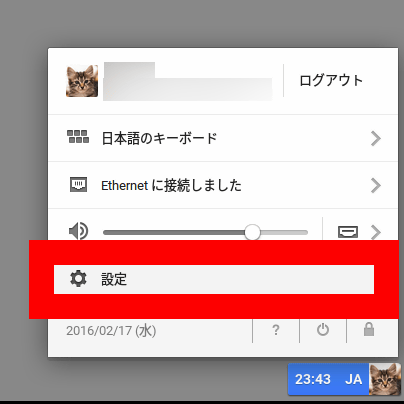
Click the icon at the bottom right of the screen to launch the setting screen.

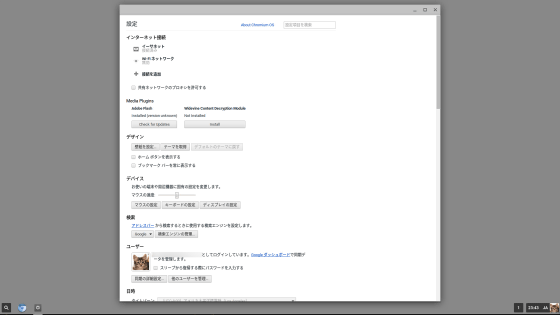
Click "Setting" ......
You can change various Chromebook settings.
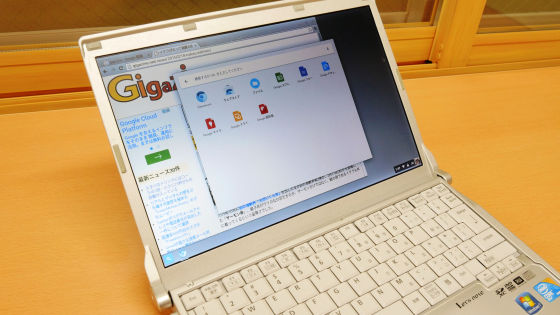
With CloudReady you can play older PCs. As a test"Let'snote CF-S9", It finished in a Chromebook with robustness unique to Let'snote.
However, unlike a real Chromebook, it takes about 20 seconds to start up, it takes a long time to charge, etc. It is a beta problem, but once you start it you can comfortably even with the specifications of the old PC It seems to be able to operate. If you have a Windows PC wearing old and dusty, it may be Ali to remodel CloudReady alone to a Chromebook without sticking to the dual boot configuration.
Related Posts:


