"CodeTwo NetCalendars" free software that allows multiple people to share a calendar over the network
While working in a team, you want to know the schedule for everyone's tomorrow, it is common situation that the key members are out and not in the company. In order to eliminate such a situation, free software that can easily share a calendar via LAN or the Internet"CodeTwo NetCalendars"It might be useful.
With PCs connected by LAN, it is possible to share the calendar with almost no troublesome settings and the data is stored on the local computer, so the risk of placing business information on an external server like Google Calendar You can also avoid. Even when offline, data is not synchronized, but it is different from web calendar that it is possible to see the calendar itself.
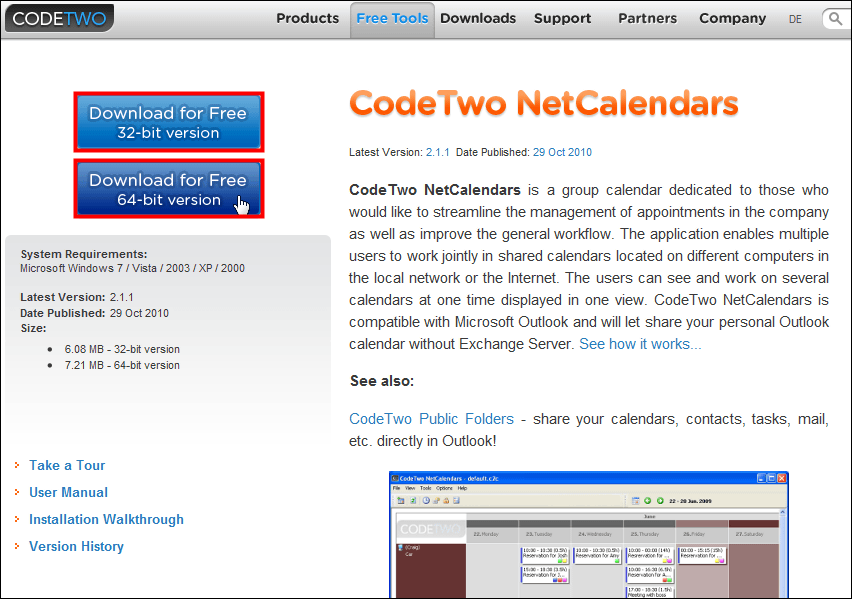
"CodeTwo NetCalendars"How to download and how to use it is from below.Share Outlook Calendars for Free, calendar sharing software from CodeTwo
Click "Download For Free" on the upper left. Please download from 32-bit version above, above 64-bit version from below button.
Click the downloaded installer.
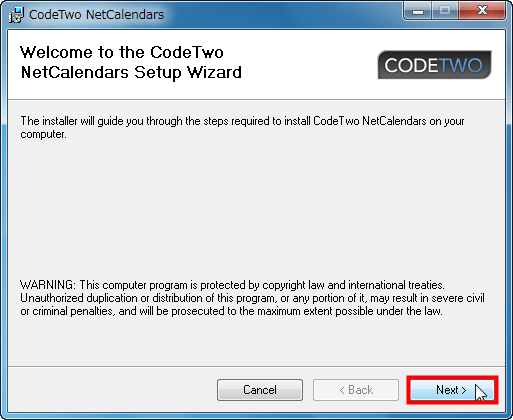
Click "Next".
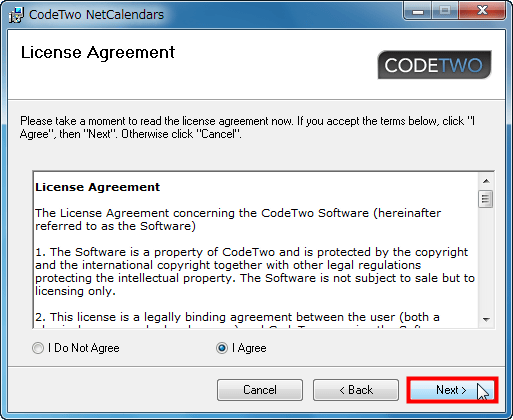
Check "I Agree" and click "Next".
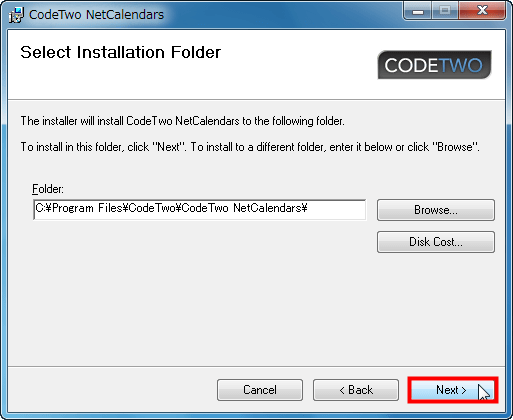
If there is no problem in the installation folder, click "Next".
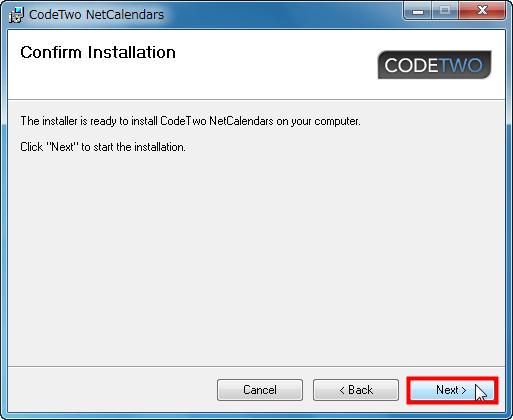
Click "Next".
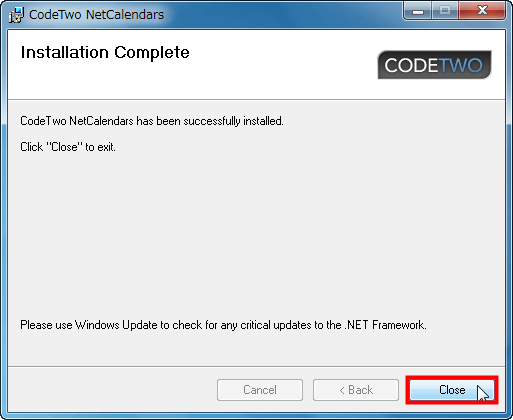
Click "Close" to finish installation.
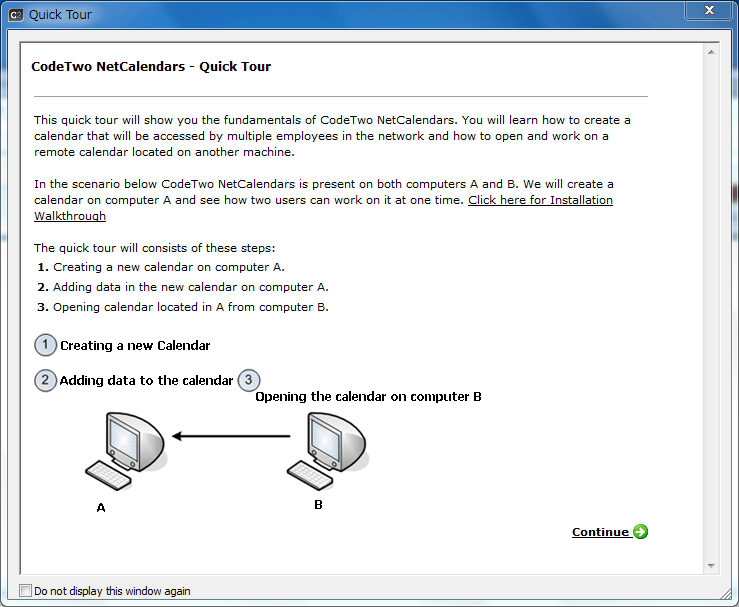
The usage guide of "CodeTwo NetCalendars" is displayed. Although it is written in English, it is a very easy-to-understand composition so it may be a good idea to look it up. Unnecessary people please close the window.
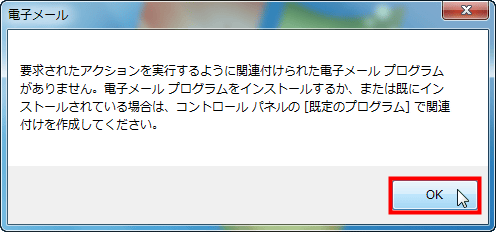
If "Microsoft Outlook" is not installed, such a message will be displayed. Since it is usable even without Outlook, click "OK".
The main screen will be launched.

◆ Create a calendar
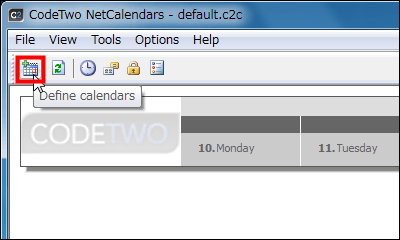
Let's start by making your own calendar. Click the calendar icon in the upper left.
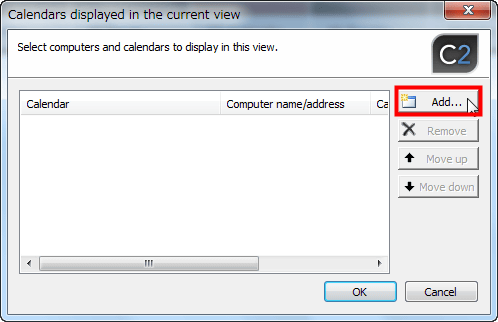
Click "Add".
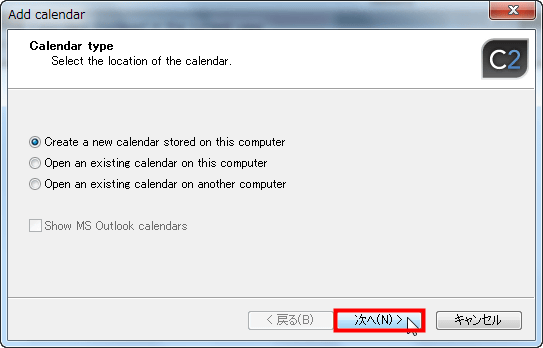
Confirm that "Create a new calendar stored on this computer" is checked and click "Next".
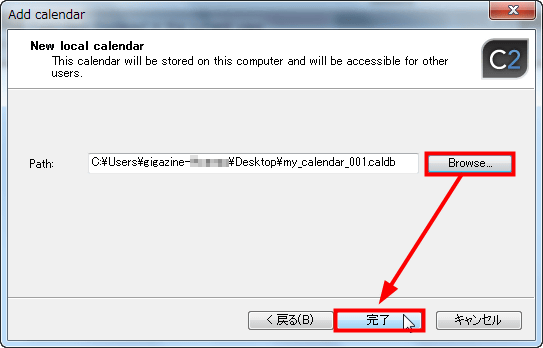
Click "Browse", specify the storage location and file name of the calendar file, and click Finish. In this case, the save destination is the desktop, and I specified the file name "my_calendar_001".
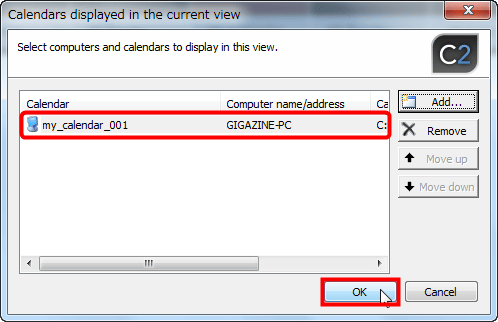
"My_calendar_001" has been added to the calendar you are currently looking up. Click "OK".
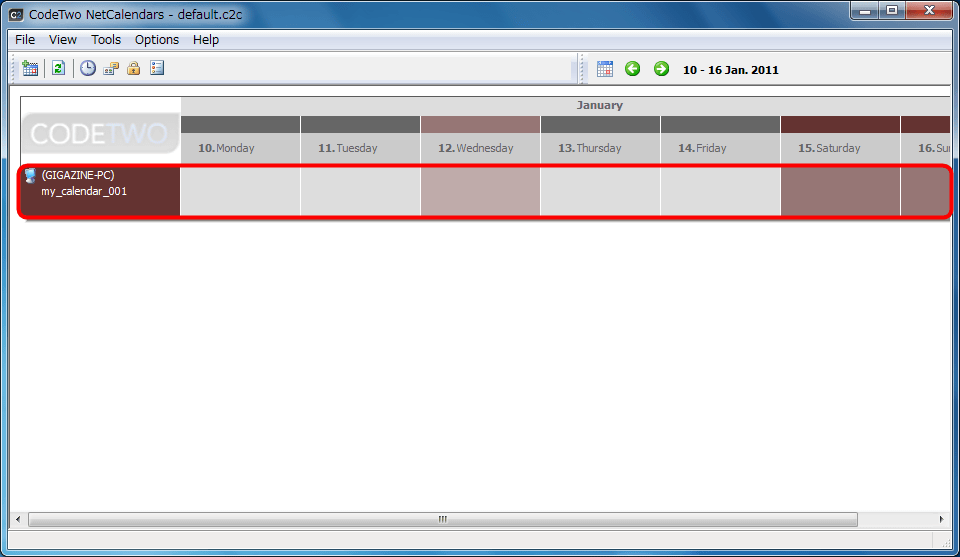
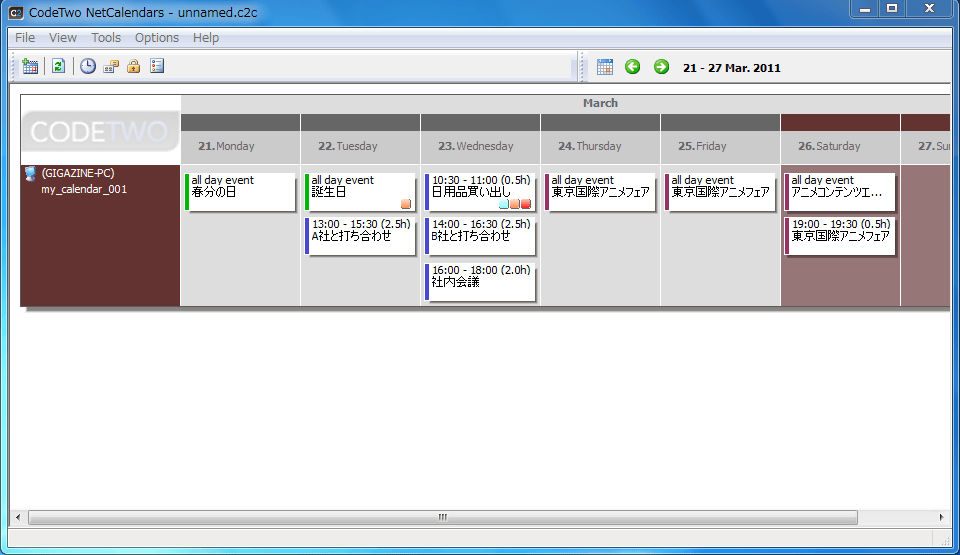
Then, a calendar with no schedule entered will be added to the main screen.
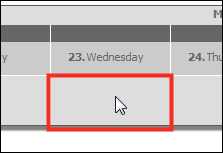
Let's fill out the schedule. Double click within the frame of the date you want to fill in.
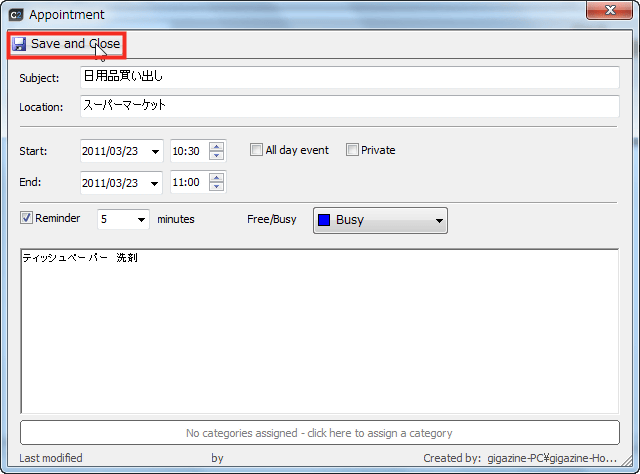
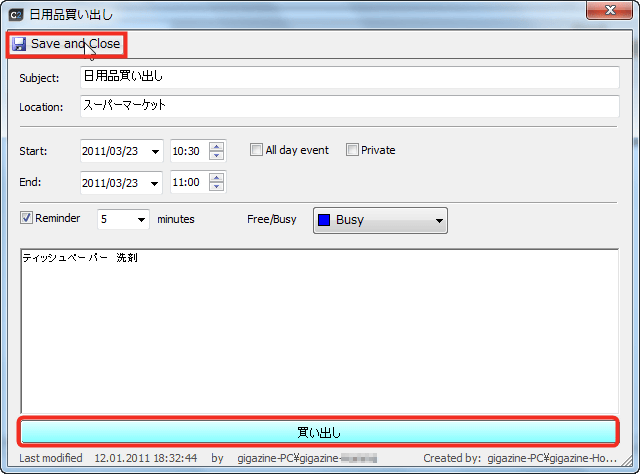
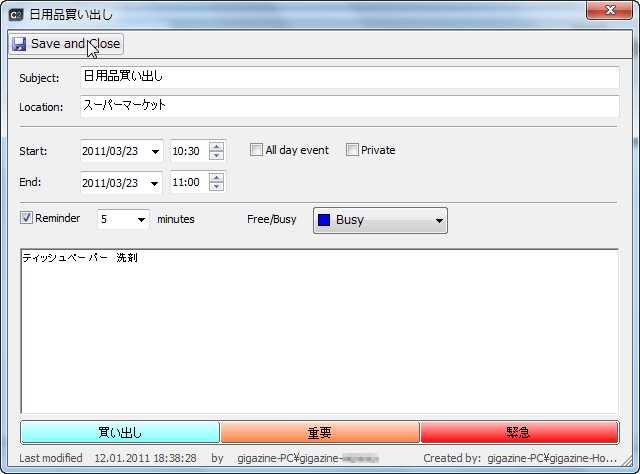
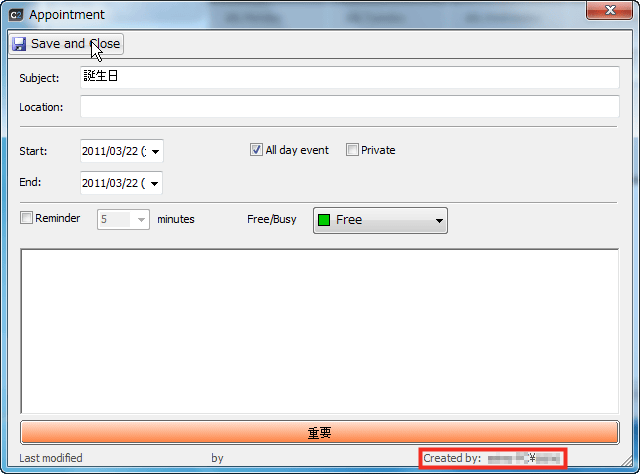
Then the entry screen will be launched.
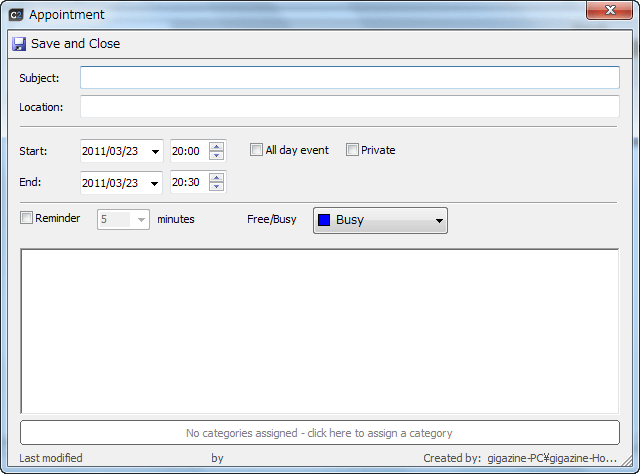
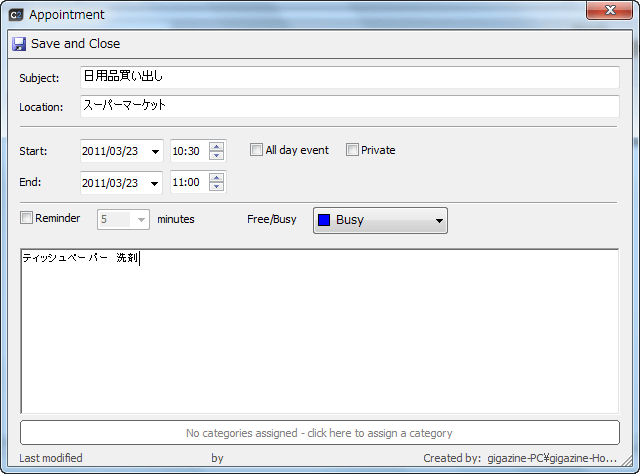
Subject, place, start and end time, and remarks are entered.
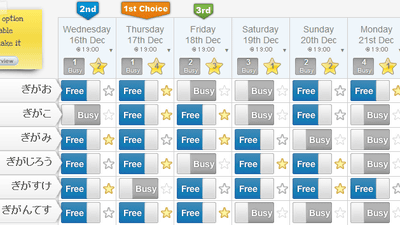
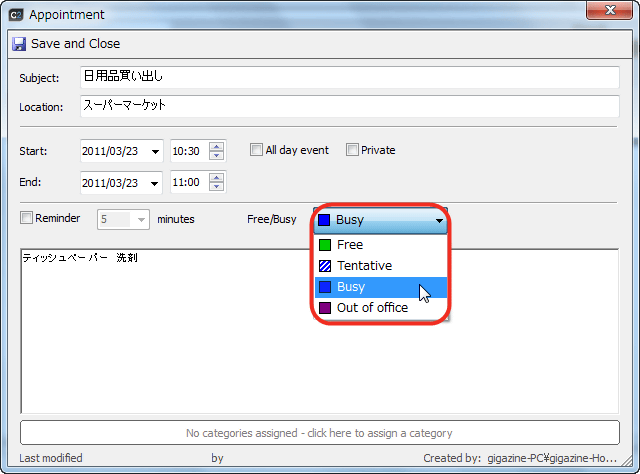
From the "Free / Busy" column, it is possible to color-code the situation, such as whether you are free or busy during that time, whether you are out of the office.
If "Reminder" is checked, it is possible to display an alert before the start time. This alert can be seen by everyone sharing the calendar.
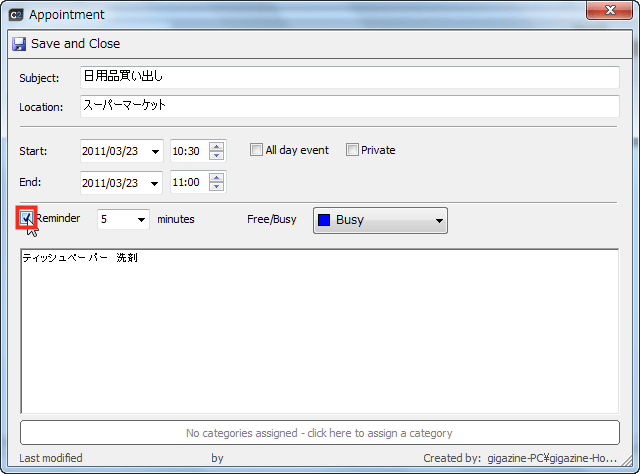
Click "Save and Close" when all settings are completed.
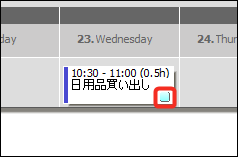
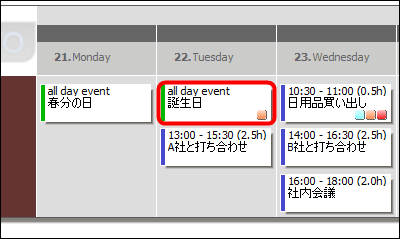
Then, the schedule item is displayed in the calendar.

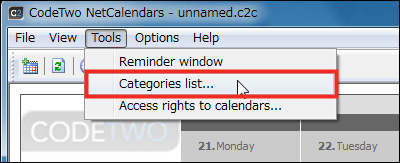
It is also possible to add categories to the schedule. Let's start by creating categories. Click "Categories list" from "Tools".
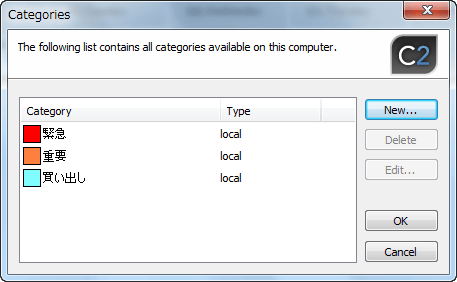
Since the list of categories is displayed, click "New".

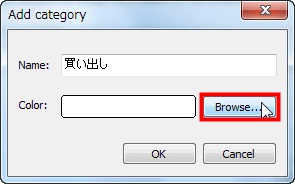
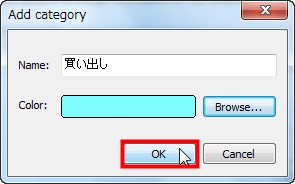
Fill in the item name and specify the category color from "Browse".
Since the color setting screen is displayed like this, select the color you like and click "OK".
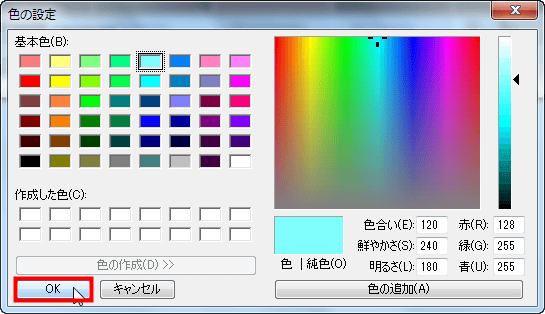
Confirm that you can specify the color and click "OK".
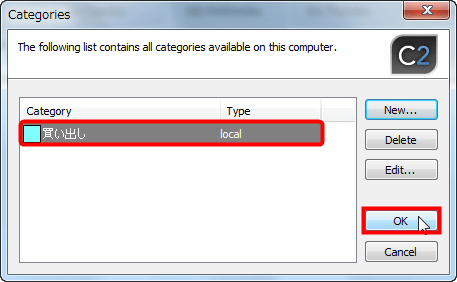
The category you created now has been added to the list of categories. Click "OK".
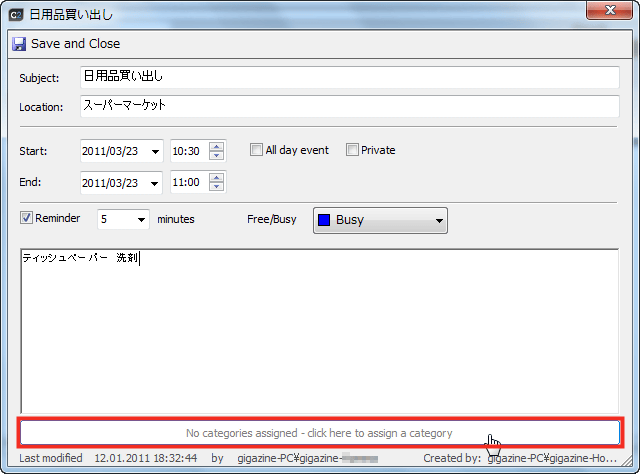
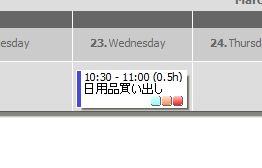
Click the item frame to edit again the item you made earlier. By the way, when you hover the cursor, details of the schedule are displayed beside this way.

Click "No categories assigned - cluck here to assign a category" at the bottom of the schedule edit screen.
As the category designation screen is displayed, check the check box on the left side of the list and click "OK".
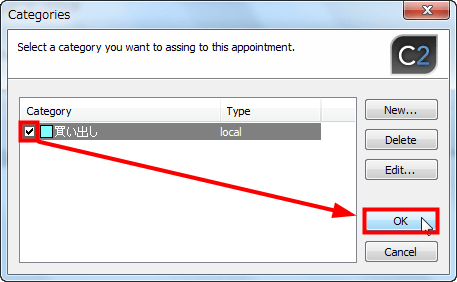
Confirm that the category is registered, and click "Save and Close".
In this way, the icon of the color specified at the time of category creation is added to the schedule item.
It is also possible to specify multiple categories. First, I will create some categories.
On the category designation screen above, check the category you want to specify and click "OK".
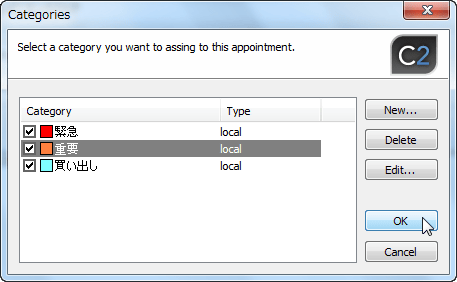
Then you can specify multiple categories like this.
Icons are arranged like this with the display of the main screen.
Let's create your own calendar like this.
◆ Share calendar
Let's look at the calendar from another computer. First of all, on this computer as well install "CodeTwo NetCalendars" and click the calendar icon from the main screen.
Click "Add" just as before.
Next, check "Open an existing calendar on another computer" and click "Next".

As the list of computers connected via LAN is displayed, select the computer that created the calendar earlier and click "Next". When sharing with a PC not connected to the LAN, you need to specify the IP address of the other party.

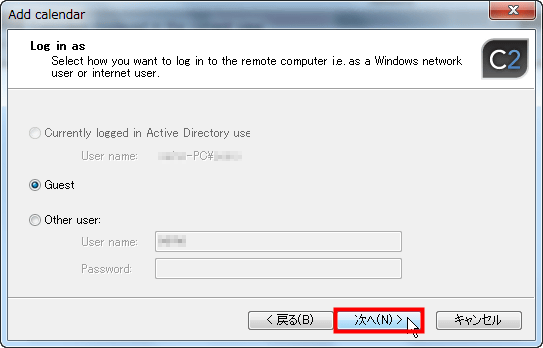
Confirm that "Guest" is checked and click "Next".
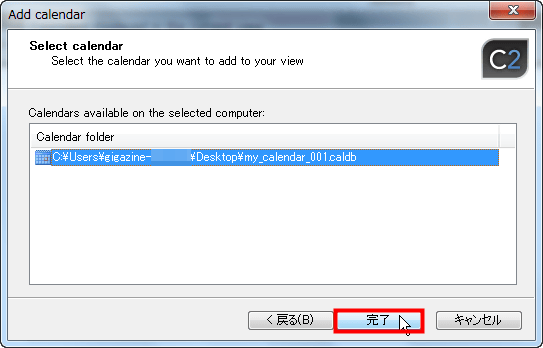
As the list of calendars on the other computer is displayed, select the required file and click "Finish".
The list of calendars you are currently looking up now has a calendar created on another computer. Click "OK".

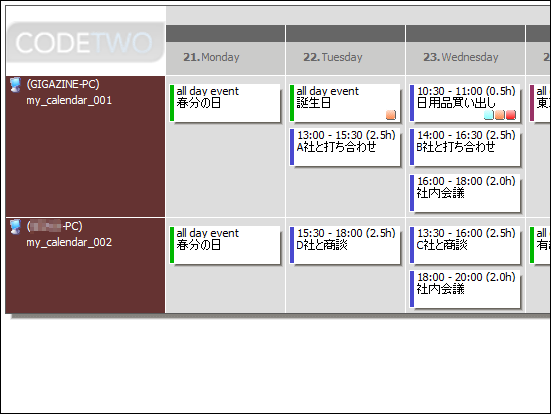
The same calendar as the previous screen is displayed. I was able to share the calendar with this.
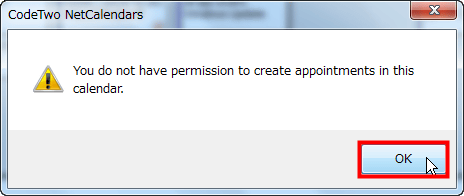
However, if you try to add a new schedule as it is, you will get such an error message and you will not be able to create or edit the schedule.
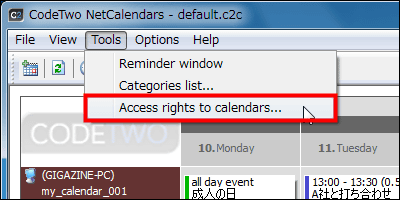
In order to be able to edit the schedule from the shared partner, it is necessary to set the access authority from the personal computer which creates the target calendar. Click "Access rights to calendars" of "Tools".
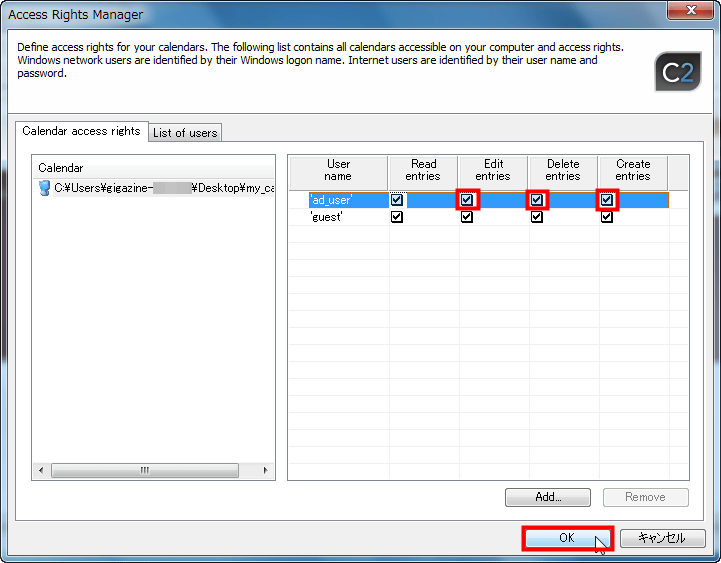
Since the access authority management screen is displayed, check what you need for each item of "Edit entries" (schedule editing), "Delete entries" (delete), "Create entries" (new creation) Click ".
With this, you can now edit the same calendar from the previous computer. Let's create one schedule for testing. The name of the computer that created the schedule is displayed in the lower right.
I was able to fill the schedule safely on the same calendar.
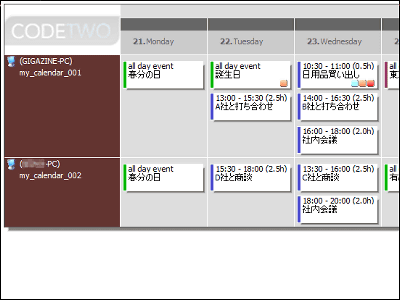
In the same way, by making calendars by each person and sharing the respective calendars, you can always keep track of the members' schedule like this.
Related Posts: