


無料でショートカットキーを駆使して見やすくToDoを管理できる「Ao」
大量の予定や仕事を抱えている場合、ToDoを作成することで効率的に管理しながら今やるべきタスクに集中できますが、ToDoの作成そのものに時間がかかってしまうのは本末転倒です。「Ao」はショートカットキーを活用して爆速&手軽にToDoを管理できるフリーソフトで、「Microsoft To-Do」と同期しているので異なる端末からでもリアルタイムでタスク処理を行うことが可能です。
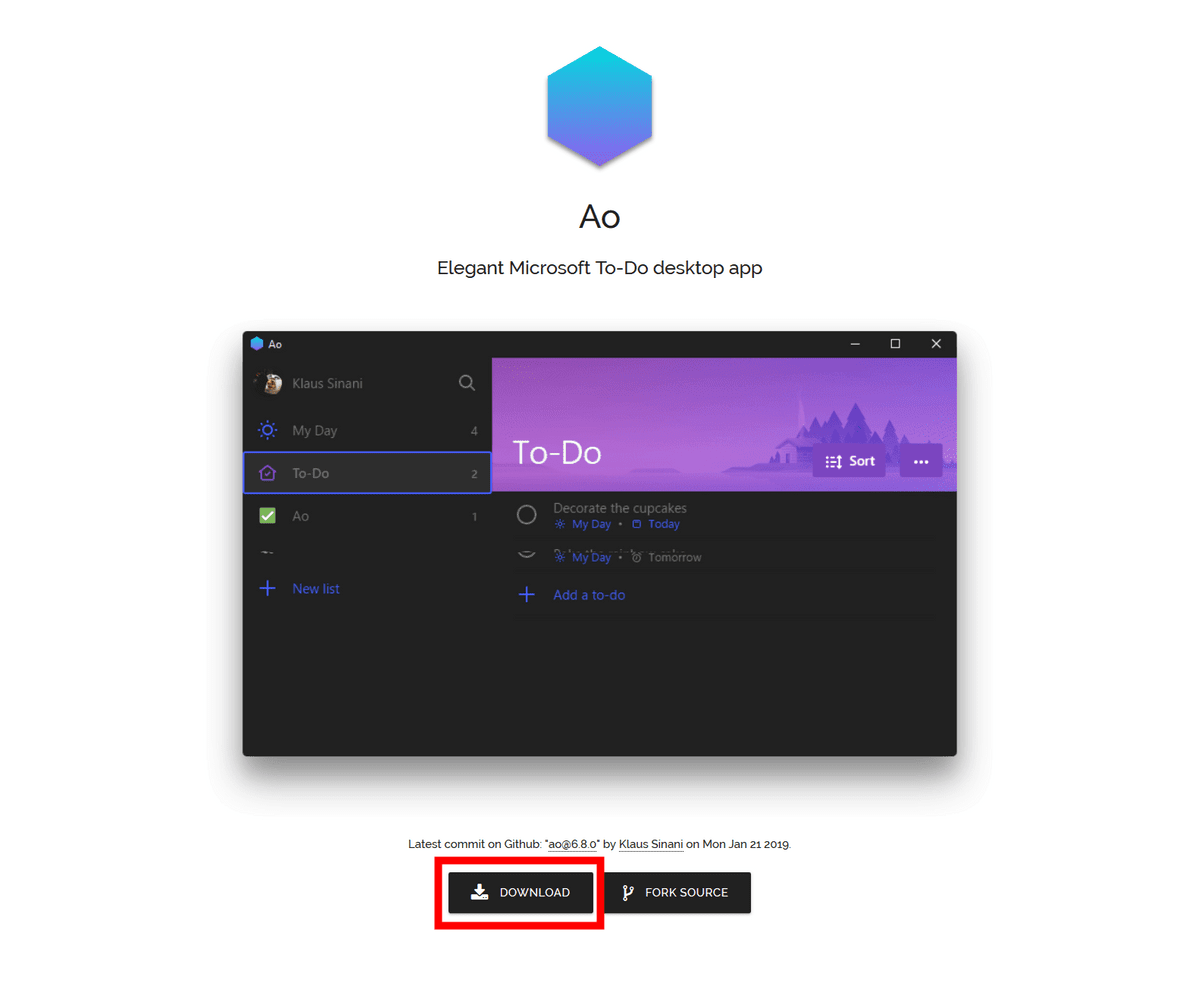
Ao - Elegant Microsoft To-Do desktop app
https://klaussinani.github.io/ao/
◆インストールと準備
上記URLにアクセスして「DOWNLOAD」をクリックします。
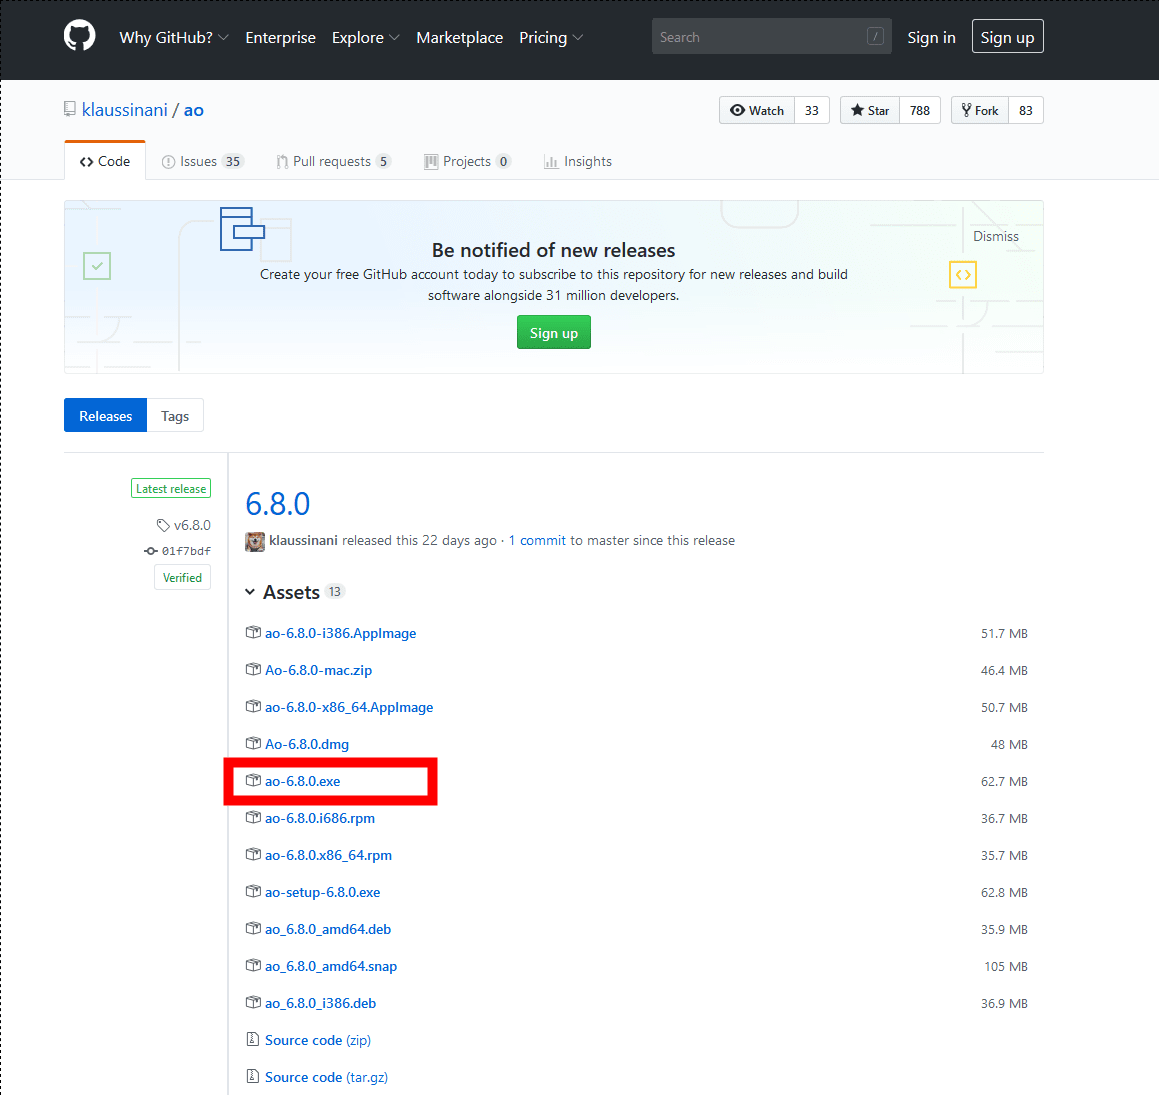
配布ページに遷移するので、使用するOSに適したインストーラーを選択します。インストールするPCのOSはWindowsなので「ao-setup-6.8.0.exe」をクリックします。
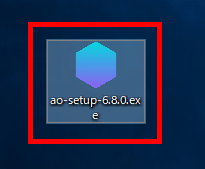
ダウンロードフォルダに作成された「ao-setup-6.8.0.exe」というファイルをダブルクリックします。
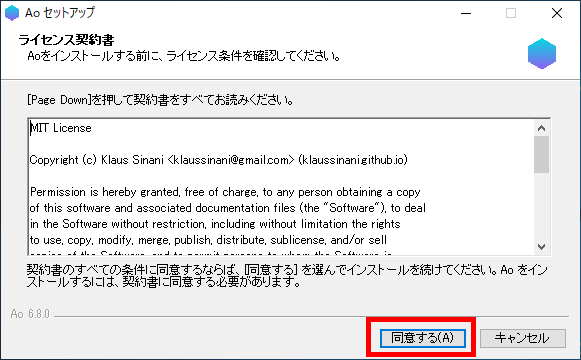
規約への同意を求められるので、「同意」をクリックします。
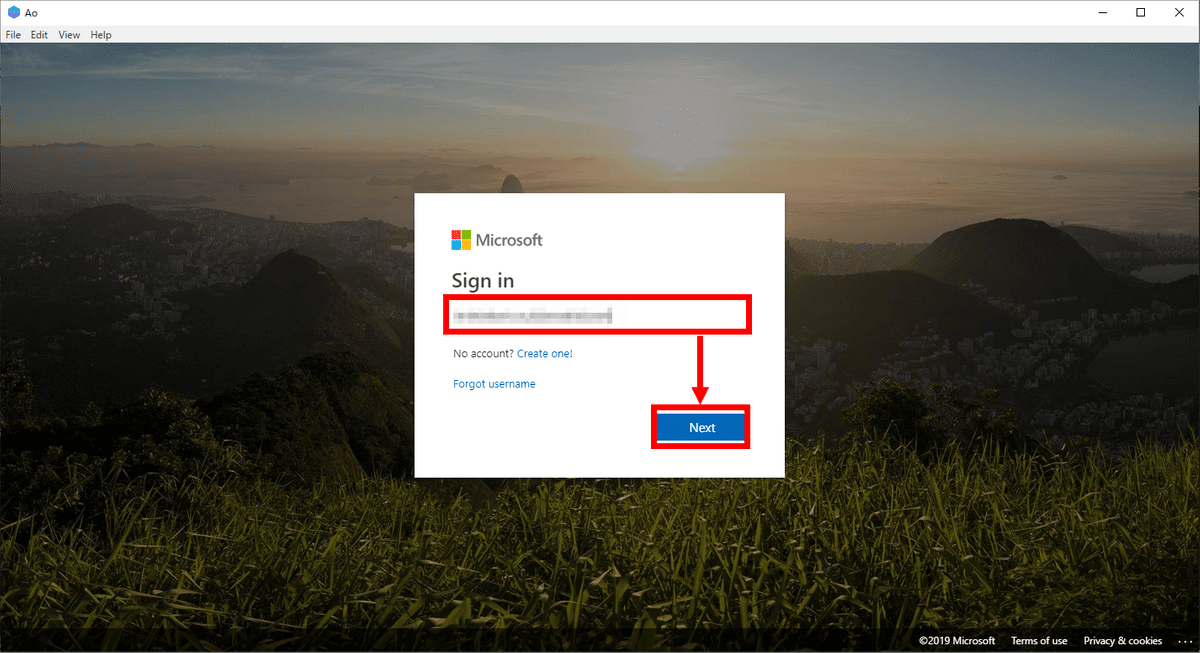
Microsoftアカウントへのサインインを求められるので、IDを入力して「Next」をクリックします。
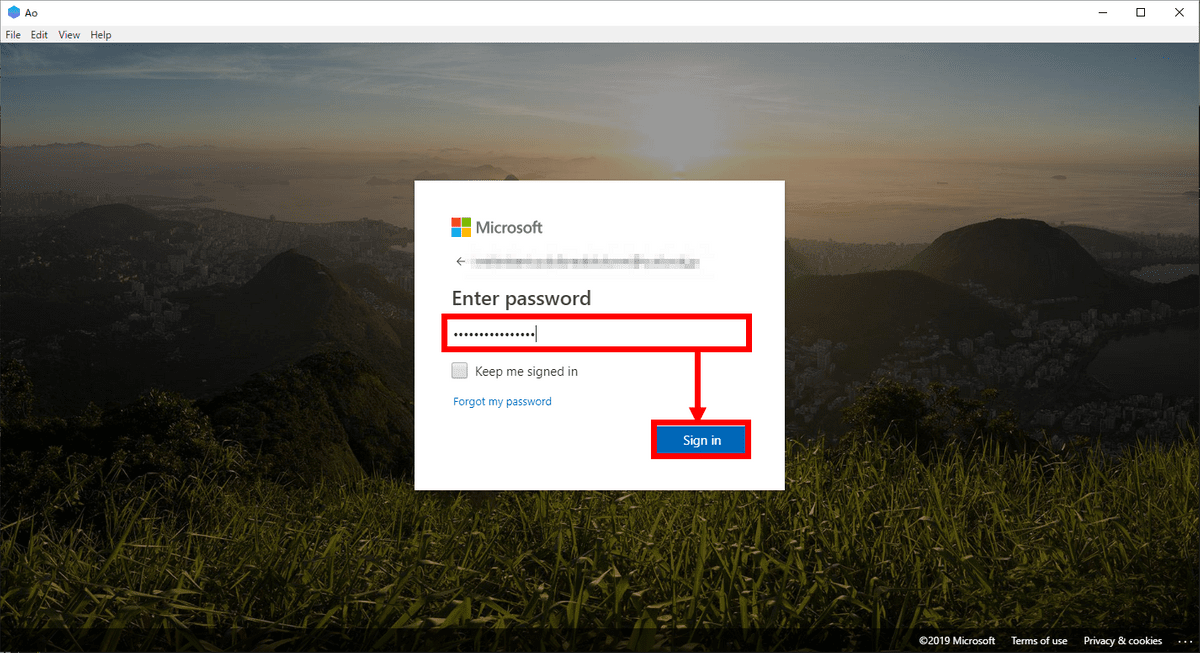
パスワードを入力して「Sign in」をクリックします。
◆使ってみる
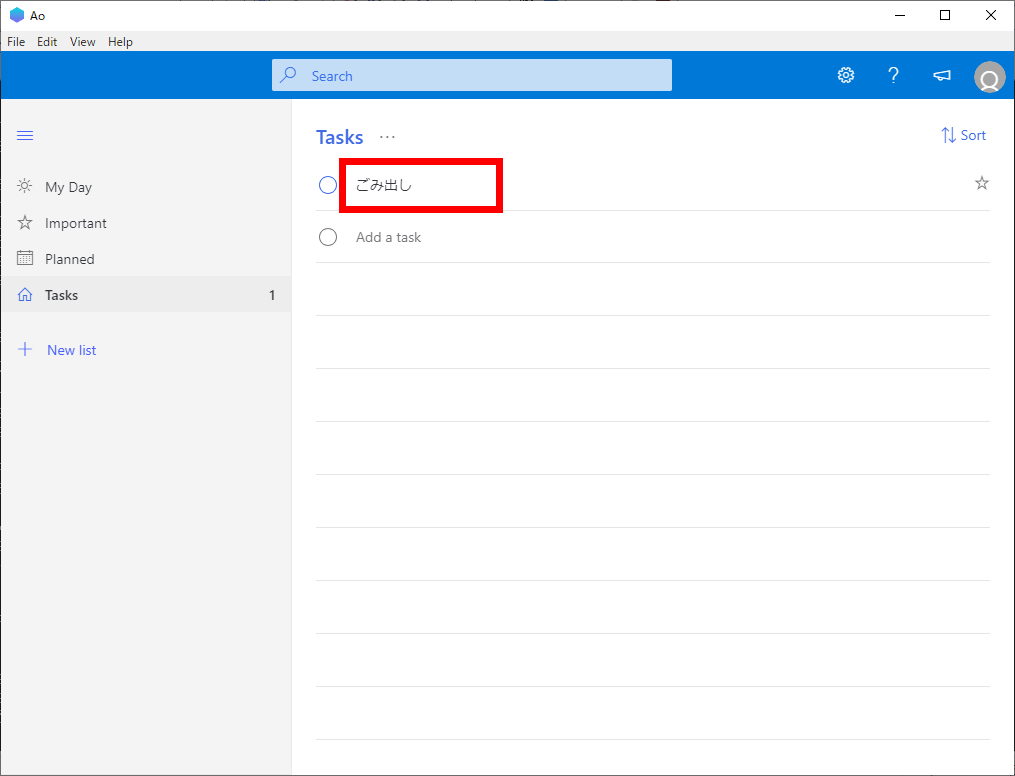
Aoのスタート画面はこんな感じ。「Ctrl+N」キーを入力するか「Add a task」をクリックすると……

テキスト入力欄になるので、新しい予定を作成できます。
予定をクリックすると詳細画面が表示されます。

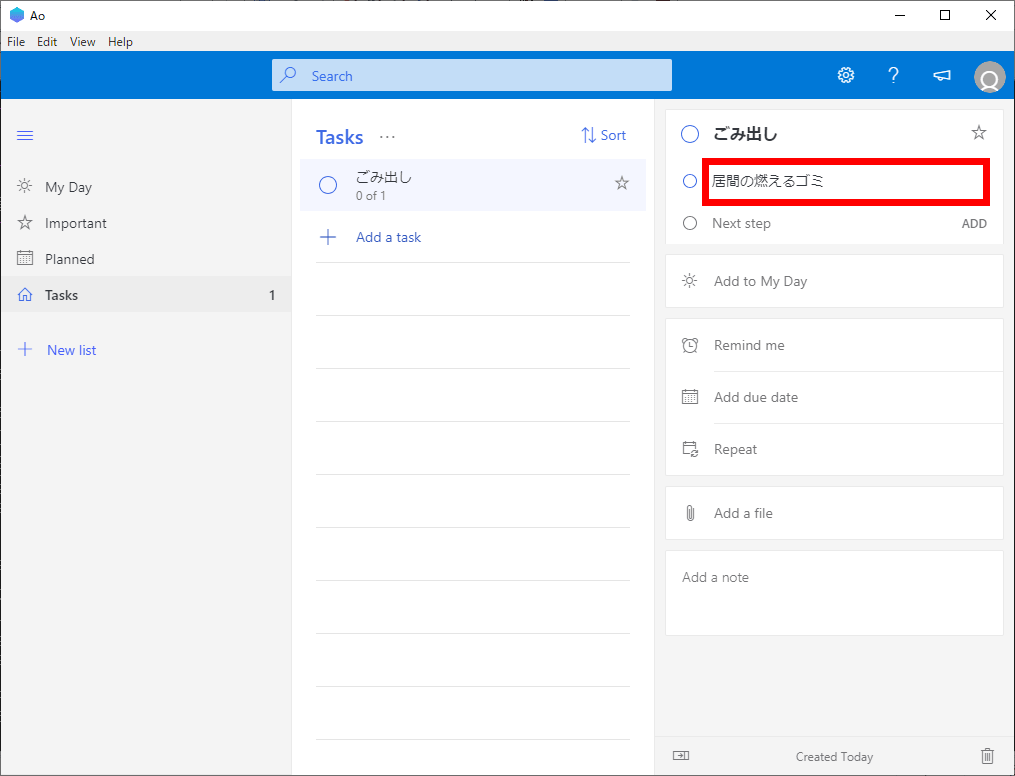
「Add step」をクリックすると文字が入力できるので……
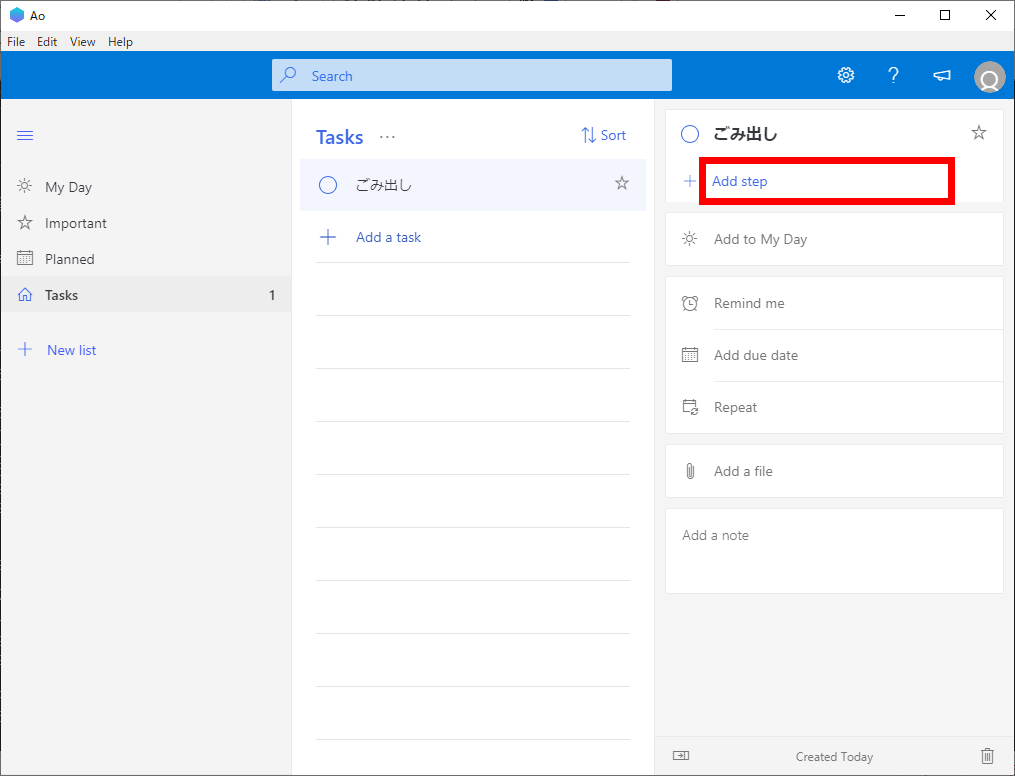
予定のステップを設定することもできます。
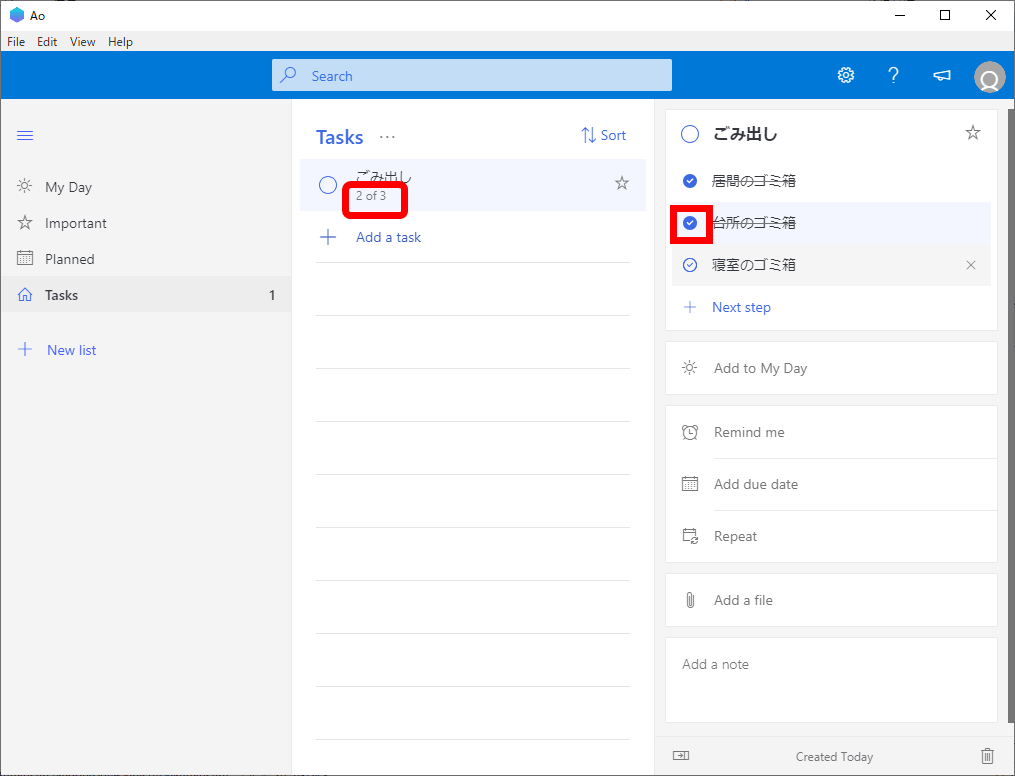
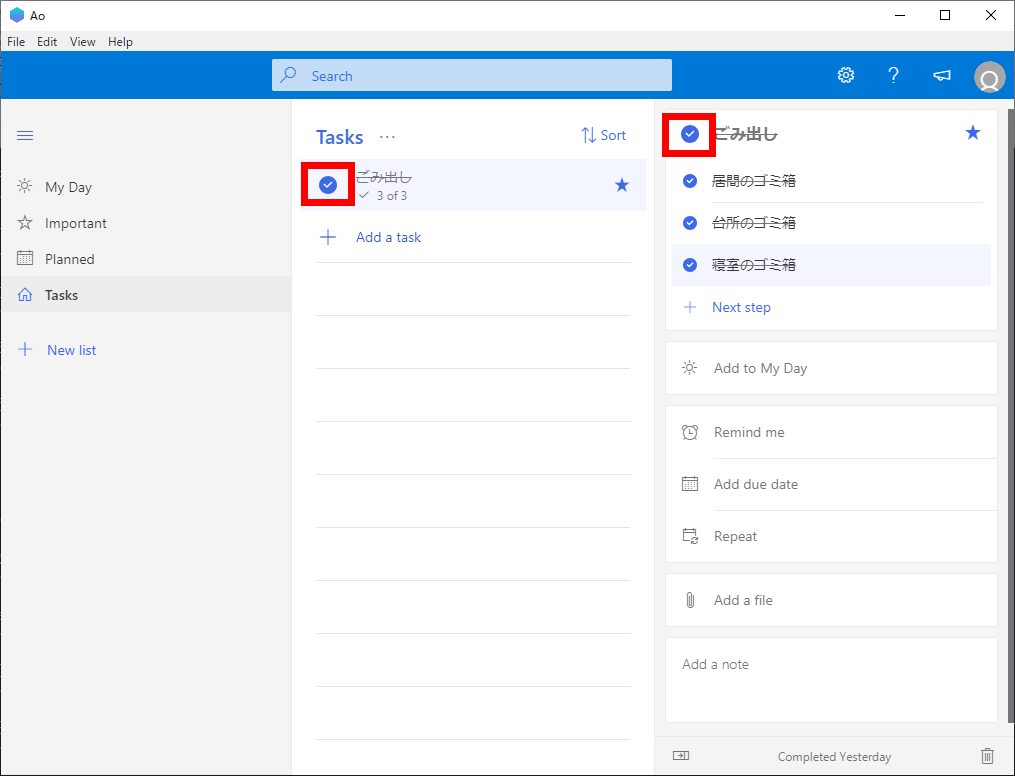
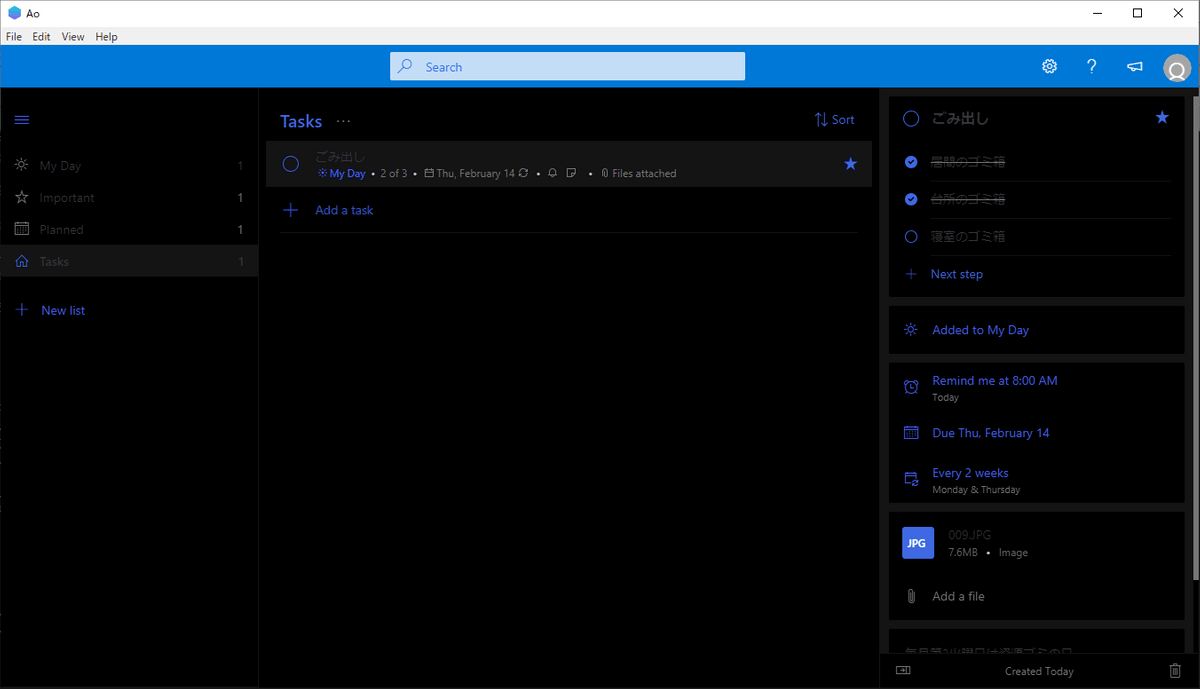
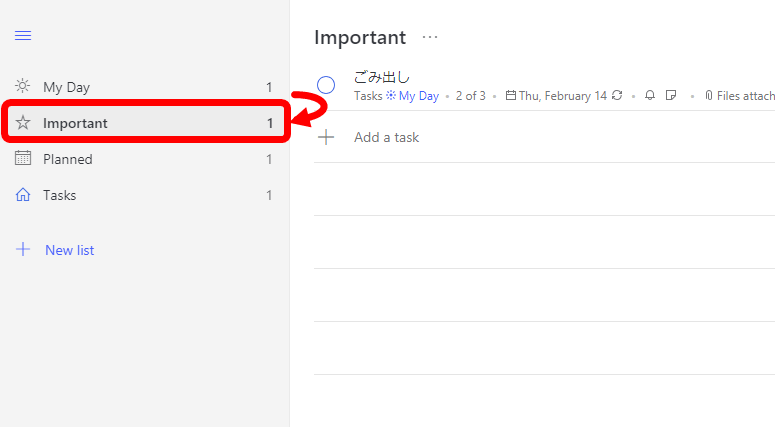
ステップの横の「○」をクリックするとそのステップを完了済に設定できます。ステップを完了させると、例えば3ステップのうち2つなら「2 of 3」という具合に、予定の下に完了済のステップの数が表示されます。
「Ctrl+Shift+N」キーを入力するか予定の横の「○」をクリックすると、予定を終了済みにすることができます。もう一度同じ操作をすることで終了済の設定を取り消すことも可能です。
「Ctrl+K」キーを入力するか「Added to My Day」をクリックすると、その予定をMy Day(今日の予定)に設定できます。
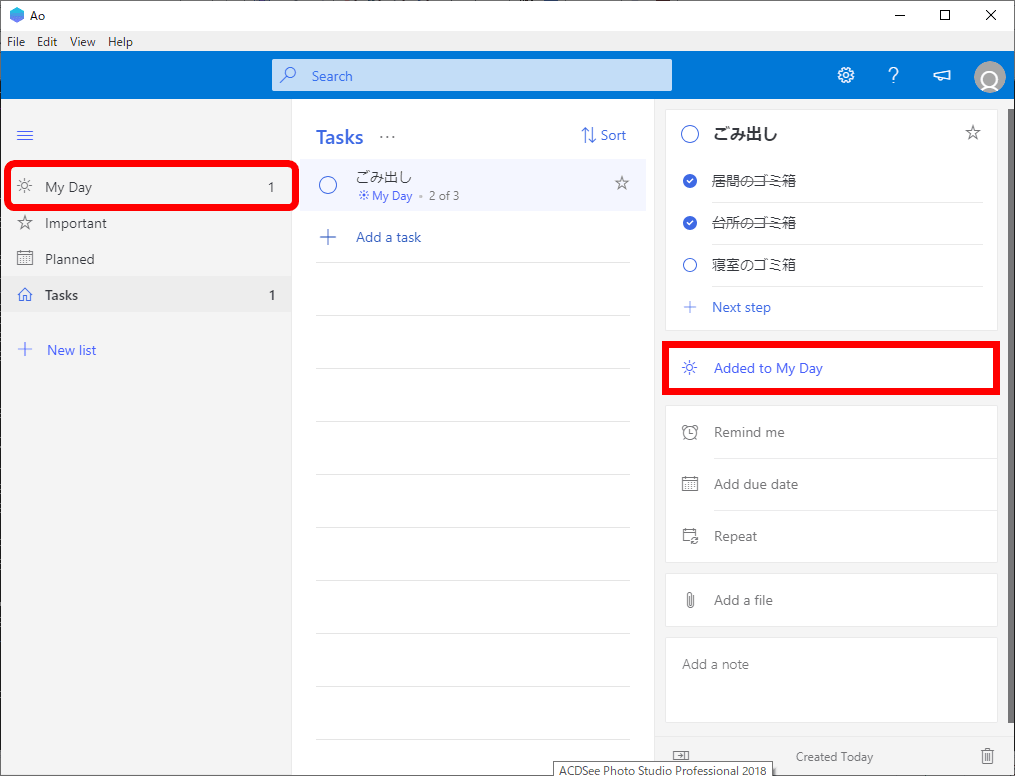
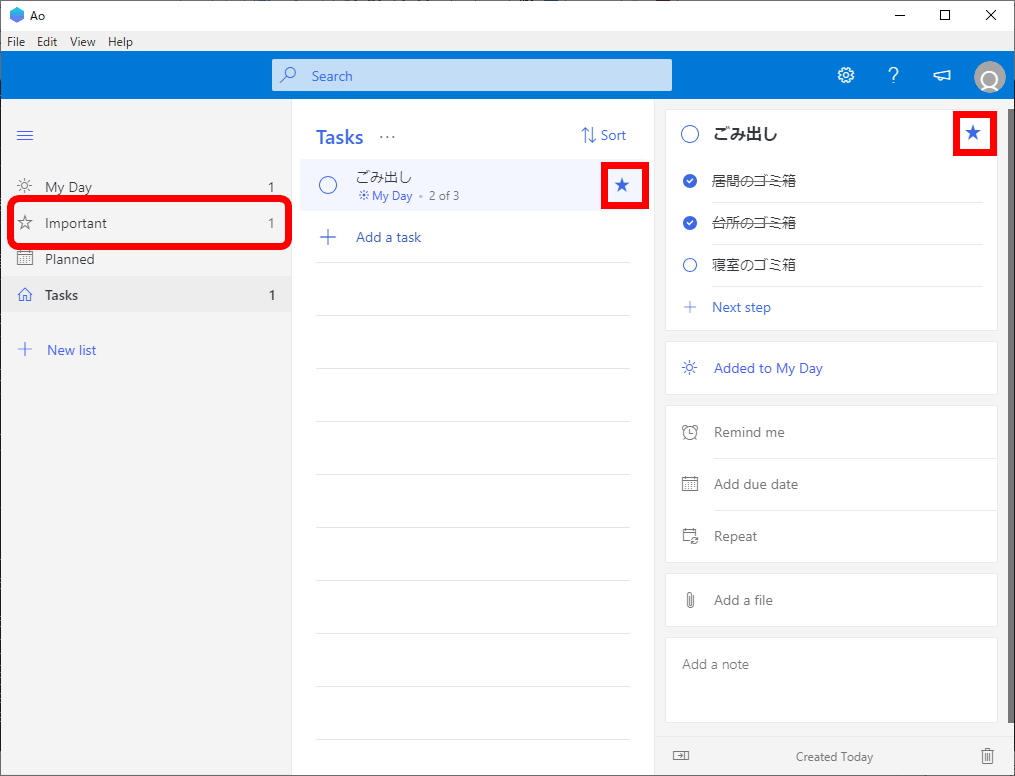
「Ctrl+I」キーを入力するか予定の横の「☆」をクリックすると、予定を「Important(重要)」に設定できます。
「Ctrl+Shift+E」キーを入力するか「Remind me」をクリックすると、通知を設定可能。
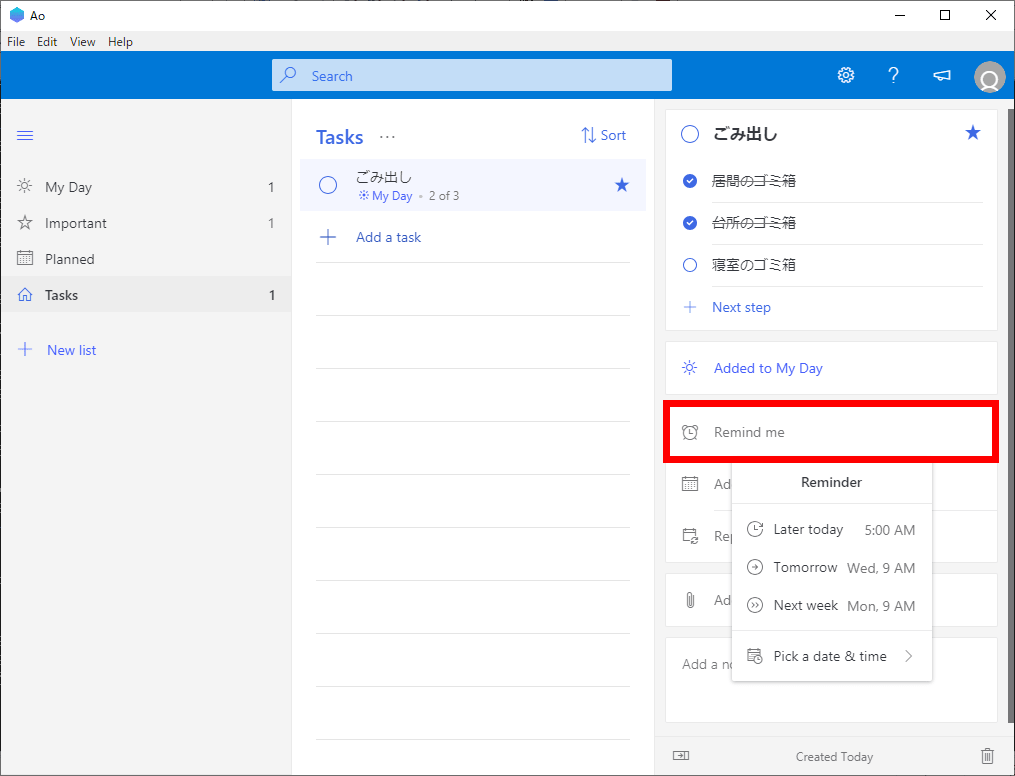
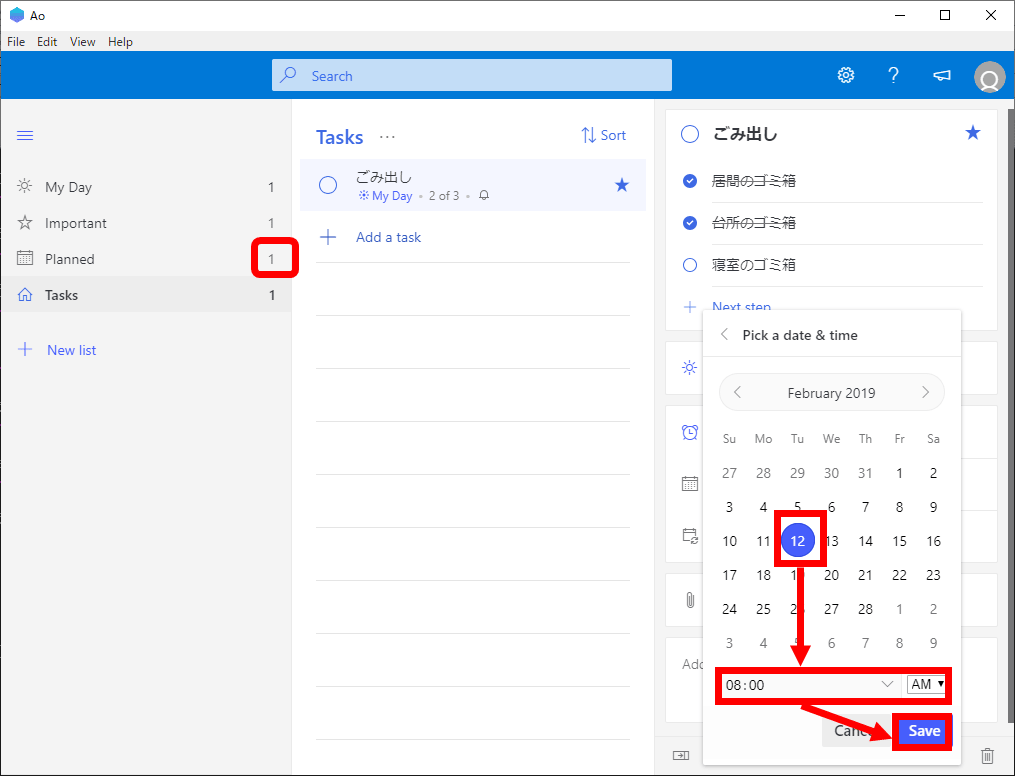
通知は「Later today(今日の数時間後)」「Tomorrow(明日)」「Next week(来週)」などを設定できるほか、「Pick a date & time」をクリックすることで……
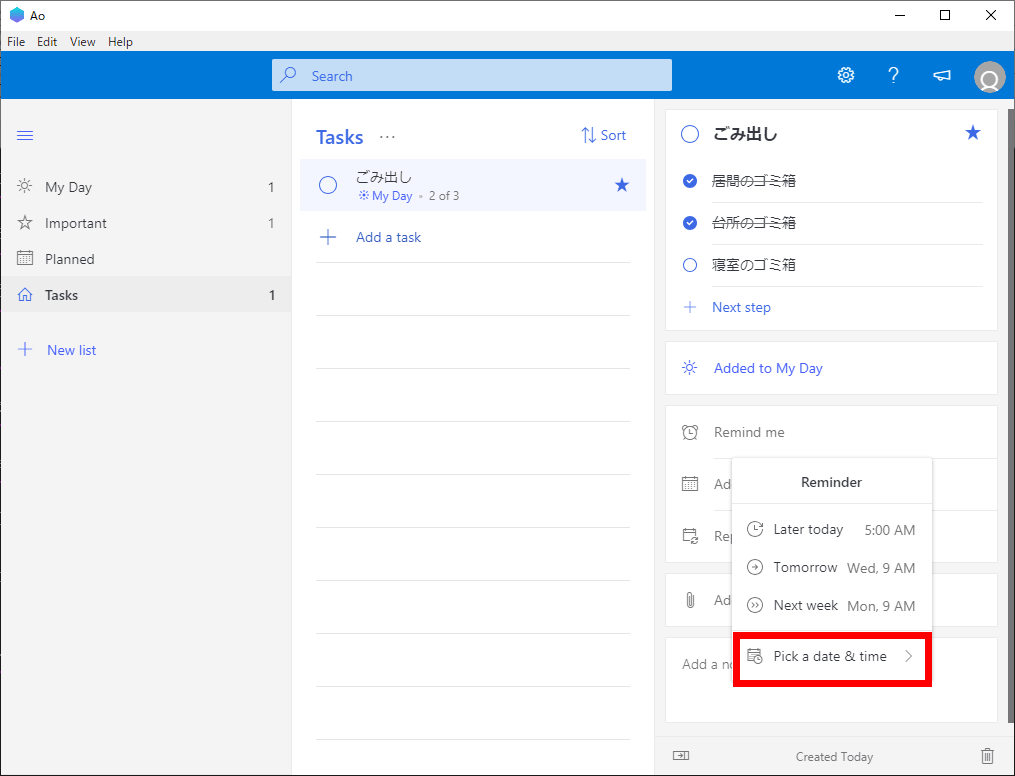
任意の日時を設定できます。カレンダーをクリックして日付を決定し、時間を入力して「Save」をクリックすればOKです。リマインダーを設定すると自動的に「Planned(今後の予定)」にも登録されます。
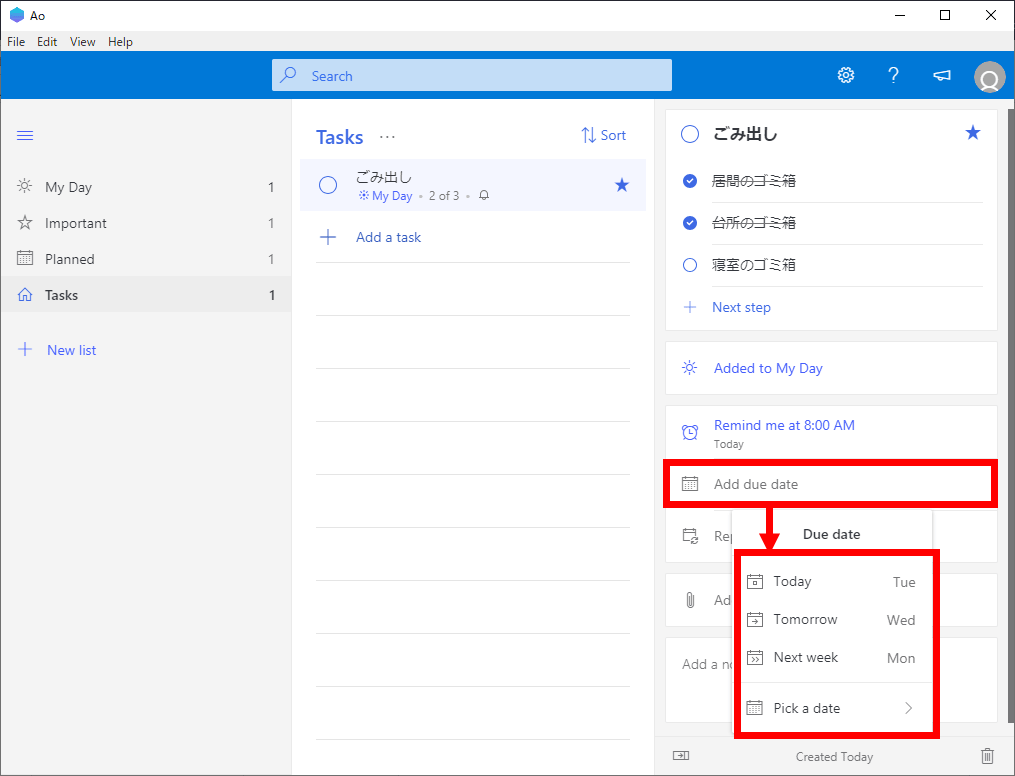
「Add due date」をクリックすると、リマインダーと同様の方法で期日を設定することもできます。
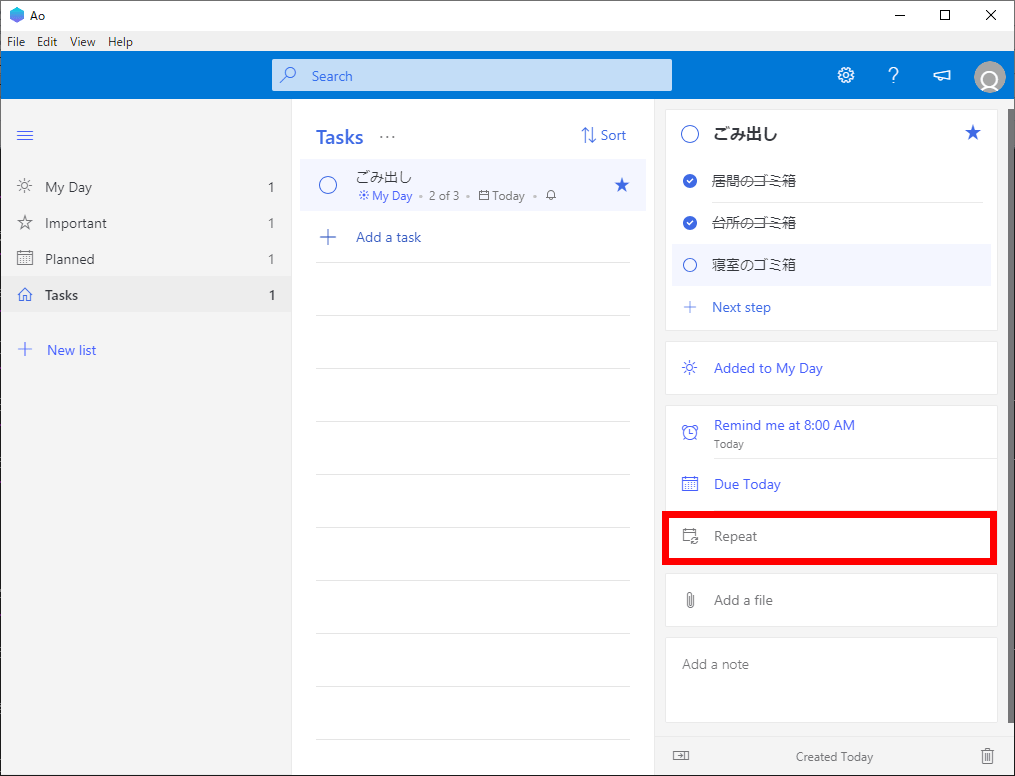
「Repeat」をクリックすると繰り返しの設定が可能です。
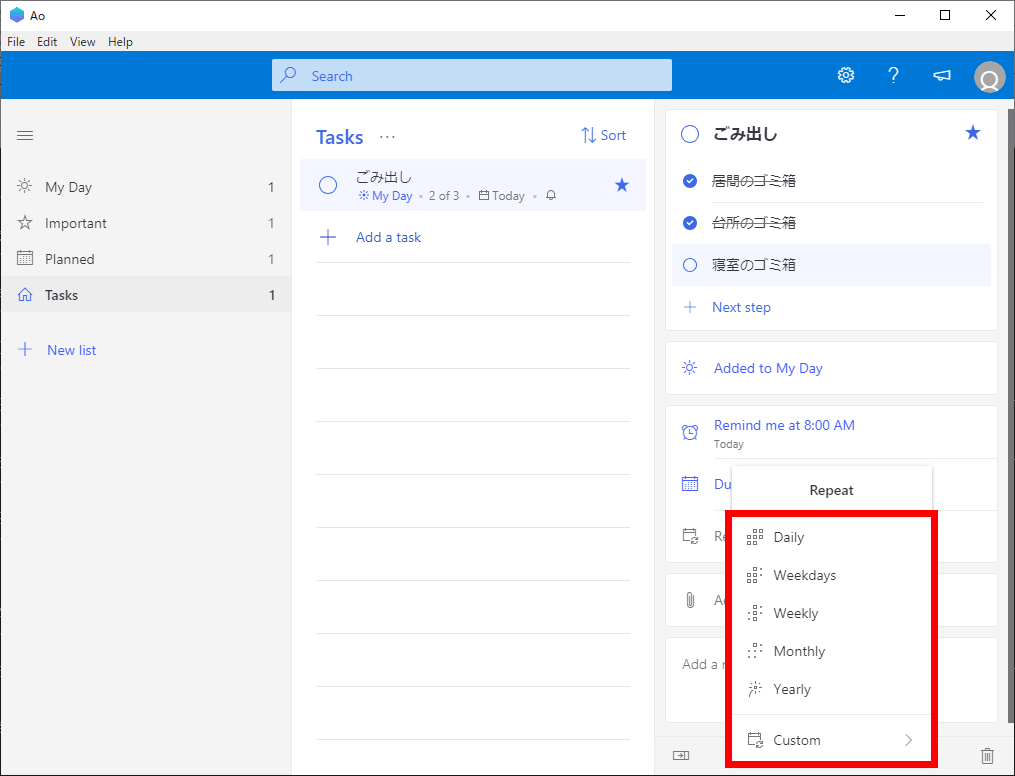
繰り返しの設定は「Daily(毎日)」「Weekdays(週日)」「Weekly(毎週)」「Monthly(毎月)」「Yearly(毎年)」から選択できるほか、「Custom」で任意の繰り返し設定をすることができます。
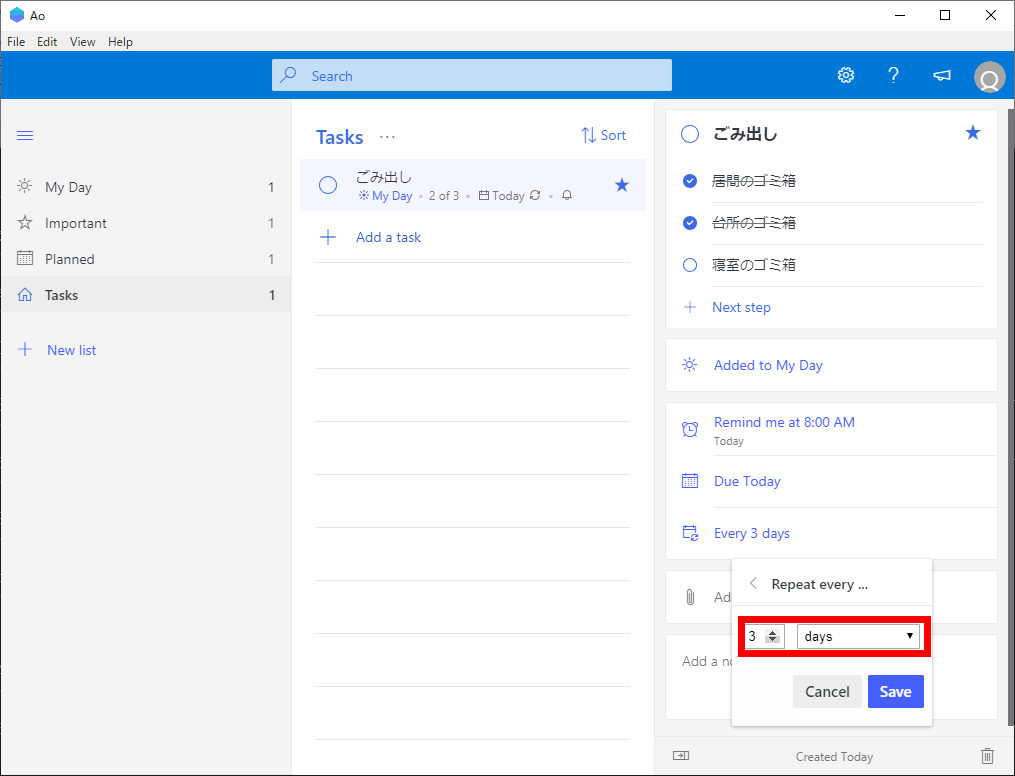
たとえば、「3」を入力して「days」を選択すると「3日ごと」になり……
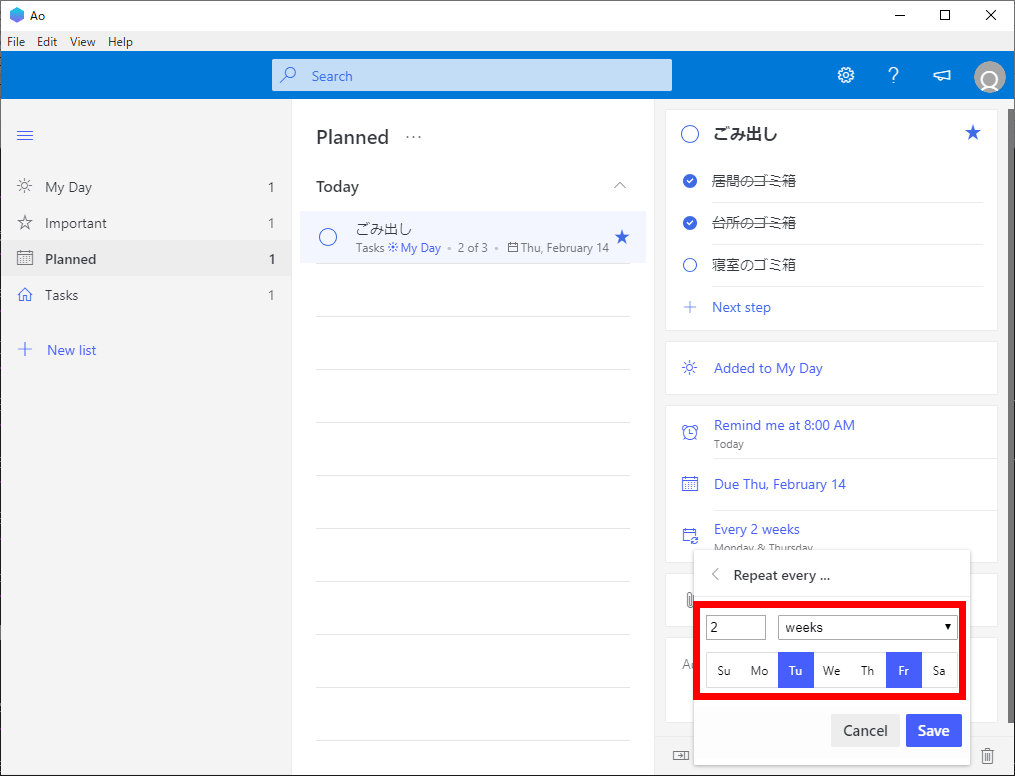
例えば「2」を入力して「weeks」を選択し、「Tu」と「Fr」をクリックすると「隔週の火曜日と金曜日」といった具合です。
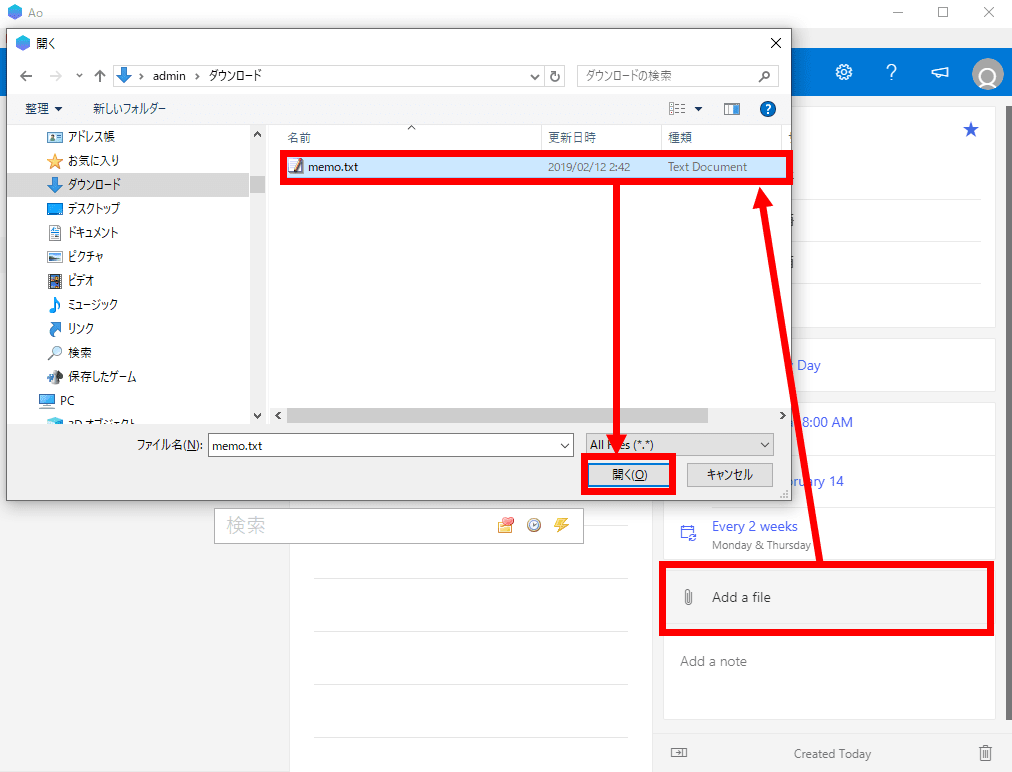
「Add a file」をクリックして任意のファイルを選択して「開く」をクリックすると、ファイルを登録することが可能。
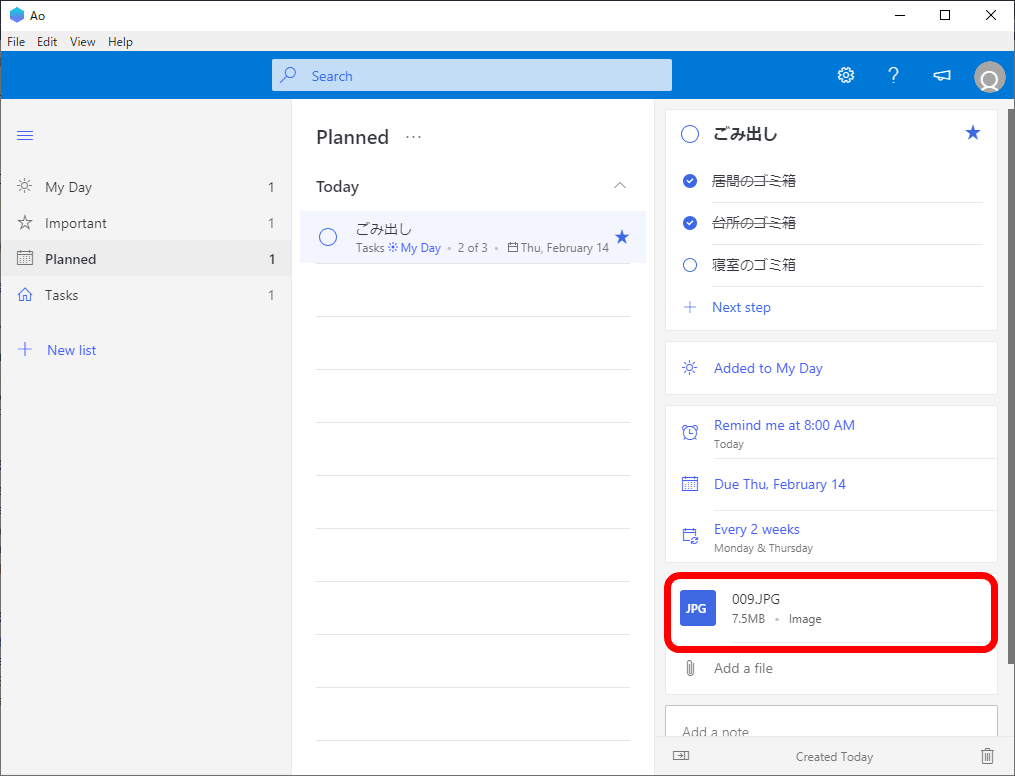
画像ファイルも添付できます。
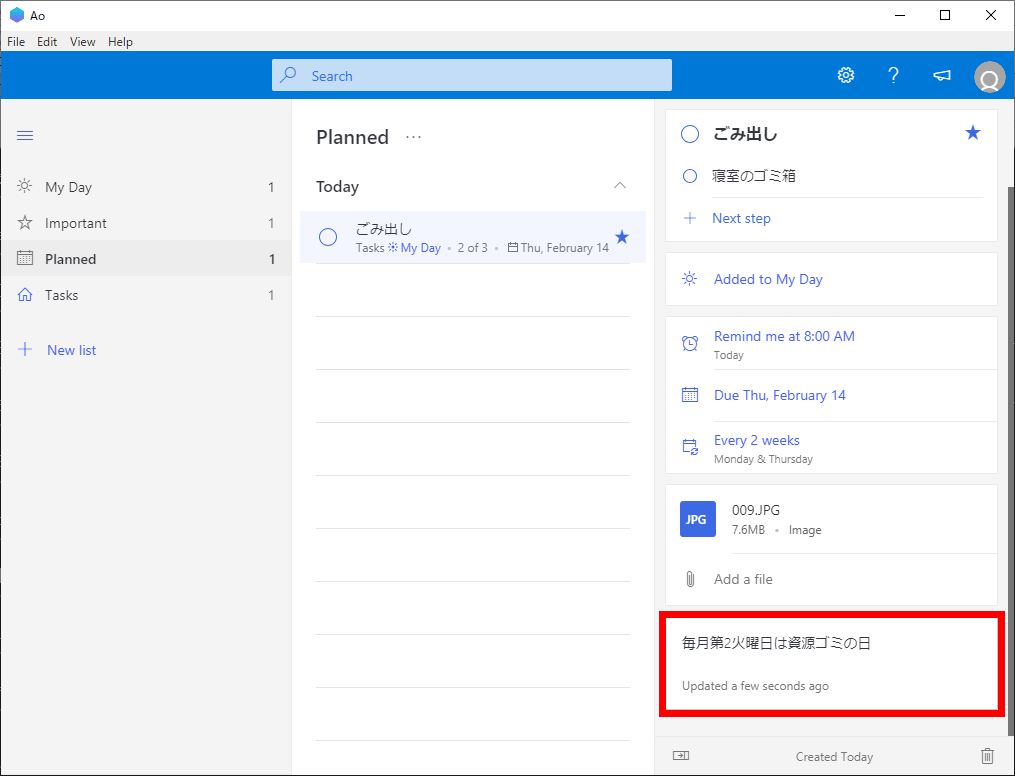
右下のスペースにはテキストが入力できるので、ちょっとしたメモなどに使えます。
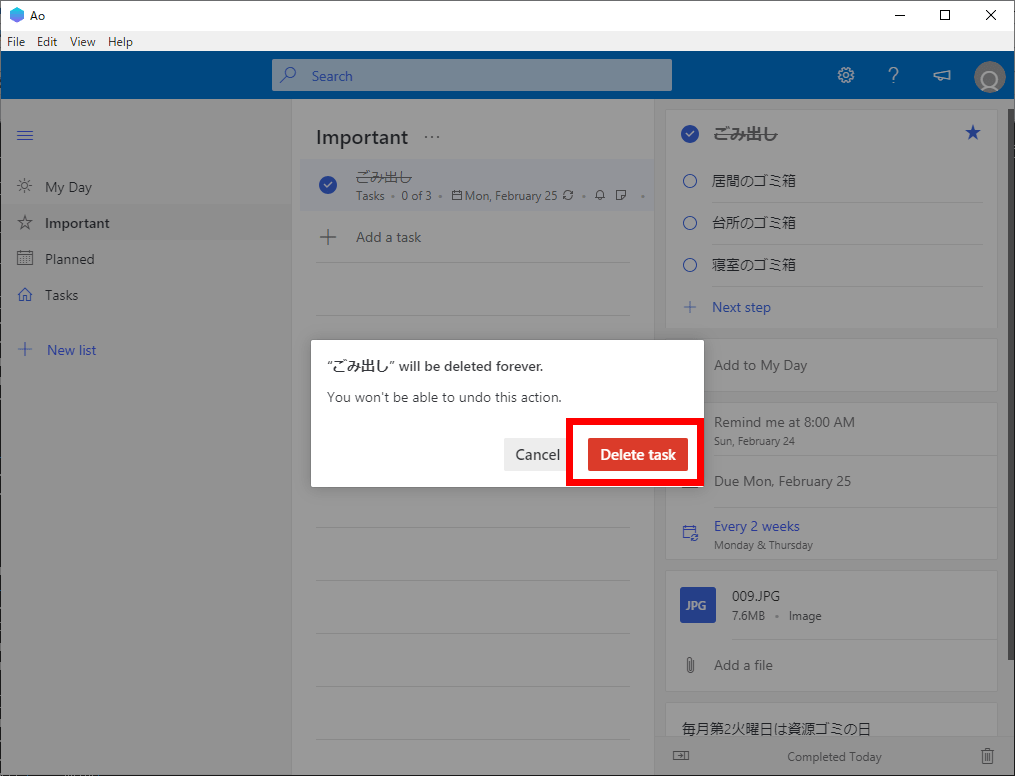
タスクを削除したい場合は、「Ctrl+D」キーを入力してから「Delete task」をクリックすればOK。
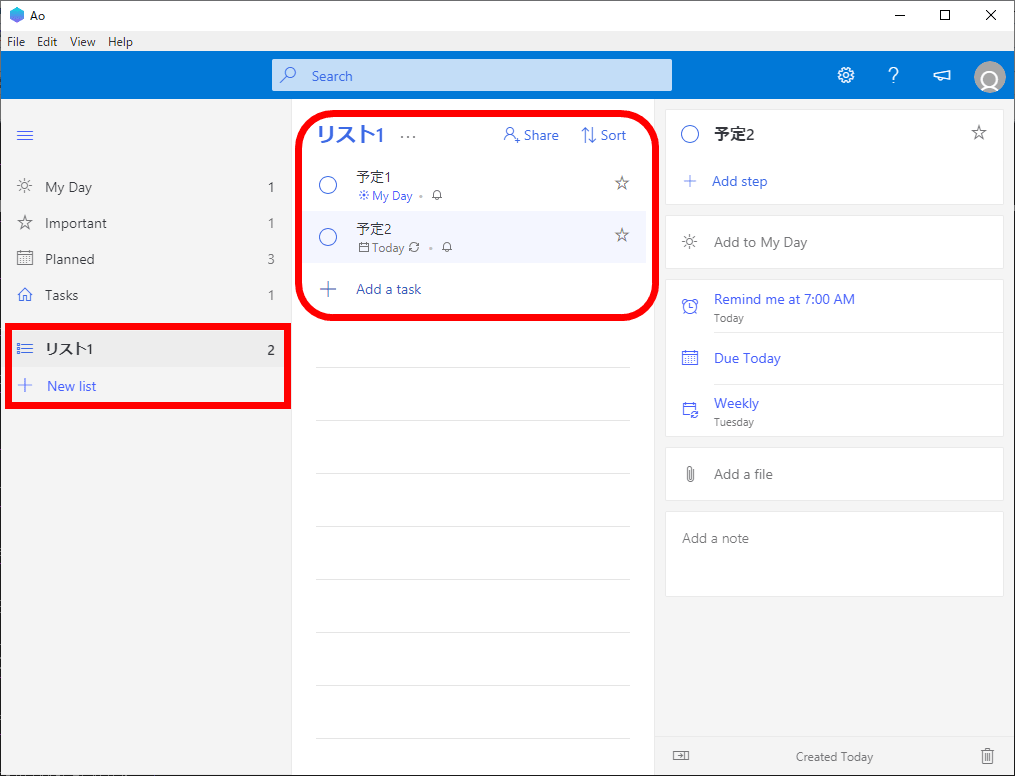
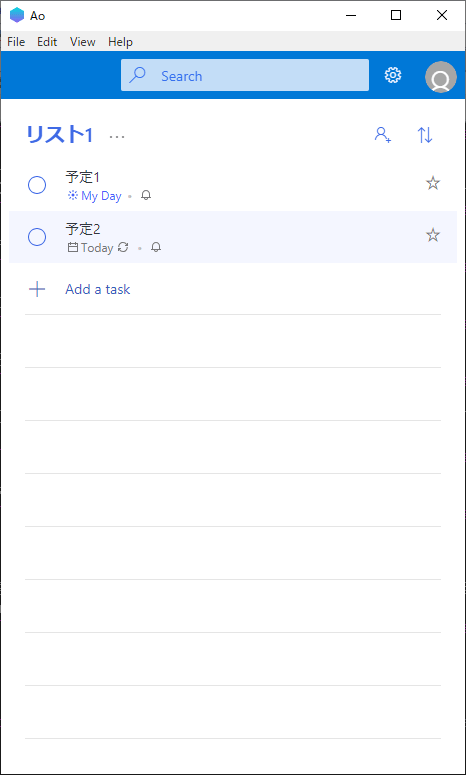
「Ctrl+L」キーか「New list」をクリックすると予定のリストを新規作成できます。
◆見た目をカスタマイズ&ショートカットキー操作で効率化
「Ao」はショートカットキー操作だけでテーマを変更できます。これは「Ctrl+G」キーでセピアテーマに変更したところ。
ほかにも「Ctrl+H」キーでダークテーマ……

「Ctrl+B」キーでさらに黒を追求したブラックテーマに切り替え可能です。
「Ctrl+-(マイナス)」でテキストを小さくしたり……

「Ctrl+Shift」キーと「+(プラス)」キーでテキストを大きくしたりできます。
「Ctrl+0(ゼロ)」キーでテキストの大きさがデフォルトに戻ります。
ウィンドウの幅を狭くすることでメニューなどが表示されないコンパクトモードになります。
「My Day」や「Important」などの各項目は「Ctrl+Tab」キーで上から順番に切り替えることができます。「Ctrl+Shift+Tab」キーだと下から順番に切り替わります。また、直接項目にジャンプすることもできます。「My Day」は「Ctrl+1」か「Ctrl+M」・「Important」は「Ctrl+2」か「Ctrl+I」・「Planned」は「Ctrl+3」か「Ctrl+P」・「Task」は「Ctrl+4」か「Ctrl+J」でジャンプします。
「Ao」は「Microsoft To-Do」の機能をショートカットを活用して使い倒せるフリーソフトです。そのままでも洗練されたToDoを作成できますが、ショートカットキーを覚えて使いこなすことでさらに能率的でストレスフリーなタスク管理が可能になります。
・関連記事
あらゆるタスクや予定を1つにまとめて目標を達成する「Passion Planner」がもらえる「Pay It Forwardプログラム」 - GIGAZINE
カード感覚でタスク整理できる「Trello」が進化してカレンダー上での整理にも対応したので使ってみた - GIGAZINE
タスク管理ツール「Trello」と連携してタスクを完了するまでに掛かった時間を計測してくれるサービス「Rotor」を使ってみた - GIGAZINE
タスクにかかった時間をすべて記録・集計・可視化して効率的な時間管理ができる超絶多機能な「Toggl」を使ってみた - GIGAZINE
・関連コンテンツ
in ソフトウェア, レビュー, Posted by darkhorse_log
You can read the machine translated English article 'Ao' that you can manage ToDo easily by ….