Windows version 'PassMark PerformanceTest' Ver.11 review thoroughly benchmarks five items: CPU, 2D, 3D, memory, and disk
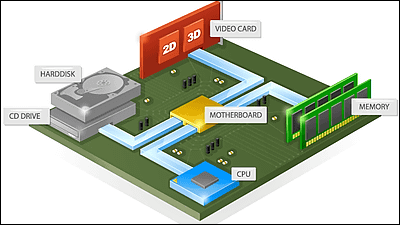
' PassMark PerformanceTest ' is a benchmark software that performs multiple benchmarks on five items: 'CPU,' '2D graphics,' '3F graphics,' 'memory,' and 'disk speed,' and provides detailed numerical results.
I have previously reviewed '
PassMark PerformanceTest - PC benchmark software
https://www.passmark.com/products/performancetest/index.php
◆Download & Install
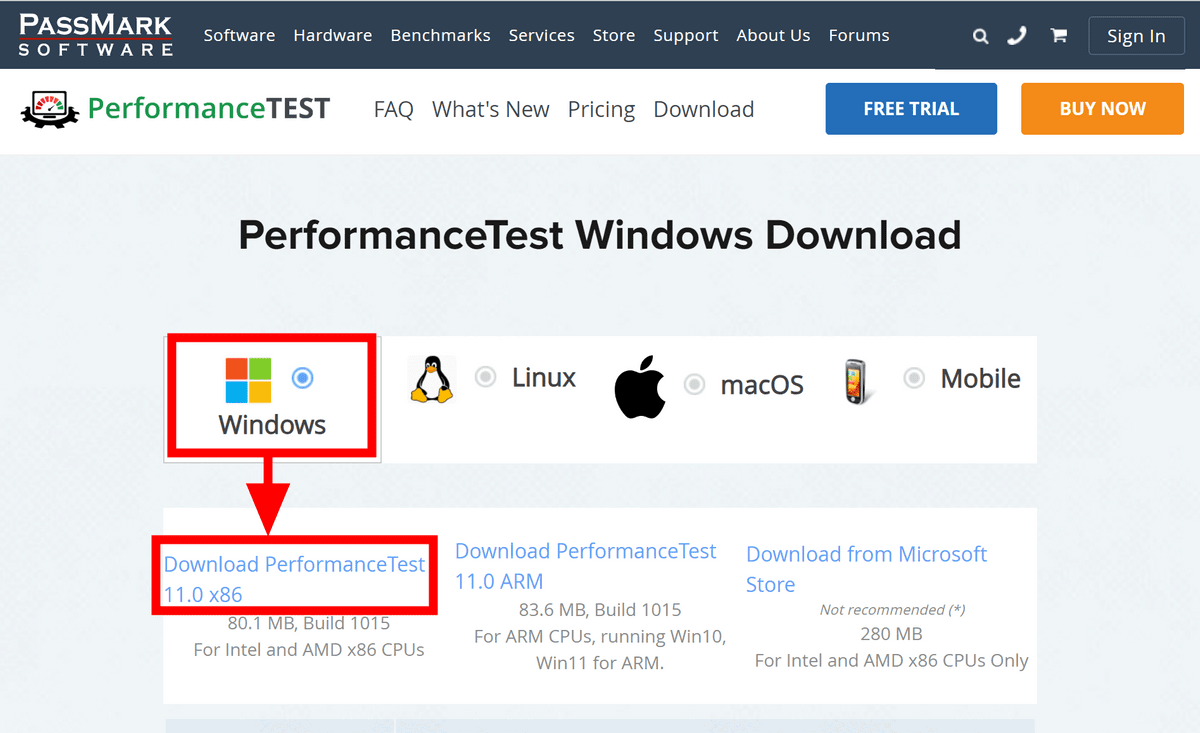
First, go to the official download page and download the file that corresponds to your environment.
If you are using a standard Windows PC, check 'Windows' and click 'Download PerformanceTest 11.0 x86' below. PassMark PerformanceTest is also available in 'Linux version', 'macOS version', 'Android version' and 'iOS version' , but this time we will use the Windows version.
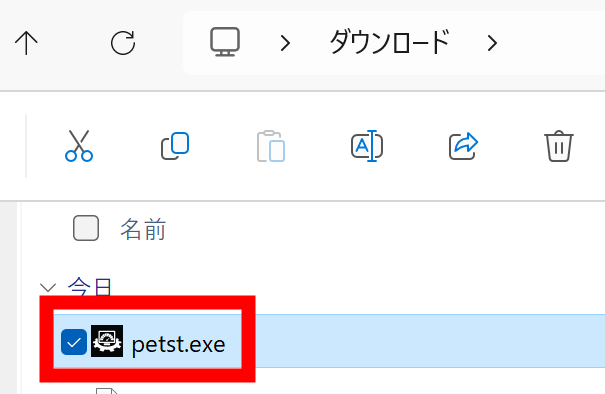
Double-click the downloaded 'petst.exe' to run it.
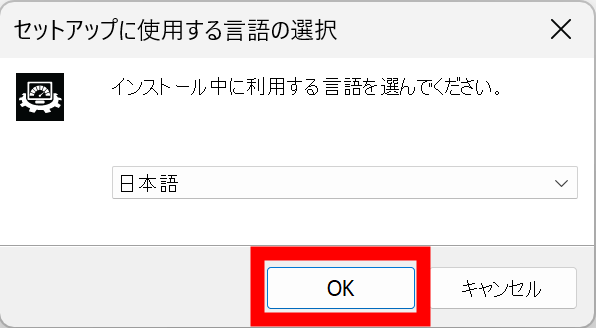
You should be able to proceed with the installation in Japanese without changing the settings, so click 'OK'.
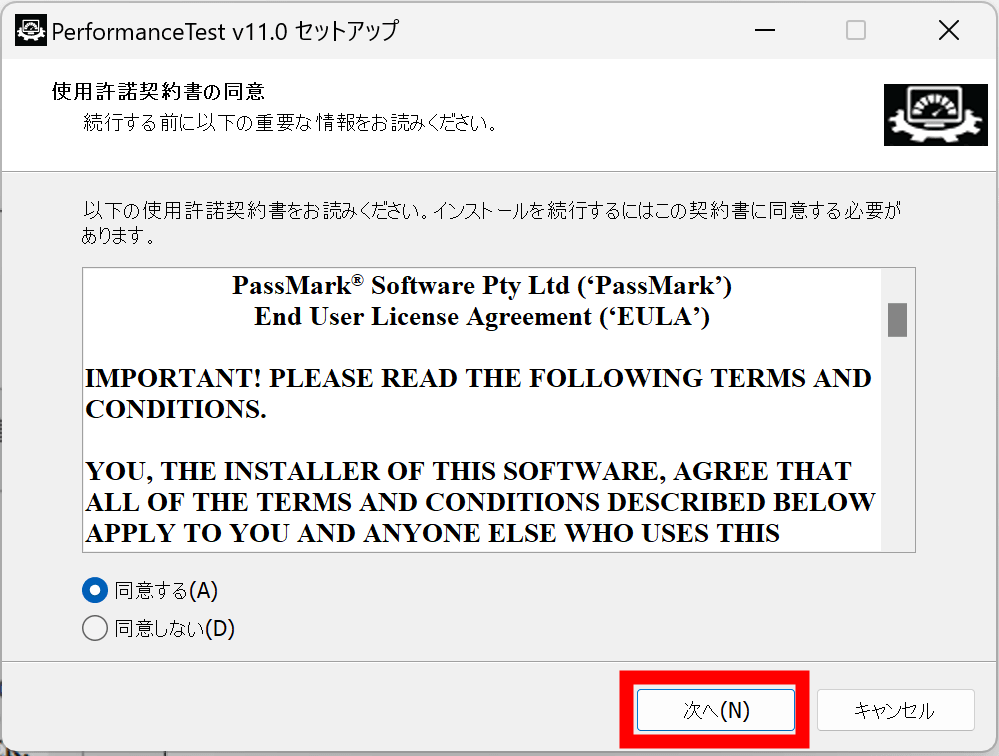
Check 'I agree' and click 'Next'.
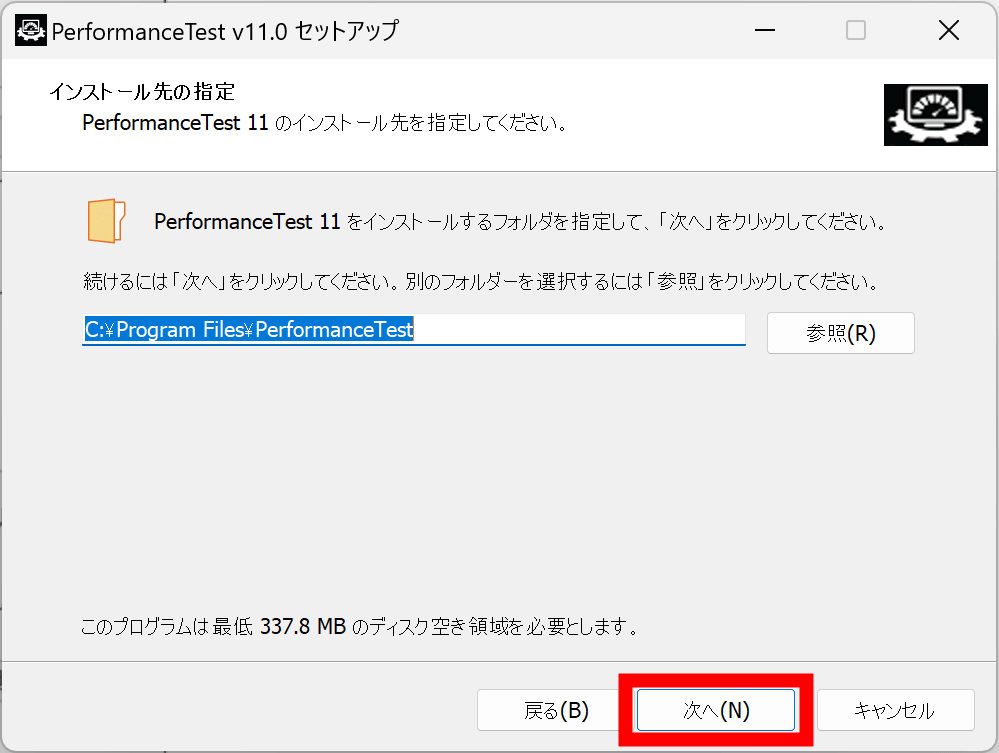
Click “Next”.
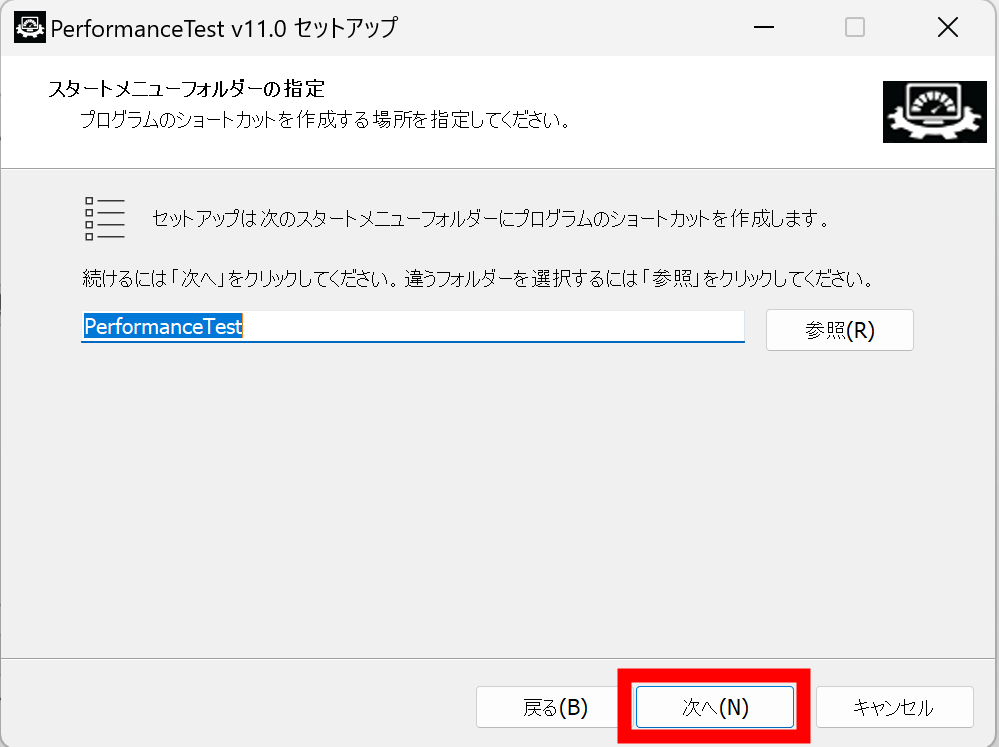
Click “Next”.
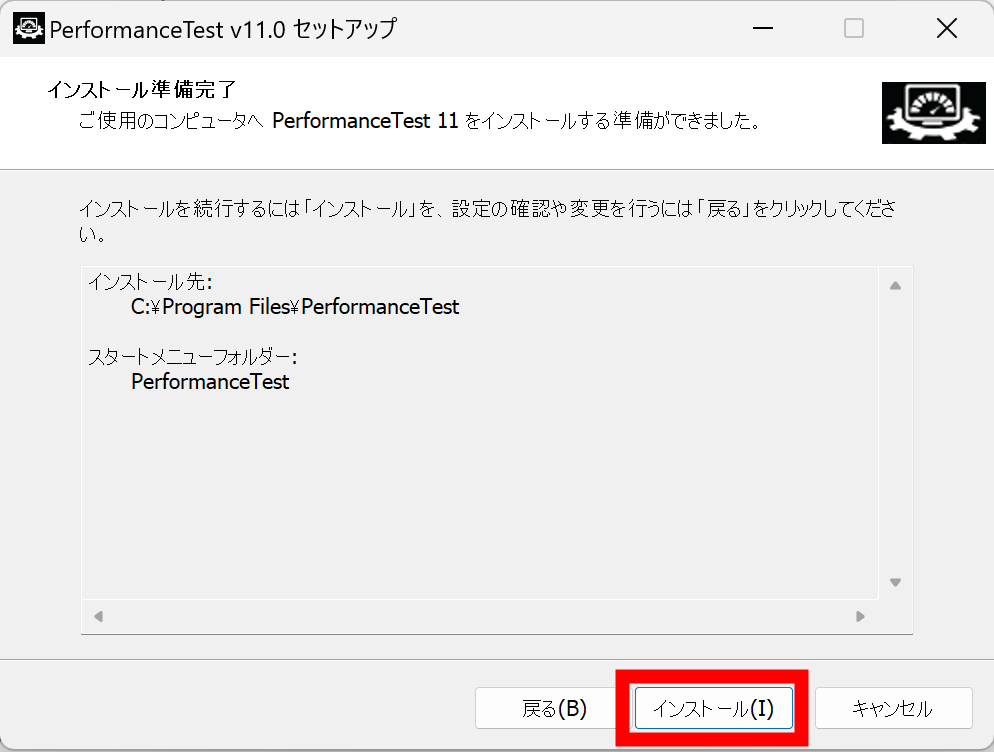
Click 'Install'.
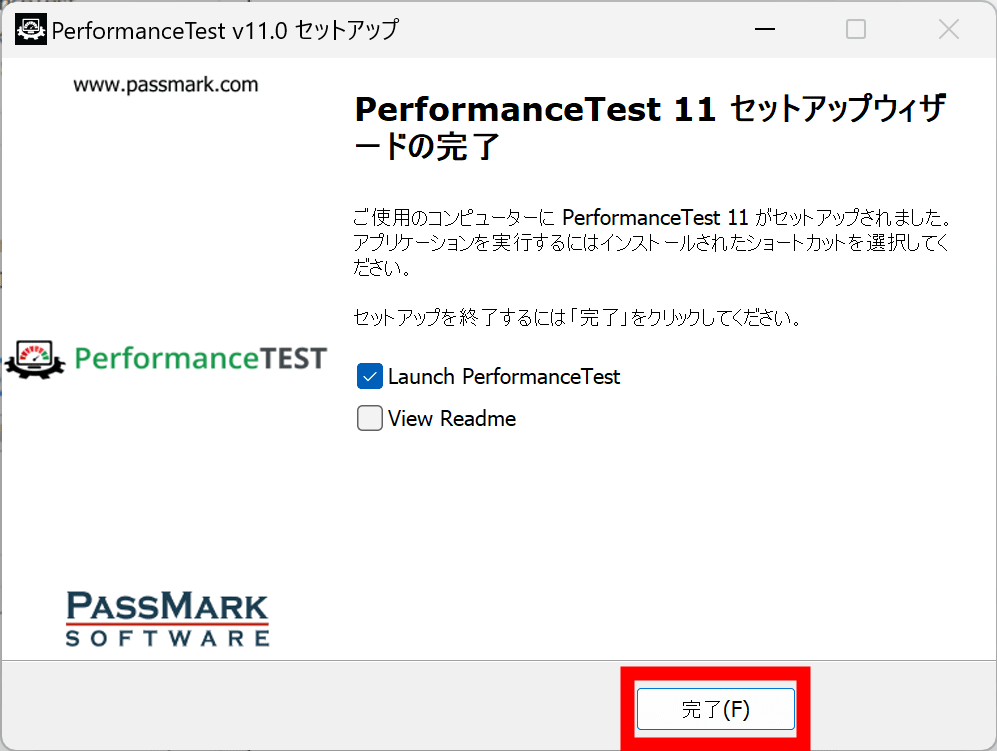
Once the installation is complete, click 'Finish'. PassMark PerformanceTest will start.
◆Benchmark
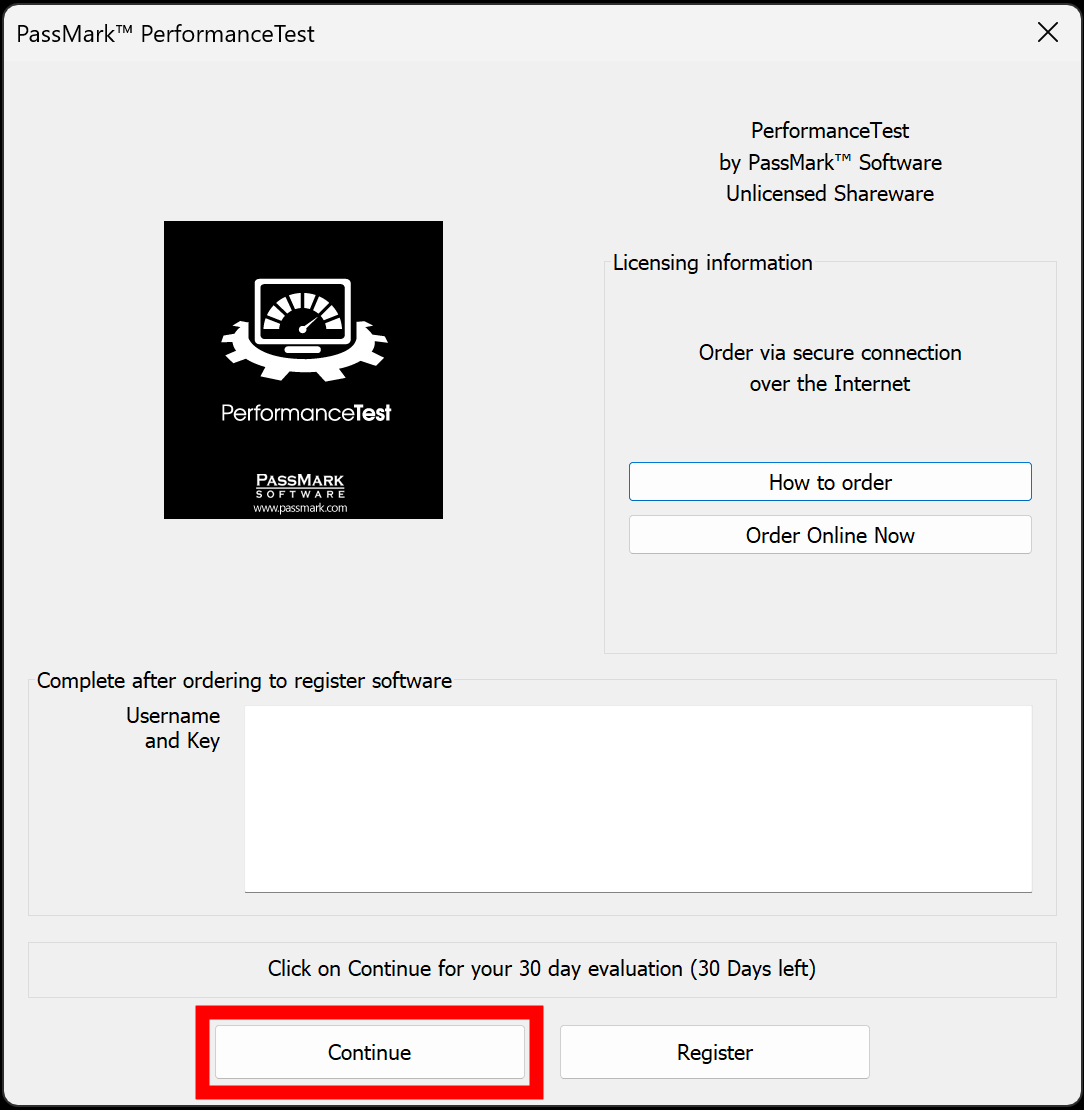
The Windows version of PassMark PerformanceTest is paid software, but you can try it for 30 days. Click 'Continue'.
Click 'RUN BENCHMARK' to run the benchmark.

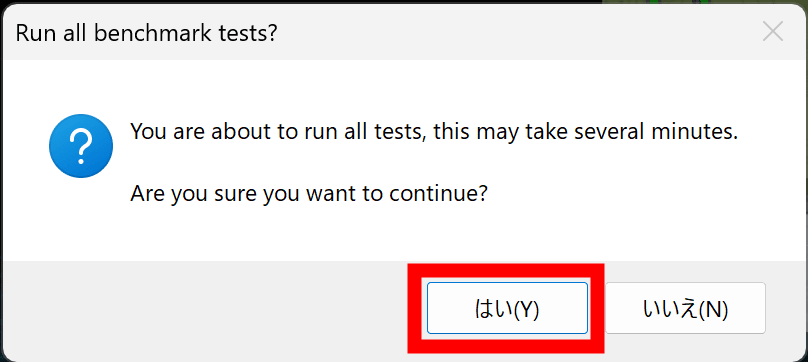
It will take some time, but there is no problem, so click 'Yes'.
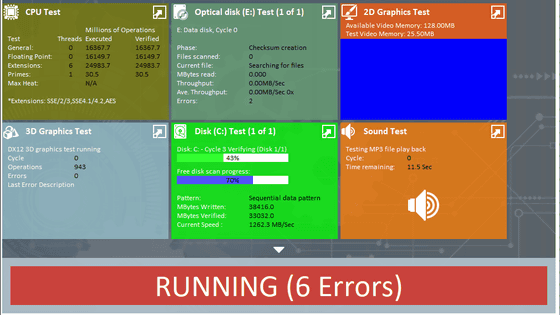
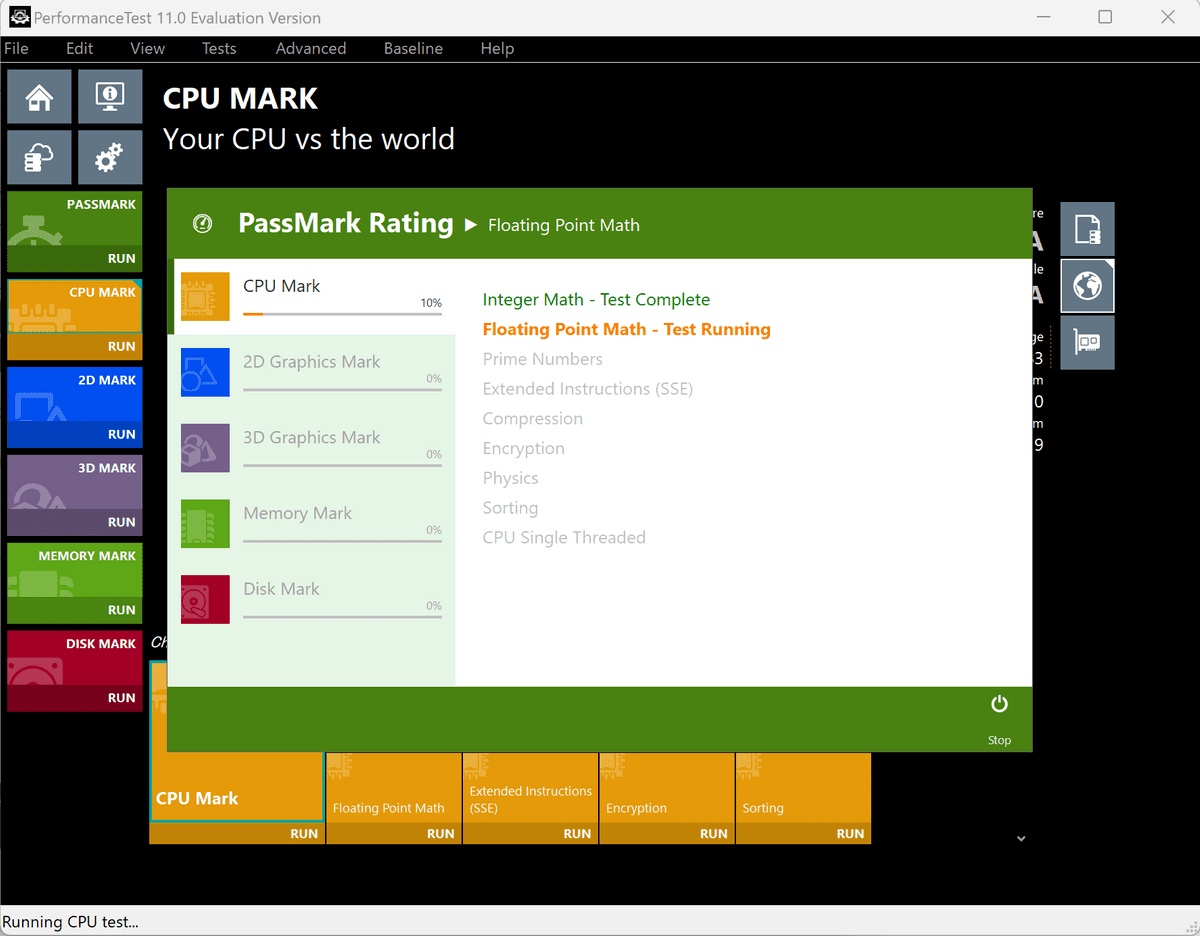
The benchmark has begun.
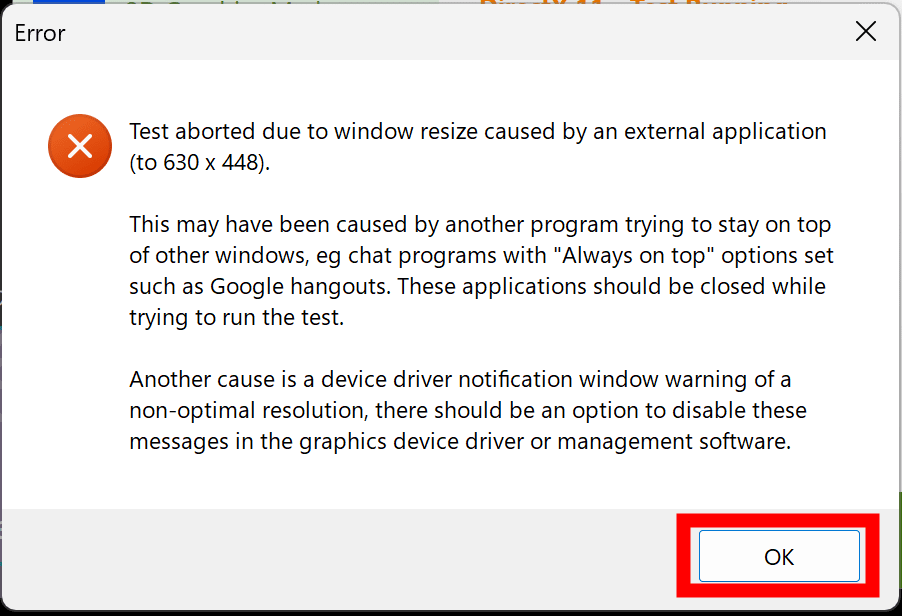
It went well for a while, but then an error message appeared saying 'Test was interrupted because the window size was changed by an external application.' Click 'OK.'
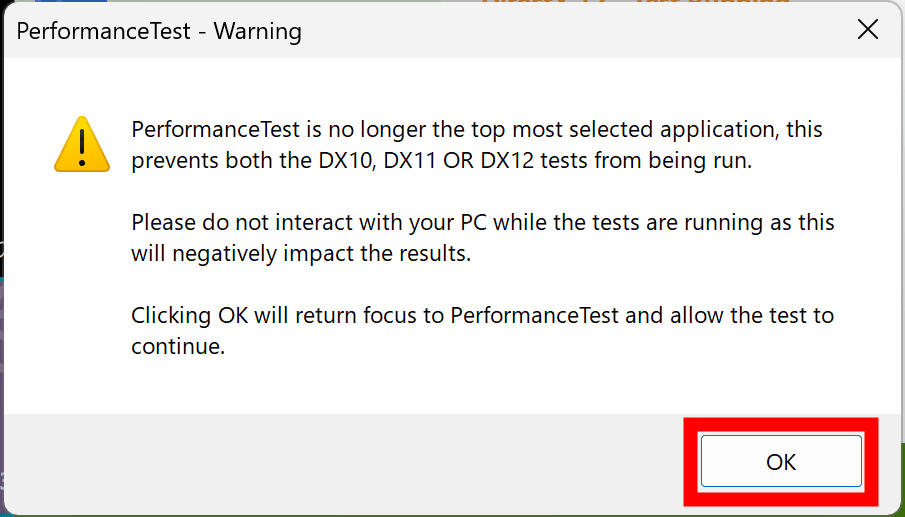
Following the error, you will be warned not to operate your PC during the test. Click 'OK' to resume the test.
The benchmark was completed in about 20 minutes in total, and all data except for the 3D graphics that were interrupted was available. If you leave 'Submit Baseline to Passmark' checked, the benchmark results will be sent to Passmark and made public, so if you do not want to send them, uncheck it. Click 'OK'.

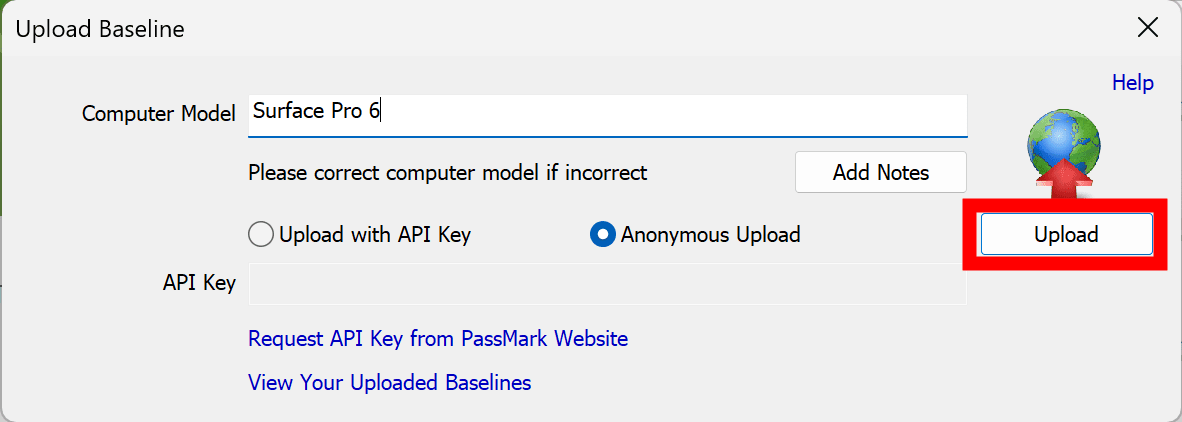
When submitting benchmark results, the PC model will be automatically identified and entered when the data is submitted. Click 'Upload'.
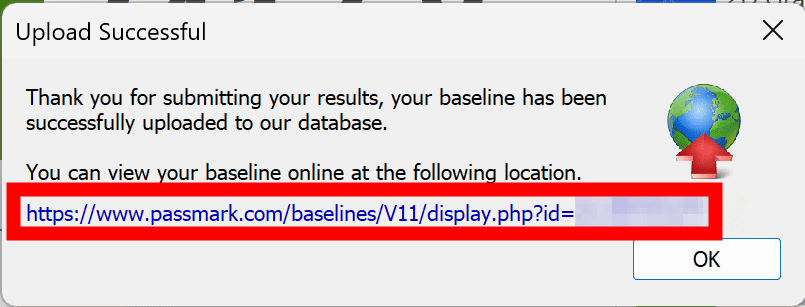
The URL will be displayed, so click on it.
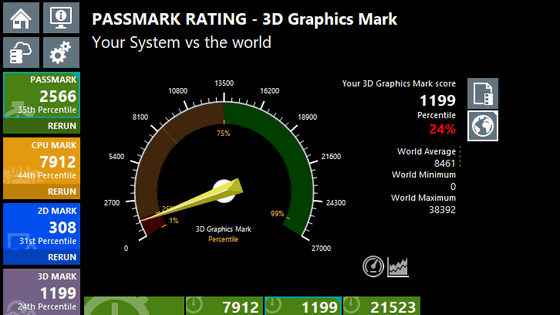
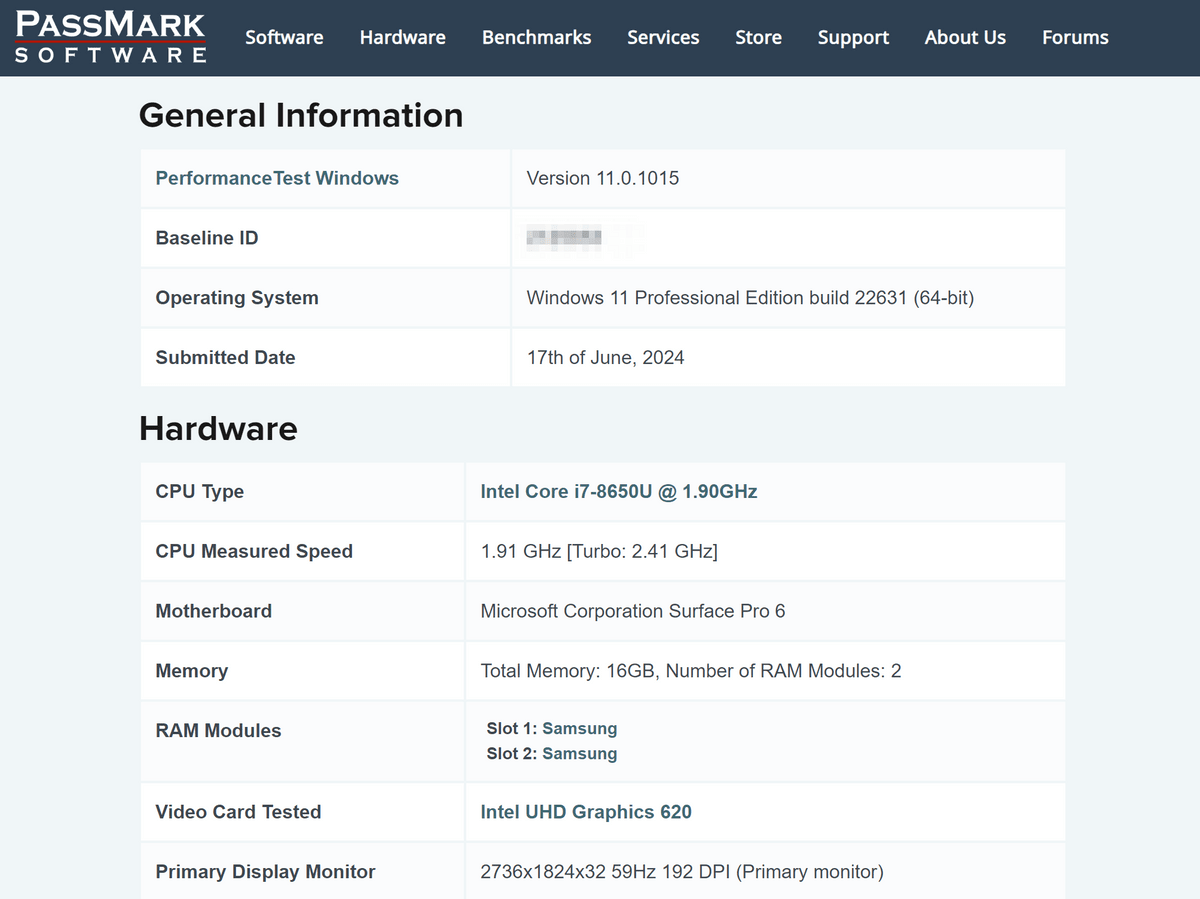
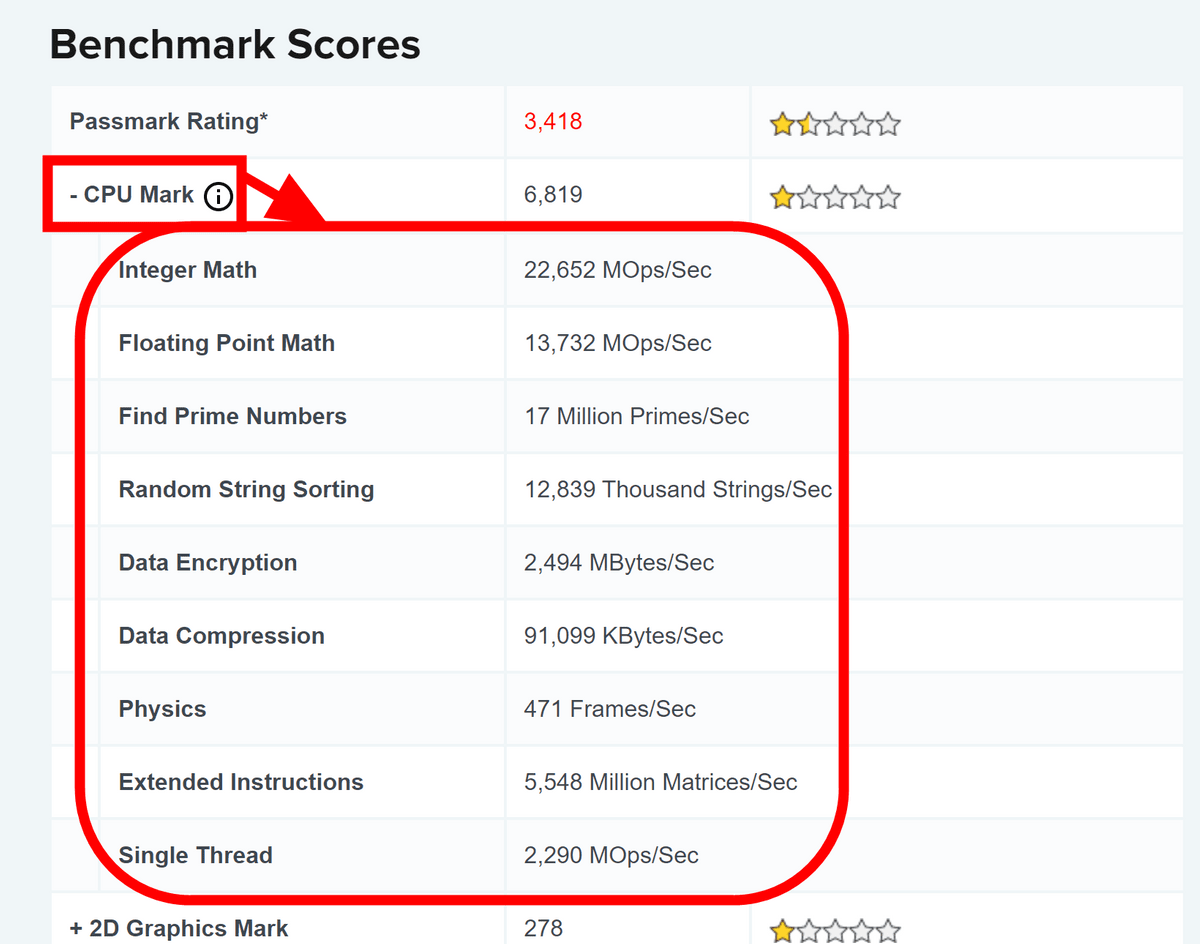
Hardware information and benchmark results will be published simultaneously on the web.
You can also click on each item in the benchmark results to see the specific calculation amount per second.
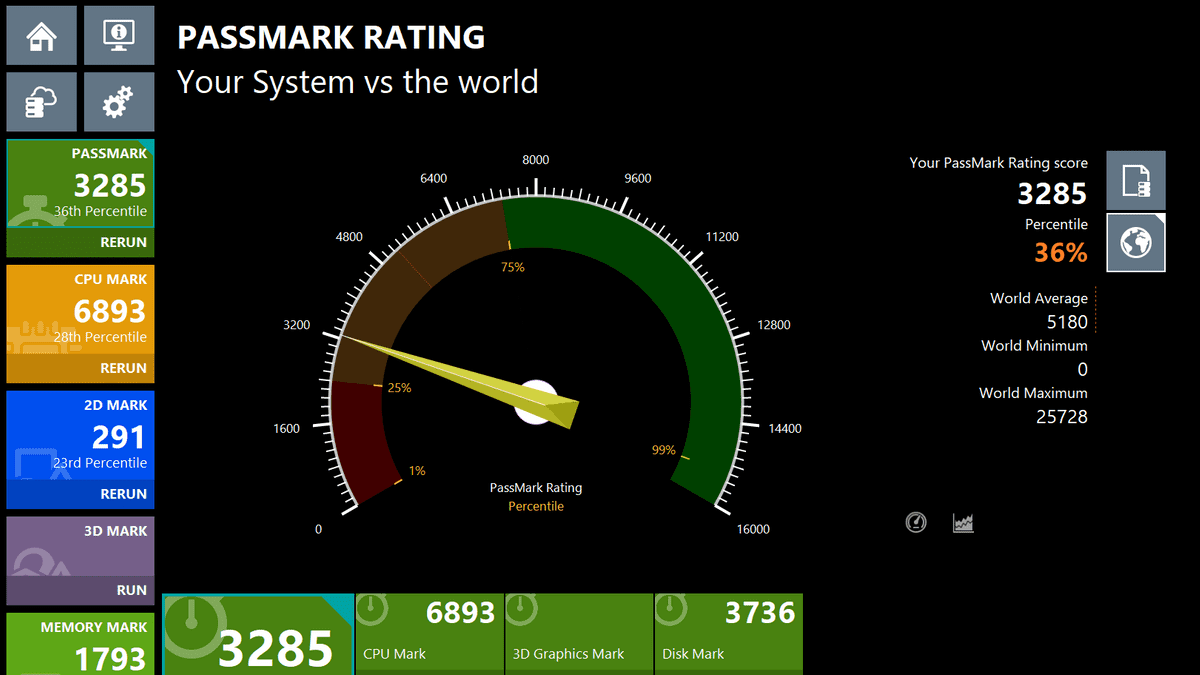
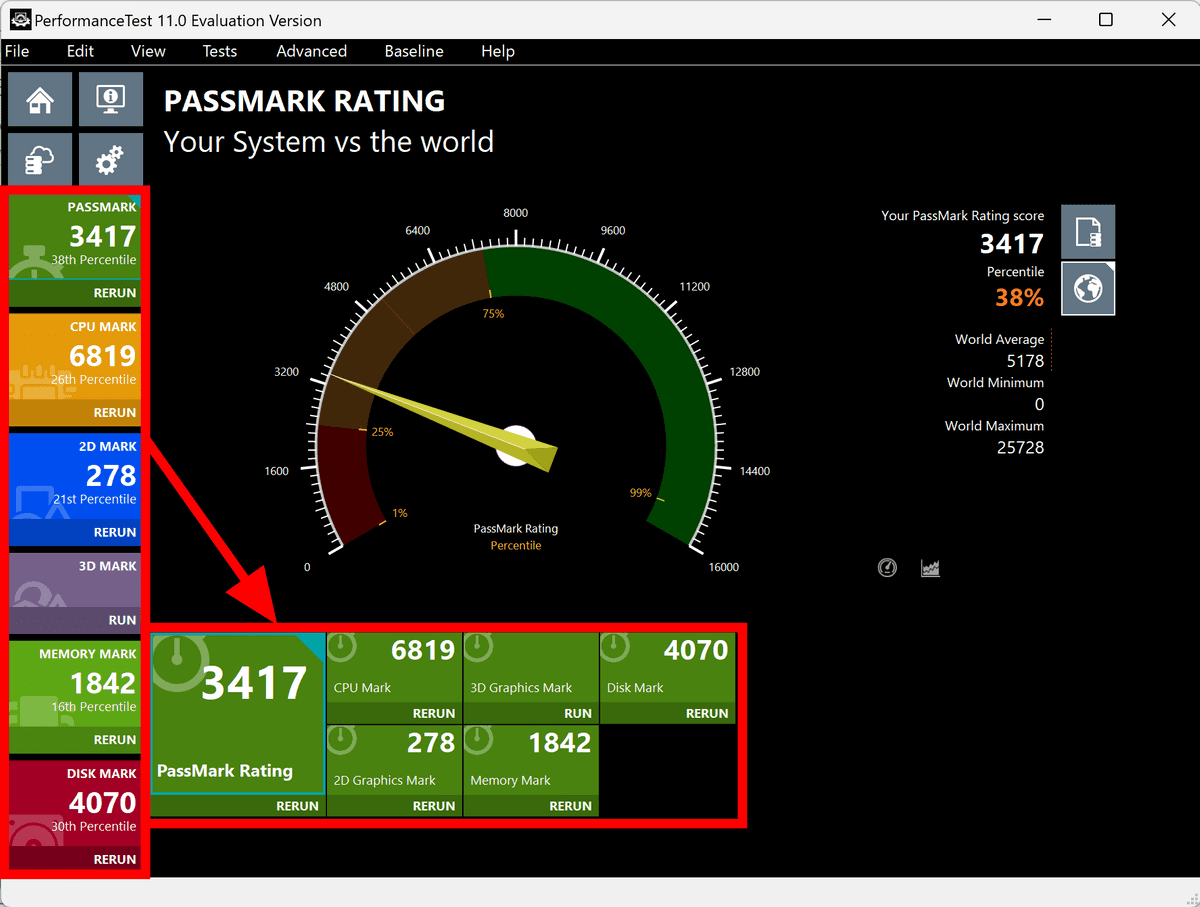
The results displayed in the PerformanceTest application on a PC look like this. You can switch between six options in the menu on the left: PASSMARK (overall), CPU MARK, 2D MARK, 3D MARK, MEMORY MARK, and DISK MARK. The scores for each are displayed at the bottom. Clicking on each score also displays the percentile, which indicates where the score is in the 100th division from the smallest to the largest. In the case of the PC benchmarked this time, the overall benchmark score was 3417, which means it belongs to the bottom 38% of scores.
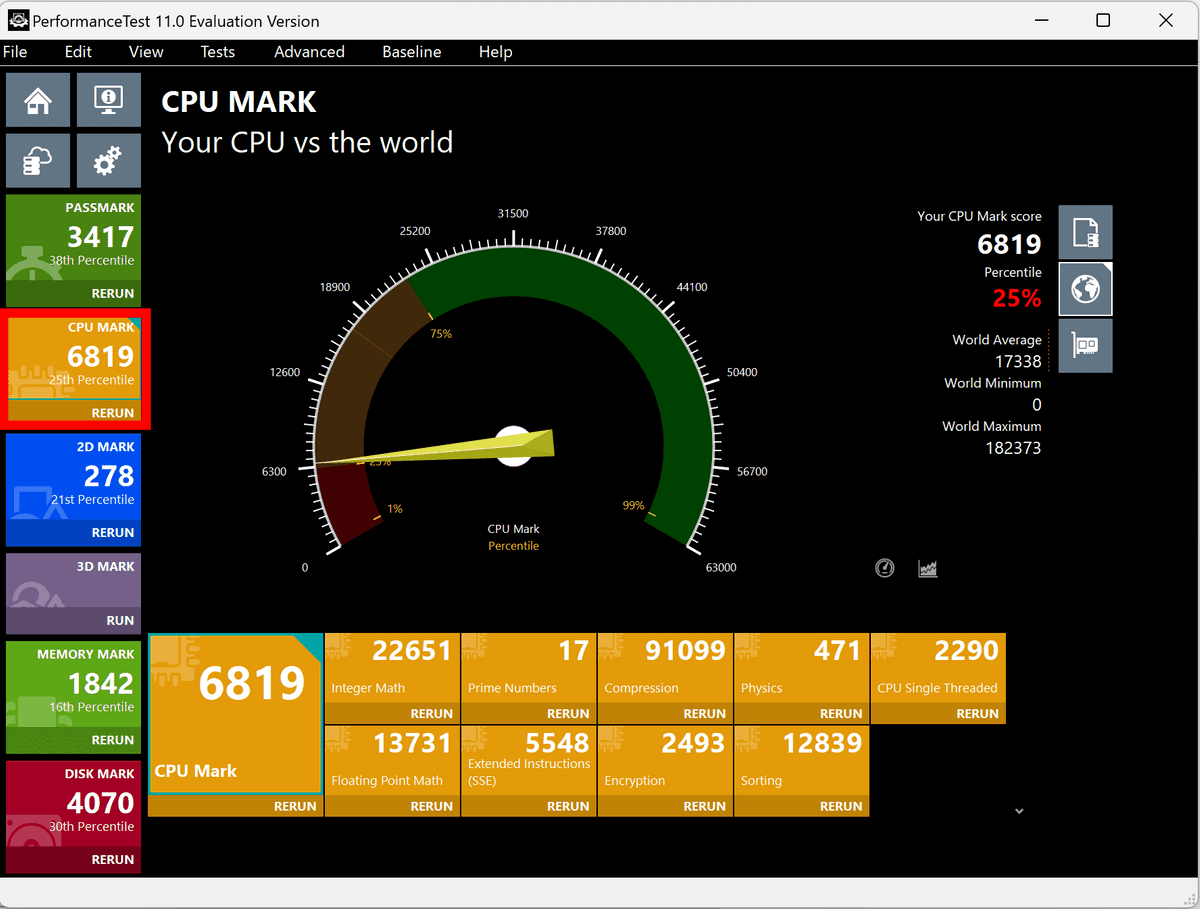
CPU performance looks like this. It seems that anything below the bottom 25% is displayed in red.
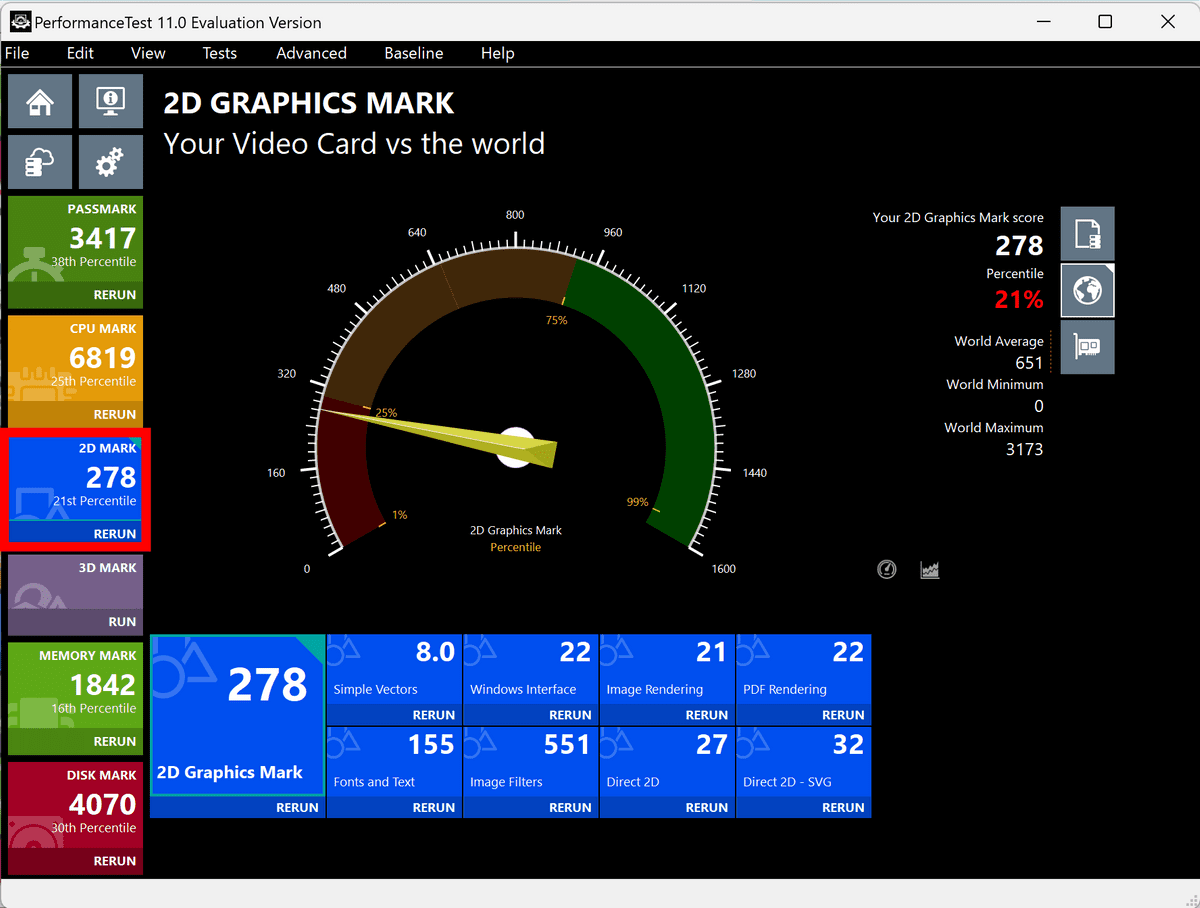
2D's score was in the bottom 21%.
Although the 3D results where an error occurred are blank, the scores for everything except DirectX 11 have been calculated.
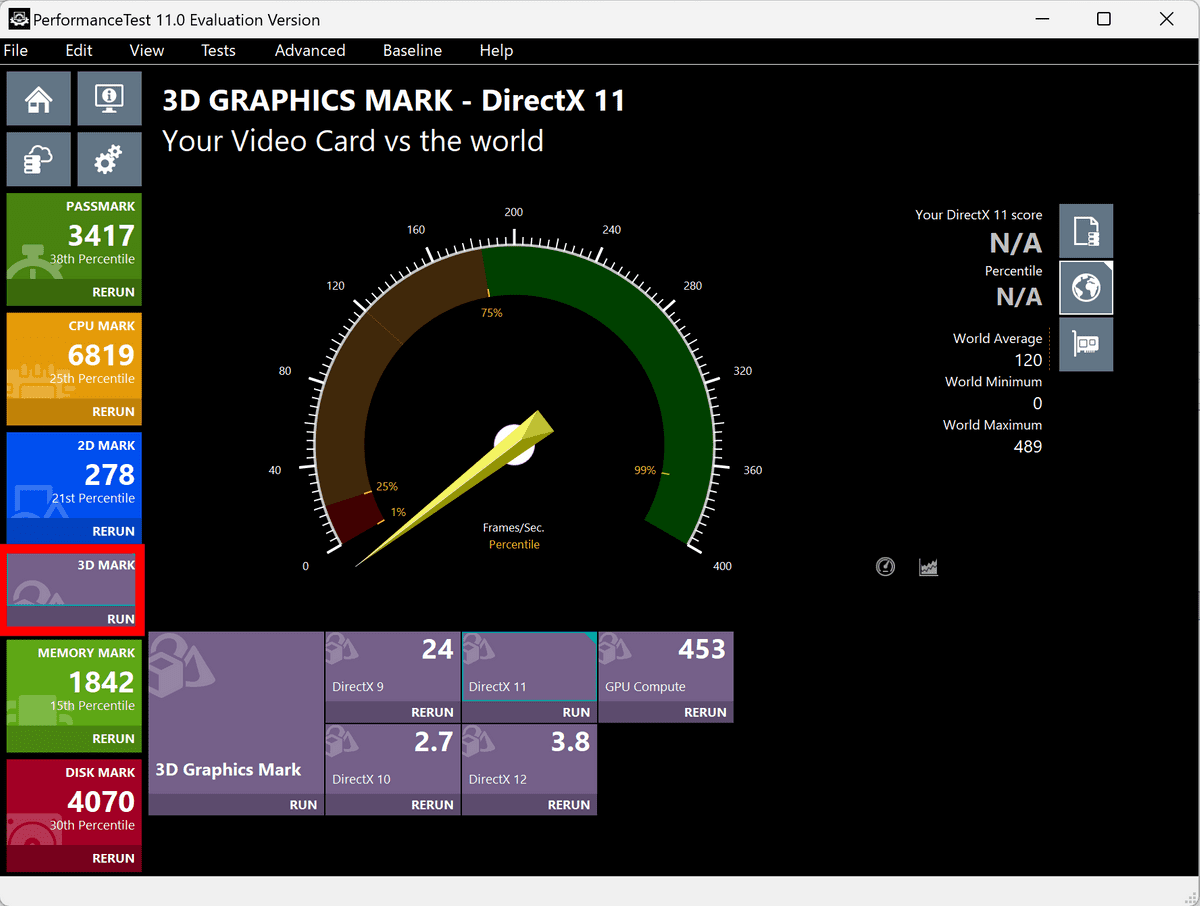
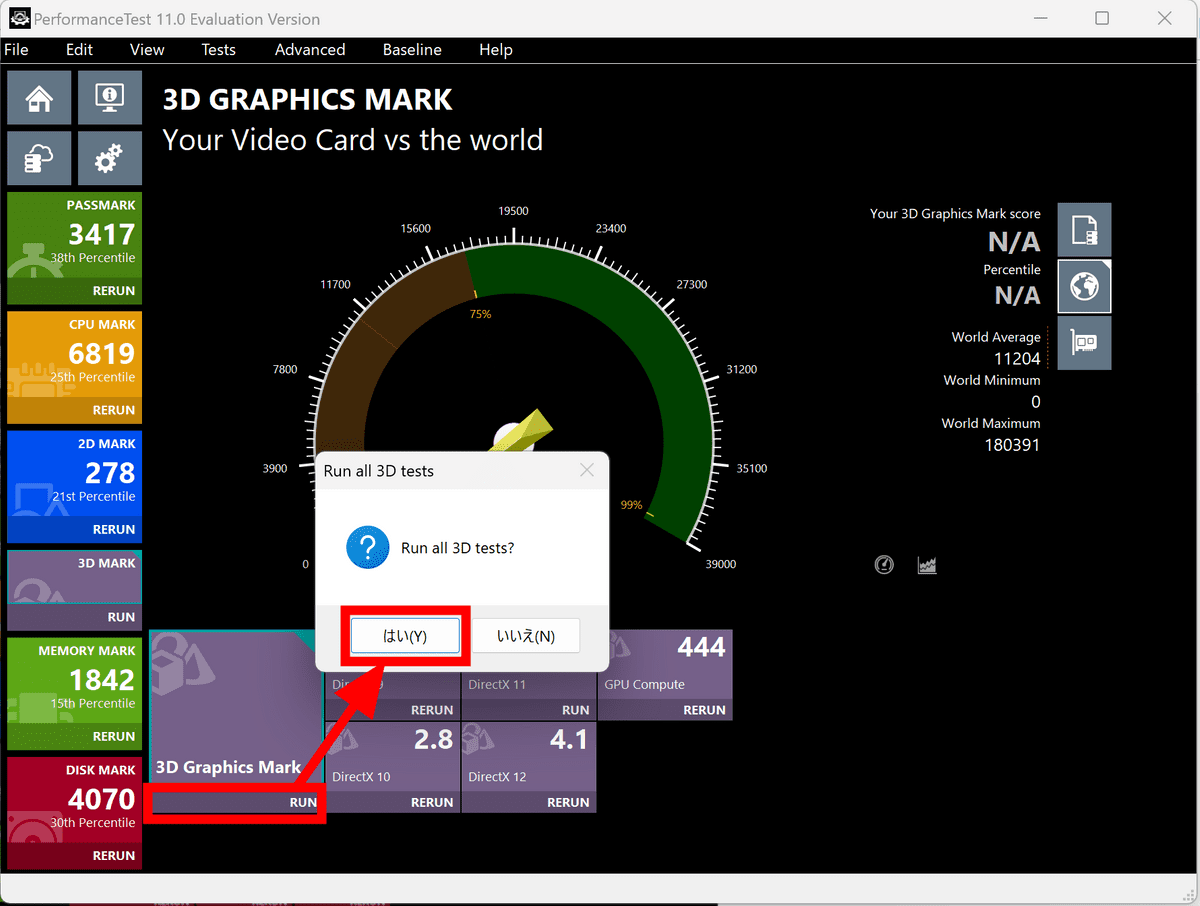
Clicking 'RUN' in the score column allows you to redo the benchmark for only that item. A confirmation message appears, so I clicked 'Yes' to redo the 3D benchmark, but the same error occurred and the DirectX 11 score could not be calculated.
When I checked the FAQ, I found solutions for cases where
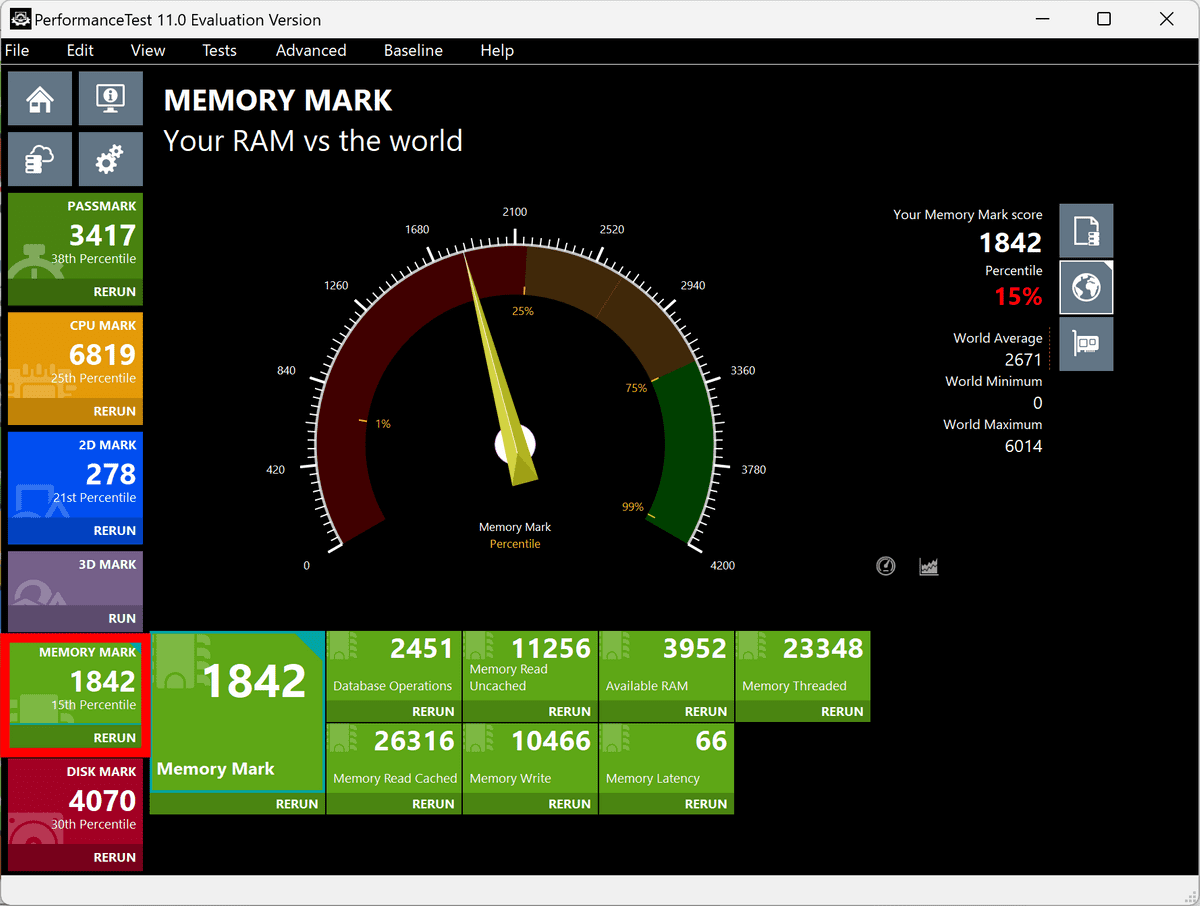
In the memory section, the meter went to the top, which made me think the score was good, but it was simply the bottom half of the meter that had expanded, and the score was in the bottom 15%, which was a pretty bad number.
Disks are in the bottom 30%, which is a relatively better figure.

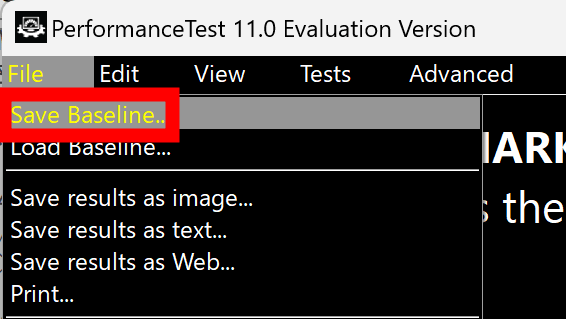
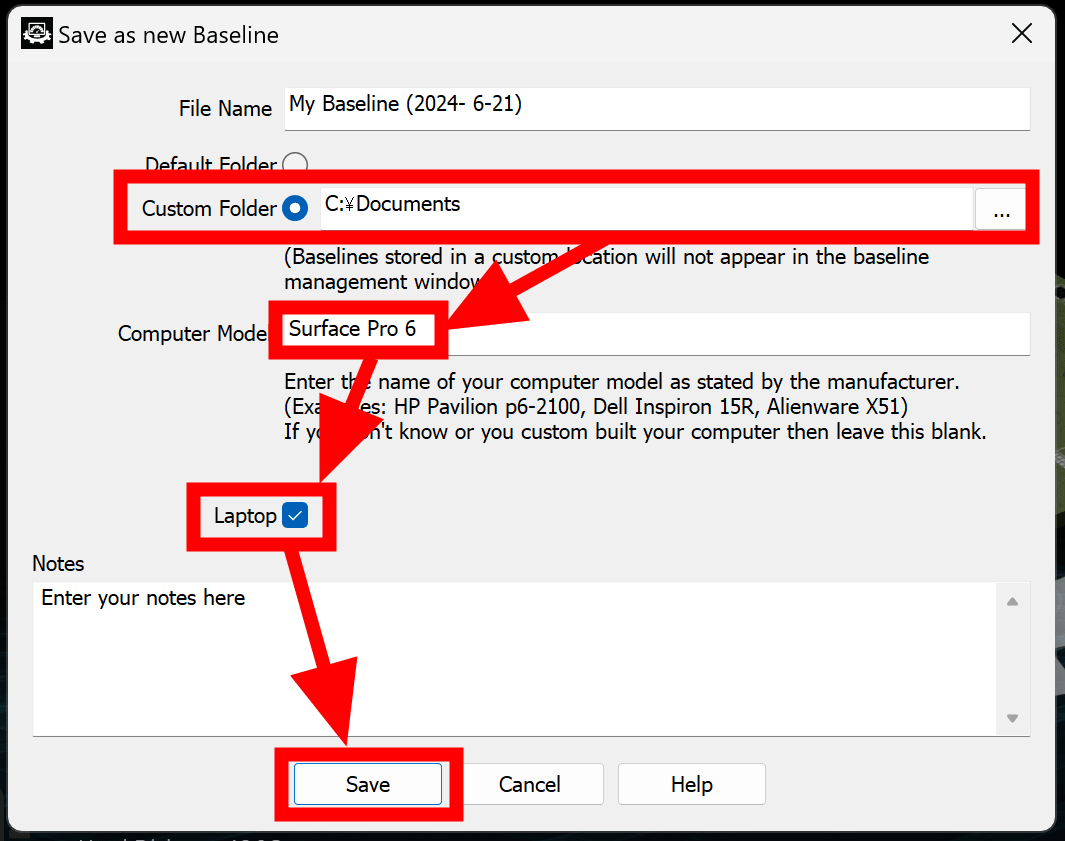
Click 'Save Baseline' in the 'File' menu to save the results and compare them with results on another PC.
Check 'Custom Folder' to specify the destination folder and enter the model name of your PC. Since this is a laptop, check 'Laptop' and click 'Save'.
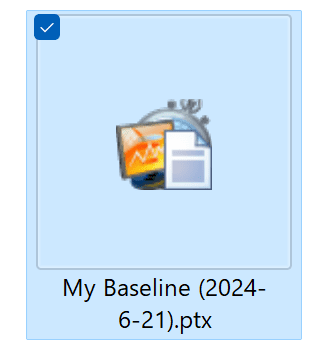
A file in 'ptx' format will be output.
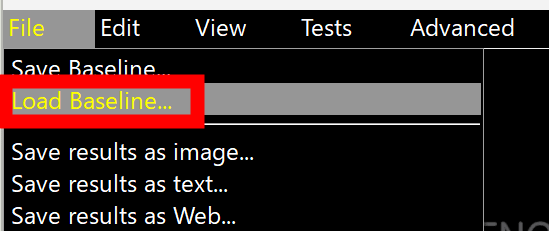
To compare the benchmarks, click 'Load Baseline' on the PC you are comparing and load the ptx file you just output.
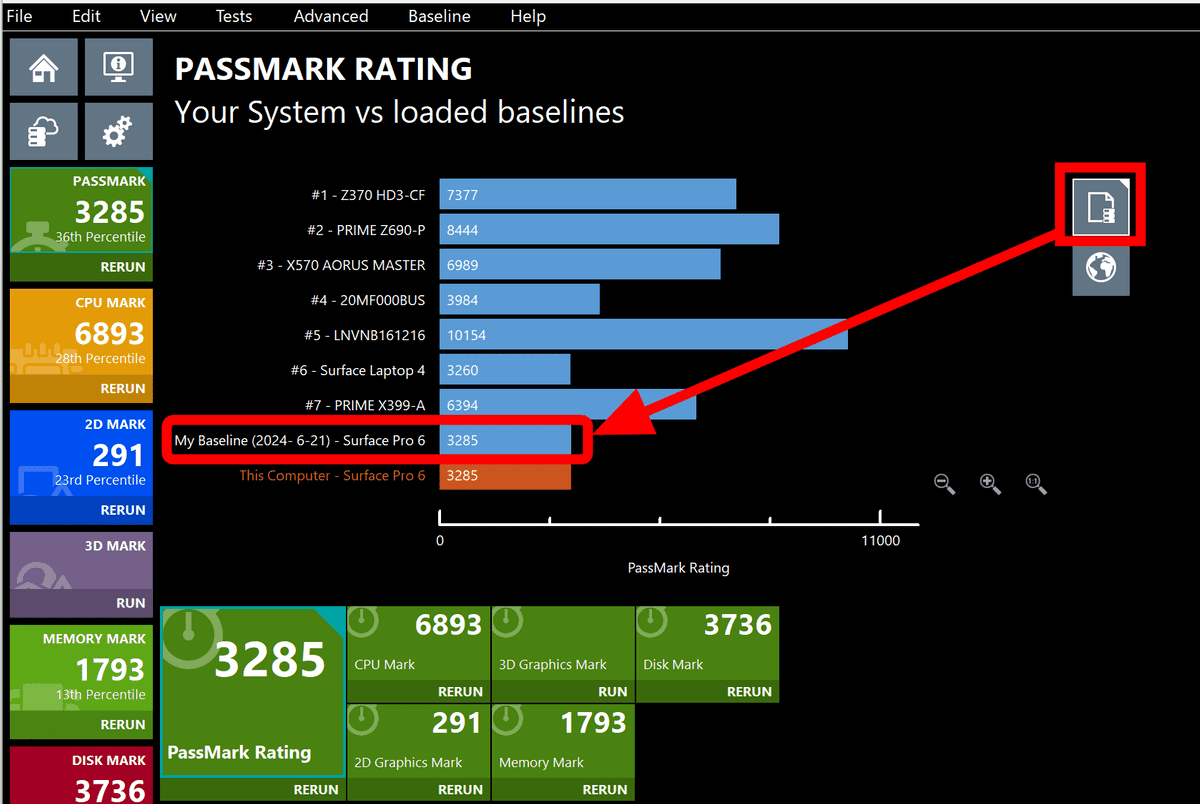
After running the benchmark, click the file icon in the upper right corner of the results screen to display the results you loaded. Since seven data sets are prepared for comparison from the start, the data you loaded this time is displayed as the eighth.
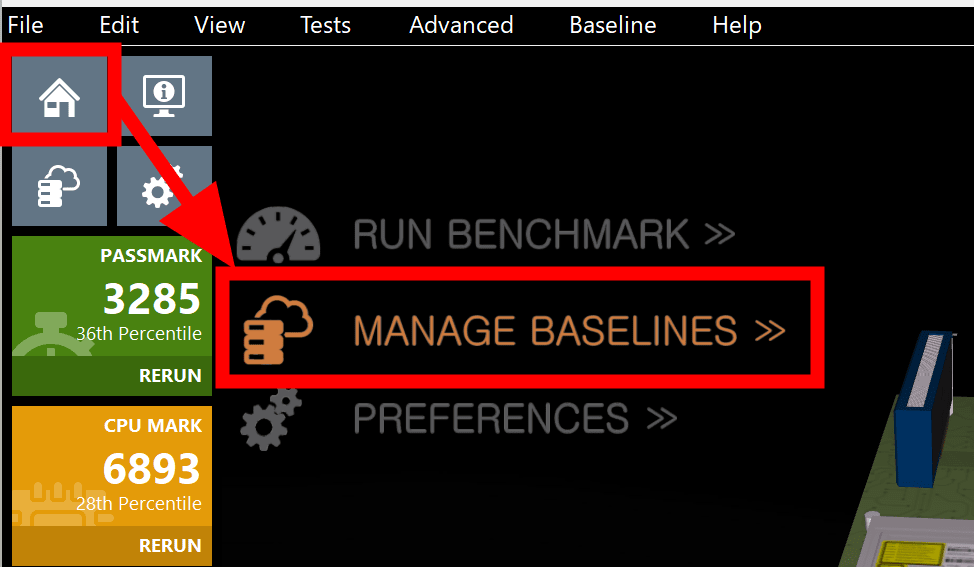
Comparison data can be edited by clicking 'MANAGE BASELINES' on the home screen.
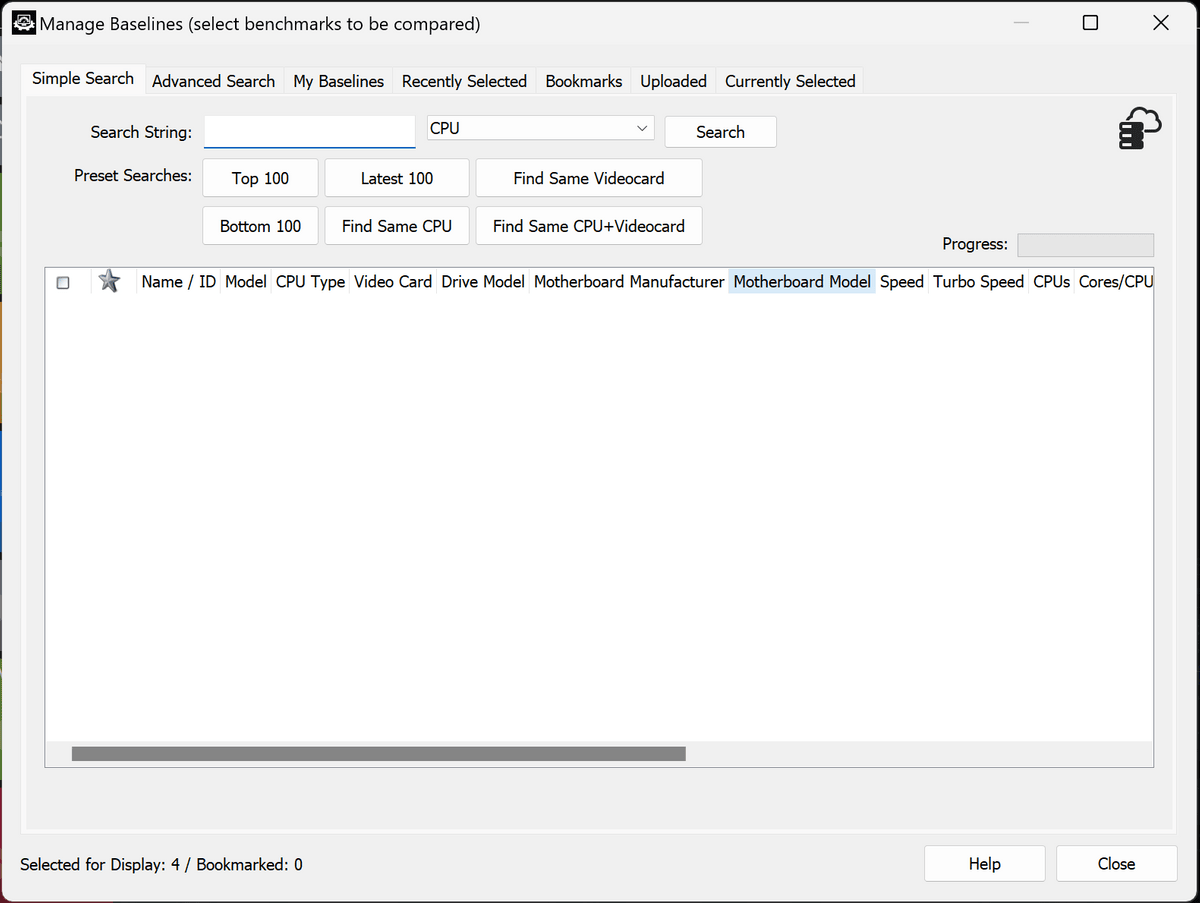
The data sent to Passmark can be searched by part and read.
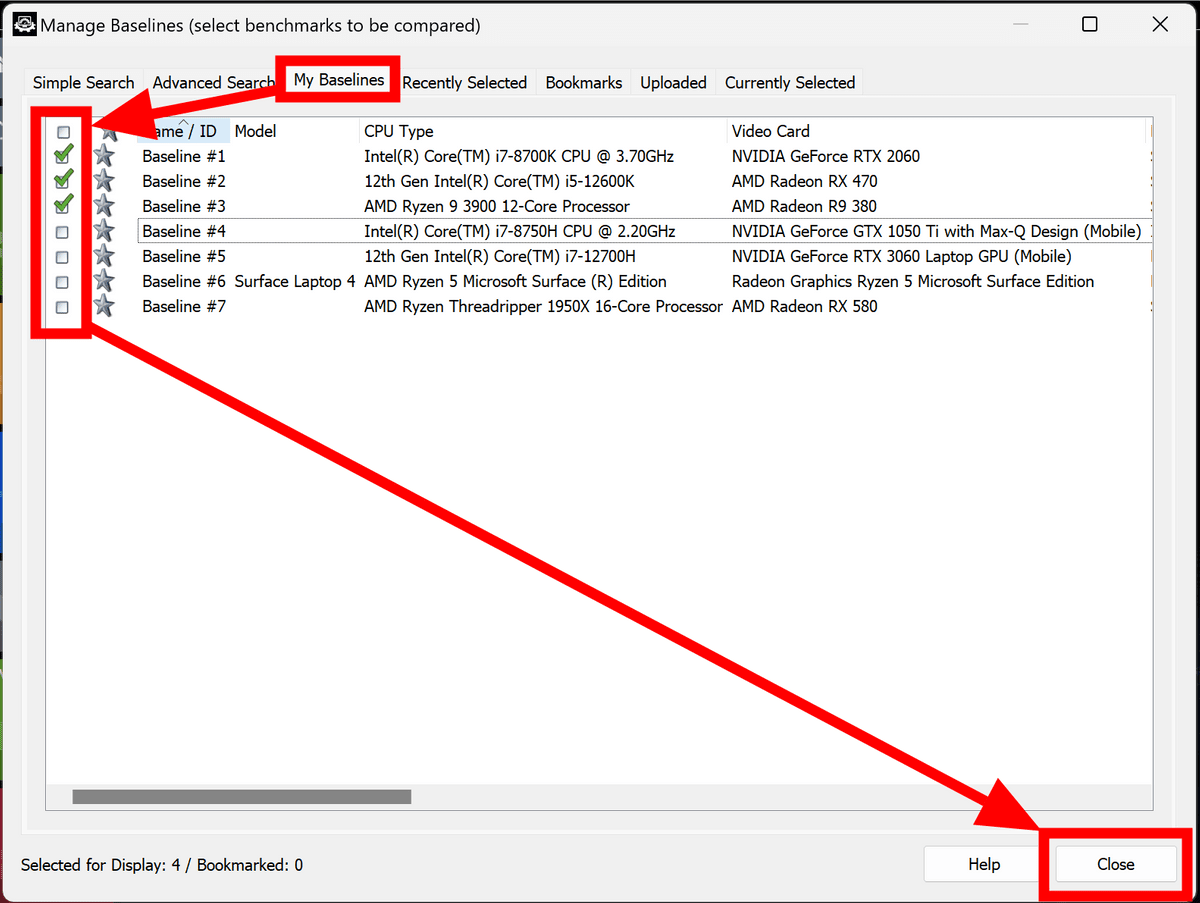
The comparison data provided from the beginning can be viewed in 'My Baselines.' All data is checked, so uncheck the unnecessary data and click 'Close.'
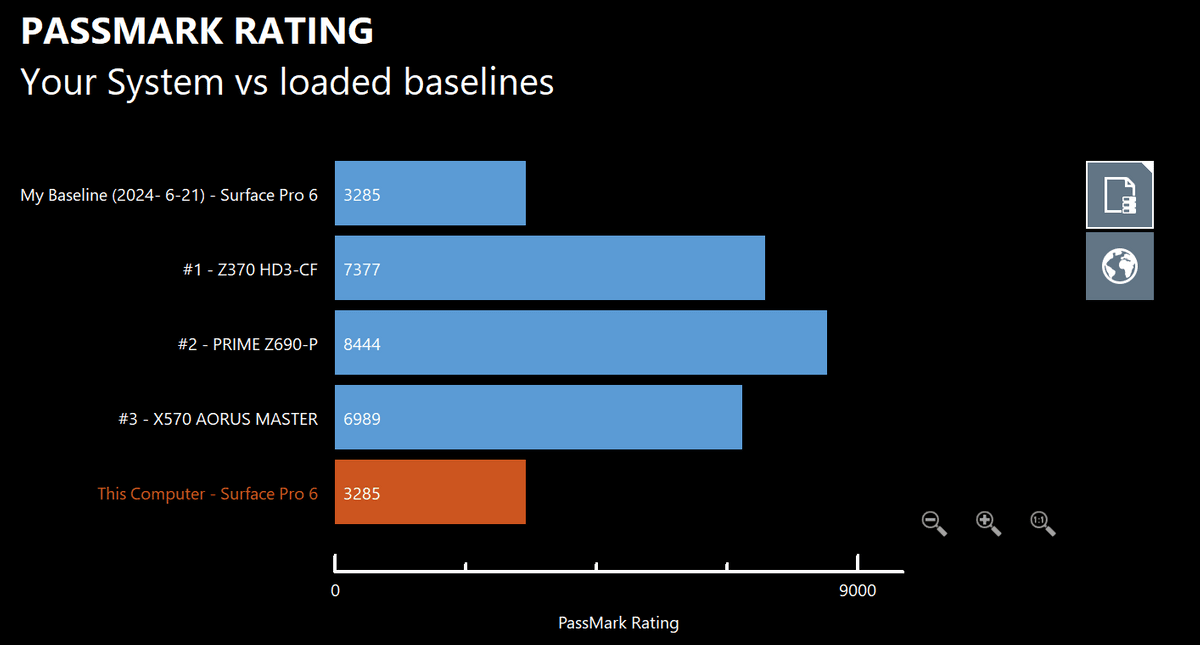
The number of comparisons has been reduced, making it easier to read.
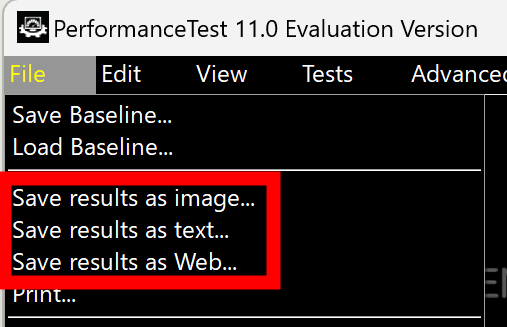
The 'File' menu also has the options 'Save Results as Image,' 'Save Results as Text,' and 'Save Results as Web.'
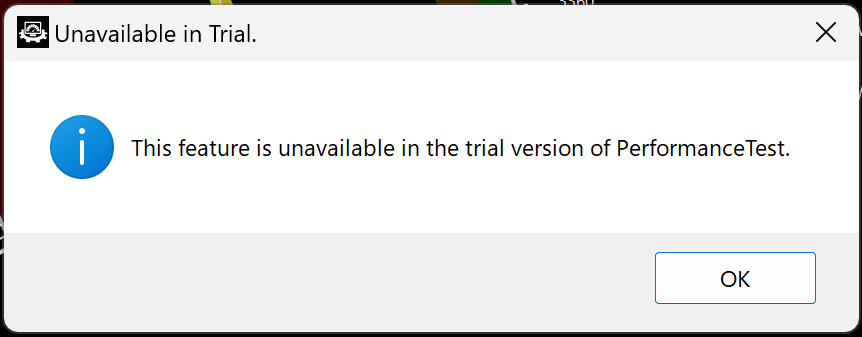
Unfortunately, the above menu was not available in the free trial version.
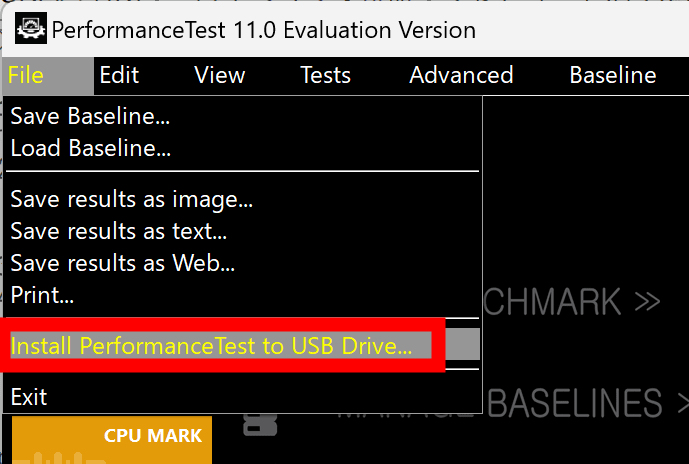
You can also save PerformanceTest to USB. Click 'Install PerformanceTest to USB Drive' from the 'File' menu.
Select the folder on the USB drive, select 'Evaluation' and click 'Install'.
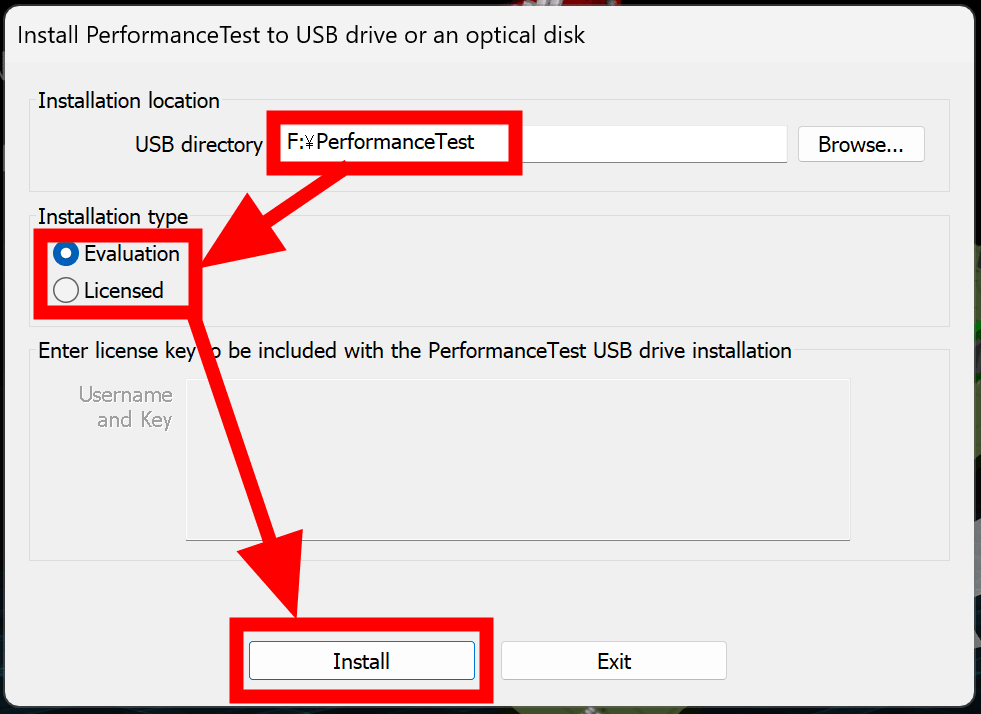
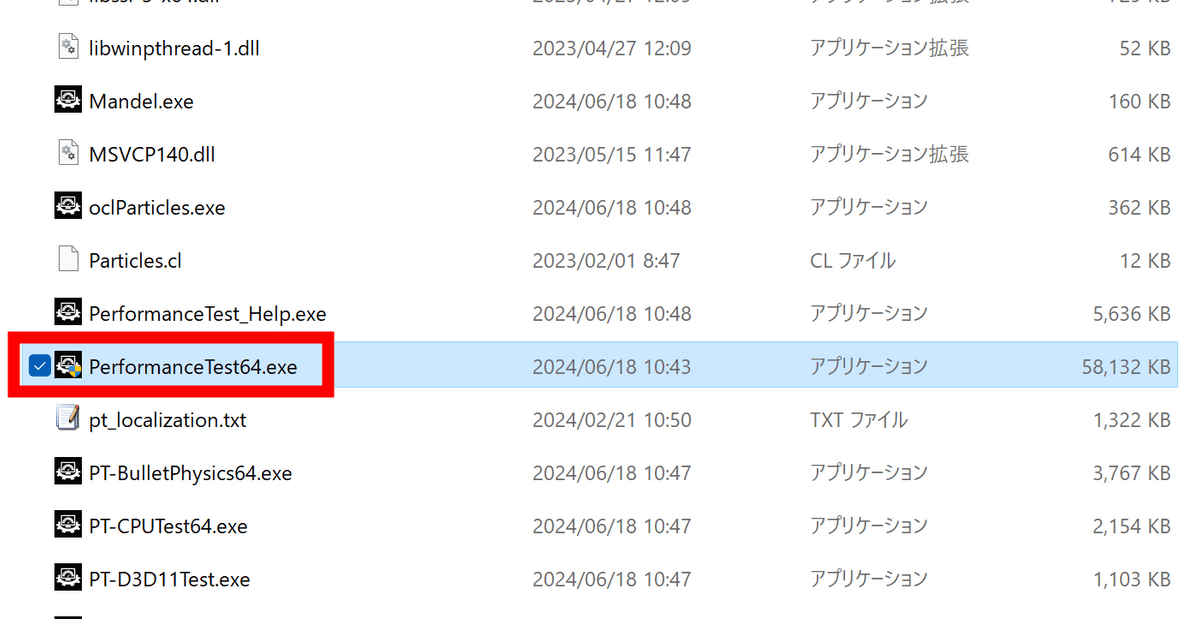
PerformanceTest will be installed in the specified folder. Simply connect this USB drive to the PC you want to benchmark and run 'PerformanceTest64.exe' to run the benchmark without the need for installation.
Next, create a PassMark account and record the results of the PerformanceTest in your account. Open
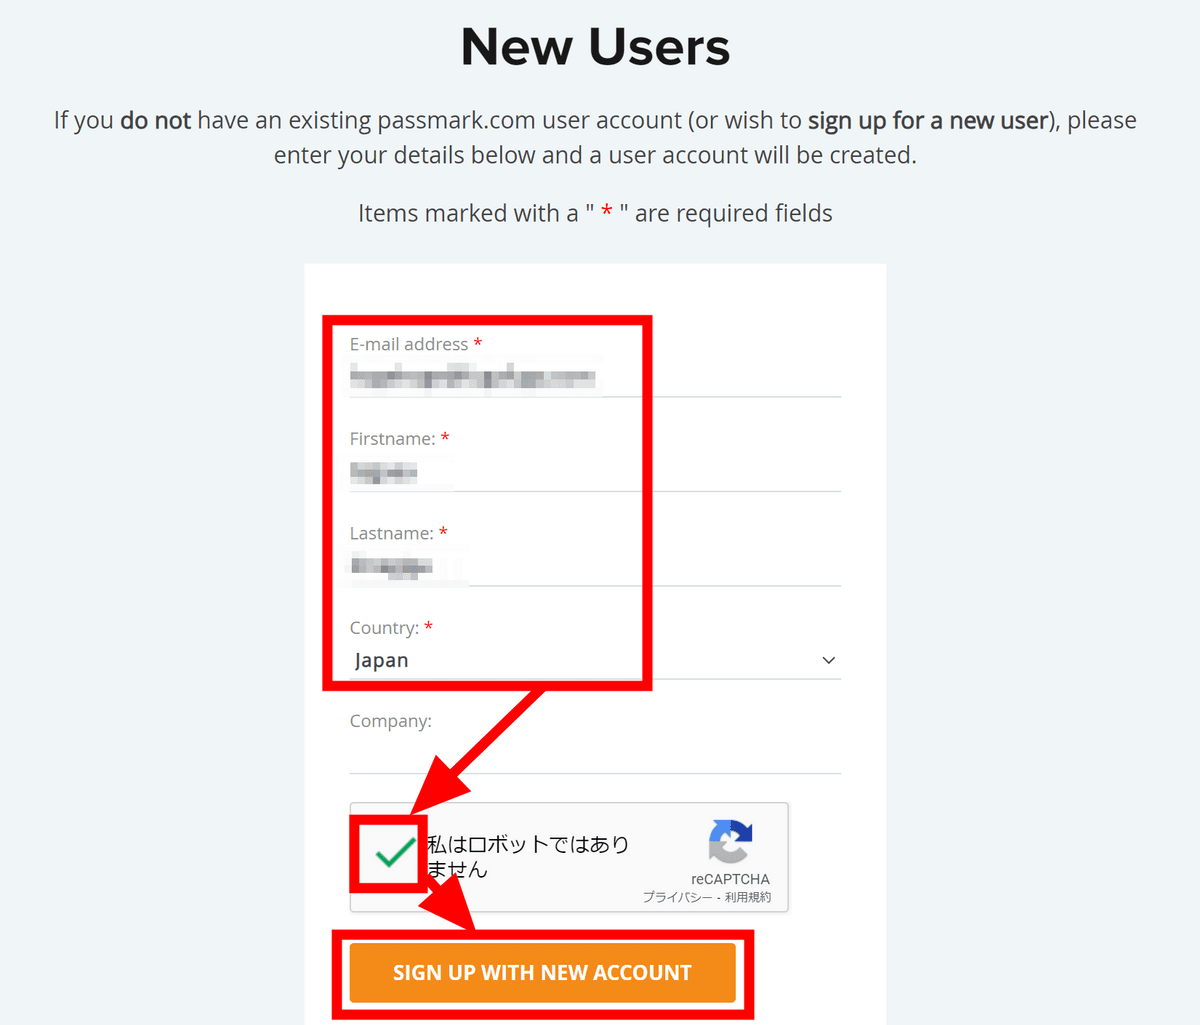
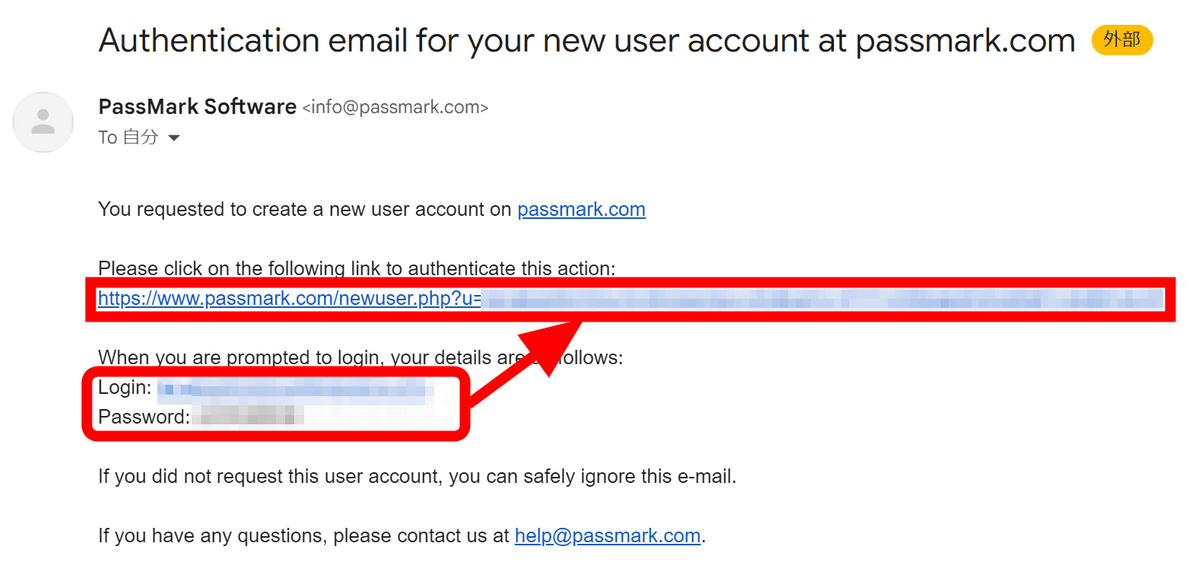
You will receive the email below, so save the authentication information contained in the email and click on the authentication link.
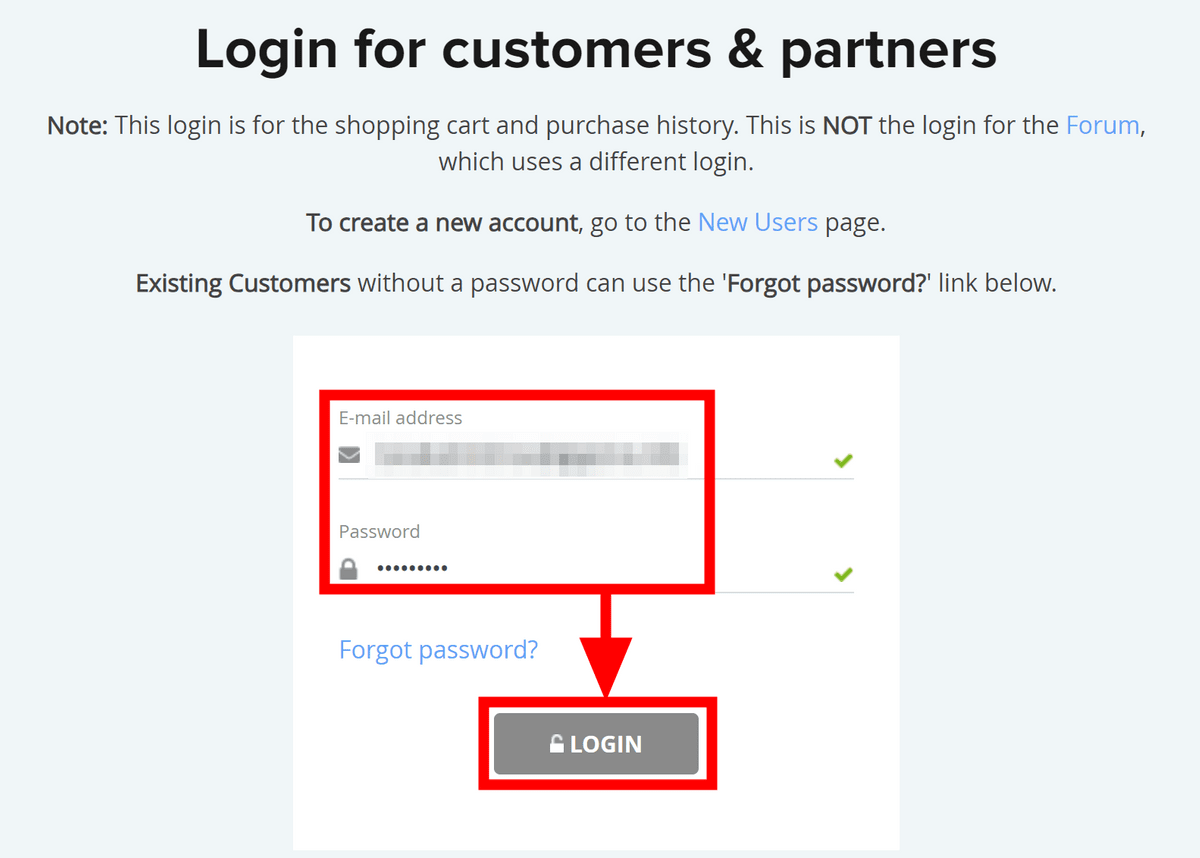
Enter the authentication information you saved earlier and click 'LOGIN'.
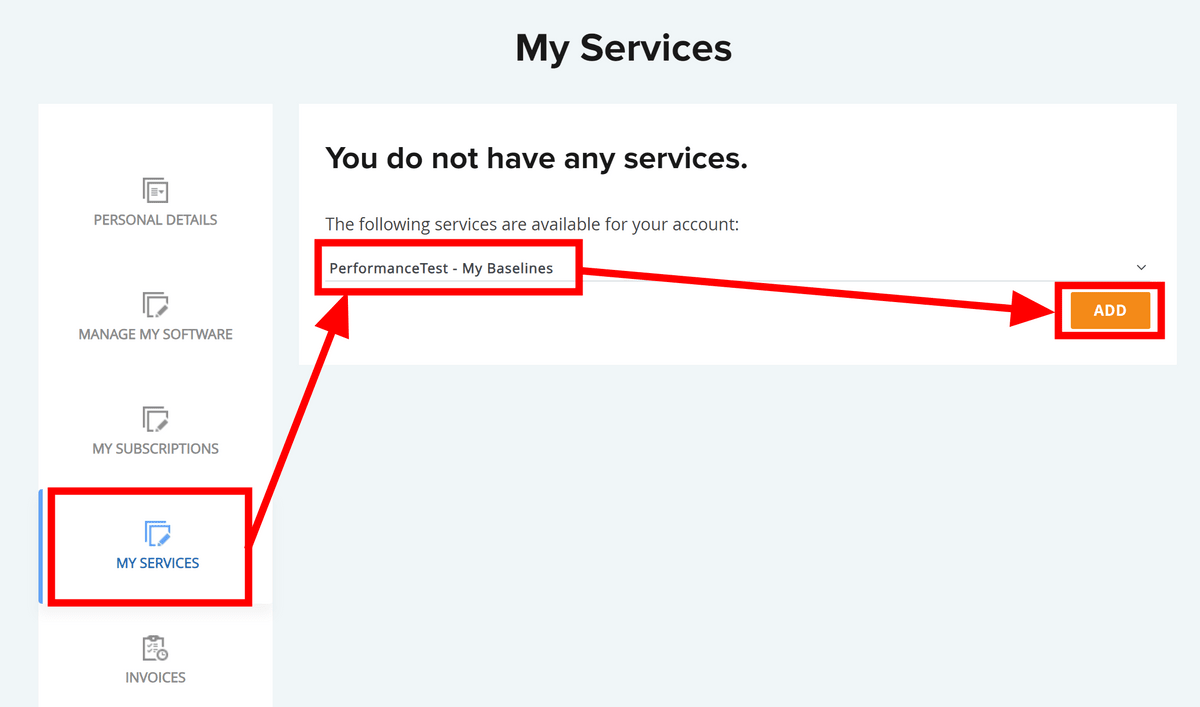
After logging in, click 'MY SERVICES', select 'PerformanceTest - My Baselines', and click 'ADD'.
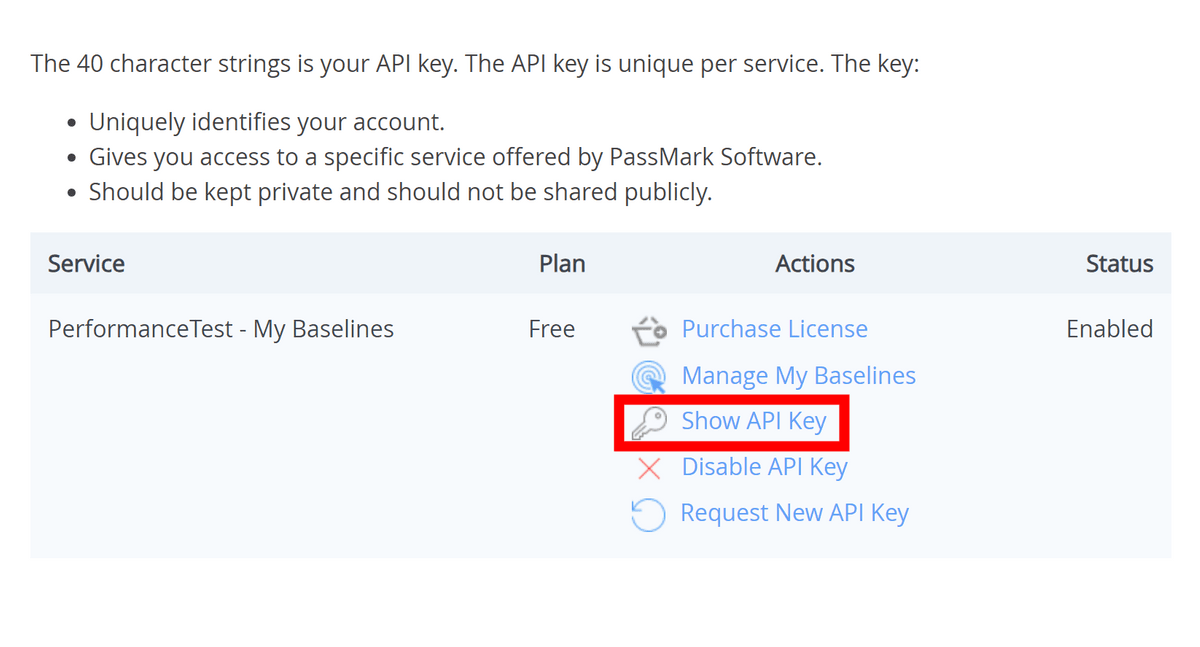
Click 'Show API Key' to display the API key and copy it.
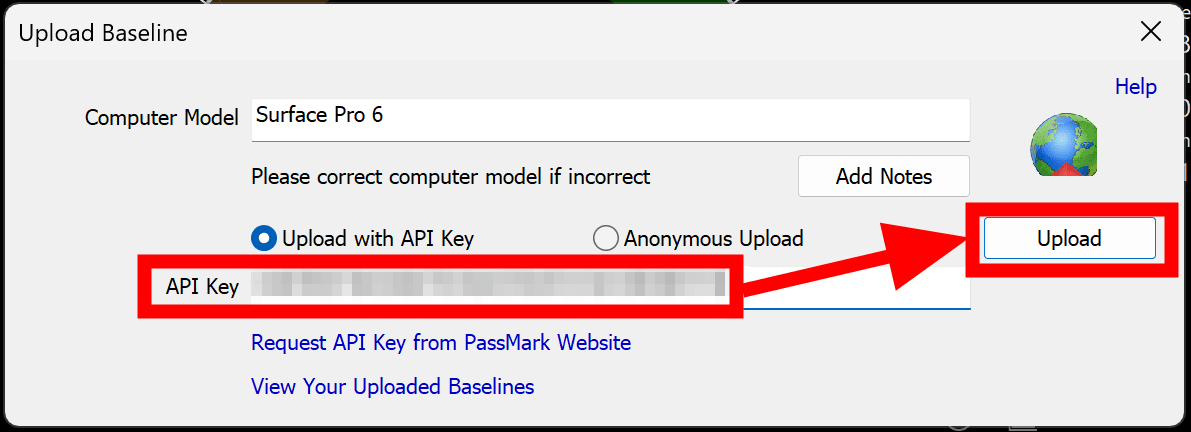
Once the benchmark is complete, enter the API key on the upload screen and upload.
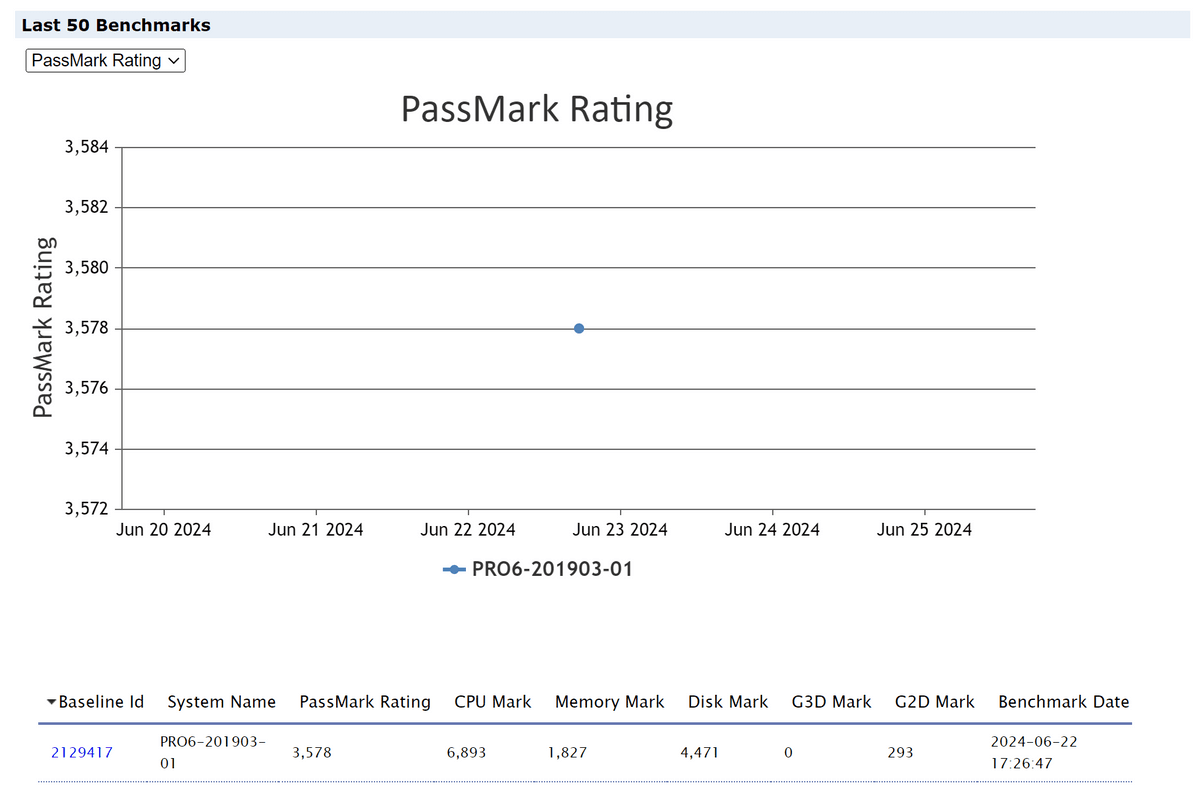
After submitting, open the '
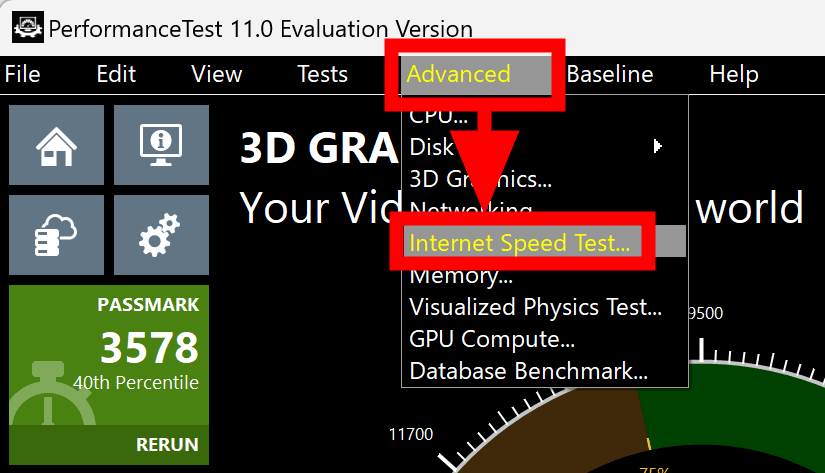
You can also measure your internet line speed in the 'Advanced' menu. Click 'Internet Speed Test'.
Click “Run Test”.
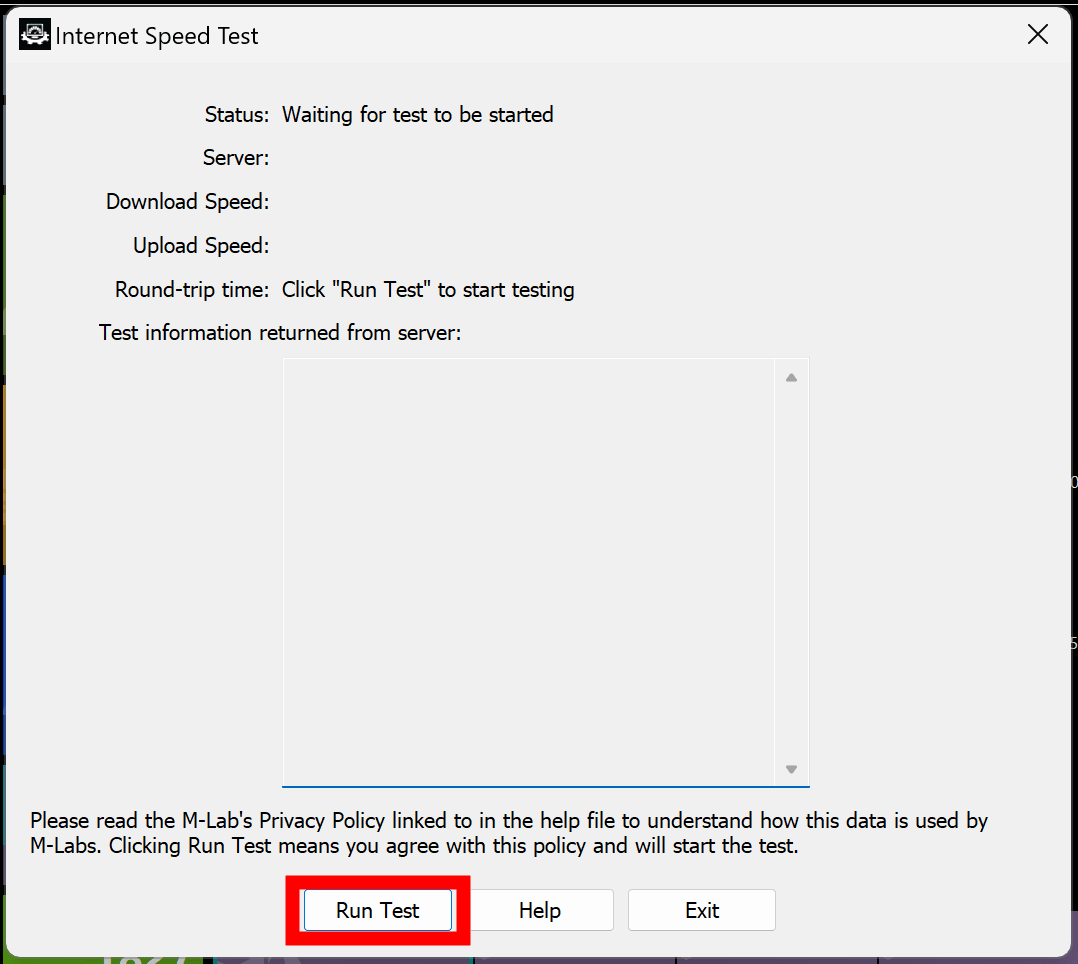
Once the measurement is complete, a summary of the results will be displayed at the top and detailed measurement results will be displayed at the bottom.

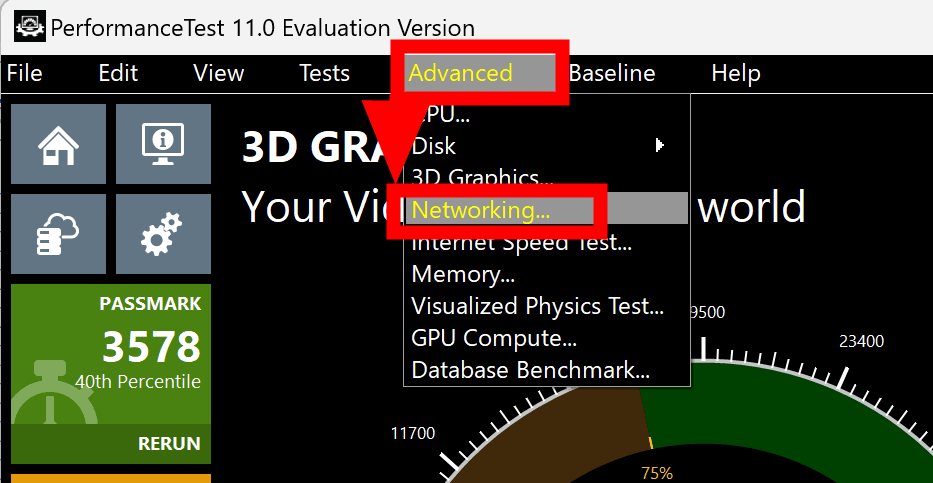
'Networking' in the 'Advanced' menu allows you to measure the communication speed between two PCs.
First, select 'Server' mode on one of the PCs, check the port number, and click 'Go'.
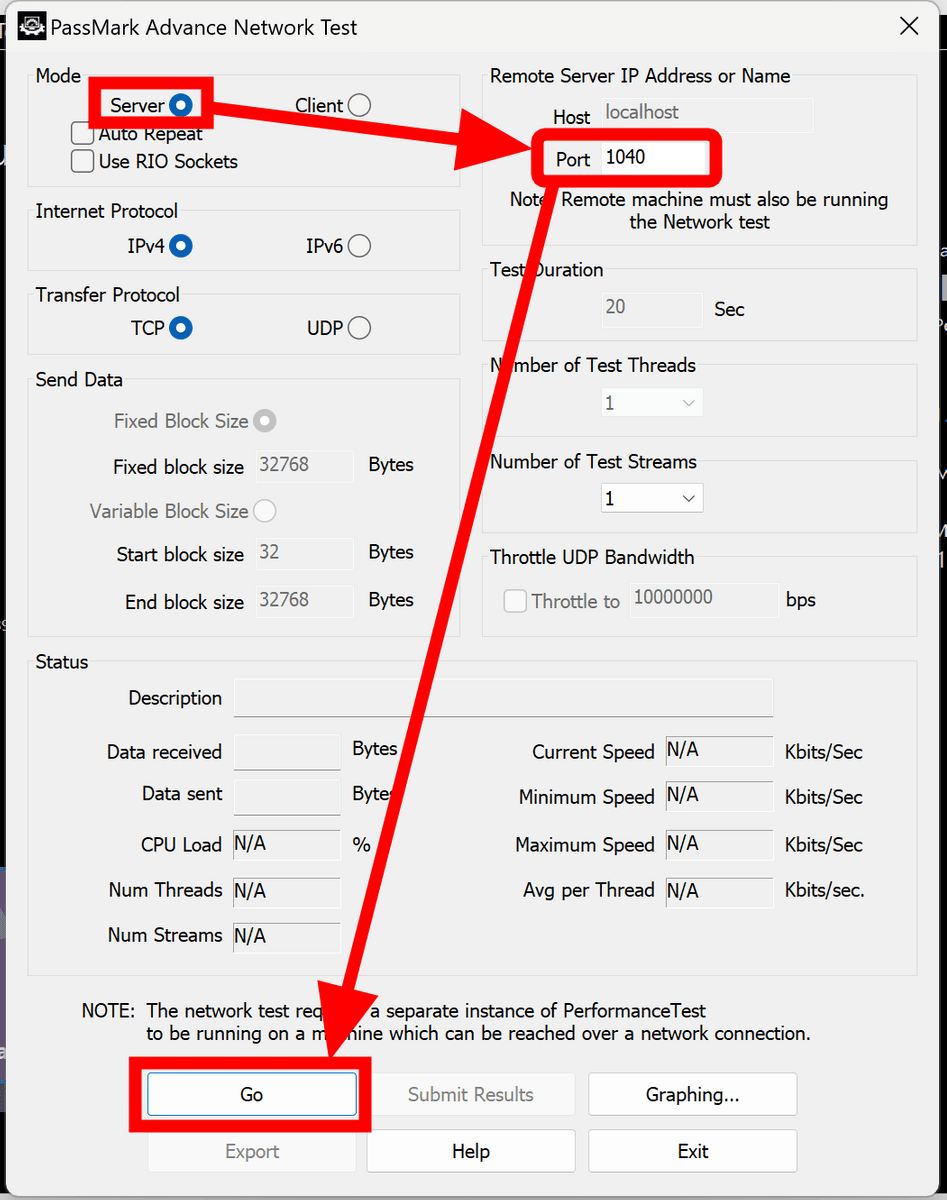
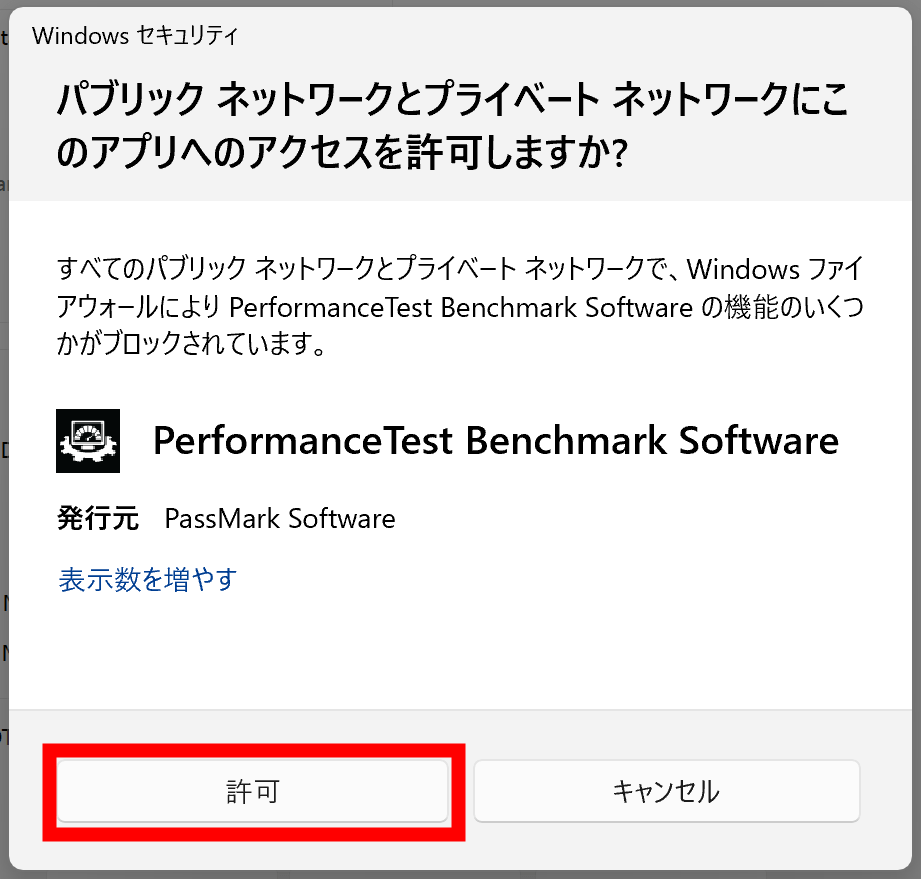
A notification will be displayed from Windows Firewall, so click 'Allow' to wait for access.
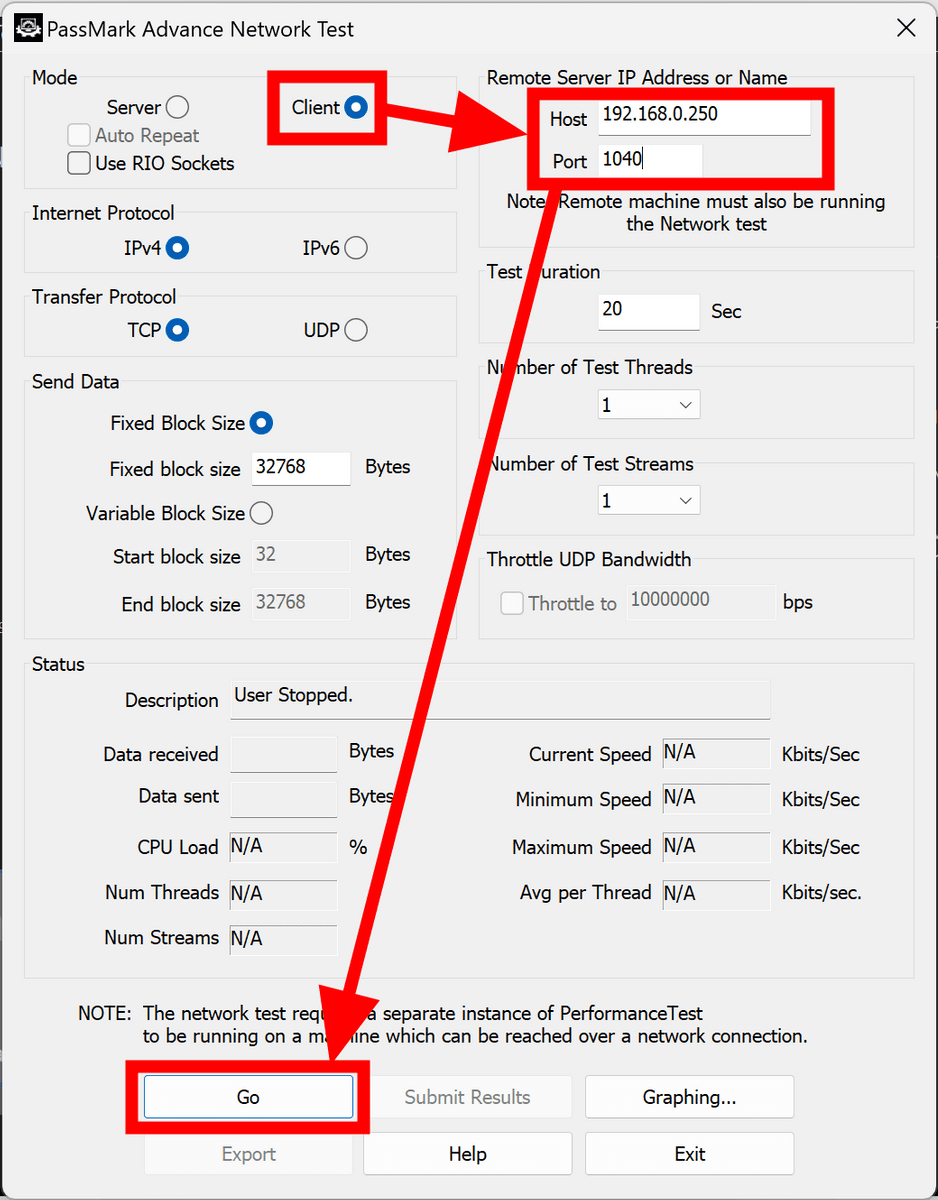
Then, select 'Client' mode on the other PC, enter the IP address of the PC for which you previously selected 'Server' in 'Host', enter the port number displayed in 'Port', and click 'Go'.
In addition, the Windows version of PassMark PerformanceTest is paid, but the other apps for Linux, MacOS, Android, and iOS mainly only have the function of testing CPU performance and are free.
If you purchase a PassMark PerformanceTest Windows license for $29 (about 4600 yen), you can run benchmark tests after 30 days and save the results as images, text, or web. You can also automate tests using the command line and get support via email and website.
◆ Forum is currently open
A forum related to this article has been set up on the official GIGAZINE Discord server . Anyone can post freely, so please feel free to comment! If you do not have a Discord account, please refer to the account creation procedure article to create an account!
• Discord | 'Show me your PC's 'PassMark PerformanceTest' results!' | GIGAZINE
https://discord.com/channels/1037961069903216680/1254726430479224914
Related Posts: