Summary of how to use the standard application 'CPU-Z' that can check CPU information and perform benchmarks
' CPU-Z ' is a standard application that allows you to check the CPU name and clock speed. In fact, CPU-Z can not only check CPU information, but also motherboard and memory information, and perform CPU benchmarks. CPU-Z has a variety of useful functions for emergencies, so we have summarized the installation procedure and various functions.
CPU-Z | Softwares | CPUID
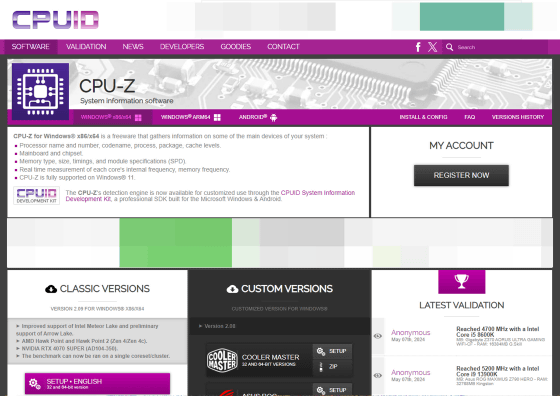
To install CPU-Z on your PC, first click on the link below to visit the official page.
CPU-Z | Softwares | CPUID
https://www.cpuid.com/softwares/cpu-z.html
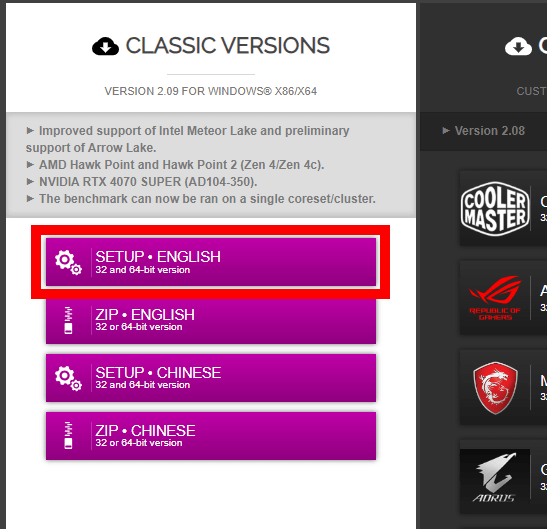
The official page distributes the install version and the standalone version of CPU-Z. Since I want to use the install version this time, I clicked 'SETUP・ENGLISH'.
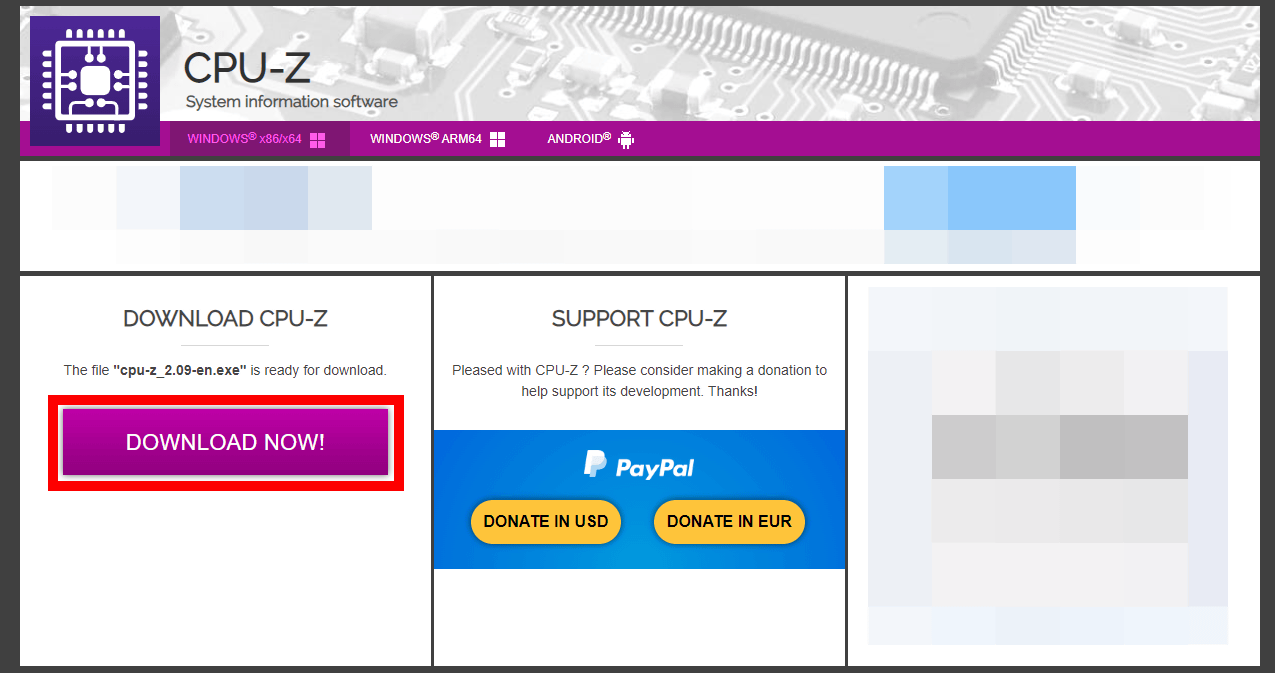
When the download page appears, click 'DOWNLOAD NOW!' to download the installer.
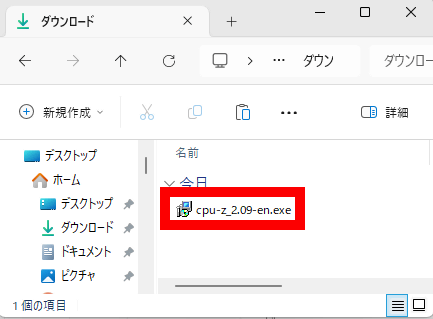
Double-click the downloaded installer to run it.
When the license information is displayed, read it carefully, click the 'I accept the agreement' check box, and then click 'Next.'

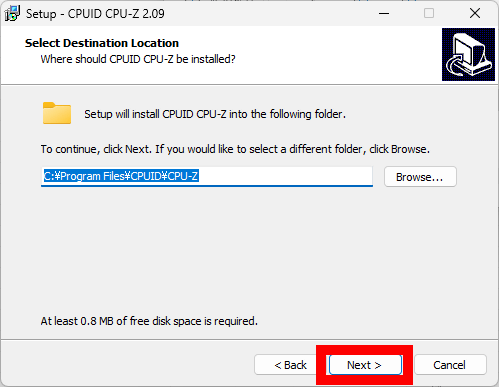
When the installation destination screen appears, click 'Next' without making any changes.
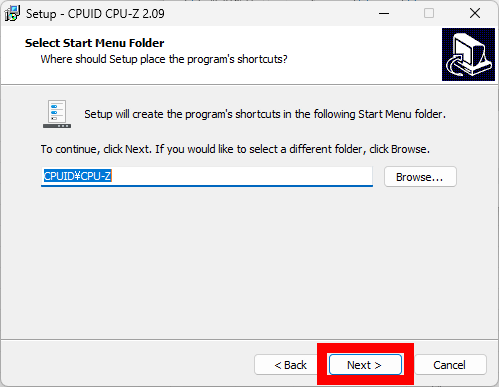
When the start menu registration screen appears, click 'Next'.
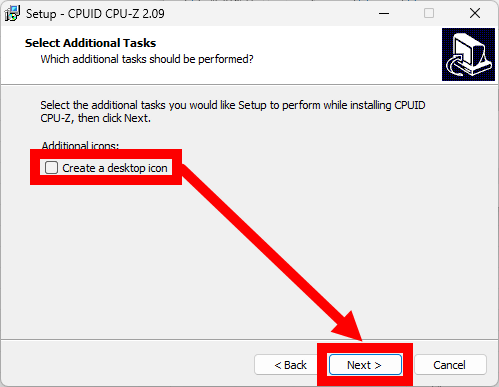
This time, there is no need to create a shortcut on the desktop, so uncheck 'Create a desktop icon' and click 'Next'.
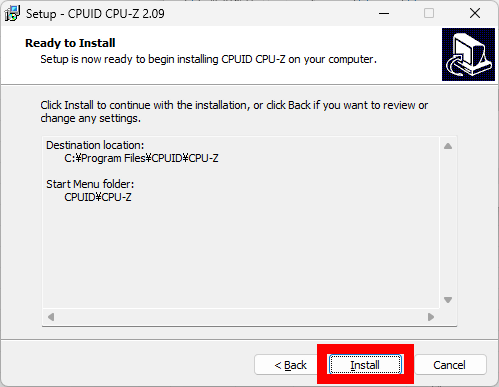
Click “Install”.
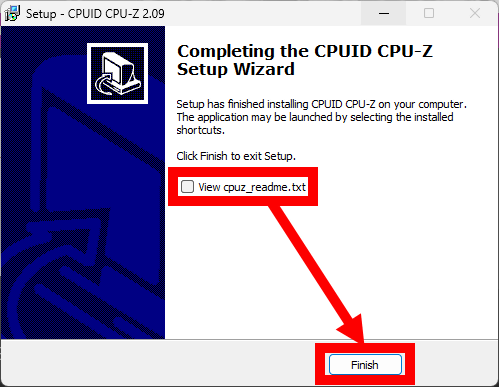
Once the installation is complete, uncheck the 'View cpuz_readme.txt' checkbox and click 'Finish'.
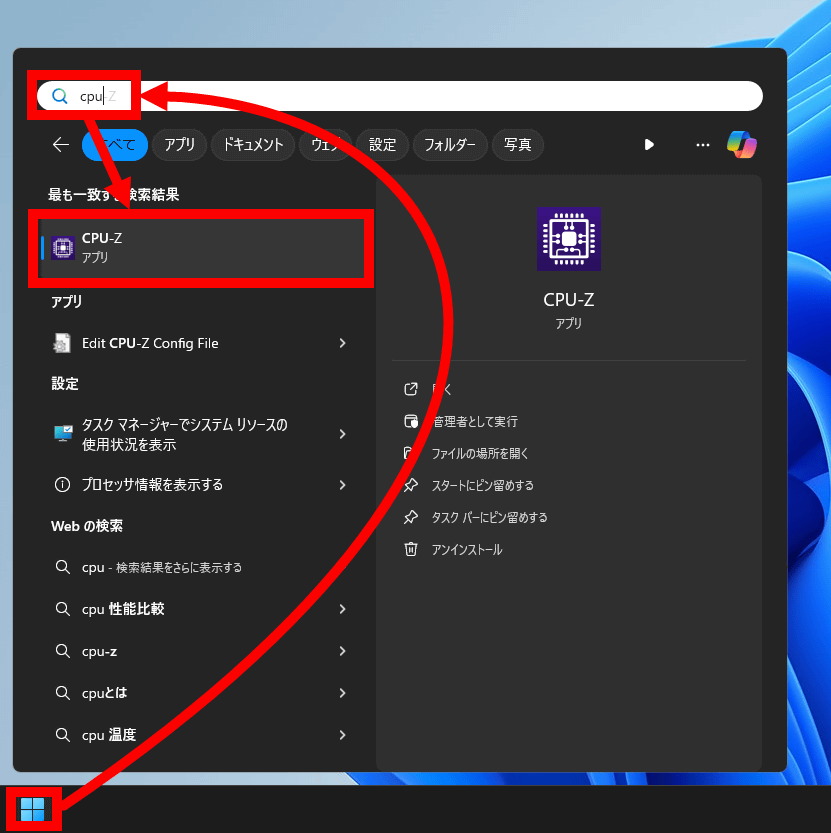
To start CPU-Z, search for 'CPU-Z' in the Start menu and click it.
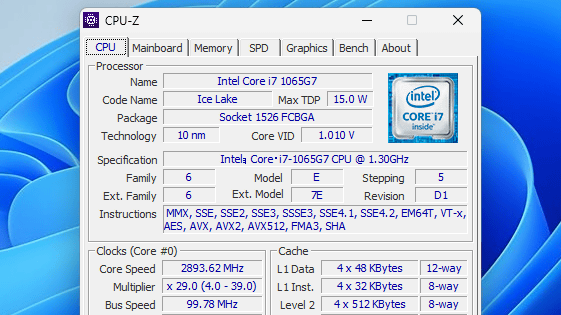
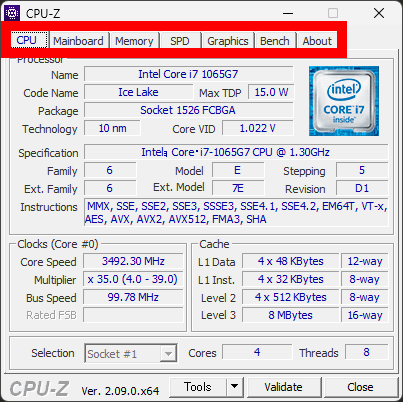
The CPU-Z screen looks like this. It displays information such as the CPU name, code name, maximum power consumption, clock frequency, cache capacity, etc. You can also switch to various information screens by clicking the tabs at the top of the screen.
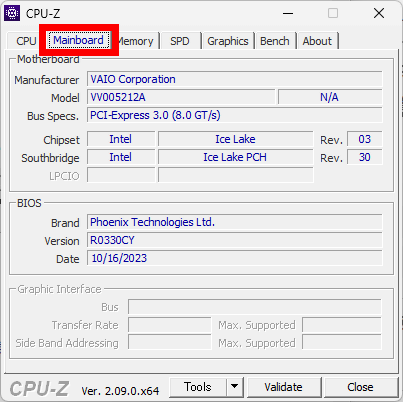
Clicking 'Mainboard' will display the motherboard name, model name, compatible standards, BIOS version, etc.
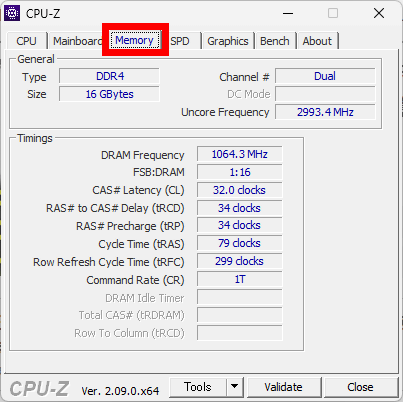
Click 'Memory' to check the memory specifications, capacity, clock frequency, etc.
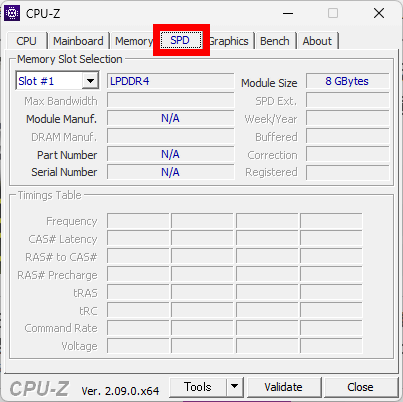
'SPD' stands for 'Serial Presence Detect' and can display 'information that the memory sends to the motherboard when the PC starts up.'
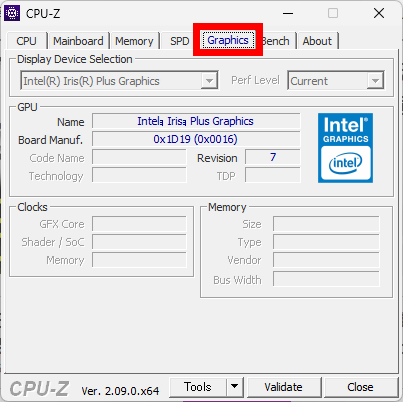
Click 'Graphics' to view GPU information.
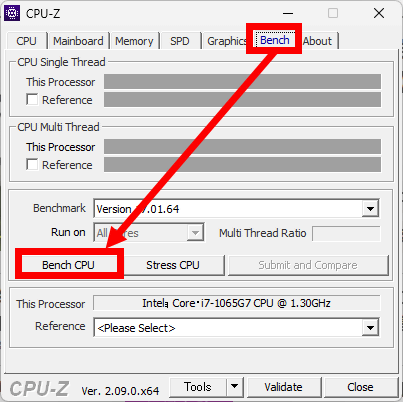
Click 'Bench' and then 'Bench CPU' to run a CPU benchmark test.
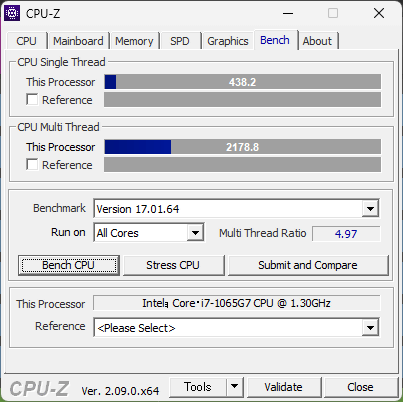
The execution result looks like this. You can check the single-threaded performance and multi-threaded performance. You can also select the CPU to compare from 'Reference' at the bottom of the screen.
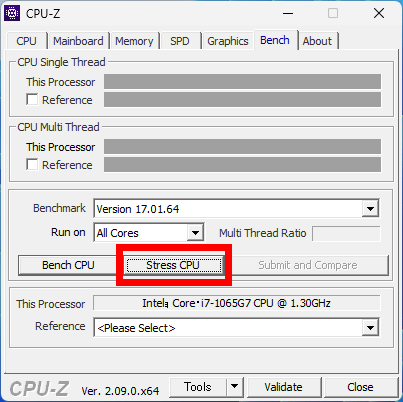
You can also put a strain on the CPU by clicking 'Stress CPU'.
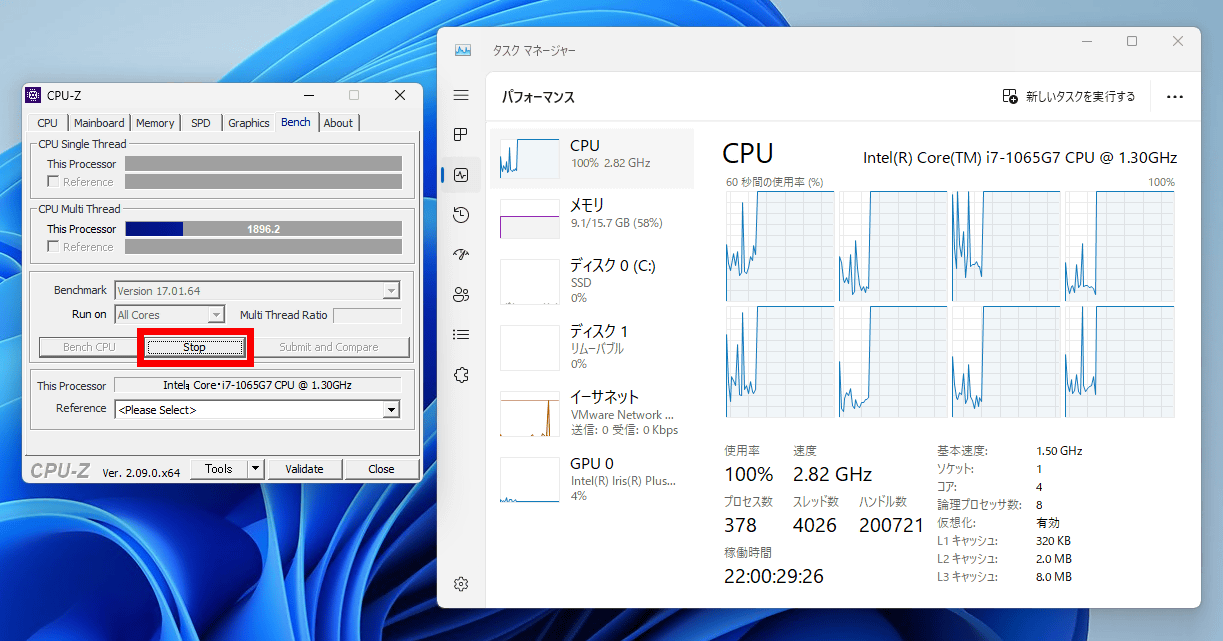
Below is the display of the task manager when you click 'Stress CPU'. You can see that all threads are running at 100%. By leaving it in this state for a while, you can test the operation under load. To stop the load, just click 'Stop'.
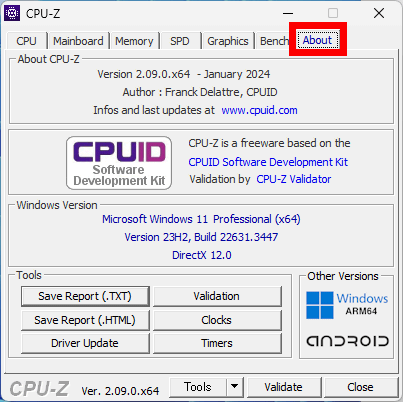
Click 'About' to check the version information of CPU-Z itself and the version information of Windows. In addition, the Tools column contains useful tools such as 'Save Report (.TXT)' which can output CPU information as a text file, 'Save Report (.HTML)' which can output in HTML format, 'Driver Update' which allows you to access the driver update confirmation screen, 'Validation' which allows you to register CPU information on an aggregation site , 'Clocks' which allows you to check the CPU operating frequency, and 'Timers' which allows you to check whether the CPU timer is out of sync.
Related Posts: