Summary of how to use the free application 'GPU-Z' that allows you to quickly check the GPU model name and memory capacity
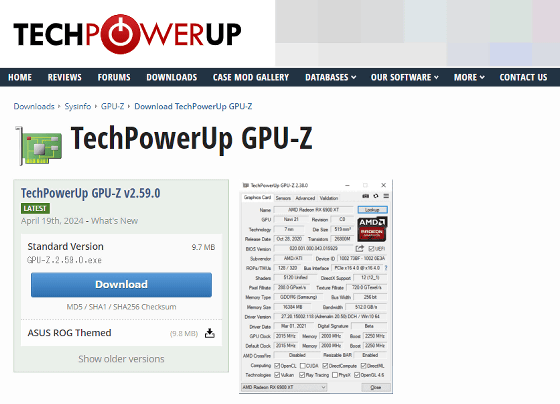
' GPU-Z ' is a useful tool that can display the model name and memory capacity of the GPU installed in your PC. The GPU-Z screen is full of English and difficult for beginners to understand, so we have summarized the installation procedure and how to read the screen.
GPU-Z Graphics Card GPU Information Utility
To use GPU-Z, first click the link below to access the download page.
TechPowerUp GPU-Z v2.59.0 Download | TechPowerUp
https://www.techpowerup.com/download/techpowerup-gpu-z/
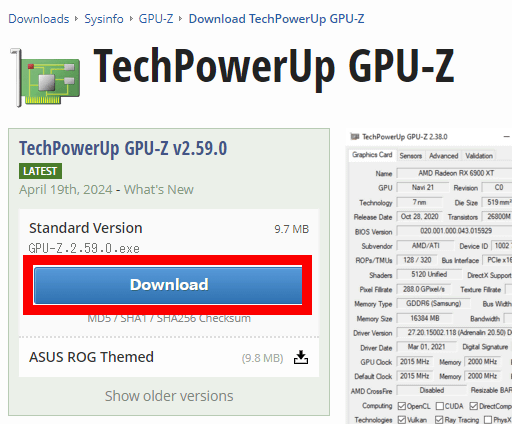
Once you access the download page, click the blue button marked 'Download.'
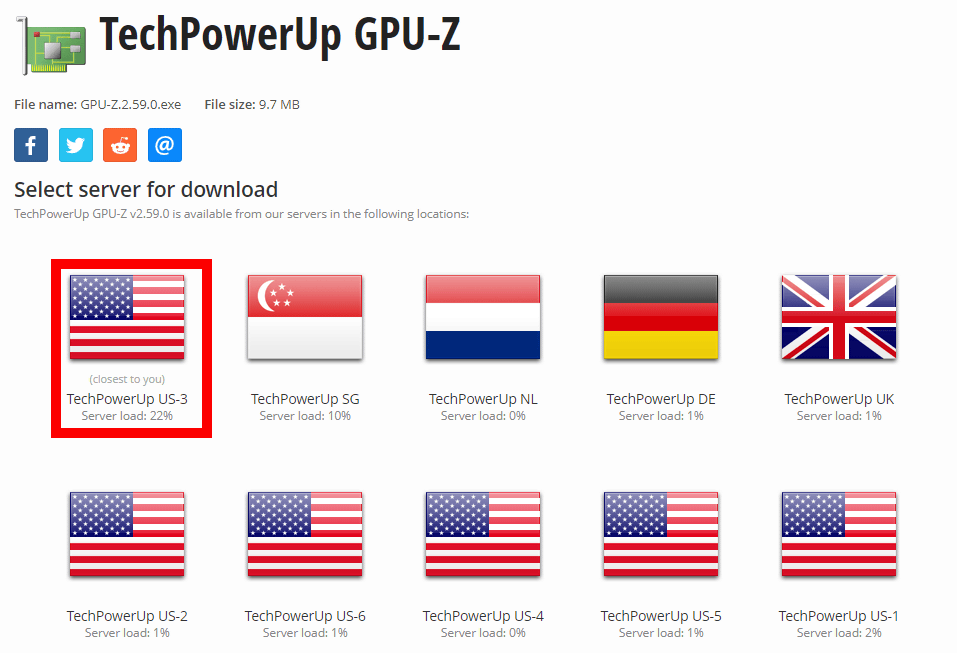
When the download server selection screen appears, click on any server name to download the installer. In this example, I clicked on the server 'TechPowerUp US-3' in the United States.
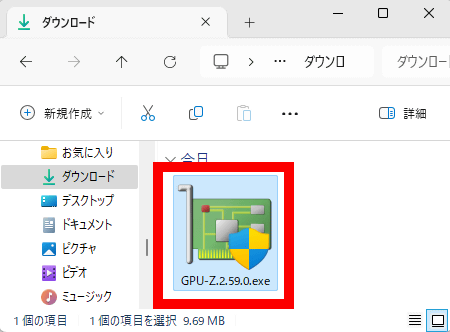
Once the installer has finished downloading, double-click it to launch it.
When you start the installer, you will be asked to select either 'Install GPU-Z' or 'Launch GPU-Z as a standalone app without installing it.' Since I want to install GPU-Z on my PC this time, I click 'Yes.'

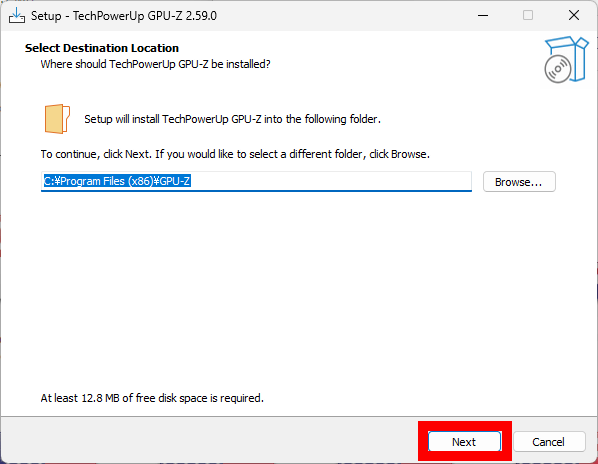
When the installation destination selection screen appears, click 'Next' without changing anything.
Uncheck 'Create a desktop shortcut' and click 'Next'.

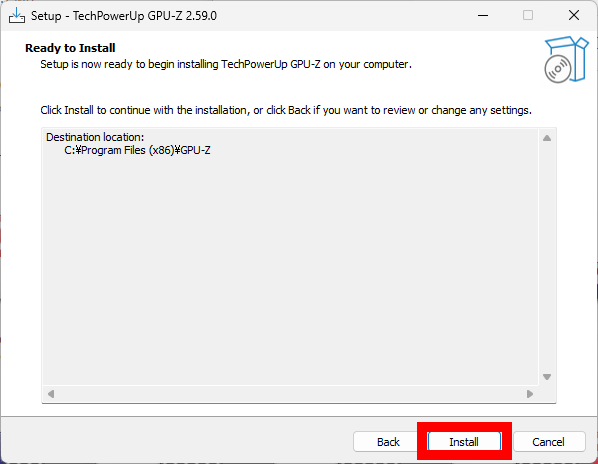
Click “Install”.
Once the installation is complete, check 'Launch TechPowerUp GPU-Z' and click 'Finish' to launch GPU-Z.

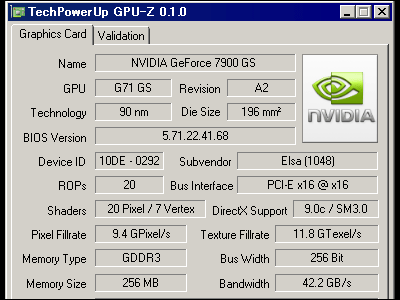
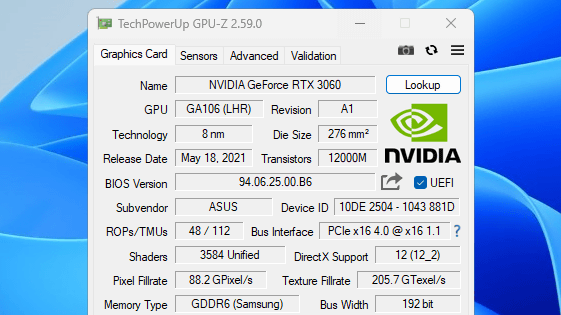
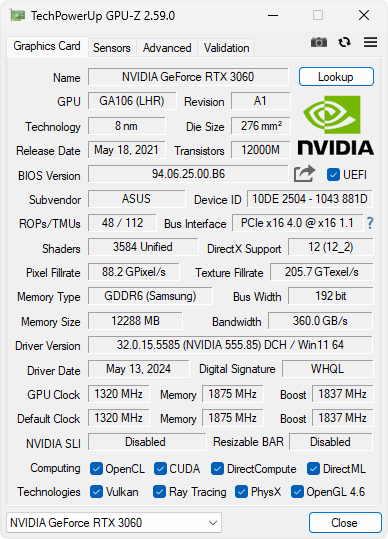
The GPU-Z screen looks like this. You can check the model name and manufacturer logo of the GPU installed in your PC, memory type, memory capacity, clock frequency, supported APIs, etc.
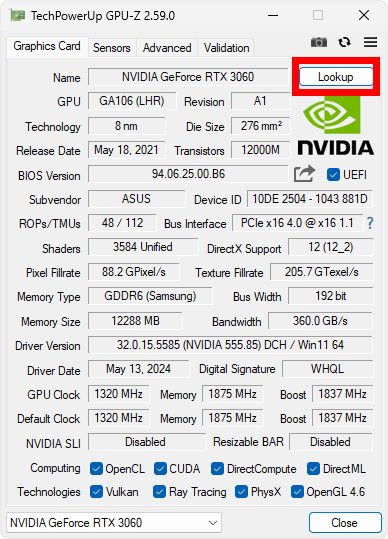
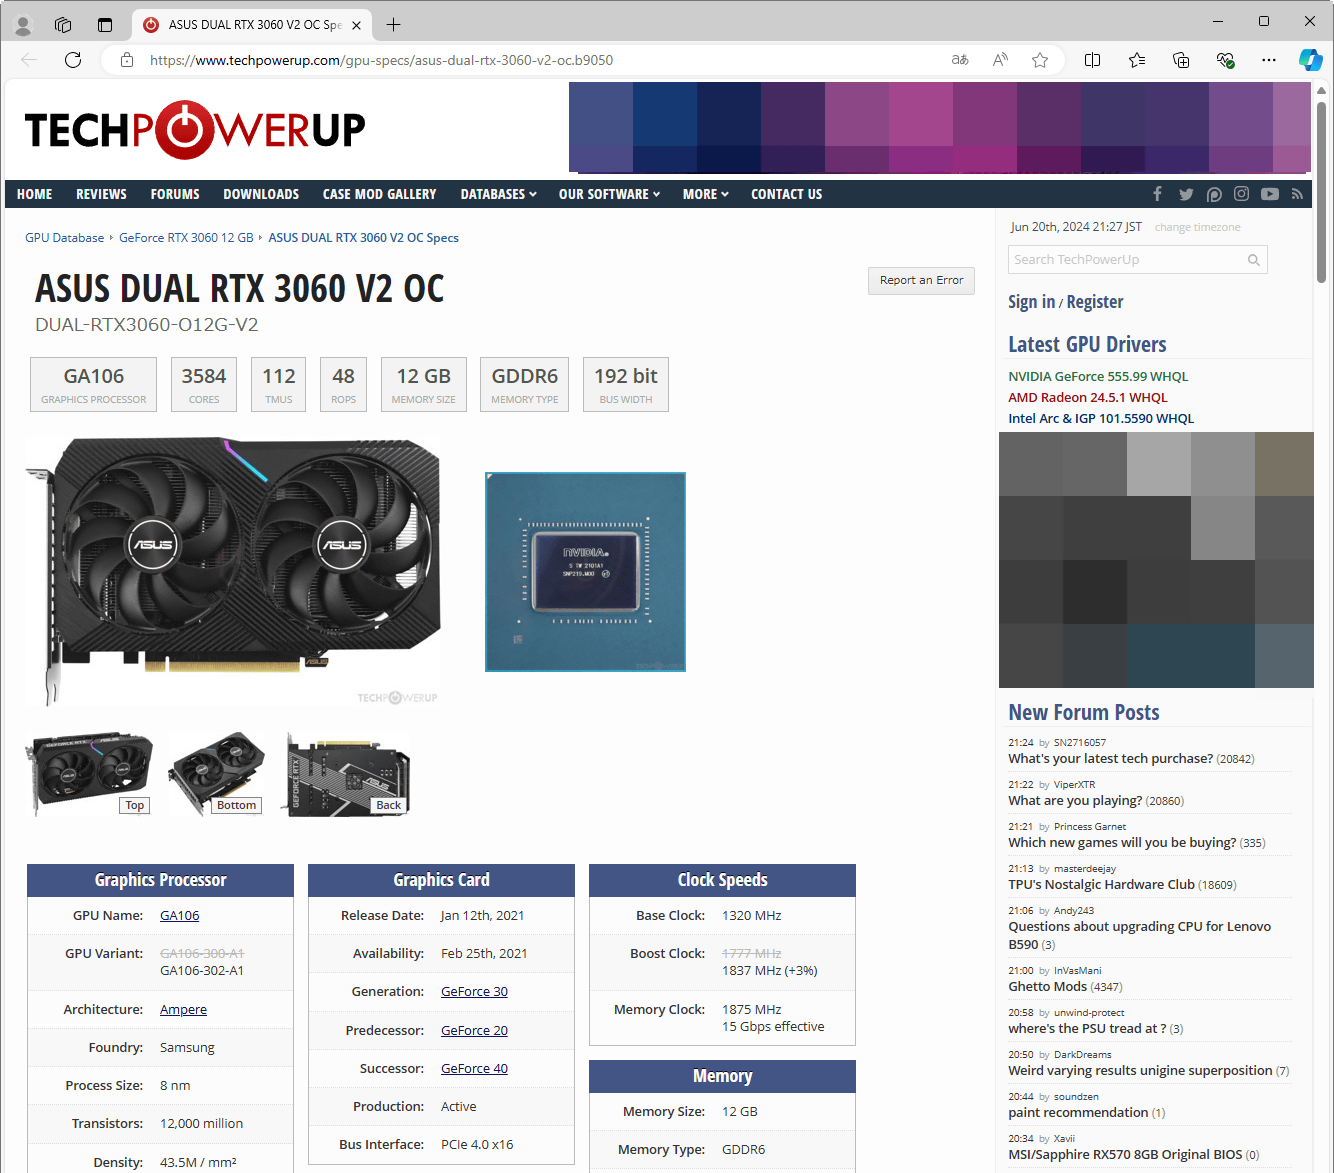
Click 'Lookup' to access the graphics card information page.
When I tried it on a machine equipped with '
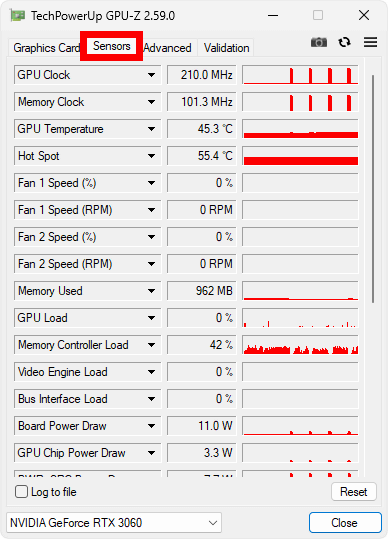
Clicking on 'Sensors' at the top of the screen will allow you to check the GPU and memory clock frequencies as well as the GPU temperature, fan speed, power consumption, etc.
'Advanced' displays a complete list of the date and time the driver was last updated, the power consumption limit, temperature limit, and the compatible standards of the monitor being output.

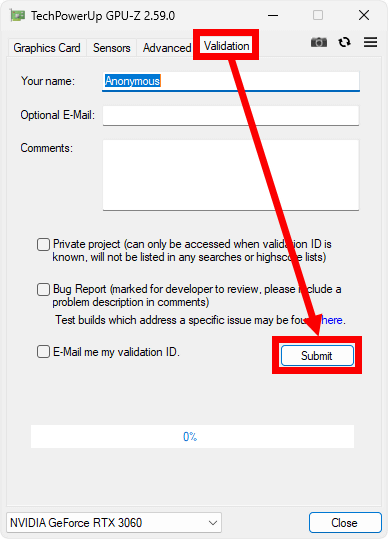
Click 'Validation' and then 'Submit' to submit your GPU information to TechPowerUp's data aggregation site.
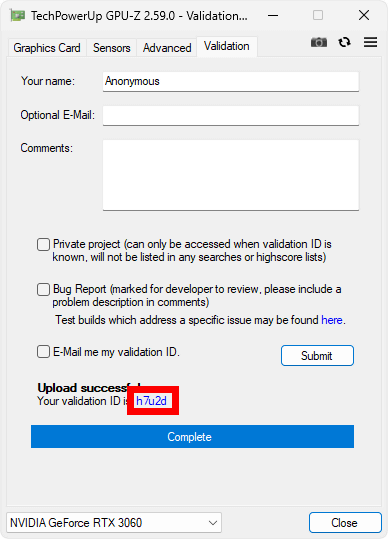
After clicking 'Submit', wait a few seconds and the ID of the information you posted will be displayed. Click the ID to access the information page.
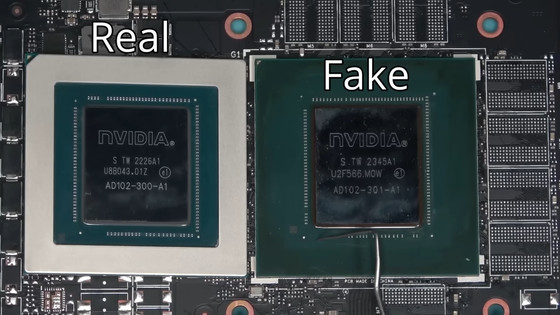
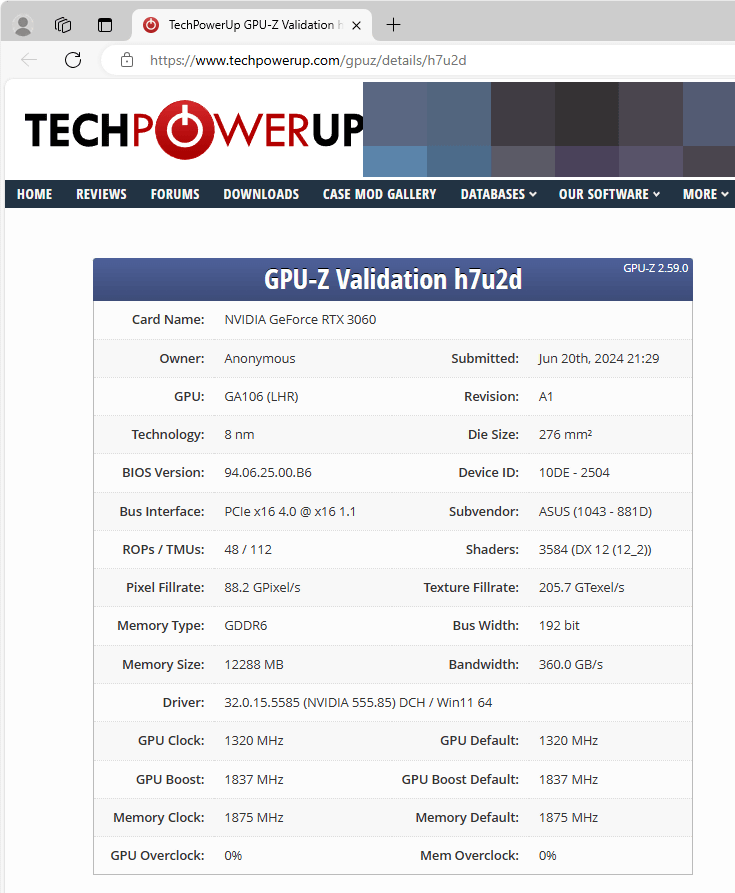
The information page looks like this. You can check the GPU name, memory capacity, etc. If you exchange this page when trading second-hand products, it will be easier to notice fraud such as switching products with counterfeits.
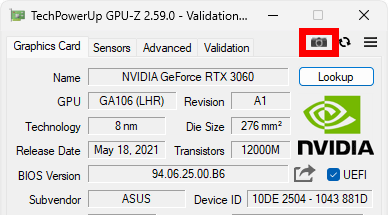
You can take a screenshot by clicking the camera button in the upper right corner of the GPU-Z screen.
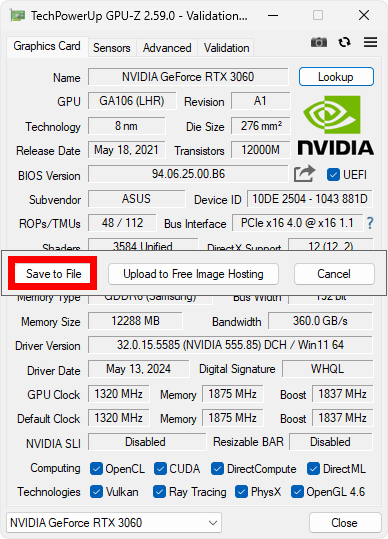
When the shooting menu appears in the center of the screen, click 'Save to File.'
Specify the save destination and name, then click 'Save'.
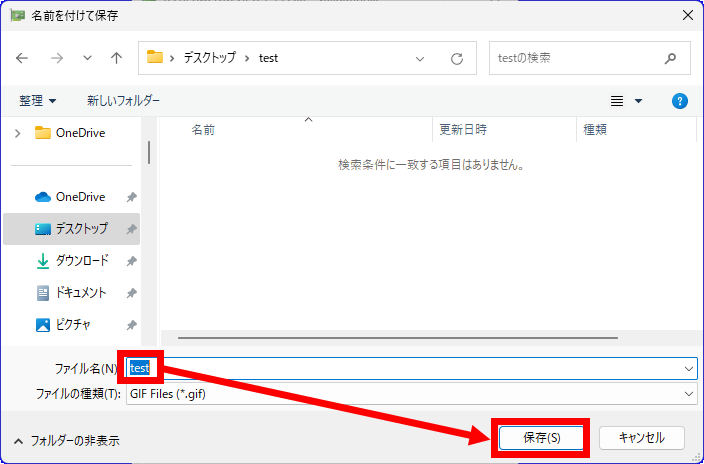
The screenshot has now been saved. Note that screenshots can only be saved in GIF format.

Related Posts: