I tried using the open source commercial time tracker tool `` Kimai '' that can be used for free
When billing fees according to the working hours of employees, such as temporary staffing, or when hiring people on an hourly basis, it is necessary to properly record 'how many hours the person spent on what work' . `` Kimai '' is an open-source time tracker that makes it easy to record such records, visualizes them in graphs, and exports them in CSV and Excel formats, so I actually tried it.
Kimai - time-tracker
There are two ways to set up Kimai, one using Composer and the other using Docker, but since Docker is used this time, install Docker from the link below according to your environment.
Install Docker Engine | Docker Documentation
https://docs.docker.com/engine/install/
Since I am using Debian this time, I entered the following command.
[code] sudo apt-get update
sudo apt-get install ca-certificates curl gnupg
sudo install -m 0755 -d /etc/apt/keyrings
curl -fsSL https://download.docker.com/linux/debian/gpg | sudo gpg --dearmor -o /etc/apt/keyrings/docker.gpg
sudo chmod a+r /etc/apt/keyrings/docker.gpg
echo \
'deb [arch='$(dpkg --print-architecture)' signed-by=/etc/apt/keyrings/docker.gpg] https://download.docker.com/linux/debian \
'$(. /etc/os-release && echo '$VERSION_CODENAME')' stable' | \
sudo tee /etc/apt/sources.list.d/docker.list > /dev/null
sudo apt-get update
sudo apt-get install docker-ce docker-ce-cli containerd.io docker-buildx-plugin docker-compose-plugin[/code]
Start the database with the following code.
[code]docker run --rm --name kimai-mysql-testing \
-e MYSQL_DATABASE=kimai\
-e MYSQL_USER=kimai \
-e MYSQL_PASSWORD=kimai \
-e MYSQL_ROOT_PASSWORD=kimai \
-p 3399:3306 -d mysql[/code]
After that, start Kimai main unit with the following code.
[code] docker run --rm --name kimai-test \
-ti\
-p 80:8001 \
-e DATABASE_URL=mysql://kimai:kimai@${HOSTNAME}:3399/kimai \
kimai/kimai2:apache[/code]
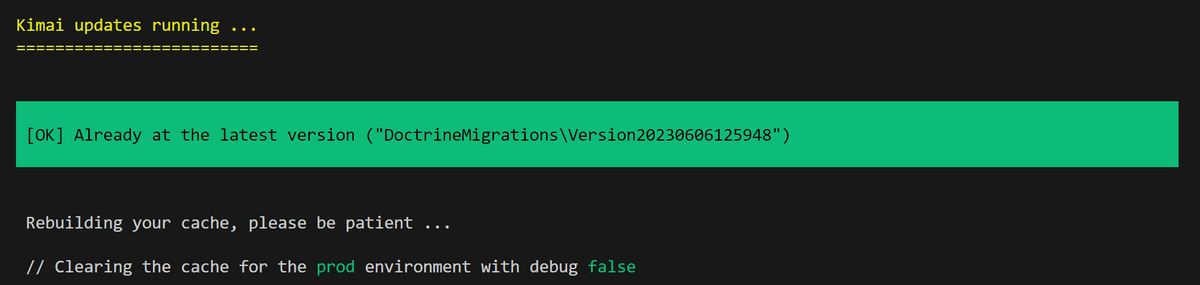
Wait for a while because the update check starts automatically when you start up.
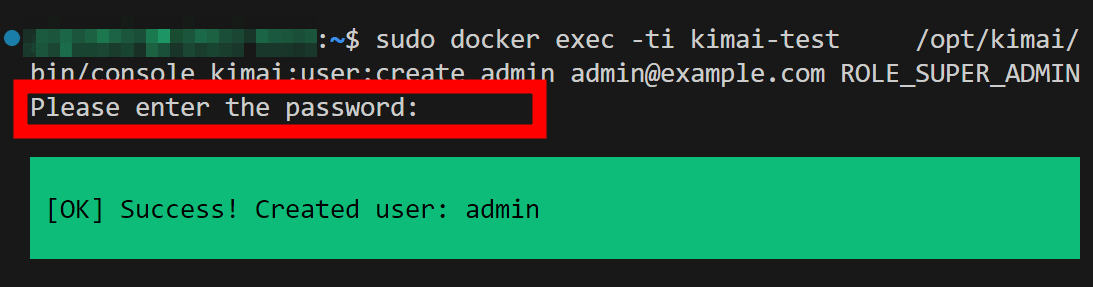
Next, launch a new terminal and add an administrative user with the following command. The document instructed to use 'kimai:create-user', but when using 'kimai:create-user' when creating the article, 'The command 'kimai:reset:locales' does not exist.' I got an error and couldn't proceed. In the code below, the 'admin' part is set as the ID and the '[email protected]' part is set as the email address, so change them as necessary.
[code] docker exec -ti kimai-test \
/opt/kimai/bin/console kimai:user:create admin [email protected] ROLE_SUPER_ADMIN[/code]
When you enter the above command, you will be asked for a password, so enter it. Please note that an error will occur if it is not 8 characters or more.
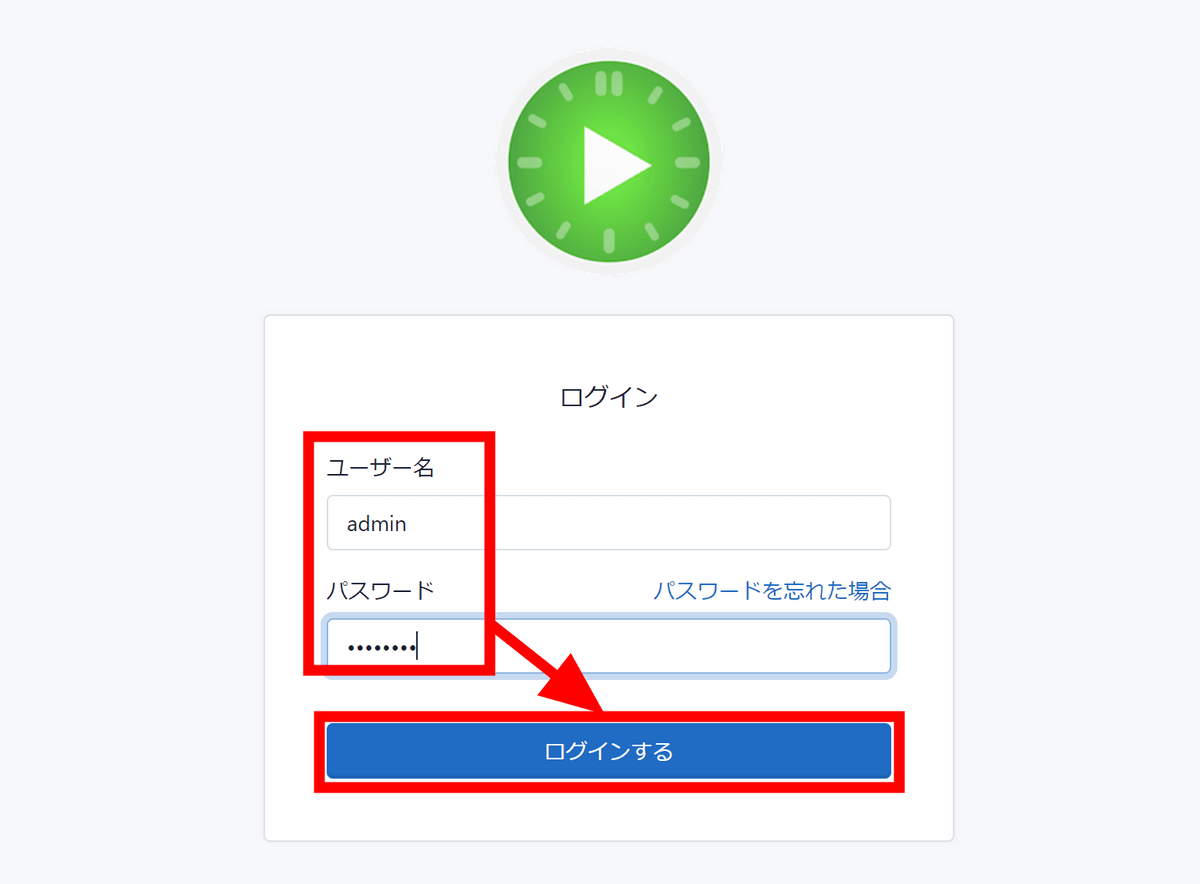
Access the server, enter the user name and password you set earlier and click 'Login'.
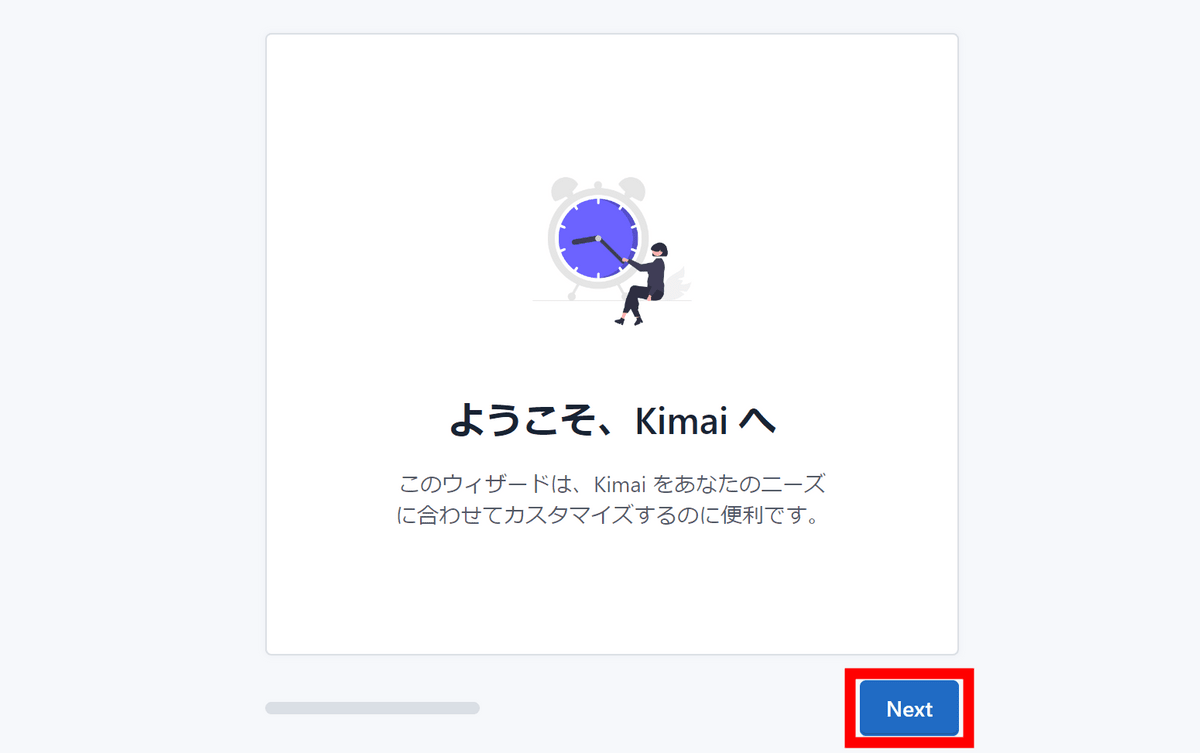
Initialization starts. Click 'Next'.
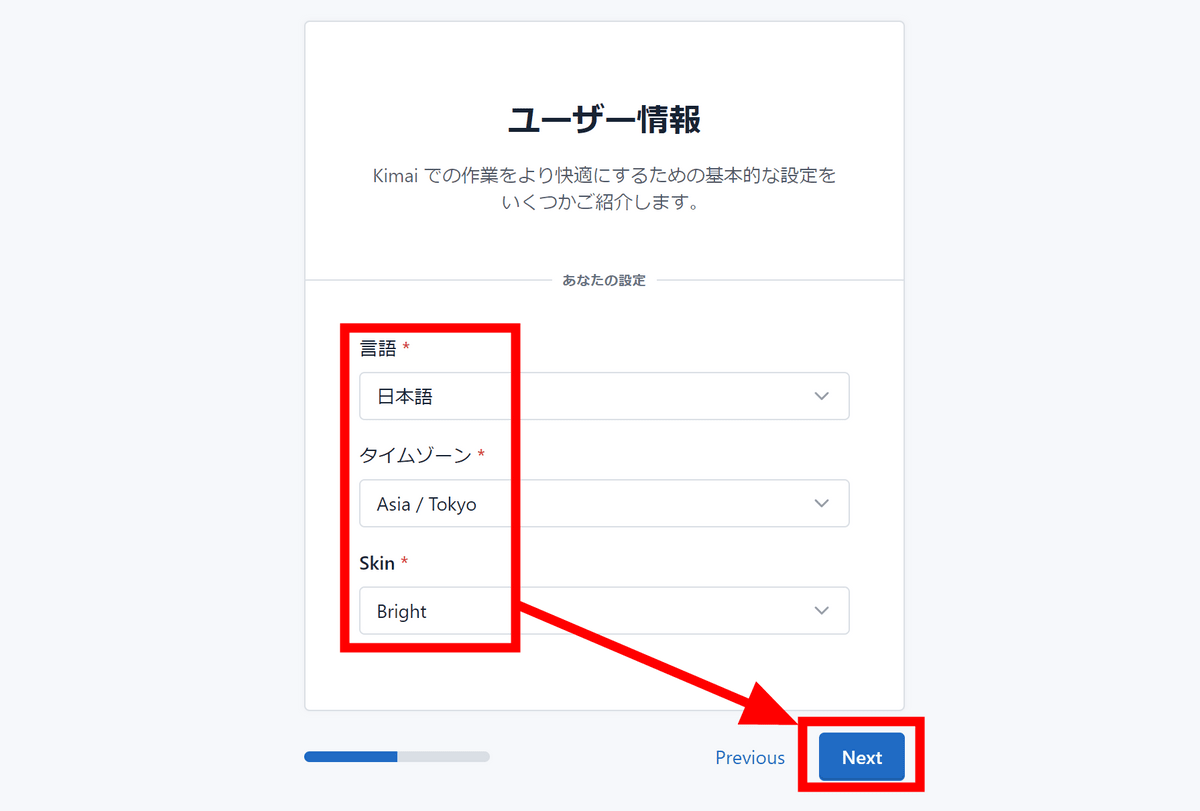
Set the language, time zone and theme and click 'Next'.
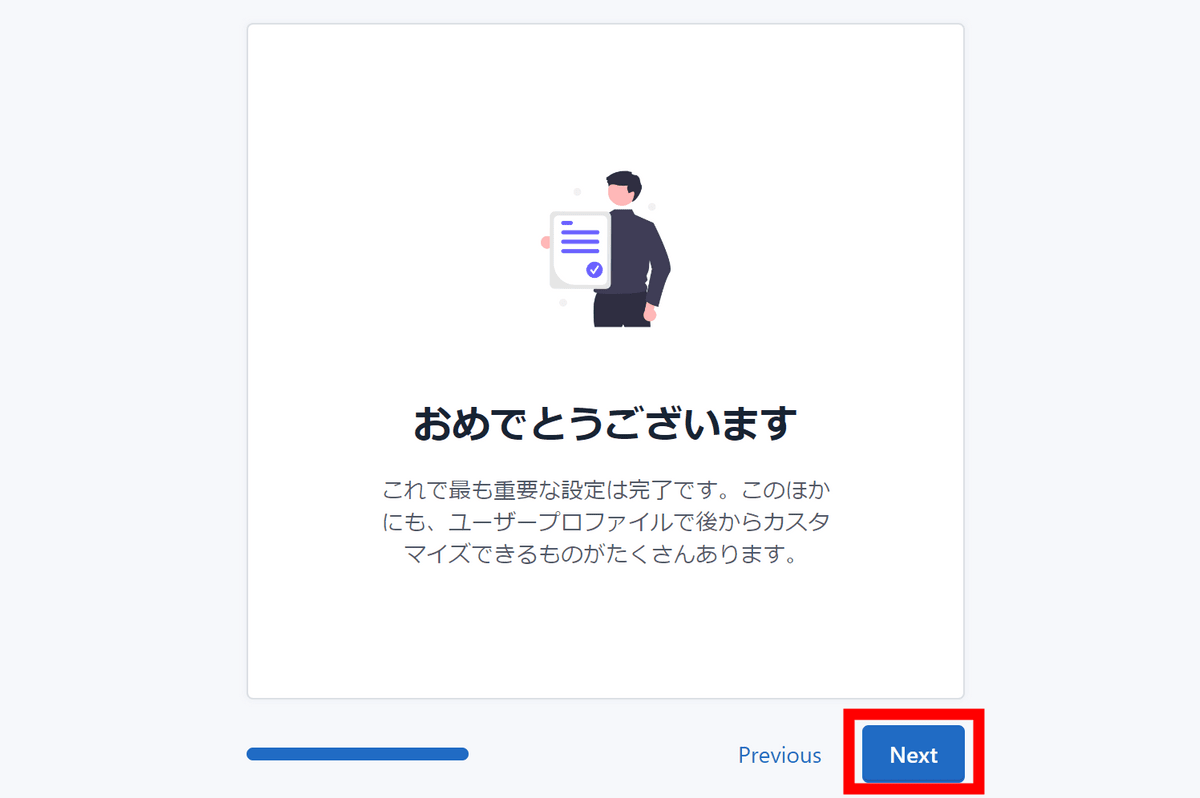
Initial setup is complete. Click 'Next'.
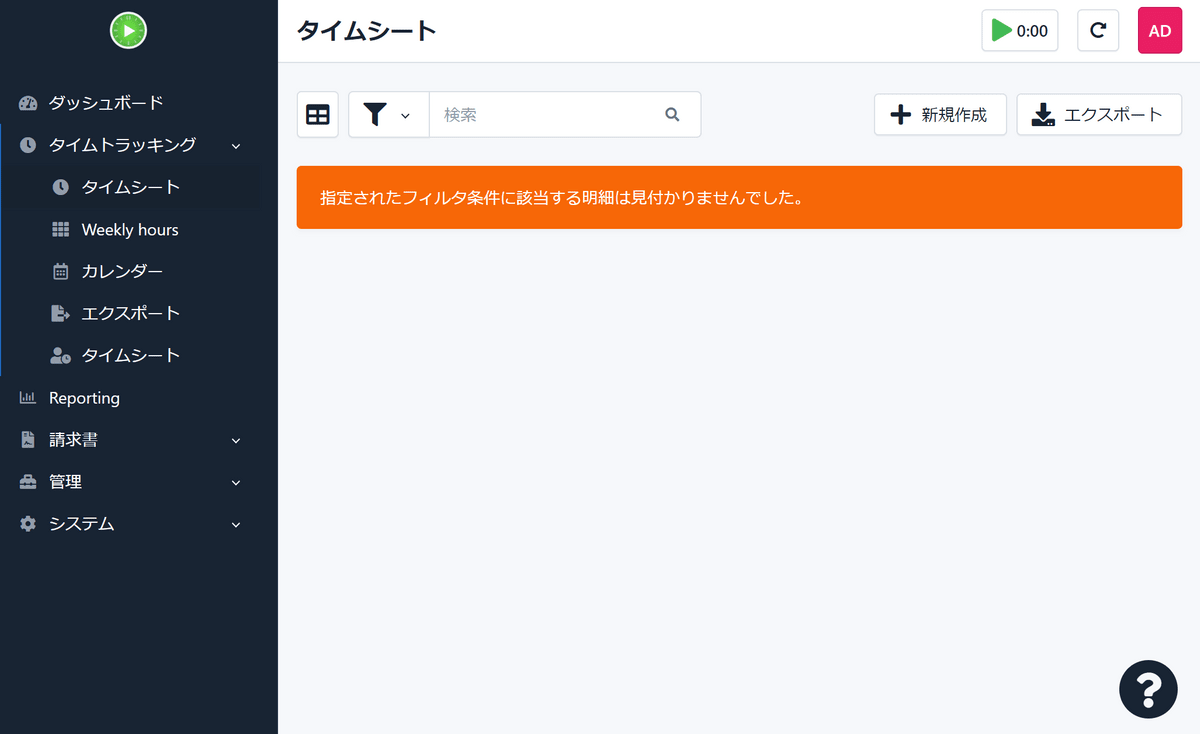
Go to the screen labeled 'Timesheet'. Of course nothing is displayed yet.
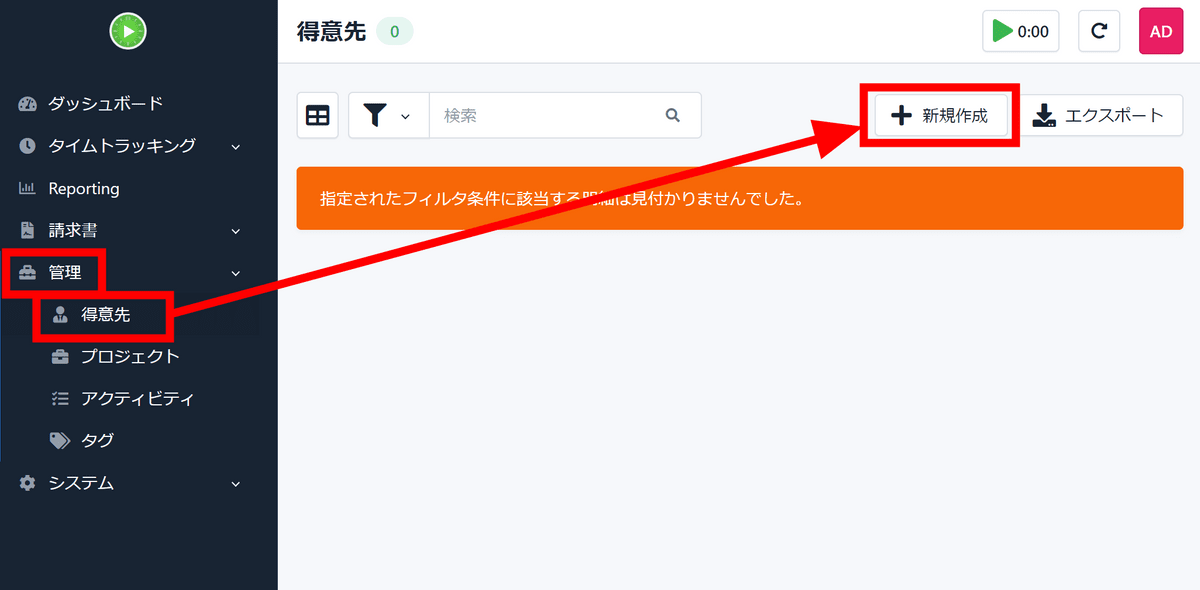
First, click 'New' from the 'Customers' page of 'Administration'.
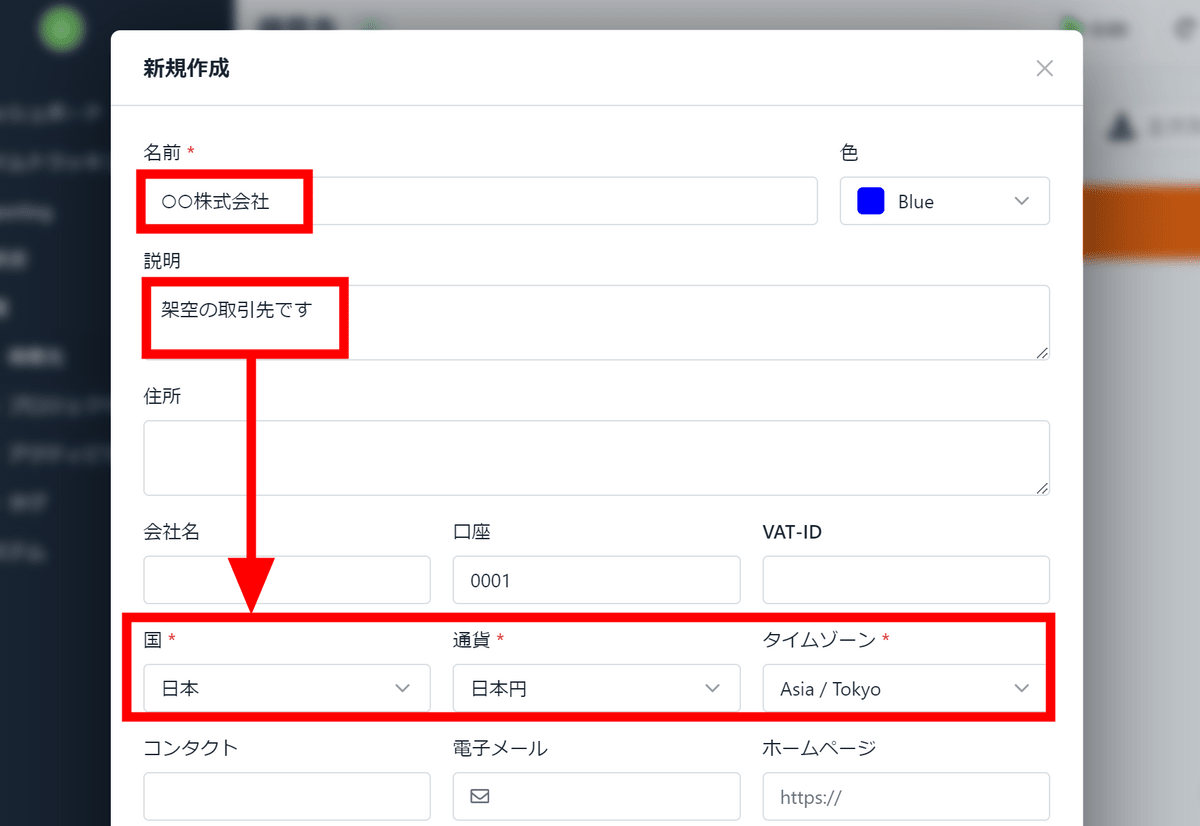
Set the name, description, country, currency, time zone, etc. and scroll down.
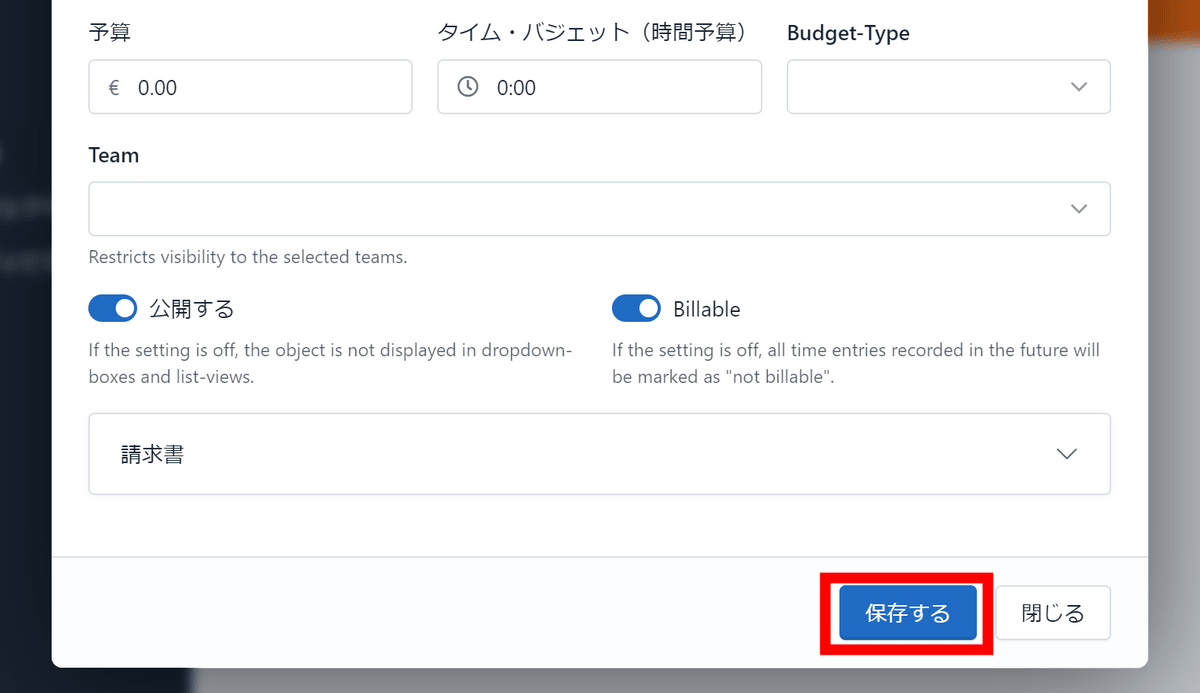
Click the 'Save' button at the bottom.
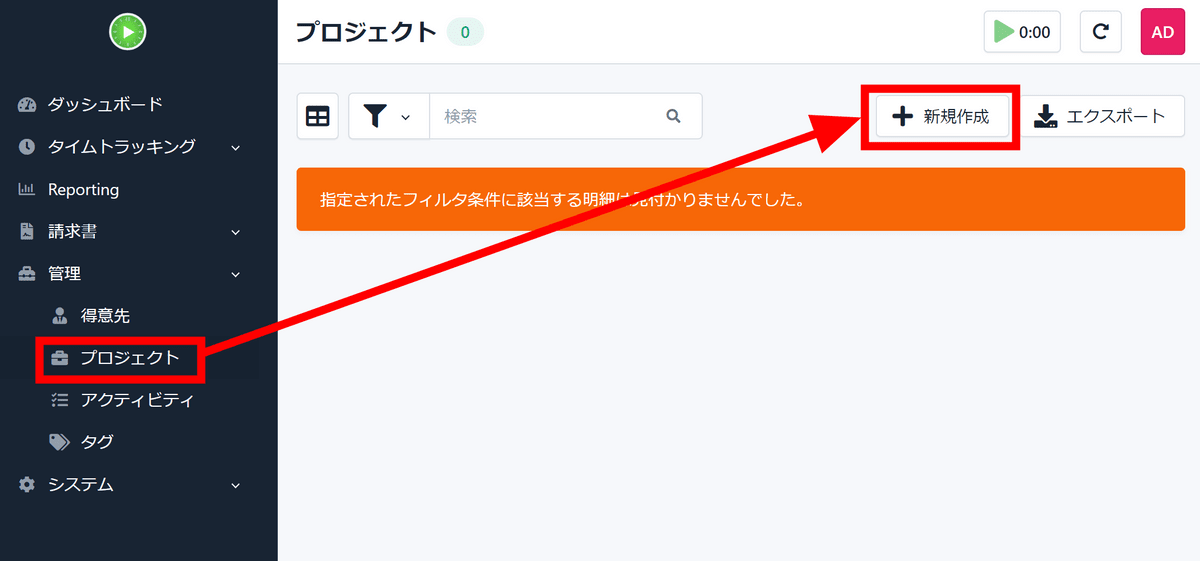
Then go to the Projects page and click New.
Select a project name and a customer associated with this project.
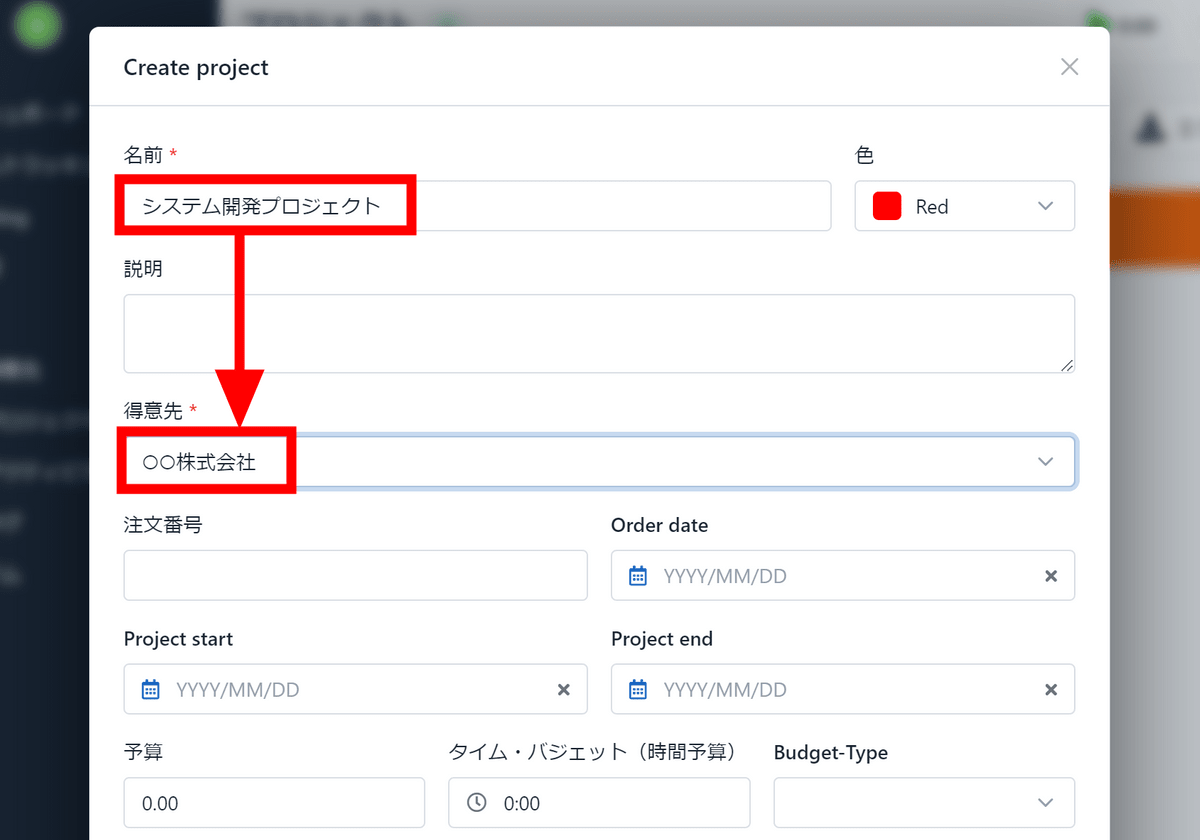
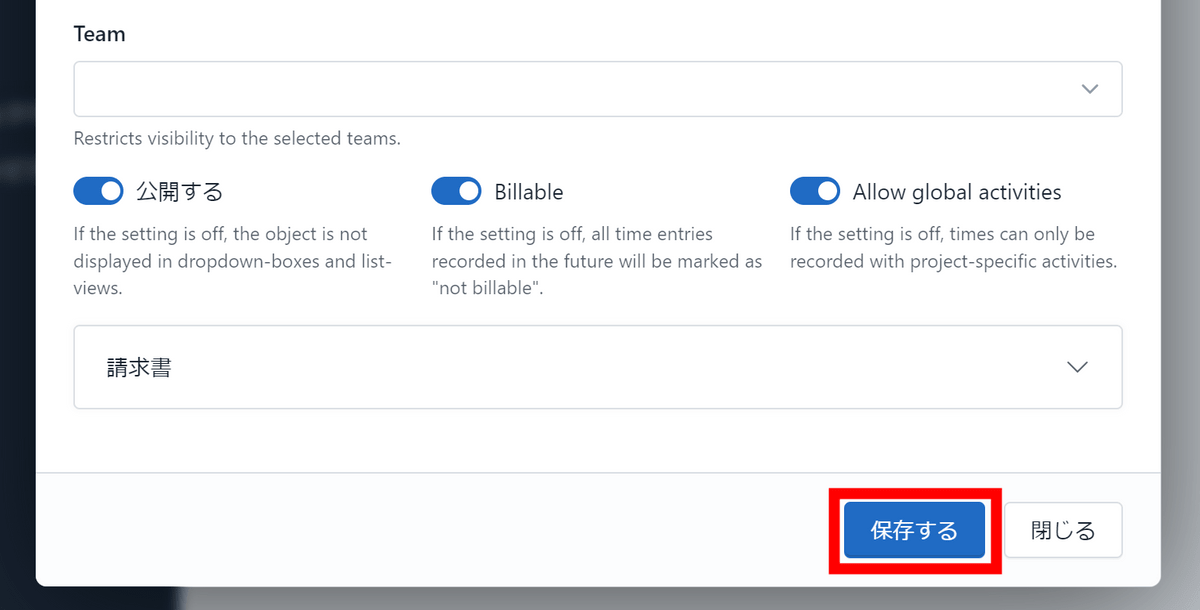
Scroll to the bottom and click Save.
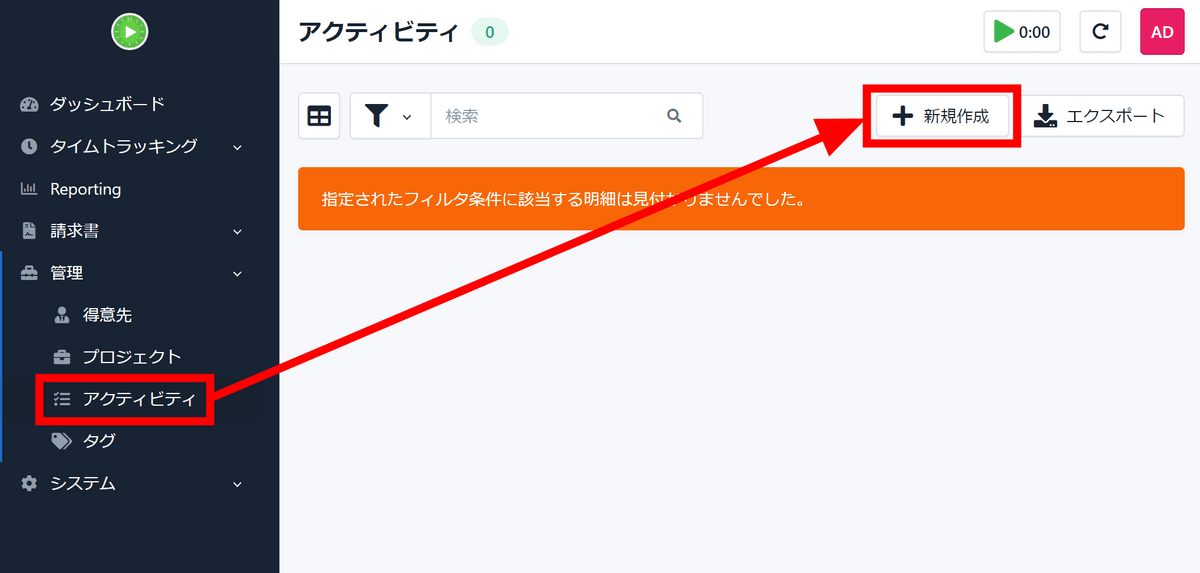
Now open the 'Activities' page and click 'Create New'.
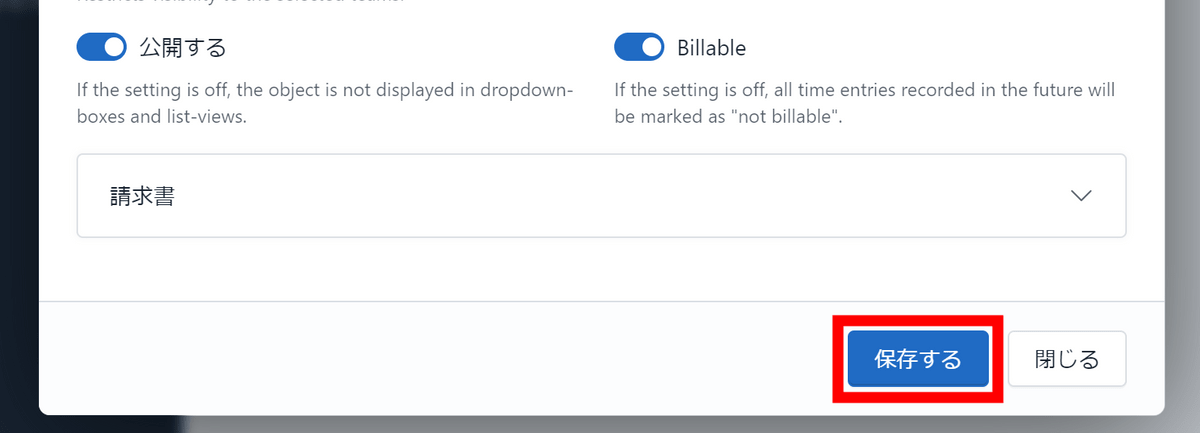
Enter a name, color and project and scroll down.
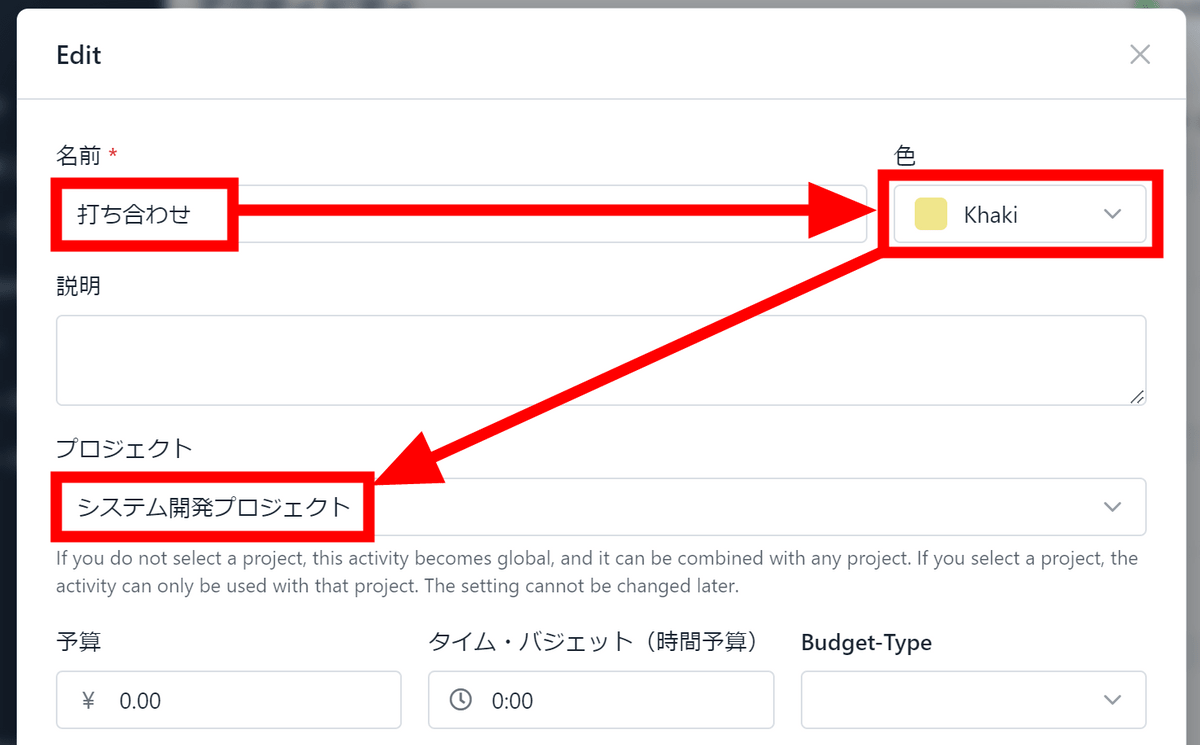
Click 'Save'.
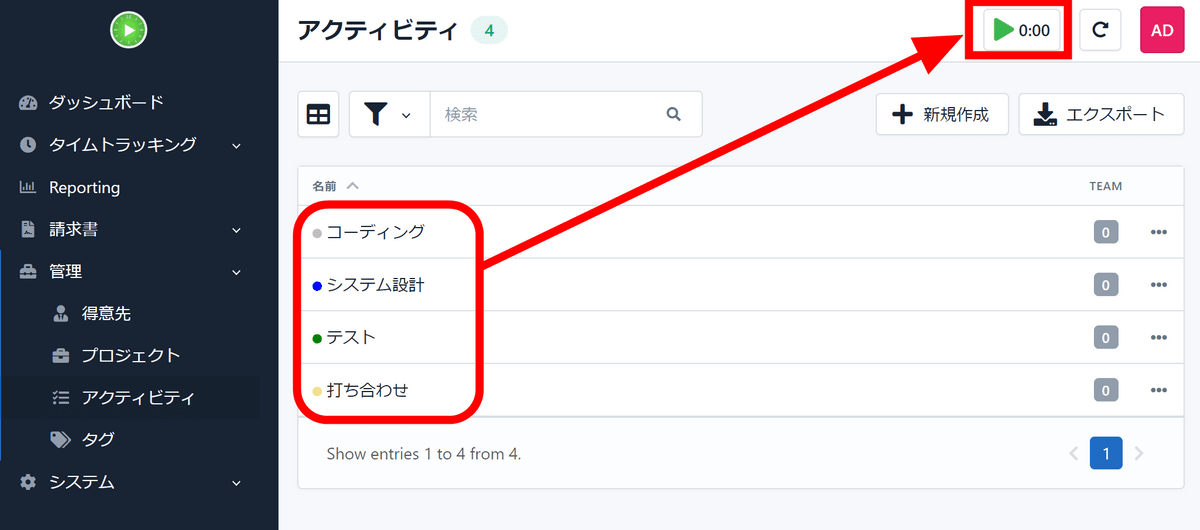
I set up some activities in a similar way. Since the activity has been set, click the play mark button in the upper right.
Select a project and activity and click 'Save'.
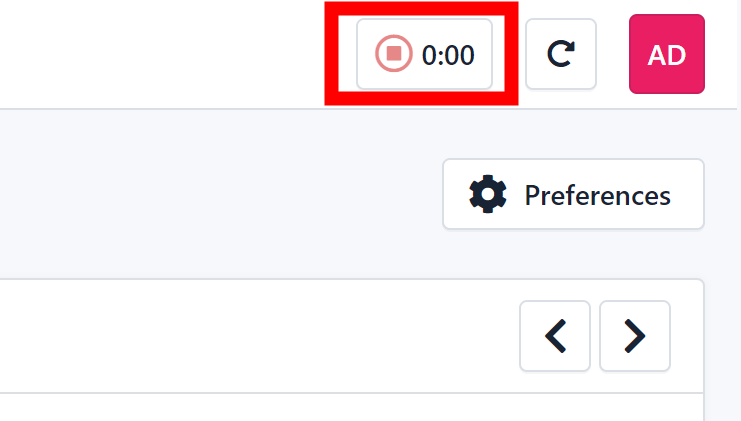
Then the measurement started. When you press the stop button, the working hours are recorded.
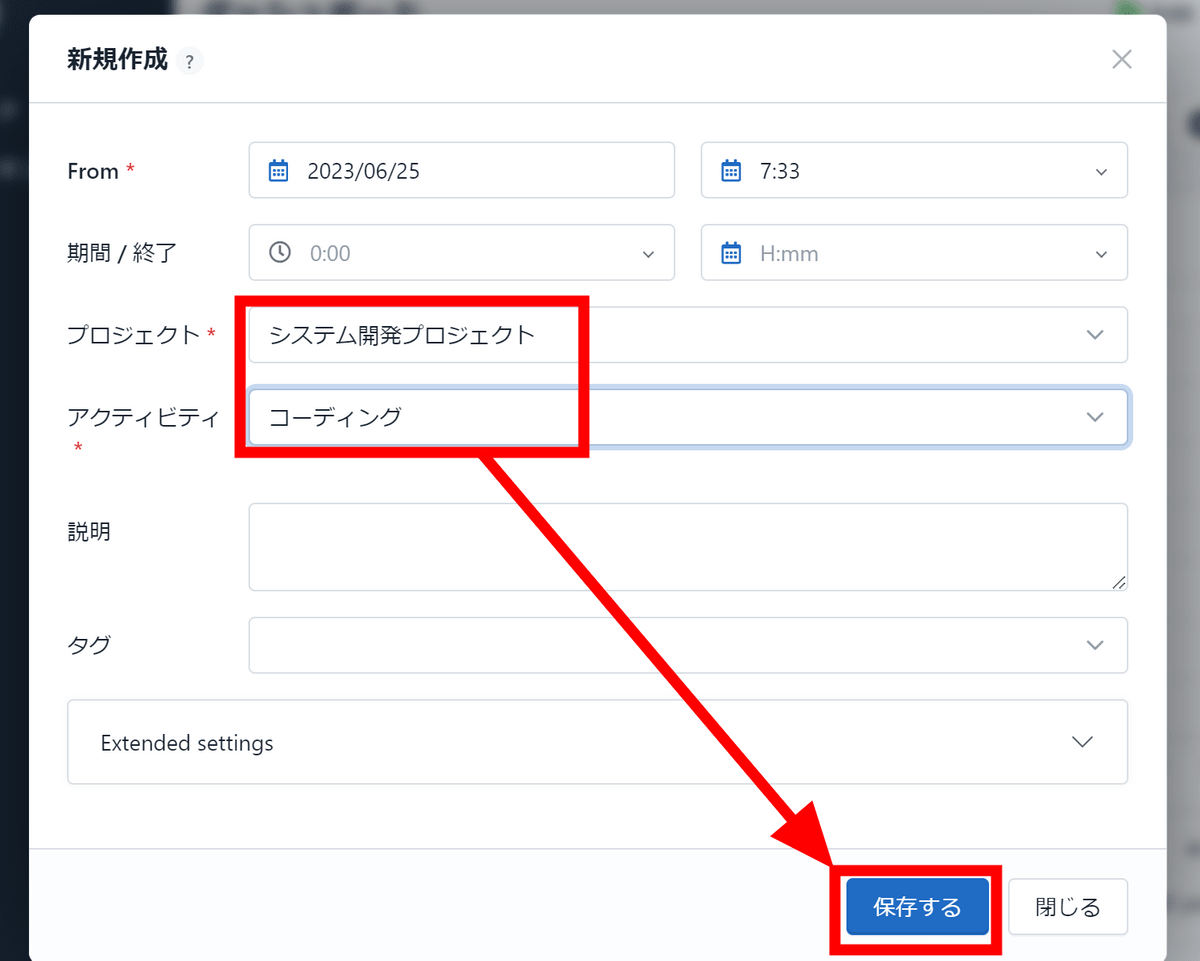
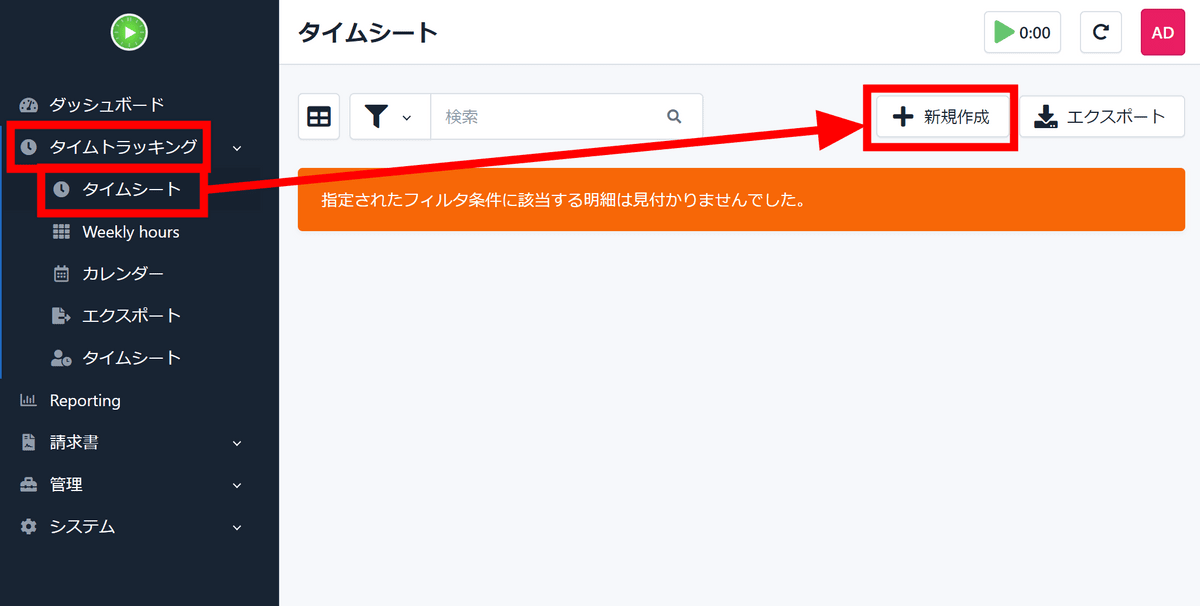
In addition to the method of recording in real time, there is also the method of inputting later. Click 'Timesheet' in 'Time Tracking' and click 'New'.
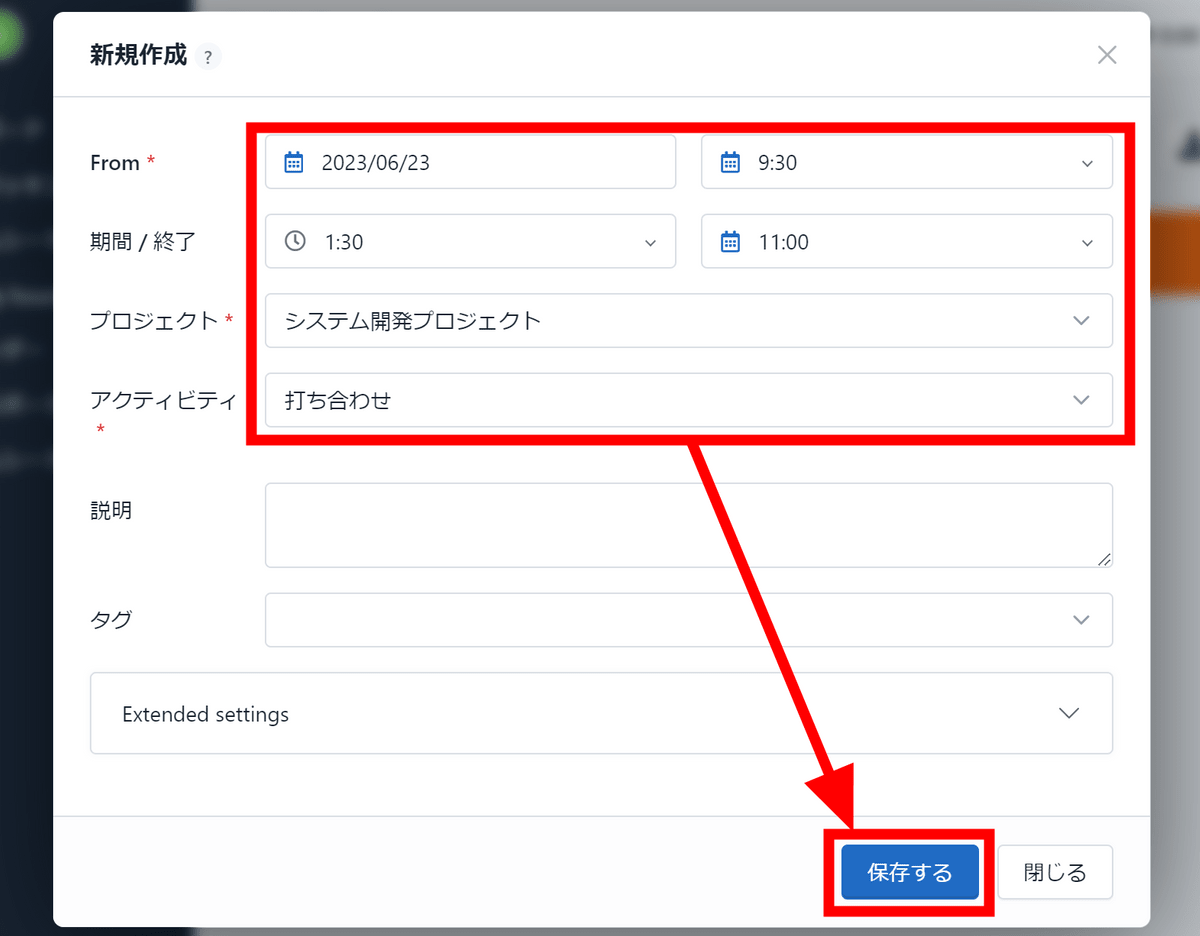
Set the period, project and activity and click 'Save'.
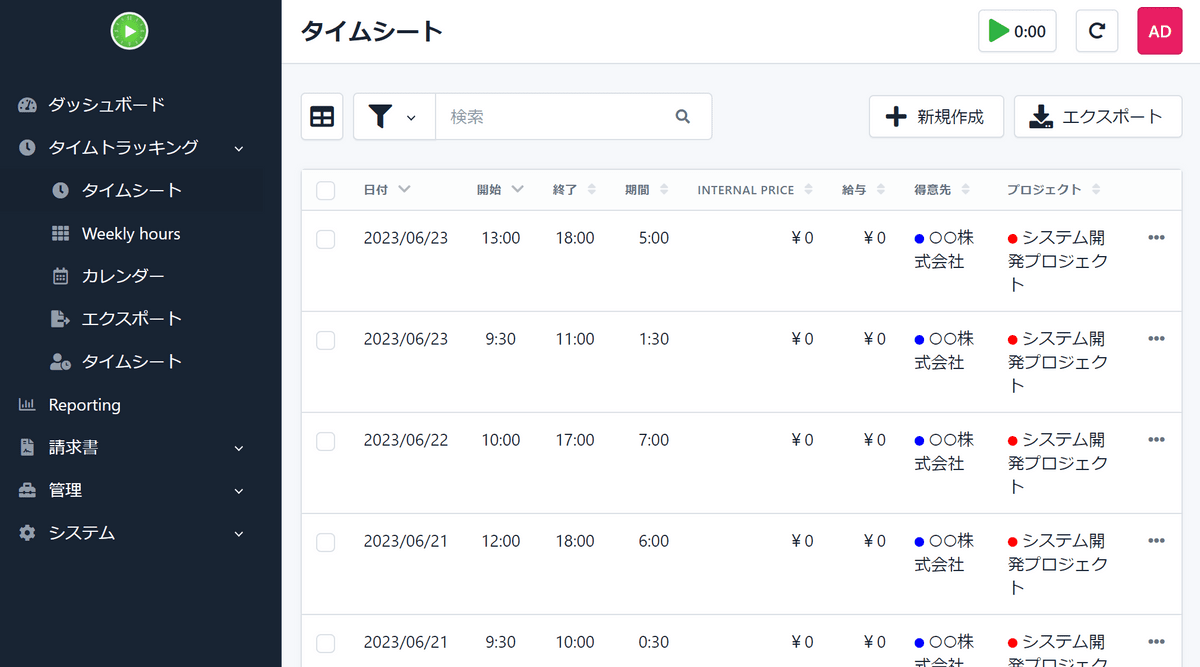
I tried to enter a record for one week in the same procedure.
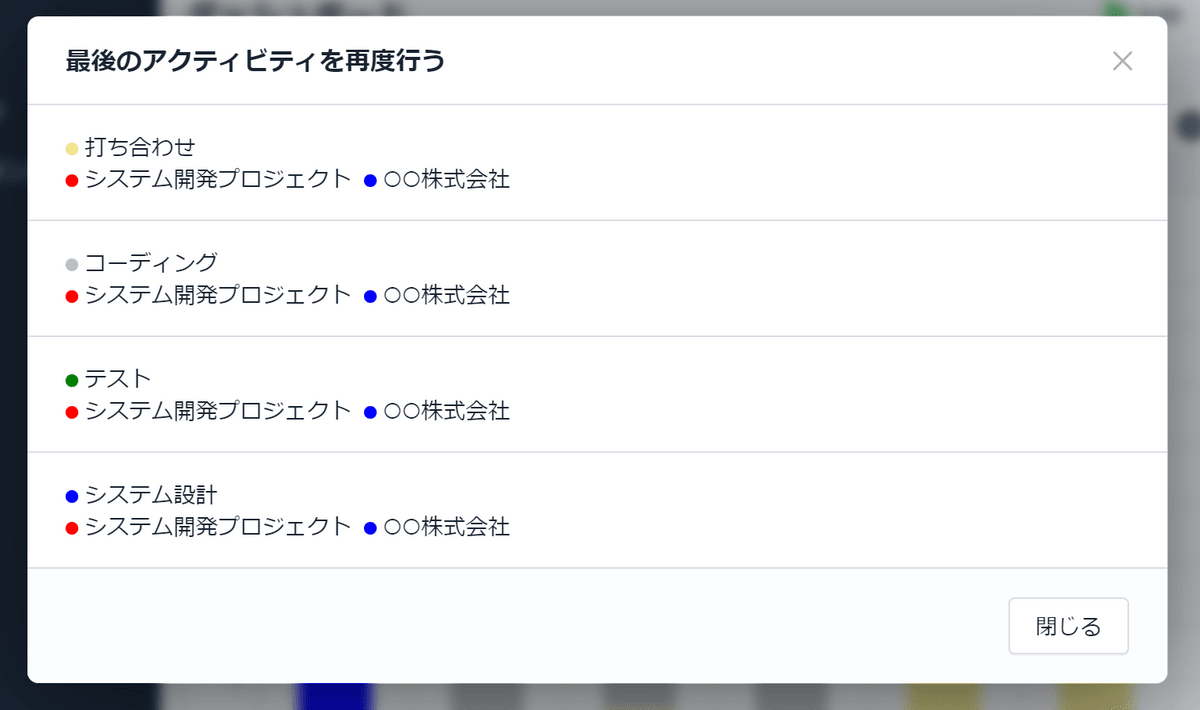
Once recorded, the activity can be easily entered from the rotating arrow mark button on the upper right. Click the rotating arrow mark.
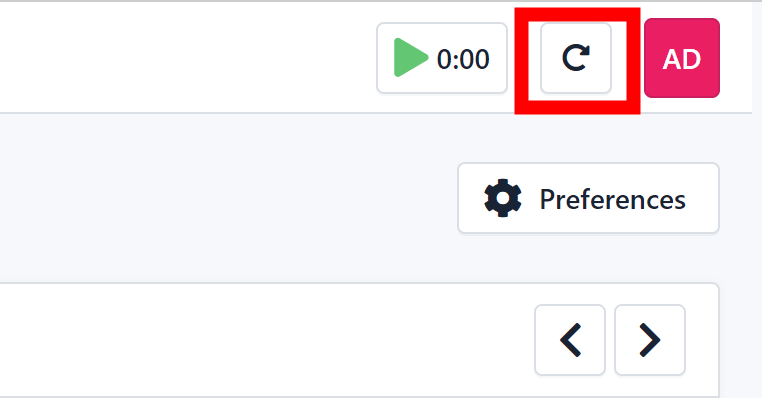
Since the recent activity is displayed, if you click it, real-time measurement will start in the same way as when you press the play mark button.
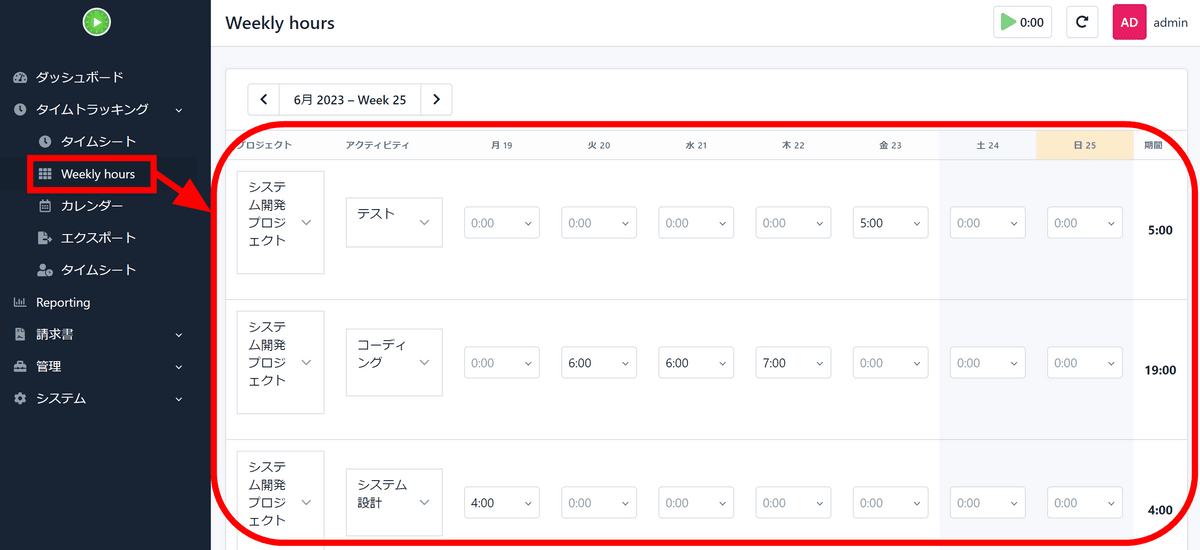
On the 'Weekly hours' page, you can check how much time you spent on which activity in a week.
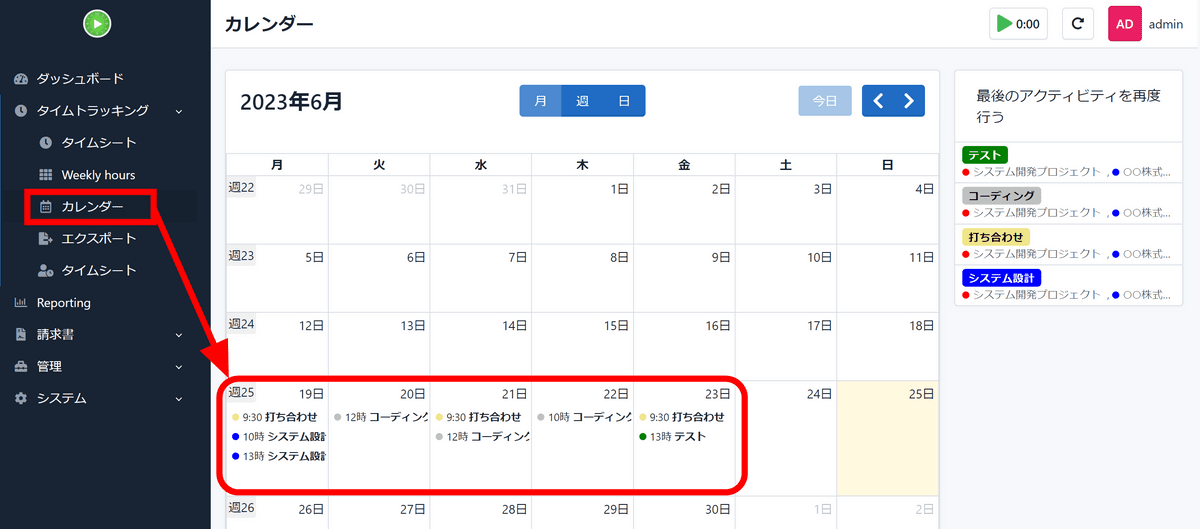
On the 'Calendar' page, recorded activities can be displayed in calendar format.
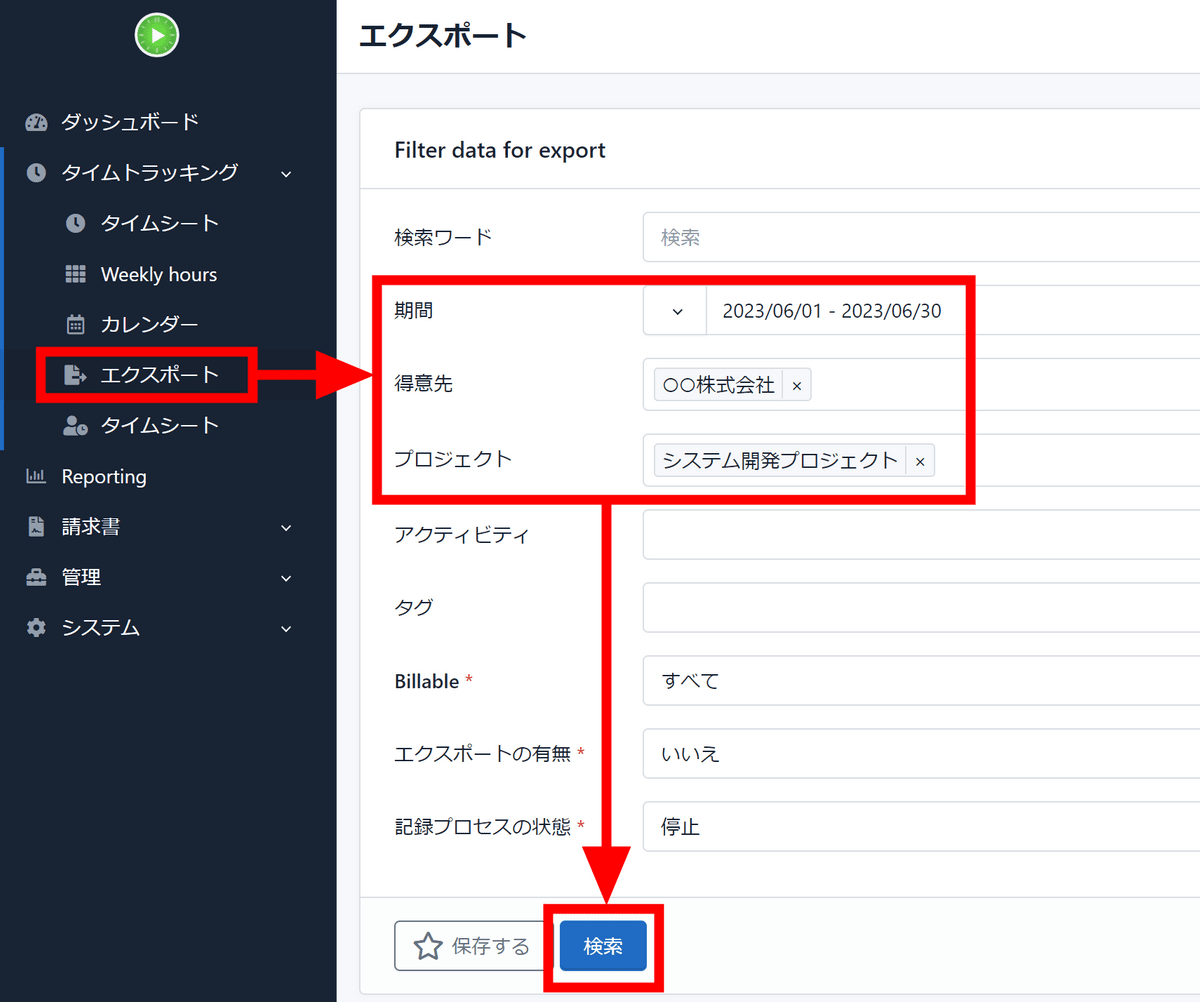
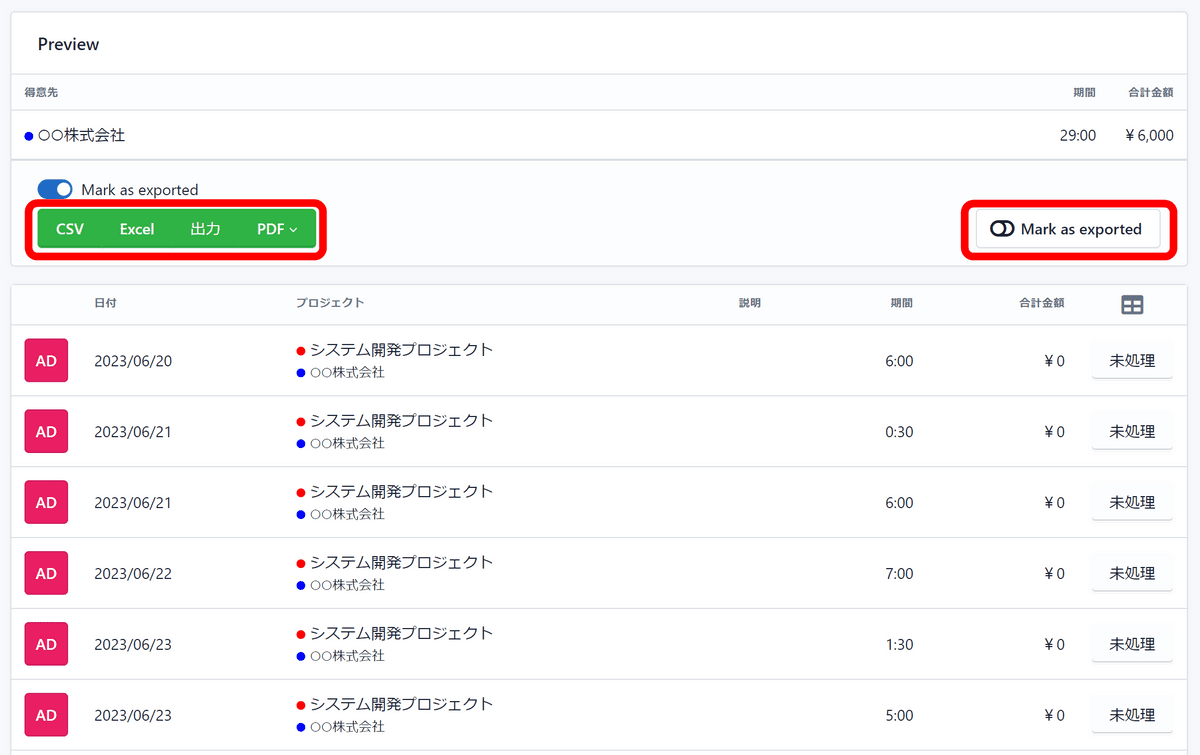
Data can be output on the 'Export' page. Select the period, customer, and project, and click 'Search'.
Search results can be saved as 'CSV', 'Excel', or 'PDF'. Also, there was a button on the right to put it in the 'exported' state without saving.
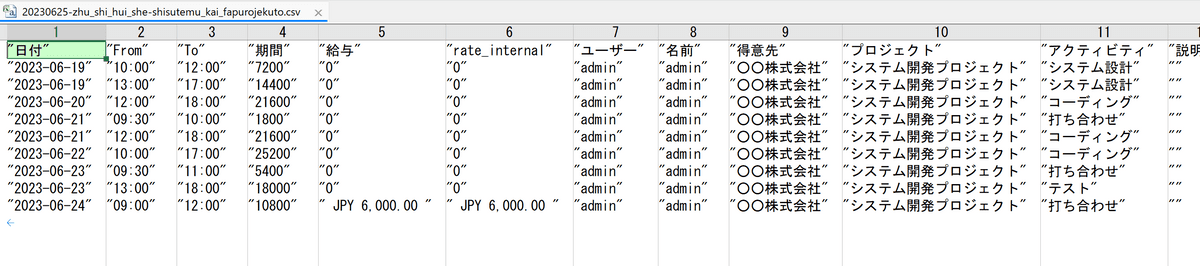
When I try to output in CSV format, it looks like this.
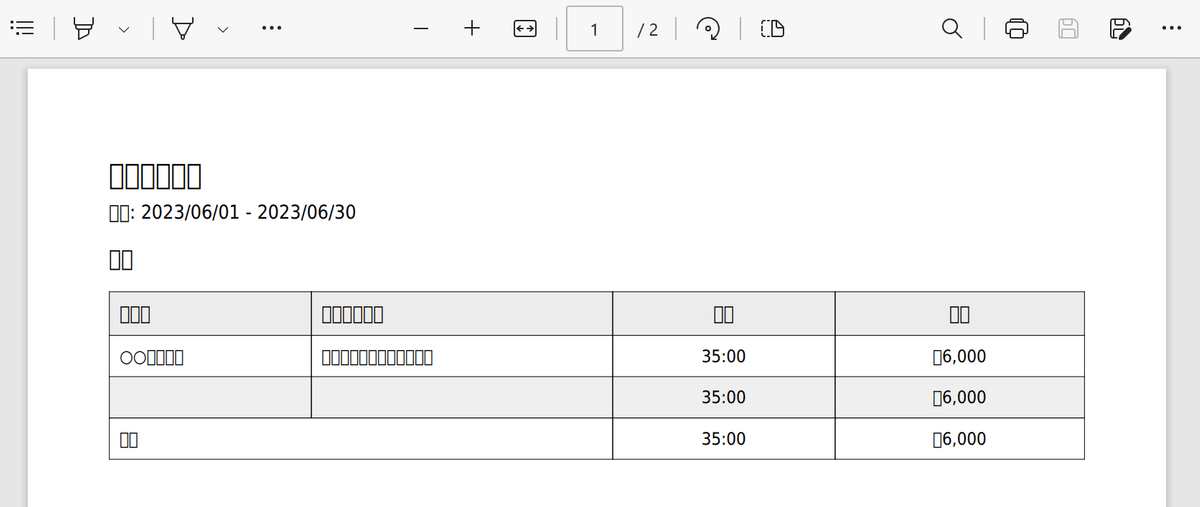
However, when I output it in PDF format, the Japanese part was garbled.
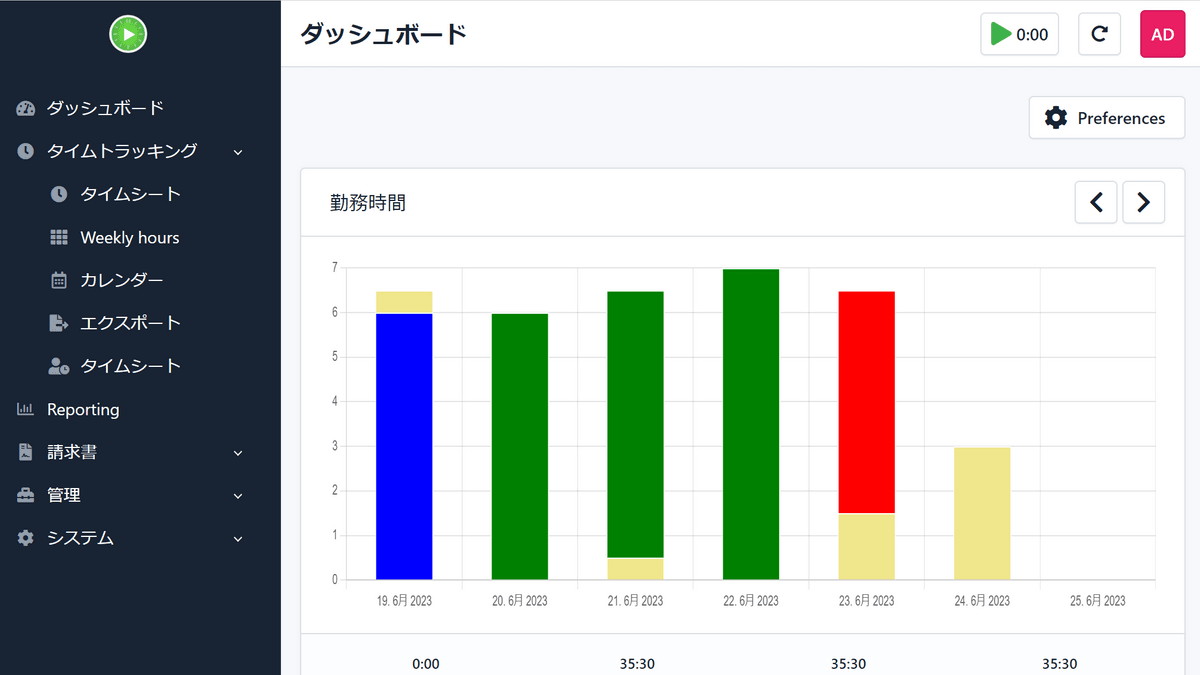
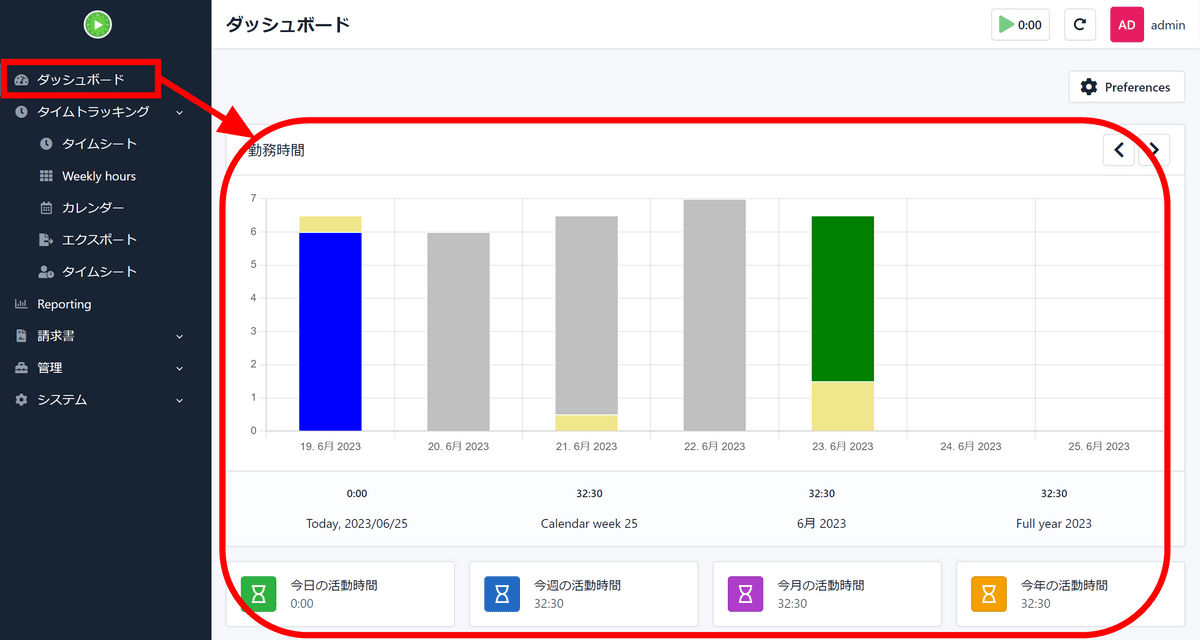
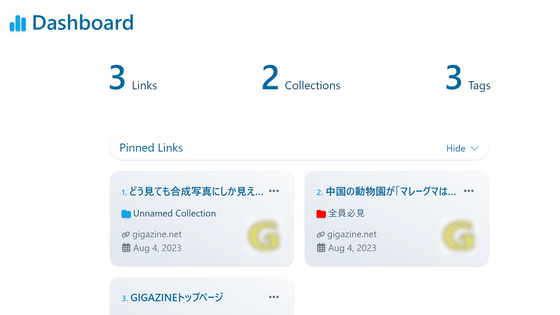
On the 'Dashboard' page, you can see at a glance what activities you spent time on in the past week.
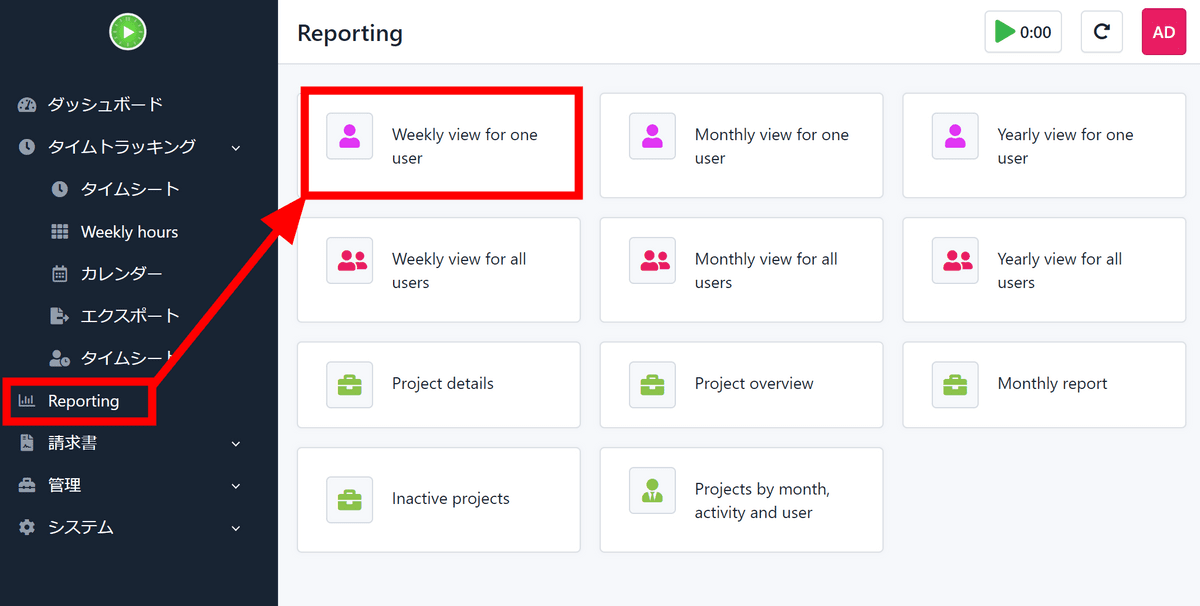
In addition, the 'Reporting' page has functions that make it easy to see various data. Try clicking 'Weekly view for one user'.
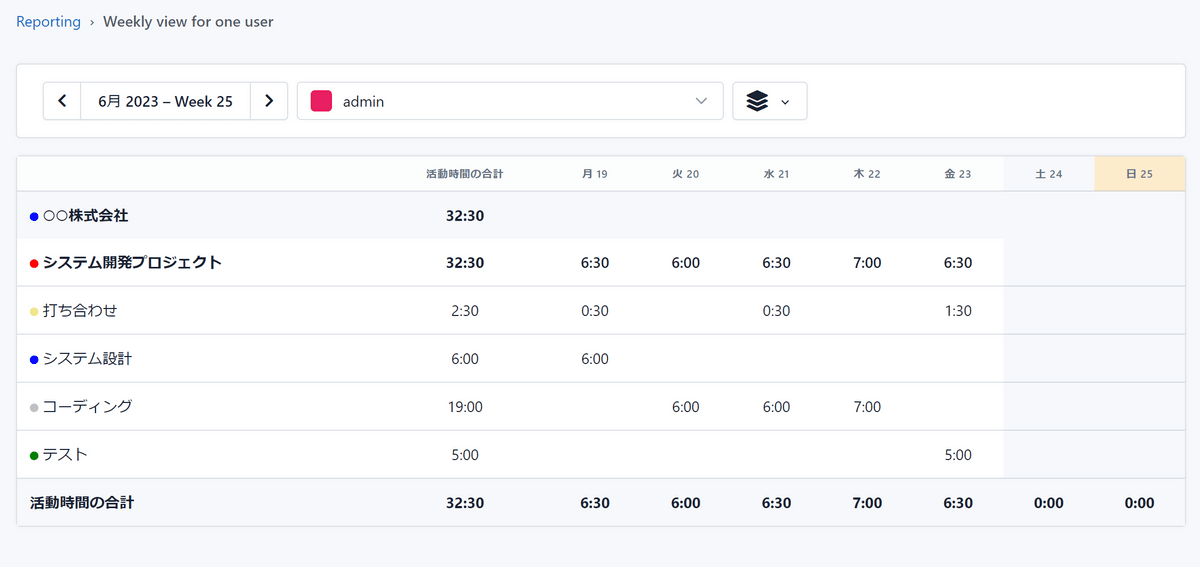
Then, as shown in the figure below, a table showing the activity status of one user at a glance was displayed.
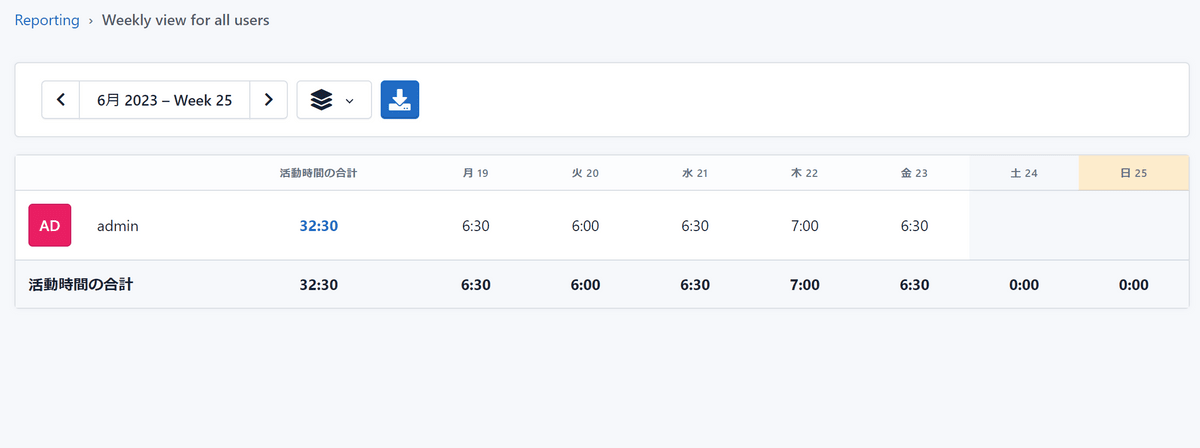
When you display 'Weekly view for all users', it is as shown in the figure below. By displaying only the total working hours for each day, you can quickly check the status of multiple people.
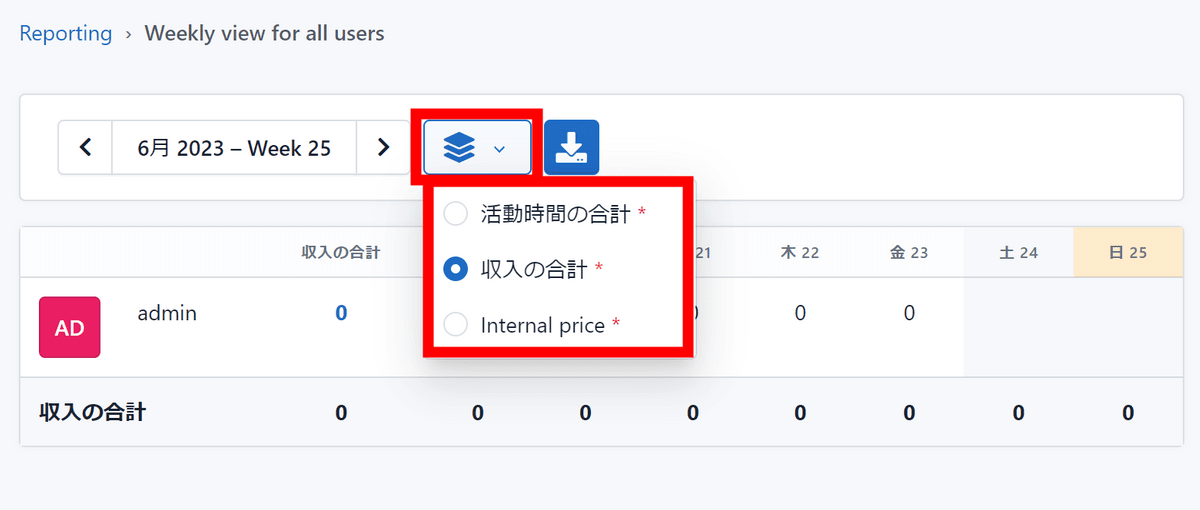
In addition to activity time, it is also possible to display by income unit. I tried selecting it, but since I haven't set any income yet, it's all showing 0.
Income can be set by either 'Customer', 'Project' or 'Activity'. This time, we will set it with 'customer', so click the customer created earlier from the customer page.

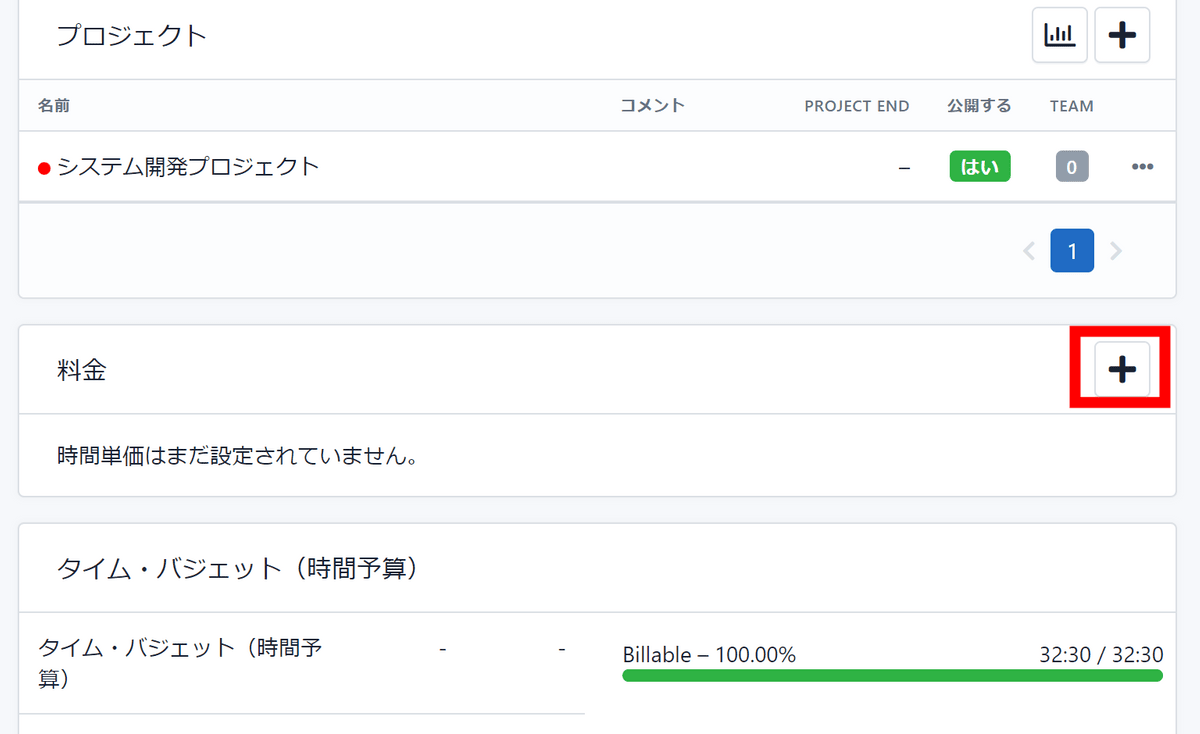
Click the plus sign next to 'Pricing' in Settings.
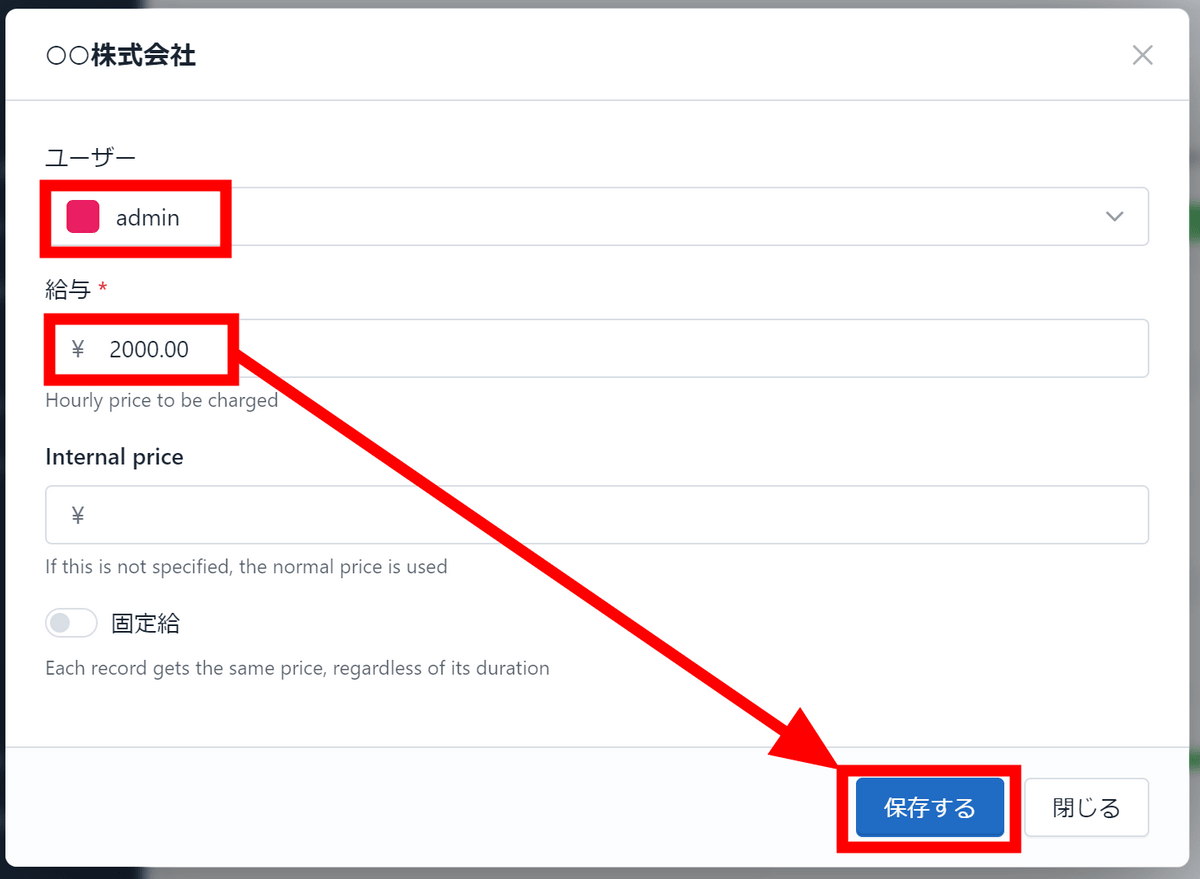
Enter the user to be set and the amount of hourly wage and click 'Save'. If you set it in 'Customer', the same settings will be applied to all projects and activities associated with that customer, but if you want to change the settings for a specific project or activity, you can set it on the project or activity page. OK. Salaries are applied in the order of activity [project] customer priority.
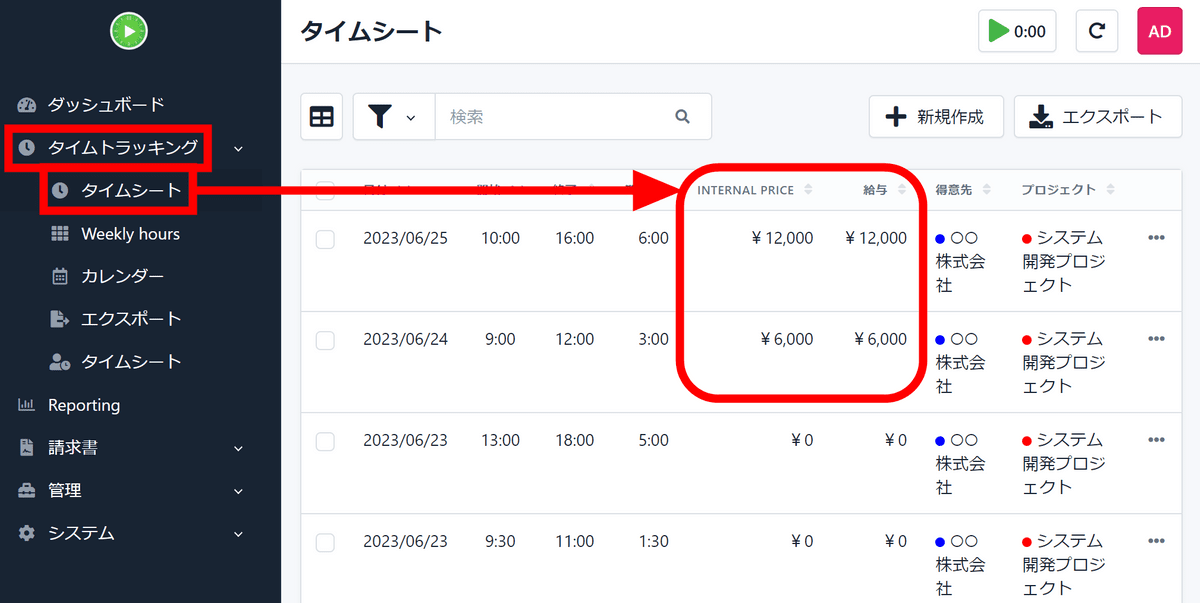
Once set up, this salary will only apply to new records created.
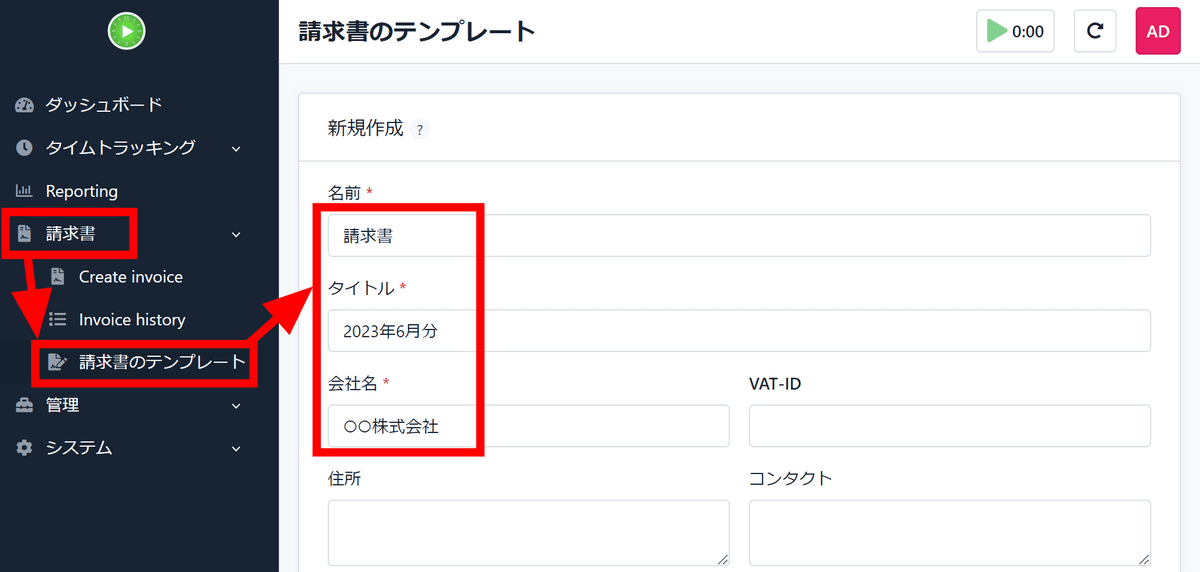
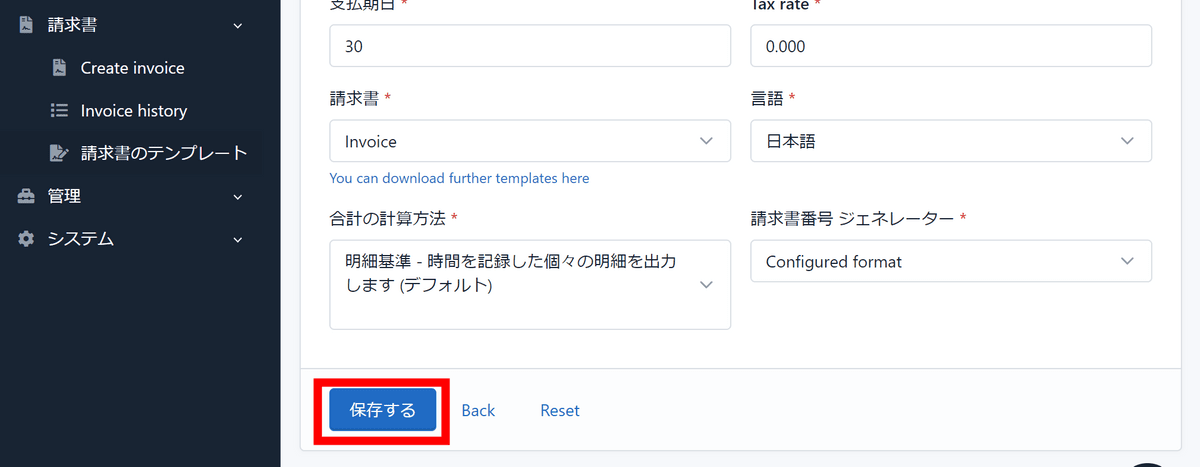
Try out the ability to create invoices. First, click 'Invoice template' on the 'Invoice' tab and enter your name, title and company name.
Scroll down and click Save.
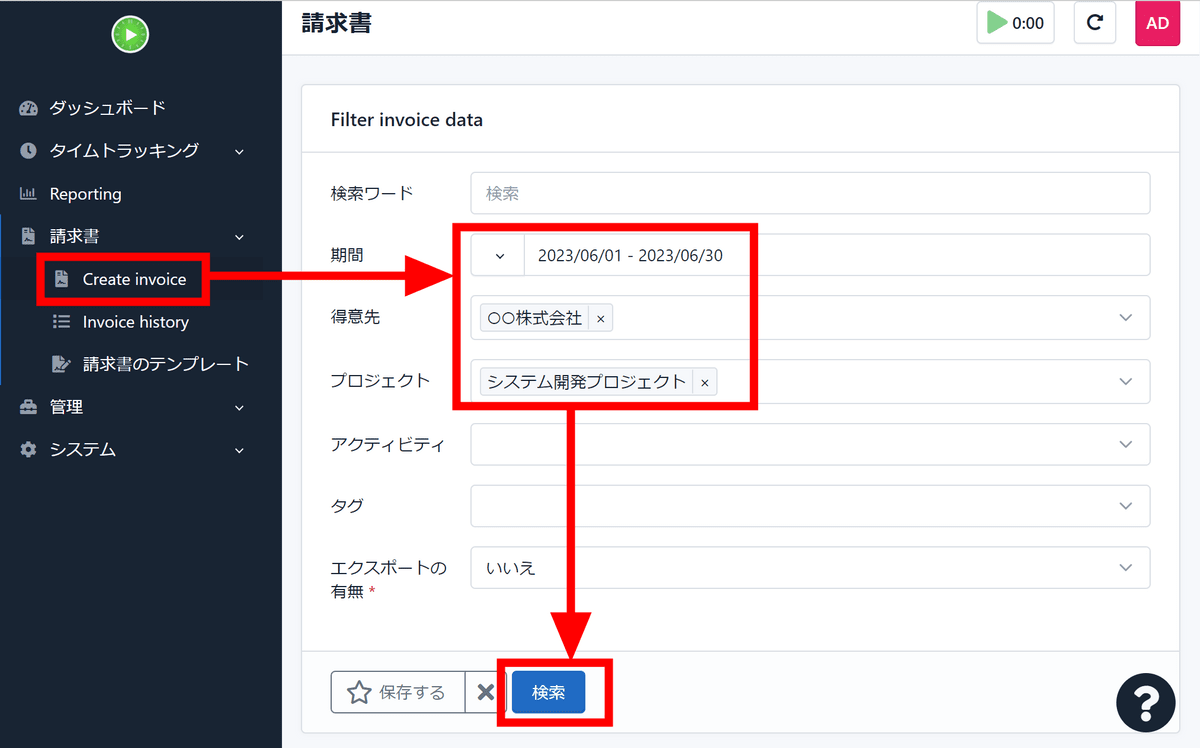
On the 'Create invoice' page, select the period, customer and project to include in the invoice and click 'Search'.
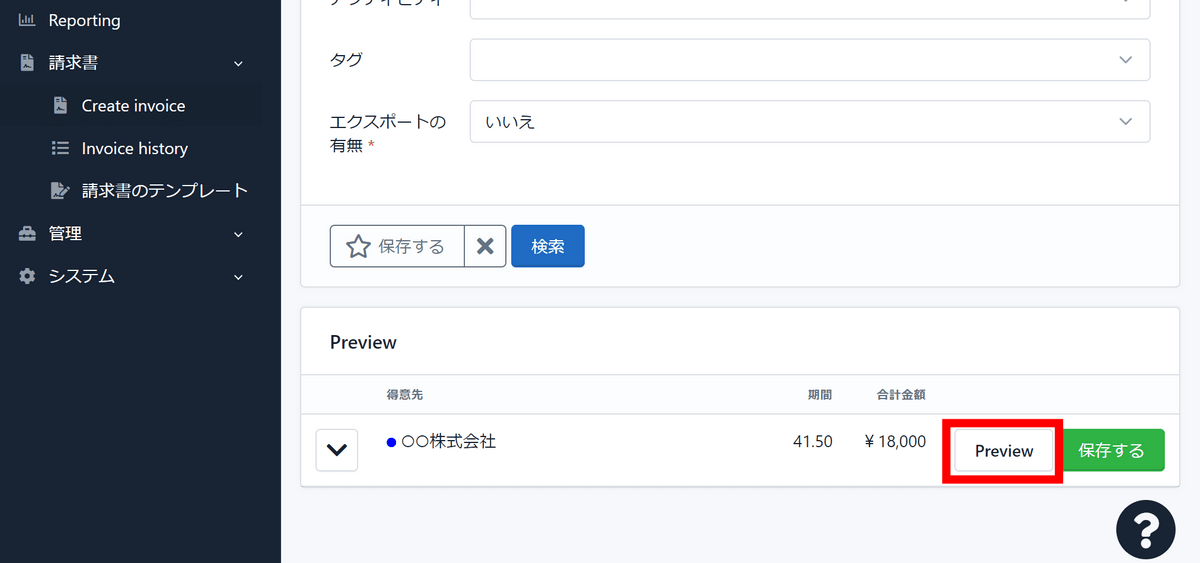
Click 'Preview' to check it.
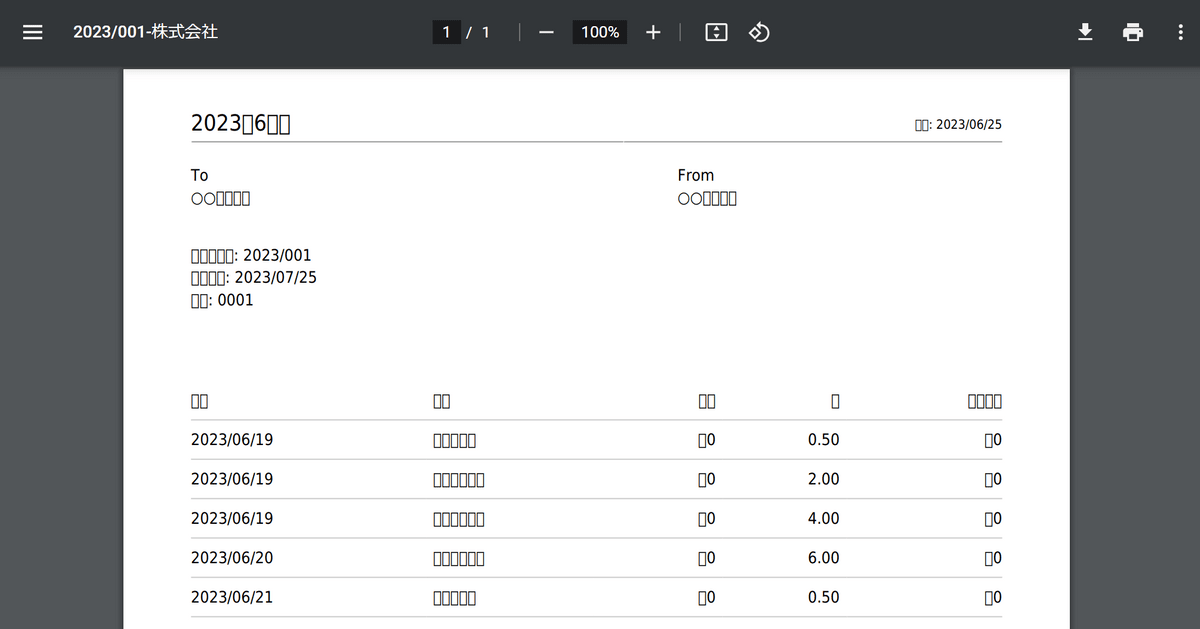
Then, when entering Japanese into PDF, it seemed that the characters would be garbled.
Related Posts:

in Software, Review, Web Application, Posted by log1d_ts