Multi-functional Wiki infrastructure 'Wiki.js' review that does not seem to be free, can be linked with host & external services on your own
When introducing Wiki as an in-house know-how accumulation or software manual, paid services such as
Wiki.js
https://wiki.js.org/
Since the Docker image of Wiki.js is open to the public, this time I will try to build Wiki.js with Docker on Linux. First, execute the following command to install Docker and Docker Compose.
[code] curl -fsSL get.docker.com -o get-docker.sh
sudo sh get-docker.sh
sudo curl -L 'https://github.com/docker/compose/releases/download/1.27.4/docker-compose-$(uname -s)-$(uname -m)' -o / usr / local / bin / docker-compose
sudo chmod + x / usr / local / bin / docker-compose [/ code]
Create 'docker-compose.yaml' according to the description example ...
[code] version: '3'
services: services:
db:
image: postgres: 11-alpine
environment: environment:
POSTGRES_DB: wiki
POSTGRES_PASSWORD: wikijsrocks
POSTGRES_USER: wikijs
logging:
driver: 'none'
restart: unless-stopped
volumes:
--db-data: / var / lib / postgresql / data
wiki:
image: requarks / wiki: 2
depends_on:
--db
environment: environment:
DB_TYPE: postgres
DB_HOST: db
DB_PORT: 5432
DB_USER: wikijs
DB_PASS: wikijsrocks
DB_NAME: wiki
restart: unless-stopped
ports: ports:
-'80: 3000'
volumes:
db-data: [/ code]
Start the container.
[code] docker-compose up -d [/ code]
If you access the IP address of the host that started the container, the Wiki.js screen will be displayed.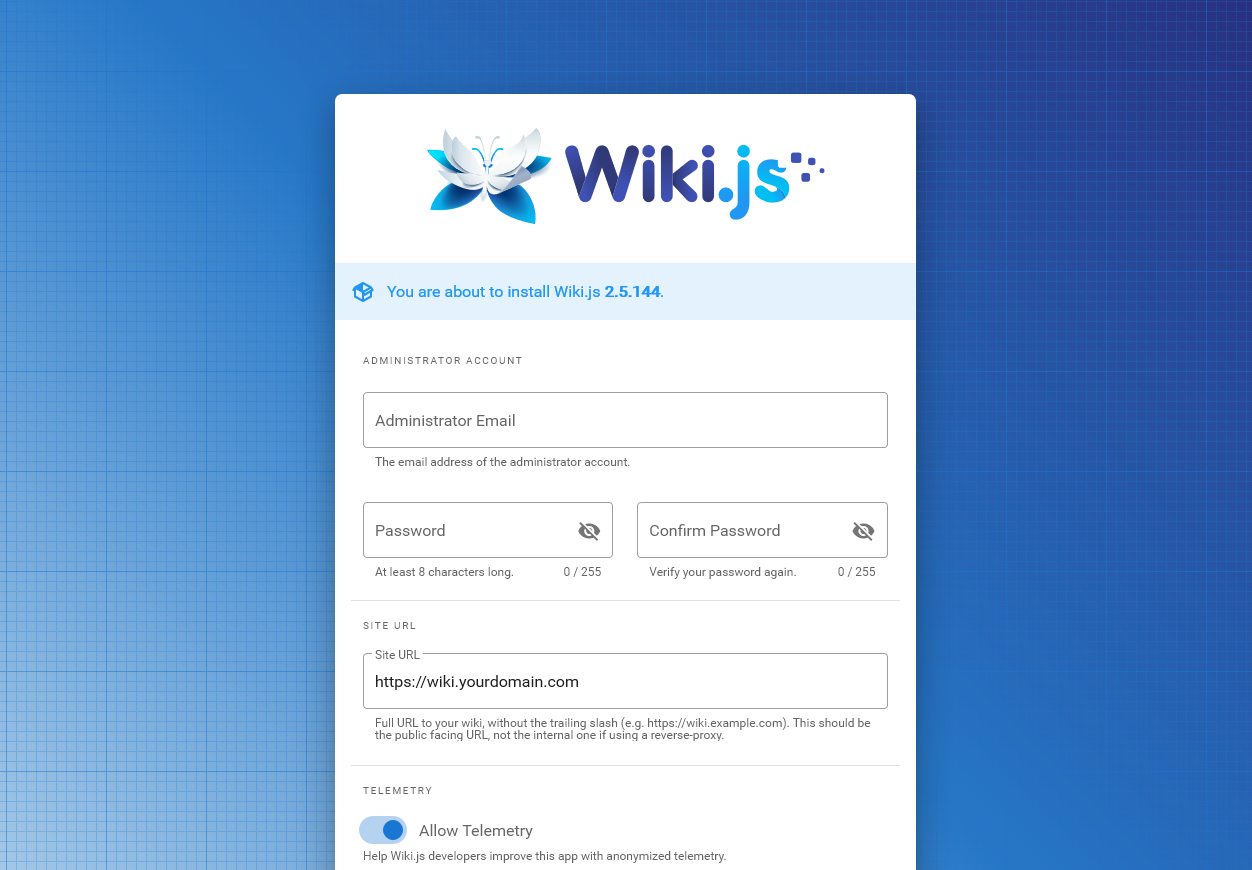
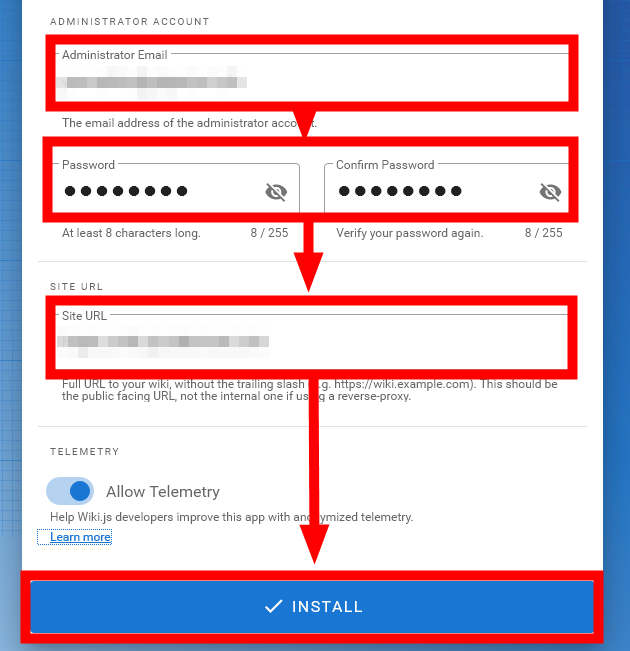
Enter the email address and password of the administrator account and the domain name used in Wiki.js and click 'INSTALL'.
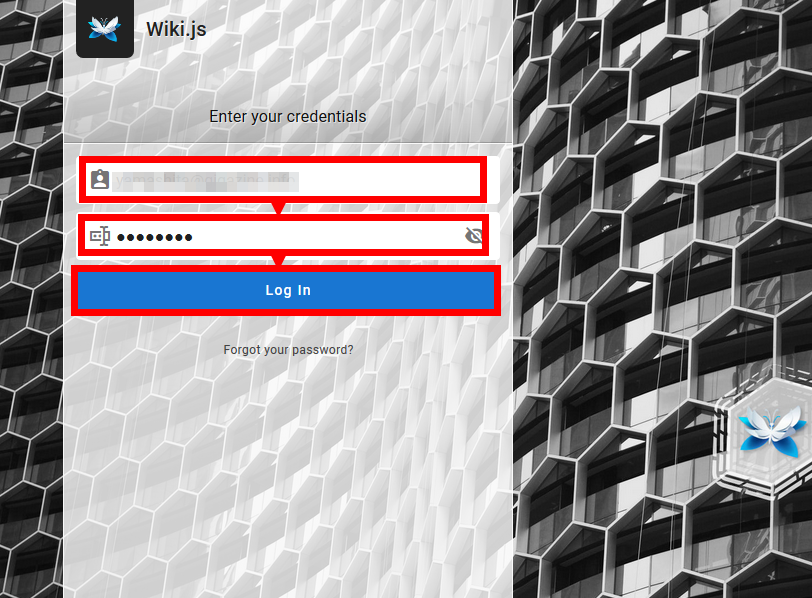
Enter the administrator account information you set earlier and click 'Log In'.
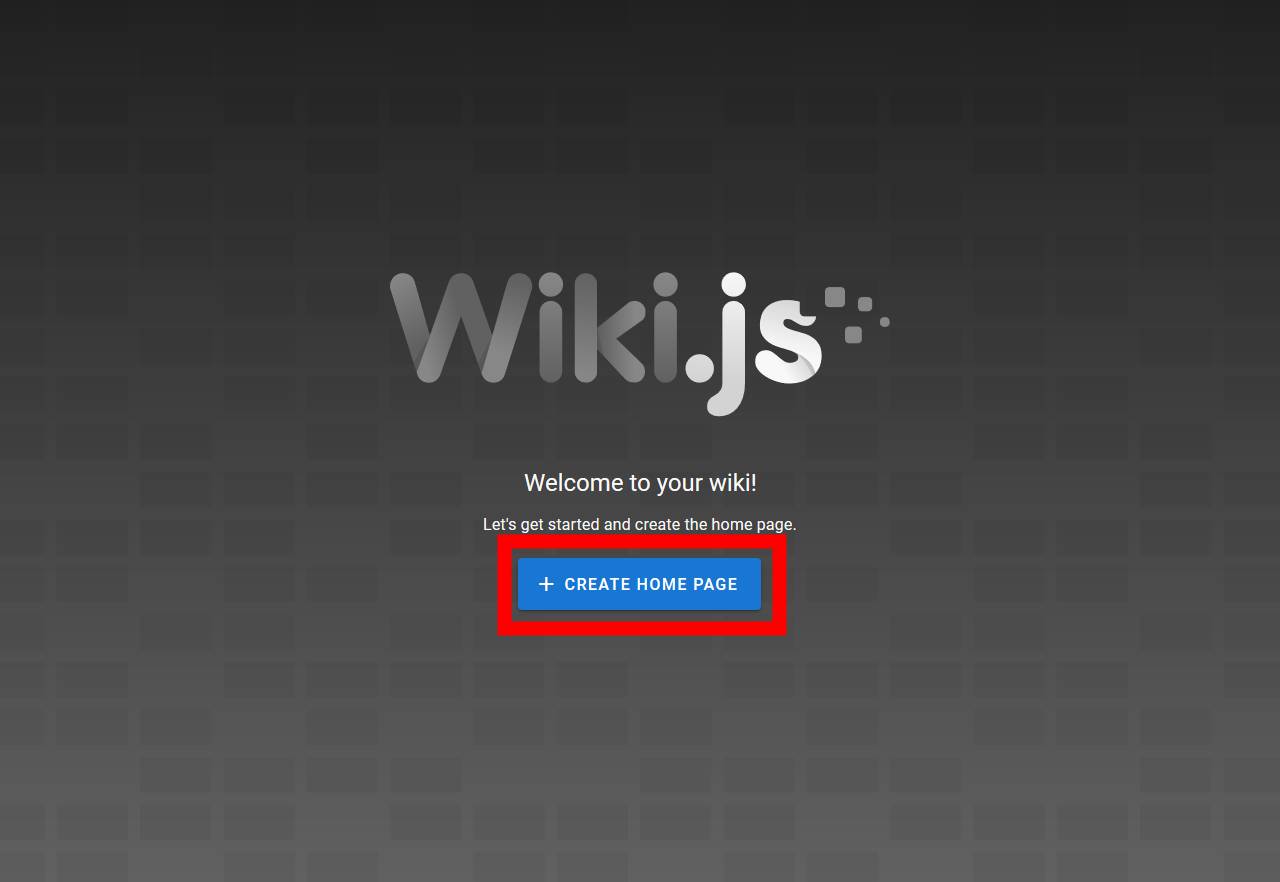
Click 'CREATE HOME PAGE' to create a Wiki page.
At the time of article creation, you can select 'Code' that can be edited with HTML, 'Markdown' that can be edited with Markdown, and 'Visual Editor' that can be edited as the Wiki looks. This time, we will use the easy 'Visual Editor'.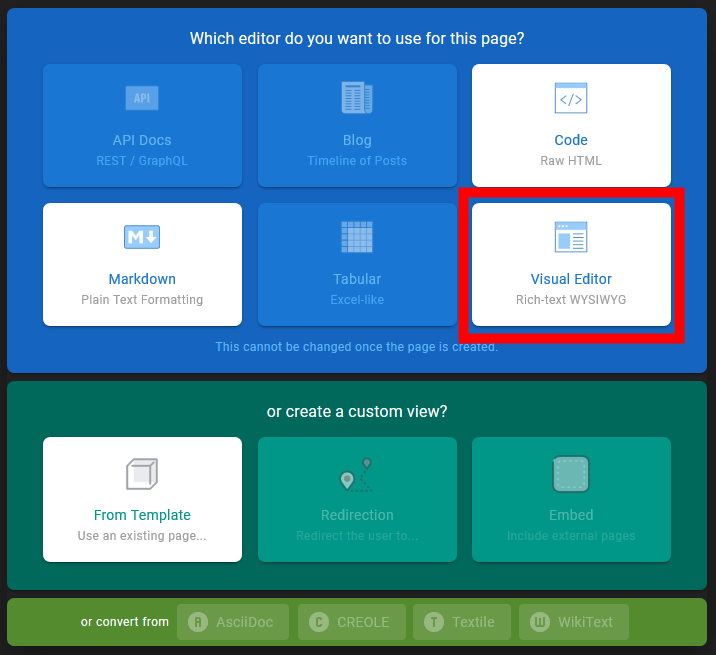
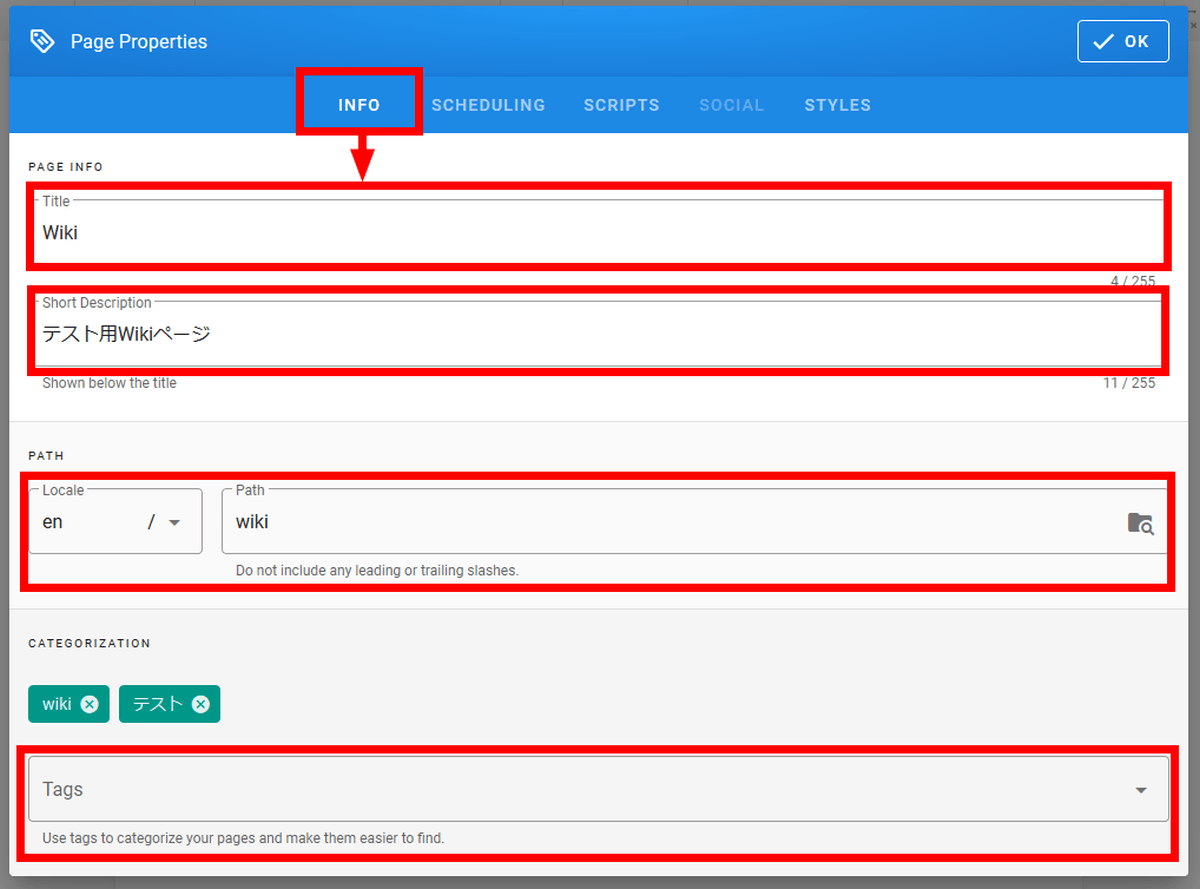
First, set the Wiki such as the title, description, and path of the Wiki on the 'INFO' tab. It is also possible to classify Wikis by specifying tags.
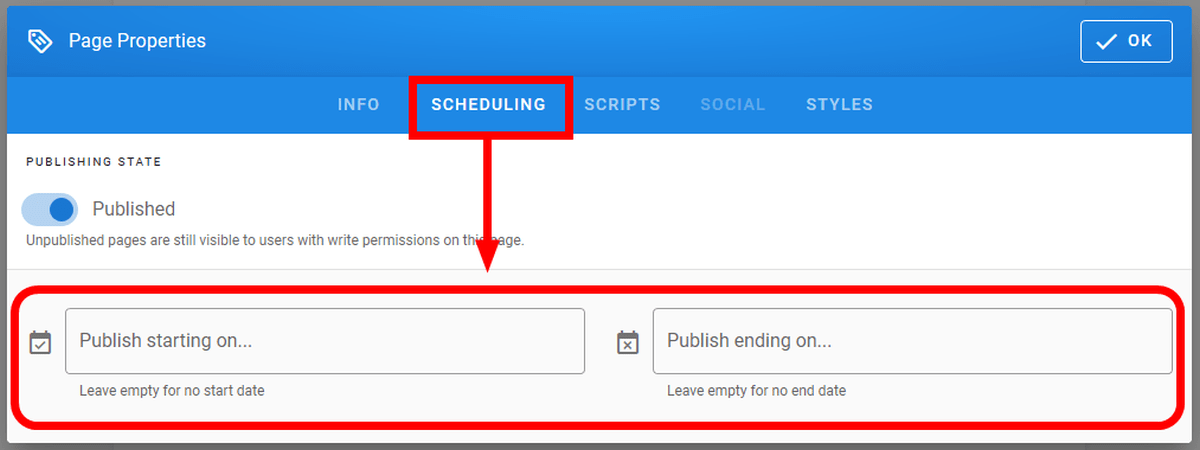
On the 'SCHEDULING' tab, you can specify the date and time when the Wiki will be published.
If you want to embed the code in the Wiki, write the code in the 'SCRIPTS' tab.
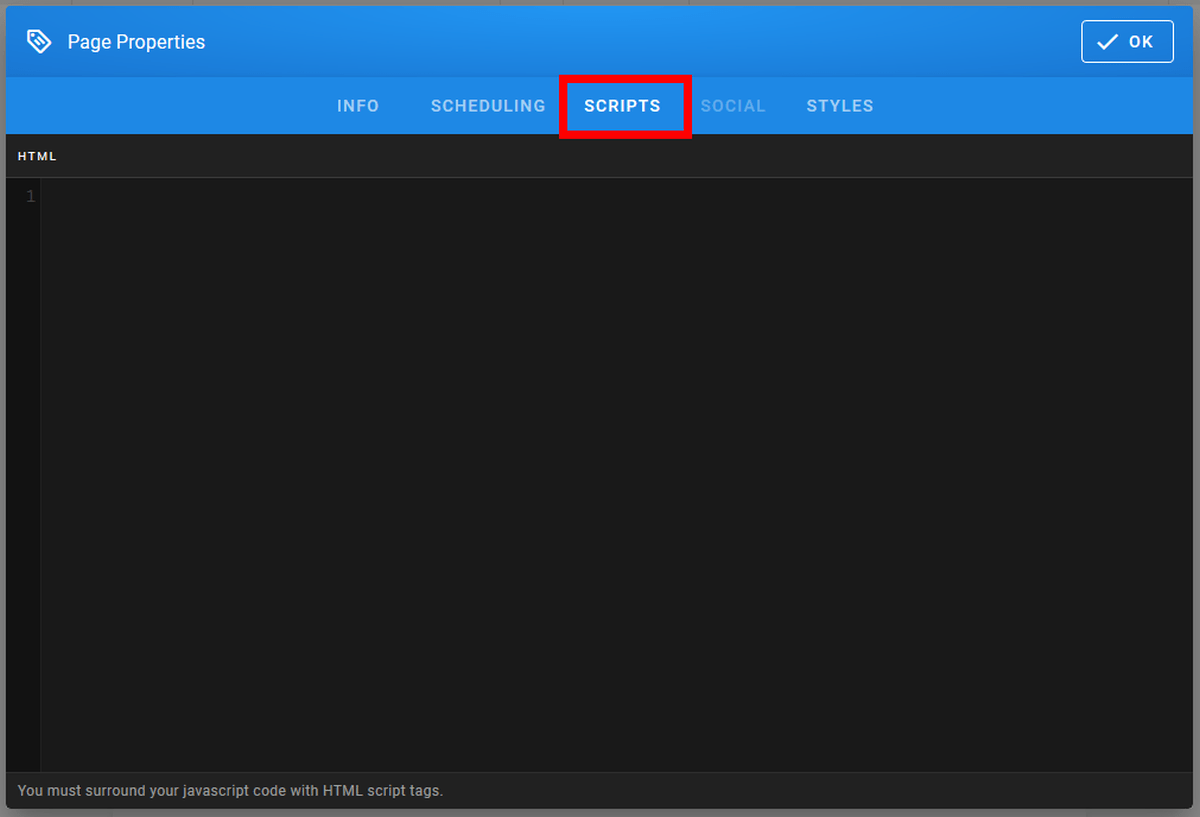
The 'STYLES' tab allows you to define your Wiki design in CSS.

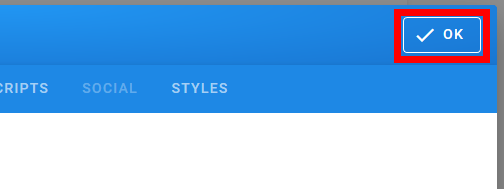
Click 'OK' after completing the settings.
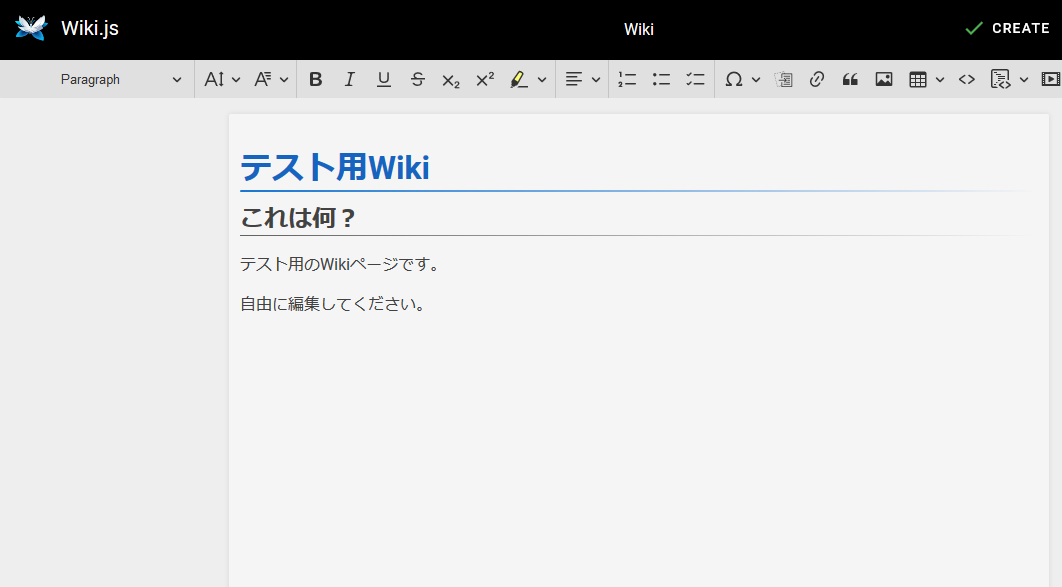
The Wiki edit screen is displayed.
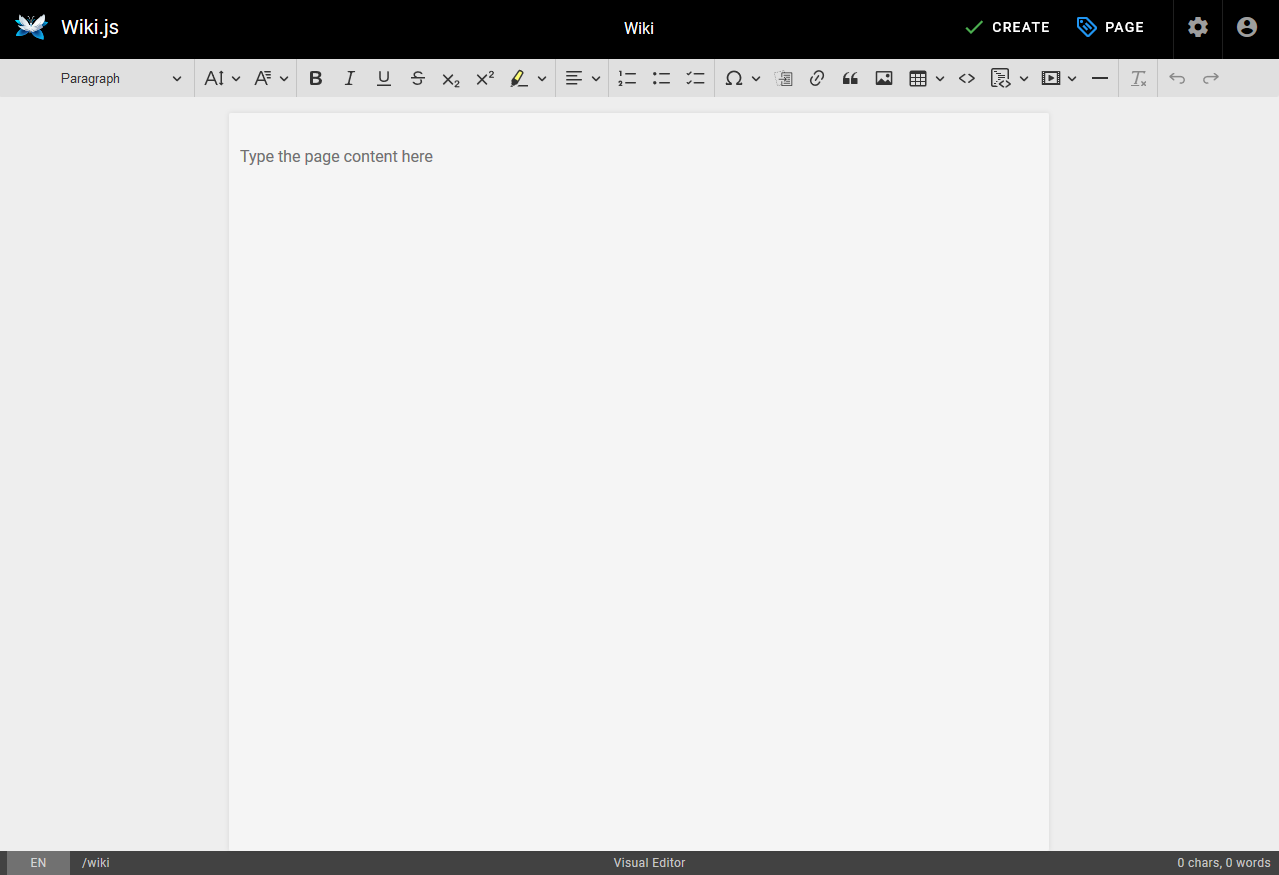
Specify 'Heading 1' to write the title for the time being.

Describe the title. You can edit as the Wiki looks like.
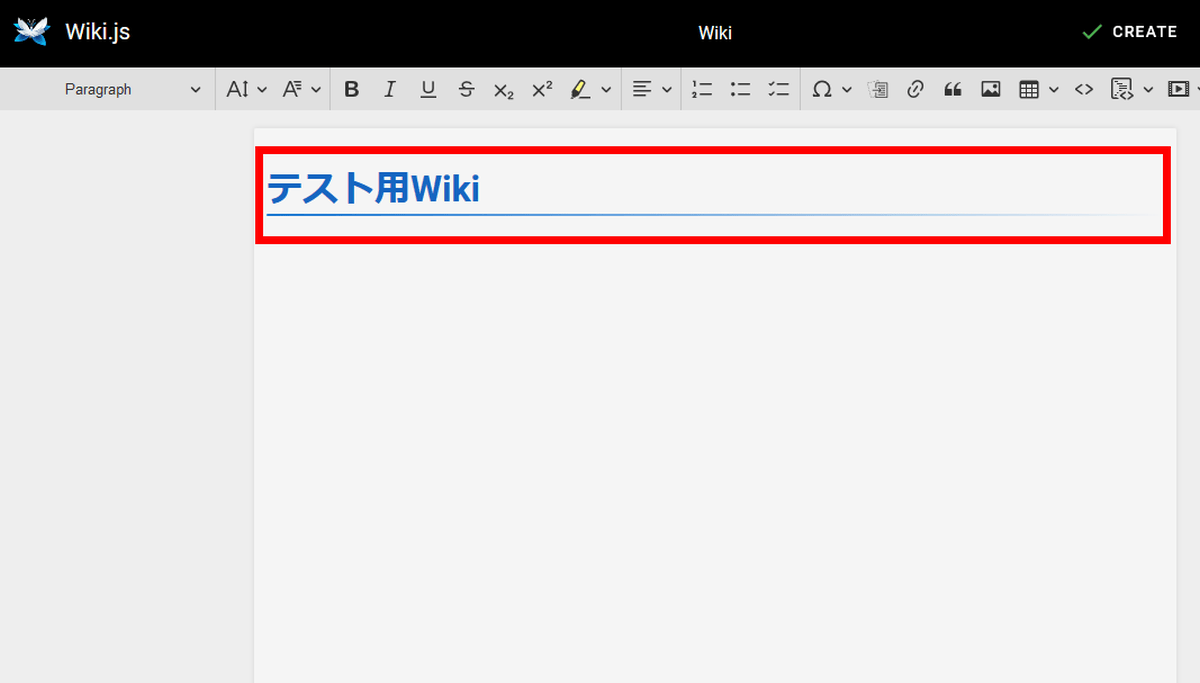
Edit the Wiki while specifying text attributes such as headings and paragraphs like this.
Font size and ...
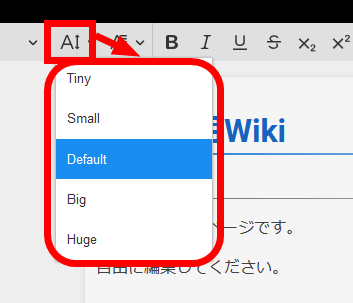
Font type

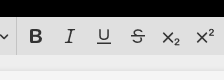
You can do all the standard text processing, such as bold, italic, bottom line, and strikethrough.
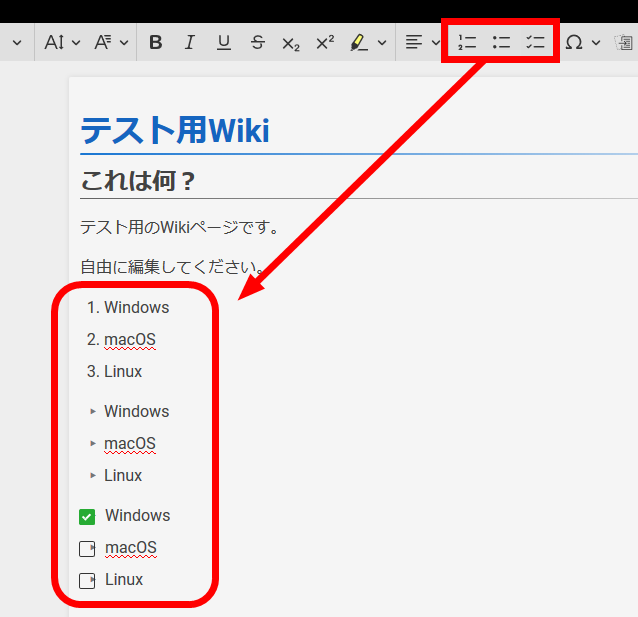
You can also use lists, bullet points, and checkboxes.
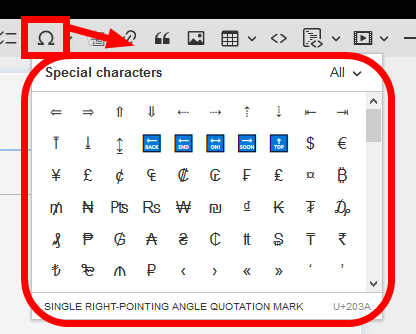
You can enter special characters by clicking the 'Ω' button.
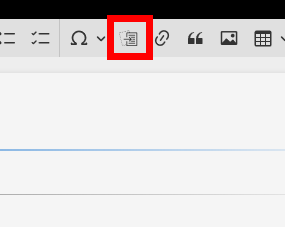
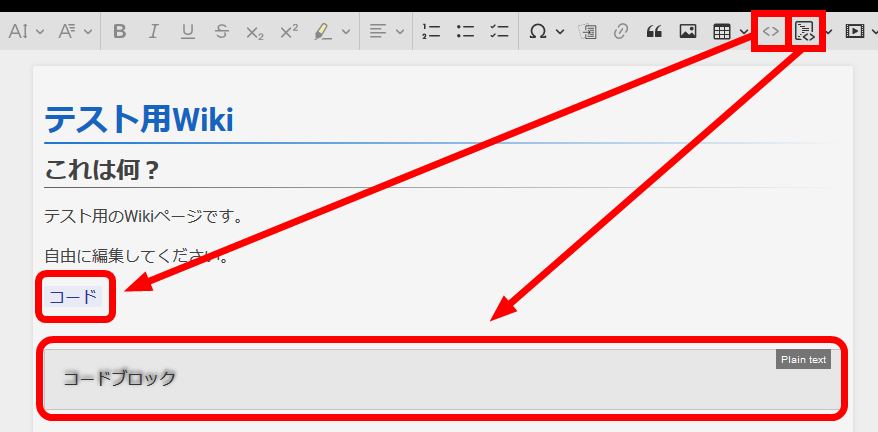
You can link the Wiki in Wiki.js by clicking the button in the red frame.
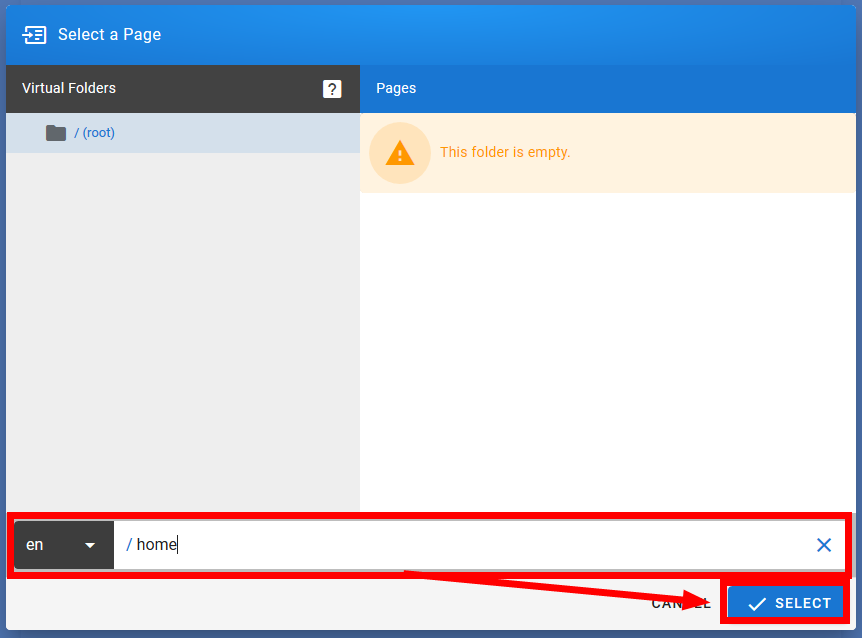
Select the location of the Wiki to link to and click 'SELECT'.
I was able to link to another wiki.

Other website URL links, citations, tables and ...
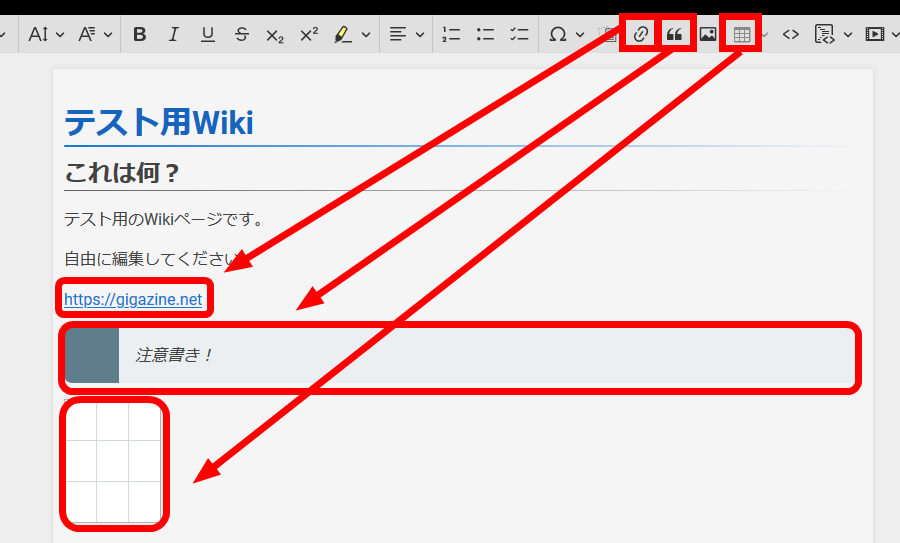
You can use code lines and code blocks.
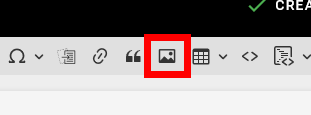
Click the button in the red frame to attach files such as images.
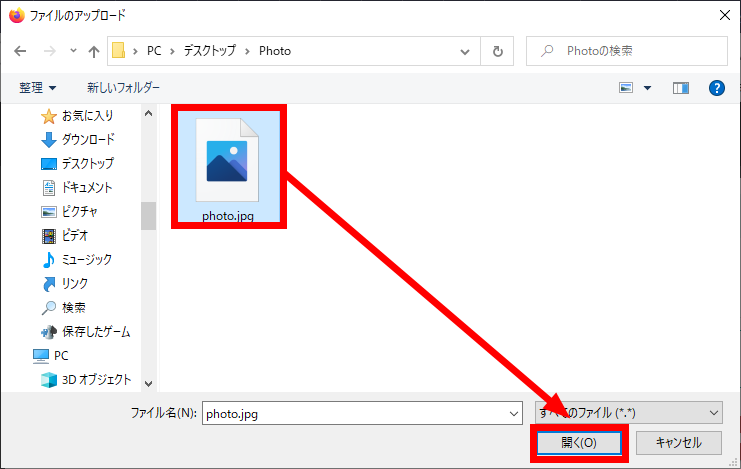
Click 'BROWSE' ...

Select the file you want to upload and click 'Open'.
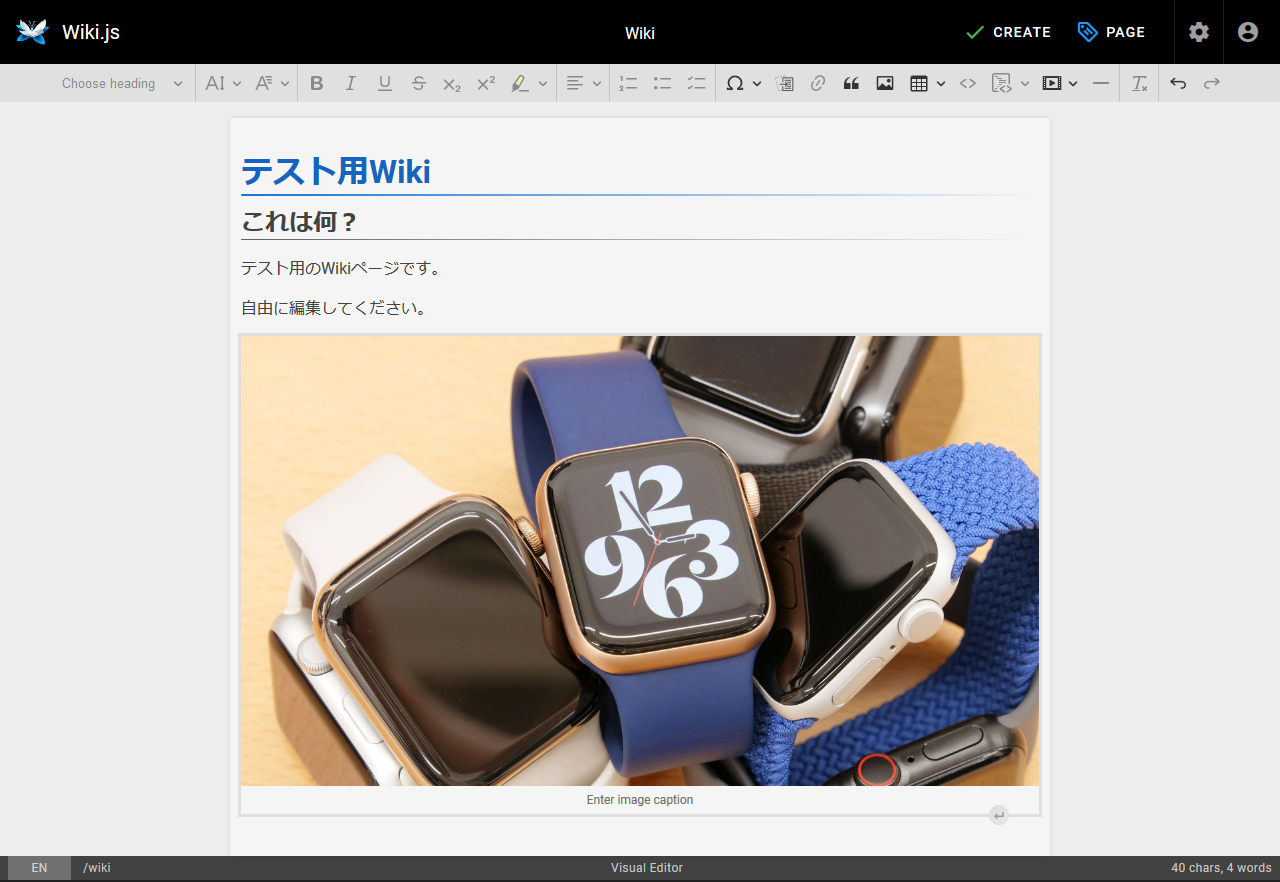
Click 'UPLOAD'.

Select the uploaded file and click 'INSERT'.

You can now attach files such as images to the Wiki.
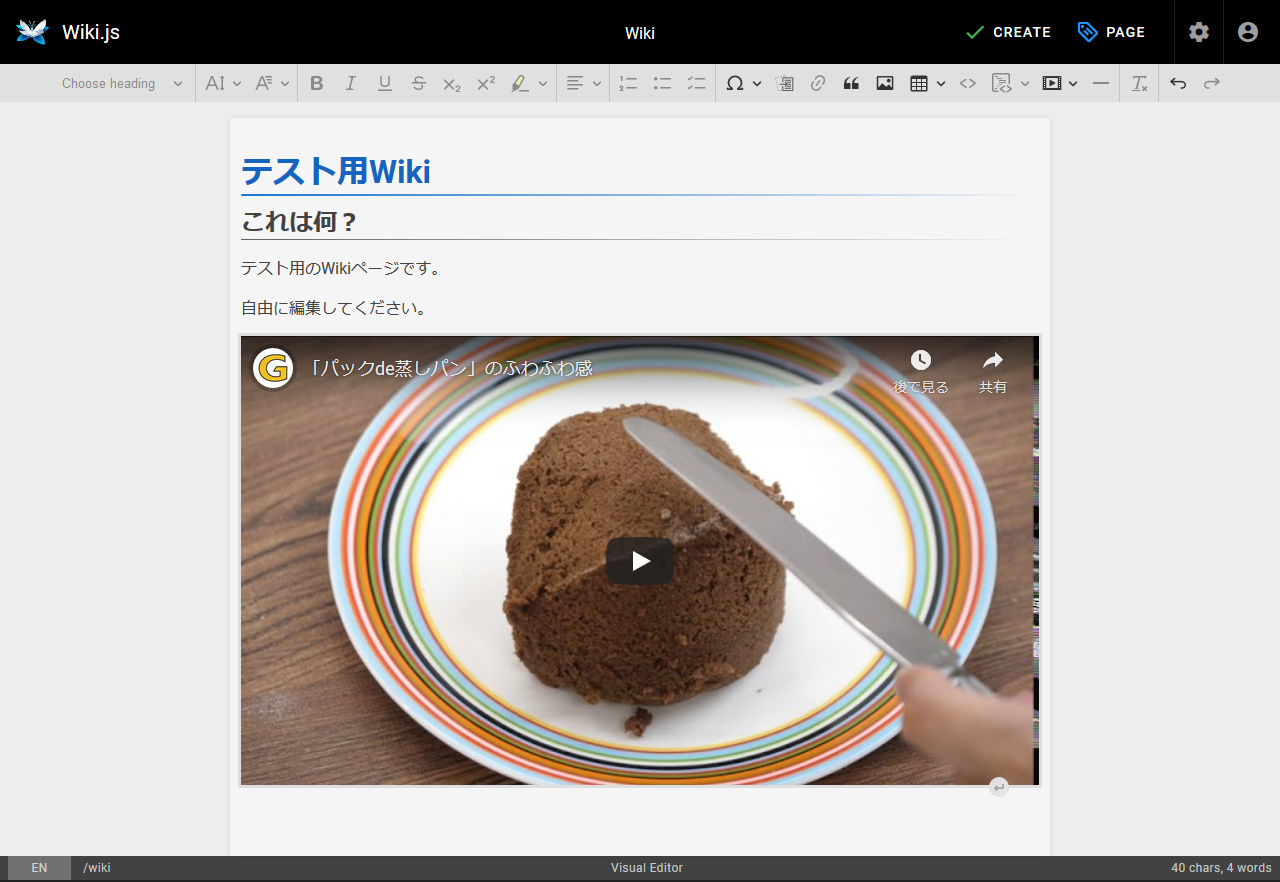
It is also possible to embed external media with a URL. For example, if you specify the URL of the movie on YouTube ...
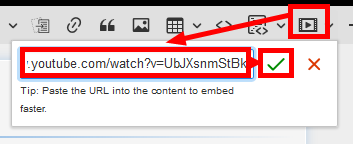
You can embed YouTube movies.
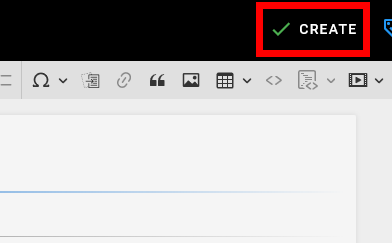
Click 'CREATE' when you have finished editing the Wiki.
The Wiki has been published.
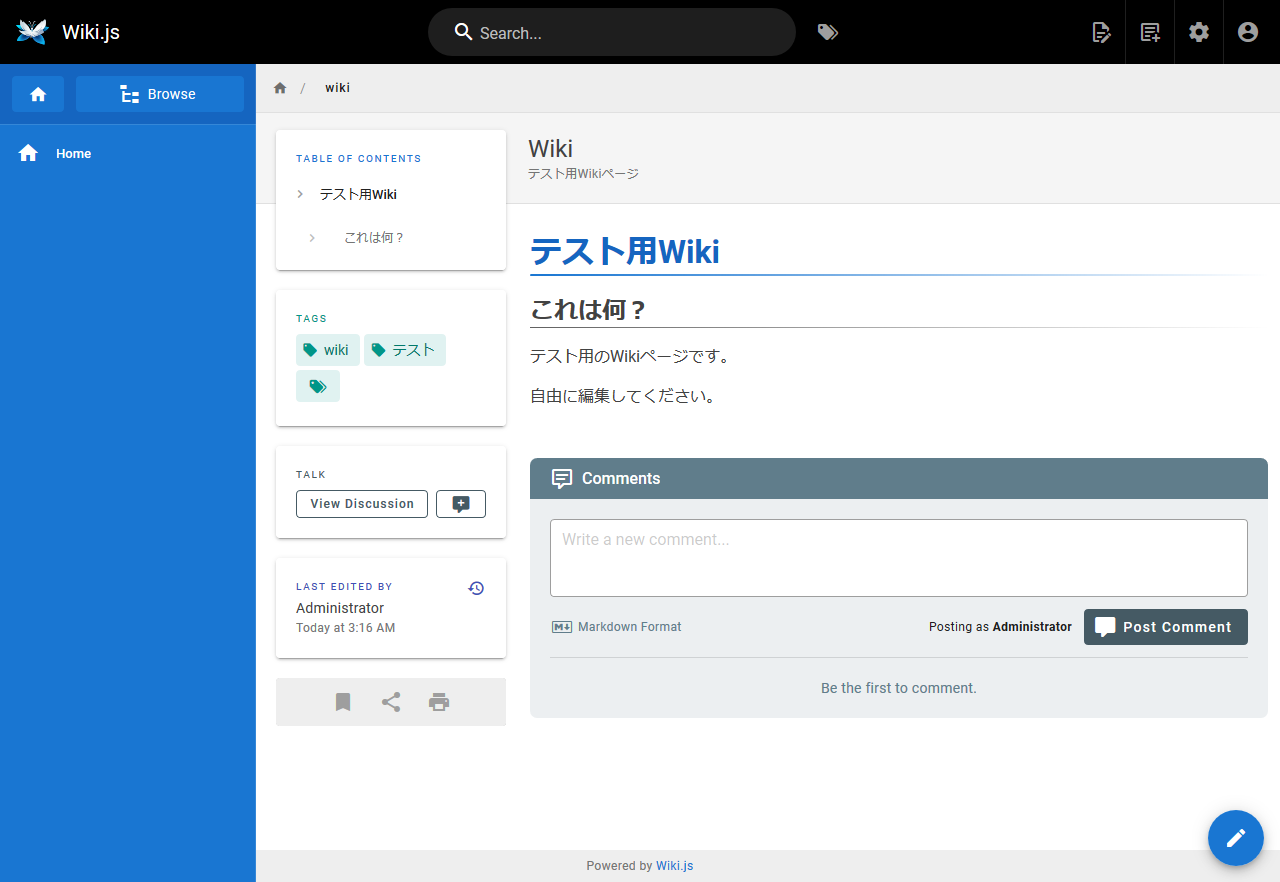
There is also the ability to leave comments on the published Wiki.
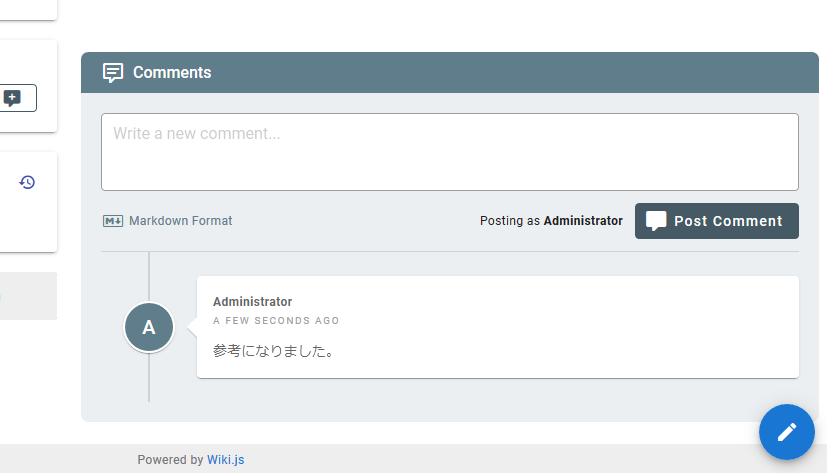
Also, if you click the clock mark in the red frame ...
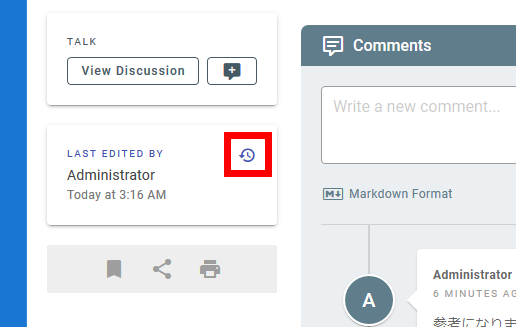
It is possible to check the editing history that is indispensable for Wiki.

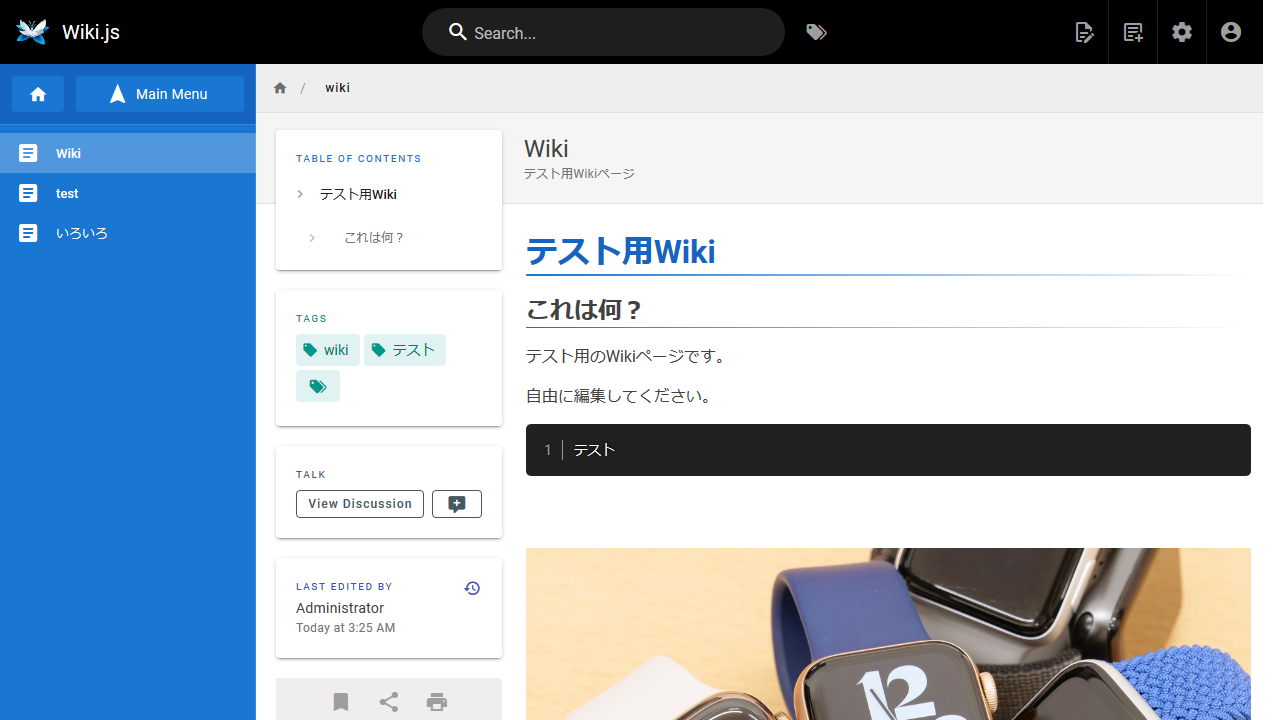
If you increase the number of wikis, the wikis will be listed on the left side.

Since Wiki.js is a very versatile software, it has a wide variety of settings. Click the gear button on the top right to make the settings.

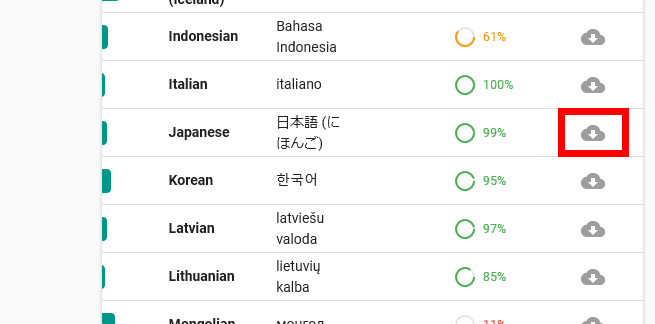
One of the important settings is 'Locale'. Wiki.js has been translated into quite a few languages, including incomplete translations.

The translation into Japanese is 99% complete. Click the download button to download the language package.
You can use Wiki.js in Japanese by selecting 'Japanese' in 'Locale Settings' and clicking 'APPLY'. It may be easier to understand the setting screen with many explanations if you use it in Japanese.
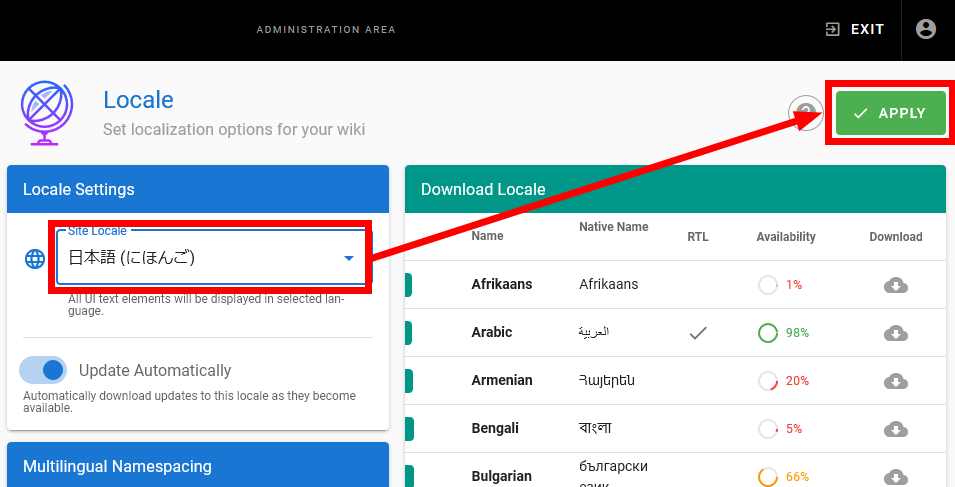
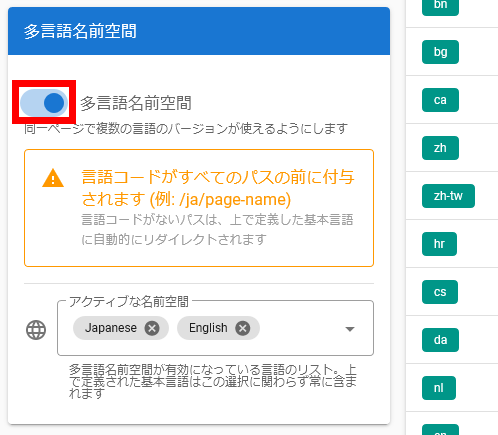
However, Wiki.js manages Wikis for each language, so if you change the language, you will not be able to refer to Wikis edited in another language. Turn on 'Multilingual Namespaces' so that you can browse and edit Wikis in multiple languages.
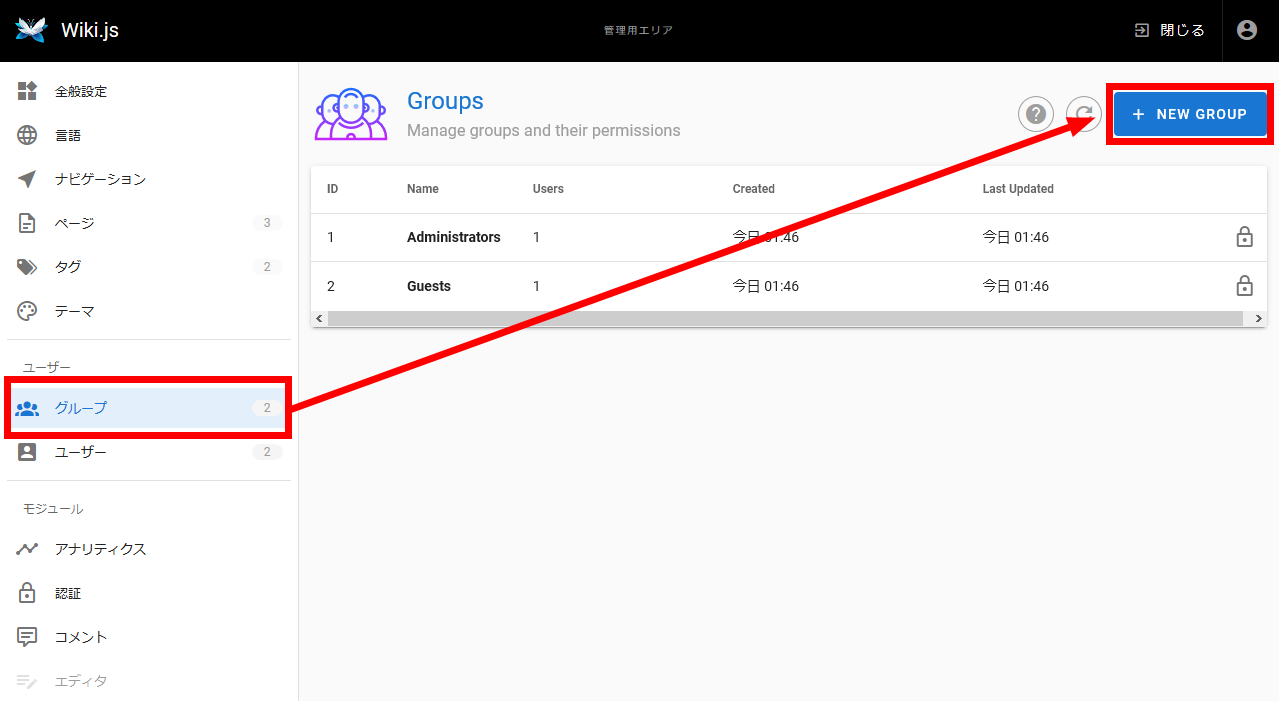
'Reading permission' is an indispensable element of Wiki, but in Wiki.js, it is convenient to set viewing permission by group. Create a new group with 'NEW GROUP' from 'Group'.
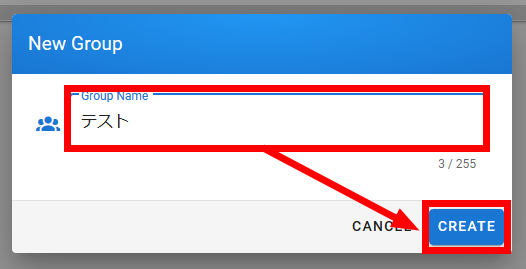
Enter the name of the group and click 'CREATE'
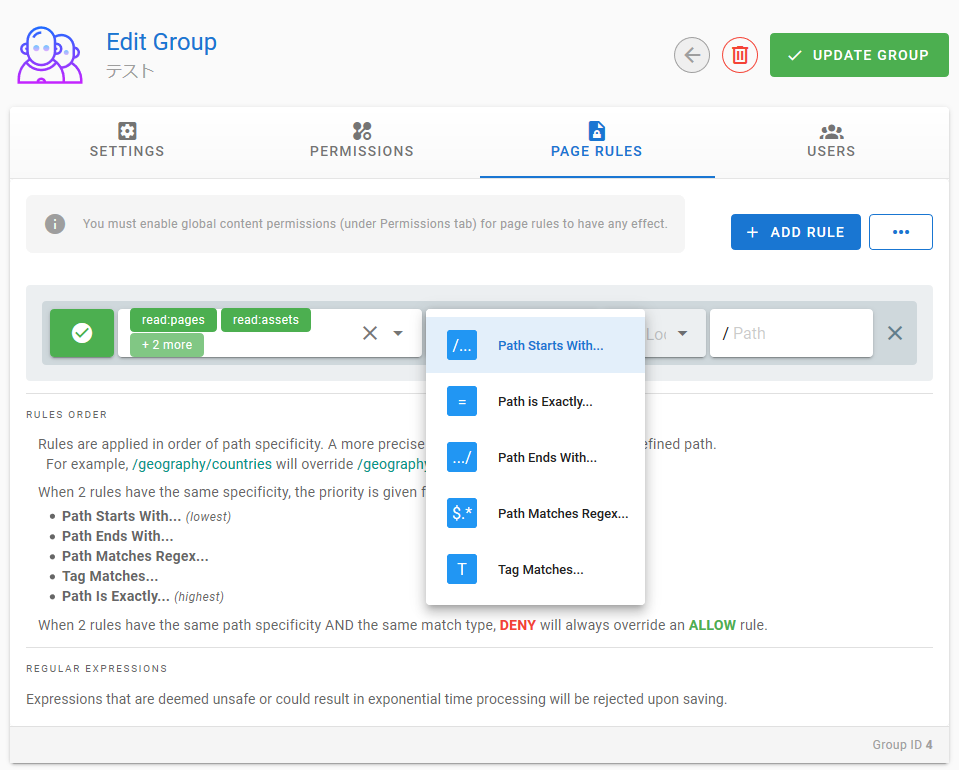
You can set permissions for each wiki location and tag. For example, it is possible to manage permissions such that a Wiki for which 'Development Department' is specified in the Wiki tag can only refer to the 'Development Department' group.
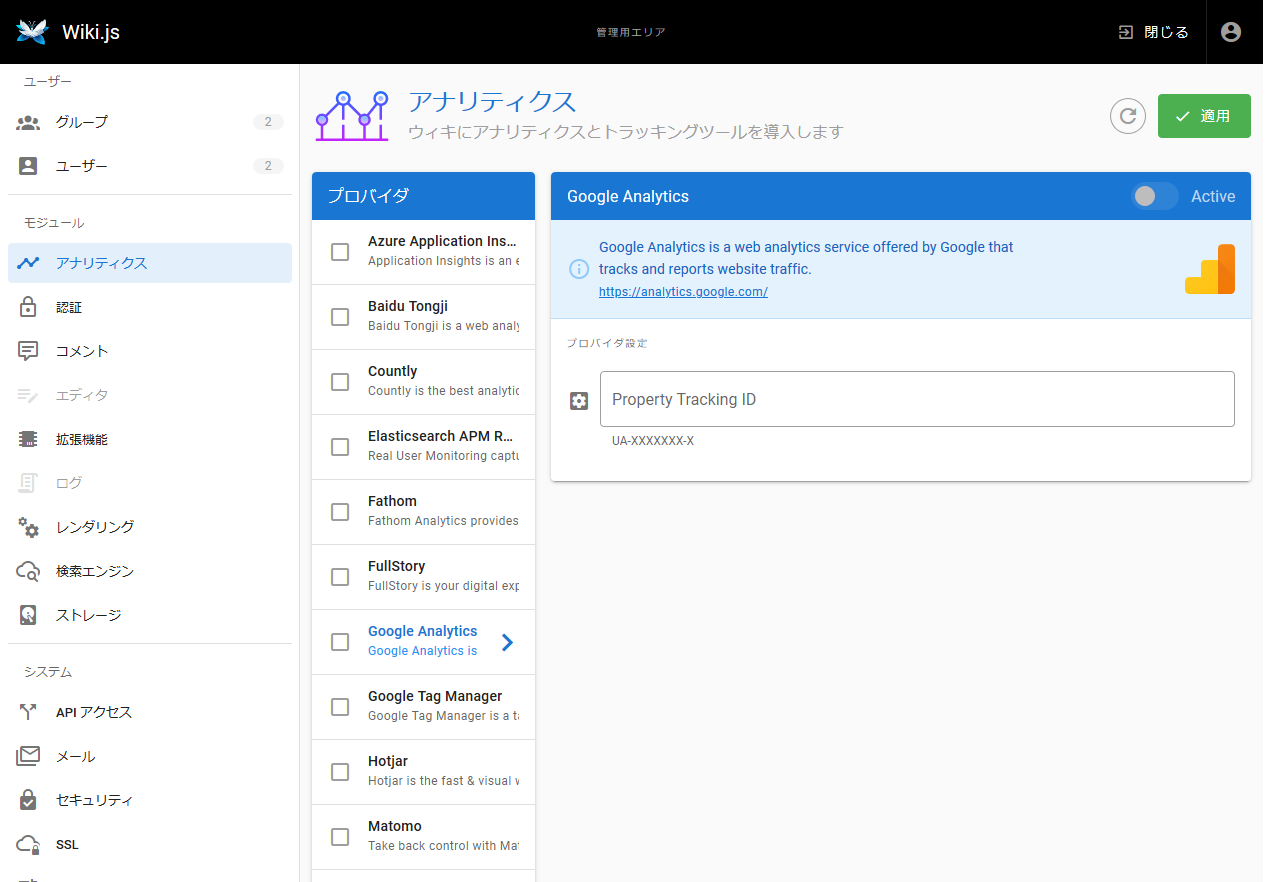
A feature of Wiki.js is the ability to link with a wealth of external services. For example, in cooperation with Google Analytics etc., you can analyze 'which Wiki is viewed and how often' ...
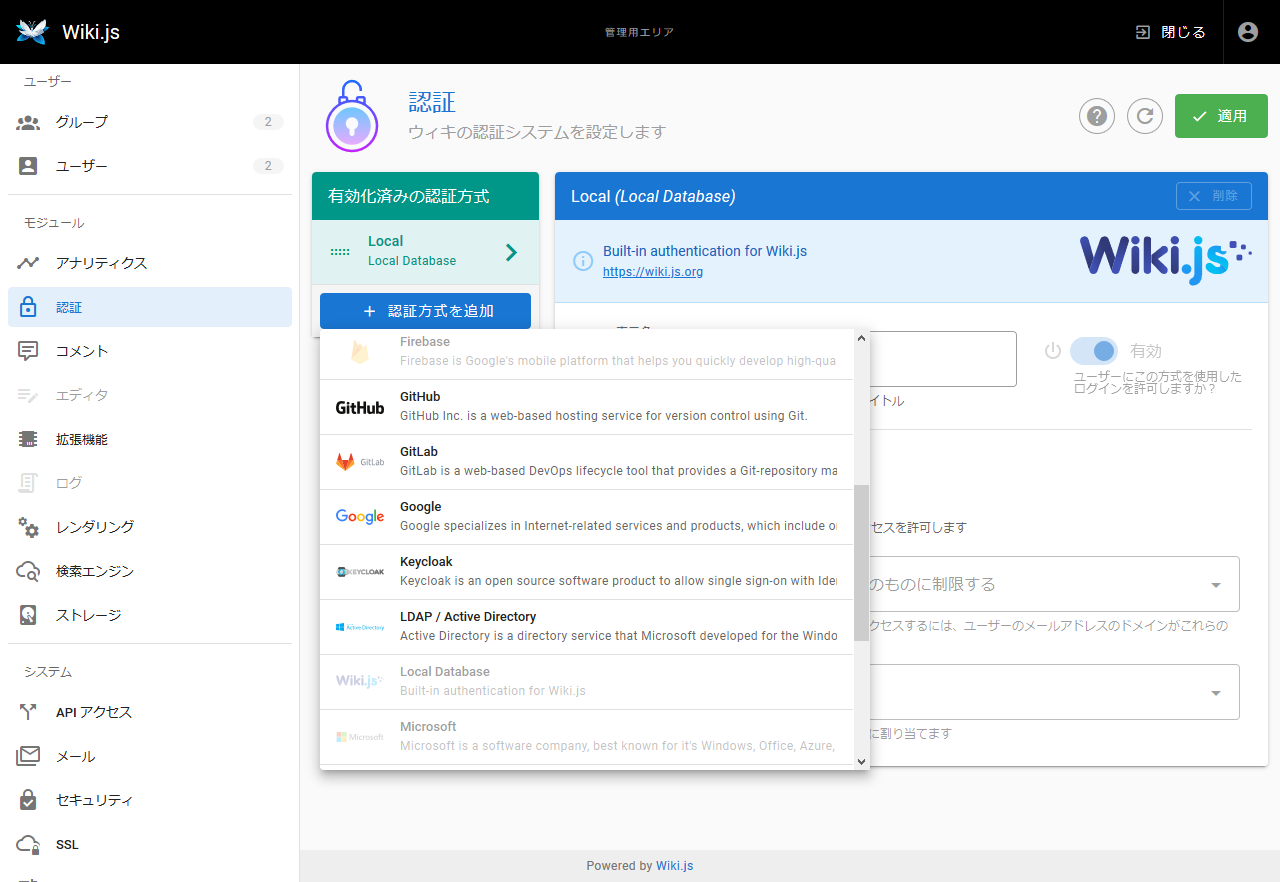
You can use an account such as GitHub or Google for authentication.
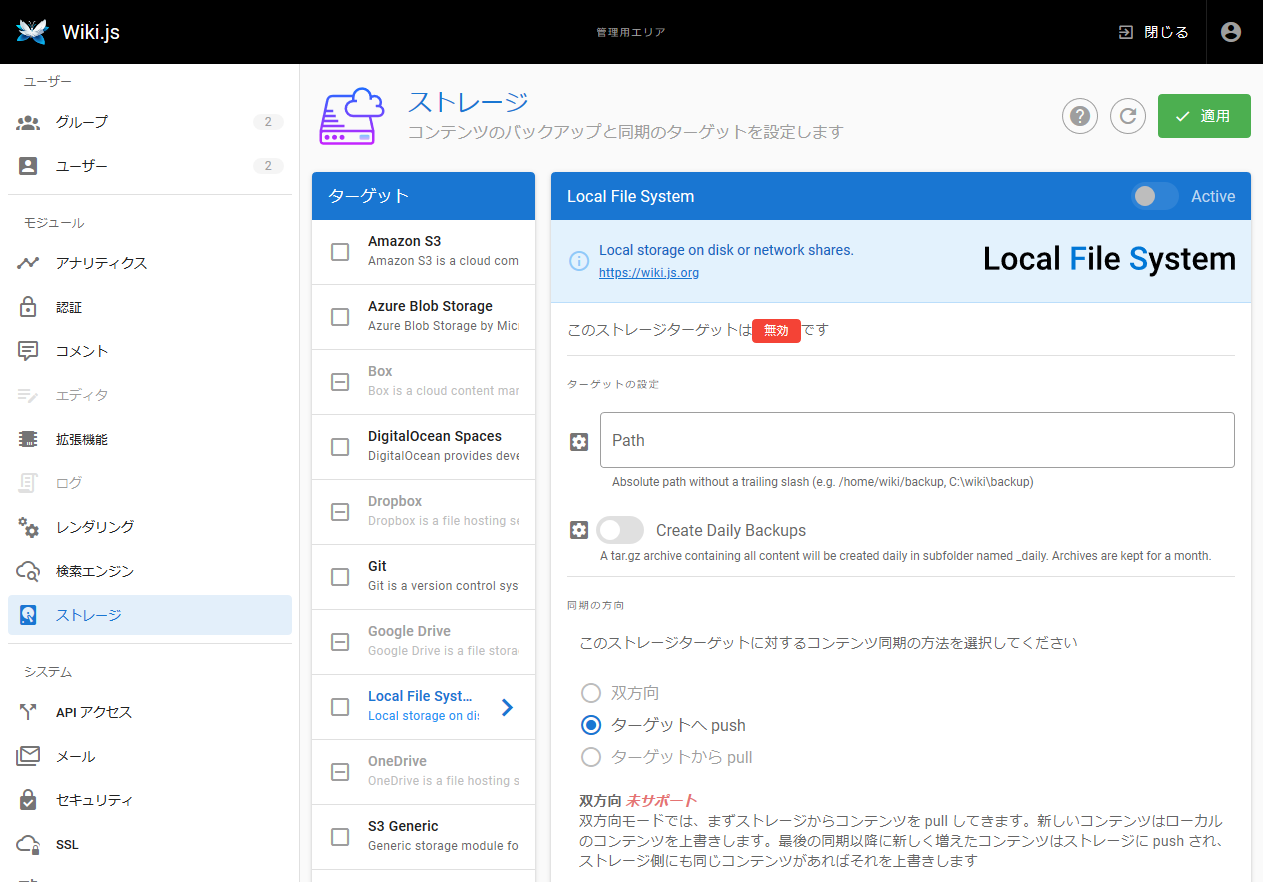
You can also specify Amazon S3 as the file upload destination.
You can check the source code of Wiki and js on GitHub.
GitHub --Requarks / wiki: Wiki.js | A modern, lightweight and powerful wiki app built on Node.js
https://github.com/Requarks/wiki
Related Posts: