I tried using an open source visual development tool ``Webstudio'' that can design a website without programming that can be used for free
Coding is the biggest bottleneck when trying to create a website. Even if it seems like a simple operation, 'I want to move this part about 3 mm to the right', there are many times when I don't know what part to edit and how to edit it. In response to such demand, there are various 'no-code' tools in the world that can create websites without writing any code. This time, the no-code tool ' Webstudio ' developed by open source has released a beta version, so I immediately tried the usability.
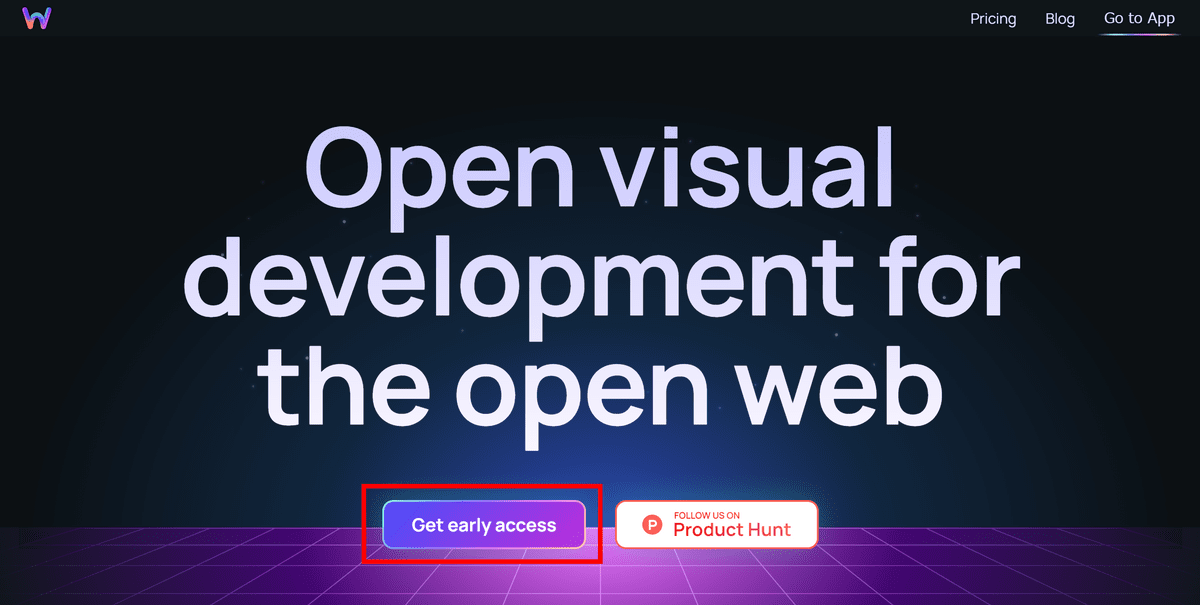
Open visual development for the open web
A movie that summarizes the features of Webstudio has been released.
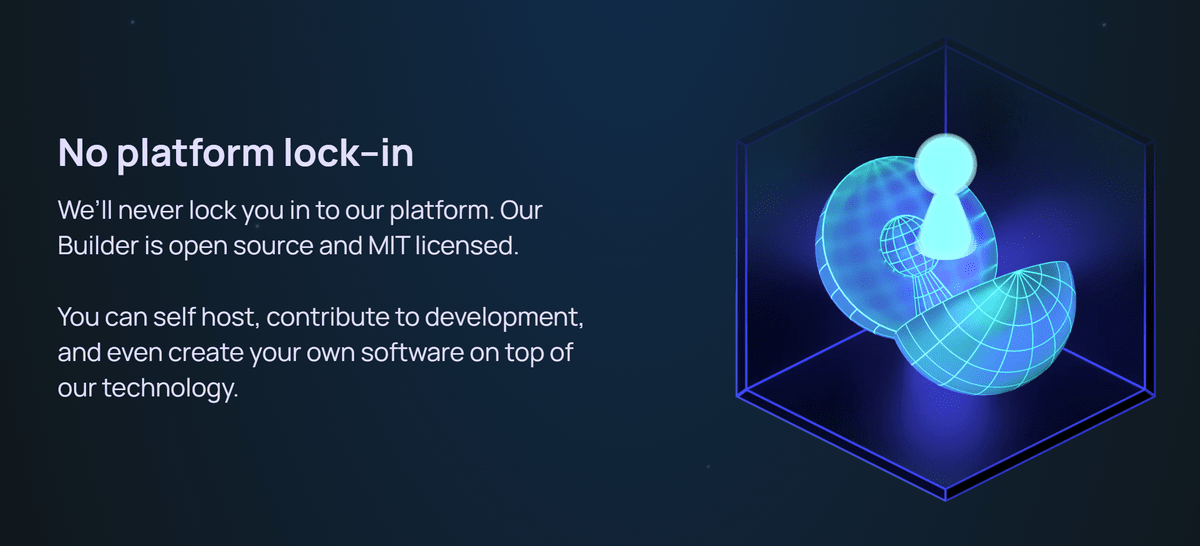
There are three major advantages of Webstudio mentioned in the movie, the first being that it is not locked in. Open source development means you can always host and use Webstudio yourself.
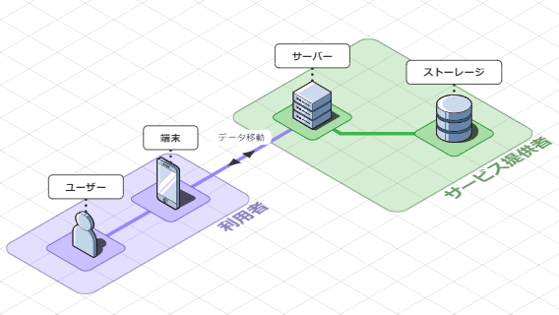
The second advantage is that when using Webstudio's official hosting service, the website is deployed on Cloudflare Workers. By hosting the site on edge servers that exist all over the world, high-speed responses can be expected from anywhere in the world.

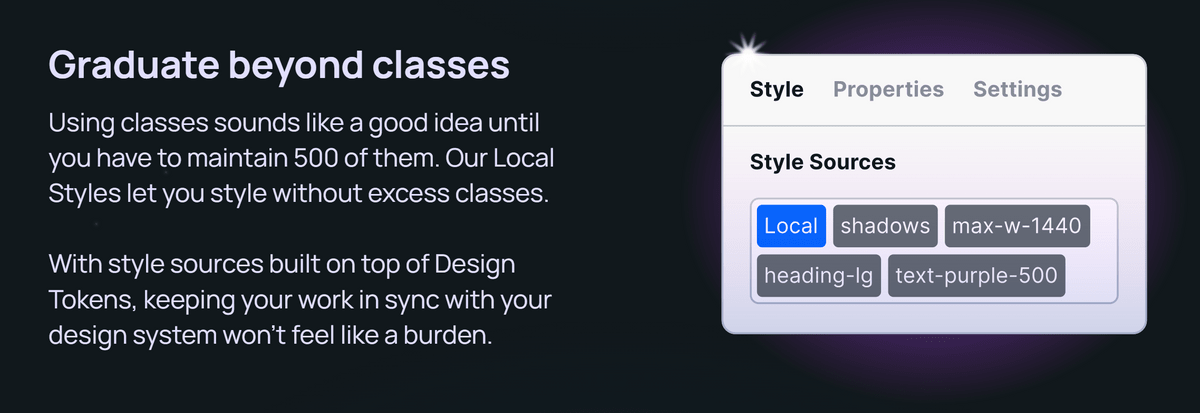
The last advantage is that the usability has been improved by making 'class', which is often used in CSS, the 'source of style'.
So, I will try using it immediately. Actually, I wanted to try self-hosting, but at the time of writing the article, only a link to
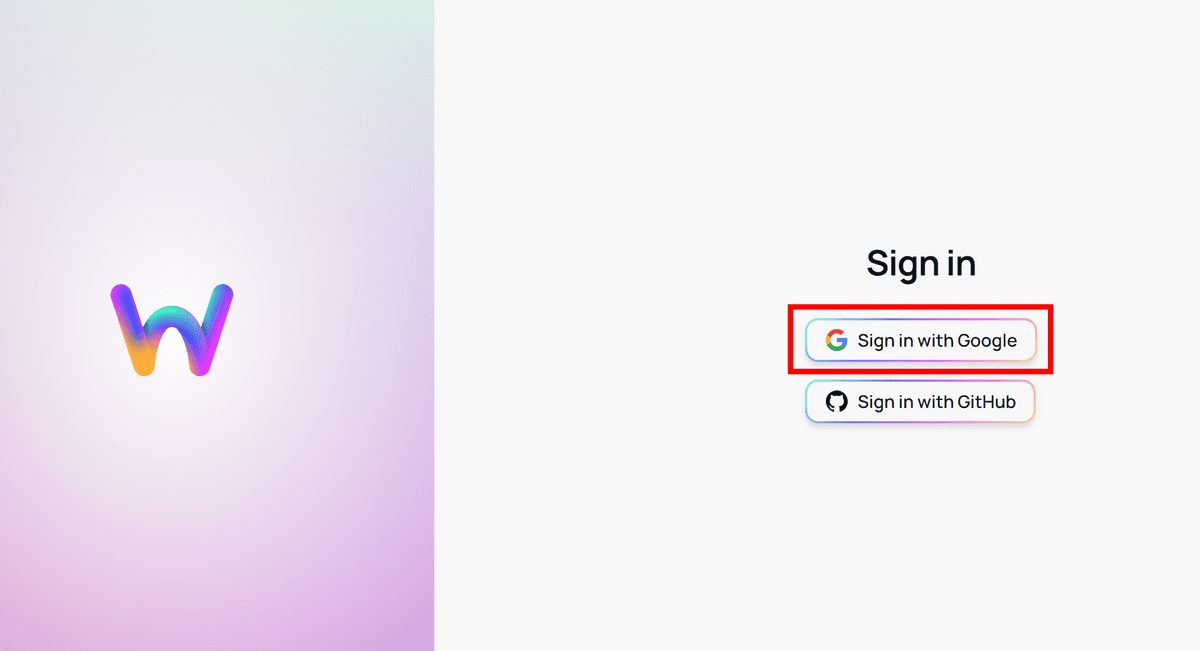
You can sign in with your Google or GitHub account. Since I use a Google account this time, click 'Sign in with Google'.
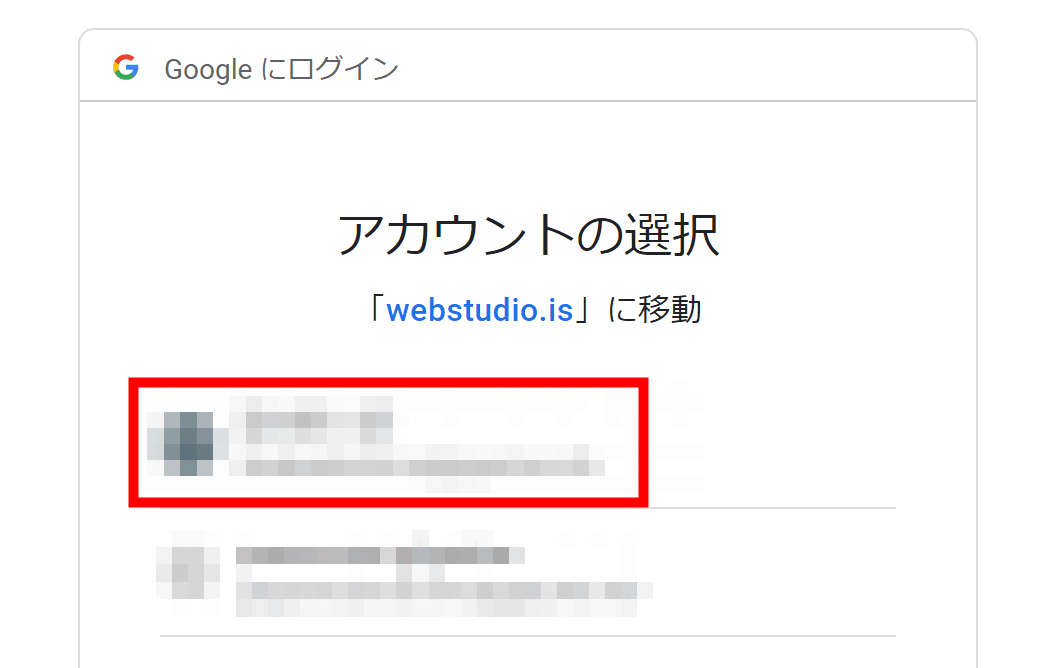
Click the account you want to log in to.
You have successfully logged in. Click 'New Project' to create a project.

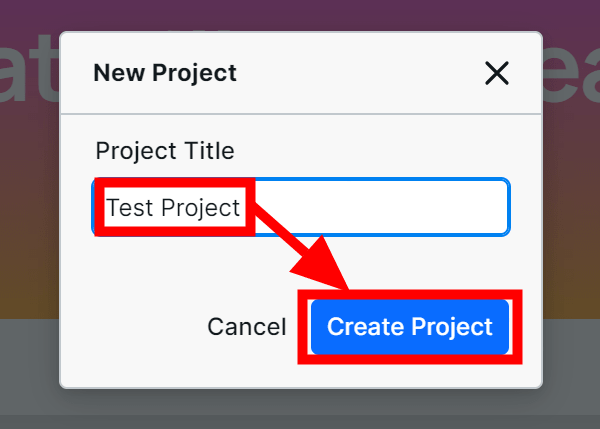
A window will pop up asking you to name your project. Enter 'Test Project' for the project name and click 'Create Project'.
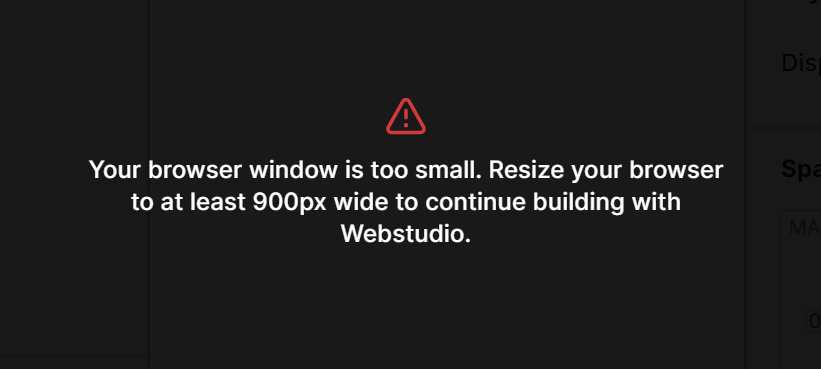
I got a warning that my browser screen size is too small. In order to operate Webstudio correctly, it is necessary to set the width of the browser to 900px or more.
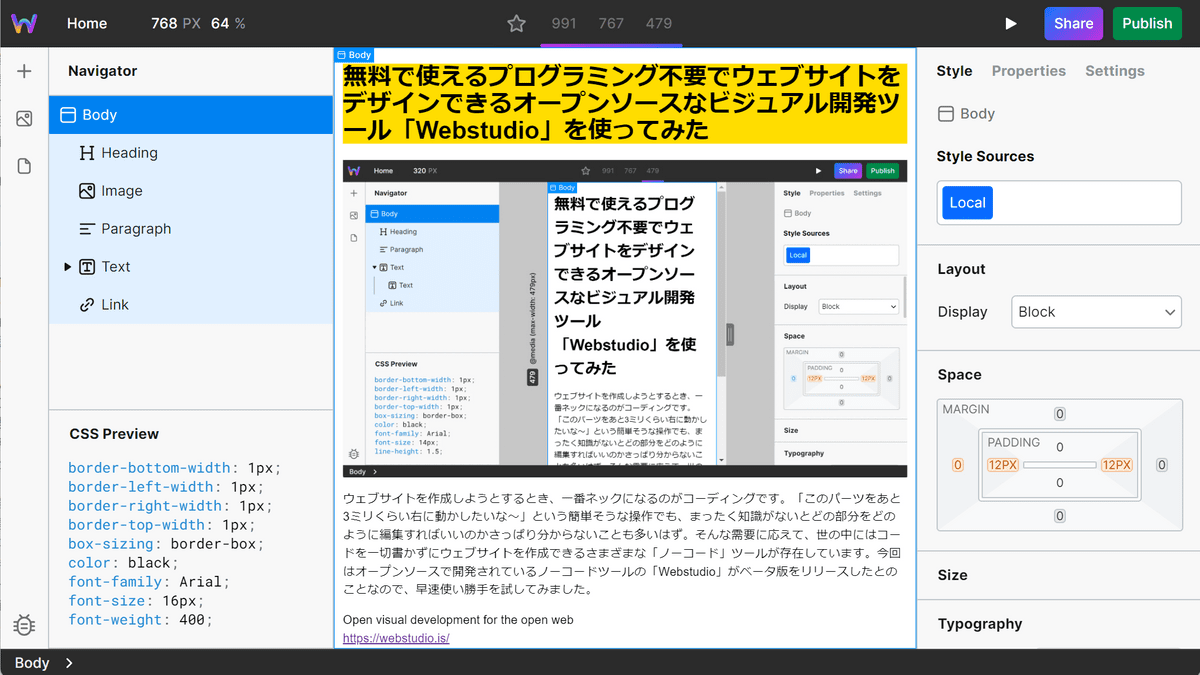
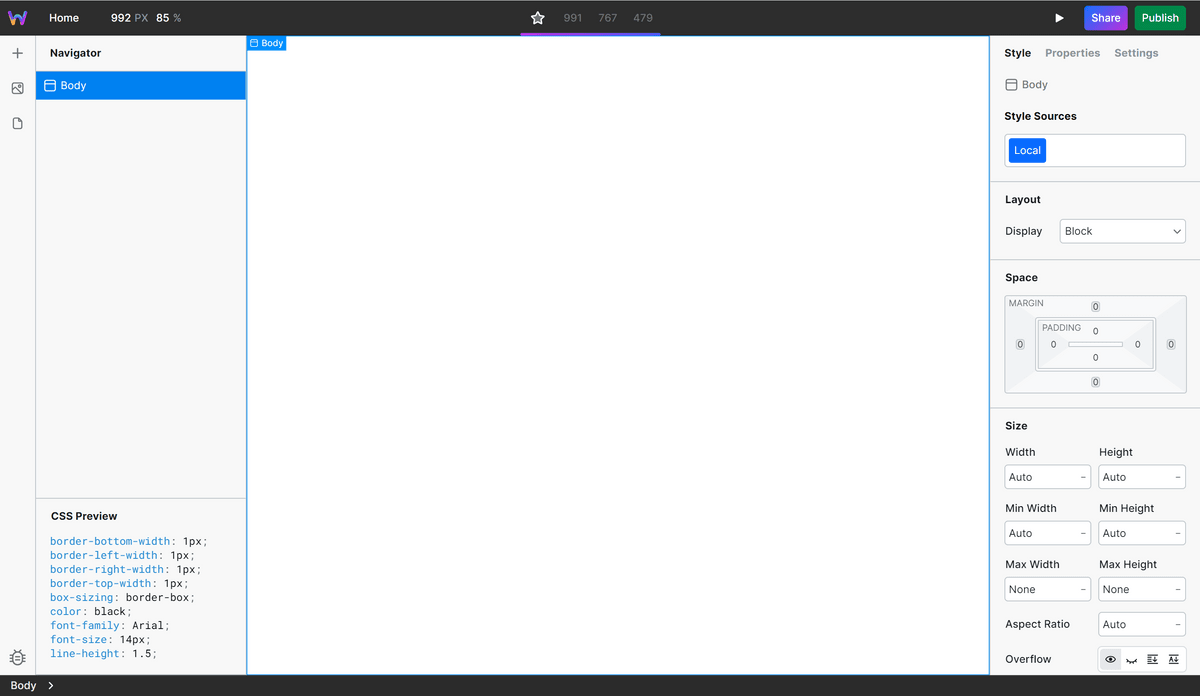
If you change the size of the browser, the screen of Webstudio will be displayed. The initial state looks like this.
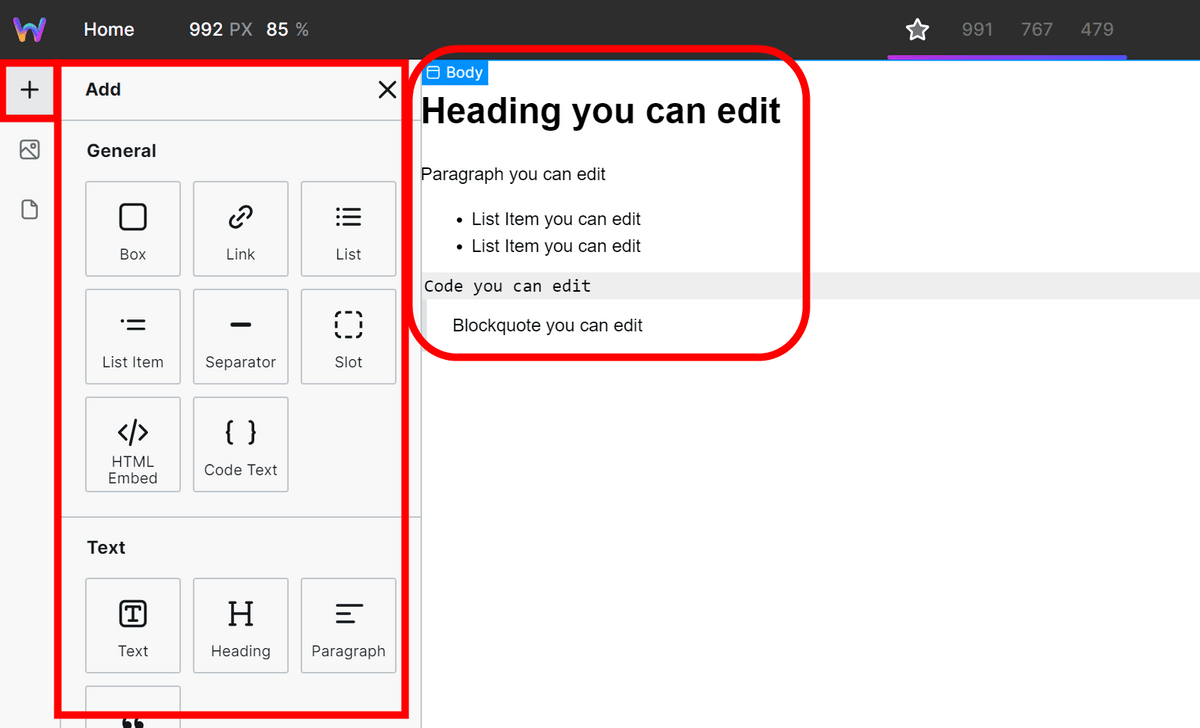
Various components are displayed by clicking the '+' mark button on the left menu. When you click on this component, it will be added more and more to the part of the page.
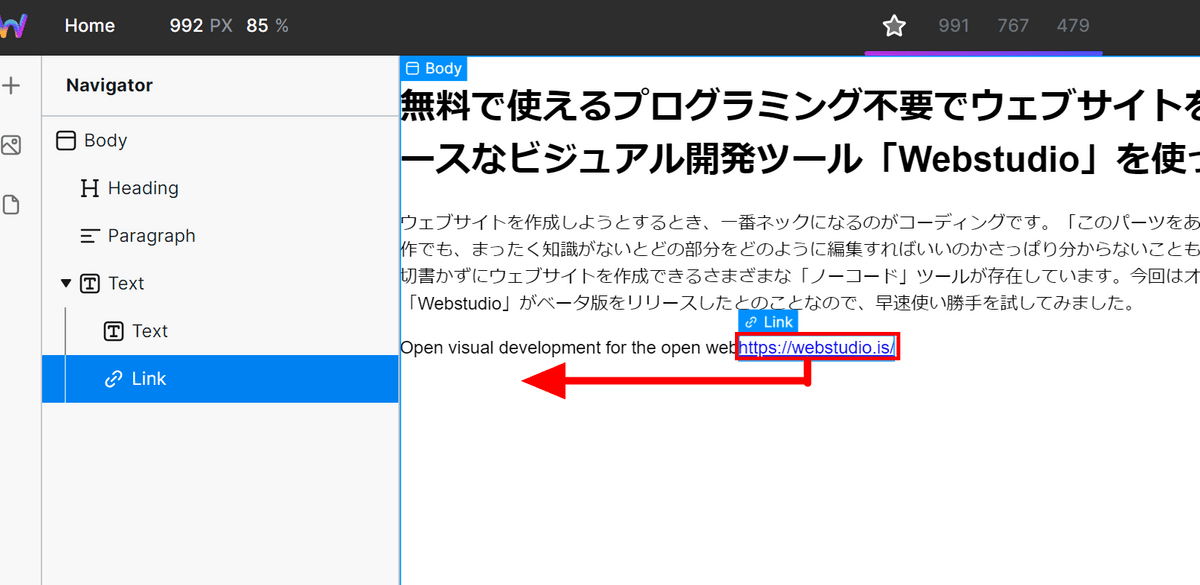
If you make a mistake in placement, you can move the location by dragging and dropping.
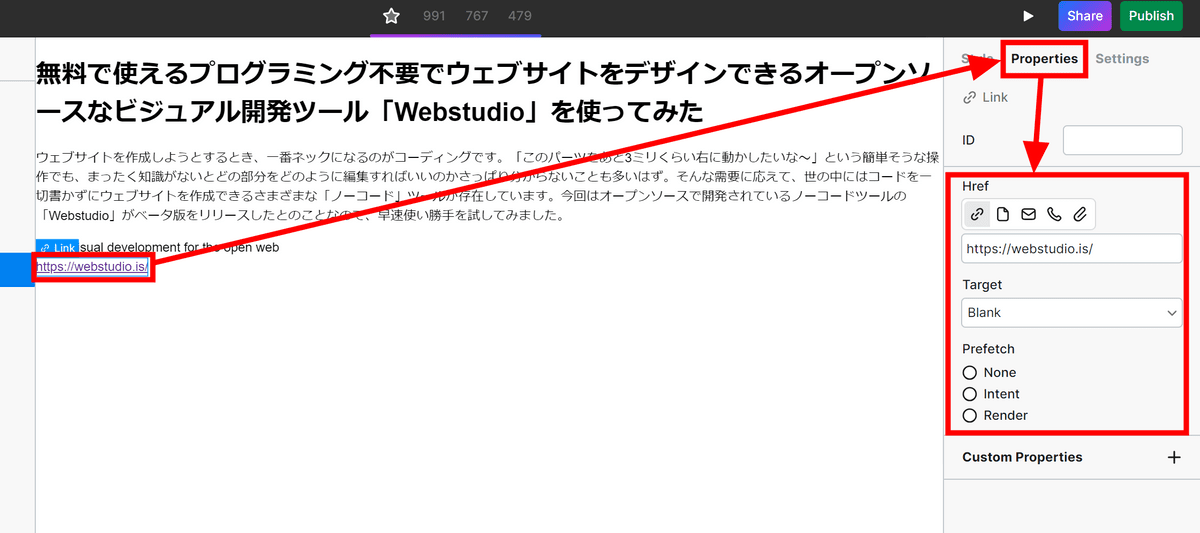
You can set the link on the 'Properties' tab in the right menu. You can set the link destination here, set it to open in a separate tab, or set the link destination to be read in advance.
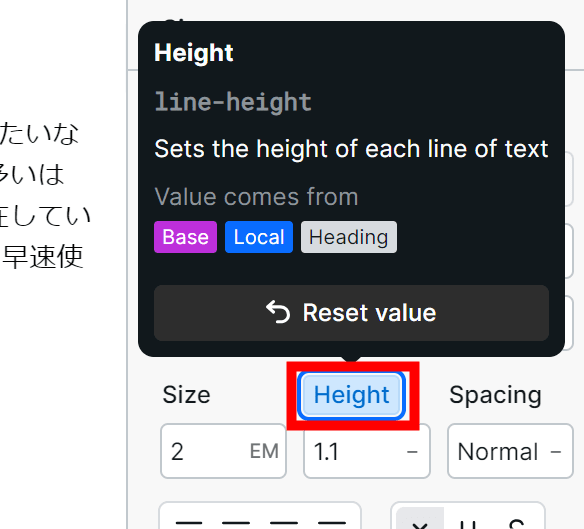
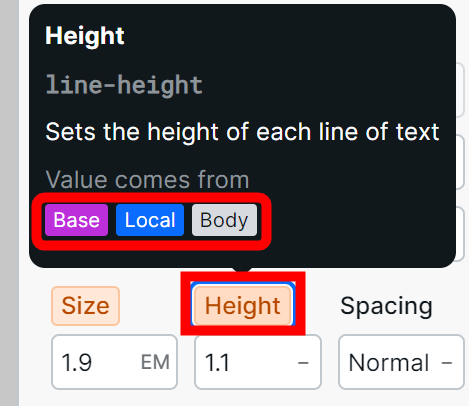
I'm worried about the margin of the whole page, so I'll fix it. After clicking on an empty place on the site and selecting 'Body', I set the left and right sides of PADDING to 12px in the 'Space' column on the right menu. In addition, various settings such as the size of the text are possible.
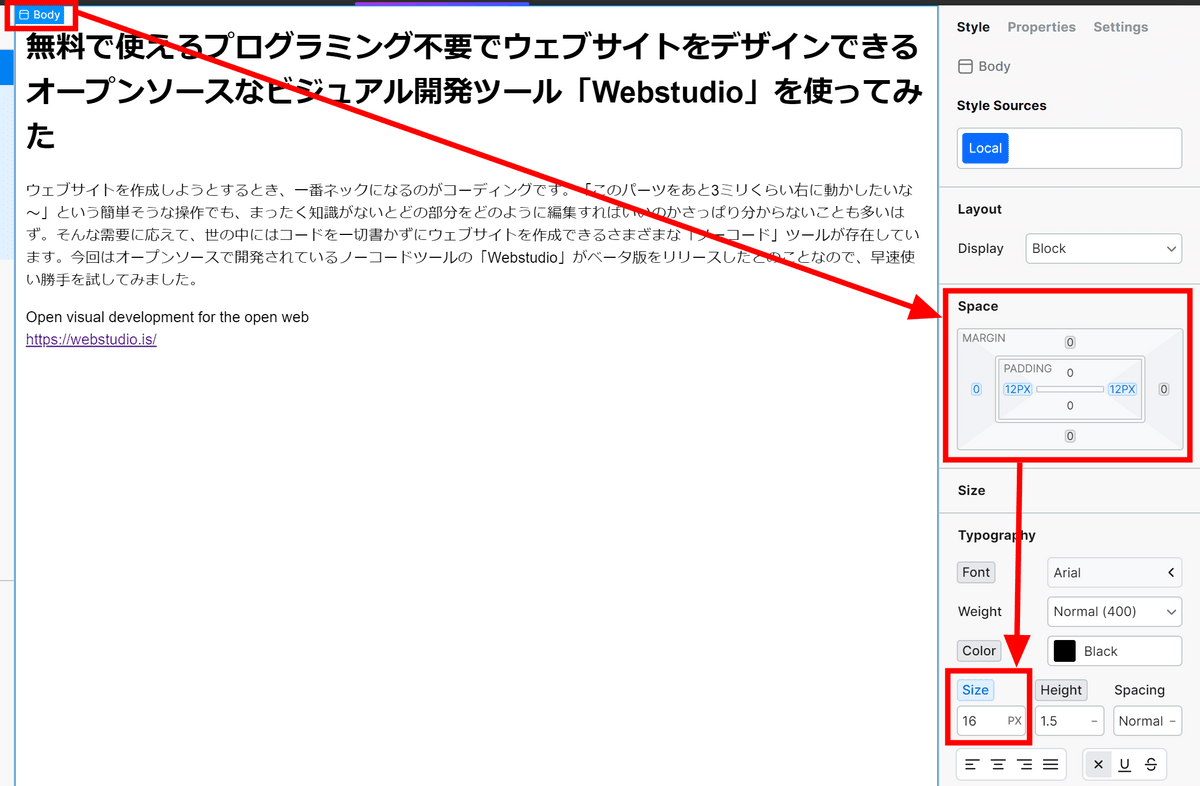
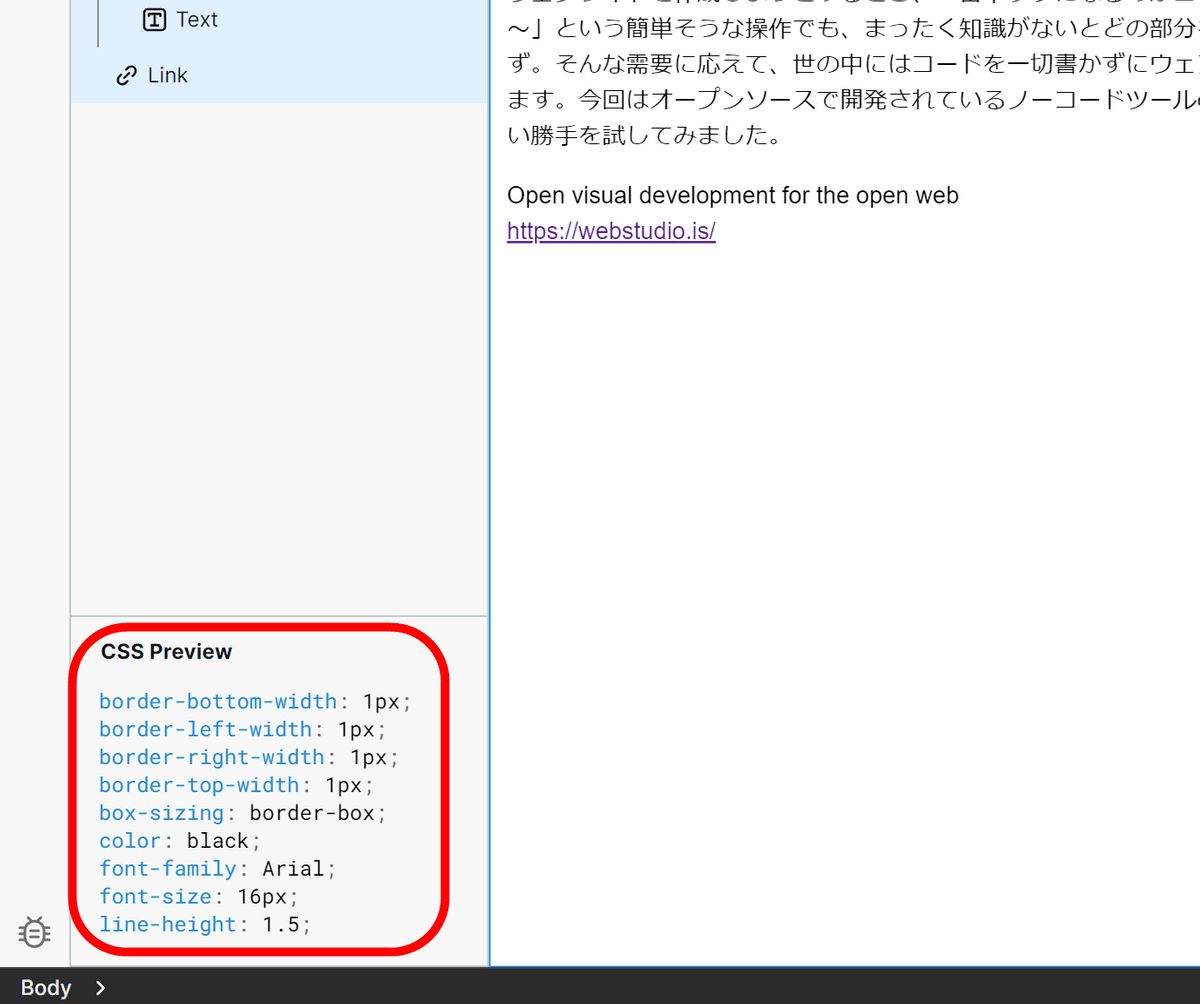
The settings changed in this way are expressed in CSS at the bottom left, making it easy to migrate even if you stop using Webstudio for some reason.
Also, there are tabs '☆' '991' '767' '479' at the top. By clicking this tab, you can set the style to be applied only when the number of pixels is less than the corresponding number. For example, if you click the '479' tab to reduce the font size, you can display the site with a smaller font size only if the screen is 479px or less.

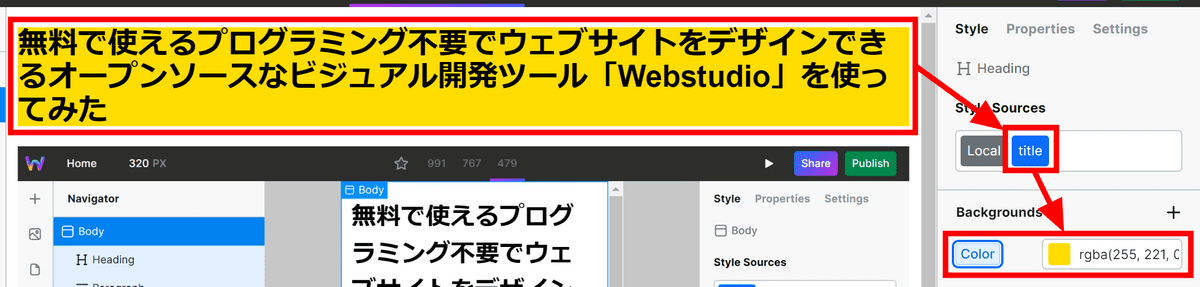
Also, by setting Style Sources, you can change the style of multiple parts at once. First, create a token by entering a new token name in the Style Sources field. This time I created a token with the name 'title'.

Select the part and apply the 'title' token and change the background to yellow. If it's just this, it doesn't change from the normal procedure.
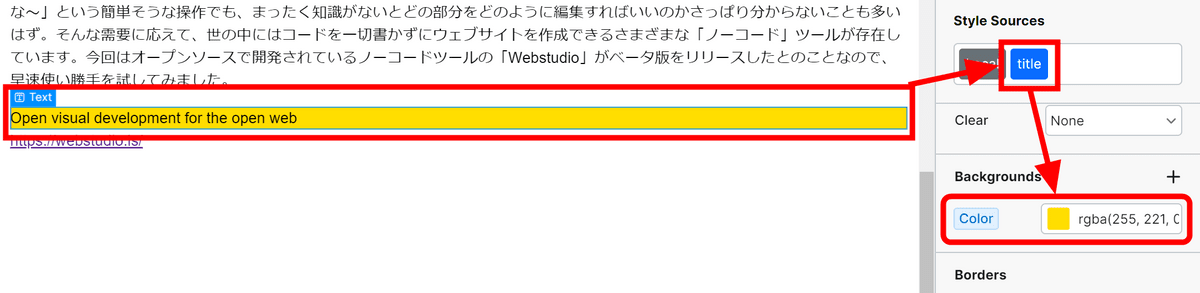
Applying the same 'title' token to another element automatically gave it a yellow background color. From now on, when you specify this 'title' token and change the style, it will be applied to all elements that are automatically applied.
The part where the style has been changed is displayed in blue, so it is easy to understand where the change has been made.
The blue part is the 'style set by the currently selected element/token', but if the style set by another element/token is inherited, it will be displayed in orange. By clicking on it, you can check which element/token the style was set for, making it easier to find the cause of 'why that style is applied'.
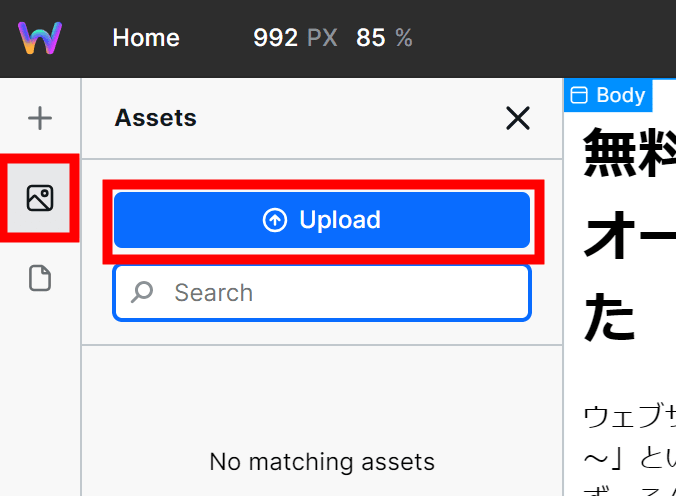
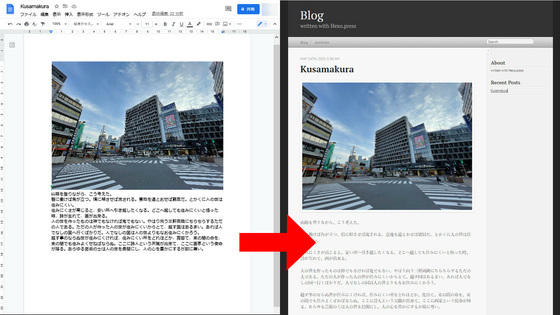
The second tab on the left is a tab that allows you to manage images. First, click 'Upload' to upload the image.
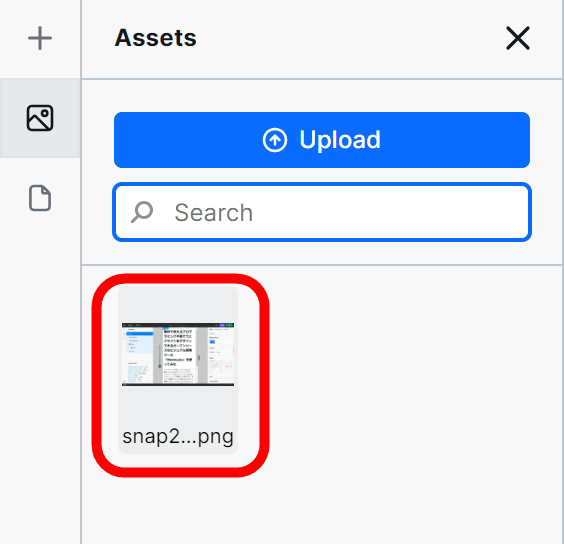
Once the image has finished uploading, it will appear below.
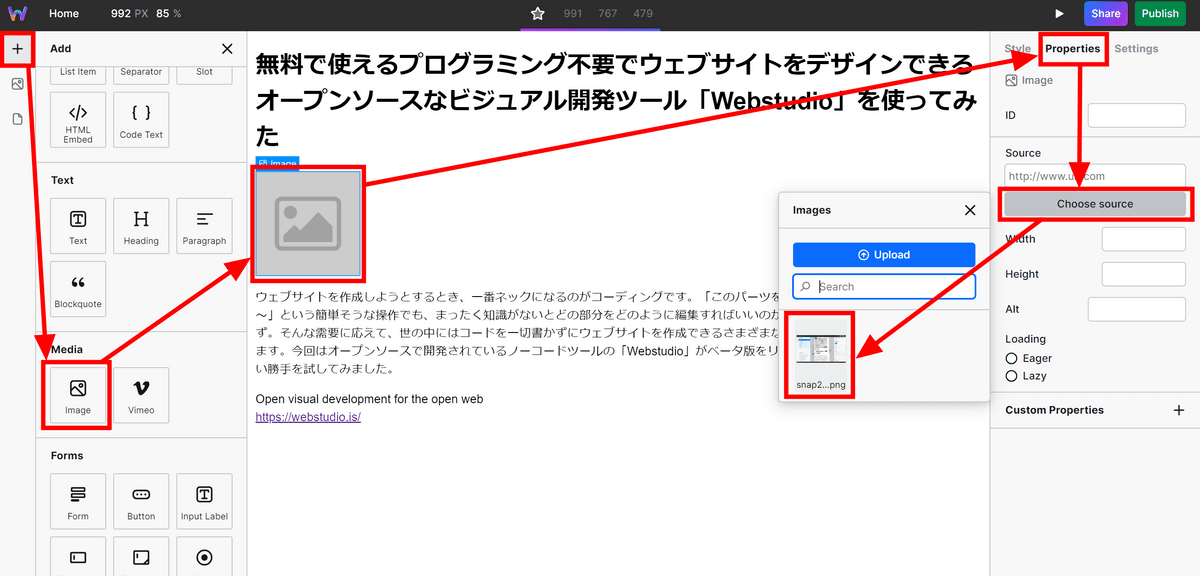
To display an image on your page, first insert an 'Image' component where you want it to appear. After that, click 'Choose source' from 'Properties' in the menu on the right and select the image you uploaded earlier.
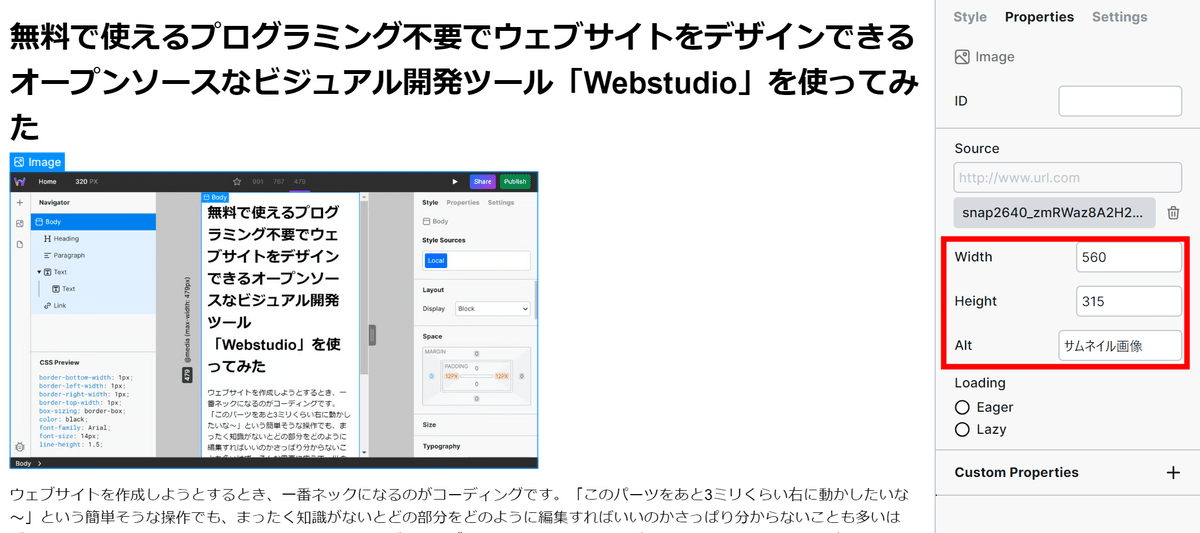
You can also change the size and set alt text.
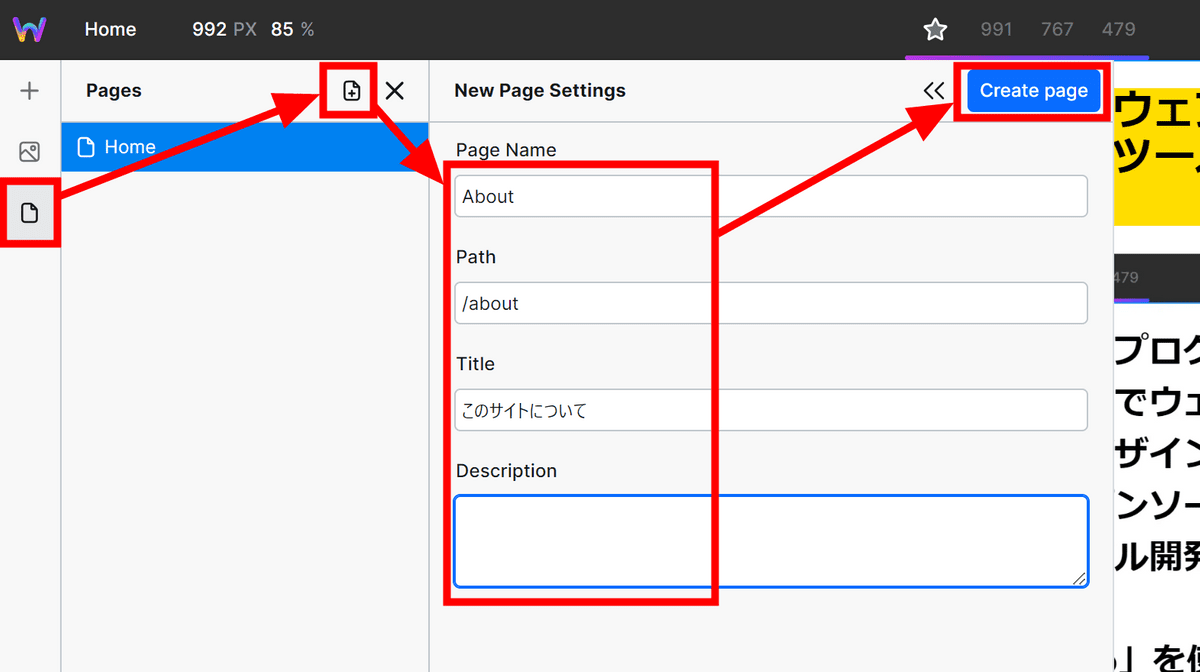
The third tab on the left is a tab that allows you to manage pages. Let's try creating a page named 'About'. Open the page tab, click the plus mark button above, enter the page name, address, page title and click 'Create page'.
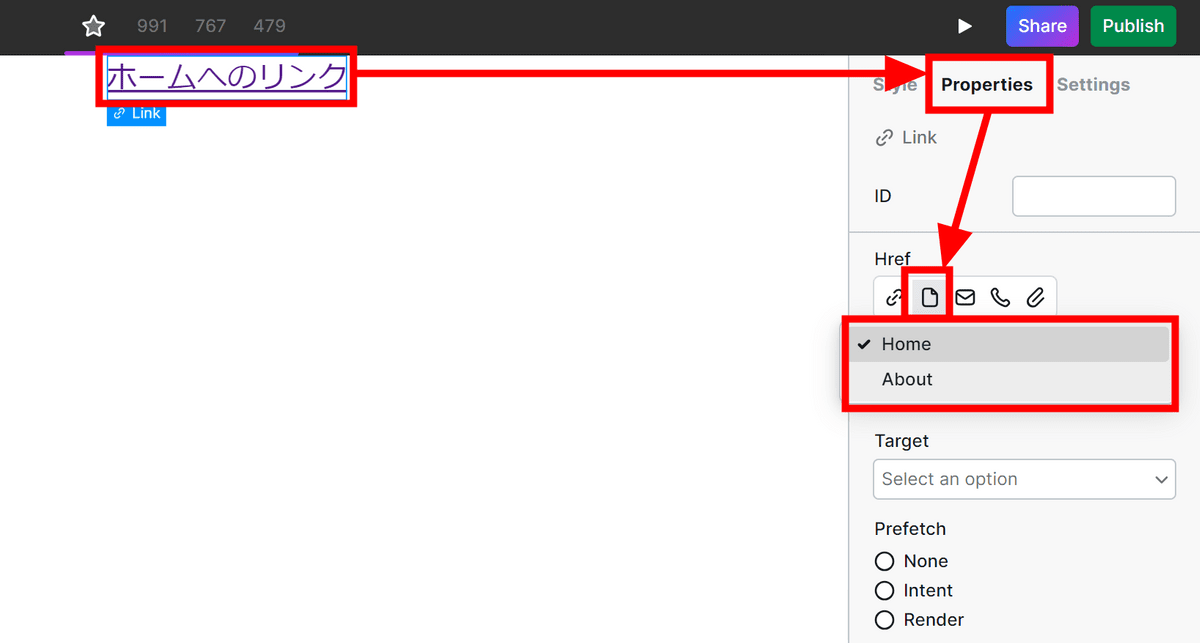
After that, you can edit the new page as before. Links within the site can be set by clicking the second item from the left in the Href column in 'Properties' of the 'Link' object.
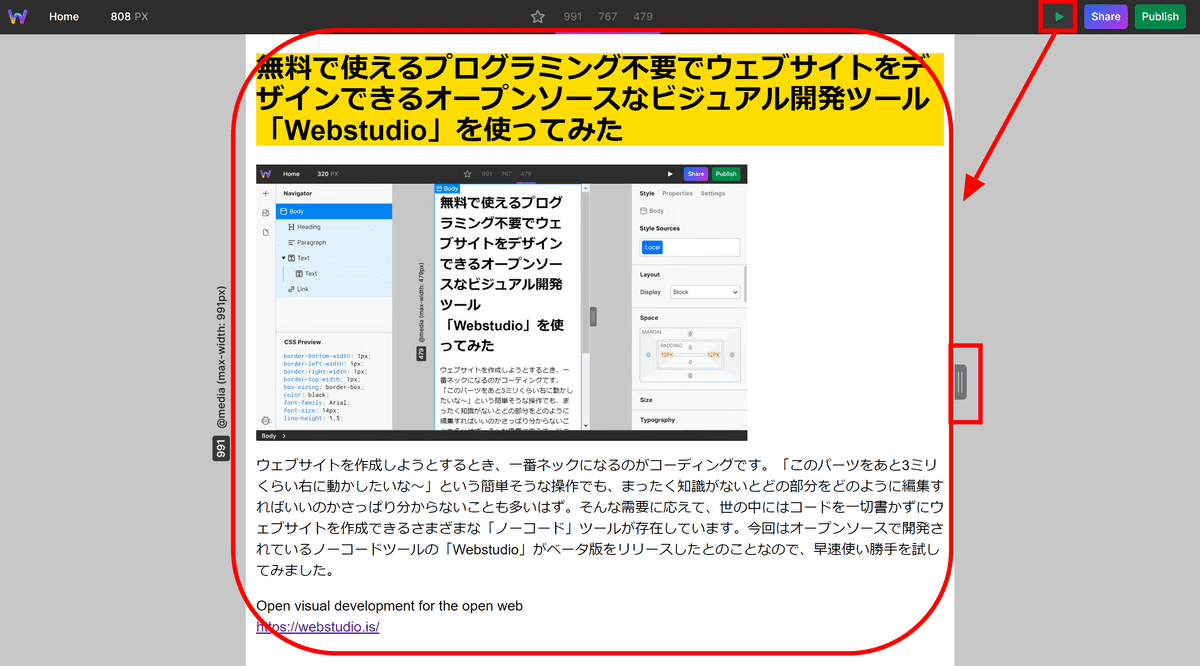
Once your site looks good, it's time to hit the top right button.

First of all, when I clicked the play mark button, it became a preview screen. You can change the screen width by clicking and dragging the mark on the right of the screen, so you can smoothly check how it is displayed at each size.
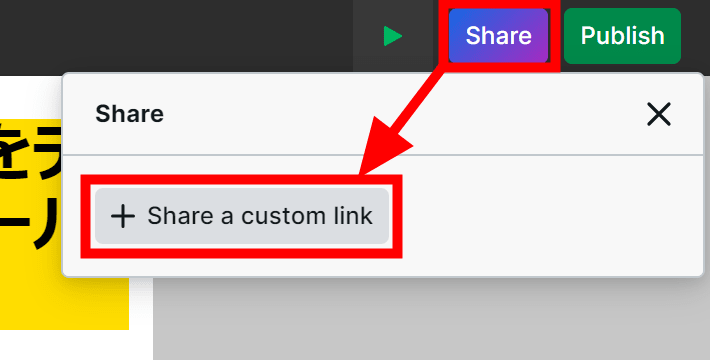
'Share' is a function that allows you to show previews to others. Click the 'Share' button, then click 'Share a custom link'.
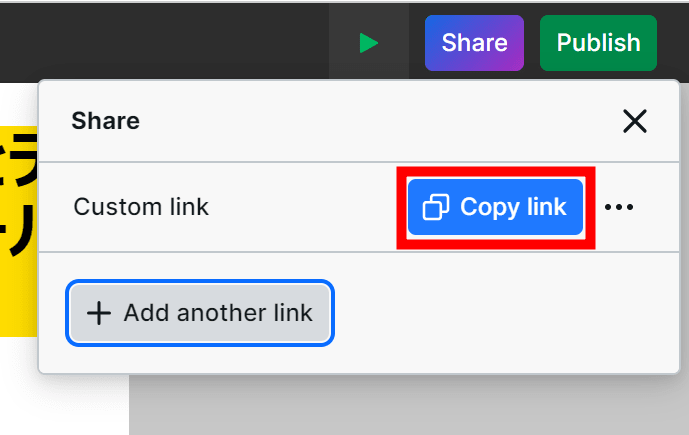
Copy the generated link by clicking 'Copy link'.
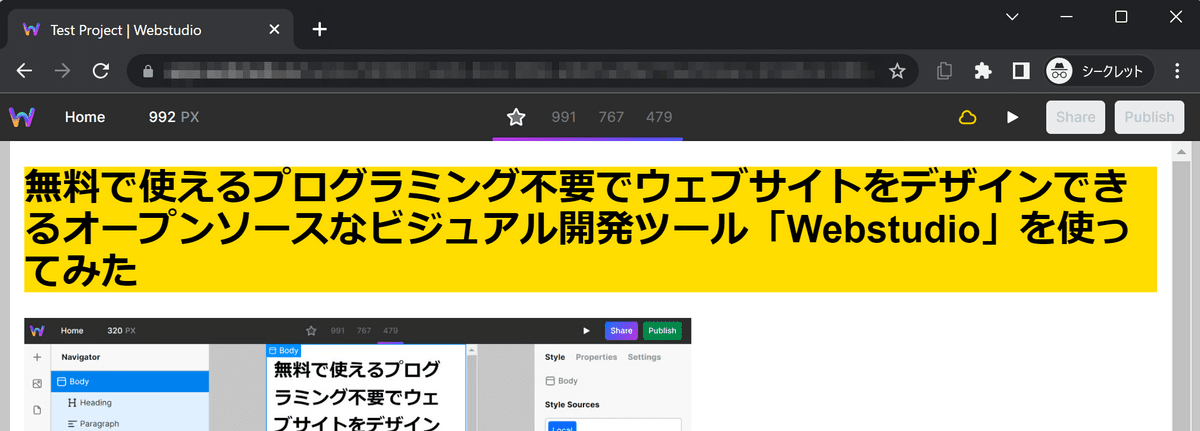
By passing this link to the person you want to show the site, you can display a preview of the site. At the time of writing the article, we only show a preview, but in the future we plan to implement a real-time collaborative editing function.
Then you can publish your site with the 'Publish' button. Since the subdomain of 'wstd.io' is automatically generated, it is OK even if you do not have a domain. You can also connect a custom domain if you have one.
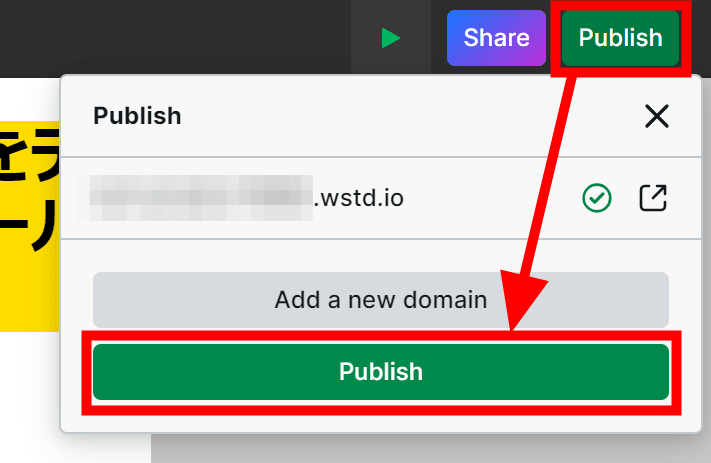
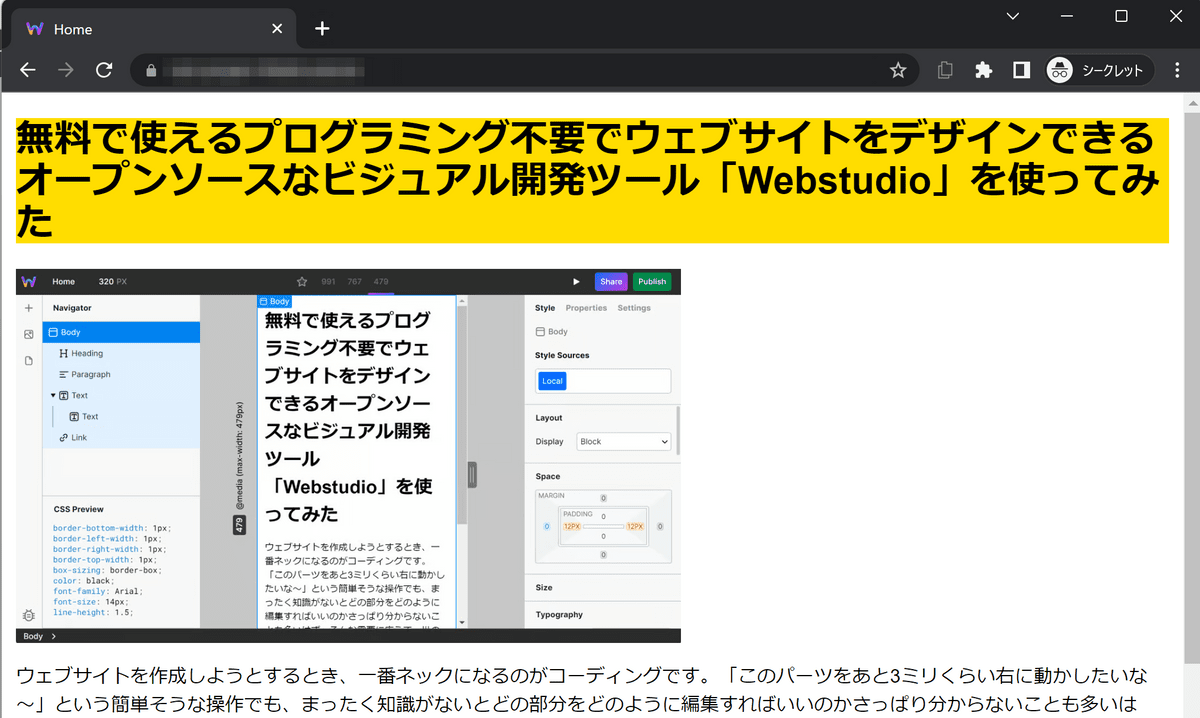
After clicking the Publish button and waiting for about tens of seconds, I was able to confirm that the site was published on the domain that was displayed earlier.
If you use Webstudio's managed service for hosting, you can use up to 10,000 PV for free each month, and 2GB of data storage is provided free of charge. Also, with the Pro plan of $ 20 per month (about 2800 yen), you can access up to 500,000 PV every month, increase the storage to 20 GB, and use version history and authority management functions when sharing. There is also a fully customizable enterprise plan for users who need more access, storage, and features.
Related Posts:
in Software, Review, Web Application, Posted by log1d_ts