'Upptime' that can monitor the life and death of the website for free by making full use of the service of GitHub
There are many life-and-death monitoring services for websites, but you may find it difficult to introduce them, such as having to prepare your own server or paying when the number of monitoring targets exceeds a certain number. The free life and death monitoring software ' Upptime ' can easily monitor the life and death of websites using GitHub services such as
Upptime
https://upptime.js.org/
GitHub --upptime / upptime: ⬆️ Uptime monitor and status page powered by GitHub
Upptime monitors the life and death of the website every 5 minutes with GitHub Actions, reports to Issues on GitHub if the website goes down, and distributes the website on GitHub Pages.
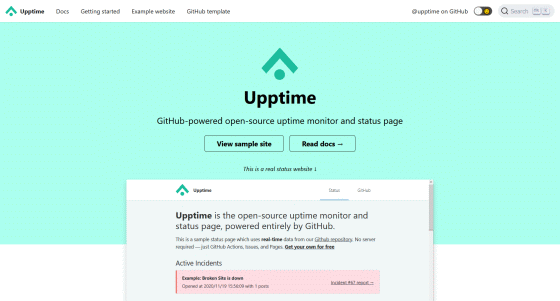
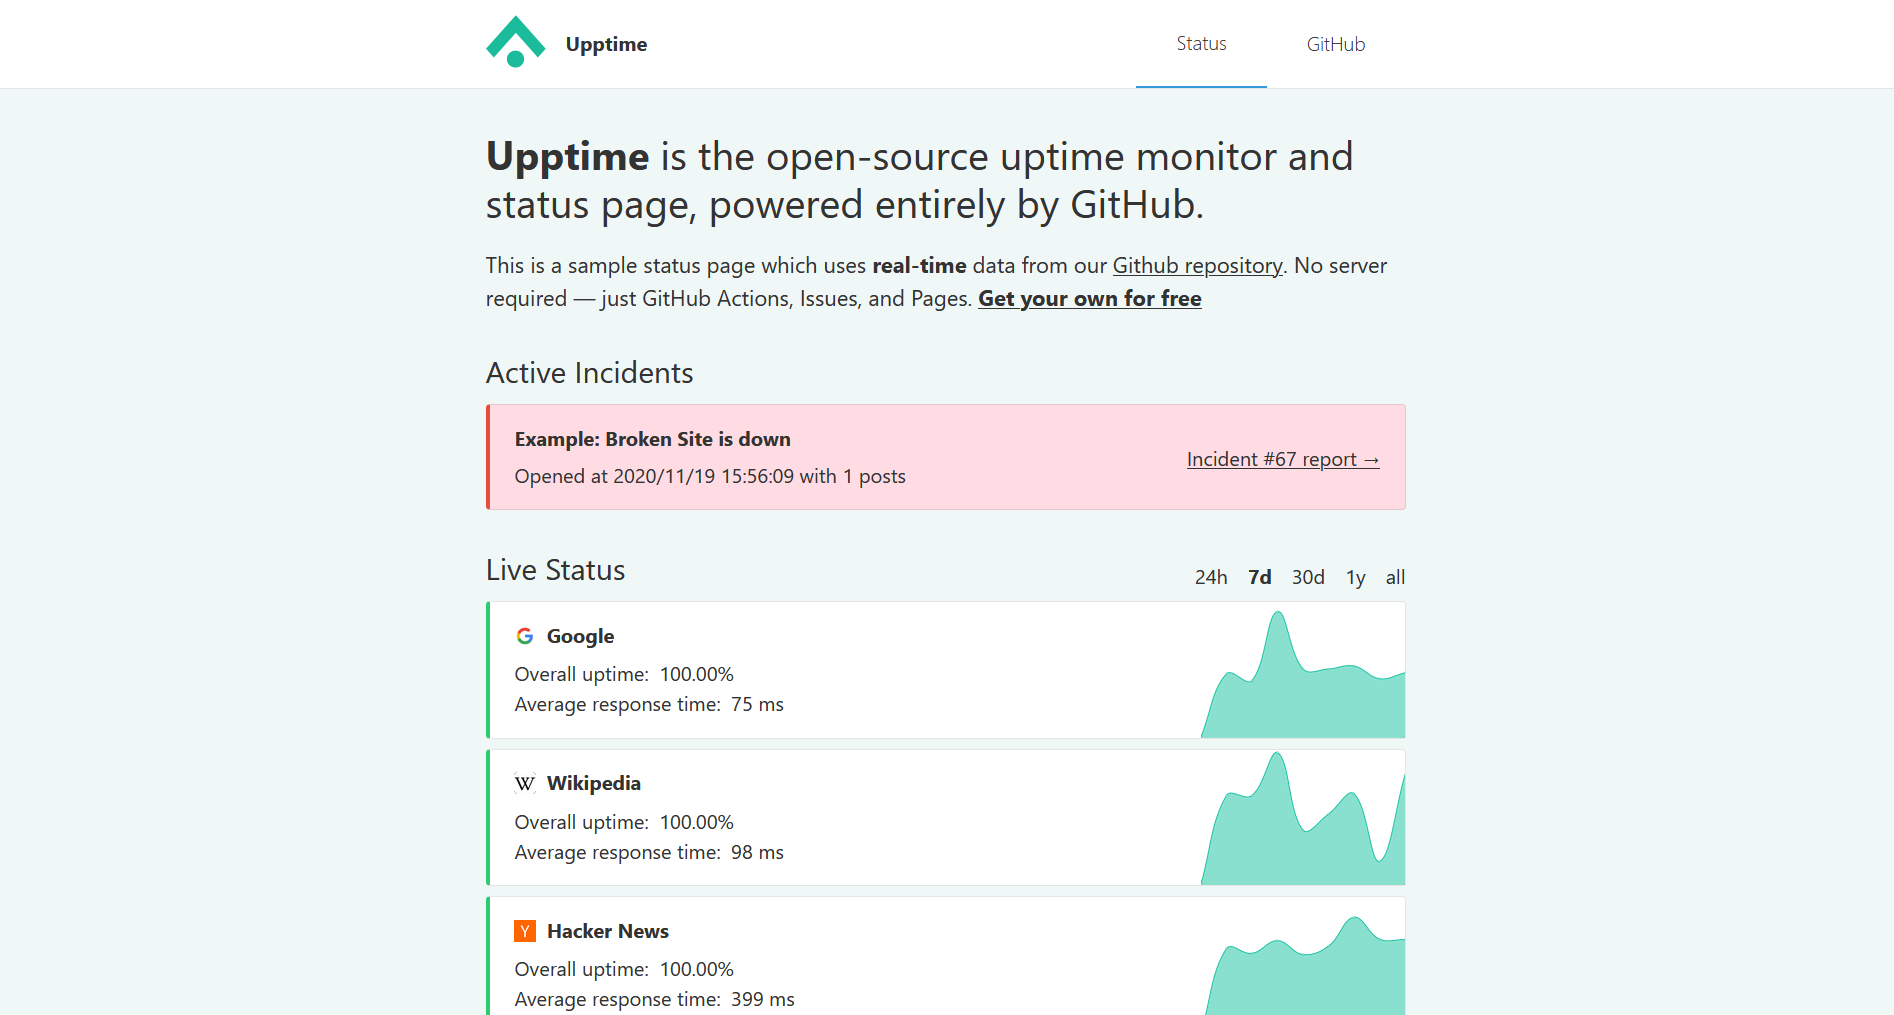
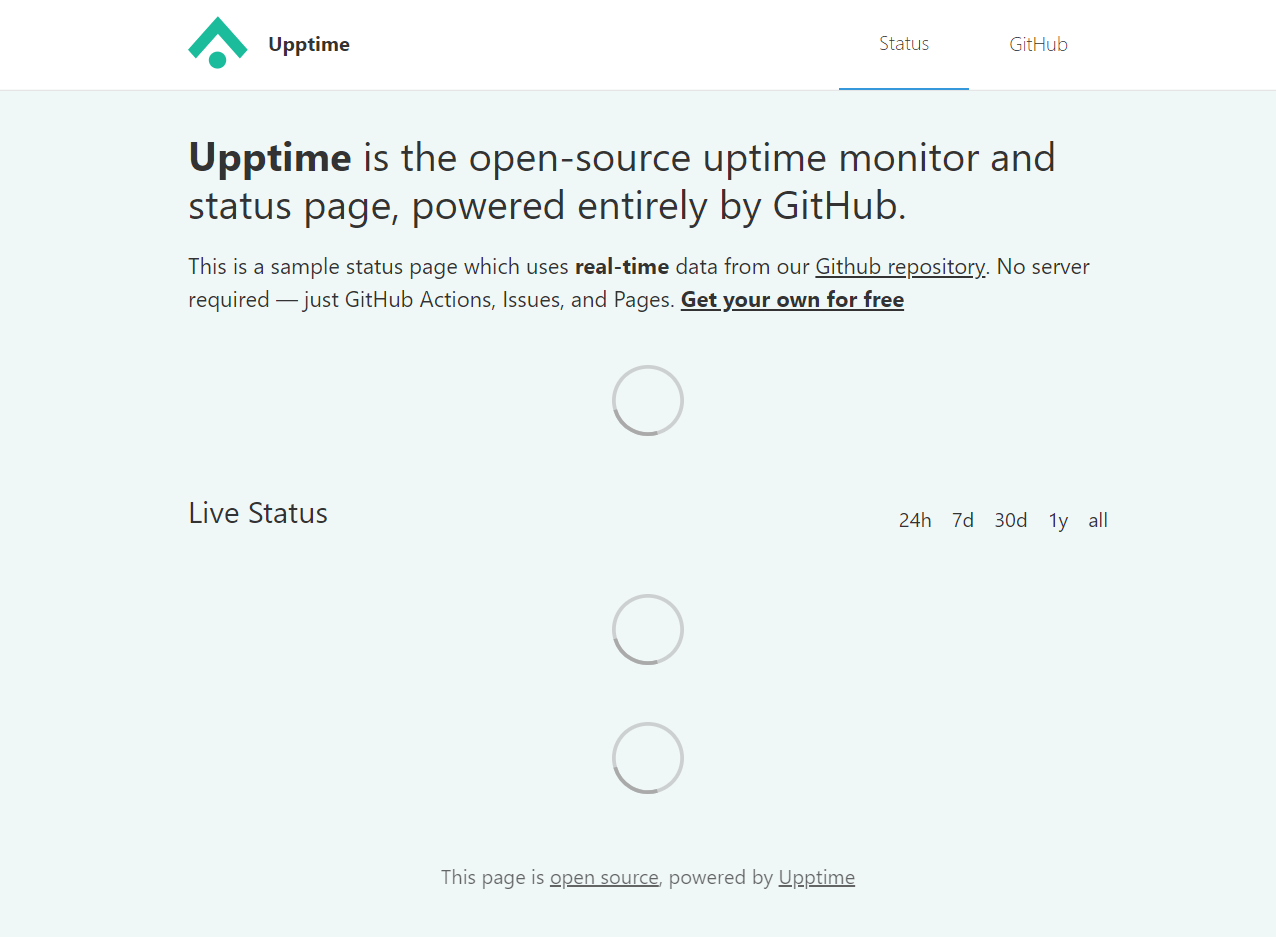
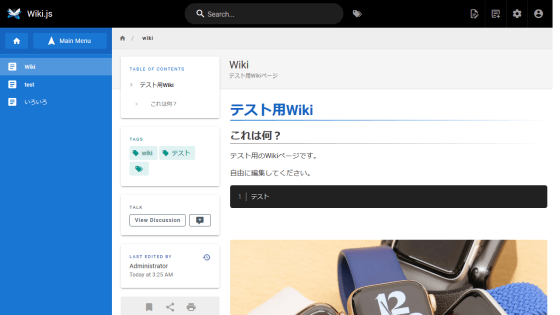
You can check the operation of Upptime on the demo site . The Upptime screen that appears when you access the demo site looks like this.
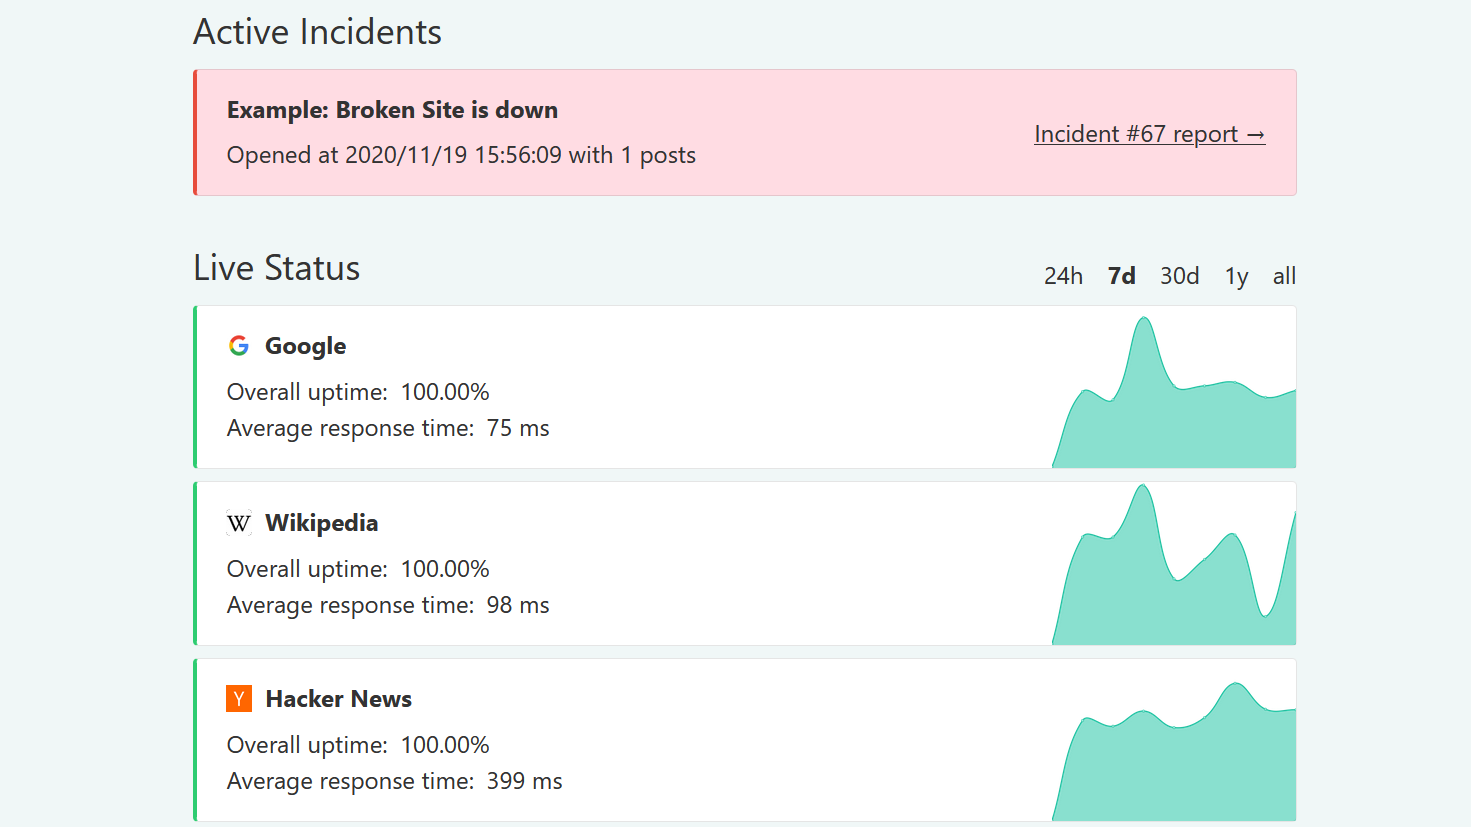
In 'Live Status', you can check the operating status of the website for each period. The graph shows the response speed.
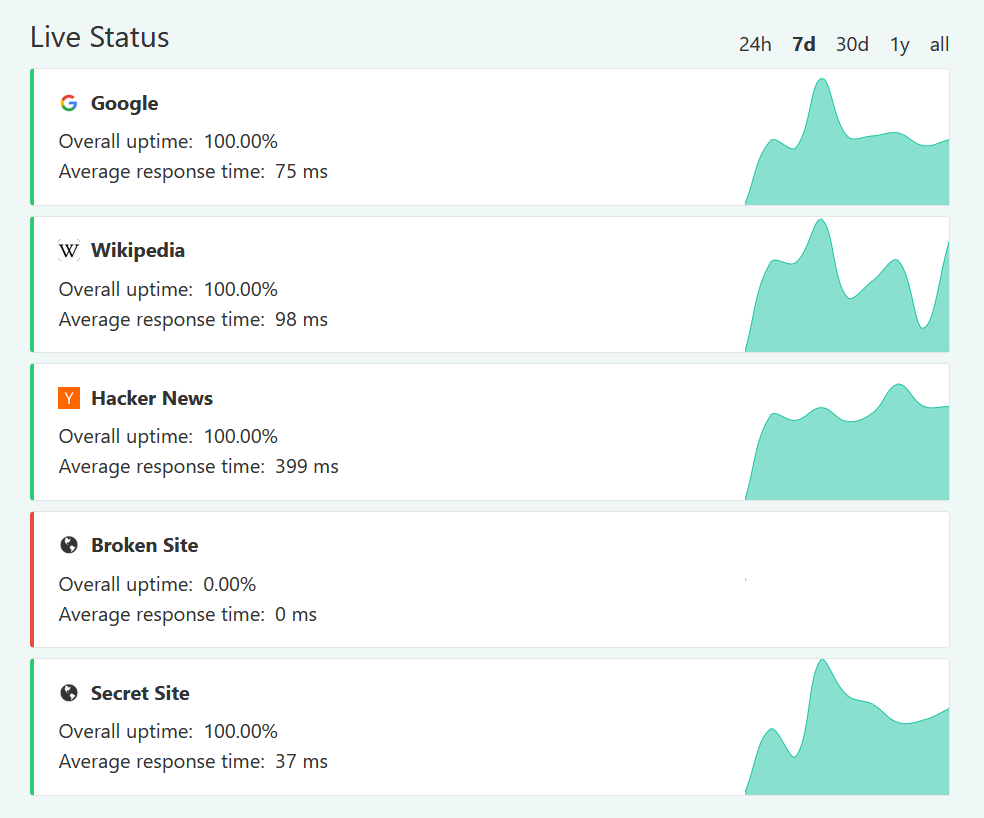
Click on an item to see the detailed status for each website.

Shown in red at the top is information about the ongoing failure.
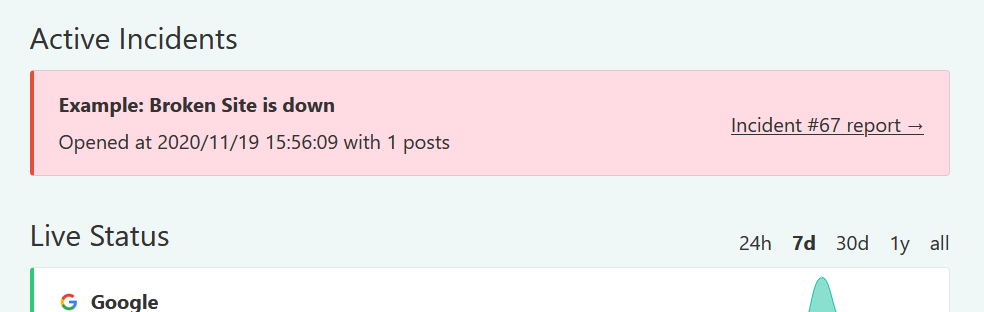
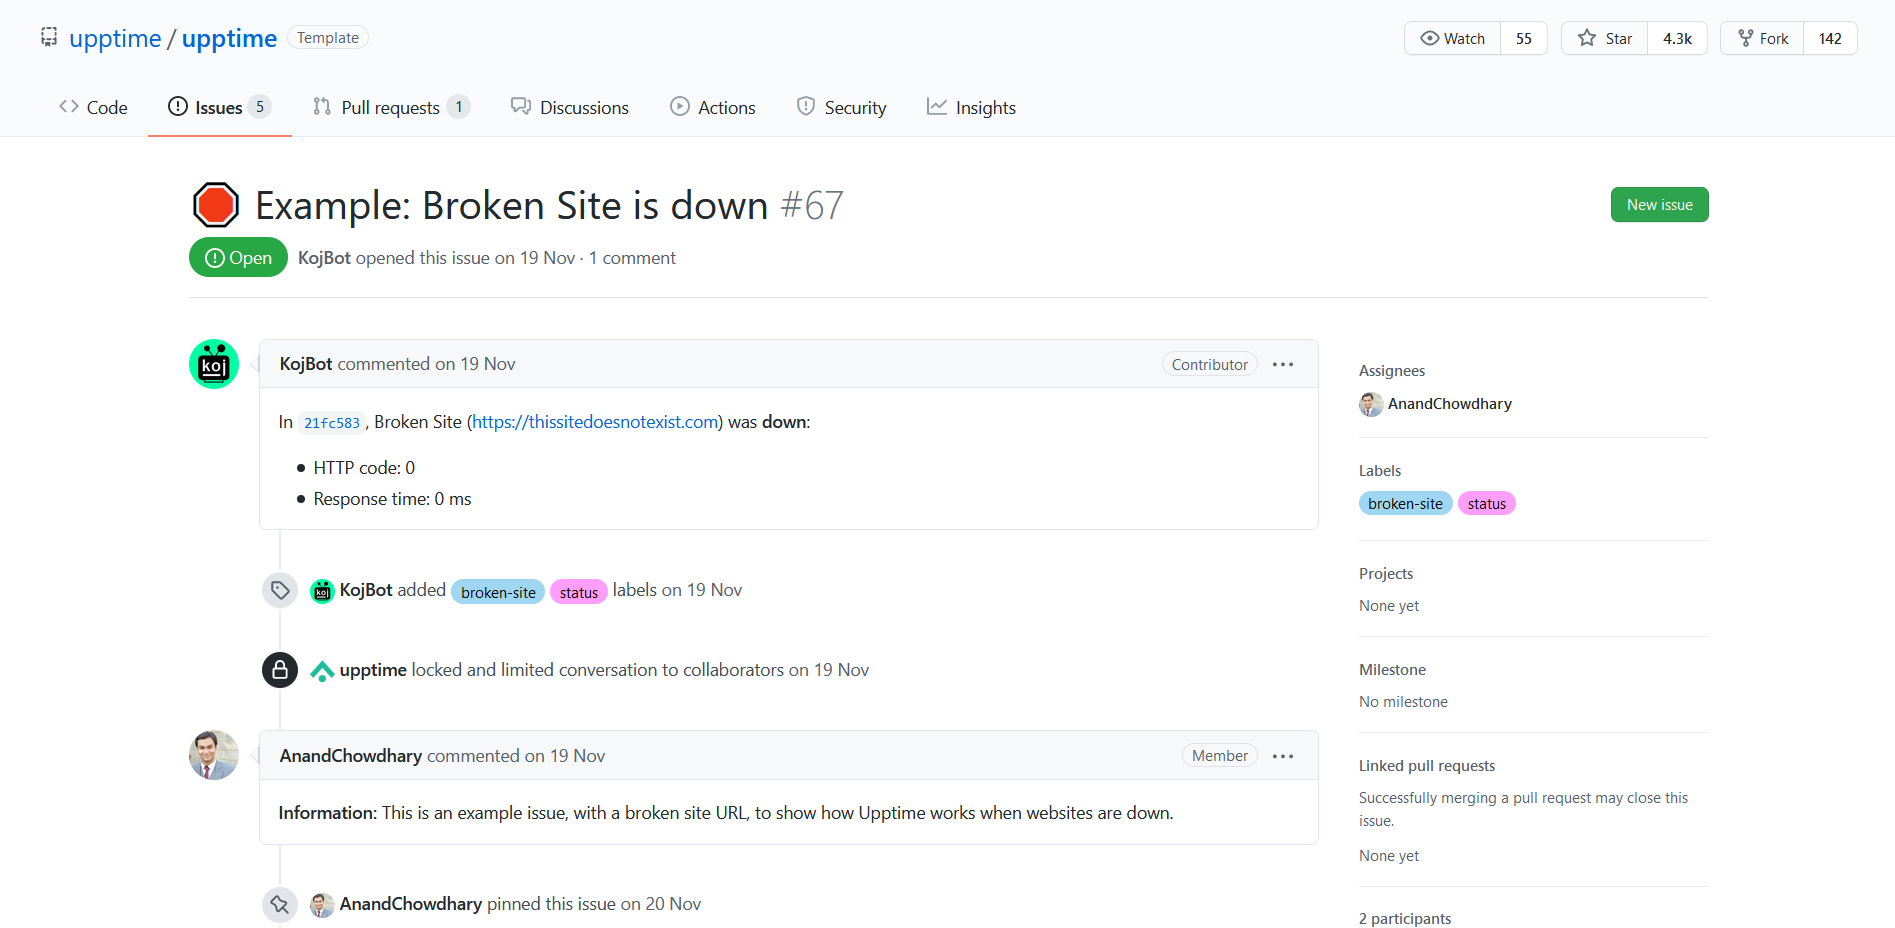
Click to see detailed information about the failure. Click 'View on GitHub' for more details.

The Issues page for the Upptime repository is displayed.
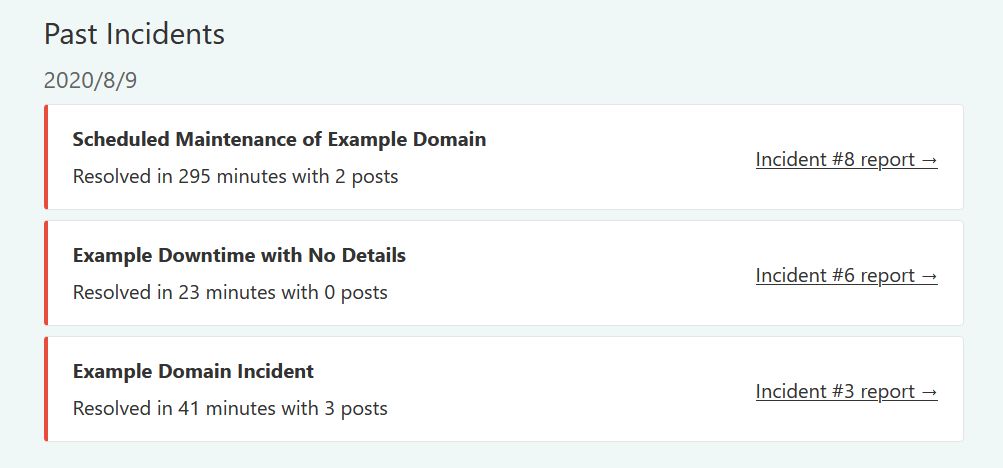
You can also check past failure information at the bottom of the Upptime page.
Since Upptime is open source, you can also build your own life-and-death monitoring environment using Upptime. First, access Upptime's

Enter the repository name, check 'Include all branches' and click 'Create repository from template' ...

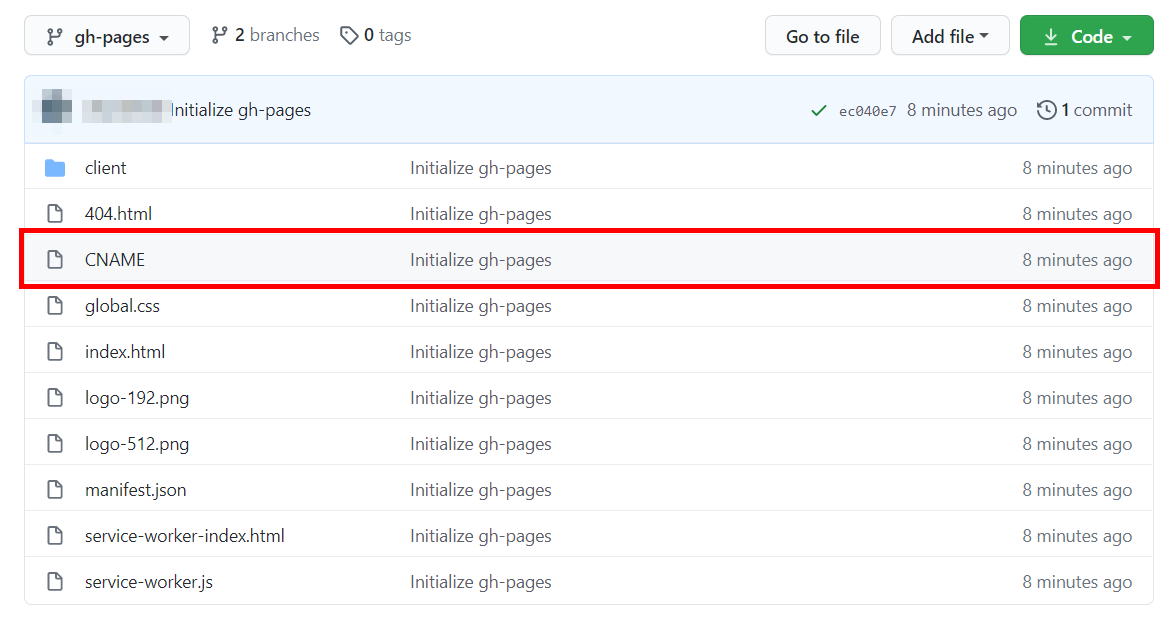
A repository will be created in your account. I need to modify the part related to CNAME in the code, so click '.upptimerc.yml'.

Click the edit button to enter the edit screen.

Comment out 'cname: demo.upptime.js.org' and click 'Commit changes'.

Then switch the branch to 'gh-pages'.
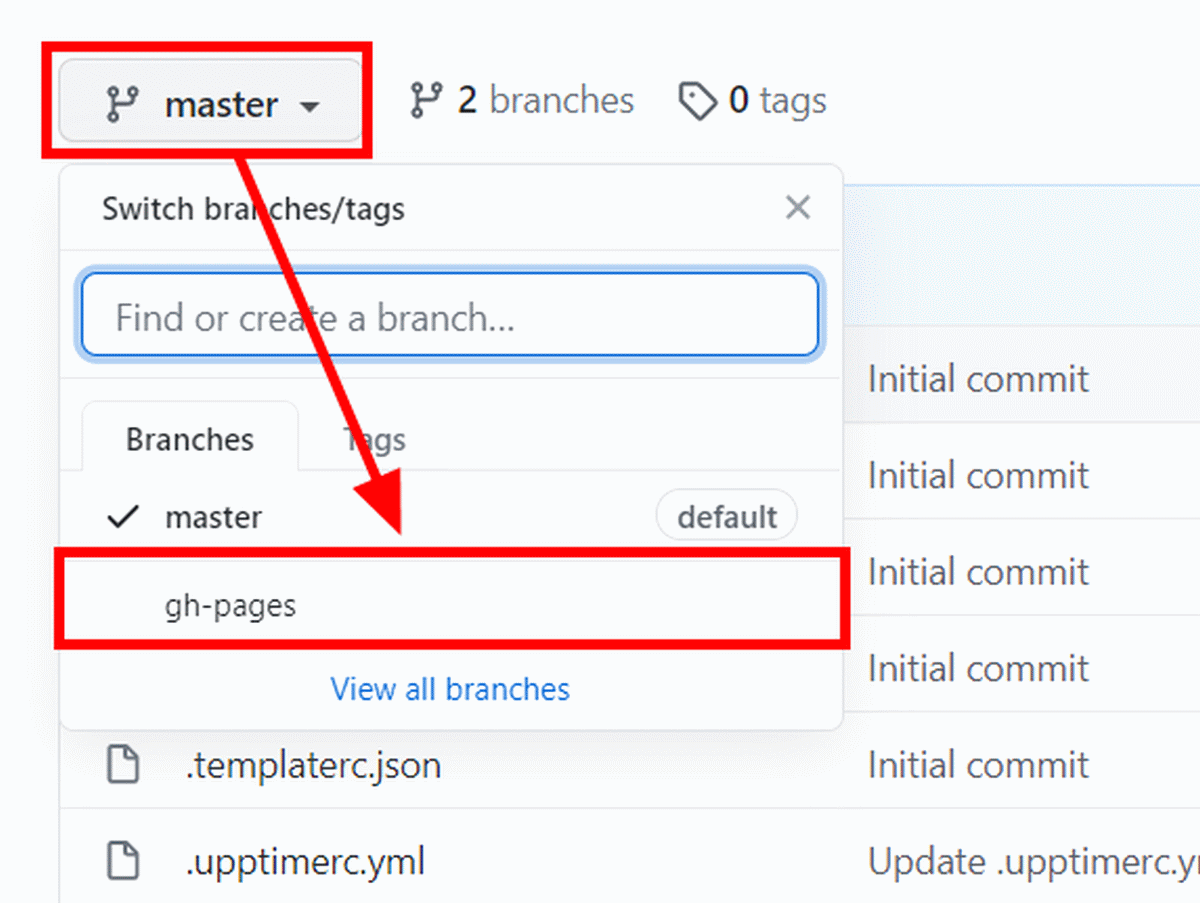
Click 'CNAME'.
Click the delete button to delete the CNAME file. This completes the editing work.
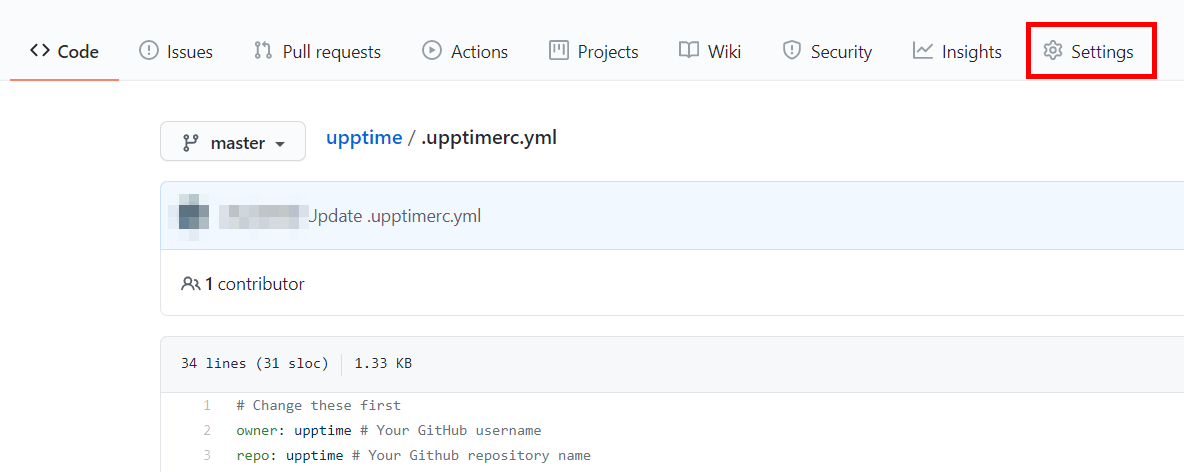
Once you've done that, you'll already be able to access the Upptime page. Go to the 'Settings' tab to see the URL of the page.
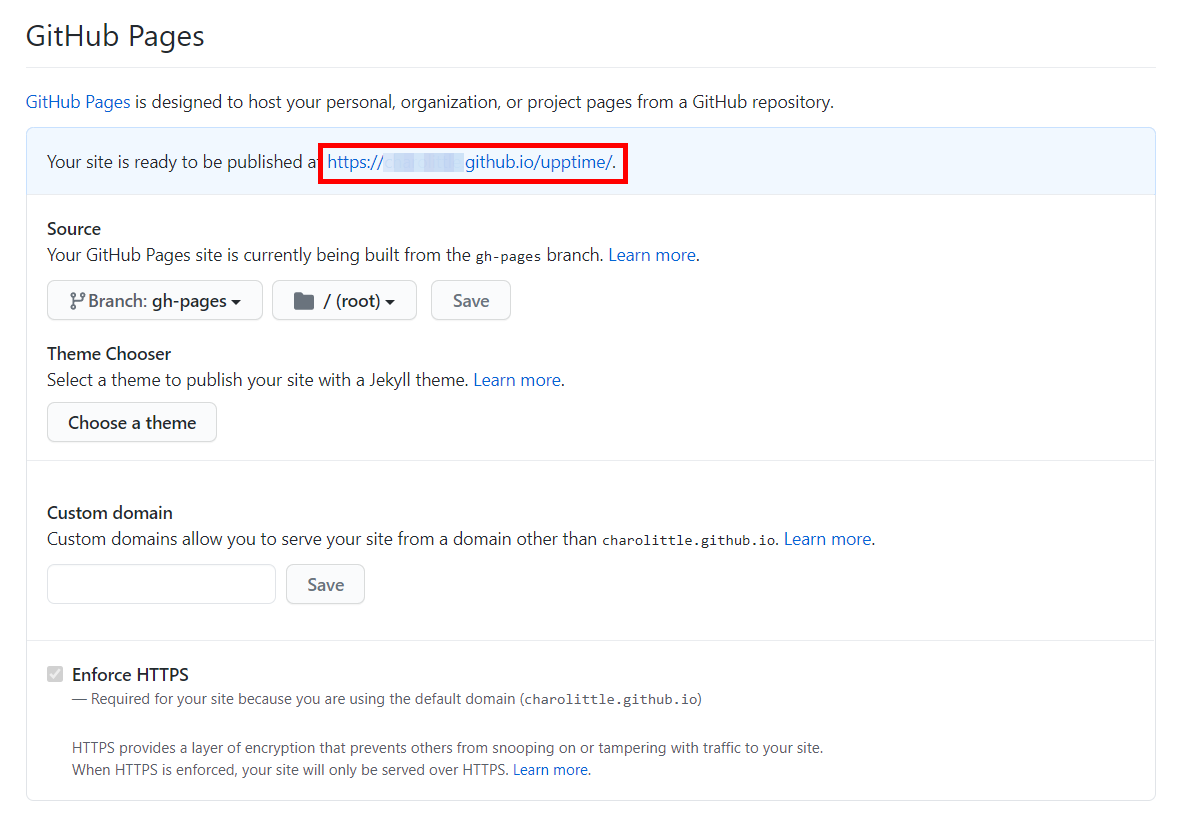
The URL is displayed in the 'GitHub Pages' item, so click to access it ...
The Upptime page is displayed. However, at the time of writing the article, CSS and JavaScript did not load according to the procedure shown in the Upptime documentation. After checking the source code, it seems that there is a problem in the description of the link that specifies a static file such as JavaScript.
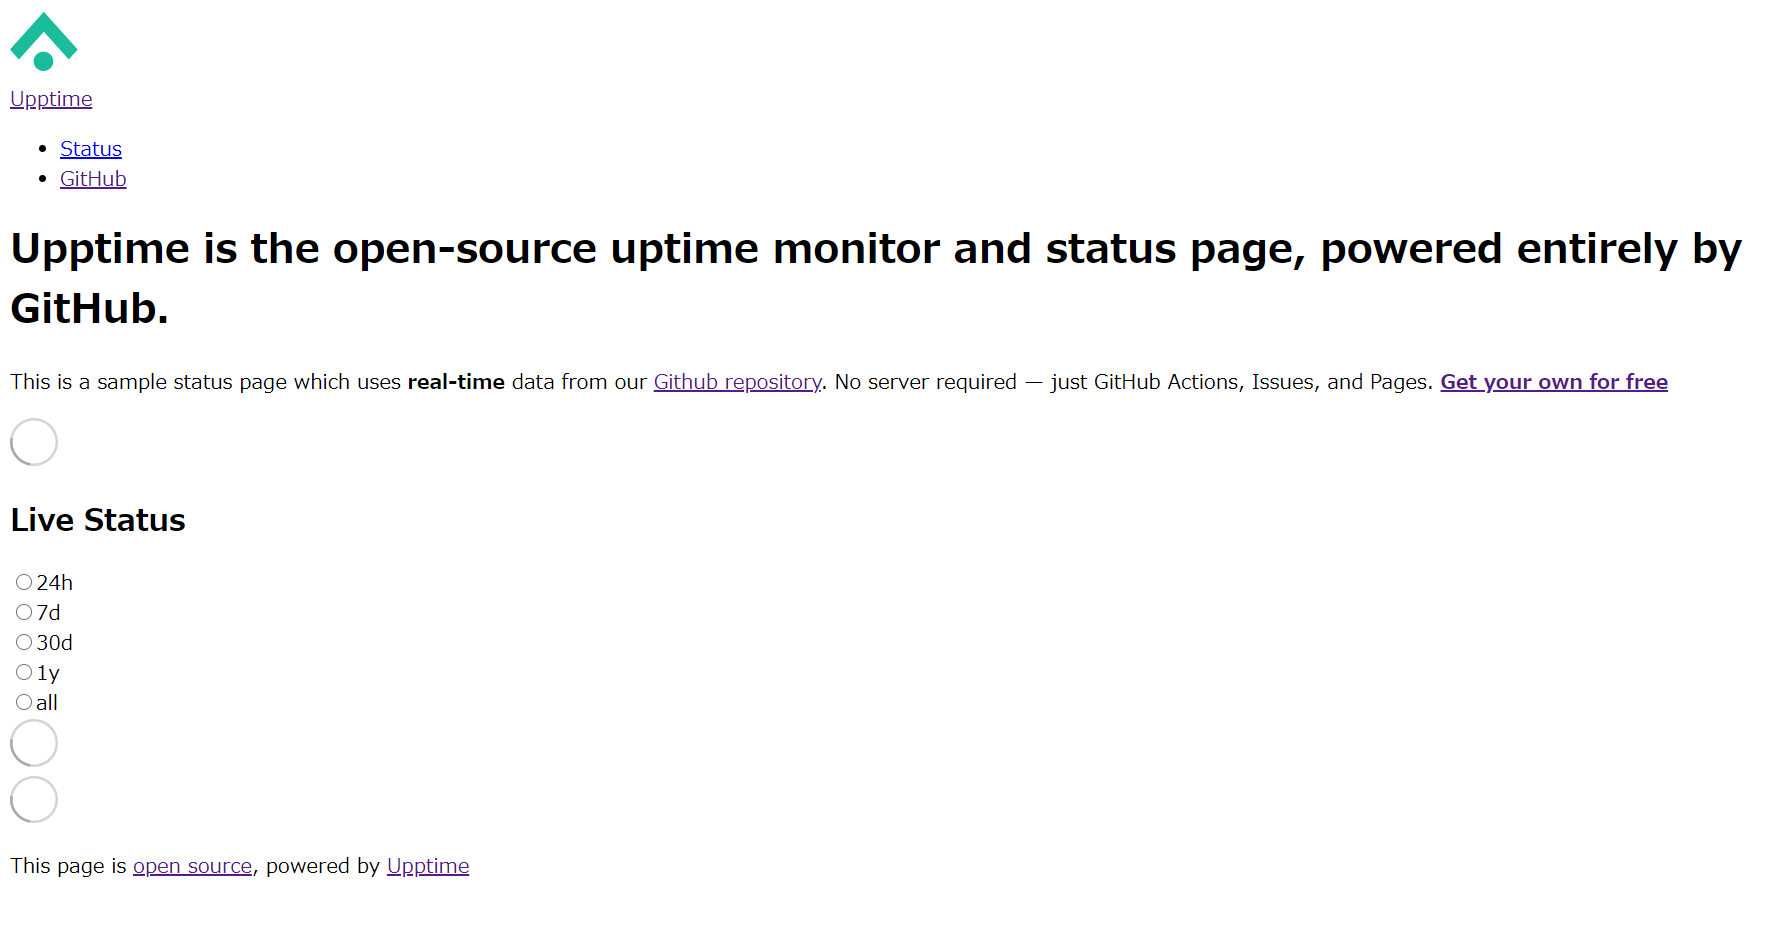
If you set the base URL of 'index.html' to 'https://GitHub account name.github.io/upptime/' and rewrite all the links to static files that are partially written with absolute paths with relative paths, I was able to apply CSS. However, unlike the demo site, the alive monitoring part was not displayed, so it seems that additional correction is necessary.
Related Posts:


in Software, Web Service, Review, Posted by darkhorse_log