Review of 'Transcription Stream', a free and self-hosted transcription tool that can be operated on a browser
' Transcription Stream ' automatically creates a transcript and summary by simply uploading an audio file, and since the seek bar and transcription results are linked, it is a convenient tool that allows you to find at a glance where a human listener is needed. ' Transcription Stream Community Edition ' is available as a free, self-hosted open source version, so I actually tried self-hosting it.
GitHub - transcriptionstream/transcriptionstream: turnkey self-hosted offline transcription and diarization service with llm summary
Please note that a PC equipped with a GPU is required to host Transcription Stream Community Edition.
This time, we will use Debian to start Transcription Stream Community Edition. First, clone the repository with the following command and move to the directory.
[code]git clone https://github.com/transcriptionstream/transcriptionstream.git
cd transcriptionstream[/code]
There are two ways to do this: build the Docker image yourself or pull a pre-built image. Since we will be using a pre-built image this time, enter the following command.
[code]./start-nobuild.sh[/code]
A warning message will appear saying, 'The main Docker image is 26GB and will take a long time to download.' Enter 'y' and press Enter.

I got an error that the Docker-compose command was not found.
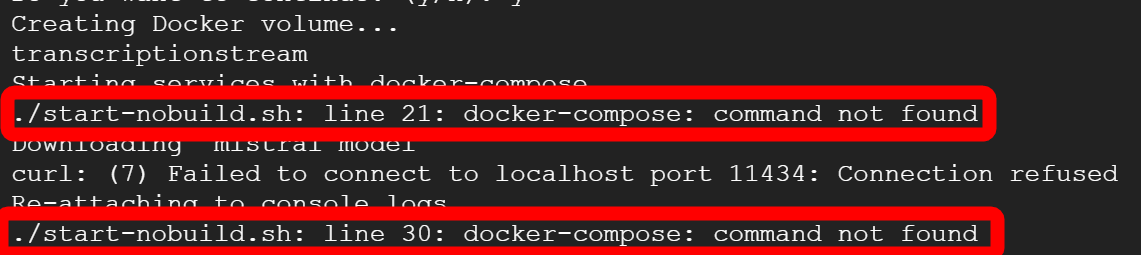
Install Docker Compose with the command below.
[code]sudo apt-get update
sudo apt-get install docker-compose-plugin[/code]
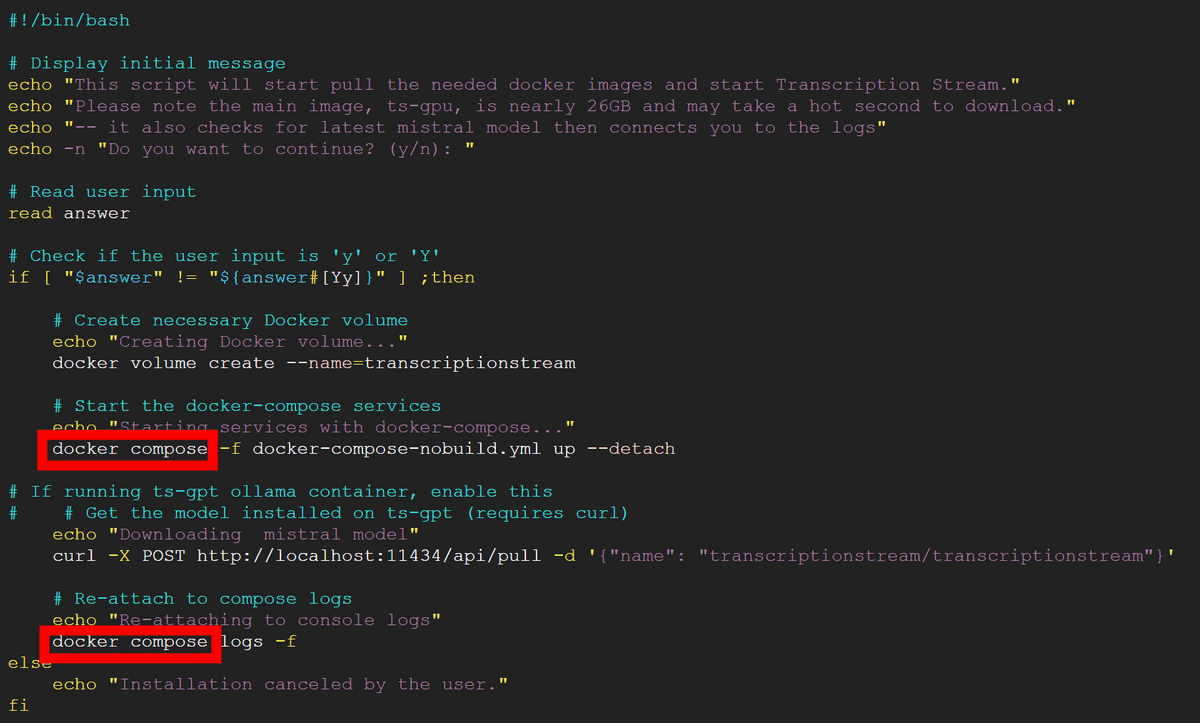
Also, since we will be using Compose V2, open “start-nobuild.sh” in a text editor, remove the two hyphens in “docker-compose” and replace it with “docker compose”.
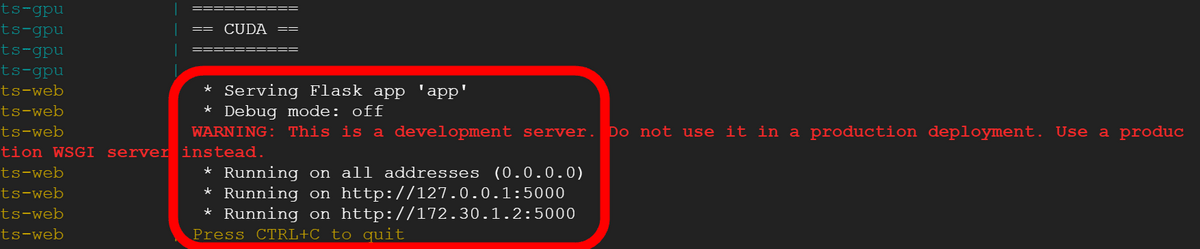
If you see the message 'Serving Flask app 'app'', the app is running. It says that it is listening on port 5000, but you should actually access it on port 5006, like this: 'http://localhost:5006'.
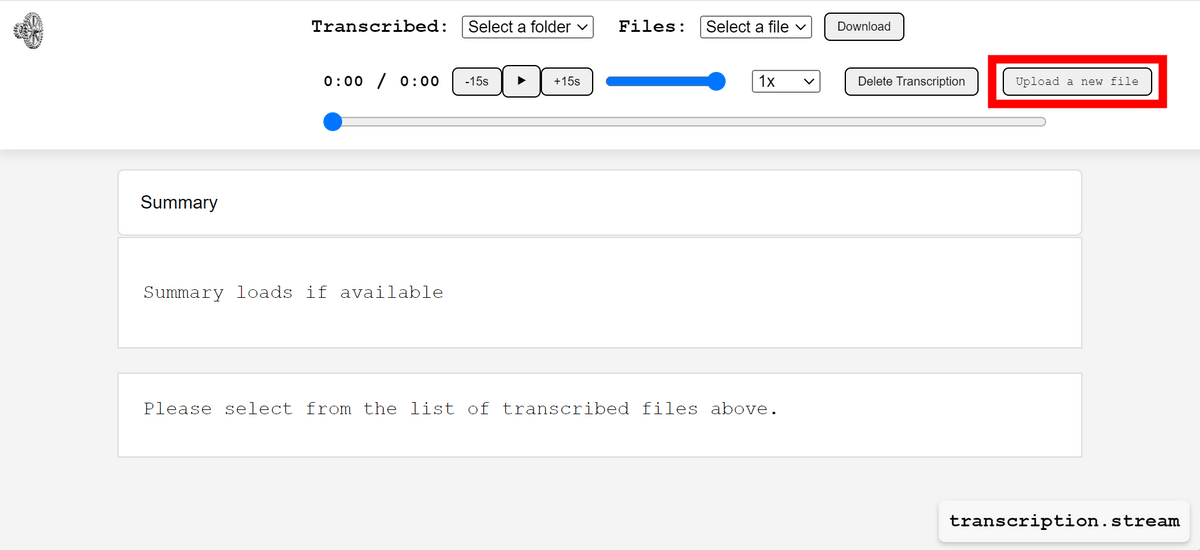
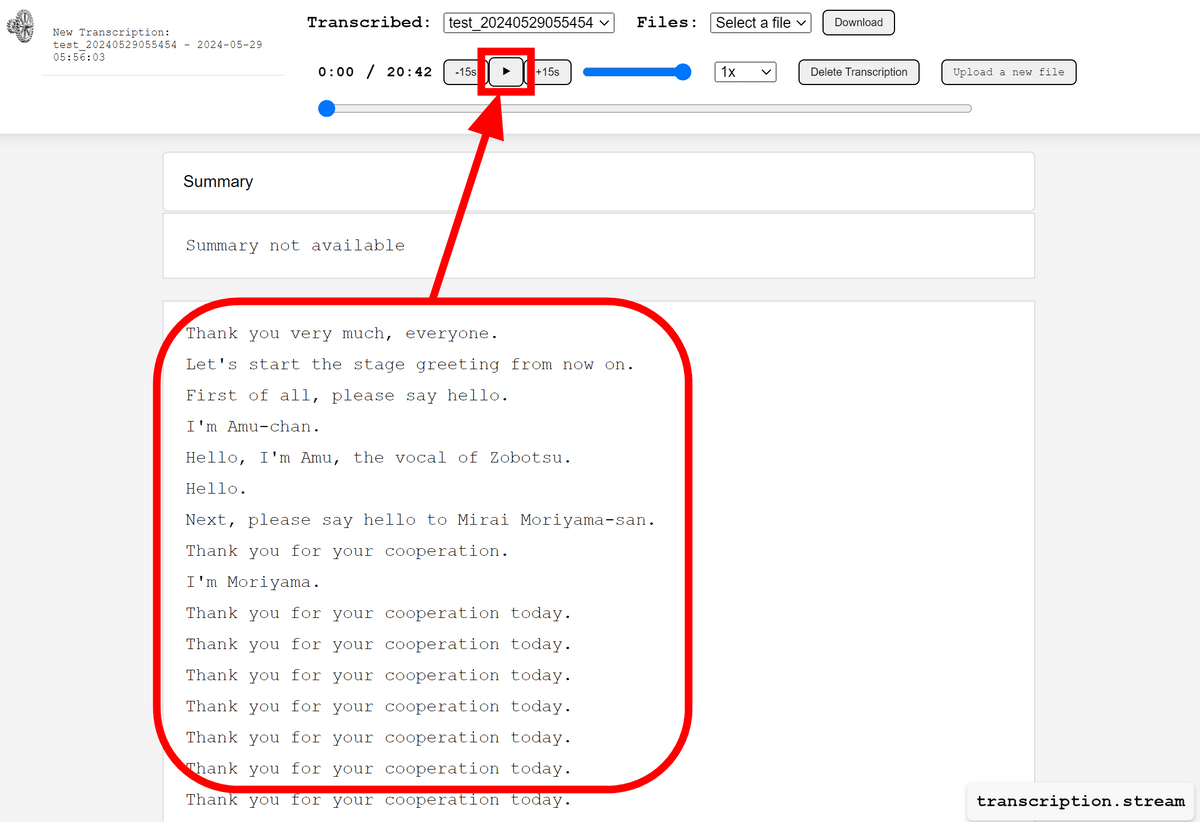
When you access 'http://localhost:5006', the page below will open. Click 'Upload a new file' in the upper right.
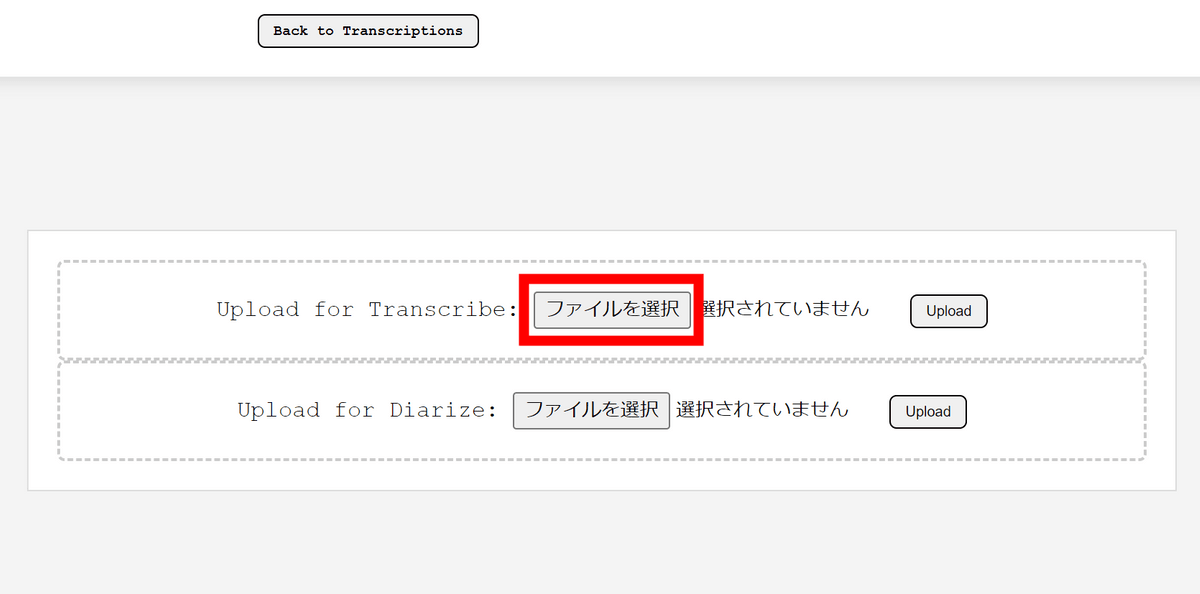
Since I’m requesting a transcription this time, I click “Select file” under “Upload for Transcribe.”
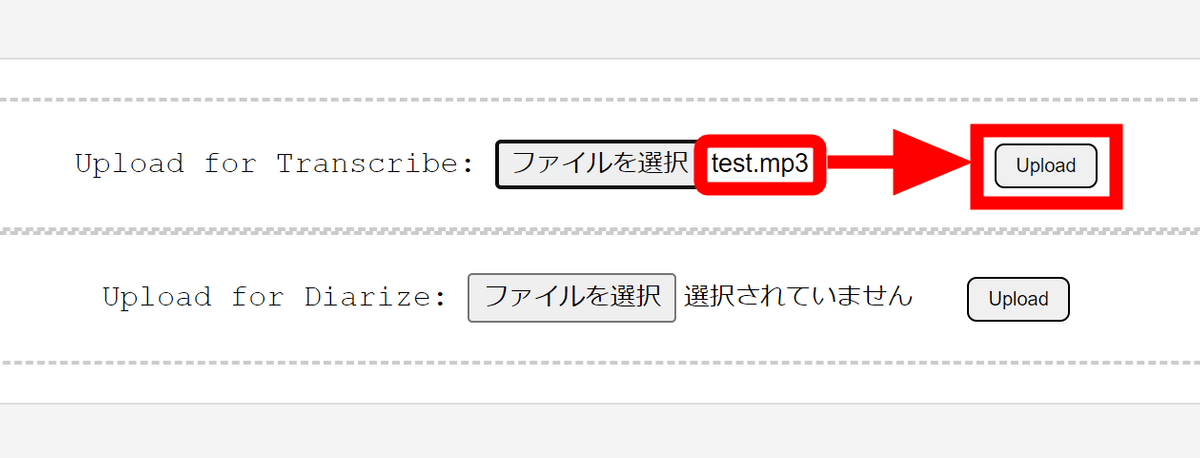
As a test file, we have prepared an mp3 file extracted from

Verify that the file is selected and click 'Upload'.
The message 'File uploaded successfully to Transcribe!' appeared. Transcription Stream uses
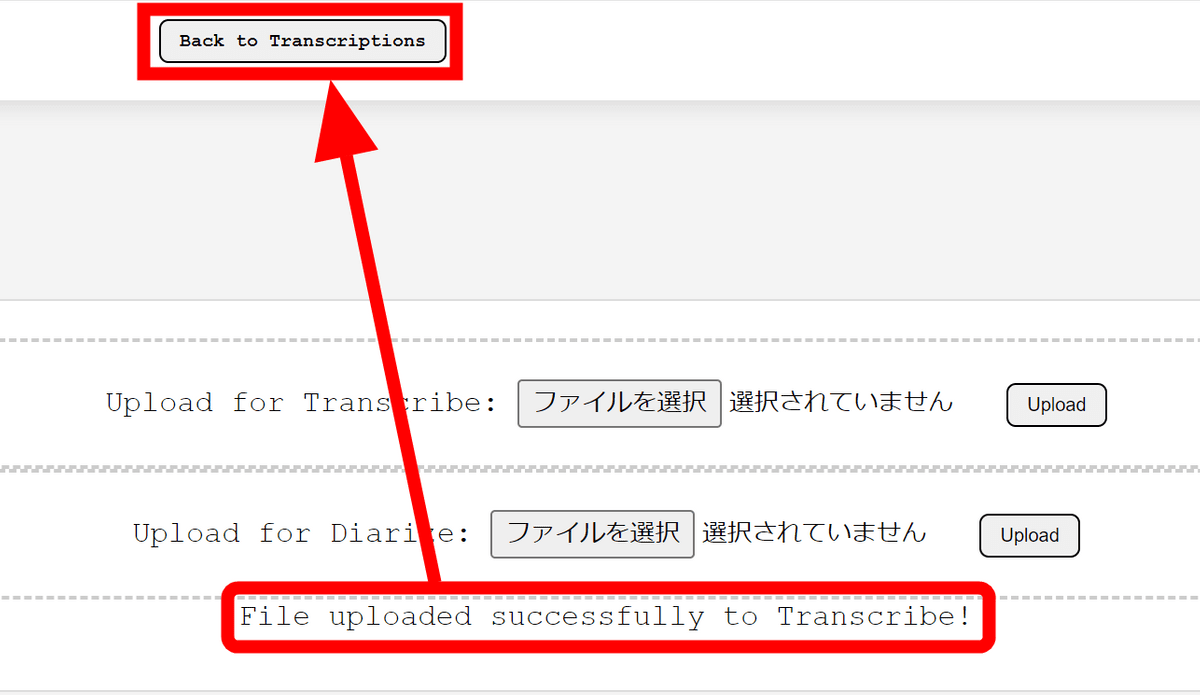
I hadn't heard anything for a while, so I was worried if it was working properly, but before I knew it, a notification appeared in the upper left corner saying that the transcription was complete. After the transcription is complete, just select the 'Transcribed' item.

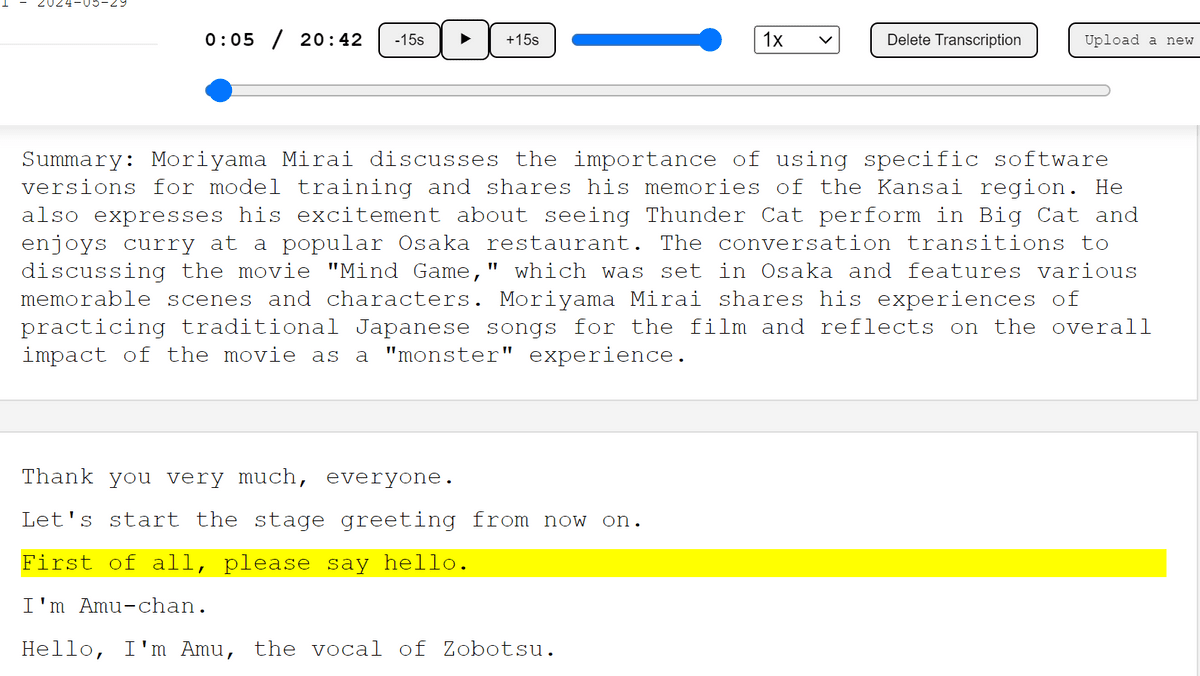
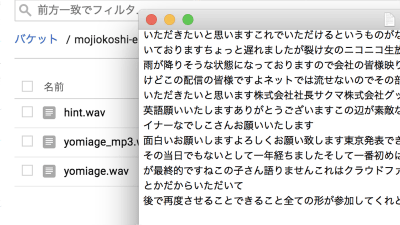
The transcription results were output in English. Perhaps due to the influence of the English translation, the accuracy was not very good, as the first few seconds of the speech were missing 'Excuse me, Abu-chan, please.' and the same sentence was output repeatedly during the applause section. It
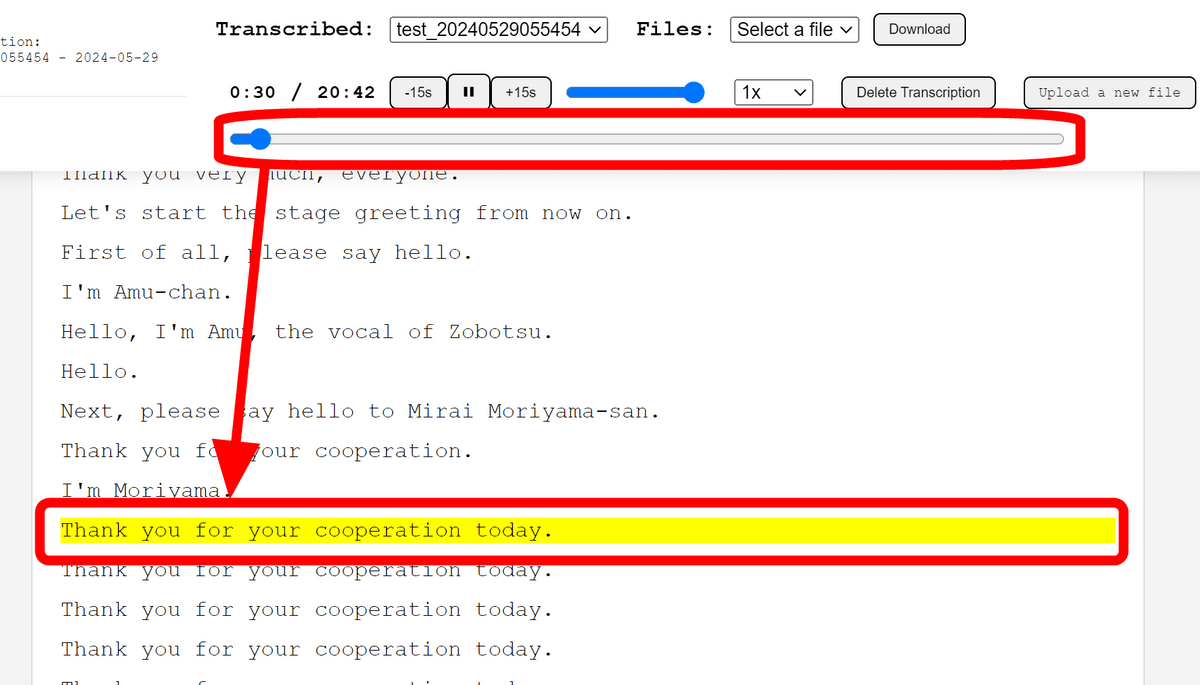
The seek bar will start to move, and the 'currently playing' part of the transcript will be highlighted. As you move the seek bar, the highlight will move as well, making it easier to find the part you want to play.
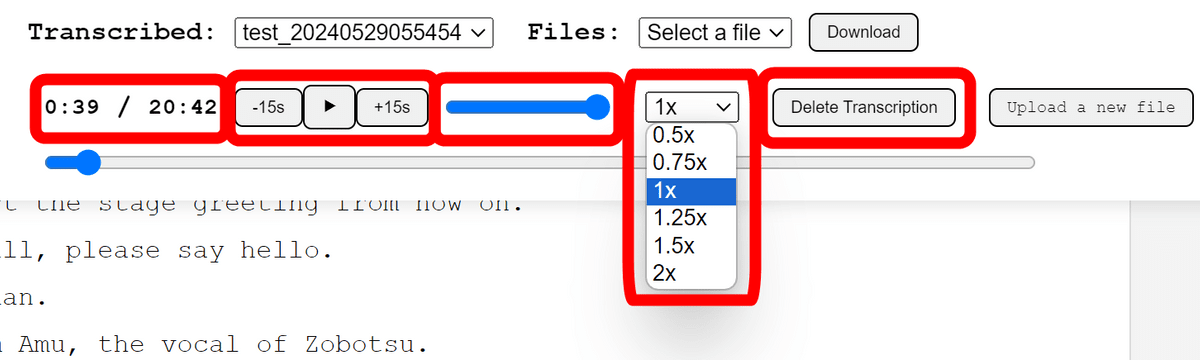
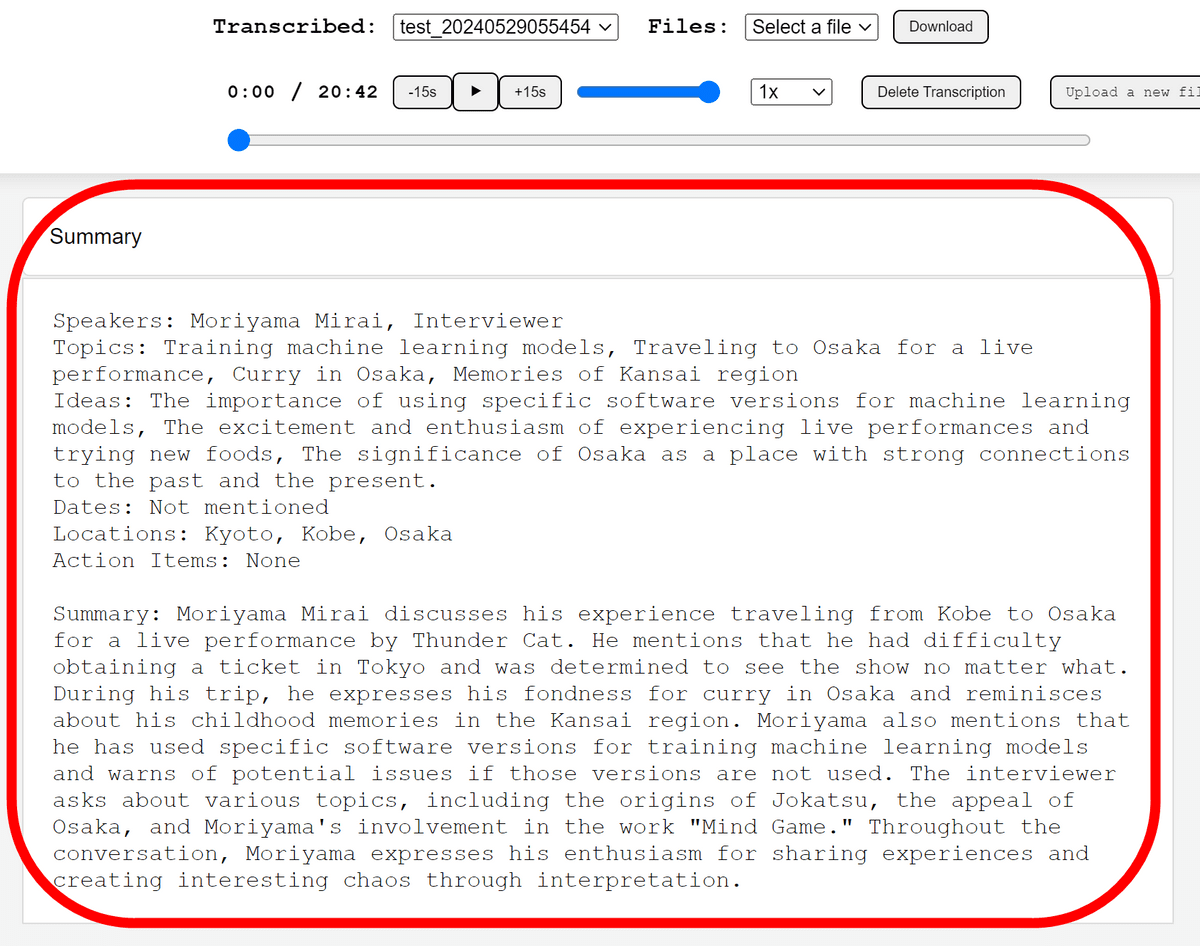
The UI above, from left to right, consists of 'Play time,' 'Total time,' 'Go back 15 seconds,' 'Play/Stop,' 'Skip forward 15 seconds,' 'Adjust volume,' 'Playback speed,' and 'Delete transcript.'
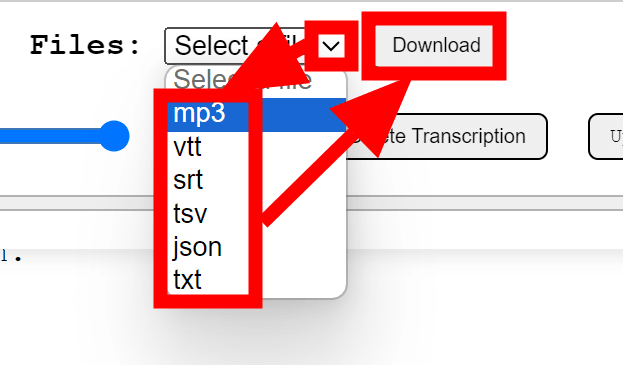
Select the output result or the original audio file in the 'Files' column in the upper right and click 'Download' to download it. The output format of the transcription was available in 'vtt', 'srt', 'tsv', 'json' and 'txt'.
Also, the summary was not output initially, but after waiting a while and reloading the page, the summary appeared.
Next, I tried to change it to Japanese. According to
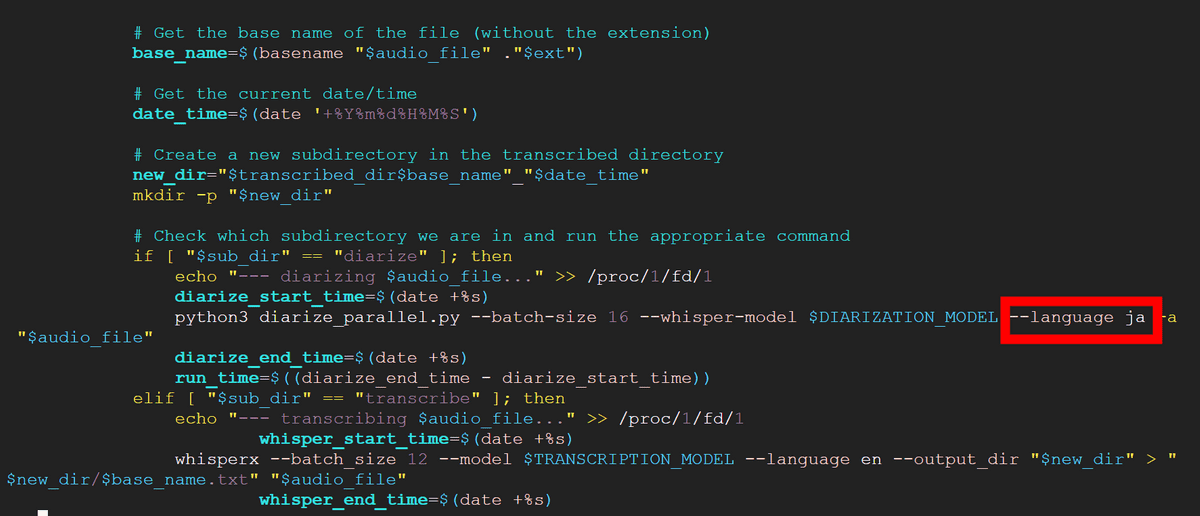
If you want to change the language settings, you need to build the Docker image yourself. You can build it with the following command.
[code]chmod +x install.sh
./install.sh[/code]
However, the build failed.

According to the author, 'in the next update, we plan to make it possible to select the language using environment variables,' so it looks like we'll be able to use it in Japanese if we wait for the update.
Related Posts:

in AI, Software, Review, Web Application, Posted by log1d_ts