'Bluesky' account creation procedure & review like this when actually using it, it is very similar to Twitter, so it is quite suitable as a transfer / moving destination

Since the acquisition of Twitter by Elon Musk, dramatic changes have occurred on Twitter, and an increasing number of users are considering moving to other SNS. Among them, '
Bluesky Social
https://bsky.app/
At the time of article creation, an invitation code is required to use Bluesky. The GIGAZINE editorial department quickly registered on the waitlist in October 2022 when Bluesky was announced , but no matter how long we waited, we could not get the invitation code. So, I asked readers for invitation codes, and one kind reader sent me an invitation code. thank you! thank you! So, I actually created an account using the invitation code I got and tried using Bluesky.
·table of contents
◆1: Bluesky installation & account creation
◆2: Edit profile
◆3: How to view and search the timeline
◆4: I tried various post formats.
◆1: Bluesky installation & account creation
Bluesky's app has iOS and Android versions . This time, I will install the iOS version app on my iPhone and try using it.
First, search for an app named ' Bluesky Social ' in the App Store and tap 'Get'.

Complete the authentication with Face ID or Touch ID and continue the installation.

When installation is complete, tap 'Open'.

When Bluesky starts, tap 'Create a new account'.

When the provider selection screen is displayed, select 'Bluesky' and tap 'Next'.

Next, enter the invitation code in the input field marked 'Invite code'.

When you enter the invitation code, an email address and password input screen will be displayed, so enter the email address and password you want to use with your Bluesky account.
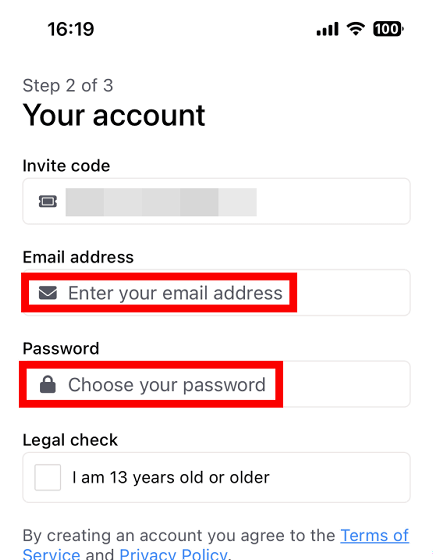
Once you have entered your invitation code, email address, and password, check the box to indicate that you are over 13 years old, read the terms of use and privacy policy carefully, and then tap 'Next.'

Next, the handle name input screen will be displayed, so enter the handle name of your choice.

When I entered 'gigazine', the handle name 'gigazine.bsky.social' was automatically assigned. This handle name can be changed later, and you can also set your own domain other than 'bsky.social' later. When you have completed entering the handle name, tap 'Next'.

When notification permission settings are displayed, tap 'Allow'.

An empty timeline will then appear. Installation and account creation are now complete.

◆2: Edit profile
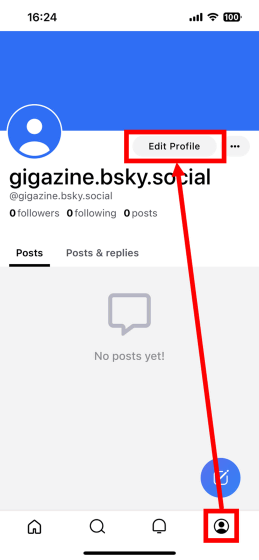
Once you've created your account, edit your profile. First, tap the button at the bottom right of the screen and tap 'Edit Profile'.
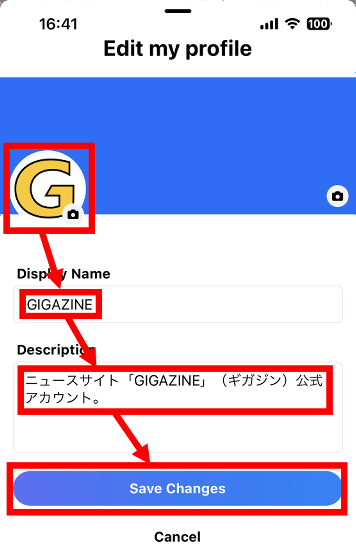
On the profile editing screen, you can edit the cover image, icon, display name, and self-introduction. This time, I left the cover image as is, edited the 'icon', 'display name', and 'self-introduction', then tapped 'Save Changes'.
The edited profile screen is below. The display name and handle name are displayed below the cover image and icon, and the ``number of followers'', ``number of following'', and ``number of posts'' are displayed below that. In appearance, it is quite similar to Twitter.

◆3: How to view and search the timeline
Tap the home button at the bottom left of the screen to display the timeline. There are two types of timelines: 'Following' which displays posts by users you follow, and 'What's hot' which displays popular posts at the moment. 'Following' displays your own posts in addition to the users you follow.
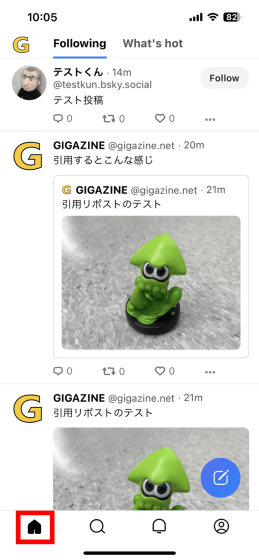
When you switch to 'What's hot' it looks like this. Your posts may also appear in 'What's hot'. Also, depending on the timing of updating the timeline, only English posts were displayed, and sometimes only posts from Japan were displayed.

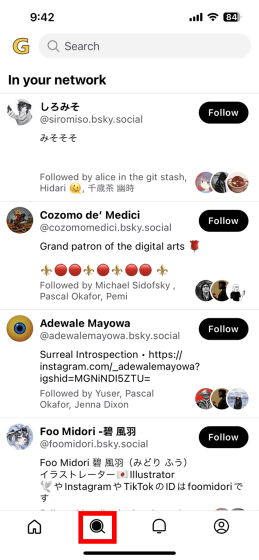
Tap the magnifying glass button at the bottom of the screen to open the search screen. Bluesky users are displayed in a row on the search screen, but the selection criteria for the displayed users is unknown.
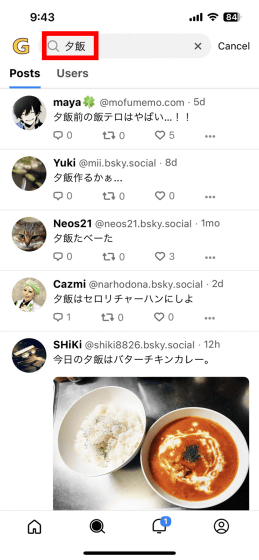
You can search for posts by entering a phrase in the search bar at the top of the screen.
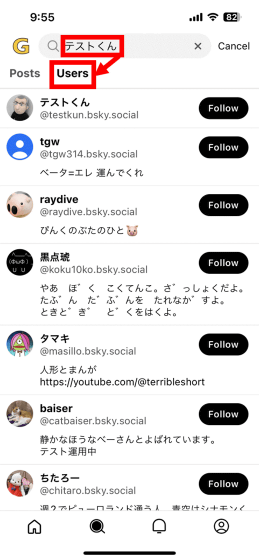
You can also search for users by entering a search term and then switching to the Users tab. After a few tries, I found that when searching for a user, I got better results by entering their display name instead of their handle.
◆4: I tried various post formats.
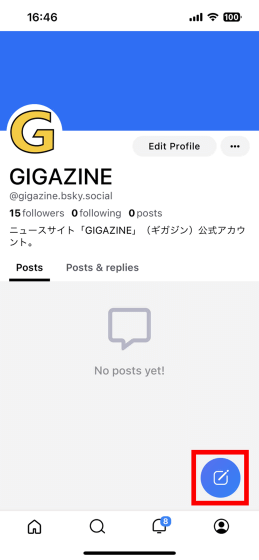
To post a short message to Bluesky, tap the post button at the bottom right of the screen.
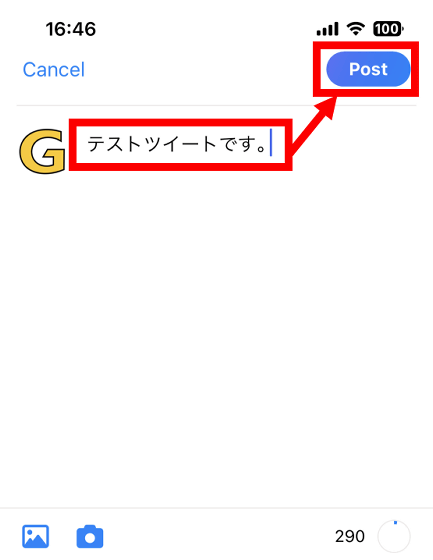
When the post creation screen is displayed, enter the post content and tap 'Post'. The maximum number of characters that can be posted is 300 characters, and each character, whether alphabetic or Japanese, is counted as one character. In addition, in the screen below, posts are referred to as 'tweets', but this is incorrect because Bluesky is not Twitter.
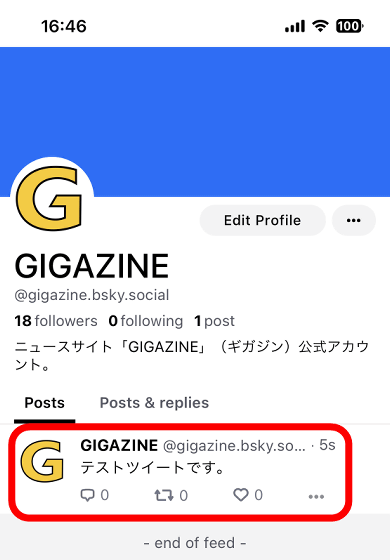
In addition to being displayed on your timeline, you can also check your posts on your profile screen.
You can also send a reply by tapping the speech bubble icon.

The reply creation screen looks like this. You can enter your reply while checking the content of the original post. When input is complete, tap 'Reply'.
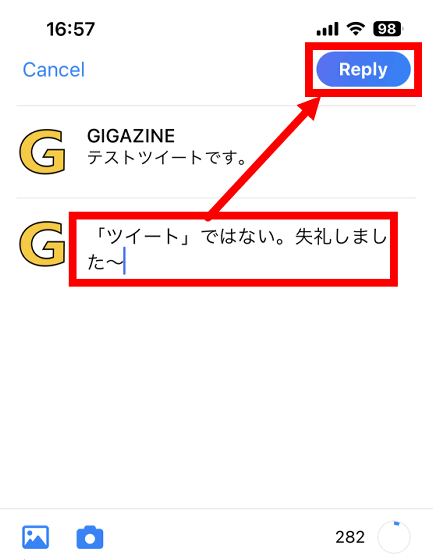
The reply display looks like this.

If you enter the URL while creating a post, an add card button will be displayed at the bottom of the post creation screen.
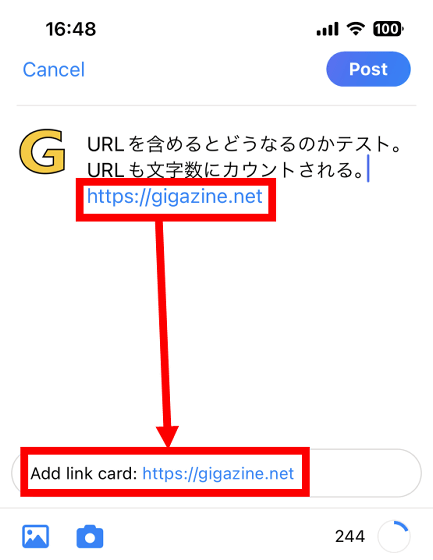
When you tap the add card button, a card containing the linked image and summary will be inserted as shown below. In this state, tap 'Post' to embed the card in the post.
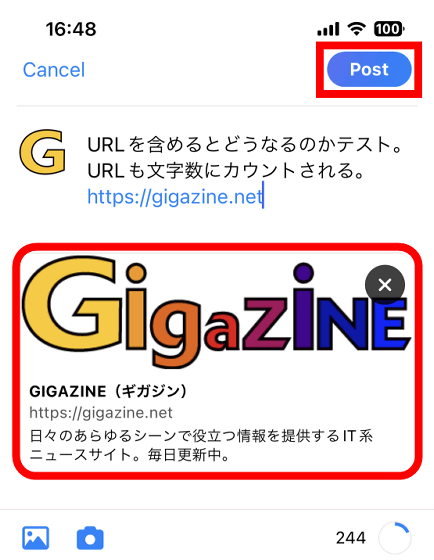
Posts with embedded cards will look like this:

When I posted the above card, other users immediately told me that ``you can save the number of characters by deleting the URL after inserting the card.''

In fact, if you delete the URL after inserting the card, the character count will be restored.
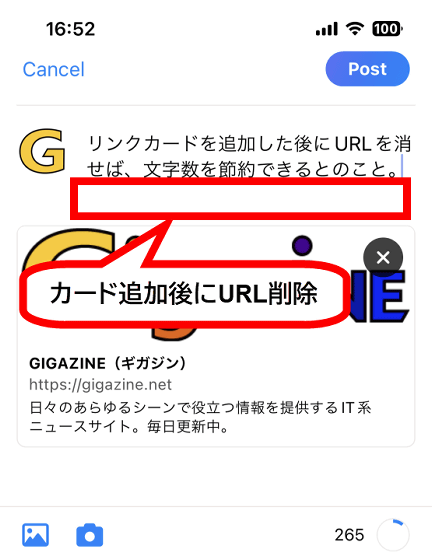
Even if I posted the post with the URL removed, the card remained intact. This is a trick that will come in handy when you feel like you have so much to write that you're about to run into the 300 character limit!

If you want to display an image in your post, tap the image icon at the bottom left of the post creation screen.
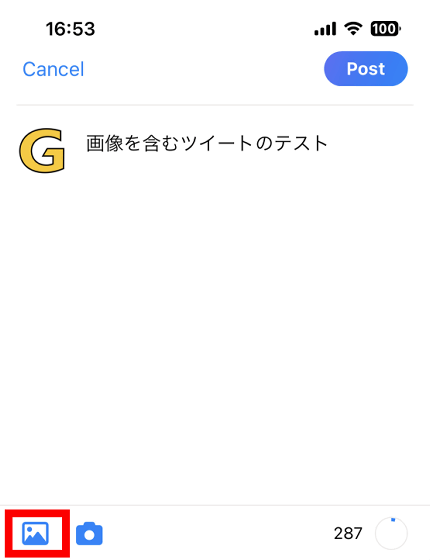
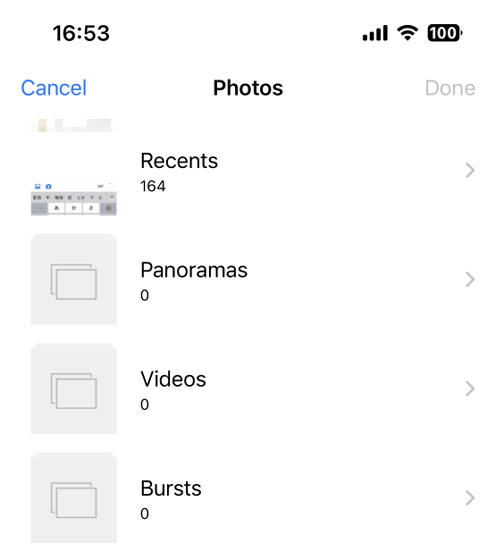
The image selection screen will then appear, allowing you to select the image you want to display in your post.
After adding an image, tap the edit button on the image to edit the image.
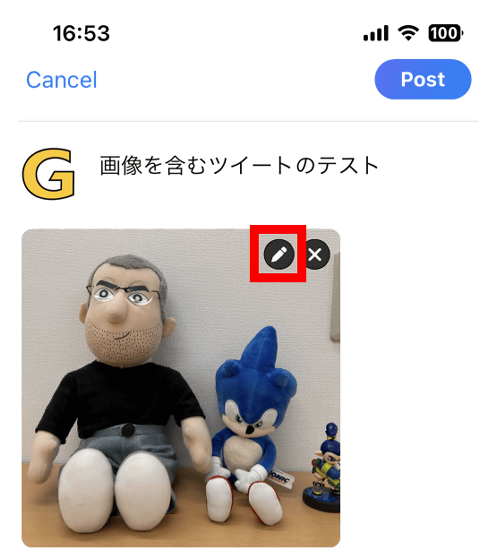
At the time of article creation, it was possible to crop and rotate images. When image editing is complete, tap 'Choose'.
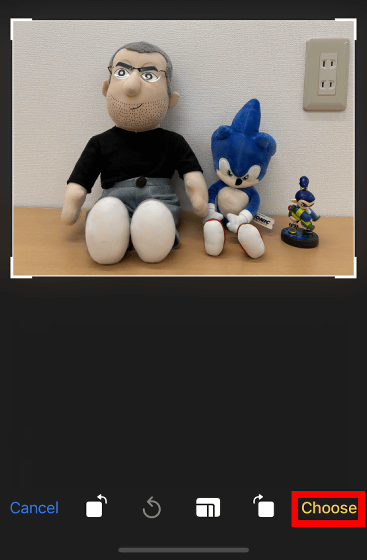
Then tap 'Post'.
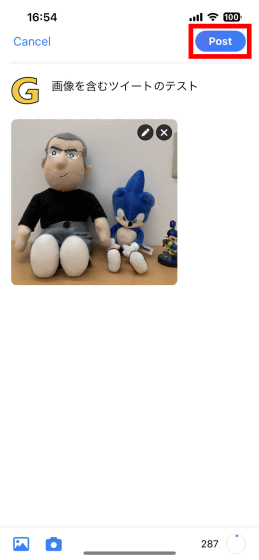
The post with the image displayed is completed.

You can also add up to 4 images.
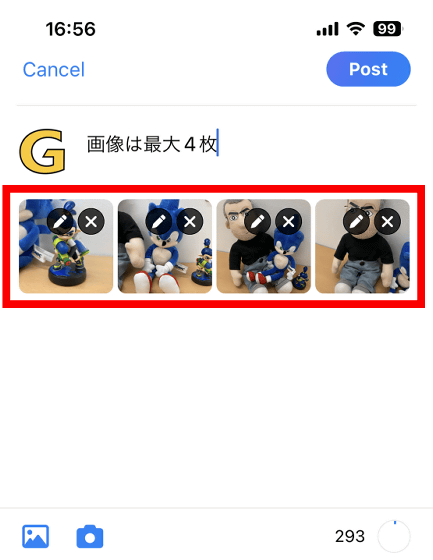
The post with four images added looks like this.

Bluesky also allows you to repost other people's posts. To repost, tap 'Repost', which is similar to the retweet icon.

Then tap 'Repost'.

It looks similar to a retweet and can be shared with your followers.

If you want to do the same thing as quote retweet, tap 'Quote Post'.

Next, enter your comment and tap 'Post'.
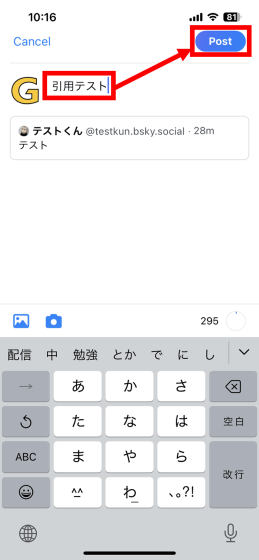
You can add comments and share, quoting and illustrating the content of your post.

If you cite a post with an image, the image will also appear in the cited post.

On the other hand, link cards were not included in the citations.

・Continued
With Bluesky, you can prove your identity by setting your own domain such as 'gigazine.net' as your handle name. The steps to actually set your own domain as a handle name can be found in the article below.
How to authenticate yourself with 'Bluesky', unlike Twitter, it's free & you can do it all yourself - GIGAZINE

Related Posts:


