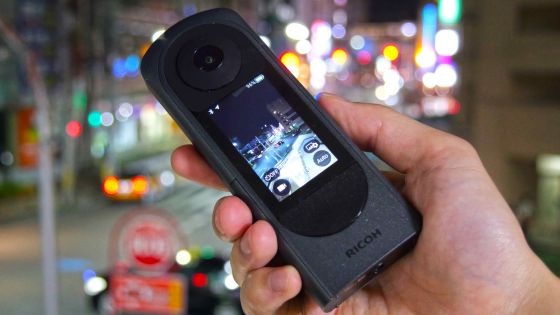
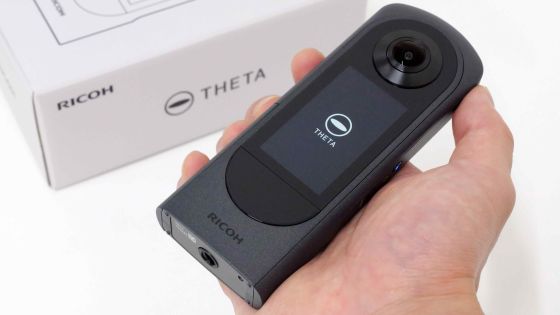
The 360-degree camera 'RICOH THETA X' equipped with a touch panel was able to quickly set up and check the shooting results without connecting to a smartphone
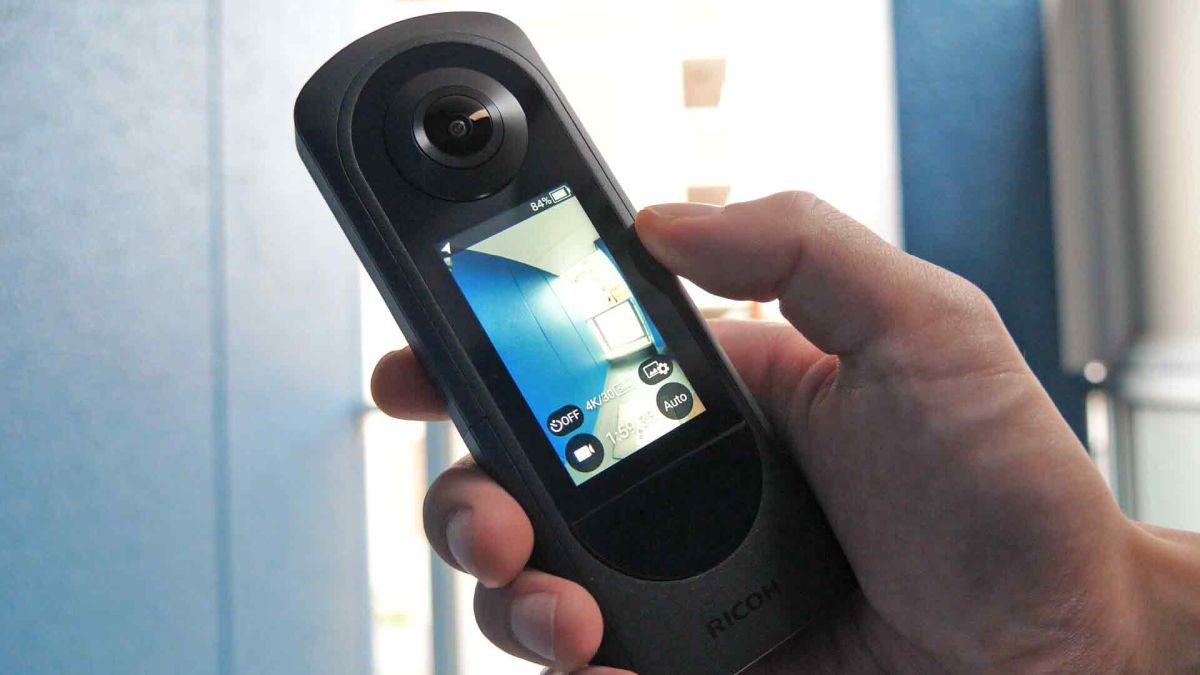
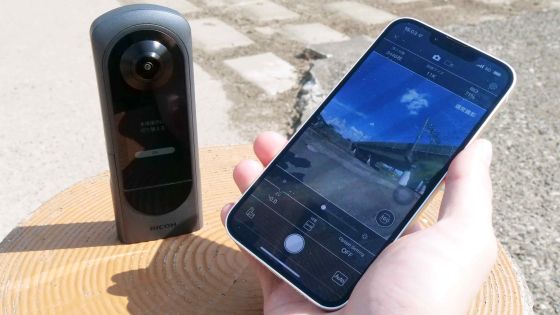
360-degree cameras that can record the surrounding scenery with overwhelming realism are gaining high popularity as cameras for recording travel and outdoor activities. However, many 360-degree cameras do not have a display, and it is essential to connect to a smartphone when checking the captured image or changing the settings. The 360-degree camera '
Product introduction | RICOH THETA X
https://theta360.com/ja/about/theta/x.html
RICOH THETA X is a camera equipped with two cameras with hemispherical lenses, and can record 360-degree scenery around one button. The detailed appearance of RICOH THETA X is summarized in the review article below.
I thoroughly checked the appearance of the 360 degree camera 'RICOH THETA X' that can shoot 5.7K movies with a touch panel - GIGAZINE
◆ Contents
・ 1: Initial setting possible without smartphone
・ 2: Learn operation with tutorial
・ 3: Shooting settings are also possible with the touch panel
4: I actually tried shooting with just the touch panel
・ 5: Summary
◆ 1: Initial setting possible without smartphone
Common 360-degree cameras often require connection to a smartphone for initial settings, but RICOH THETA X does not require a connection to a smartphone, and initial settings can be performed using the touch panel installed on the main unit.
To start the initial settings, first press and hold the power button on the side of the main unit ......
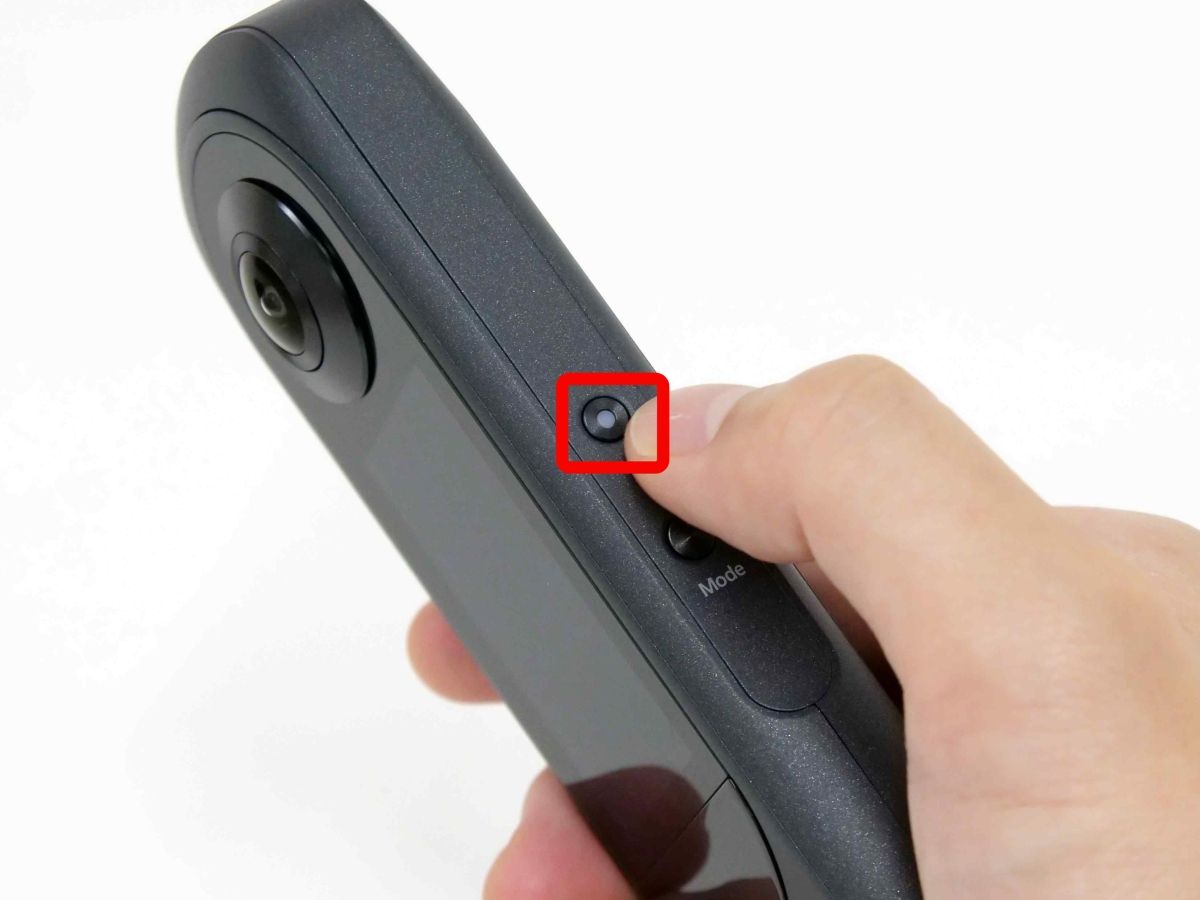
Wait a few seconds for the settings screen to appear.
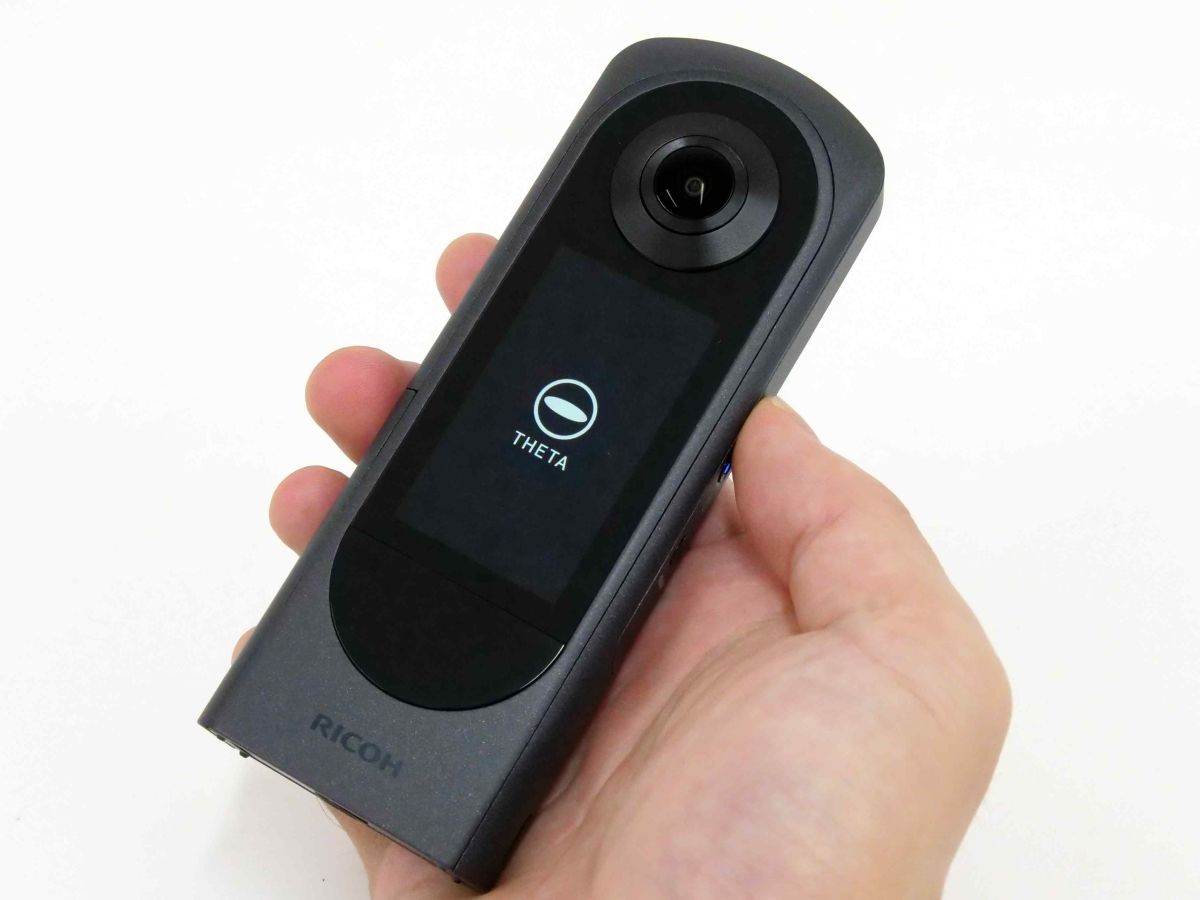
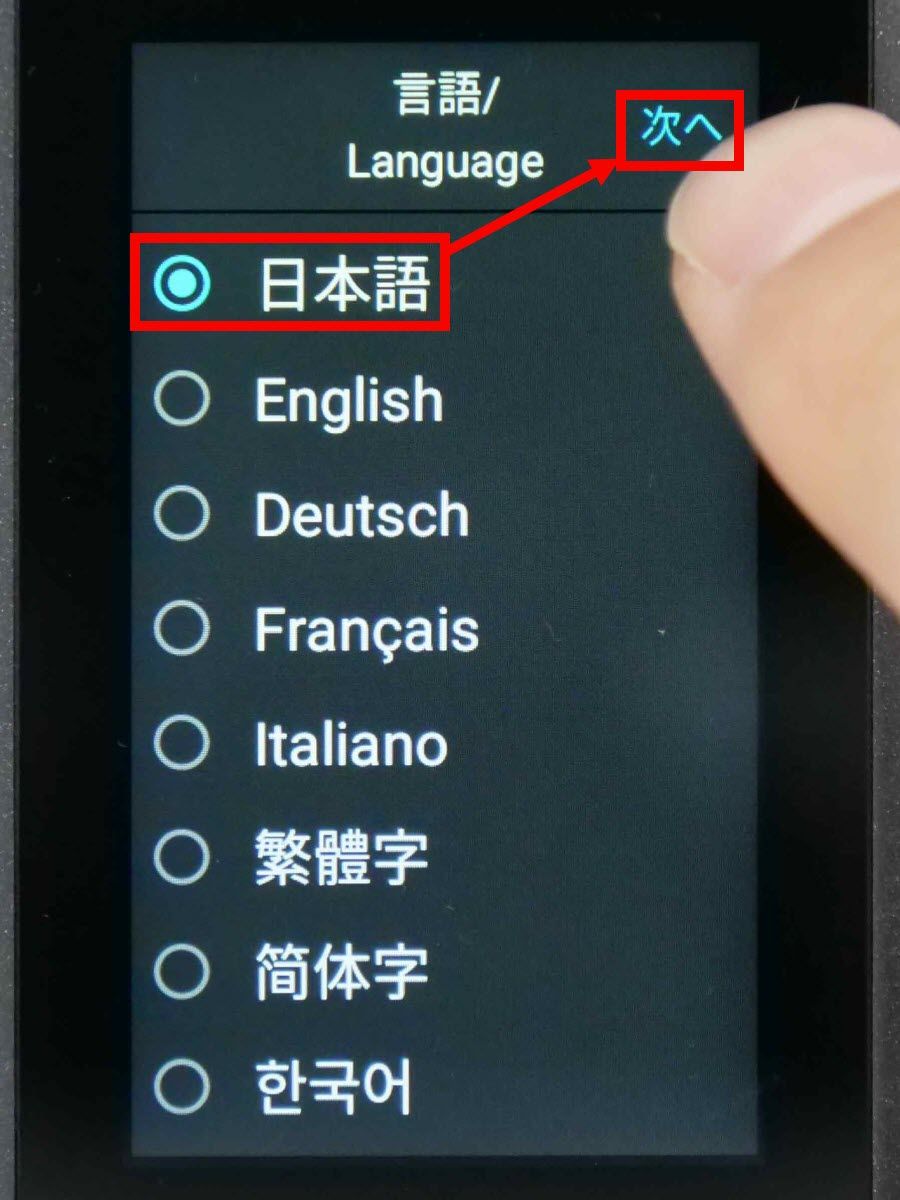
When the initial setting screen is displayed, proceed with the operation while tapping the touch panel.
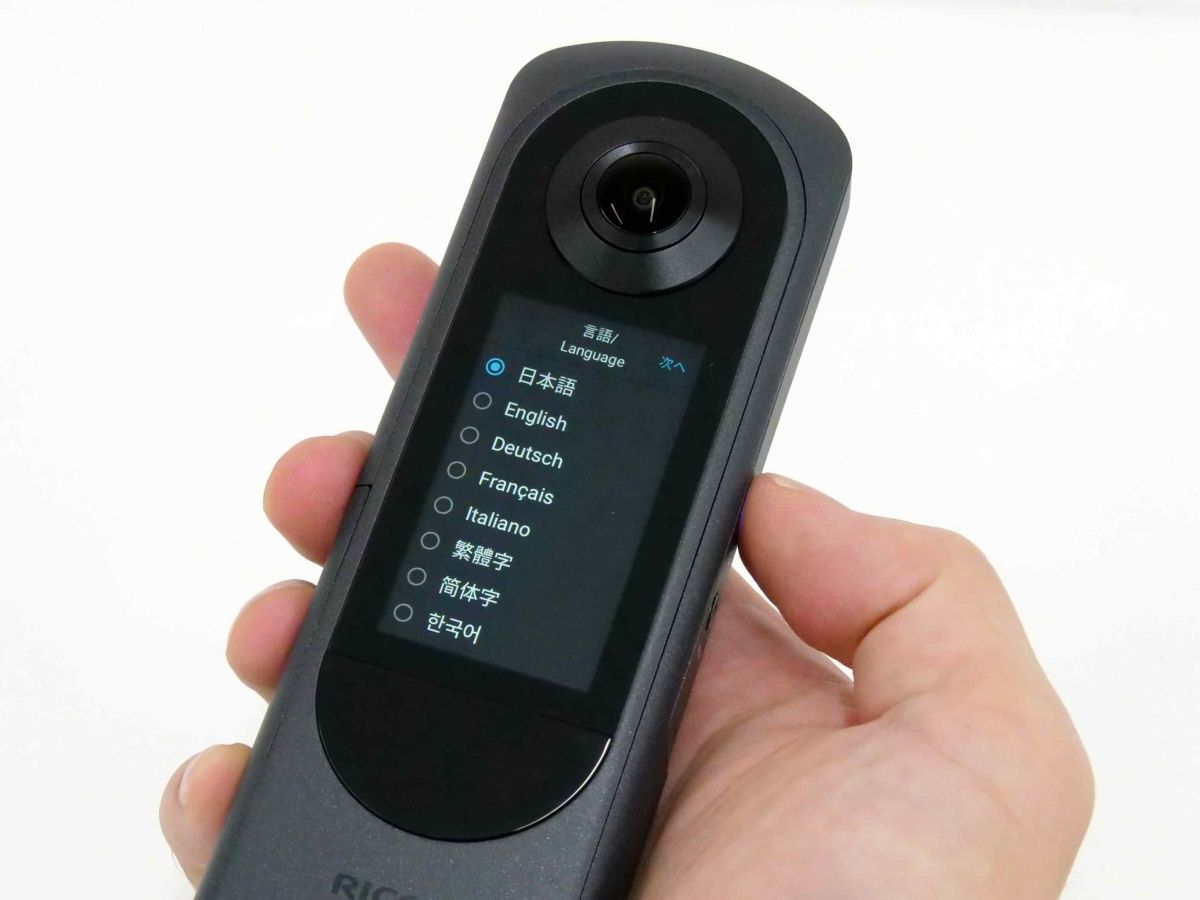
First, set the language. Select 'Japanese' and tap 'Next'.
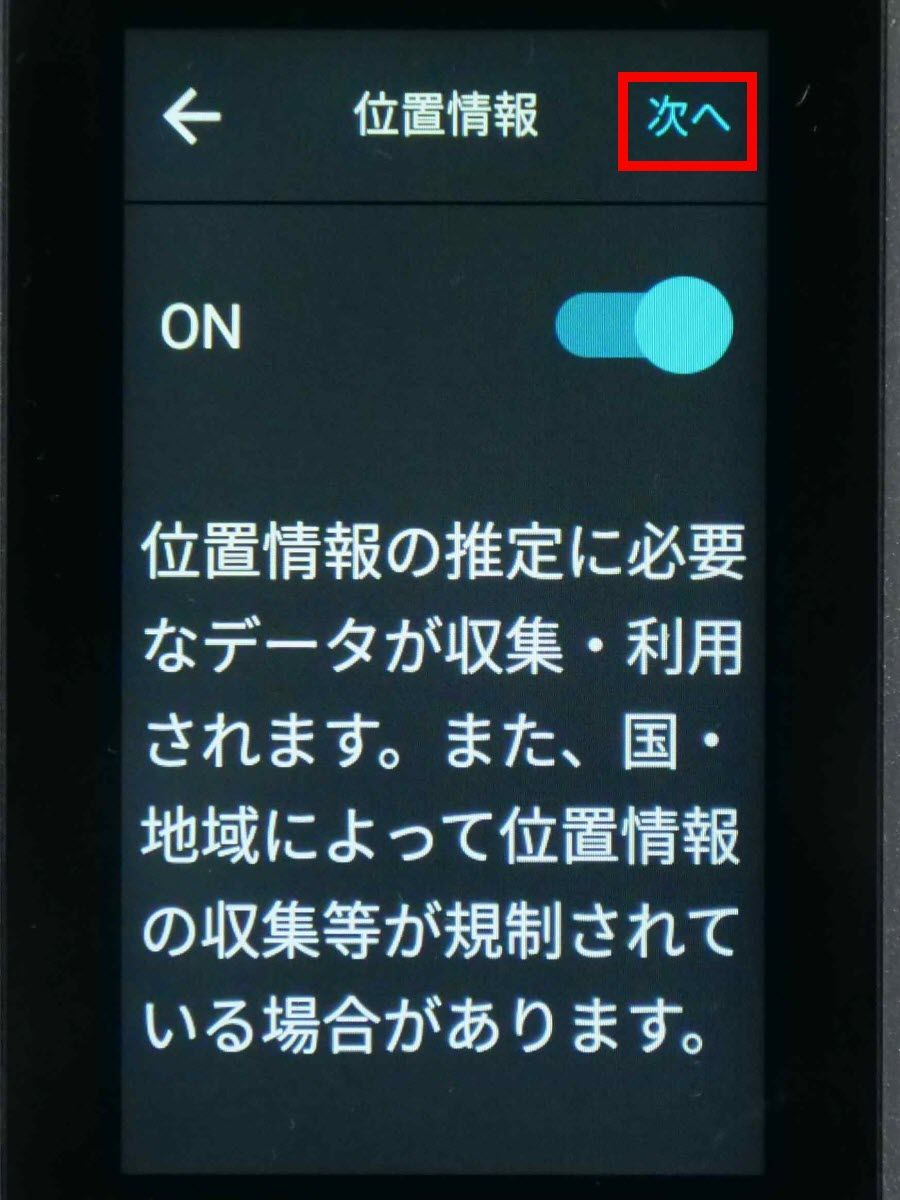
Since the location information setting was ON from the beginning, I tapped 'Next' while keeping it ON.
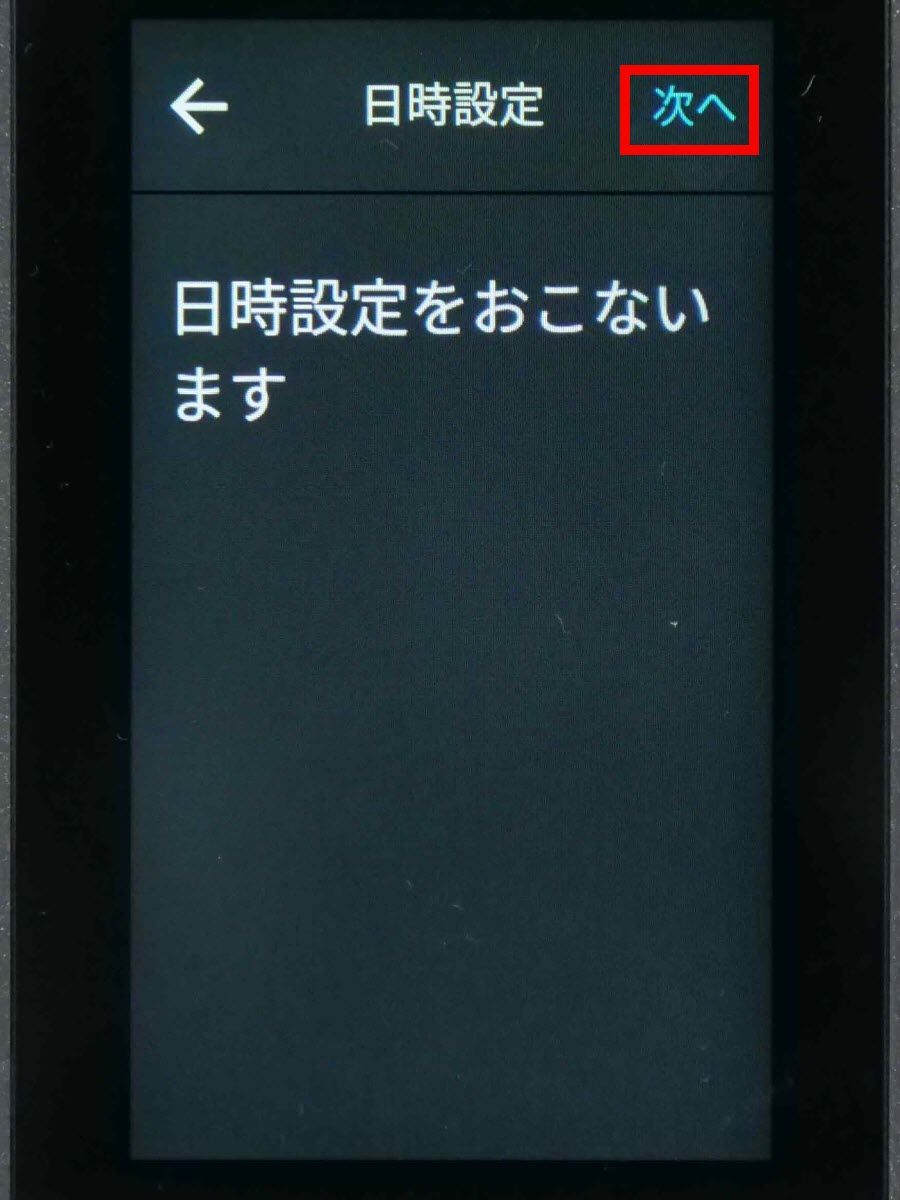
Tap 'Next' when you are prompted to set the date and time.
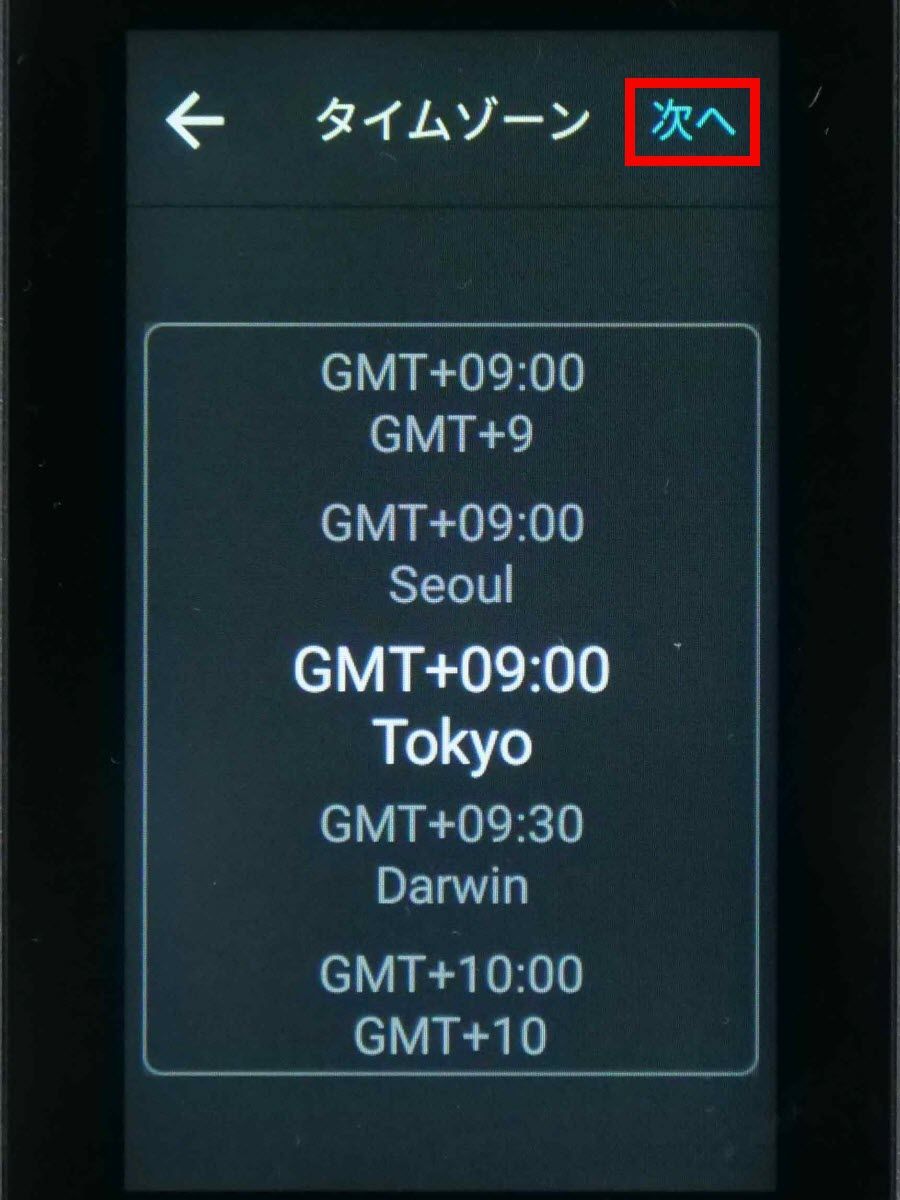
A time zone selection screen will appear. Since 'Tokyo (Tokyo)' was selected from the beginning, I just tapped 'Next'.
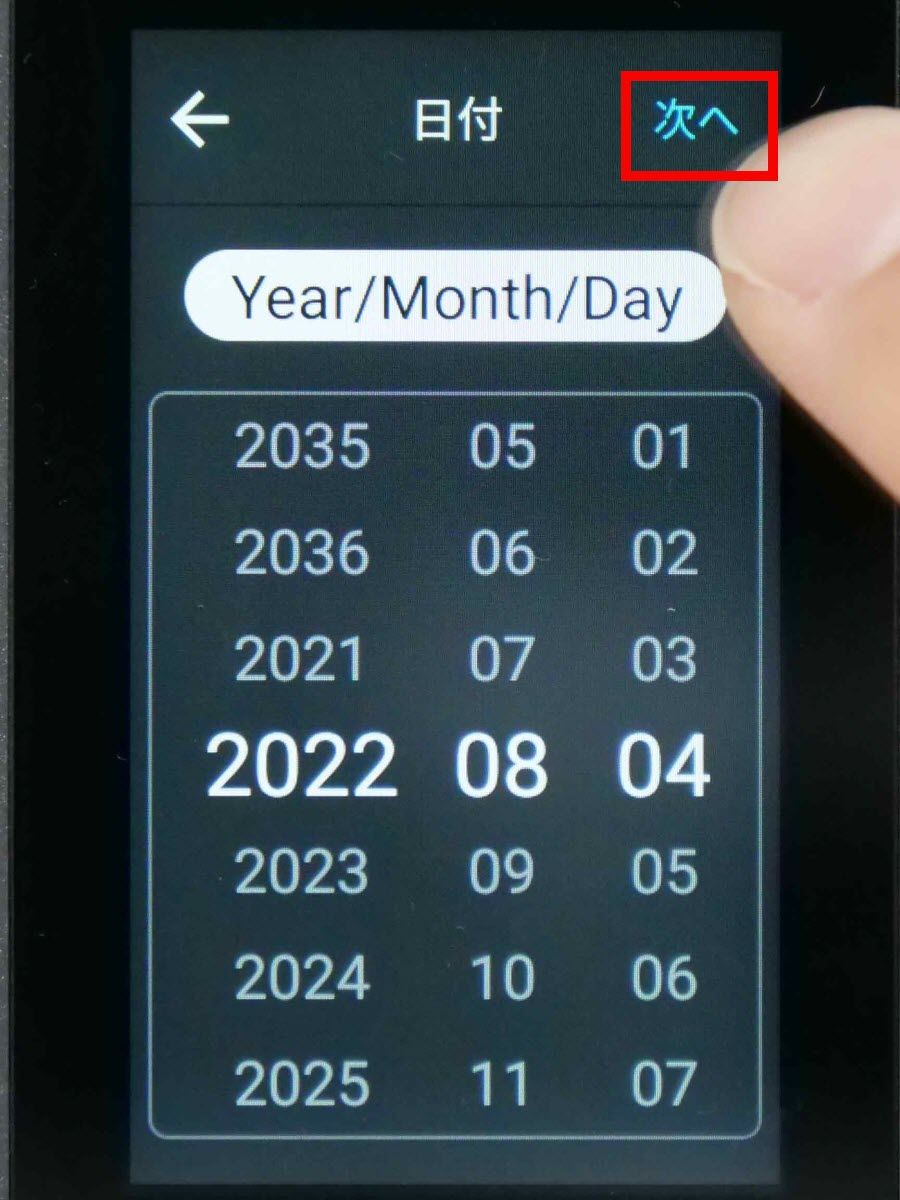
When the date setting screen is displayed, swipe the screen to set the date ......
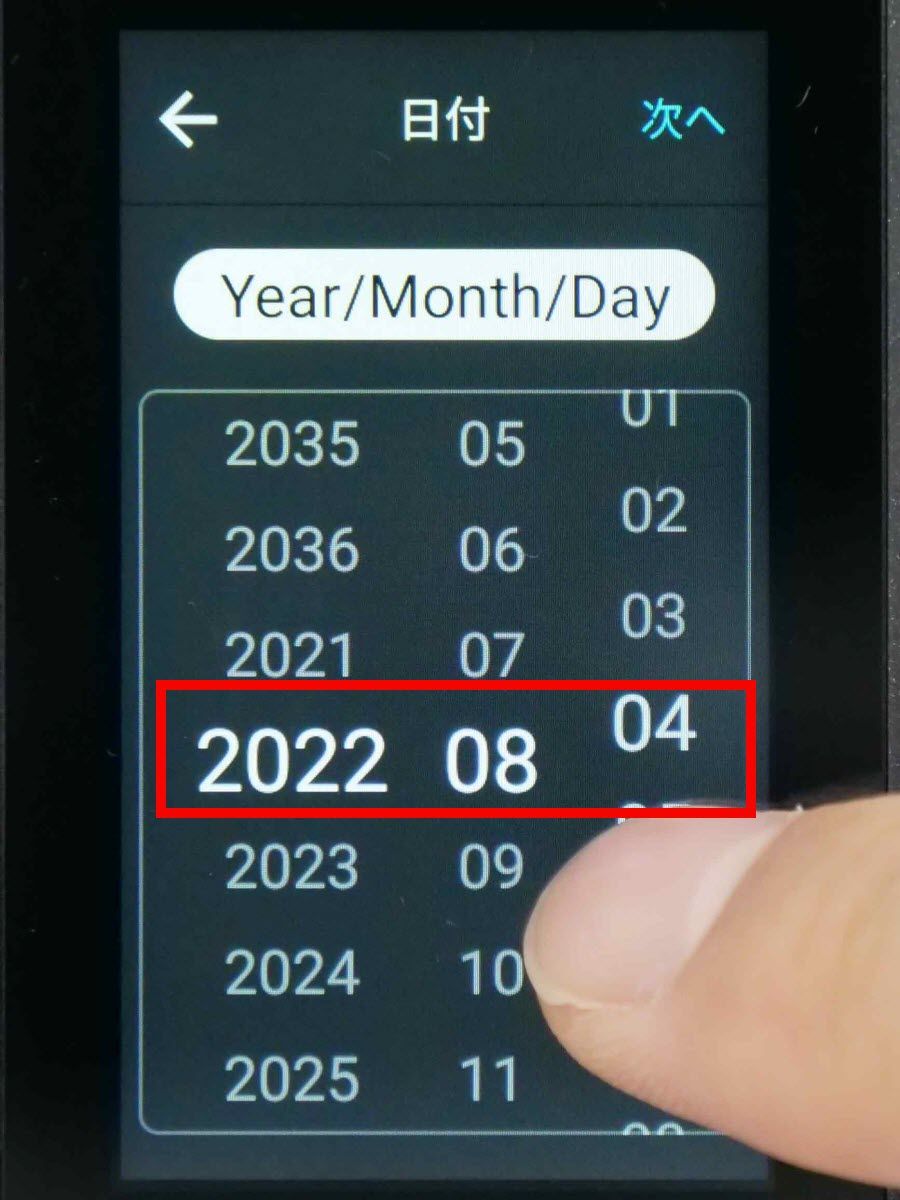
Tap 'Next'.
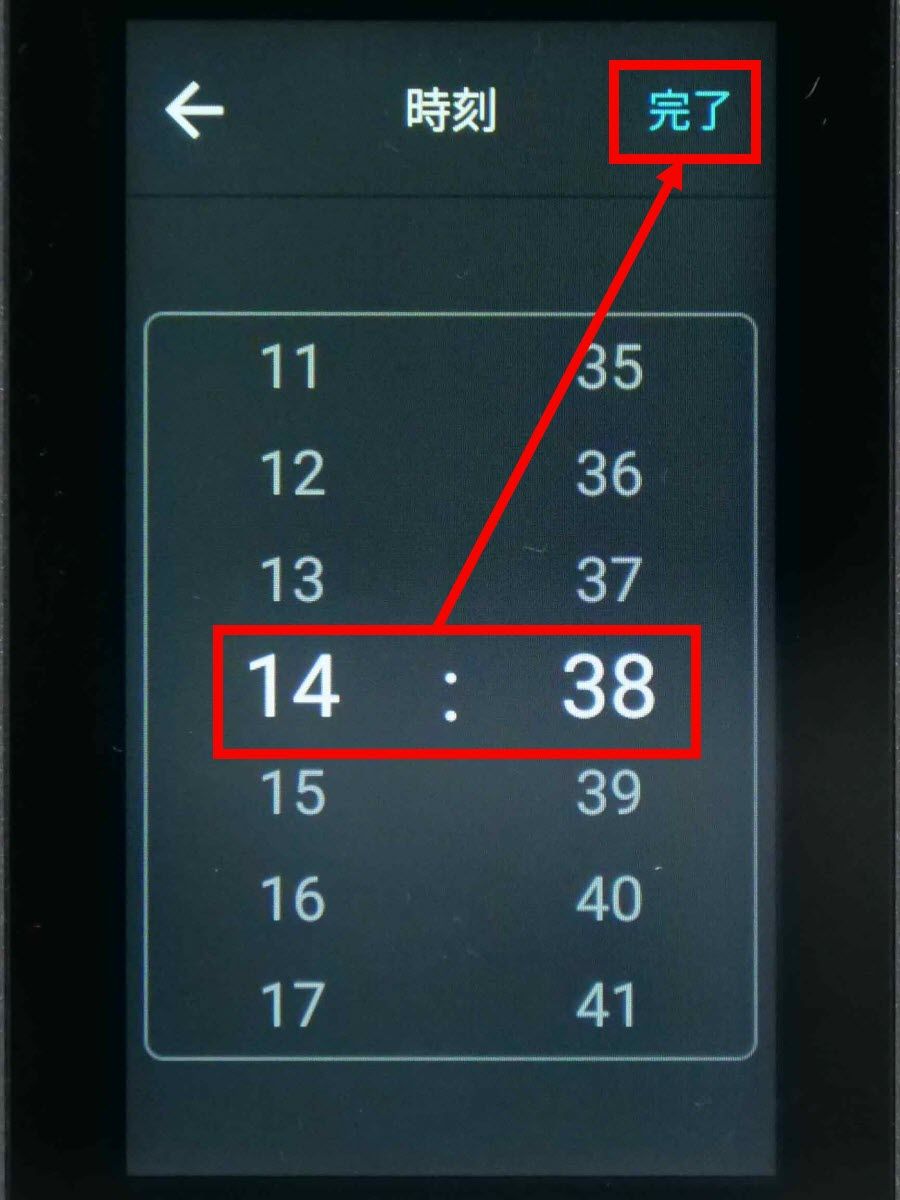
When the time setting screen is displayed, swipe the screen in the same way as the date to set the time and tap 'Done'. This completes the initial settings.
◆ 2: Learn the operation with a tutorial
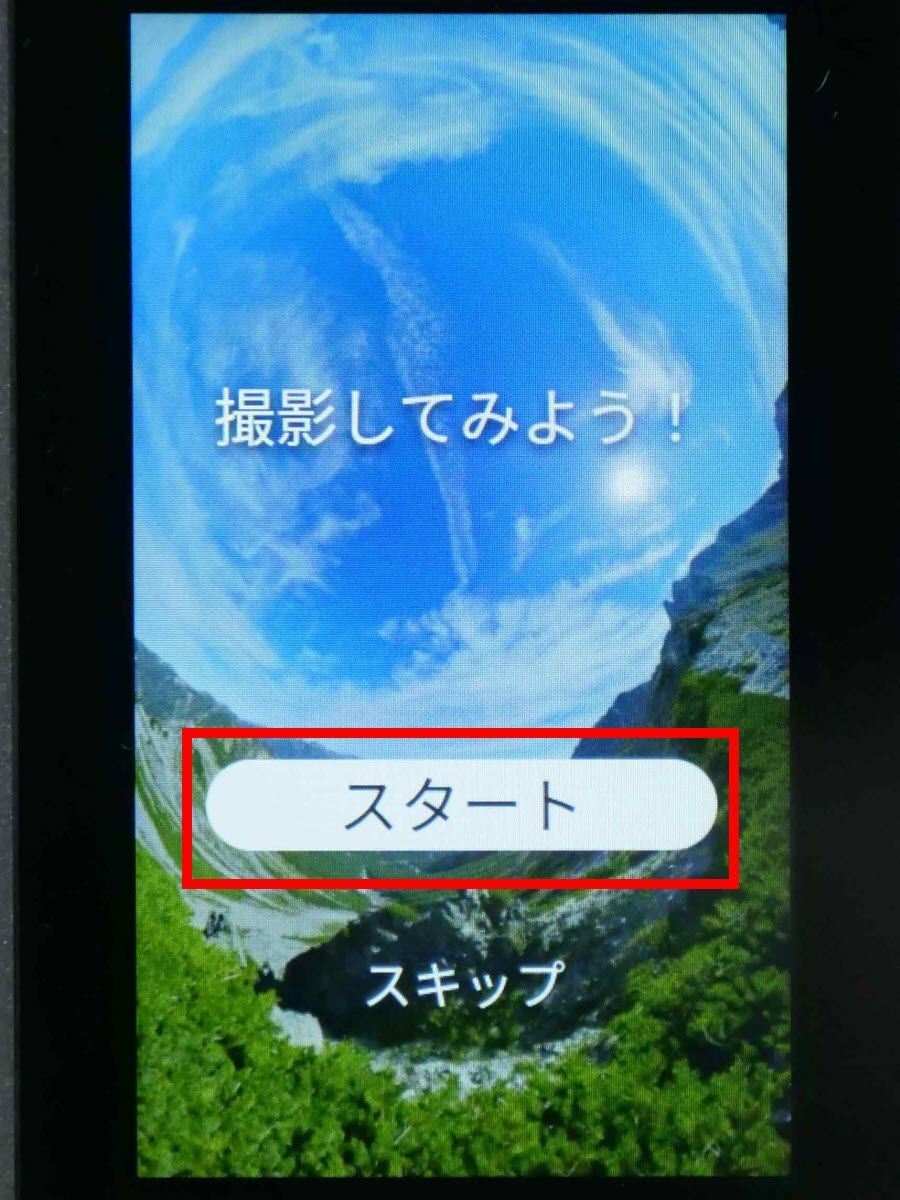
After completing the initial setup, you will be presented with a tutorial to learn how to use it. Tap 'Start' to start the tutorial.
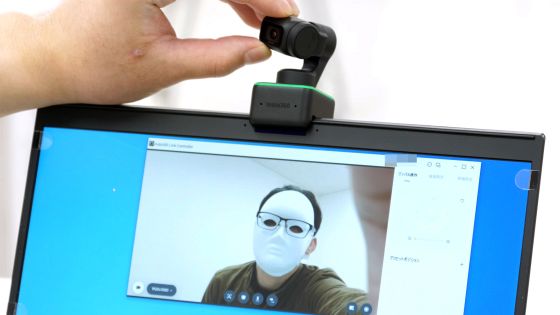
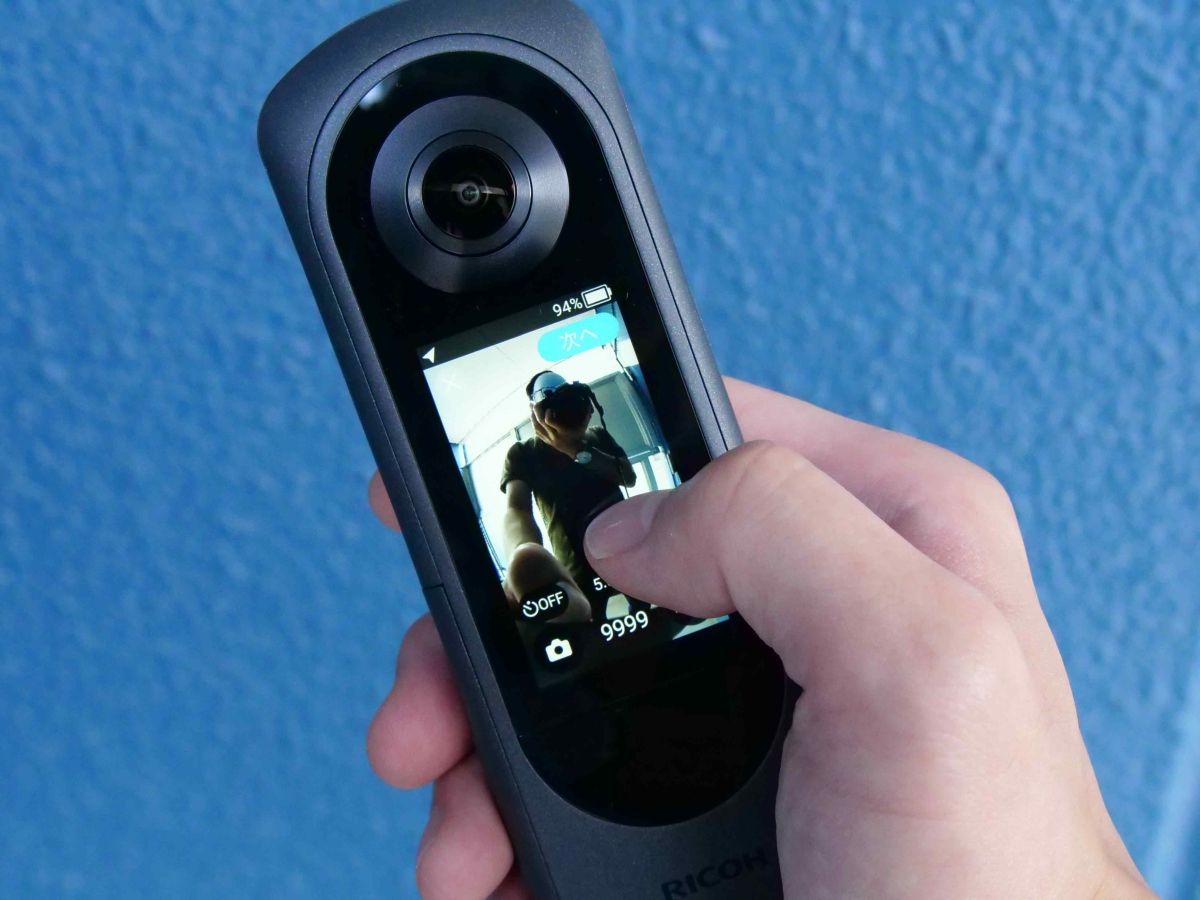
Then, I was instructed to swipe the screen to display my face ...
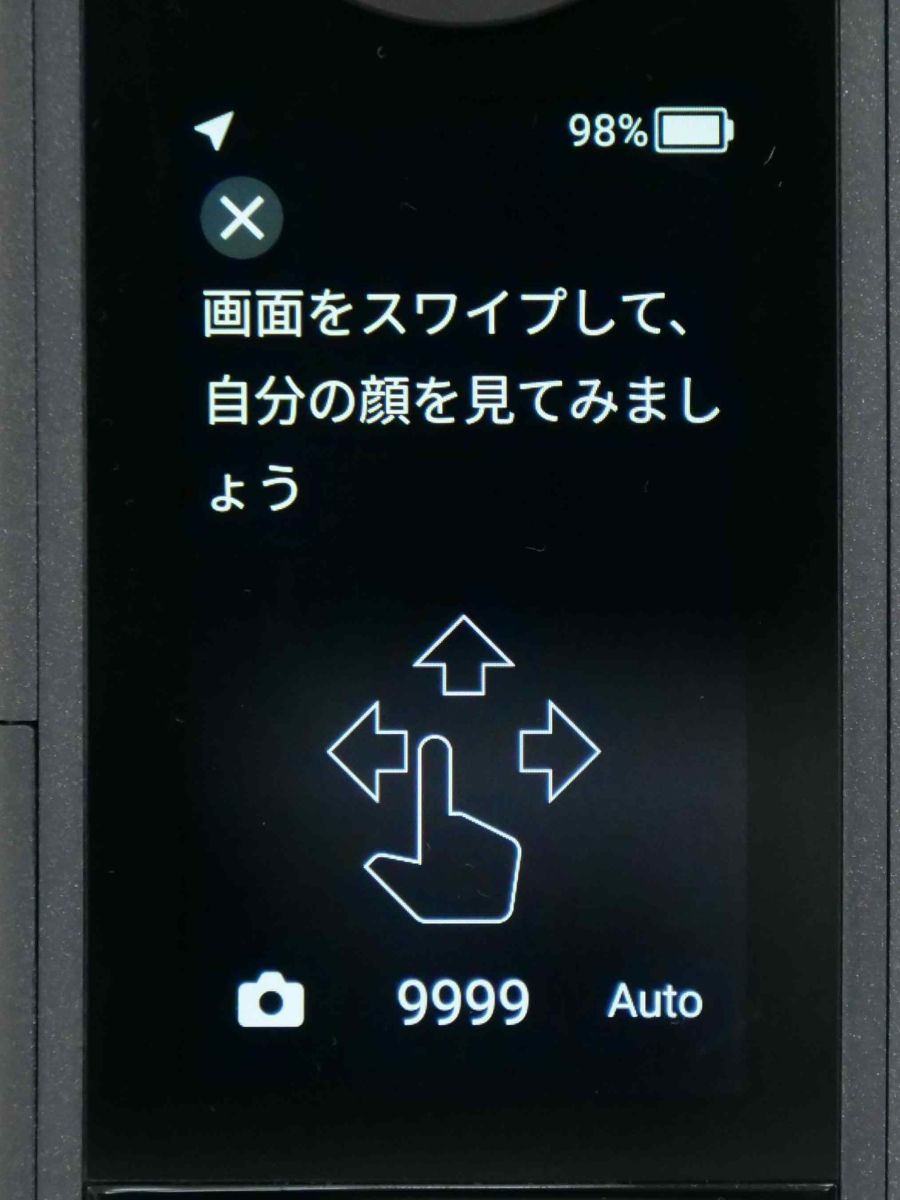
I swiped the screen to display the face on the screen and tapped 'Next' at the top right of the screen.
Now you will be prompted to swipe the screen from top to bottom to change the camera settings.
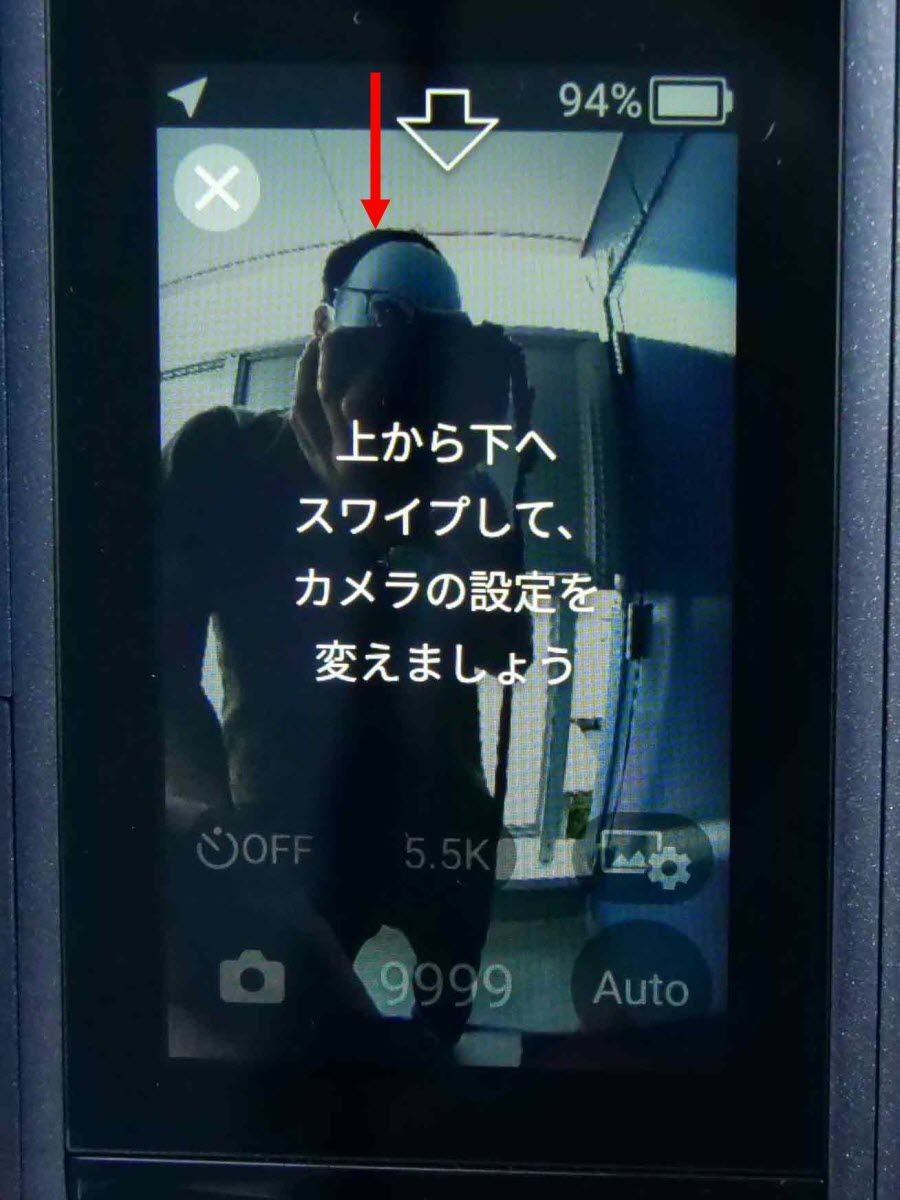
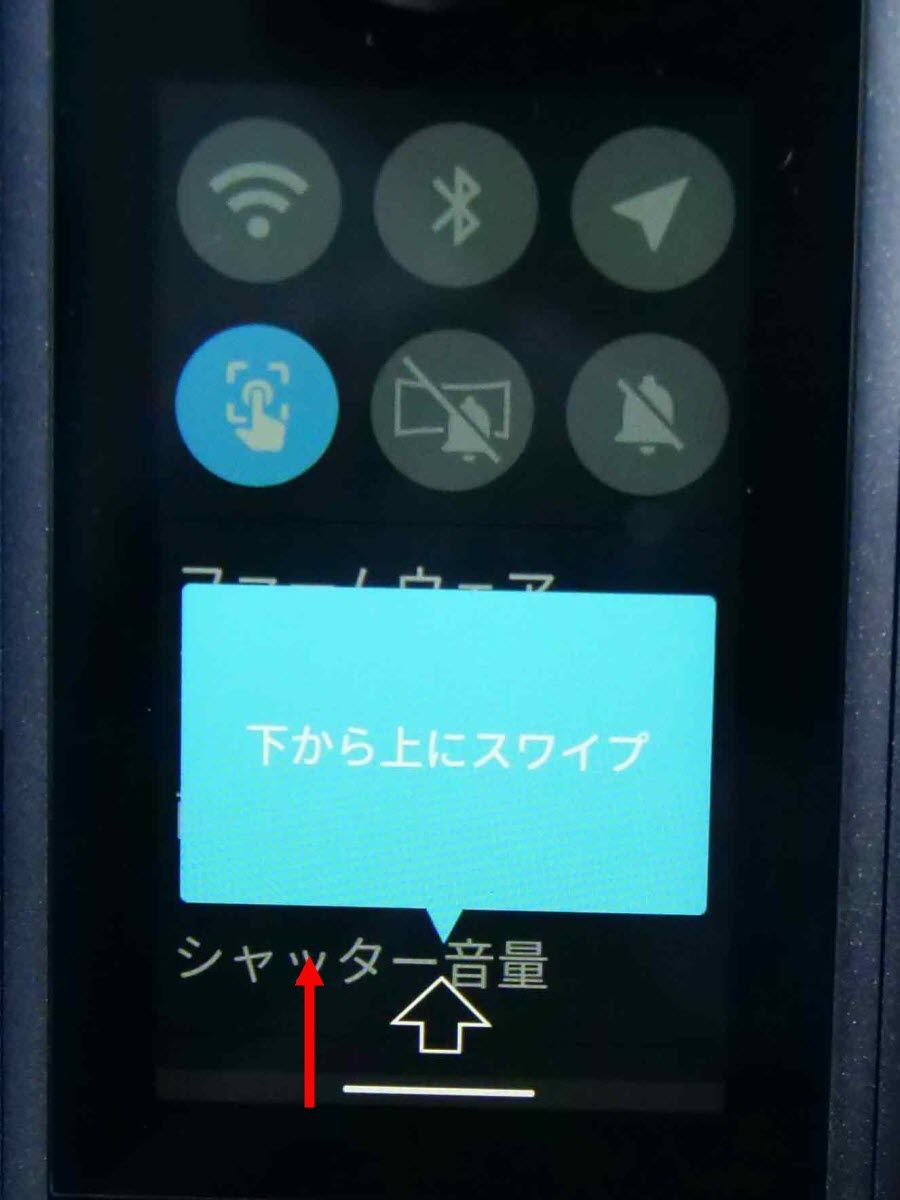
The setting screen looks something like this. Tap the button as instructed ......

Swipe up from the bottom of the screen to close the settings screen.
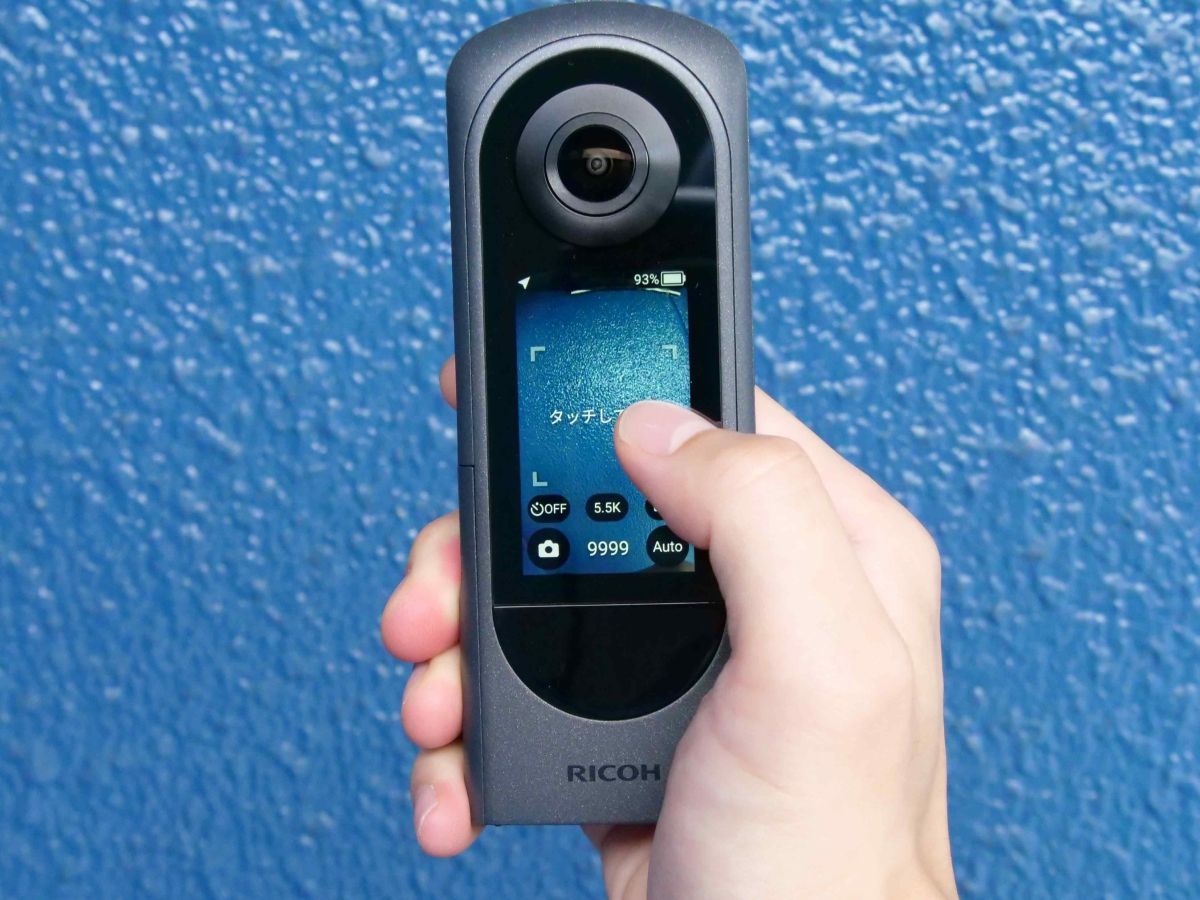
Then, 'function to shoot with screen tap' was activated.
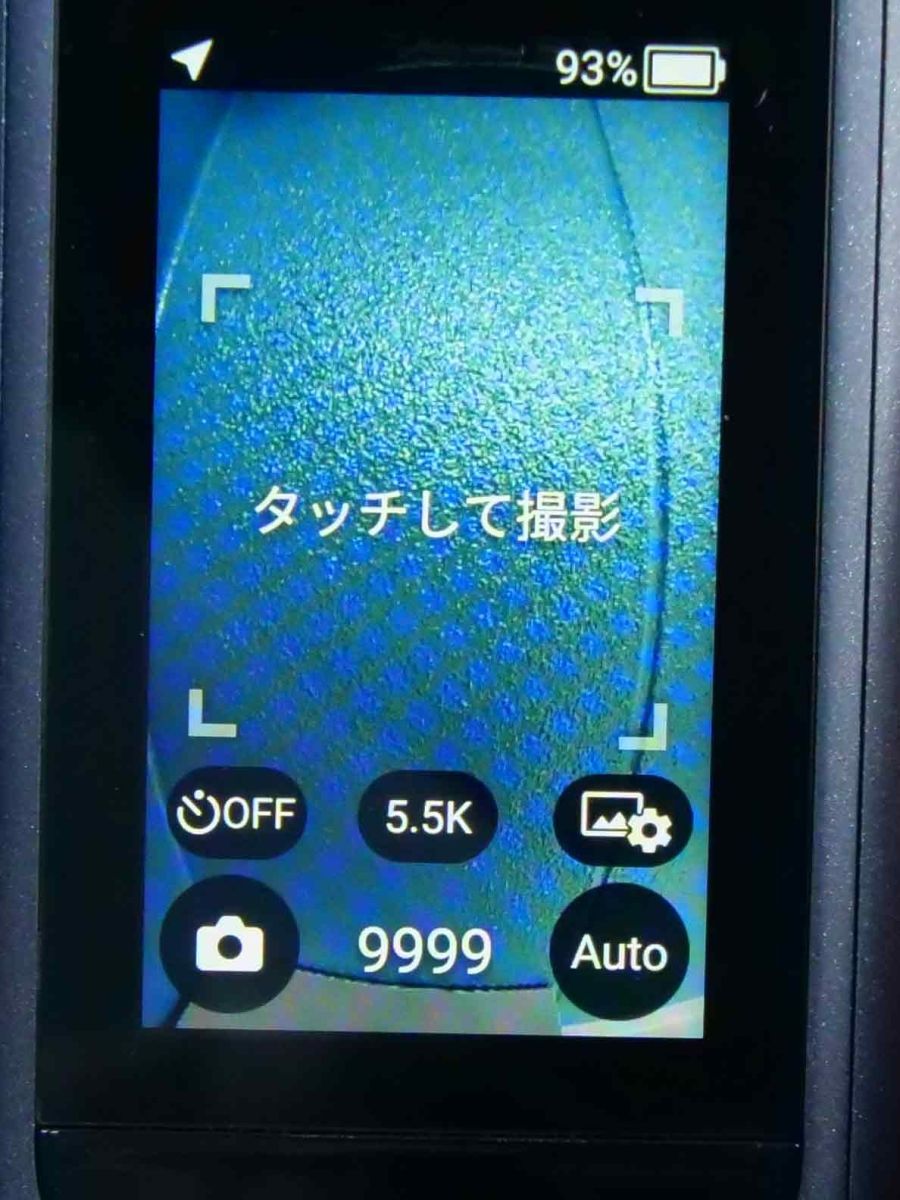
If you tap the screen in this state, shooting will be executed.
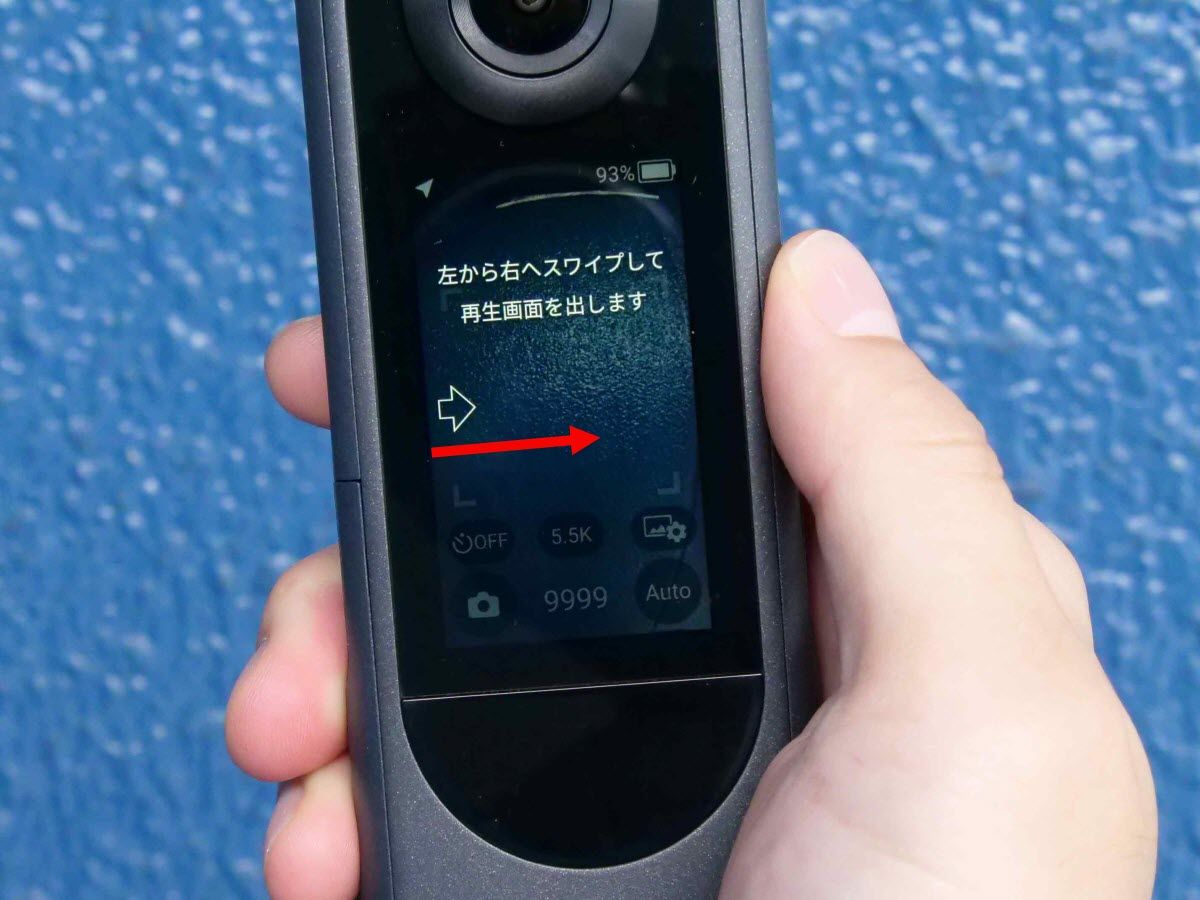
When shooting is completed, swipe the screen from left to right.
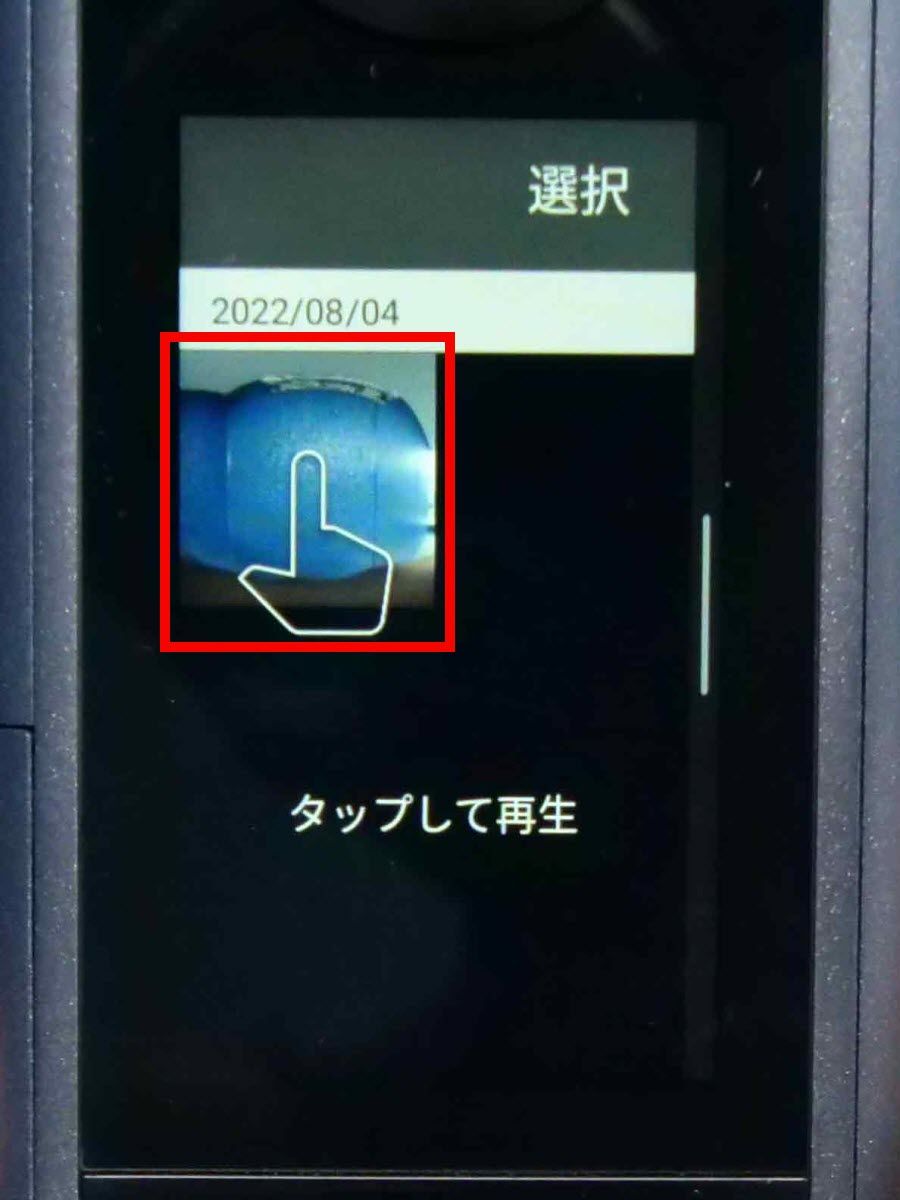
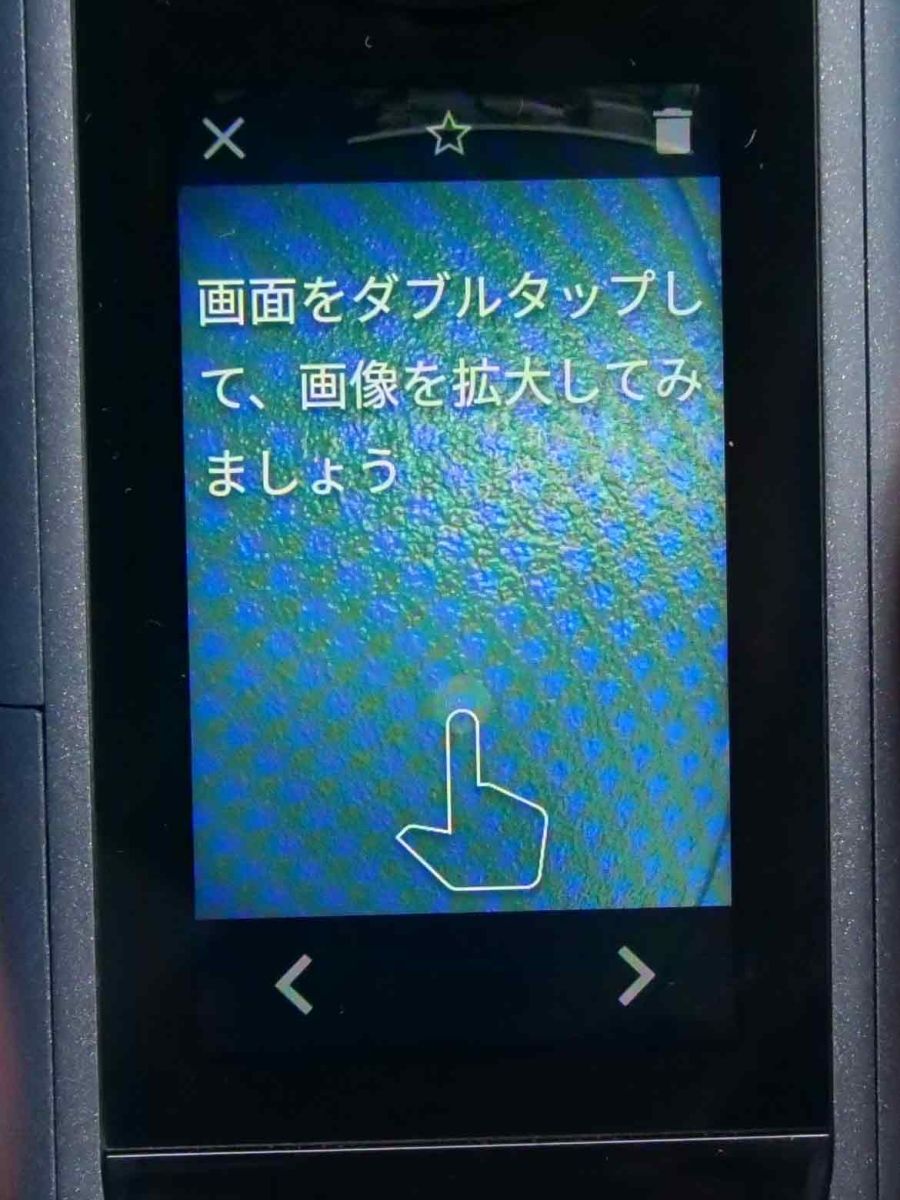
Then, the captured image was displayed. Tap the image ......
You can swipe the image to move it around, or double tap to enlarge it.
You can check how to actually check the captured image by operating the touch panel in the following movie. It reacted quickly to the operation, so there was no stress.
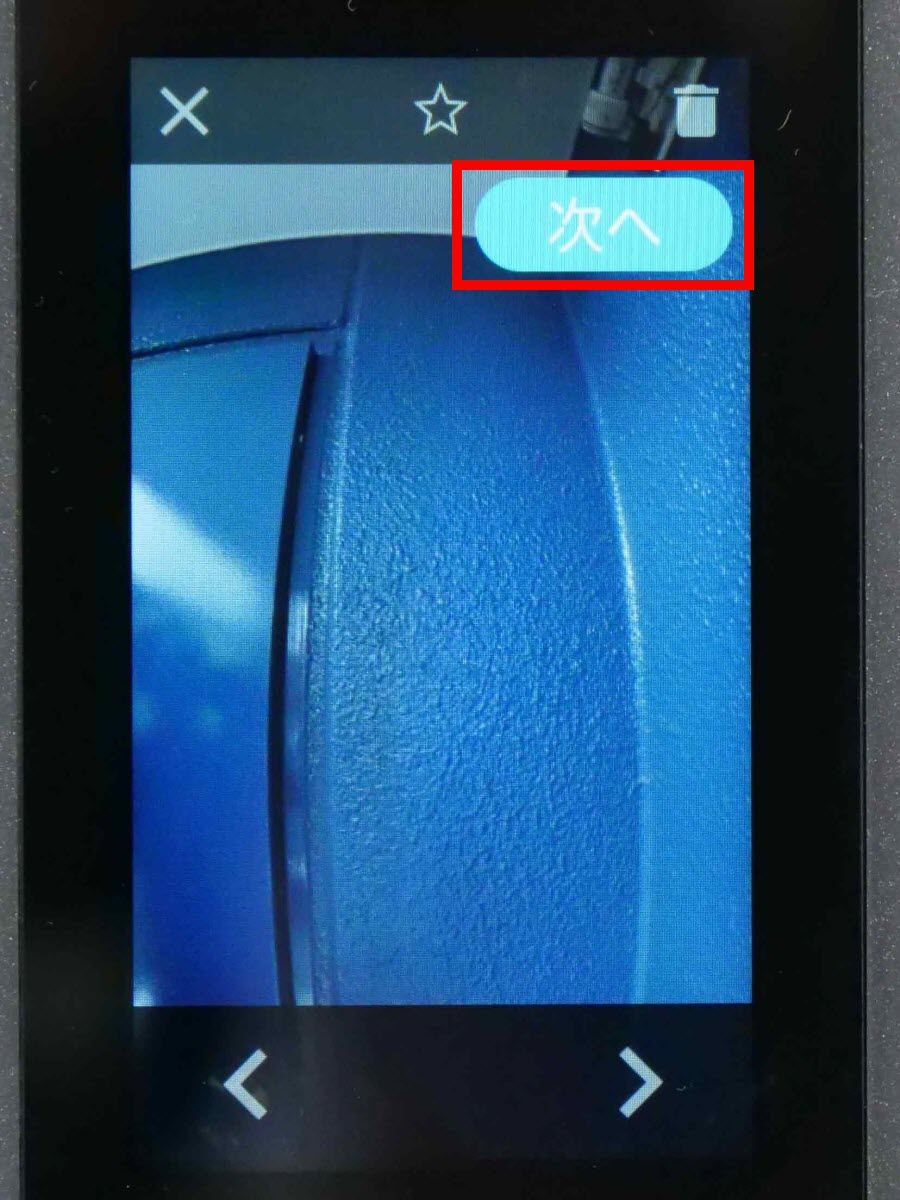
After confirming the captured image, tap 'Next' at the top right of the screen.
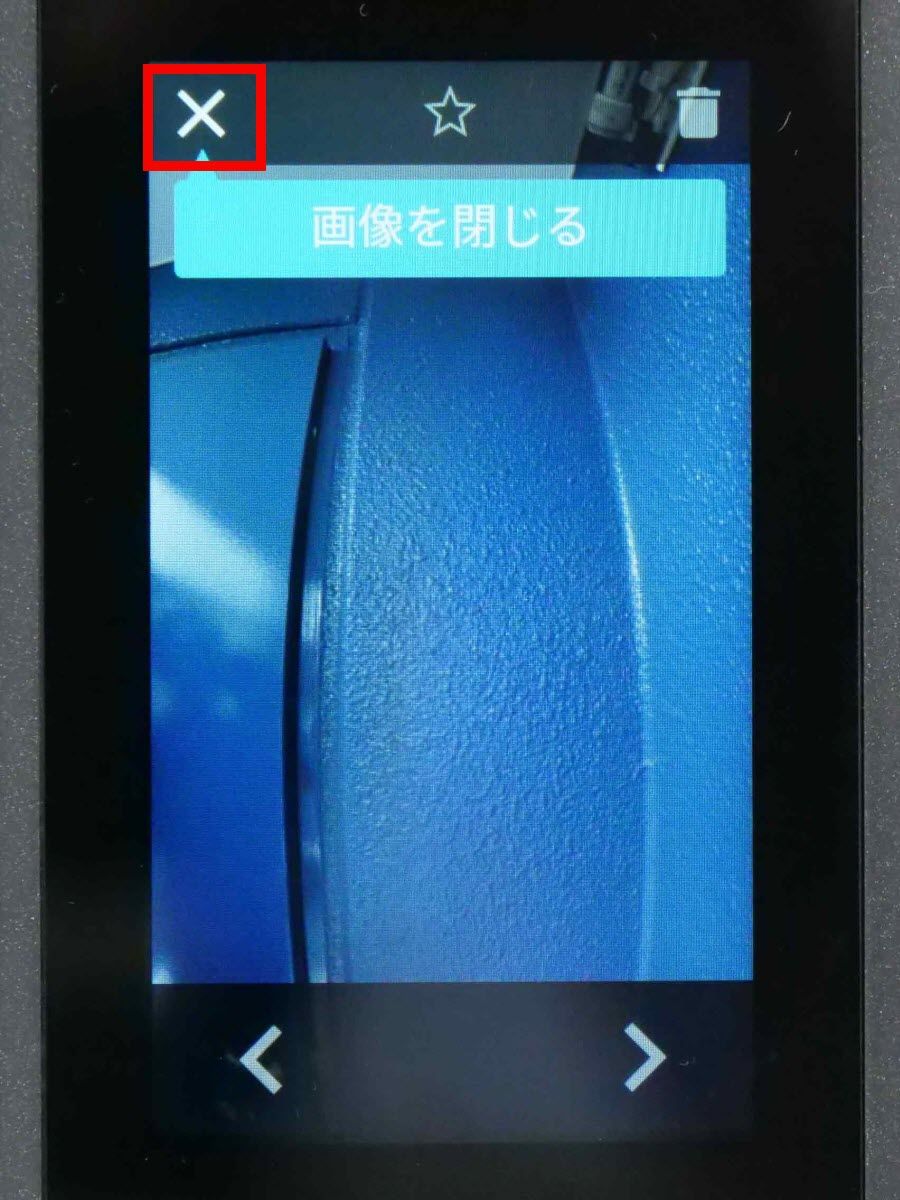
Then tap the x in the upper left corner of the screen.
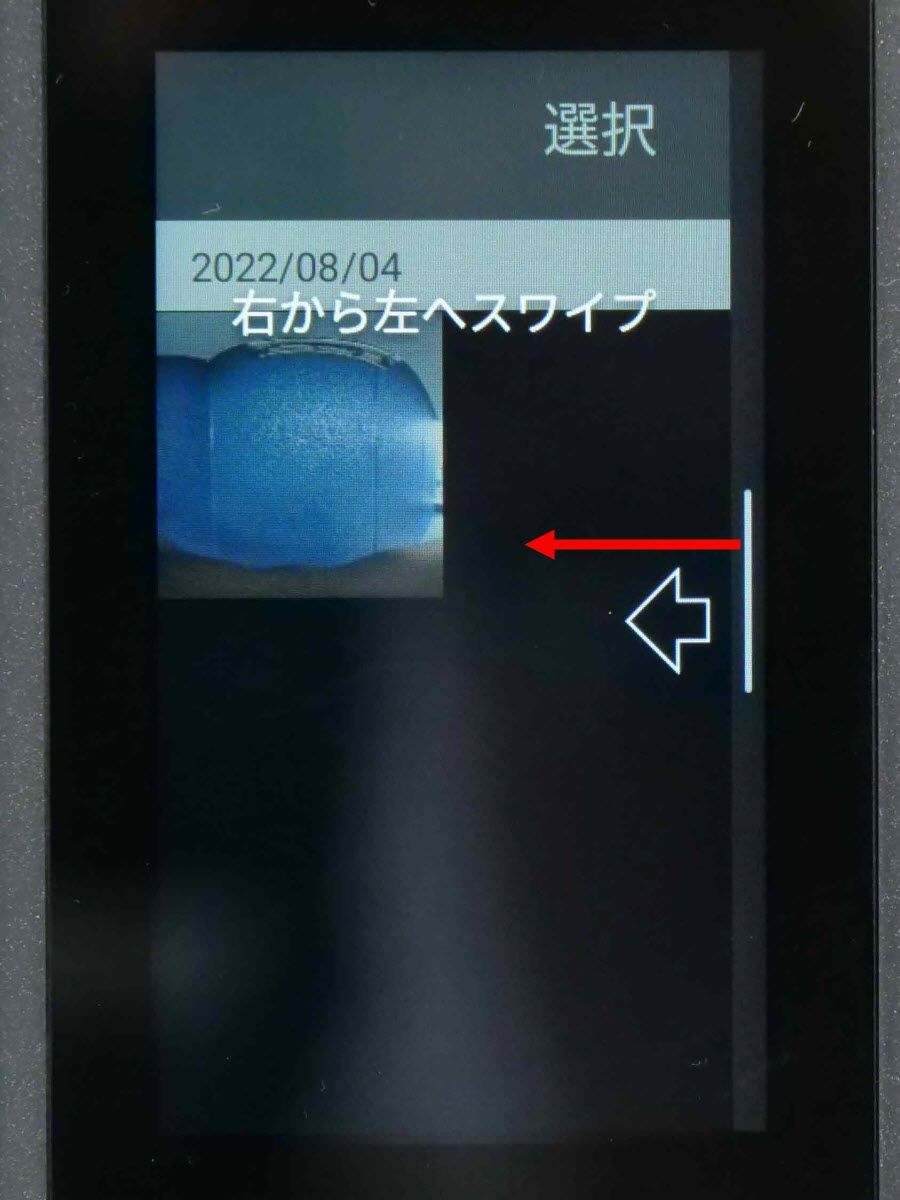
Then, the screen returns to the captured image list screen. Swipe the screen from right to left ......
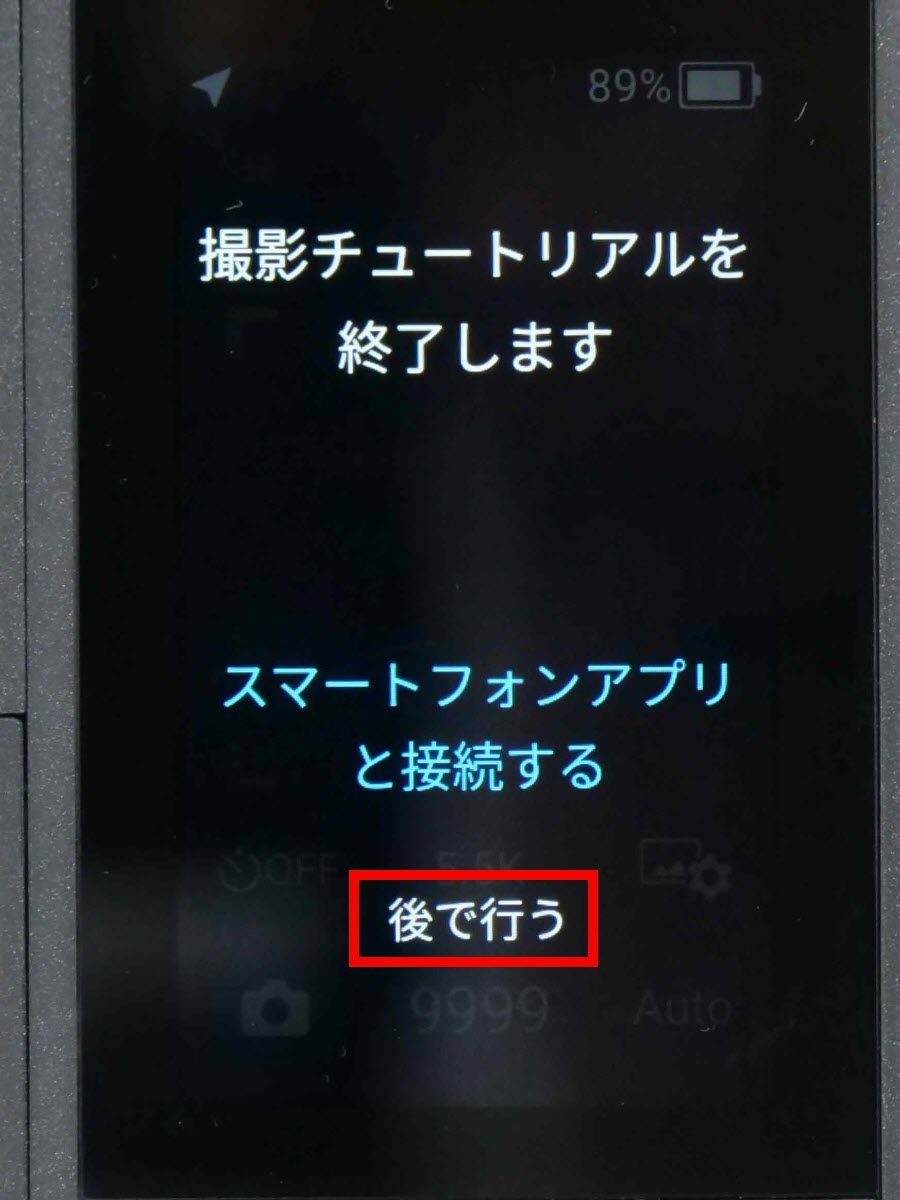
You have finished the tutorial. You will be asked if you want to connect to a smartphone, but this time I want to use it without a smartphone, so I tapped 'Do it later'.
◆ 3: Shooting settings are also possible with the touch panel
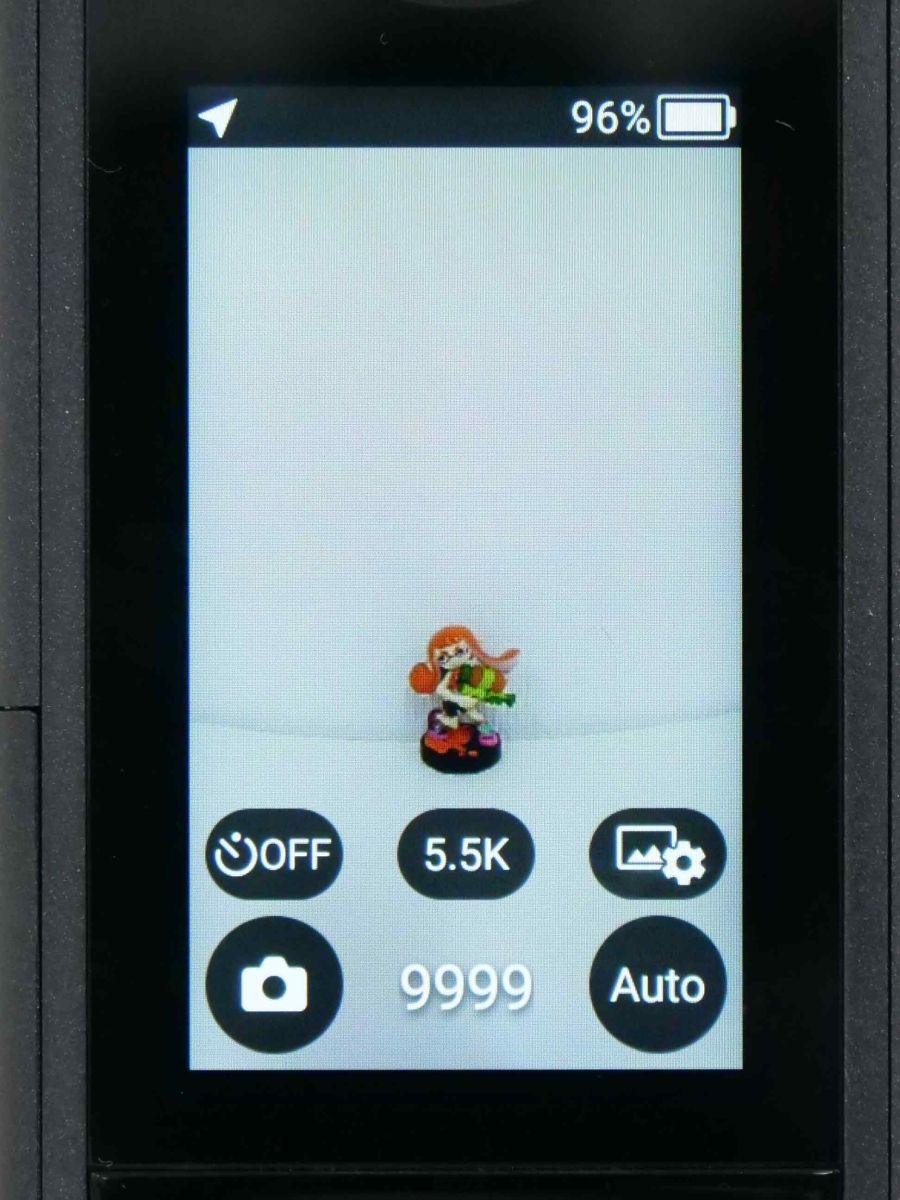
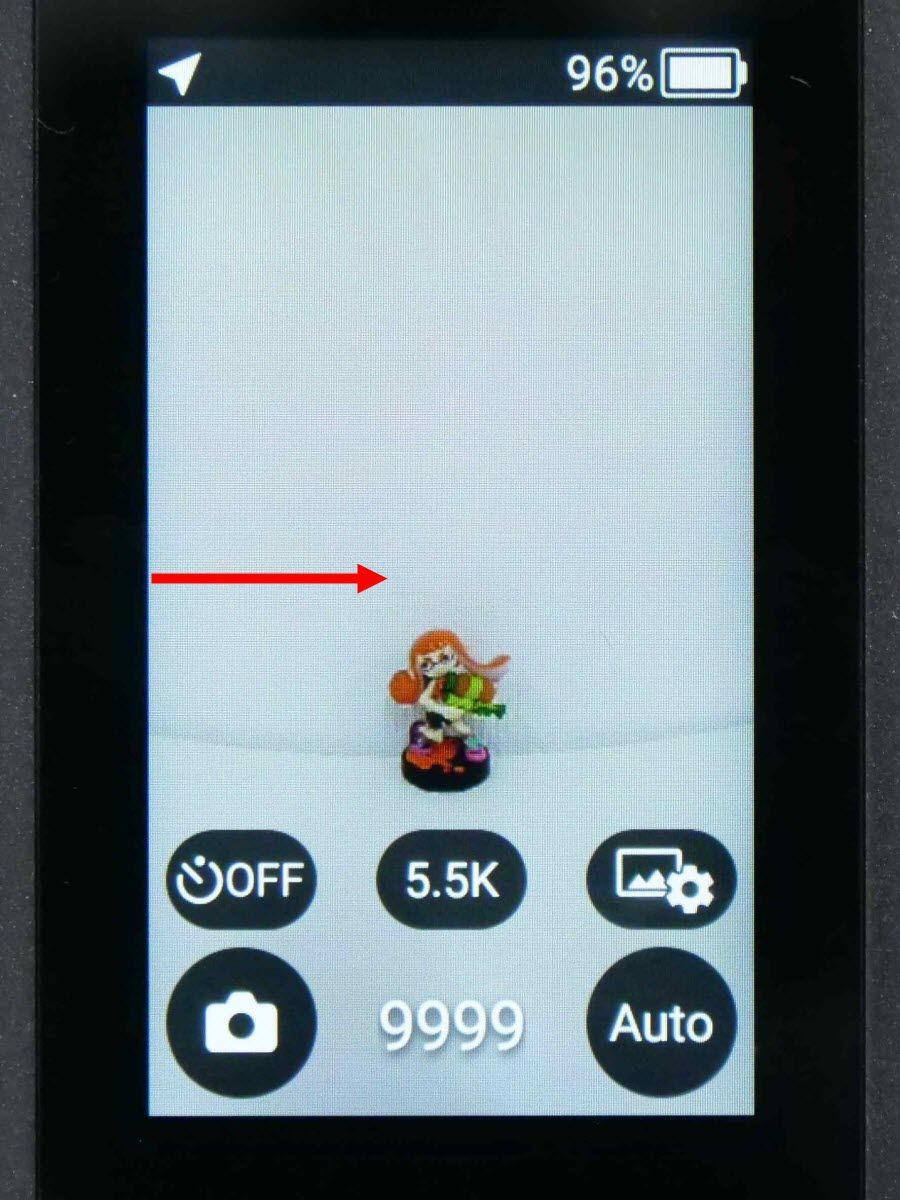
When the tutorial ends, the shooting screen will be displayed. At the bottom of the shooting screen, touch-operable menu buttons are lined up.
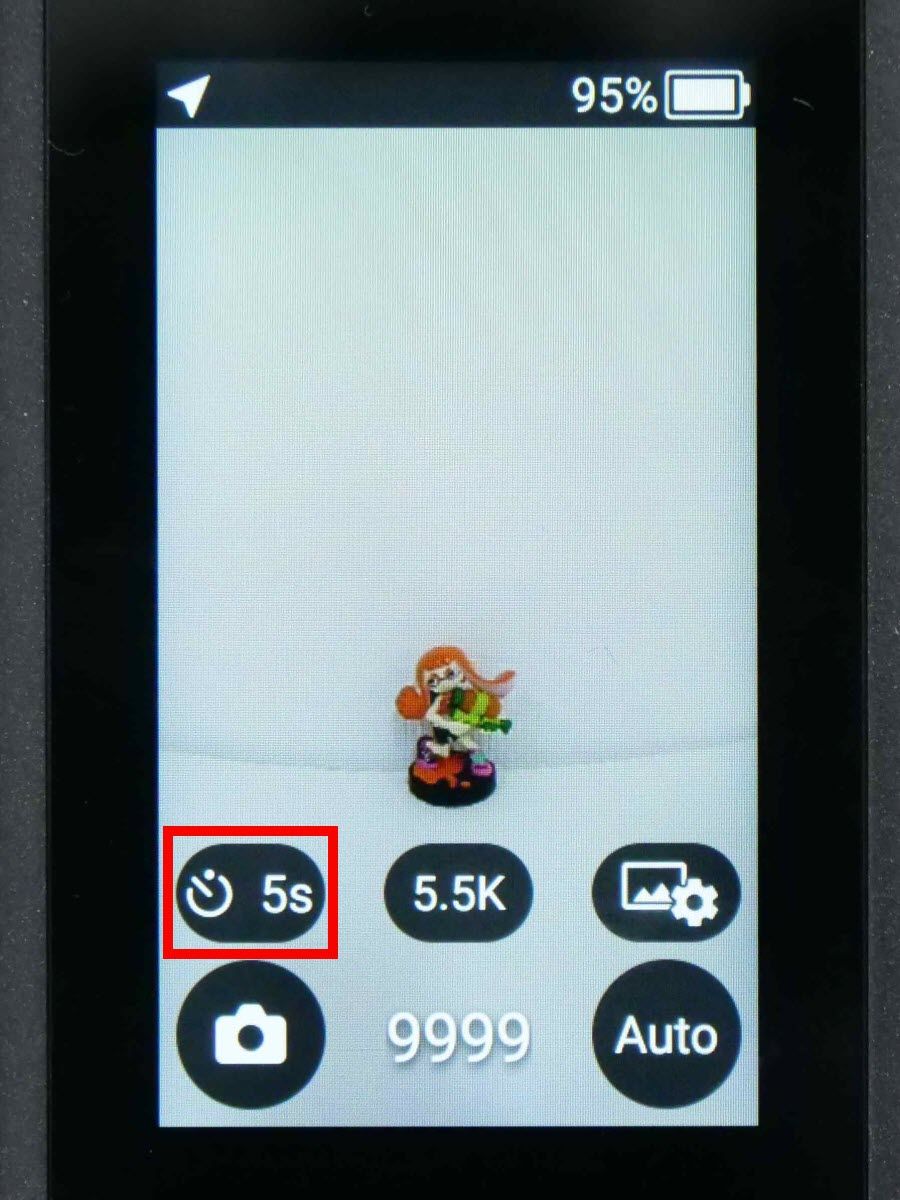
Tap the upper left button to enable the self-timer function.
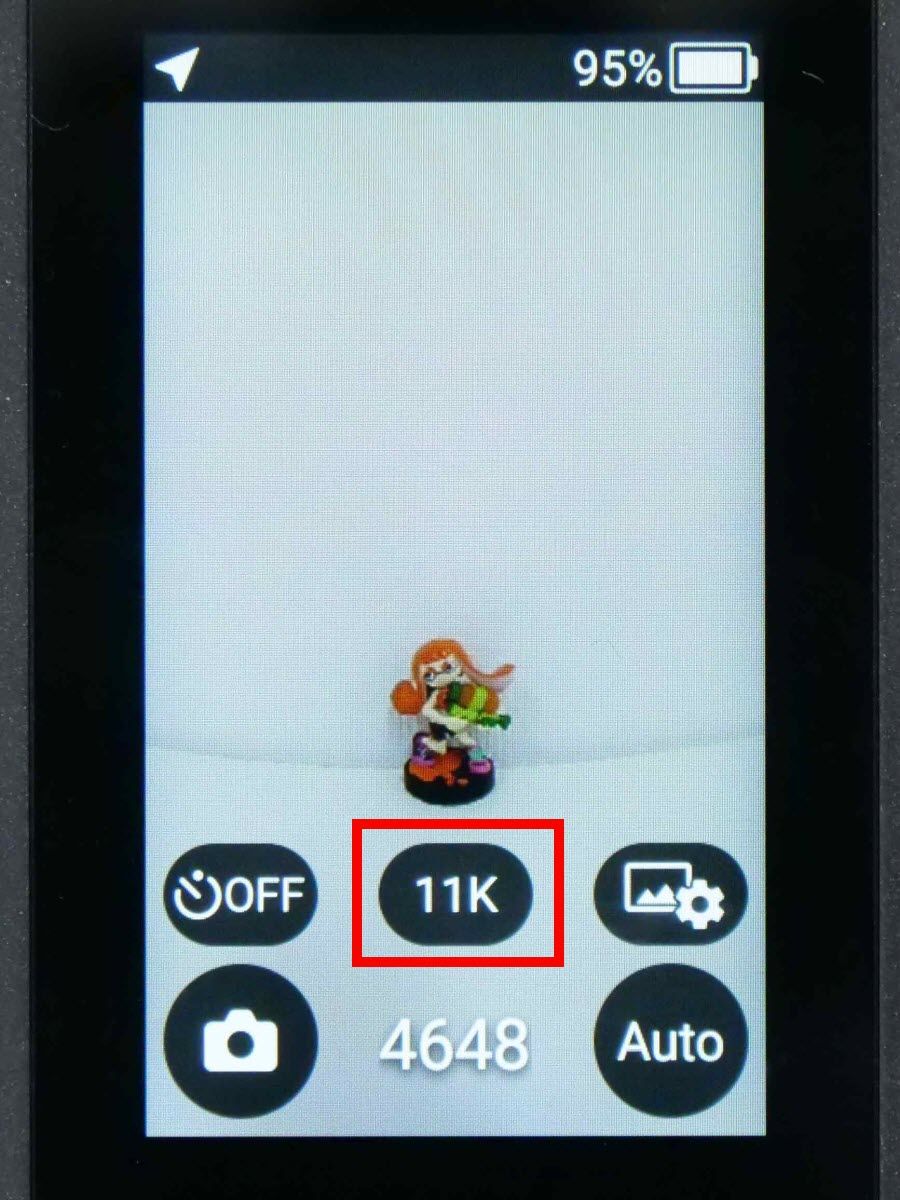
With the button at the top center, you can select the shooting resolution from either 5.5K or 11K.
Tap the upper right button ......
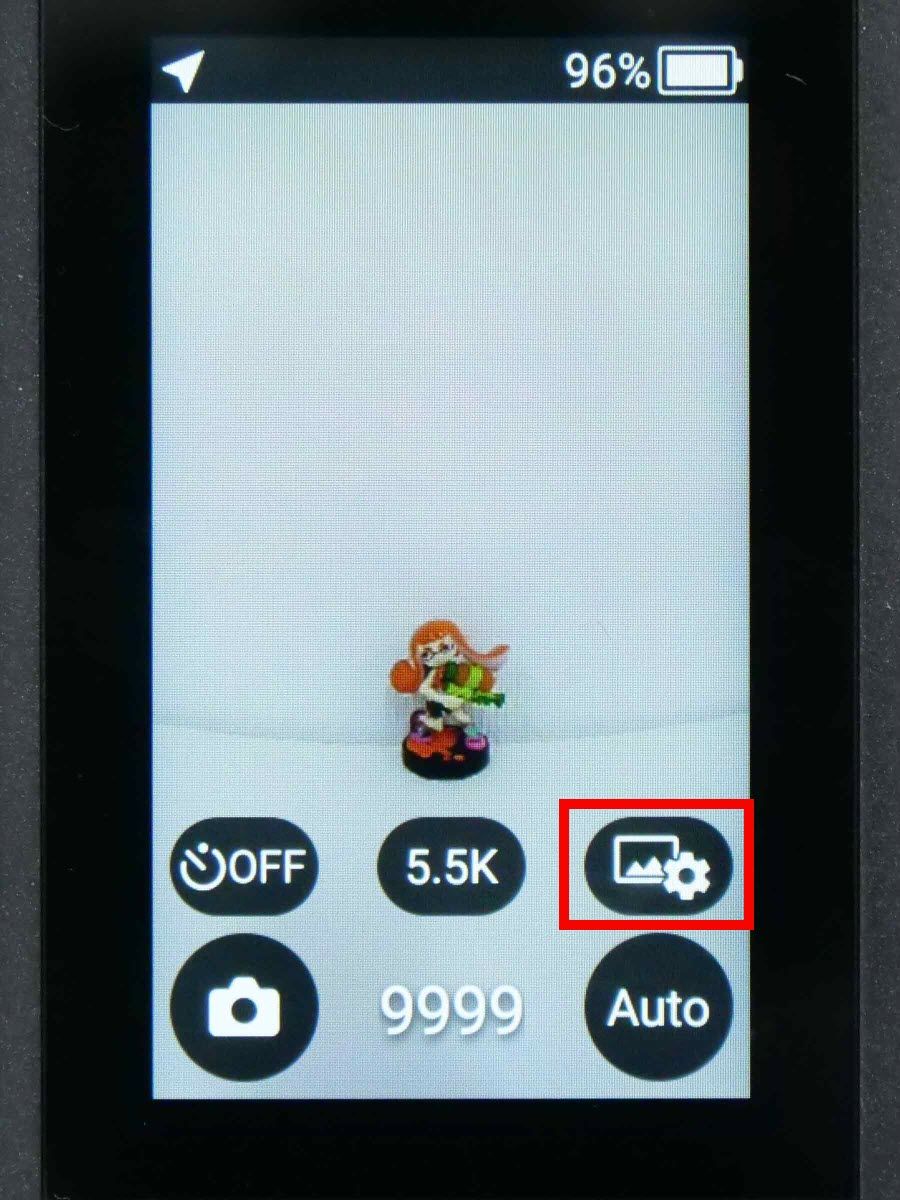
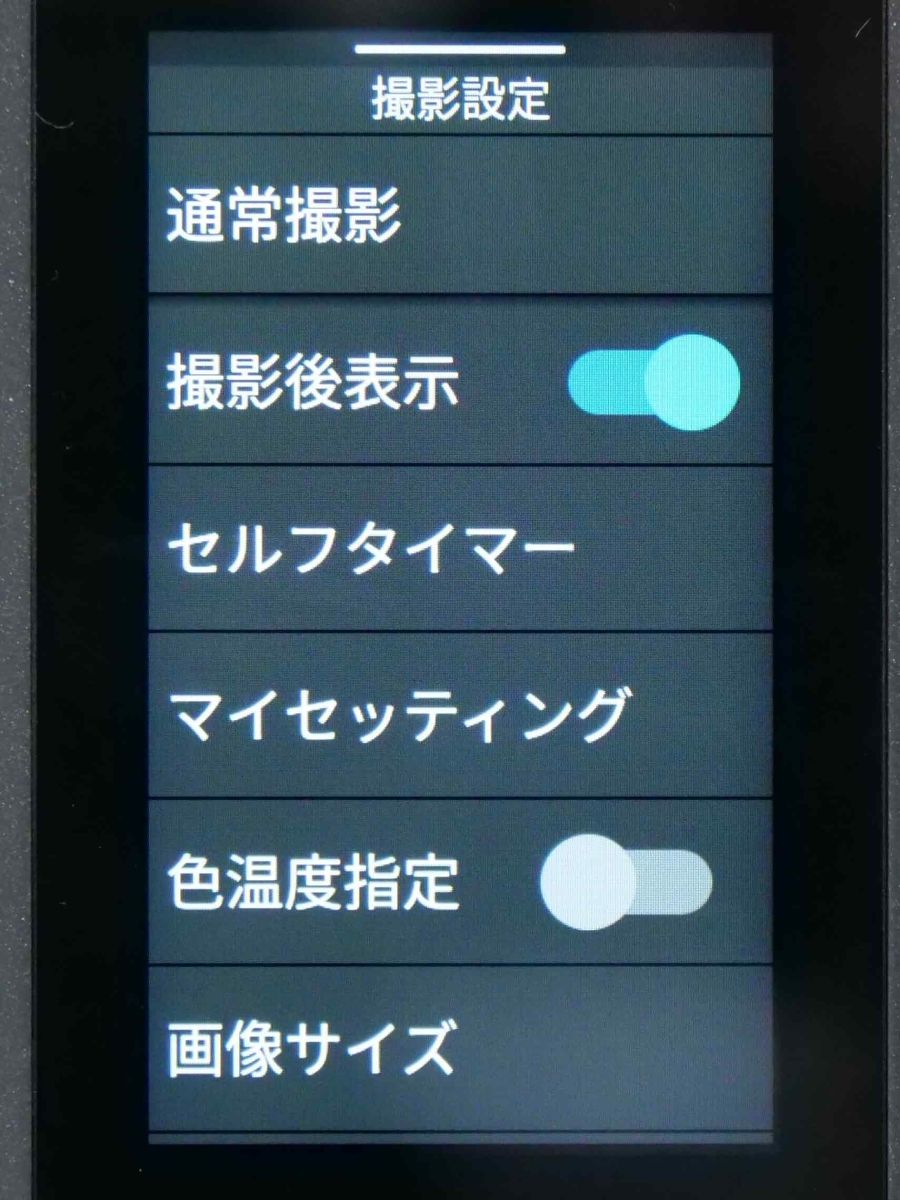
The still image shooting setting screen opens. On this screen, you can set the number of seconds for the self-timer, register My Settings, enable color temperature designation, and change the image size.
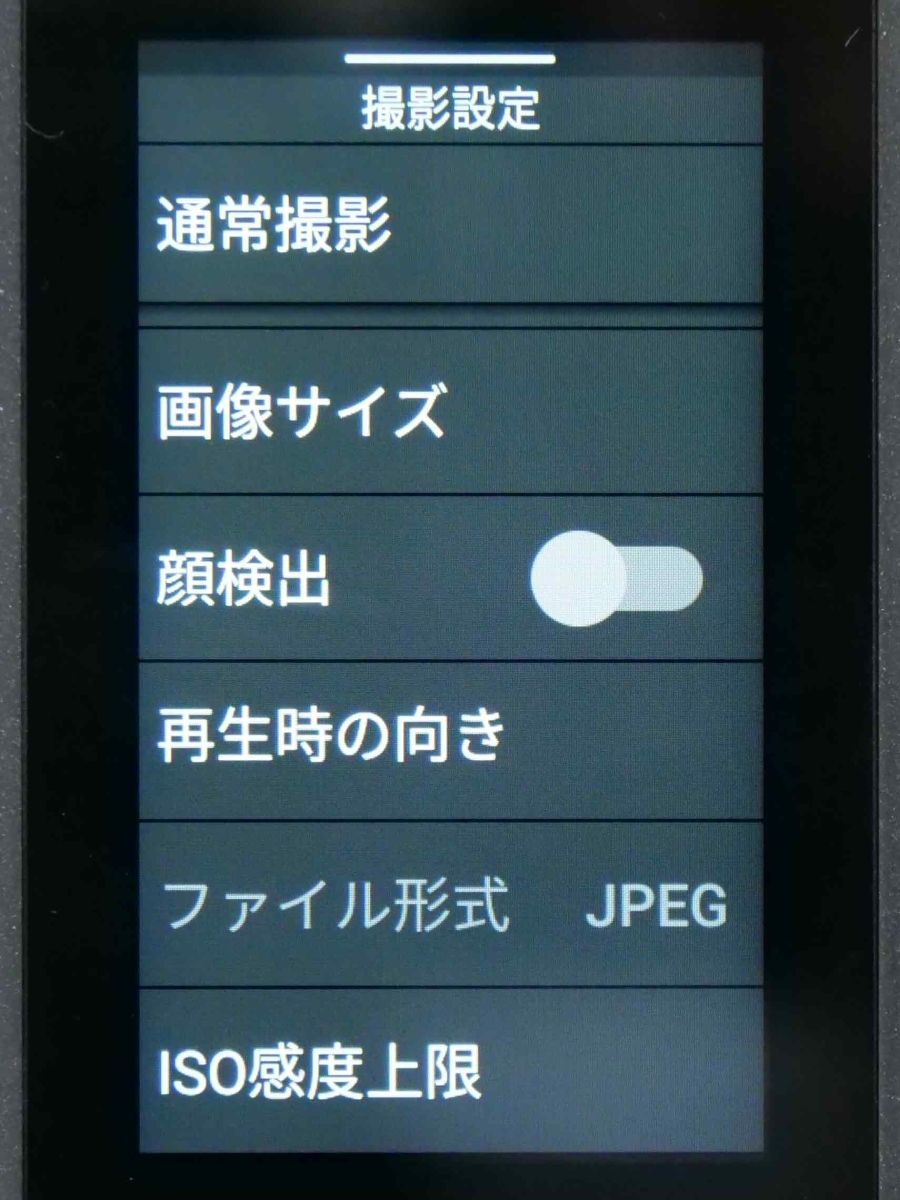
Furthermore, by swiping the screen upwards, you can set face detection activation, playback orientation, file format, and ISO sensitivity upper limit. To close the setting screen, swipe the screen downwards OK.
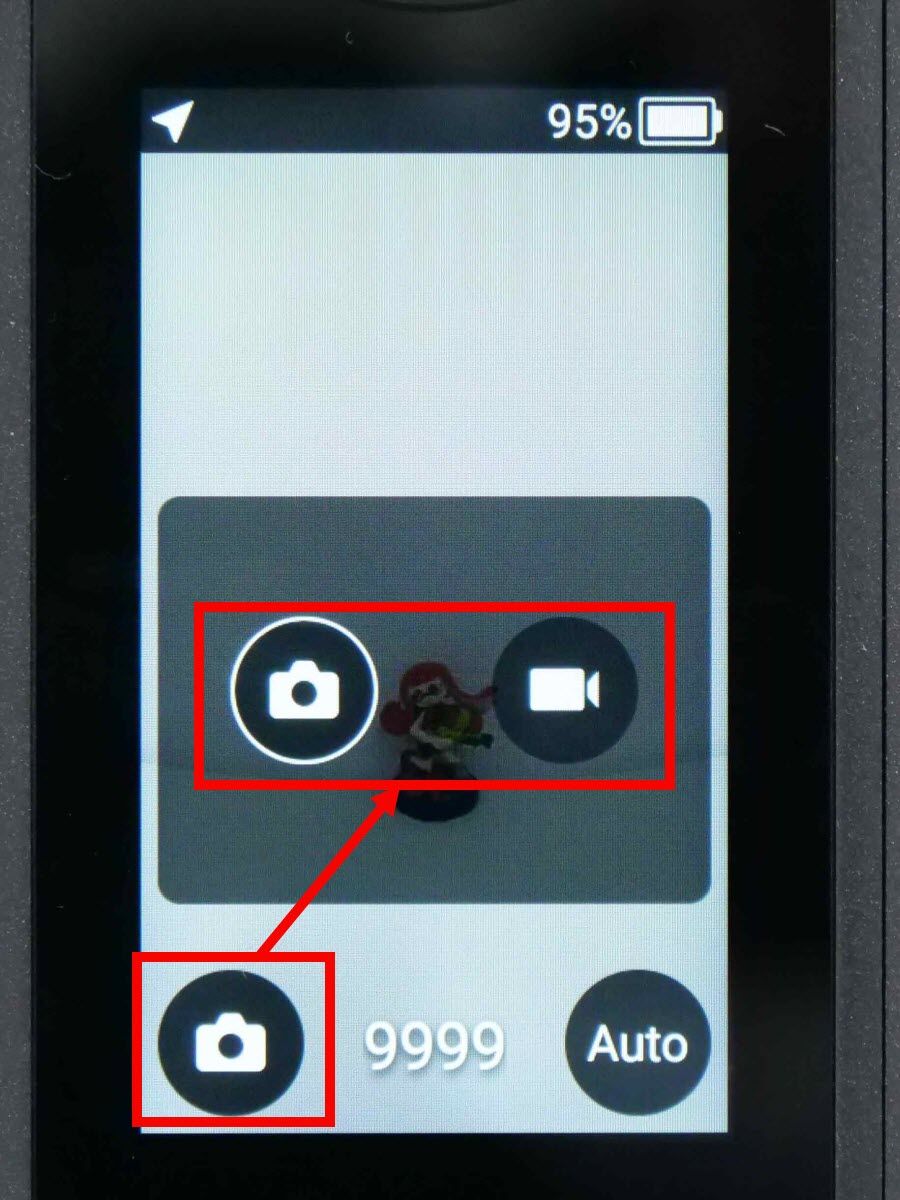
By tapping the button on the bottom left, you can switch between still image mode and movie mode.
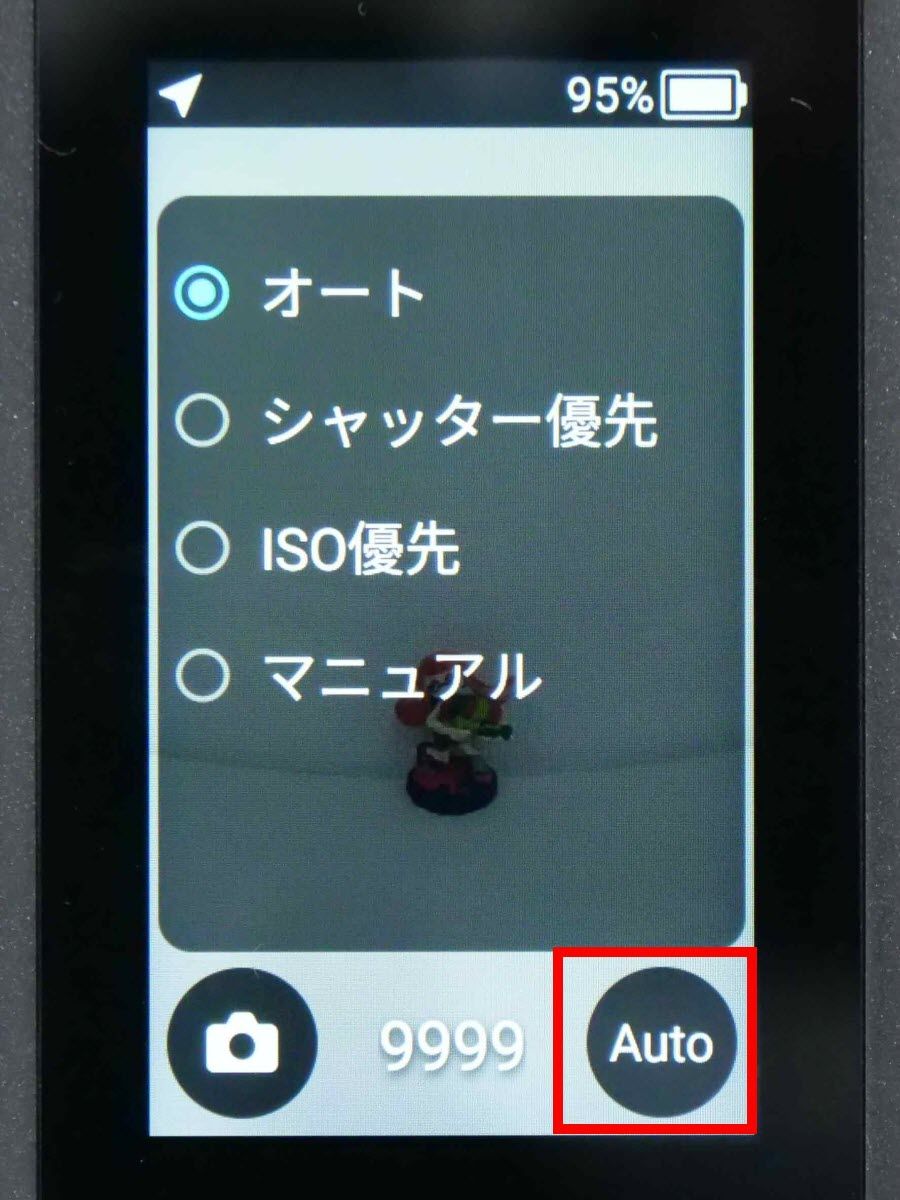
By tapping the button on the bottom right, you can select the shooting mode from auto, shutter priority, ISO priority, manual.
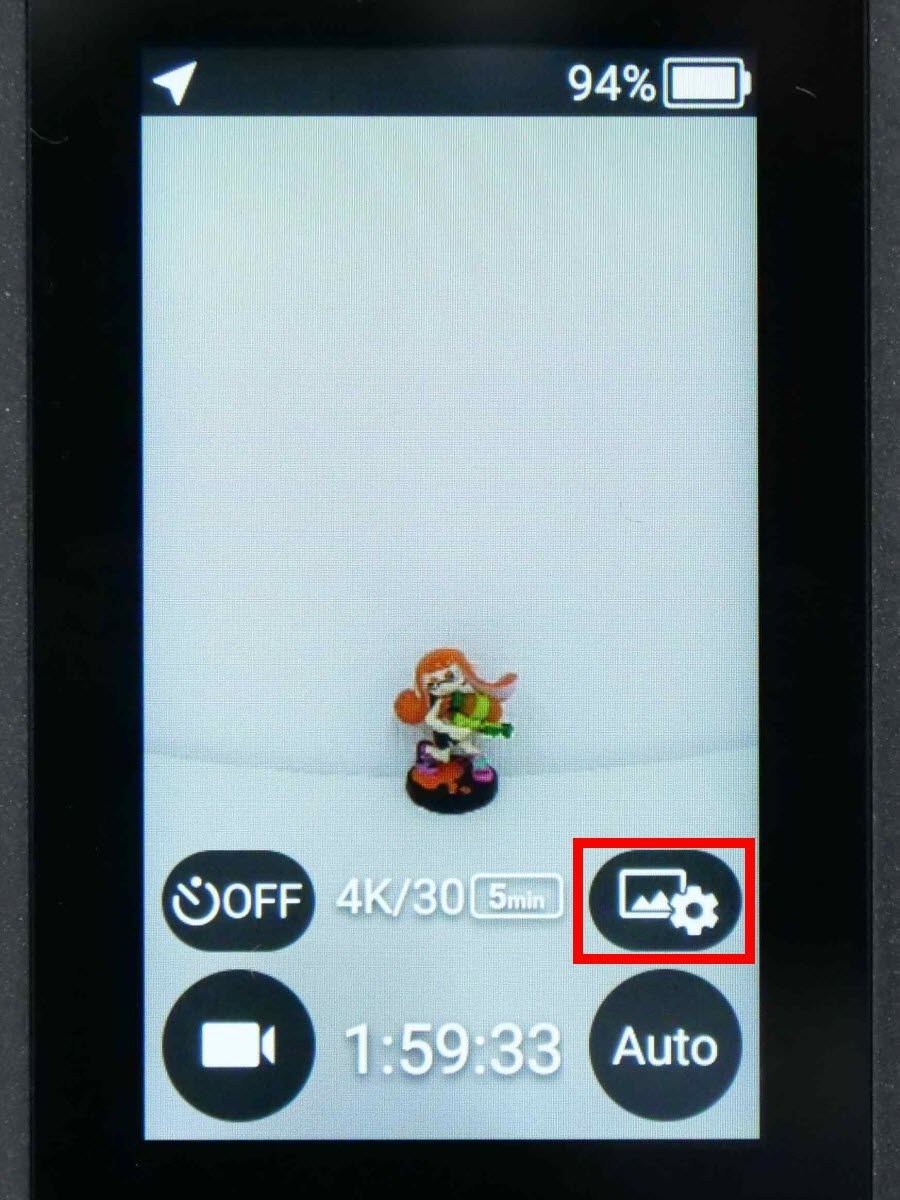
The movie mode screen looks something like this. The self-timer function and shooting mode switching are the same as in still image mode. Tap the upper right button to display the setting screen ......
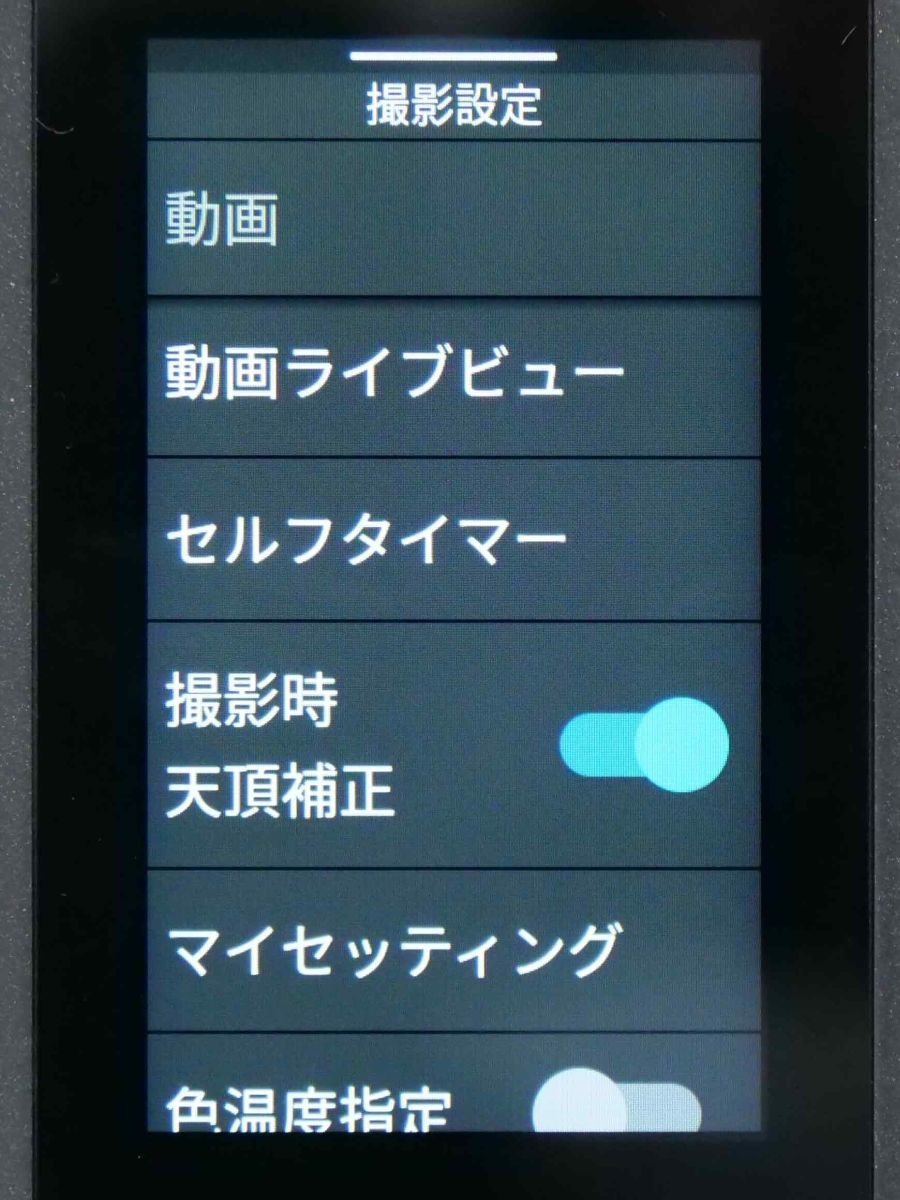
Movie shooting settings are displayed. Items such as video live view, self-timer, zenith correction during shooting, and my settings are lined up on the screen.
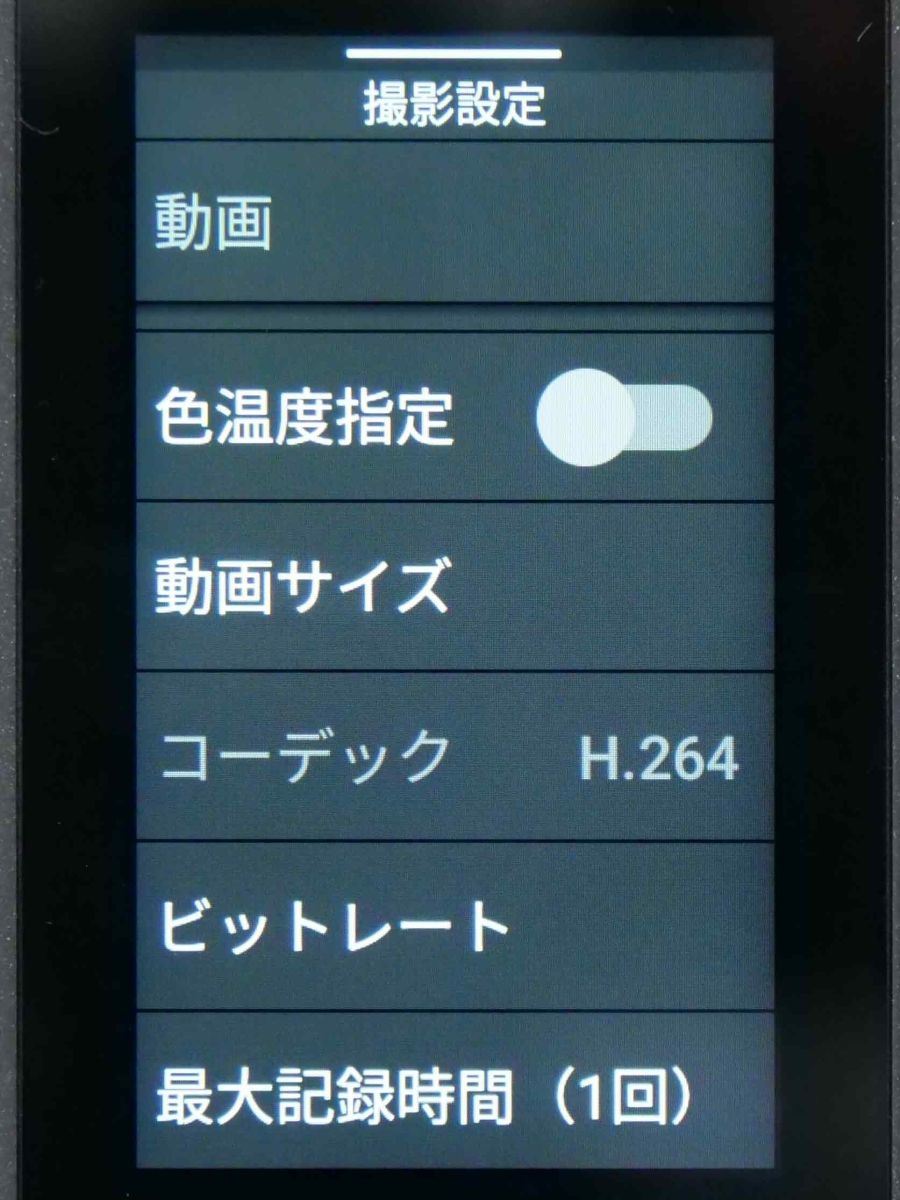
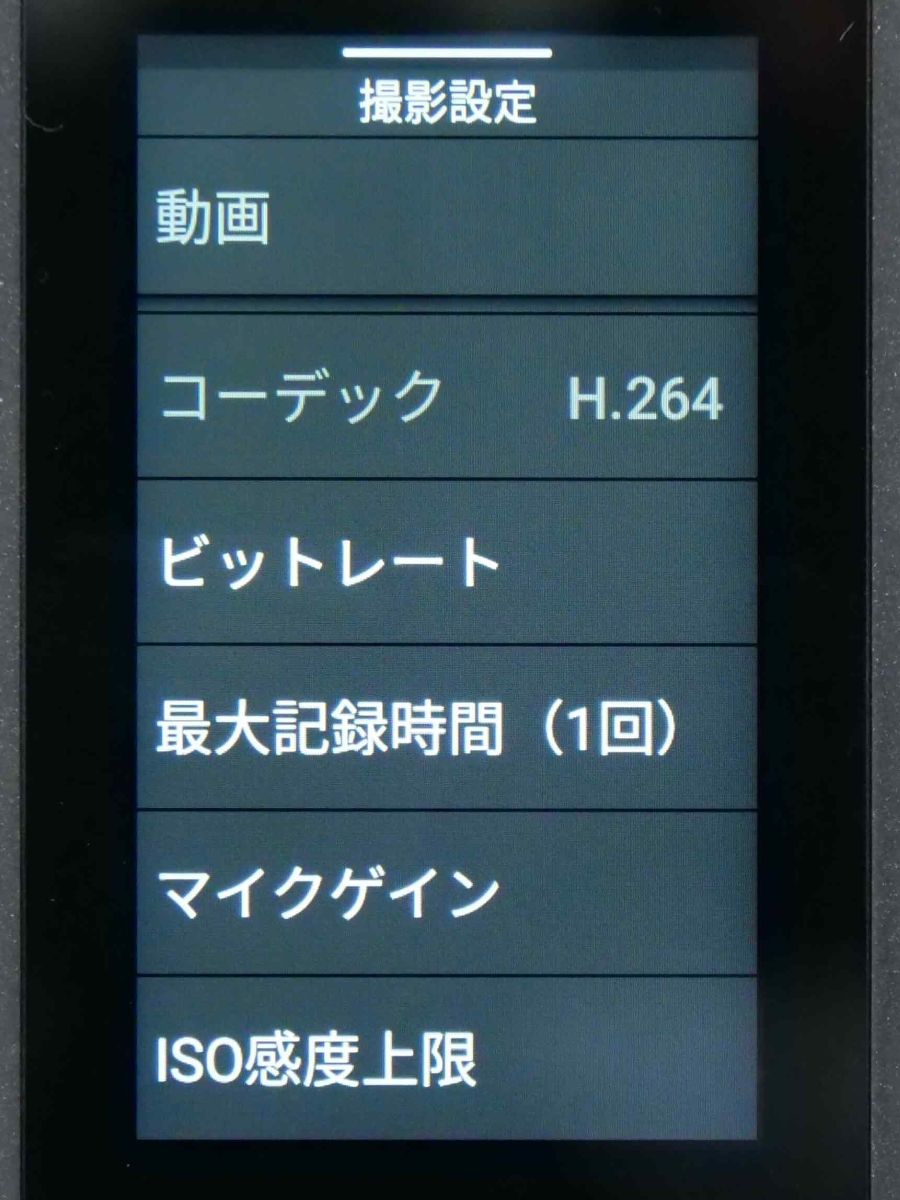
When you swipe up, items such as color temperature setting, video size, codec, bit rate, maximum recording time appear ......
If you swipe further, a setting screen such as microphone gain and ISO sensitivity upper limit will be displayed.
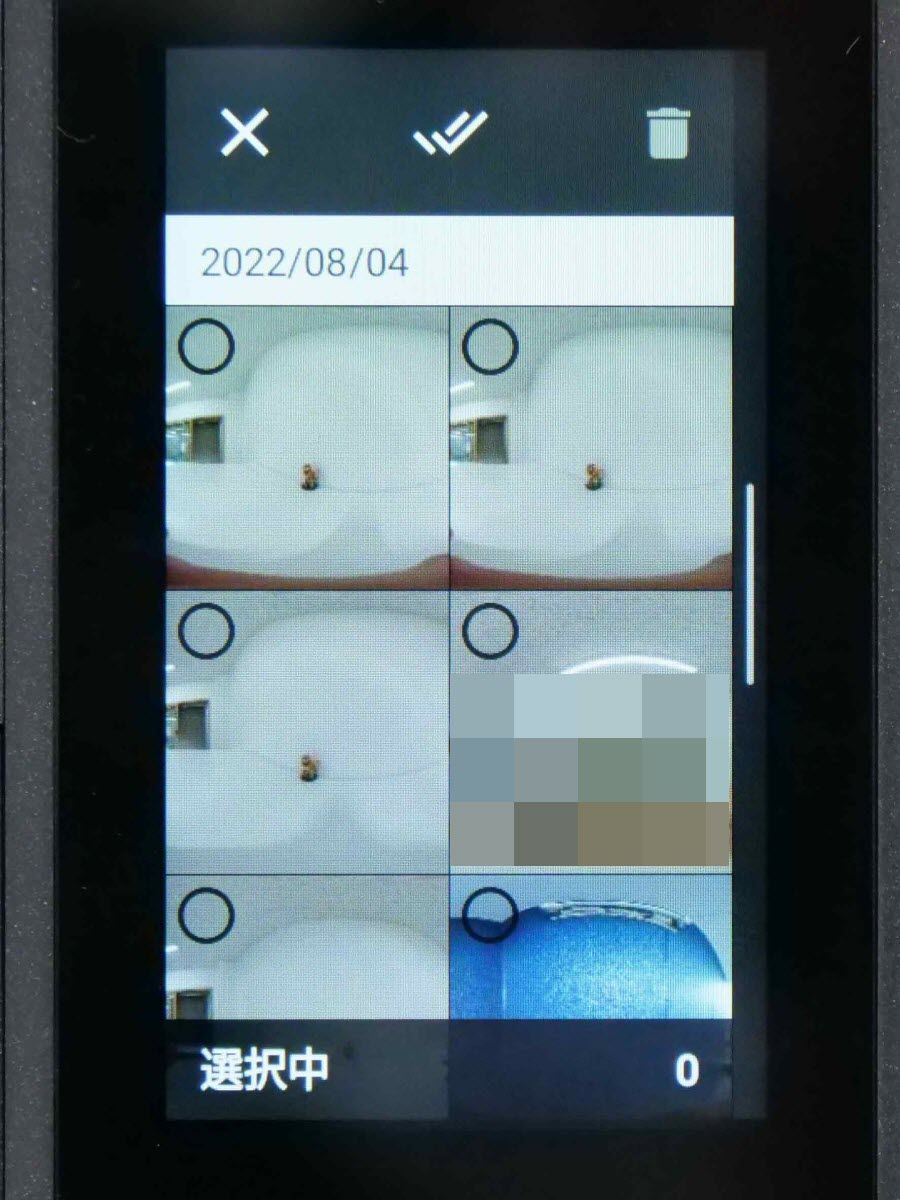
Also, if you swipe the shooting screen to the right ... ...
A list of captured images can be displayed. By tapping each image on this screen, you can check the shooting results as in the tutorial. Also, when you tap 'Select' at the top right of the screen ......

You can select multiple shots and delete them all at once.
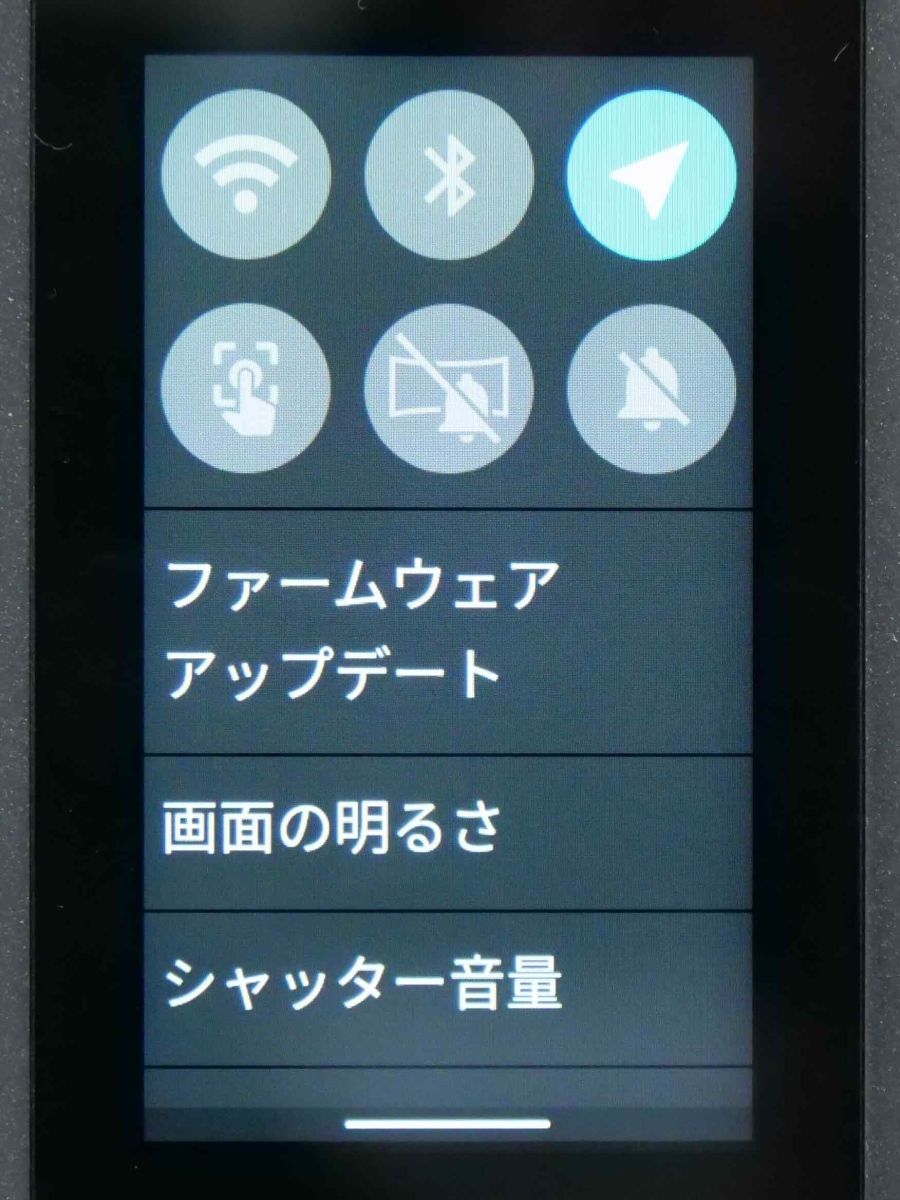
Swipe down on the shooting screen ......

The setting screen for the RICOH THETA X main unit is displayed. From this screen, you can perform detailed settings such as firmware update, wireless connection settings, and initialization of the main unit.
◆ 4: I actually tried shooting with just the touch panel
In fact, I recorded the process of making shooting settings only by touch panel operation and moving the captured image to check it in a movie. With a typical 360-degree camera, it is difficult to understand the shooting mode and image quality settings, and the shooting results cannot be confirmed unless connected to a smartphone. can be confirmed.
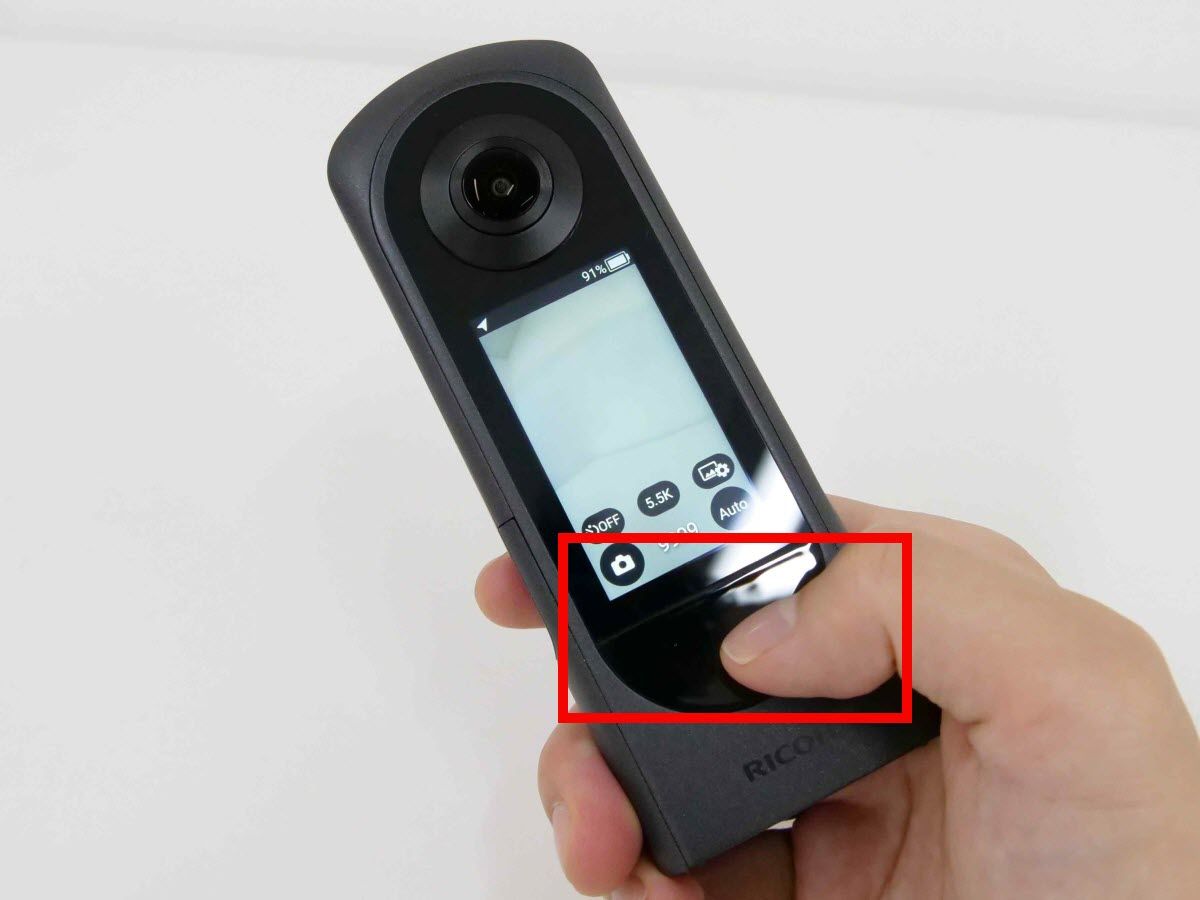
When shooting, it is better to press the shutter button mounted at the bottom of the touch panel than to operate with the touch panel to suppress camera shake.
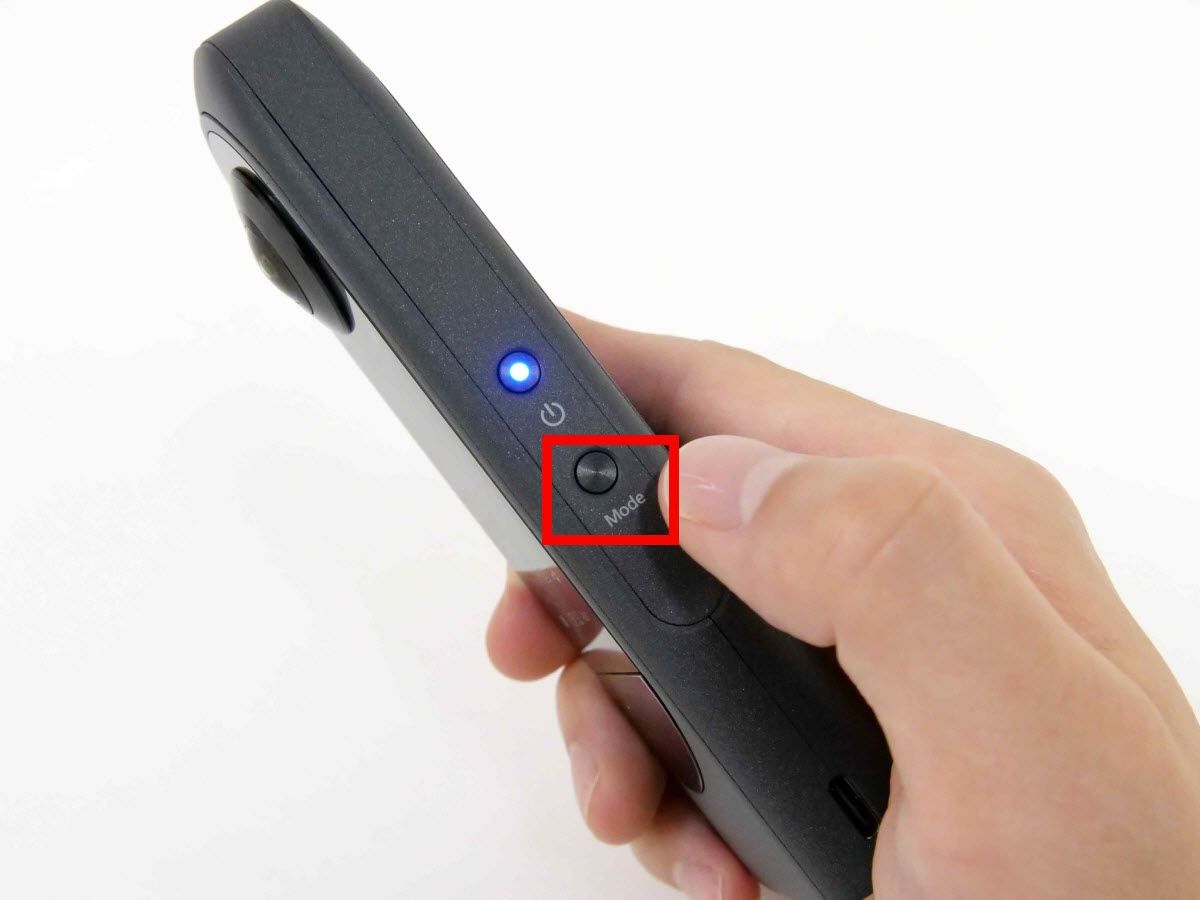
You can also switch between still image mode and movie mode with the 'Mode' button on the side of the main unit.
◆ 5: Summary
When I actually used RICOH THETA X, I was able to perform operations from initial settings to shooting using only the touch panel. The 360-degree camera can capture the entire surrounding landscape in one shot, so detailed framing is unnecessary. For this reason, a 360-degree camera that does not have an LCD screen can play a sufficient role, but with a camera that does not have a screen, it is necessary to connect to a smartphone when making detailed settings and checking the shooting results, which is a hassle. With RICOH THETA X, you can intuitively change settings on the touch panel and check the shooting results immediately after shooting. In addition, the touch panel worked smoothly and I never felt that the operation was slow.
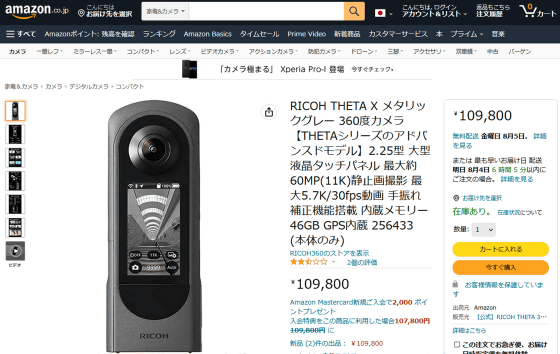
In addition, RICOH THETA X is sold at Amazon.co.jp at 109,800 yen including tax at the time of article creation.
Amazon | RICOH THETA X Metallic Gray 360-degree camera [THETA series advanced model] 2.25-inch large LCD touch panel Maximum approx. ) | Compact mail order
Related Posts: