I tried to check how to use the genuine Microsoft web application 'Microsoft Lists' specializing in list creation

Many people use Excel to create simple lists such as to-do lists and shopping lists. However, Excel also has a calculation function and a graph creation function, and it may be troublesome to start it just to create a simple list. Meanwhile, Microsoft has released a preview version of the web application 'Microsoft Lists' that specializes in list creation, so I actually used it to check the list creation procedure.
Microsoft Lists – MSA Preview | Microsoft 365
A preview version of 'Microsoft Lists' is available at the link above. To use the preview version of Microsoft Lists, first click Try preview.

Then you will be asked to sign in with your Microsoft account, so enter your email address and click 'Next' ...

Enter your password and click Sign In.

When you sign in, you will be asked if you want to stay signed in, so this time I clicked 'Yes'.

If you sign in successfully, the 'Microsoft Lists' tutorial will be displayed. Click the button at the bottom right to read it.

After reading to the end, click 'Let's go'.

Then you can use 'Microsoft Lists'. To create a list, first click 'New list'.

The list can be created according to a template such as 'Ichute Tracker', but this time I clicked 'Blank list' to create an empty list.

Next, enter and select 'List name', 'List description', 'List color', and 'List icon' and click 'Create'.

The created list looks like this. Click Add new item to use the contents of the list.

When the input field appears, describe the content and press 'Enter' on the keyboard.

Then, the input field on the next line will appear, so repeat this to describe the contents of the list.

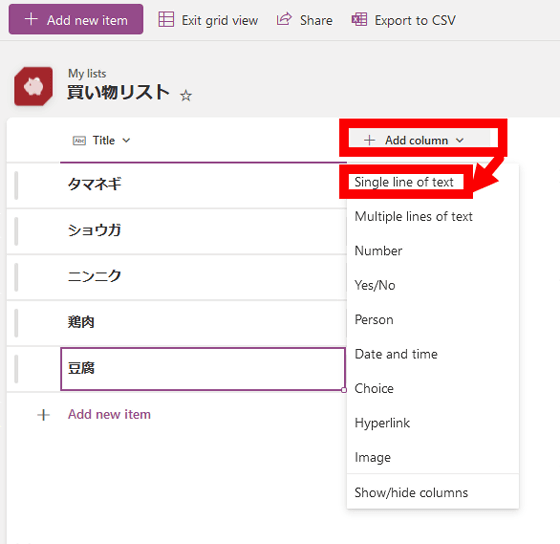
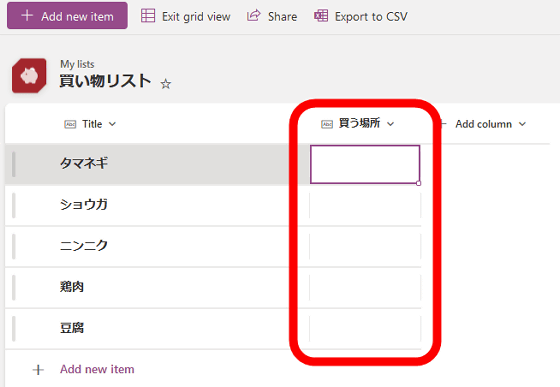
If you want to add a new row, click the part marked 'Add column' and select the column type. There are various types of columns such as 'one line of text', 'multi-line text', 'number', 'Yes or No', 'personal name', 'date and time', 'choice', 'hyperlink', and 'image'. I chose 'Single line of text' because I want to enter it.
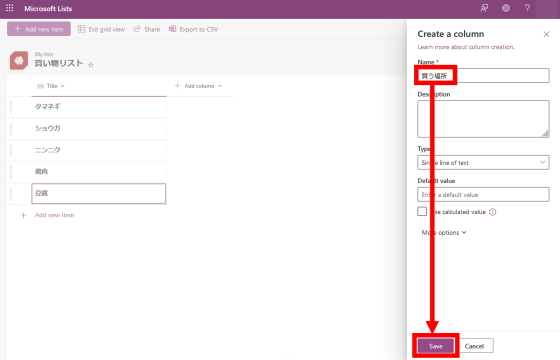
When you select the column type, the screen for deciding the column title is displayed on the right side. Enter the column title and click 'Save'.
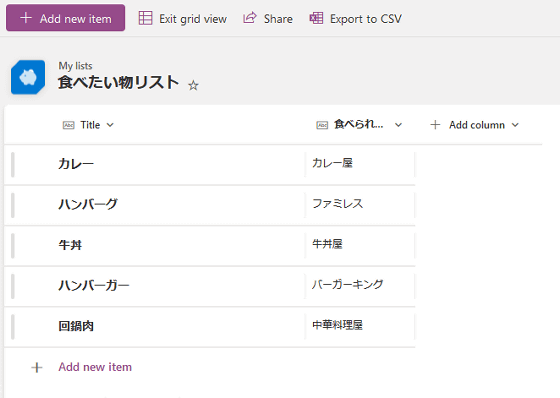
Then, the column will be added like this.
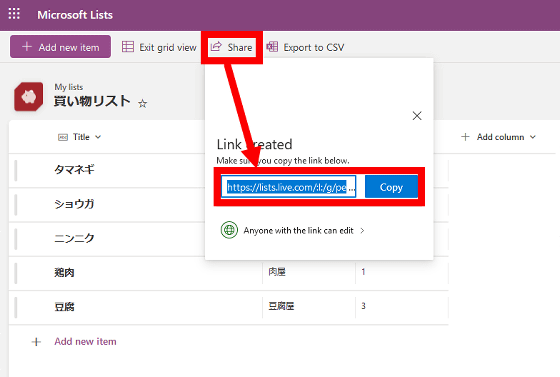
With 'Microsoft Lists', it is possible for multiple people to manage the same list. To manage with multiple people, click 'Share' at the top of the screen and share the displayed URL with an email or message app.
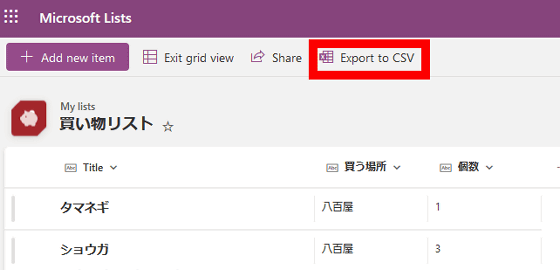
You can also download the list in
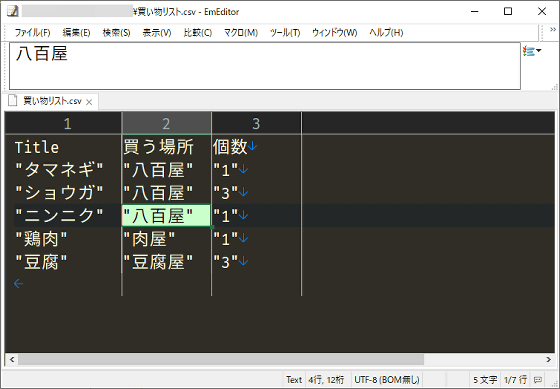
The downloaded CSV file can be viewed and edited in the same way as a normal CSV file with compatible software such as Excel and various text editors.
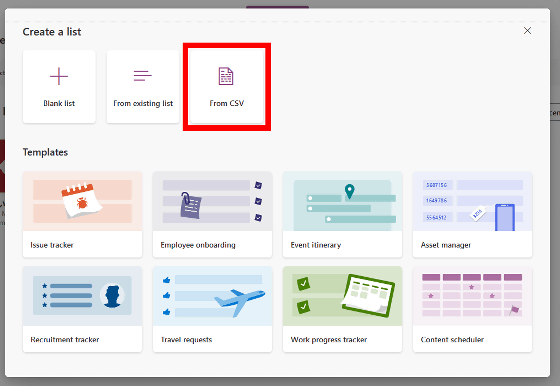
In addition, 'Microsoft Lists' can read existing CSV files when creating lists. To read the CSV file, click 'From CSV' on the list creation screen ...
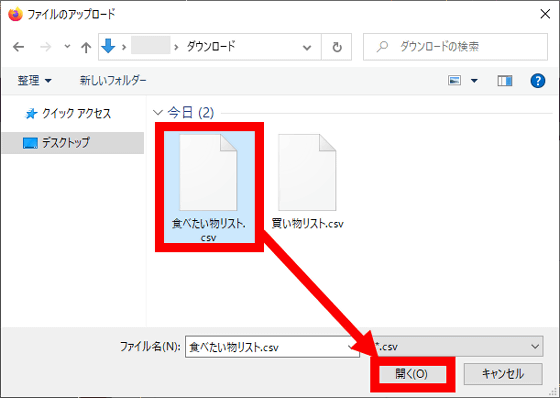
Select the file you want to import.
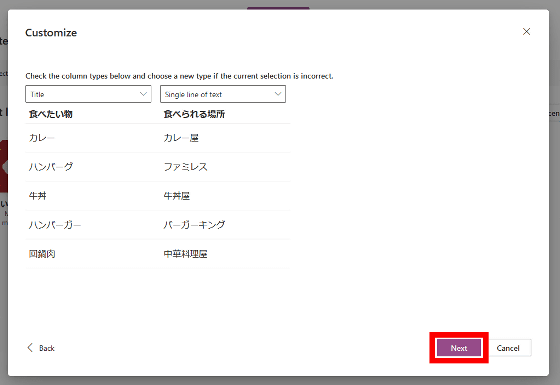
Then, a screen for selecting the format of each column will be displayed, so apply the settings you like and click 'Next'.
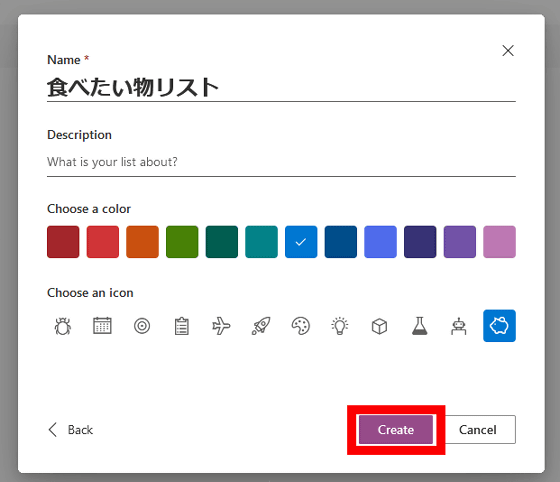
Next, you will be prompted to decide the name of the list. Since the file name of the CSV file is set as the name in the initial state, I just clicked 'Create' this time.
You have now loaded the CSV file with 'Microsoft Lists'.
The preview version of 'Microsoft Lists' is available for free for the first 200,000 people.
Related Posts:
in Review, Web Application, Posted by log1o_hf


