Thorough explanation of how to give a password to a USB memory
If you store information that you don't want to see if it leaks to the outside or a file that you don't want anyone to see, if the USB memory is stolen or lost, important data will be stolen. If you use the free encryption application '
VeraCrypt --Free Open source disk encryption with strong security for the Paranoid
https://www.veracrypt.fr/en/Home.html
·table of contents
◆ 1: Encrypt USB memory with VeraCrypt
◆ 2: How to use encrypted USB memory
◆ 1: Encrypt USB memory with VeraCrypt
Before you can encrypt the USB, you first need to download and install VeraCrypt on your PC. The installation procedure of VeraCrypt is explained in detail in the following article, so please refer to the article and proceed to the installation.
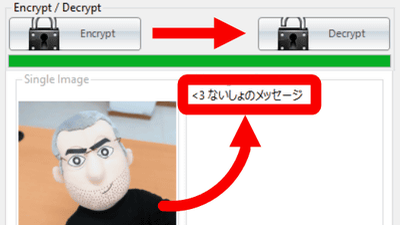
How to use the encryption application 'VeraCrypt' that can safely hide data that you do not want anyone to see --GIGAZINE
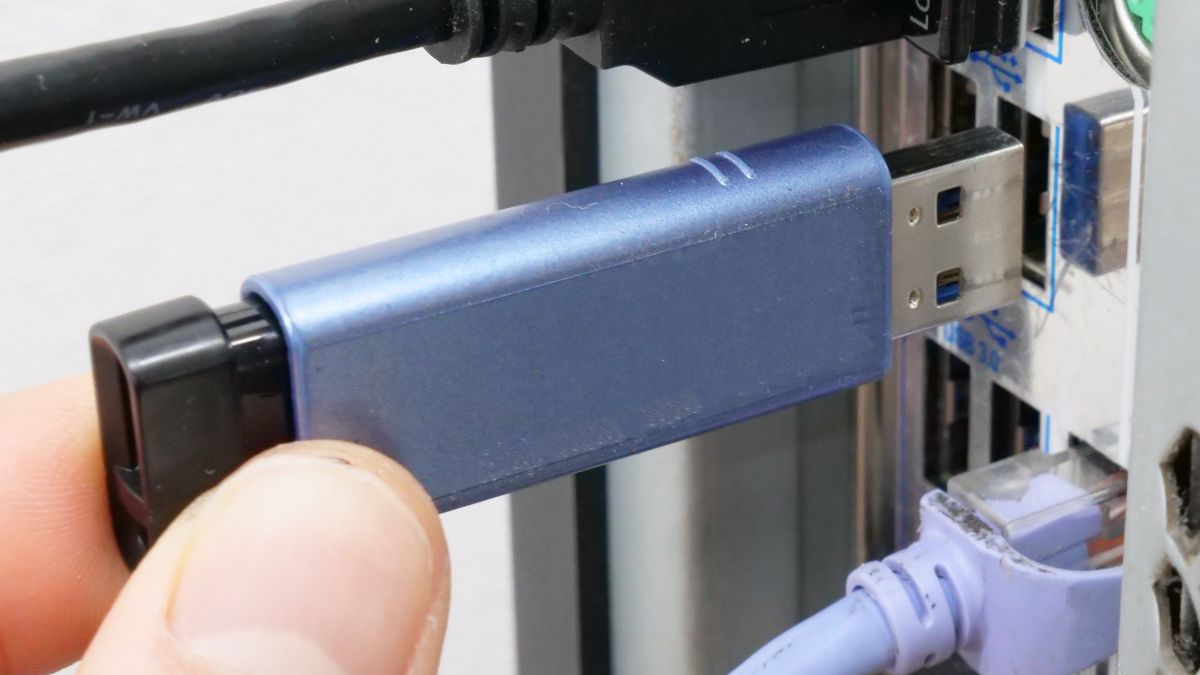
After installing VeraCrypt, connect the USB memory you want to encrypt to your PC. In this procedure, all the data stored in the USB memory will be deleted during encryption, so important data must be backed up to another location.
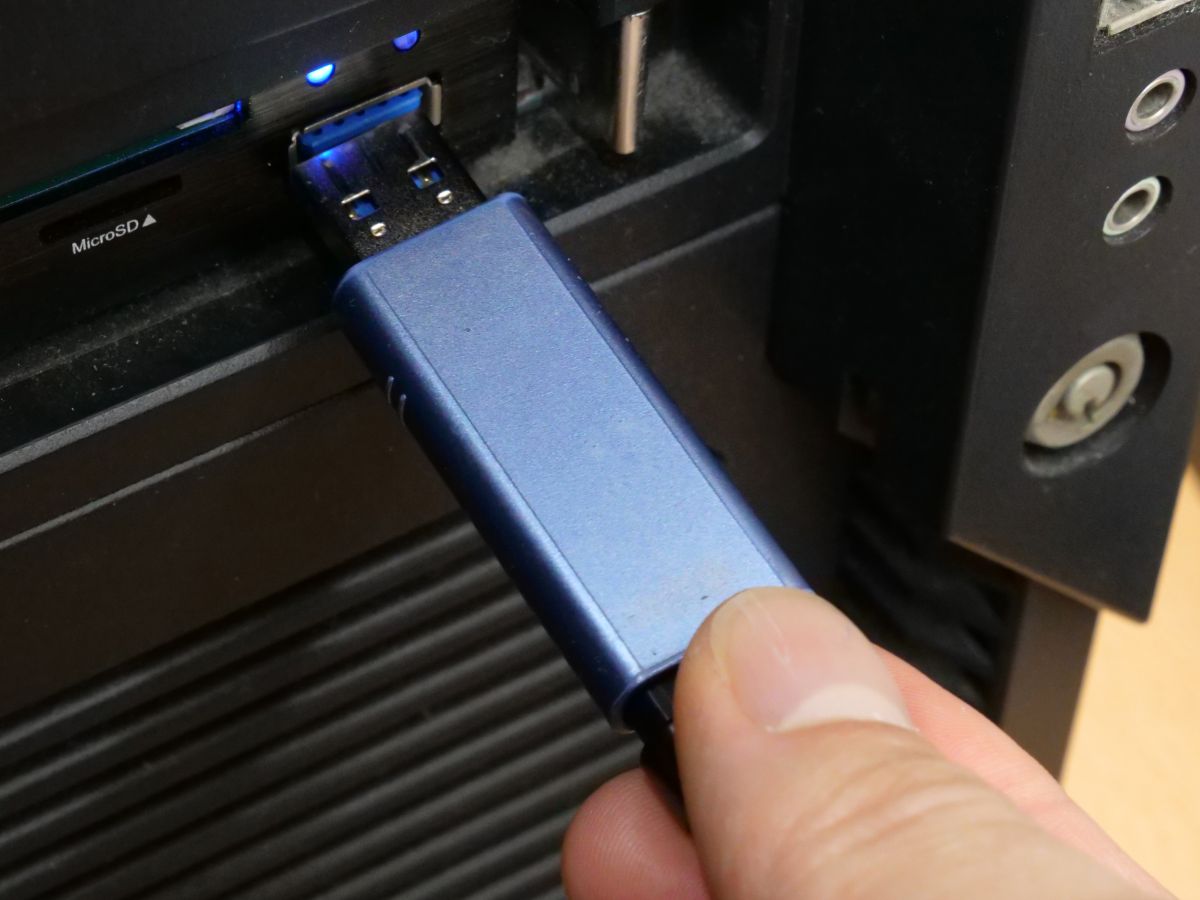
After connecting the USB memory, search for VeraCrypt from the start menu and start it.

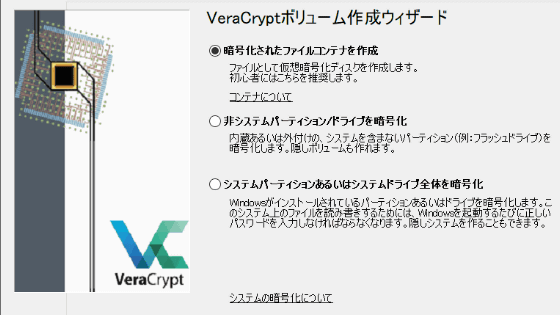
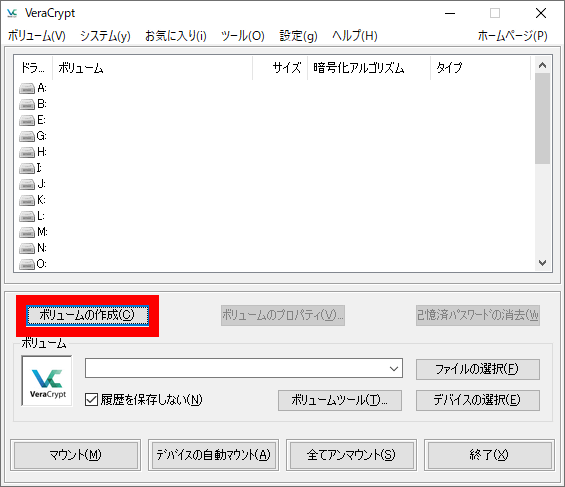
Then click 'Create Volume'.
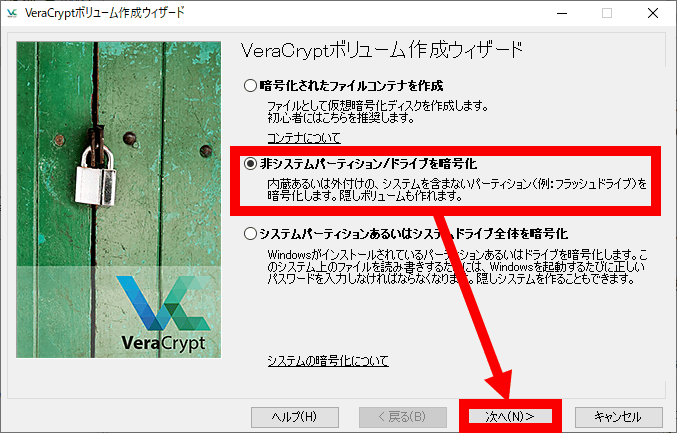
When the volume creation screen is displayed, check 'Encrypt non-system partition / drive' and click 'Next'.
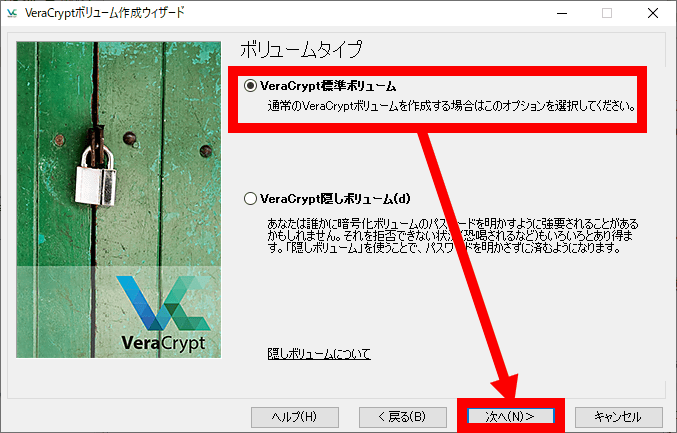
Select 'VeraCrypt standard volume' as the volume type and click 'Next'.
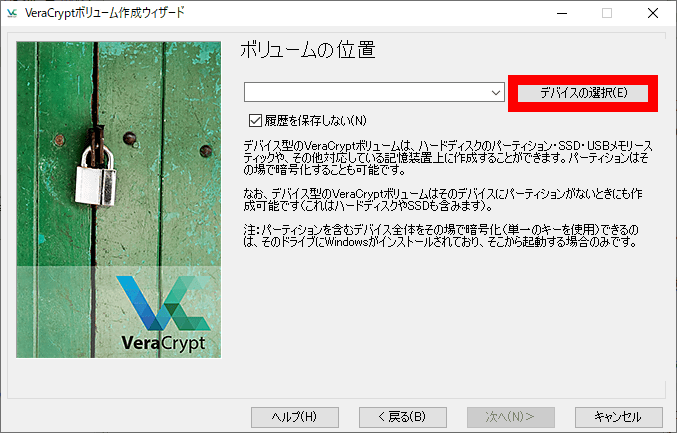
Next, the screen to set the position of the volume to be encrypted is displayed, so click 'Select device' ...
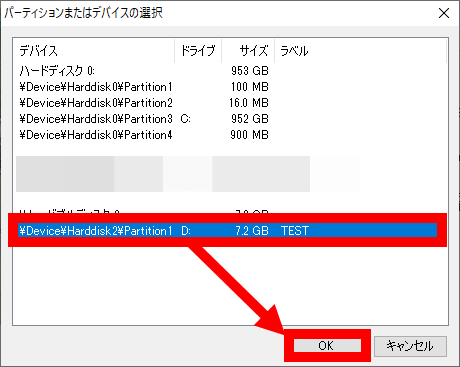
Select the USB memory you want to encrypt based on the drive letter (alphabet such as C or D) and capacity, and click 'OK'. If you select the wrong device at this time, the data on your PC may be lost, so check carefully.
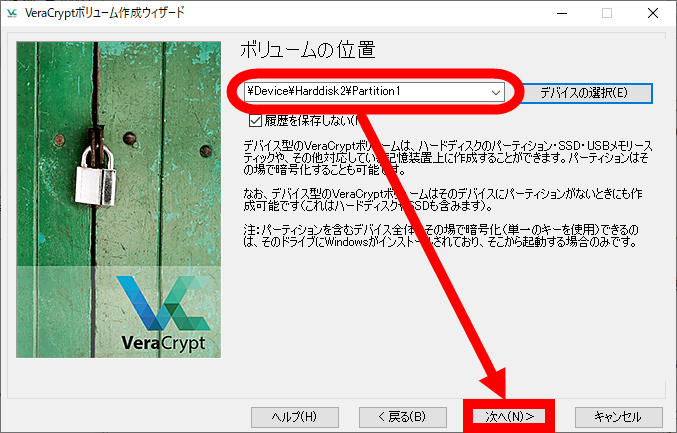
Click 'Next' when you have finished selecting the device.
Then select Create and Format Encrypted Volume and click Next.

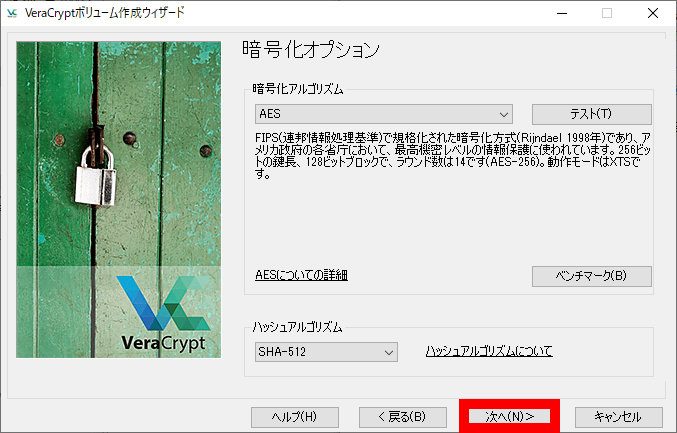
Then, the selection screen for the encryption algorithm and hash algorithm is displayed. On this screen, you can set the encryption method to your liking, but since the strong encryption method '
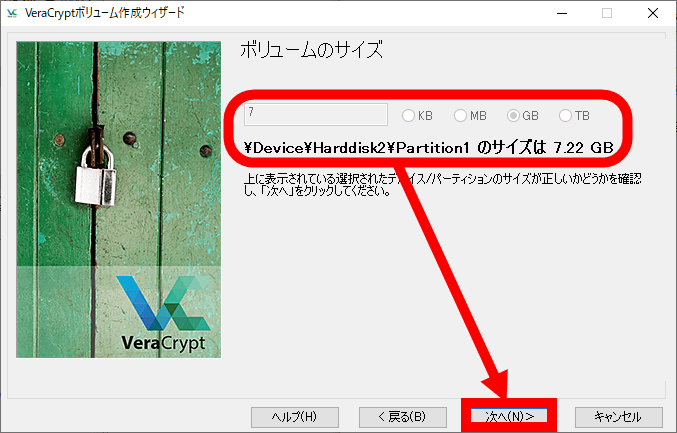
When the volume size confirmation screen is displayed, check that the capacity matches the USB memory you want to encrypt and click 'Next'.
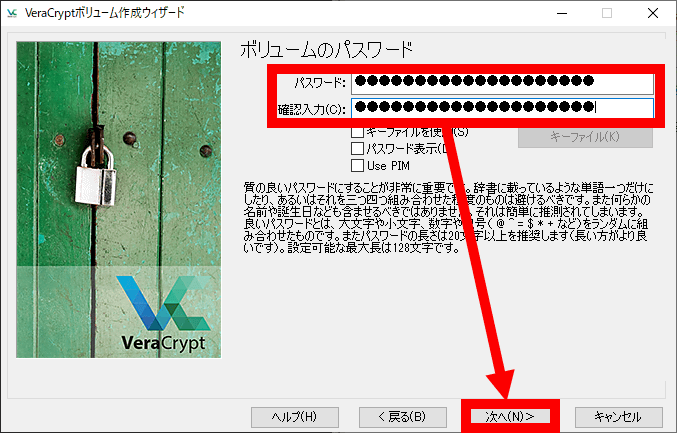
Next, the password setting screen will be displayed. Enter the password you want to set in the two input fields and click 'Next'.
If the USB memory has a certain capacity or more, you will be asked if you want to save a file of 4GB or more. This time, I selected 'Yes' and clicked 'Next'.

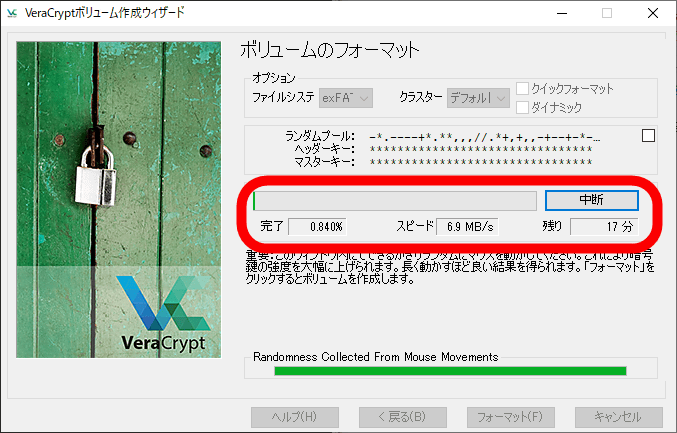
This will bring up the volume format screen. On this screen, it is possible to increase the encryption strength by 'moving the mouse cursor randomly in the screen', so move the mouse around ...
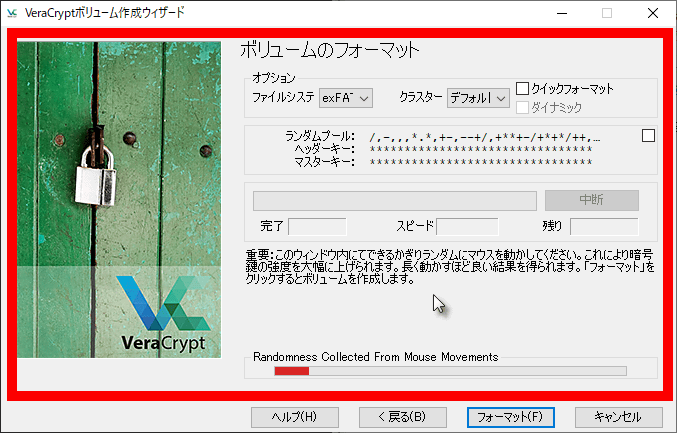
Click Format when the bar at the bottom of the screen turns green.

Depending on the Windows settings, a screen recommending disabling

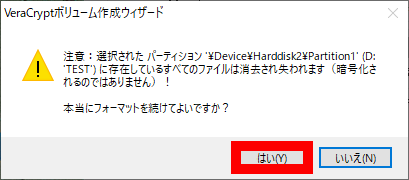
Click 'Yes' when the data deletion warning is displayed.
The USB memory encryption will start, so wait for a while. Depending on the capacity of the USB memory, it may take tens of minutes to complete.
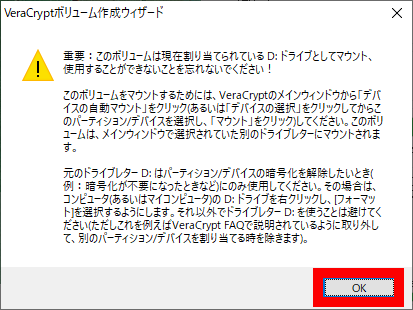
When the encryption is completed, it will be displayed that the USB memory can not be used like a normal device, so read it carefully and click 'OK'.
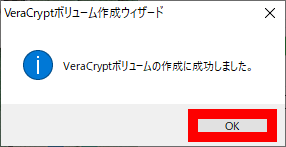
Then, the encryption success notification will be displayed, so click 'OK' ...
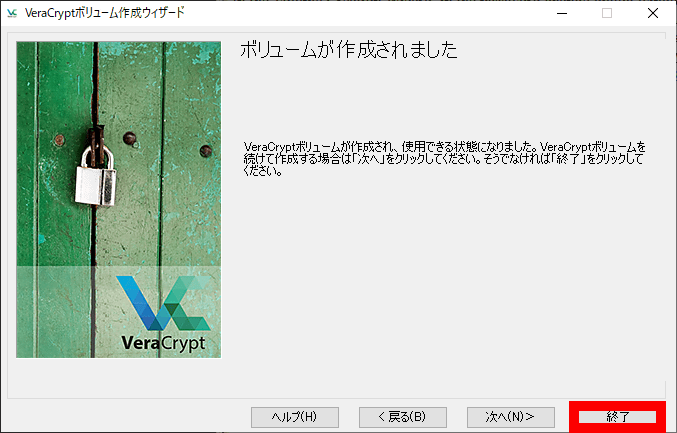
Click 'Finish'. This completes the encryption of the USB memory.
◆ 2: How to use encrypted USB memory
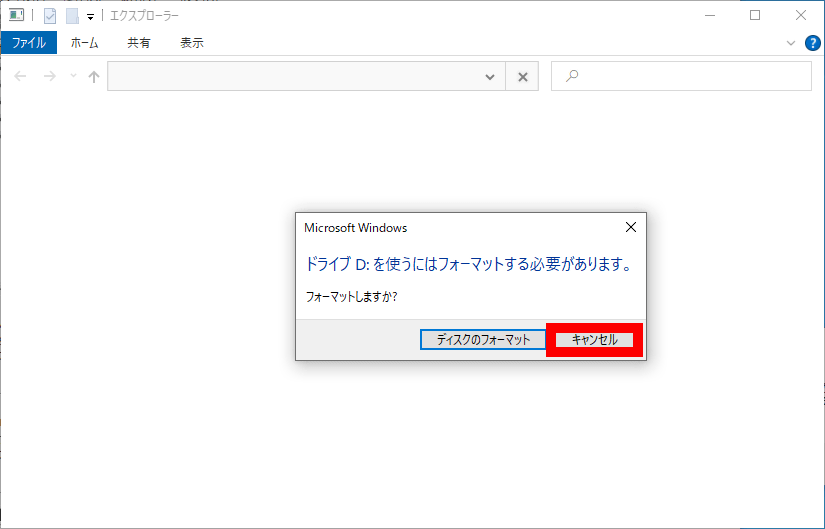
When you connect the encrypted USB memory to your PC, the following screen will be displayed asking you to format it. If you format it here, the USB memory will return to the state before encryption, so click 'Cancel' to close the screen.
After connecting the encrypted USB memory to a PC, you can save, view, and delete files by performing an operation called 'mount' with VeraCrypt. The mounting procedure is as follows.
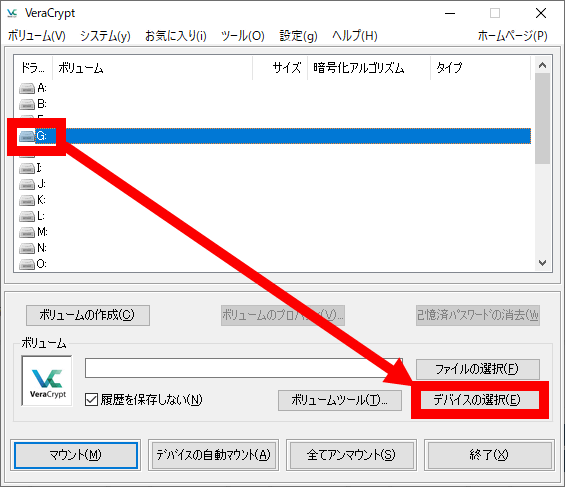
First, start VeraCrypt, select your favorite drive letter from A to Z lined up at the top of the screen, and click 'Select Device'. This time, I selected 'G'.
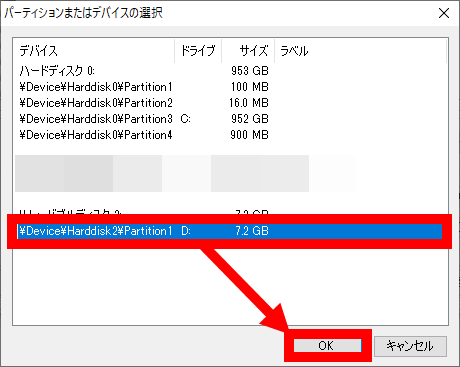
When the device selection screen is displayed, select the USB memory you want to mount and click 'OK' ...
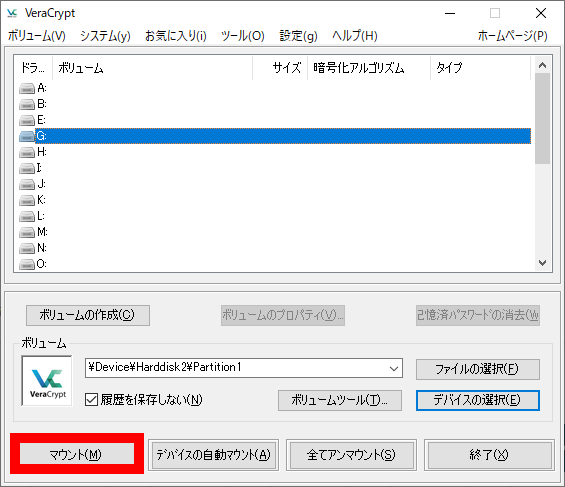
Click Mount.
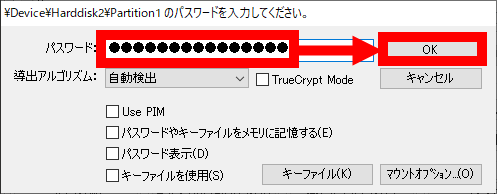
Then, the password input screen is displayed. Enter the password set when creating the encrypted USB memory and click 'OK'.
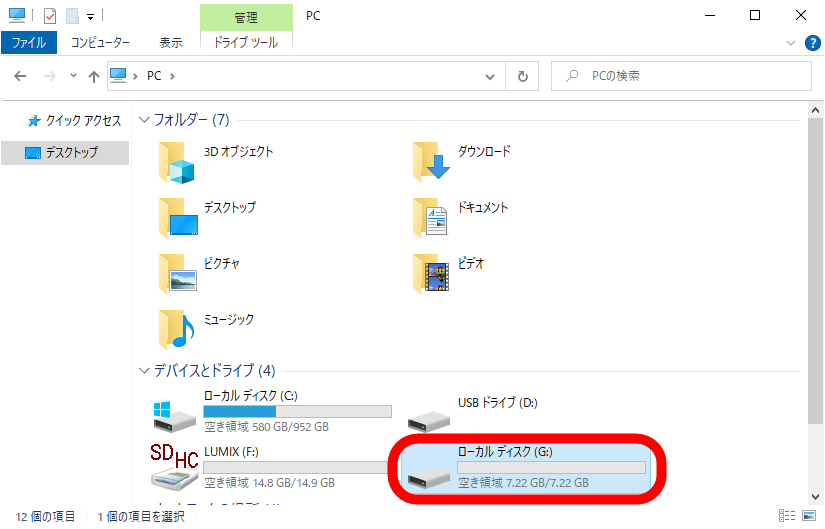
If the USB memory information is displayed at the top of the screen like this, mounting is complete.

When I checked the explorer, the encrypted USB memory was displayed as 'G drive'.
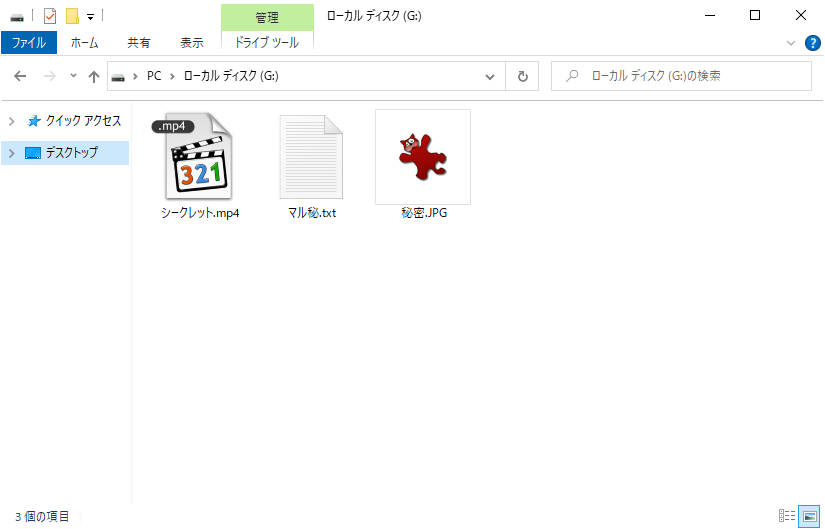
After that, you can perform operations such as viewing and copying files in the same way as a normal USB memory.
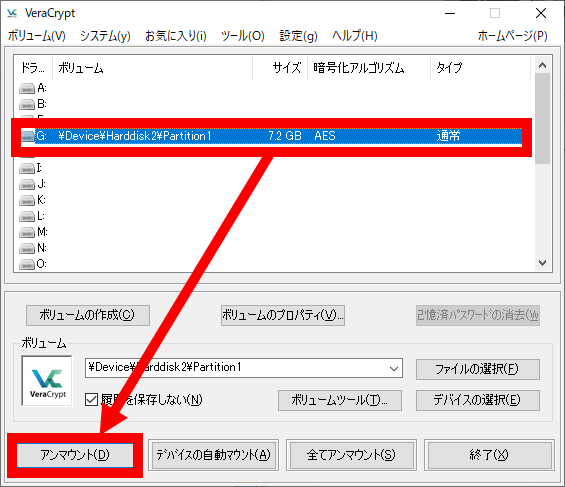
When removing the USB memory from the PC, you need to select the USB memory you want to remove with VeraCrypt, click 'Unmount', and then remove it. Note that if you forget to unmount, the encrypted USB memory may be damaged.
The above encryption procedure can be executed on an external HDD or SD card as well as a USB memory.
Related Posts: