How to use the encryption application 'VeraCrypt' that can safely hide data that you do not want anyone to see

If you have files that you don't want anyone to see, or data that you have to keep tightly managed for work, you are worried that someone will steal your information with normal storage methods. If you use the free encrypted virtual drive creation application ' VeraCrypt ', you can create a virtual drive whose contents can not be viewed without entering the password, or you can encrypt the entire storage, so actually install VeraCrypt I tried to summarize the procedure for encryption.
VeraCrypt --Free Open source disk encryption with strong security for the Paranoid
table of contents:
◆ 1: VeraCrypt installation procedure
◆ 2: Procedure for creating a 'file container' to protect secret files with a password
◆ 3: How to add / view files to the file container
◆ 4: How to create a 'hidden volume' that doesn't even exist
◆ 5: How to browse files saved in hidden volume
◆ 6: Encryption for each partition / drive
◆ 7: How to browse the contents of the encrypted partition
◆ 1: VeraCrypt installation procedure
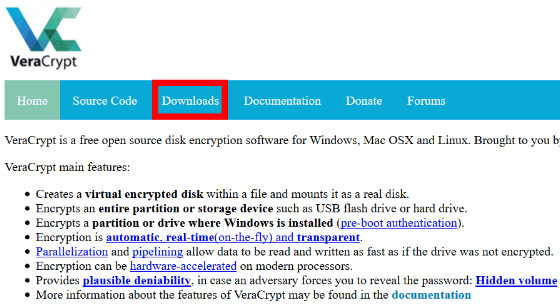
To download VeraCrypt, go to the URL above and click 'Download' to go to the distribution page .
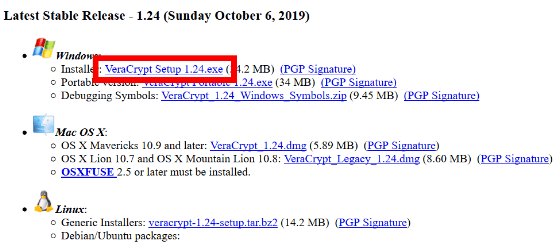
VeraCrypt is compatible with Windows, macOS and Linux, but this time I will download the Windows version. Click the red frame part.
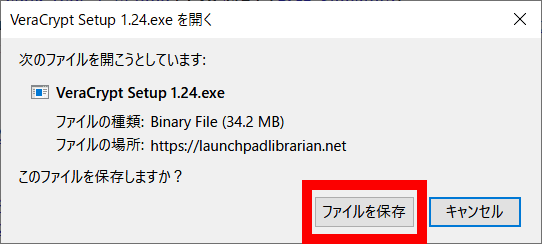
Click 'Save File'.
Click 'VeraCrypt Setup 1.24.exe' when the download is complete.
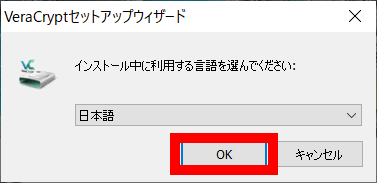
Select 'Japanese' and click 'OK'.
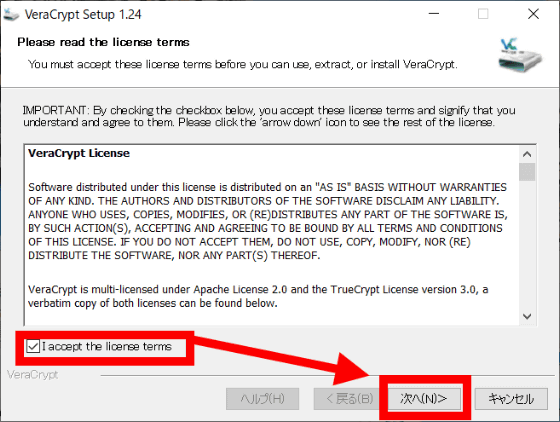
The terms of use are in English. If you agree, check the check box and click 'Next'.
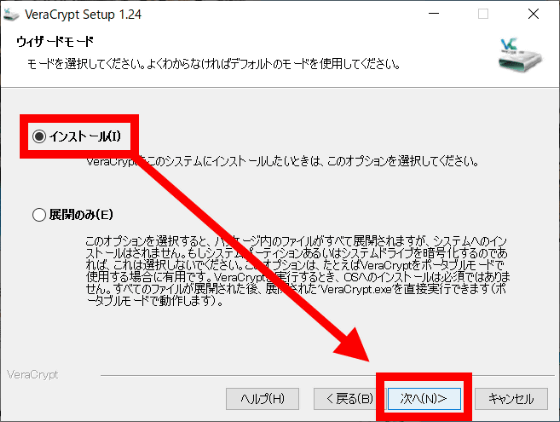
Select 'Install' and click 'Next'.
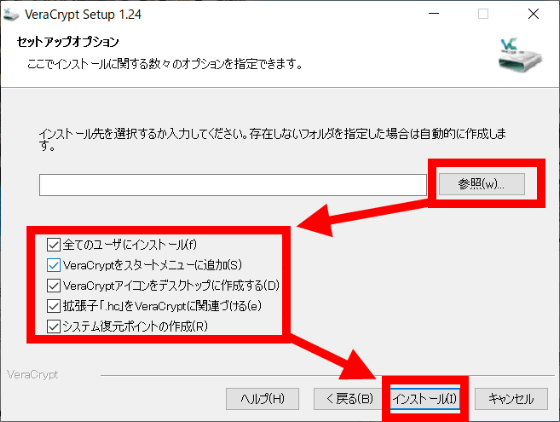
Click 'Browse' to select the installation destination, check the required items, and then click 'Install'.
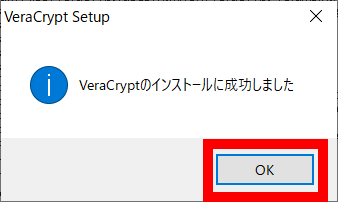
Click 'OK'.
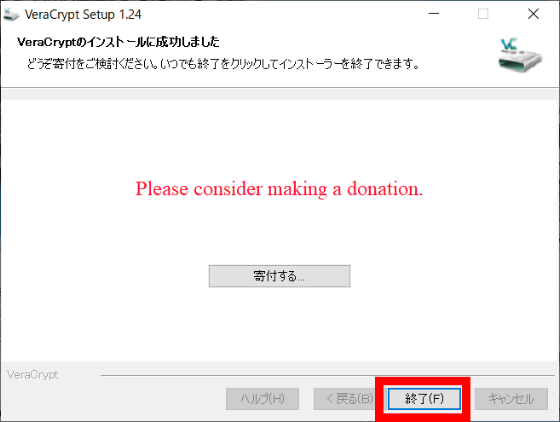
Click Finish to close the installer.
If you installed with the above procedure, the VeraCrypt icon will be generated on your desktop. Start VeraCrypt to proceed with various settings.
◆ 2: Procedure for creating a 'file container' to protect secret files with a password
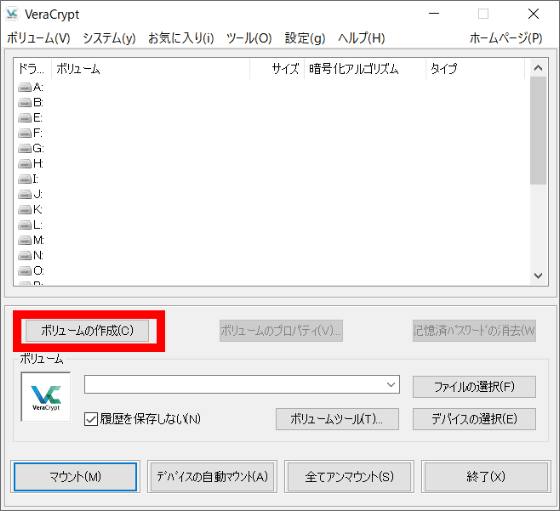
When you start VeraCrypt, the following window will open. First, click 'Create Volume'.
This will bring up the Volume Creation Wizard. With VeraCrypt, it is possible to protect files by creating a 'file container' that stores files that you want to keep secret, or by encrypting the entire storage that stores files. This time I will try to create a file container that is intended for beginners. Select 'Create encrypted file container' and click 'Next'.
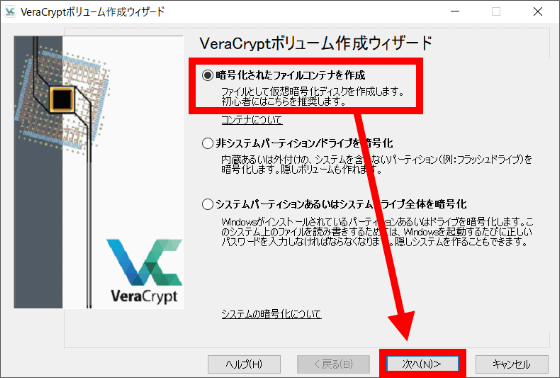
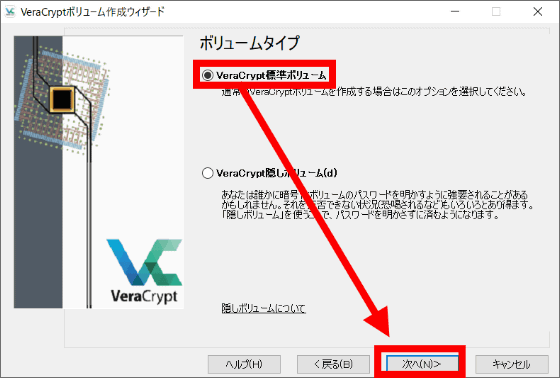
For general use, 'VeraCrypt standard volume' is sufficient, so select 'VeraCrypt standard volume' and click 'Next'.
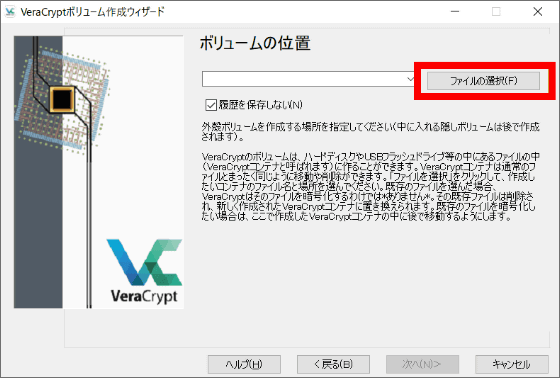
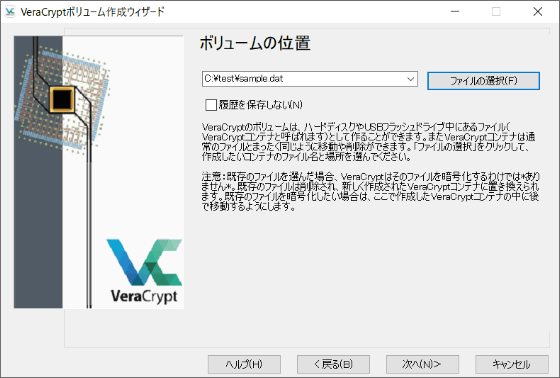
Create a file to create the volume. Click 'Select File'.
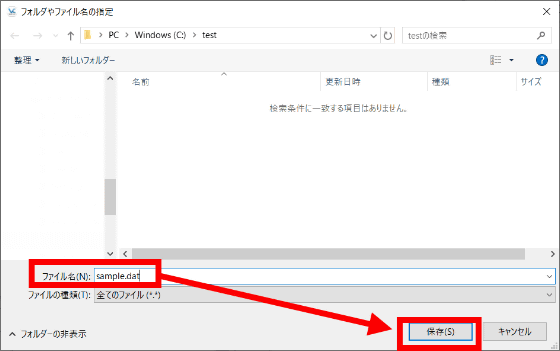
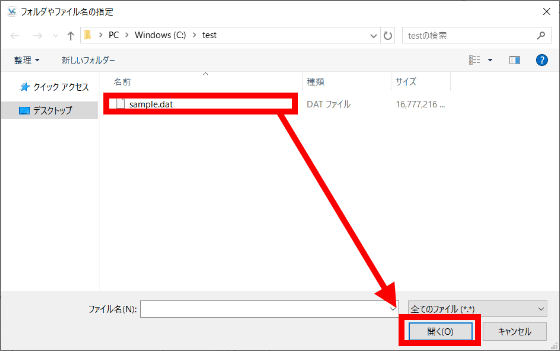
You can 'save' it in any location with a file name of your choice. This time, I created 'sample.dat' under 'C: \ test \'.
Click 'Next'.
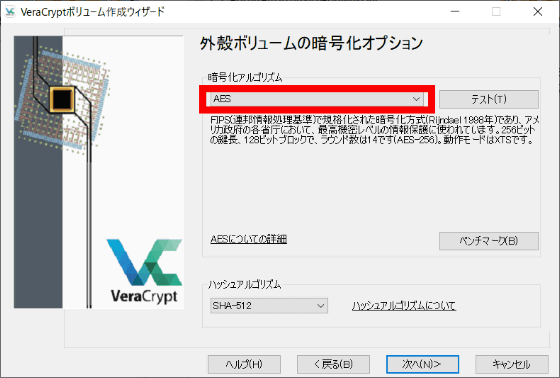
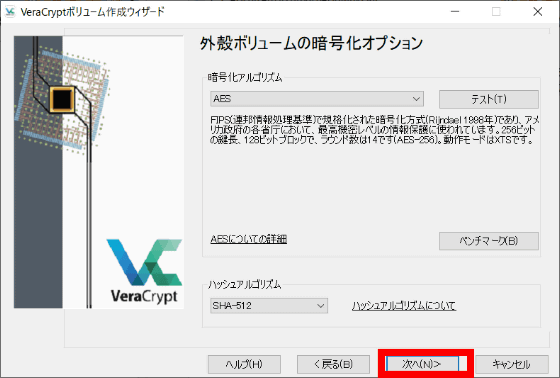
You can choose between encryption and hash algorithms. If you are not particular about it, you can leave the default as it is.
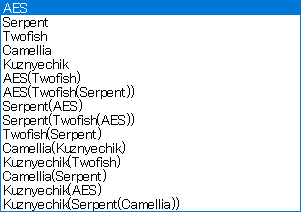
The type of encryption algorithm looks like this. Select the one that suits your purpose from the pull-down menu.
Click the red frame to select the hash algorithm.
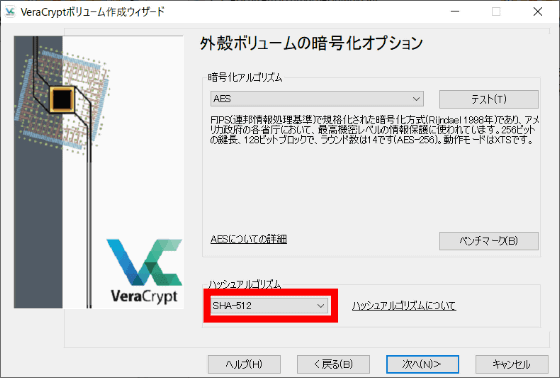
Select the one that suits your purpose from the pull-down menu. There is no problem with the default 'SHA-512' here as well.

Click 'Next'.
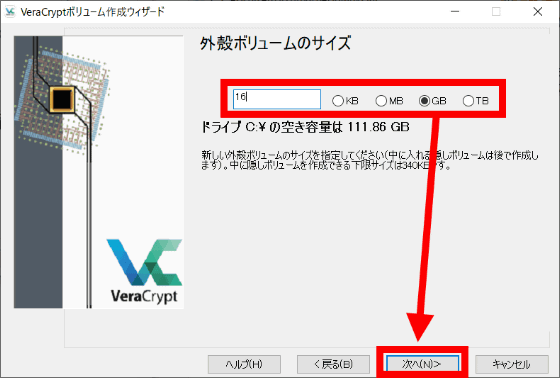
Select the volume size. Specify the capacity that does not overwhelm the free space in the location specified as the volume creation destination.
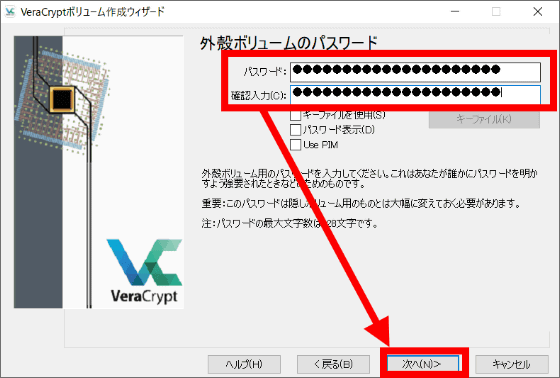
After deciding the password for accessing the volume, click 'Next'. A password of at least 20 characters is recommended.
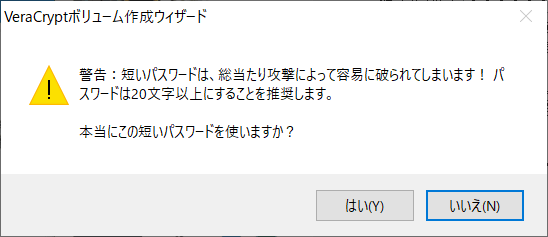
If you set a password of 20 characters or less, a warning dialog will be displayed.
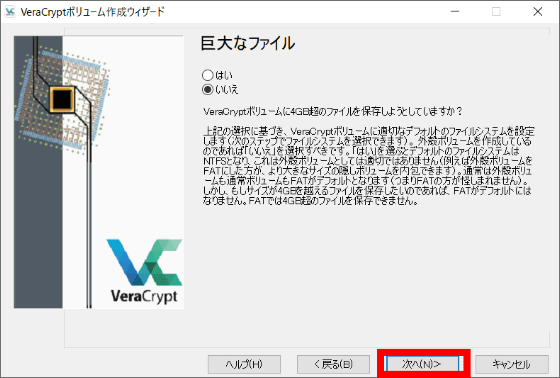
Select Yes if you want to save a file that is 4GB or larger per file, or No if you don't. If you select 'Yes', the file system when creating the volume will be '
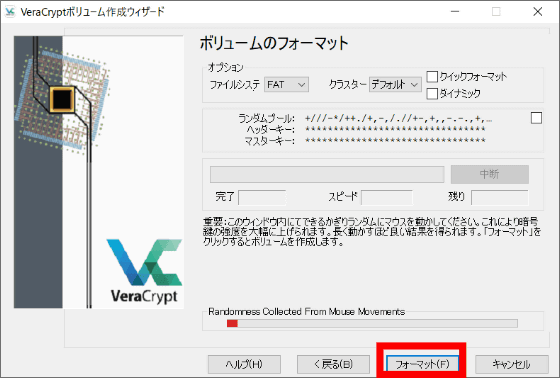
Click Format to create the volume. At this time, you can increase the strength of the encryption key by moving the mouse cursor randomly on the dialog, so if you are careful, move the cursor until the progress bar reaches the right end, and then click 'Format'.
When the file of the specified capacity is created, the file container creation is completed. This time, 16GB 'sample.dat' was completed as shown below.

◆ 3: How to add / view files to the file container
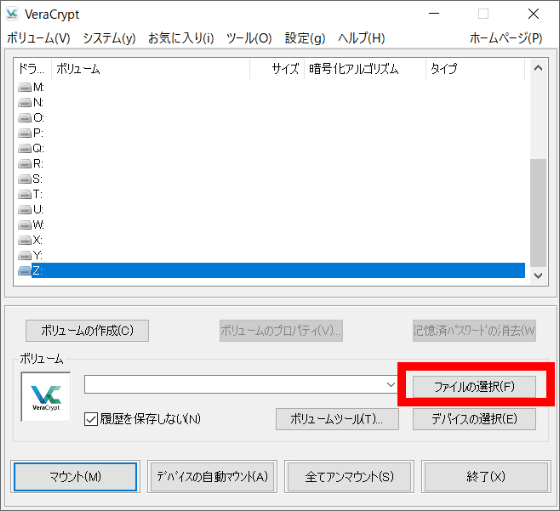
To add a file to the file container you created, you need to perform an operation called 'mount' in VeraCrypt and assign it to your system in a format such as 'C drive' or 'D drive'. To mount it, first click 'Select File'.
Select the file set as the container that contains the volume you want to allocate.
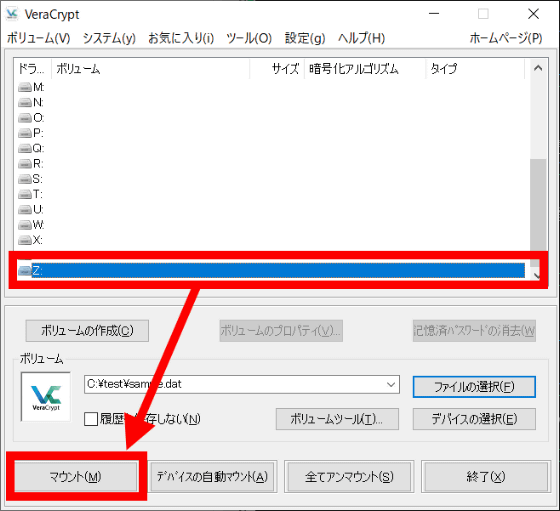
Select the drive you want to assign and click 'Mount'.
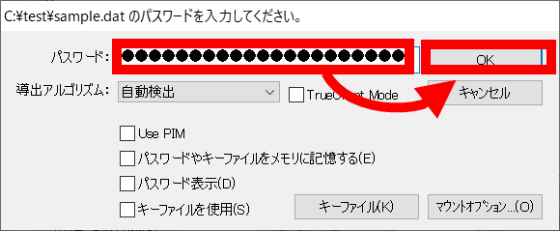
Enter the password set when creating the volume and click 'OK'
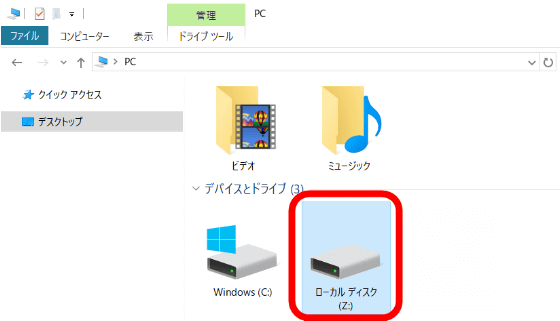
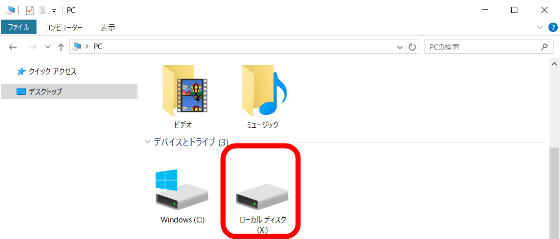
The drive has been mounted. You can now add the file to the file container.
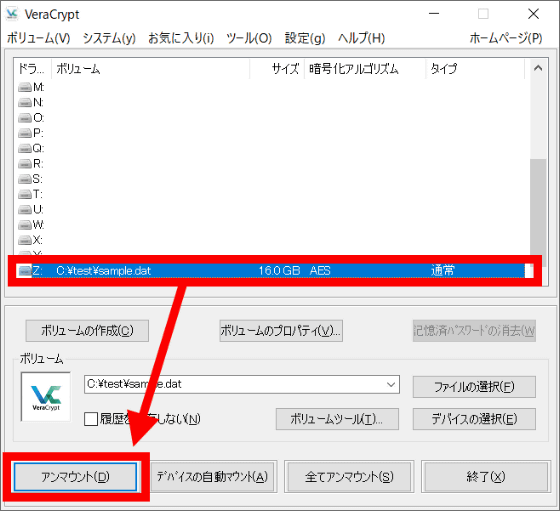
To return to the unviewable state, execute 'Unmount' from VeraCrypt. To add or browse the file again, execute 'Mount'.
◆ 4: How to create a 'hidden volume' that is safe even if the password is lost
Standard volumes provide some security measures, but 'hidden volumes' are even more secure. This is a function that creates a volume that cannot be detected from the outside, using the standard volume as the outer shell, and you cannot access the inside unless you mount it with a password different from the standard volume. Therefore, even if the password of the standard volume is leaked, the data of the hidden volume can be protected.
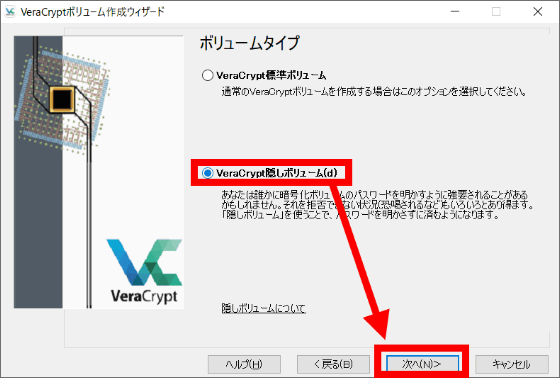
If you want to create a hidden volume, select VeraCrypt Hidden Volume when selecting the volume type and click Next.
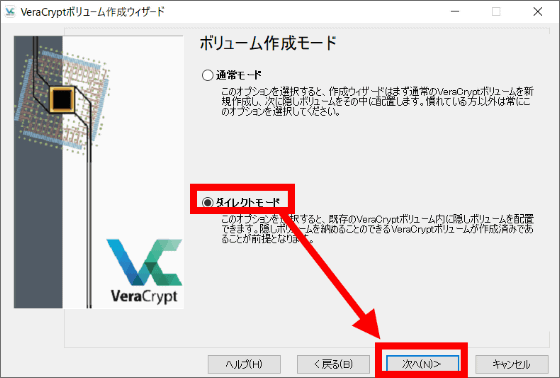
Select 'Normal mode' to create a new VeraCrypt volume and a hidden volume at the same time. The procedure after selecting the normal mode is the same as
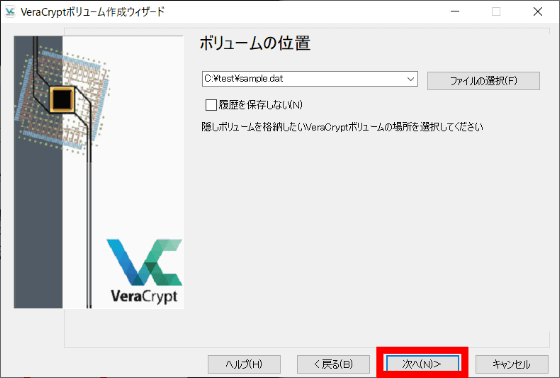
Specifies the file for creating the hidden volume. Click 'Select File'.

Select the standard volume file created earlier and click 'Save'.

Click 'Next'.
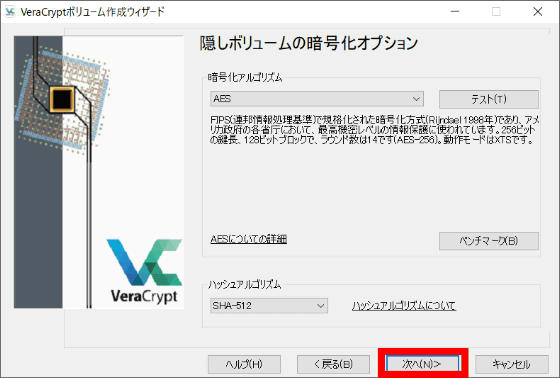
As with the creation of the standard volume, determine the encryption algorithm and hash algorithm and click 'Next'.
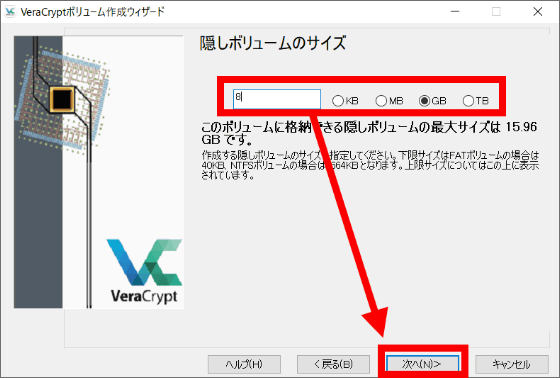
Decide the size of the hidden volume and click 'Next'. Since the hidden volume fits in the outer shell volume, it should be set smaller than the outer shell volume.
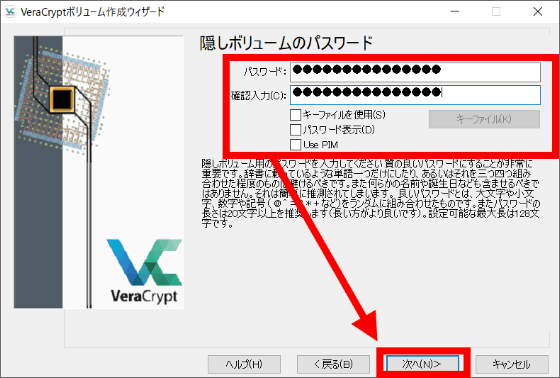
Decide the password to access the hidden volume and click 'Next'. Since the standard volume and the hidden volume are used properly according to the password at the time of mounting, it is necessary to set a password different from the standard volume.
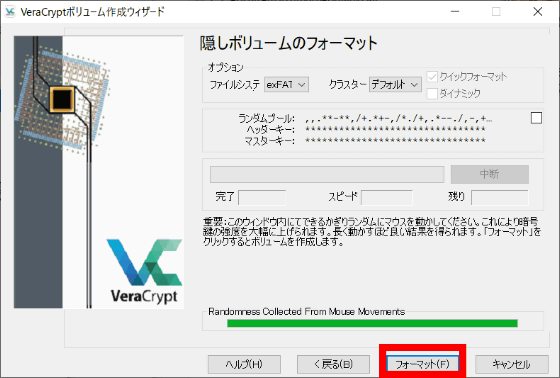
Click Format to complete the hidden volume creation.
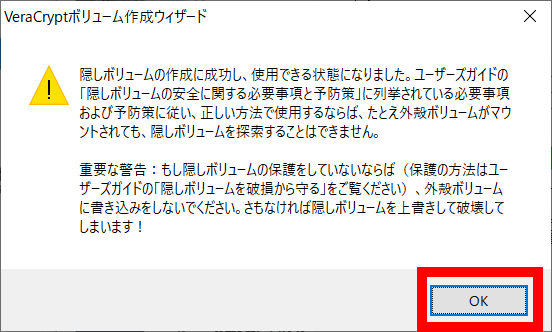
Click 'OK'.
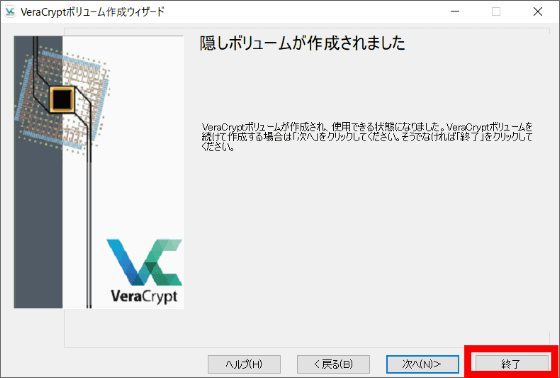
Click 'Finish'.
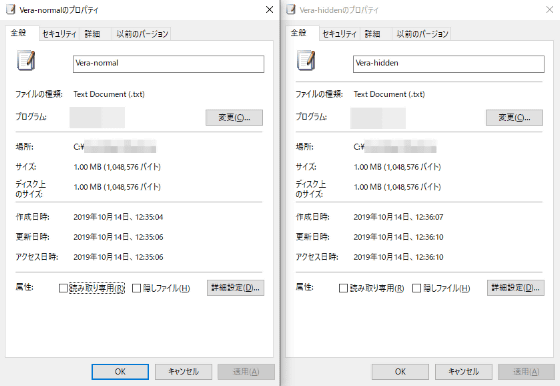
Actually, I tried to arrange the properties of the standard volume container (Vera-normal.txt) and the container with hidden volume (Vera-hidden.txt) to see how the created container looks different. In each case, the volume is 1024KB, of which the hidden volume is 512KB, but it is not possible to know the existence of the hidden volume from the outside.
◆ 5: How to add / view files to hidden volume
The mounting method is the same as 'Mounting a standard volume'. If you enter the password for the standard volume when entering the password, it will only look like a normal container

However, if you enter the password set for the hidden volume at the time of mounting, the hidden volume side will be mounted. Due to this specification, standard volumes and hidden volumes cannot be mounted at the same time.

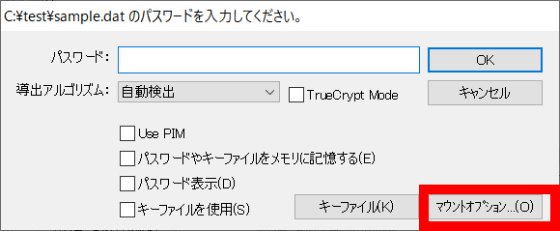
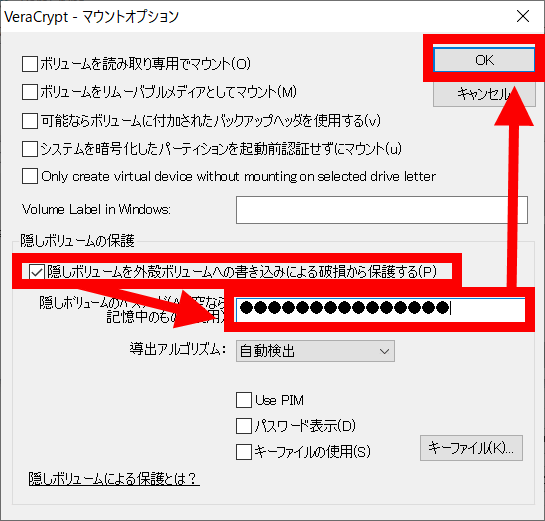
Saving large files on a standard volume can corrupt the files on the hidden volume, so if you want to protect the files on the hidden volume, select the drive you want to allocate and select 'Mount Options' when selecting 'Mount'. Click.
You can protect the files in the hidden volume by checking 'Protect the hidden volume from damage caused by writing to the outer volume', entering the password decided when setting the hidden volume, and clicking 'OK'. I can do it.
◆ 6: Encryption for each partition / drive
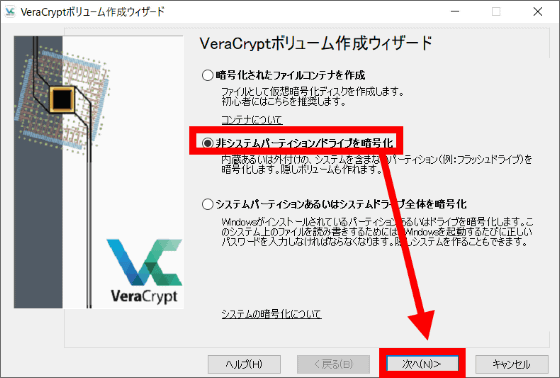
With VeraCrypt, it is also possible to encrypt the entire storage such as USB memory, or to encrypt each partition such as 'C drive' and 'D drive'. Click 'Create Volume' to encrypt the entire partition.

If you want to create an encrypted drive for each
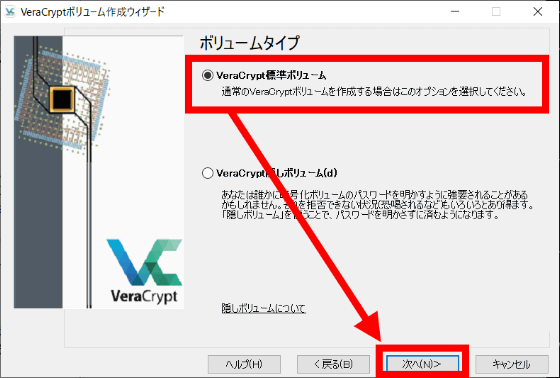
Select a volume type. This time, I selected 'VeraCrypt standard volume'.
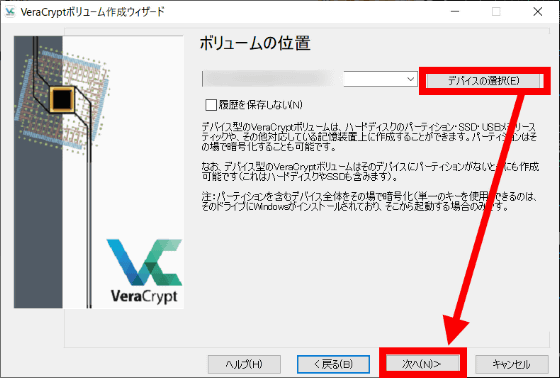
Select the partition in 'Select Device'. External HDD / SSD and USB memory can also be selected. After selecting, click 'Next'.
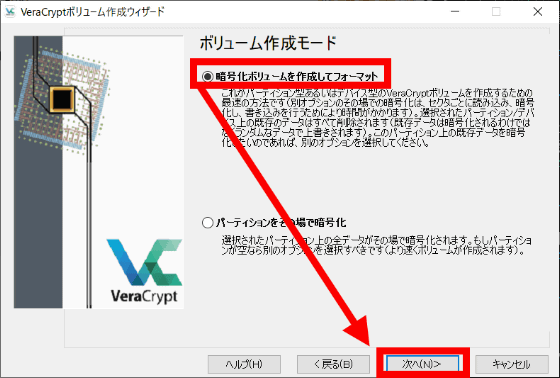
Select 'Create and format encrypted volume'.
Decide the encryption algorithm and hash algorithm and click 'Next'.
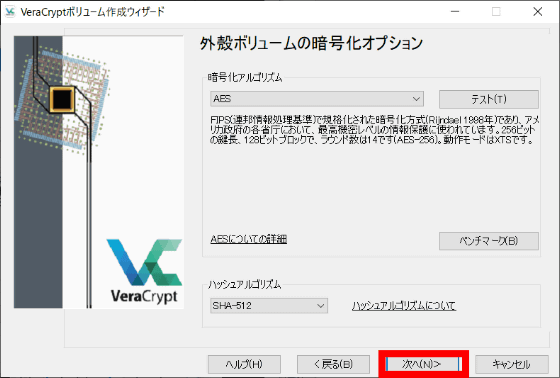
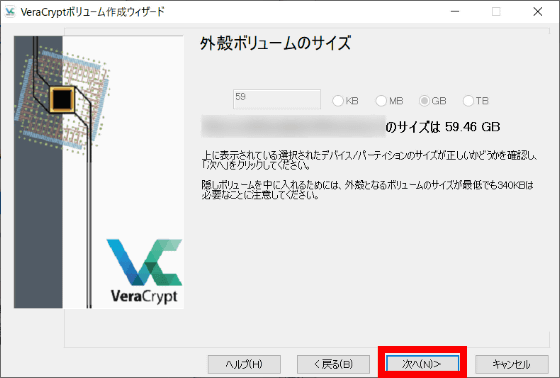
This operation encrypts the entire partition, so the volume cannot be resized. Click 'Next'.
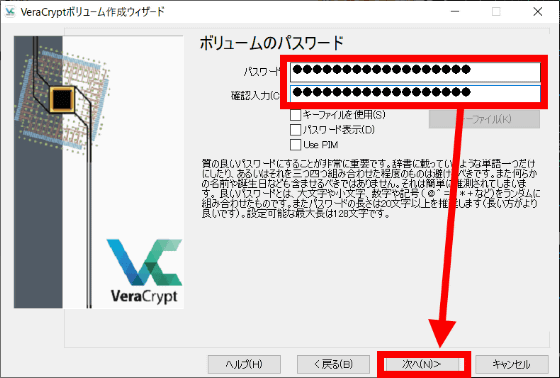
Set a password and click 'Next'.
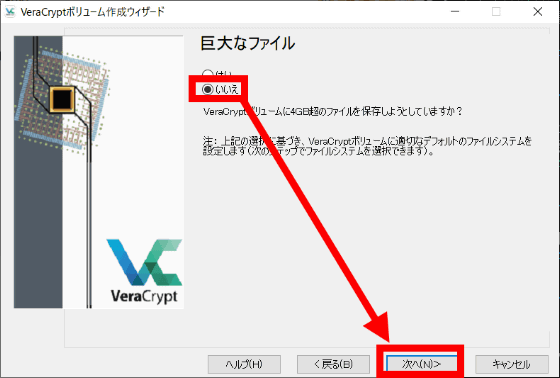
Select Yes if you want to save a file that is 4GB or larger per file, or No if you don't.
Click 'Format'.
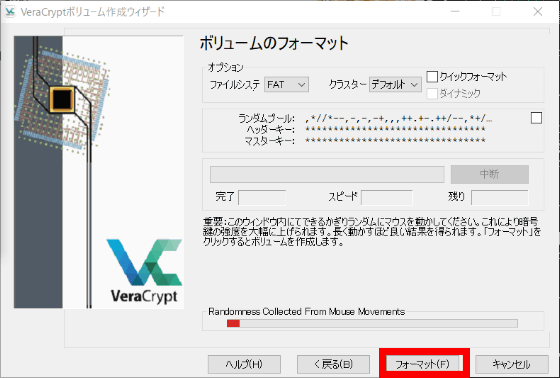
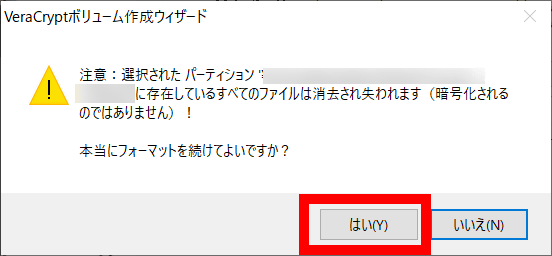
The selected partition will be formatted and the internal data will be deleted, so a warning dialog will be displayed. If there is no problem, click 'Yes'.
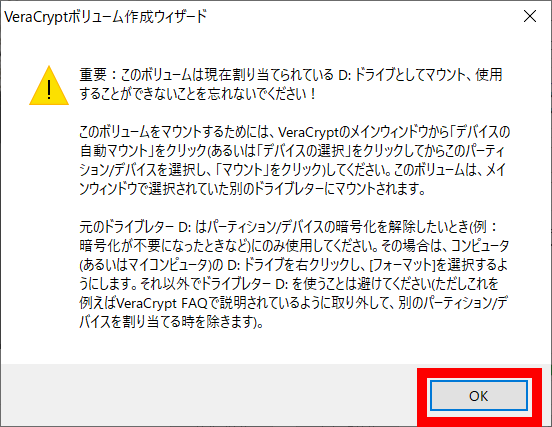
Also, for example, if you set the D drive or external memory as an encrypted drive, you will not be able to use it unless you mount it on another drive with VeraCrypt. Click 'OK' to close the dialog.
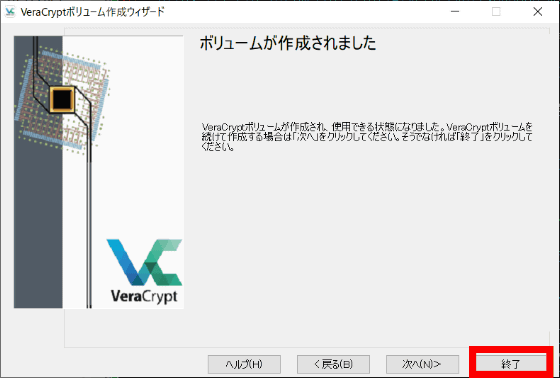
Click 'Finish' when you are done.
◆ 7: How to browse the contents of the encrypted partition
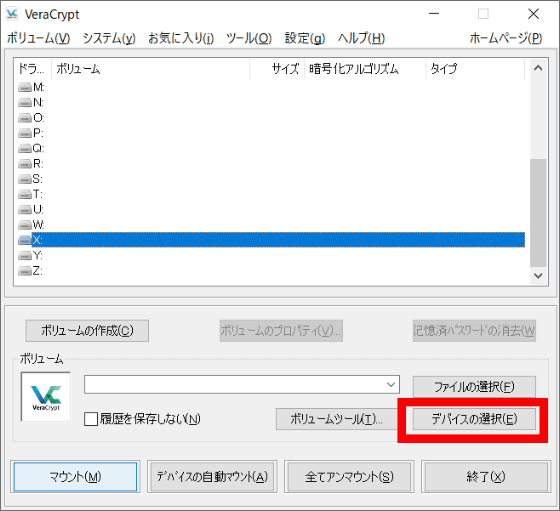
Click 'Select Device'.
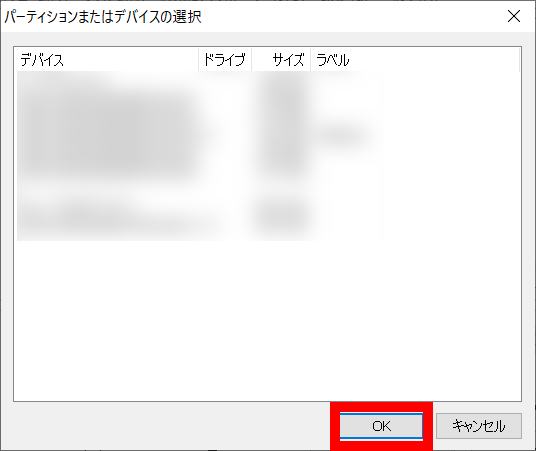
Select the encrypted partition from the list and click 'OK'.
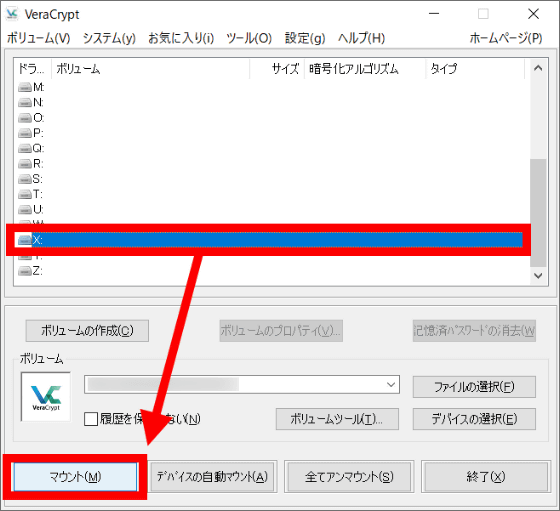
Select the drive you want to assign and select 'Mount'.
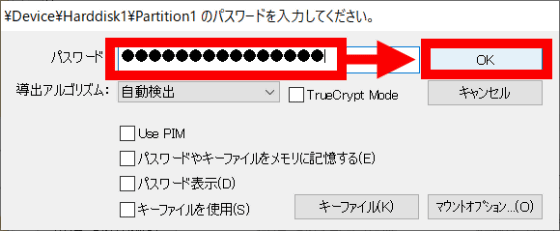
Enter the password set for encryption and click 'OK' to complete the mount.
The assigned drive is displayed.
Related Posts:


