How to forcefully reset the Windows password with 'chntpw' so that you can use a PC that can no longer be logged in

Setting a password on your computer is very important from a security perspective, but if you forget the password or forget to ask the previous owner for the password, you may be unable to access the data on your computer. You will end up in a situation where you will no longer be able to do it. 'chntpw' is a command that can forcefully reset the Windows password and avoid such situations.
chntpw | Remove, bypass, unlock and reset forgotten Windows password
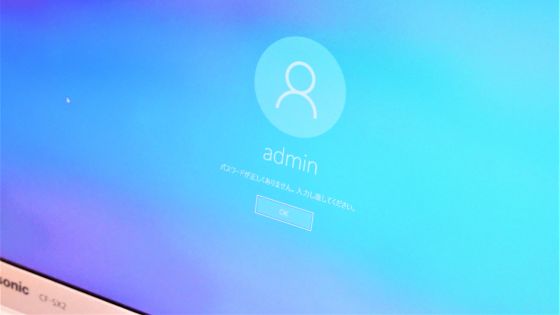
If you forget your Windows password and enter the wrong password, the message 'The password is incorrect. Please re-enter.' will be displayed as shown in the image, and you will not be able to log in.
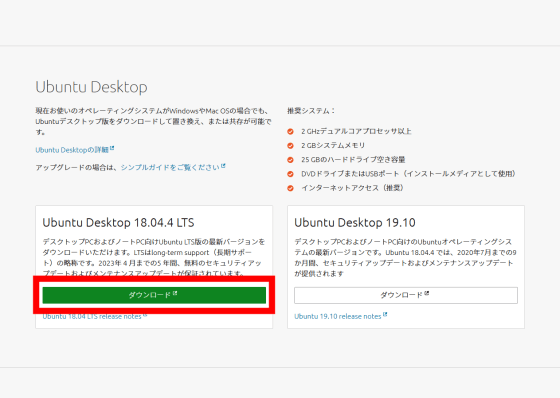
chntpw is a command that runs on Linux. This time I will try using chntpw using Ubuntu 18.04. First, access the site below and download the OS.
Get Ubuntu | Ubuntu | Ubuntu
Click 'Download' in the red frame to download the file.
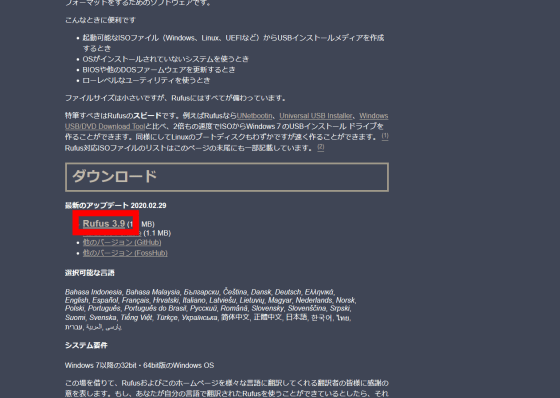
Next, download ' Rufus ' from below to create a USB memory for starting the OS.
Rufus - Easily create bootable USB drives
Click the red frame under 'Download' to download the executable file.
Launch the downloaded executable file and Rufus will start.
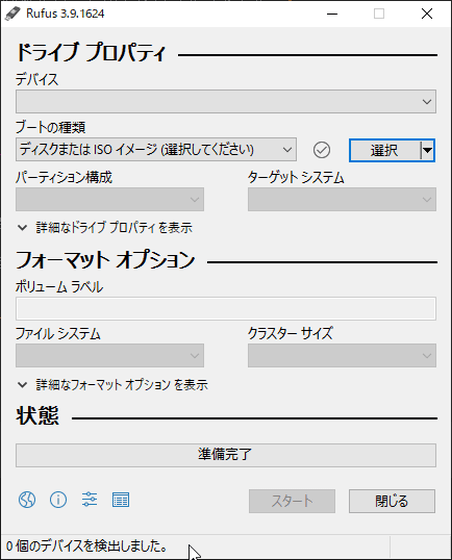
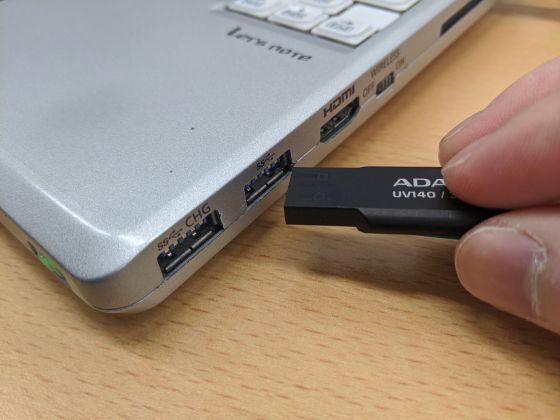
Insert the USB memory into your PC. A USB memory with a capacity of 4GB is sufficient.
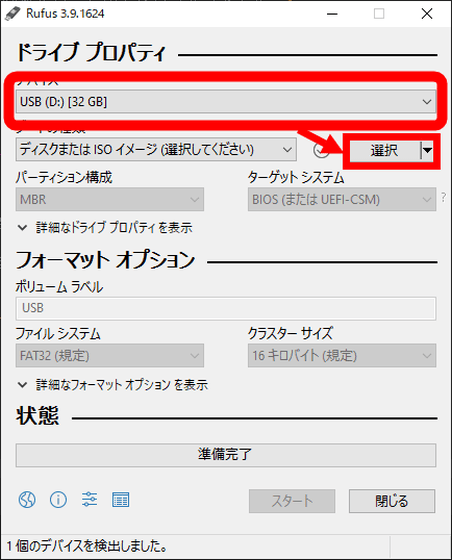
After confirming that the inserted USB memory is recognized by Rufus, click 'Select' ......
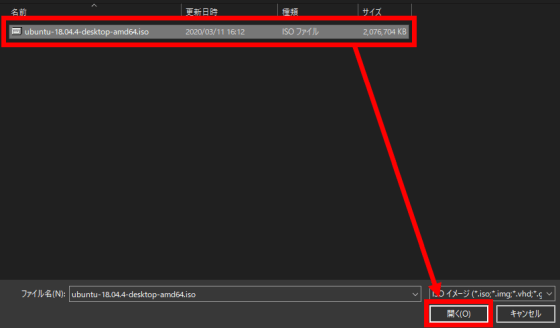
Select the file with the 'iso' extension that you downloaded earlier and proceed to 'Open'.
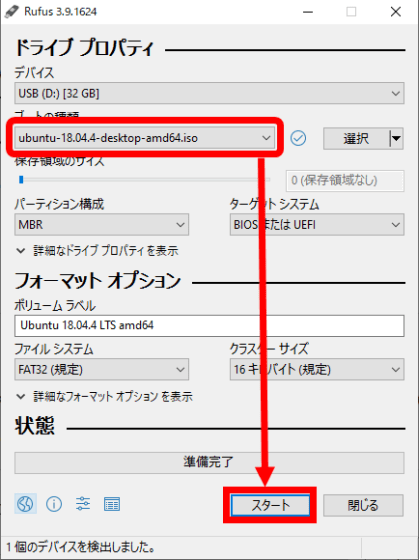
After confirming that the selected file name is displayed, click 'Start'.
A mode confirmation screen will appear; leave the settings as they are and click 'OK'.
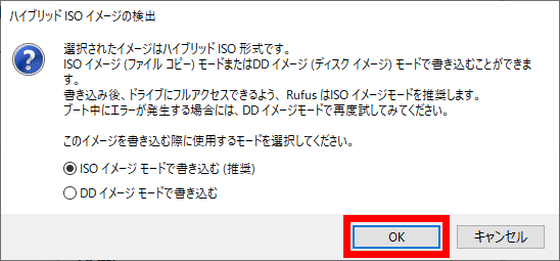
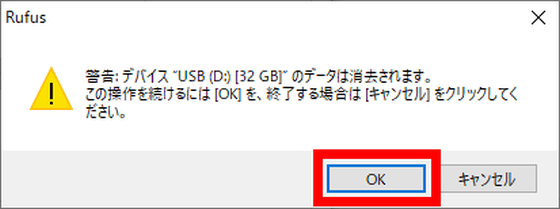
A warning screen will appear informing you that the contents of the USB memory will be erased, so click 'OK' to proceed...
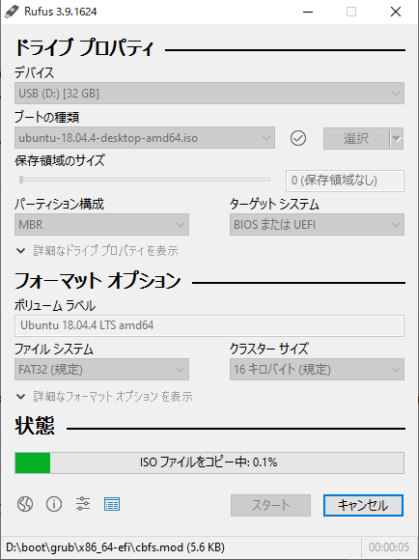
The contents of the ISO file will begin to be installed to the USB memory.
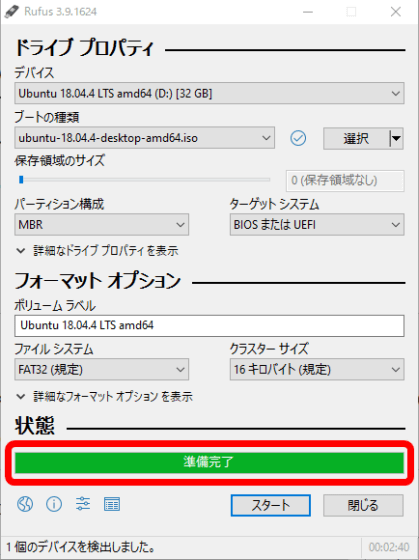
When the green progress bar shows 'Ready', remove the USB memory.
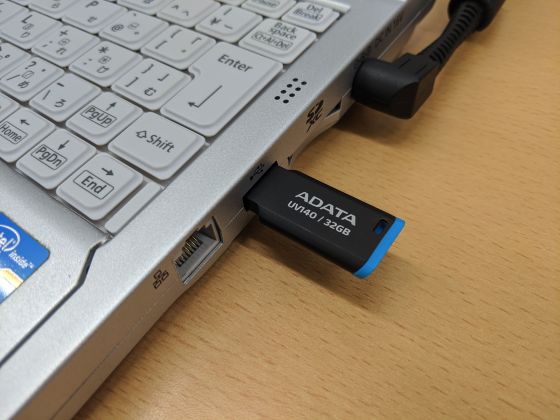
Insert the created USB memory into the PC where you want to reset the password.
Restart the PC and display
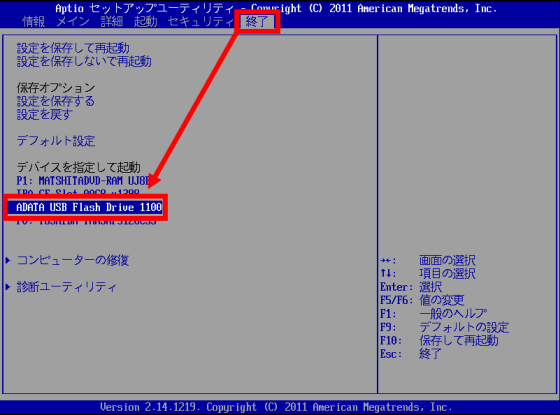
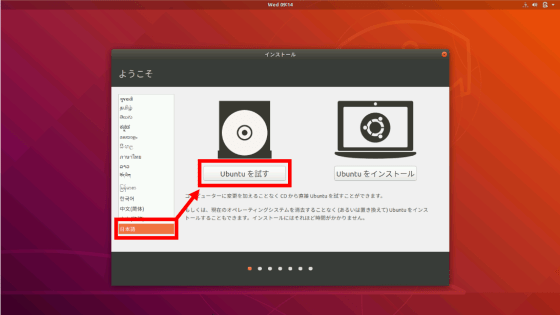
Ubuntu installed on the USB memory will start.

When Ubuntu starts, select 'Japanese' from the list on the left and click 'Try Ubuntu'.
When the desktop appears, click the button on the bottom left.

Start the software with a red frame that appears when you search for 'Update' in the search window.
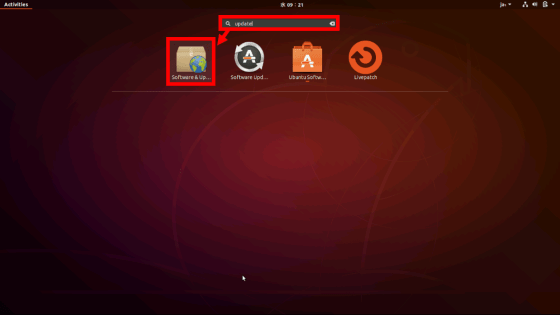
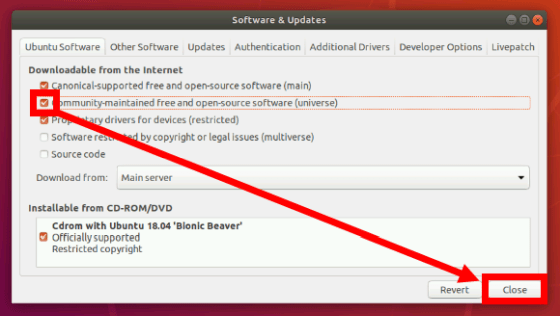
Check the red frame and proceed with 'Close'.
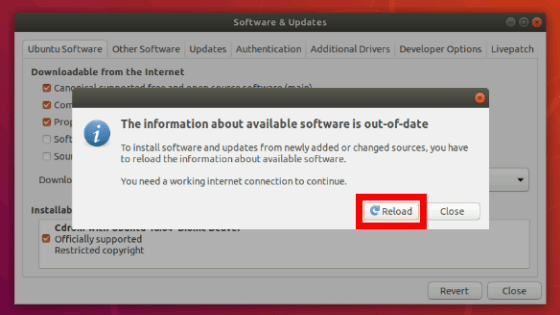
You will be prompted to update the package information, so click 'Reload'.
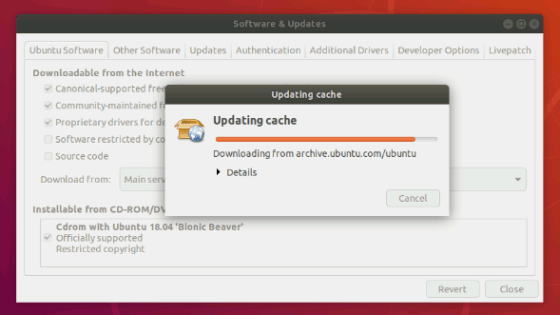
Information will be updated.
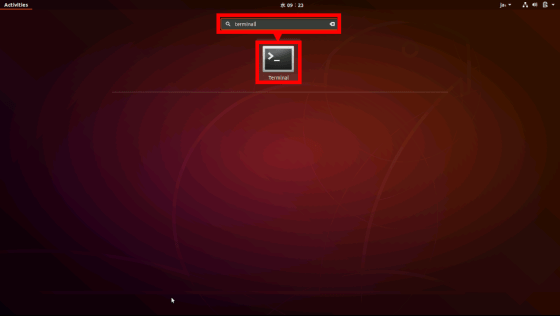
Next, search for 'Terminal' in the search window from earlier. Start a terminal.
Enter the command below to install chntpw.
[code]sudo apt install chntpw[/code]
This is what it looks like when I type it into the terminal.
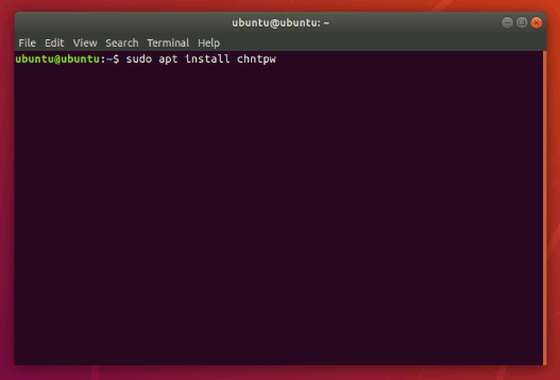
Press the 'Enter' key to start the installation.
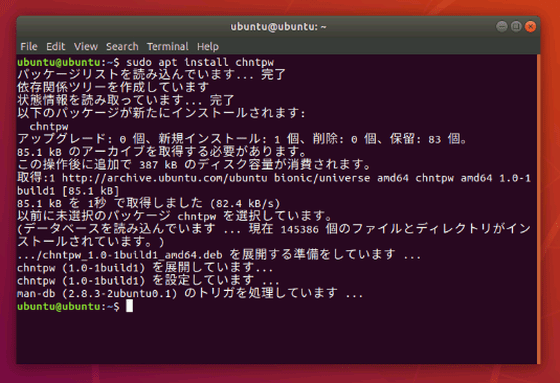
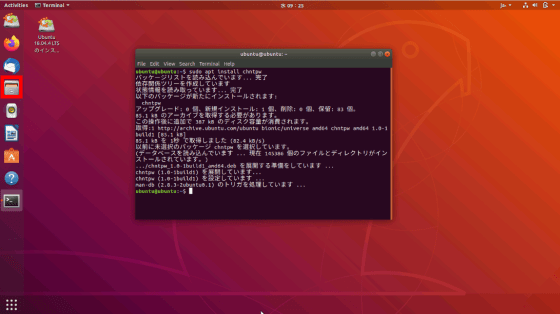
Once the installation is complete, start the filer.
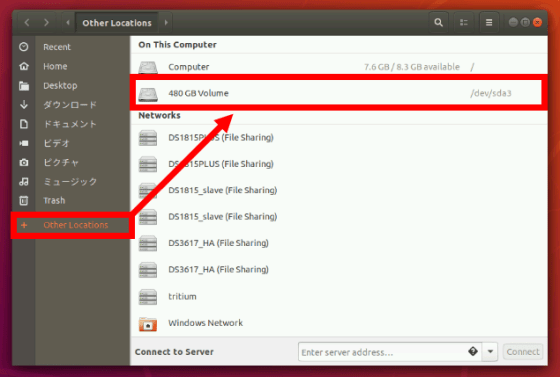
Go to 'Other Location' and select the disk where Windows is installed.
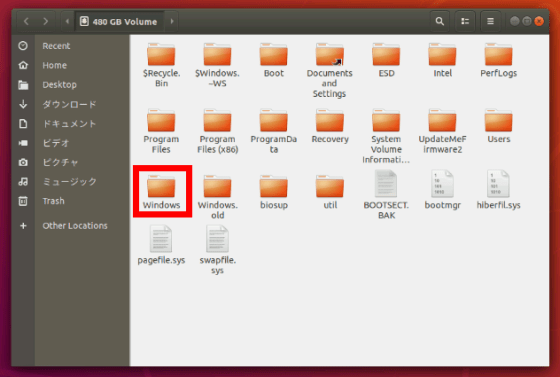
The directory of Windows' C drive will be displayed, so click 'Windows'.
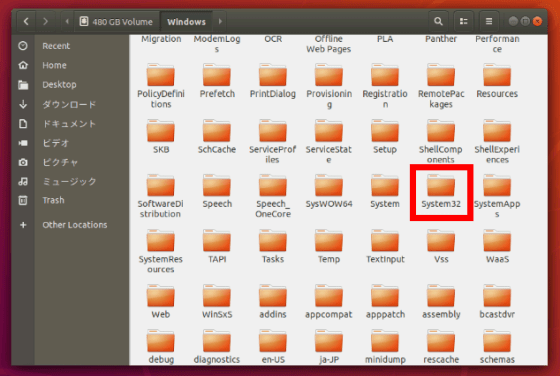
Next, click 'System32'.
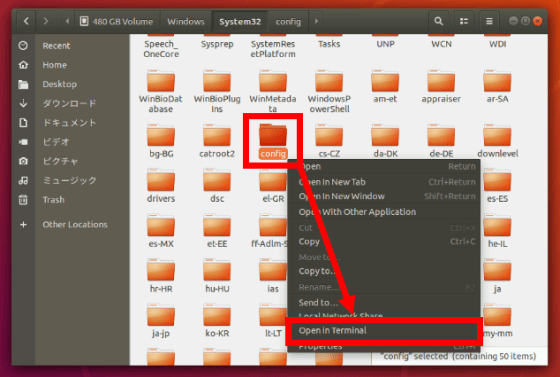
When you find the 'config' folder, right-click and click 'Open in Terminal'.
Once the terminal starts, enter the following command.
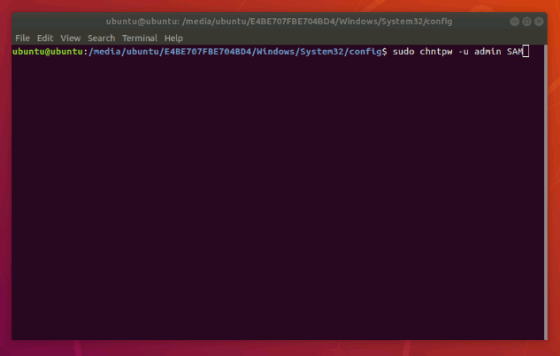
[code]sudo chntpw -u username whose password you want to reset SAM[/code]
If the user name is 'admin', it looks like this.
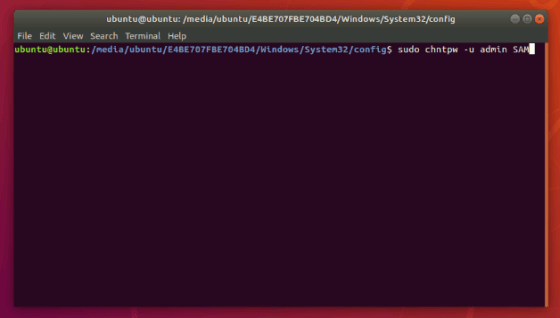
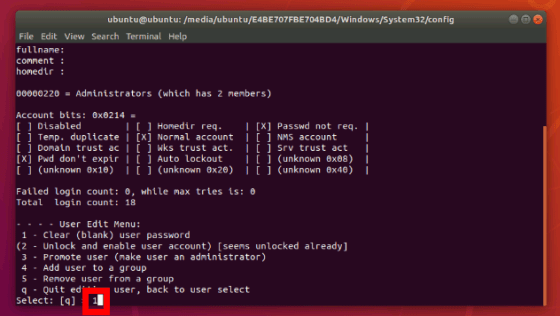
When you run the command, a screen will appear asking you to select a mode. If an error occurs at this point, starting Windows once and then restarting may fix the problem. This time, enter '1' and press the 'Enter' key to reset the password.
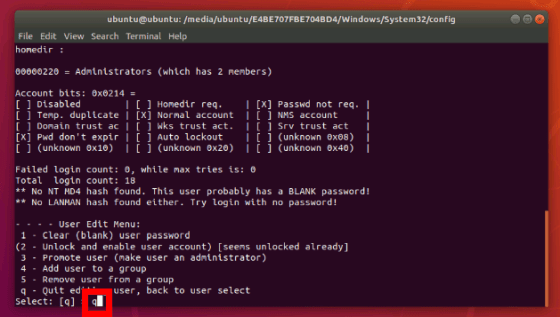
As soon as the execution is successful, the password will be reset, so enter 'q' and press 'Enter'.
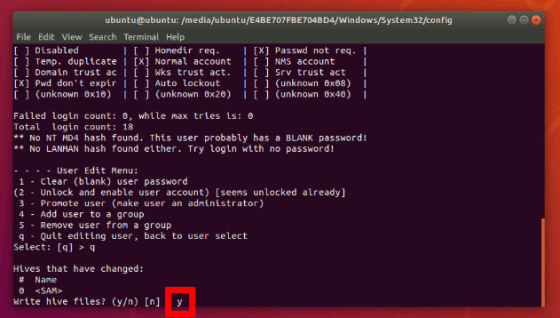
You will be asked if you want to write the information to the file, so enter ``y'' and press the ``Enter'' key.
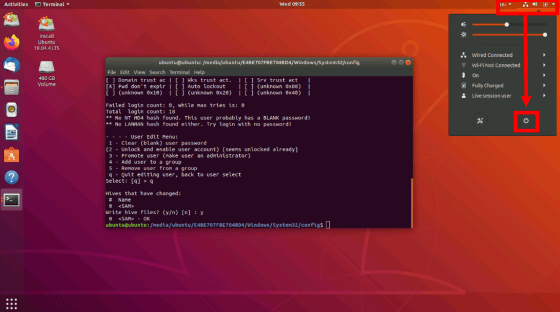
Exit Ubuntu to start Windows. Click the menu in the top right corner and click the power button.
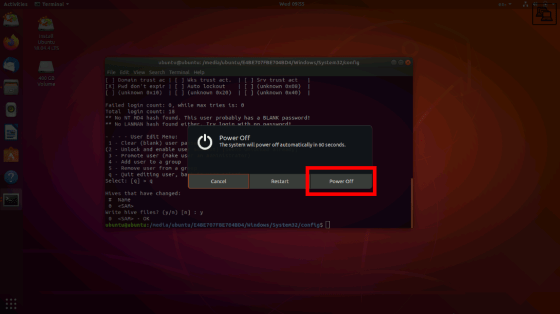
Click 'Shutdown' to turn off the PC.
Remove the USB memory from the PC and restart the PC to start Windows. If a password has been set, you will be asked to enter the password...
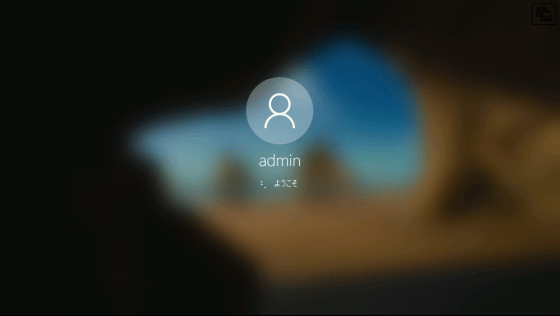
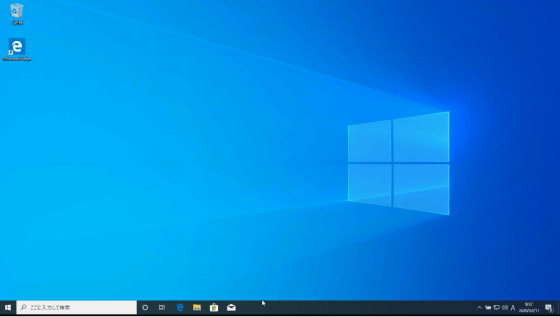
Since the password was reset to an unset state, I was able to log in to Windows without entering a password.
Related Posts:

