Open source, high quality, low latency voice chat tool 'Mumble' for multi-platform

Voice chat software 'Mumble ', which is being developed as open source software, has low latency and high quality. In addition to the Windows version, there are also third-party Android apps, so I installed them.
Mumble
Click 'Download Now' on the official website.

Click 'Mumble for Windows (x64)'.

Click 'Save File'. The 27.3MB 'mumble-1.3.4.win64.msi' will begin downloading.

Double-click the downloaded 'mumble-1.3.4.win64.msi' to start it.

Click 'Next'.

Check 'I accept the license agreement' and click 'Next'.

Click 'Next'.

Click 'Install'.

Click 'Finish' to start 'Mumble'.

When you start 'Mumble' for the first time, the voice adjustment wizard will start, so you can make adjustments as it is. Connect the microphone and earphones or headphones you plan to use for voice chat to your PC, and click 'Next'.

Select an I / O device and click 'Next'. Even if you do not change anything, if you talk to the connected microphone and the earphones return sound, you can leave it as the 'default device'.

Move the slider to the left to minimize the output delay. At this time, make sure that the sound heard from the earphones is not interrupted or unstable. Click 'Next' when finished.

Since you will adjust the volume in the following steps, right-click the speaker icon in the notification area and click 'Sound'.

Double-click the one selected as the default microphone on the 'Recording' tab, in this case 'Microphone Array Realtek (R) Audio'.

The properties will open. On the 'Levels' tab, turn up the volume of the microphone array to the maximum.

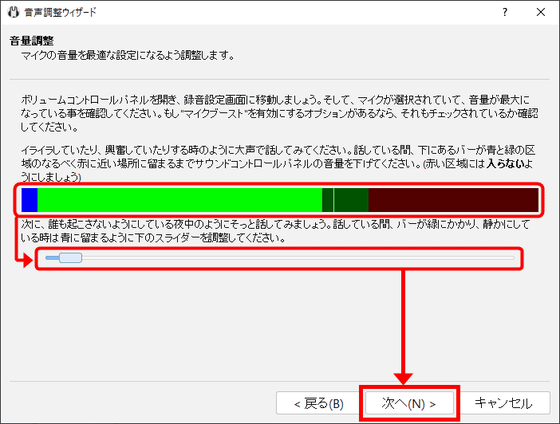
Return to 'Mumble' again, check the indicator and make a loud voice, and adjust the sound control panel (master volume displayed by clicking the speaker) so that it goes as close to red as possible in the green area. In addition, this time, make a whisper and adjust the slider below so that the bar just touches the green. Click 'Next' when you can.
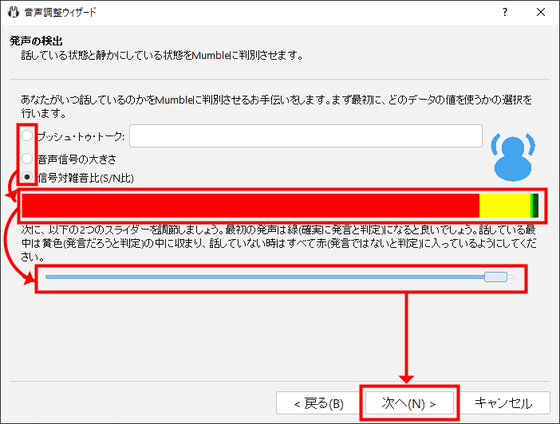
Check the vocalization status with the central indicator. This time, select 'Signal-to-noise ratio' from the three options and talk to the microphone while looking at the indicator. Adjust the slider below so that the moment you speak is green, the subsequent utterance is yellow, and when you are not speaking, it is red, and click 'Next'.
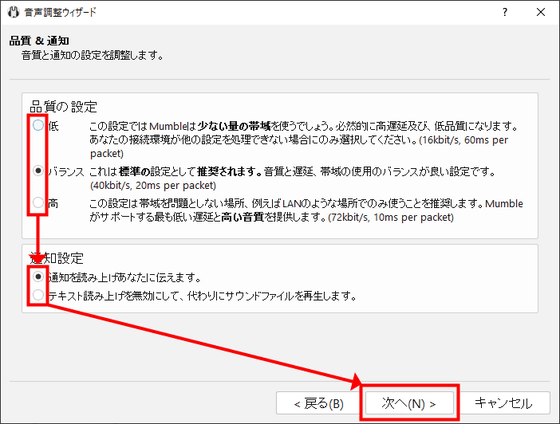
Click 'Next' as the quality setting is 'Balance' and the notification setting is 'Read the notification and tell you'.
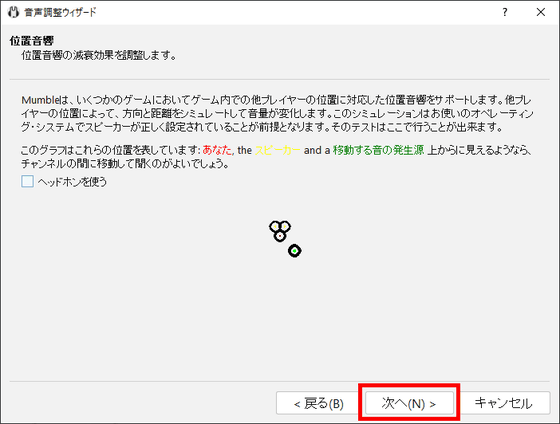
A demo sound of 'position sound' that the sound moves around the face will be played, so click 'Next'.
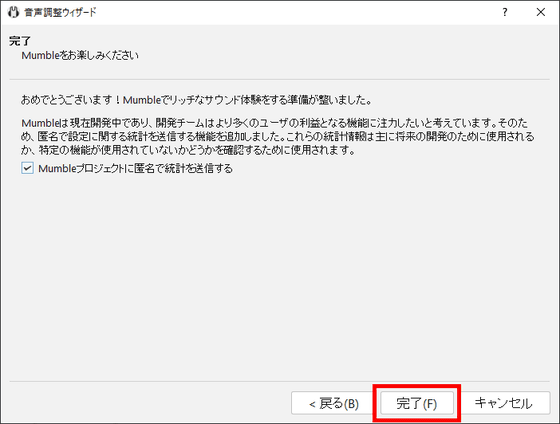
This completes the audio adjustment. Click 'Finish'.
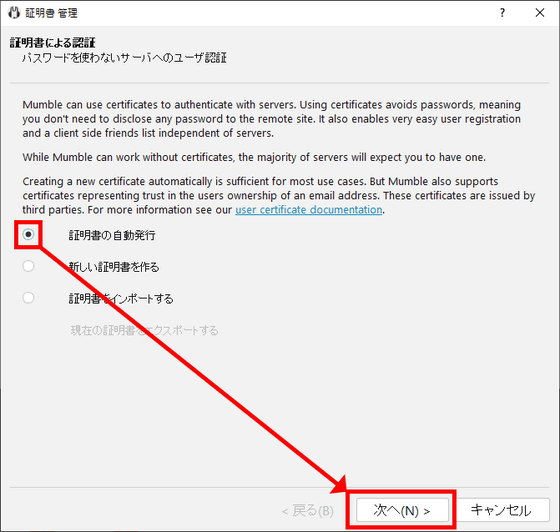
A window for certificate authentication will open. Select 'Automatic certificate issuance' and click 'Next'.
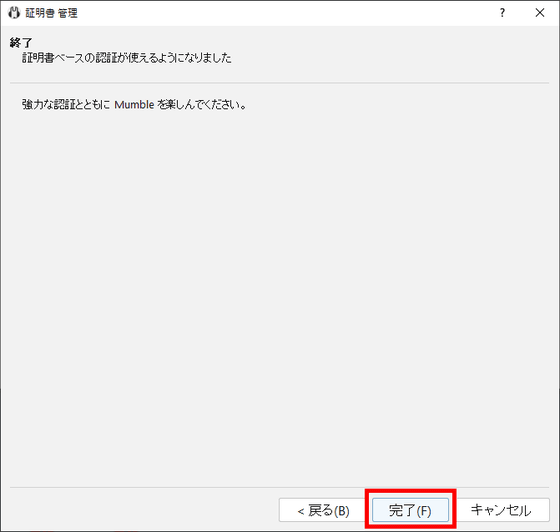
Click 'Finish'.
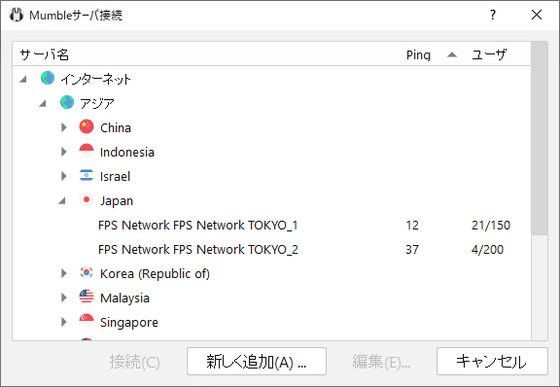
Then, a dialog showing a list of connected servers opens like this.
Enter your user name and click 'OK'.

I tried to connect to the server of
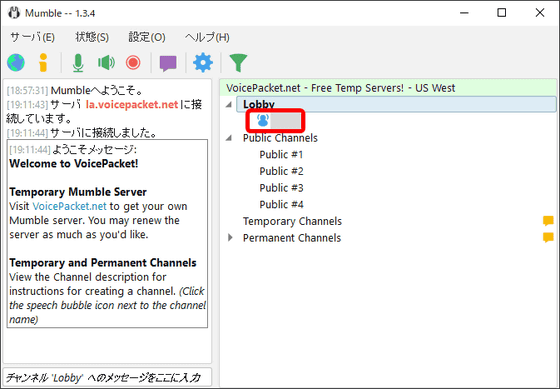
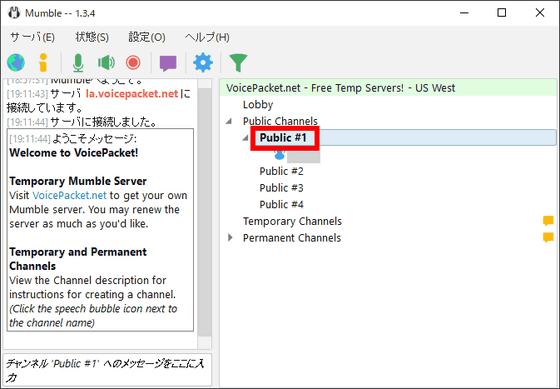
From there, you will connect to each channel and have a conversation.
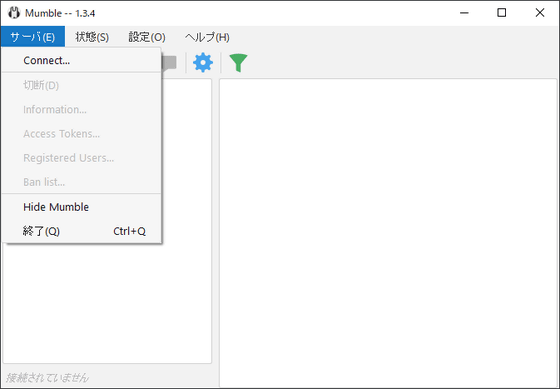
The menu when the server is not connected looks like this. You can call up the connection destination list from 'Server' to connect and view the information of each server.
The 'state' looks like this. If you select 'Record' ...
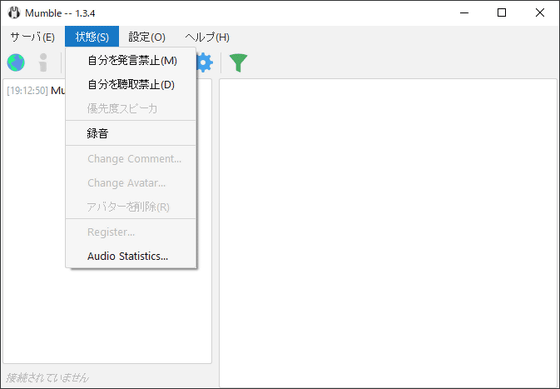
You can record the chat on the software.

The output format can be selected from '.wav', '.ogg (Vorbig)', '.au', and '.flac'.

In 'Settings', you can perform more detailed 'Settings', voice adjustment performed at startup, certificate authentication, etc. again.
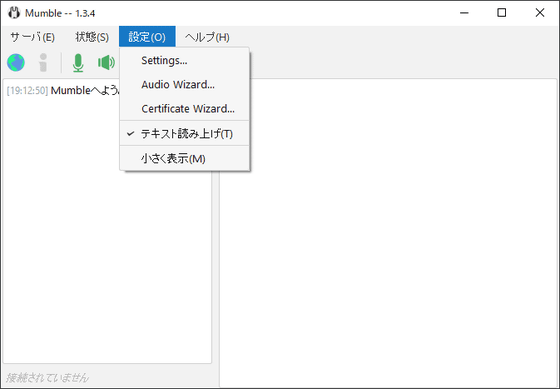
The contents of Settings are like this. First, the 'Voice Input' tab.
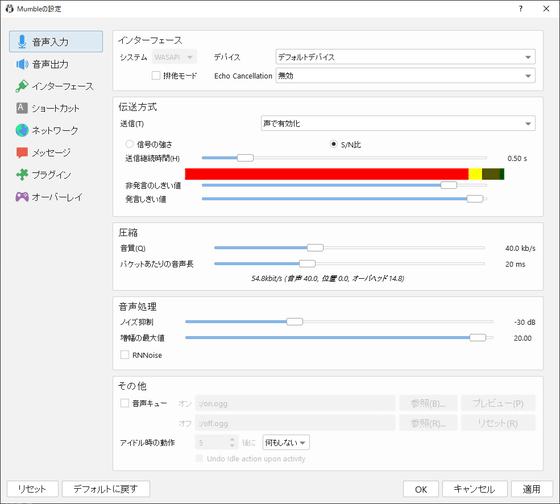
'Audio output' tab
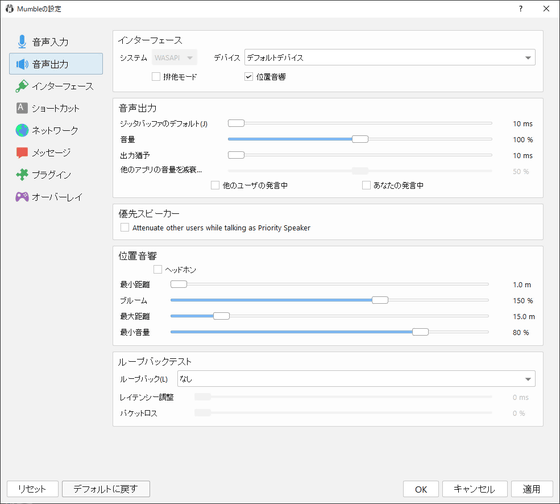
Interface tab
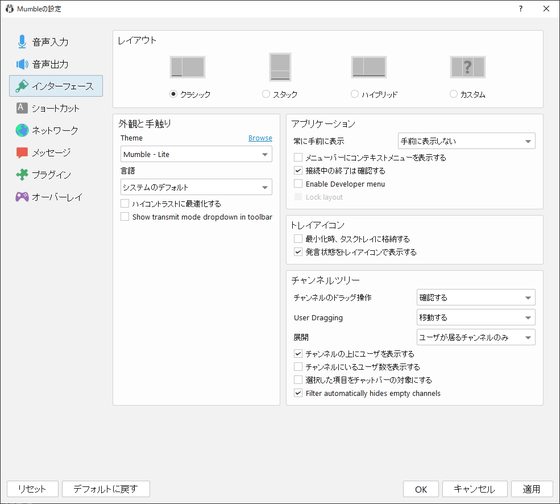
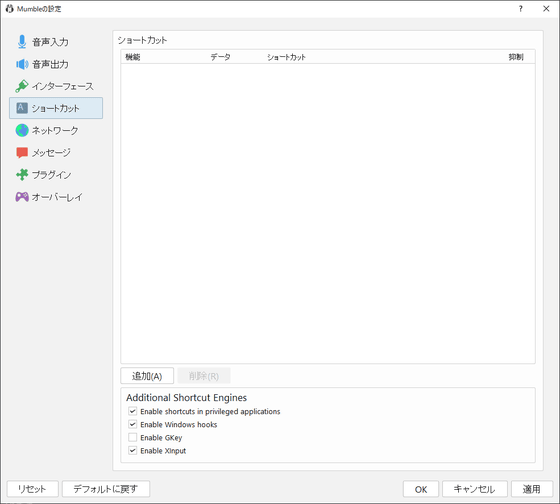
Shortcut tab. By default, nothing is registered.
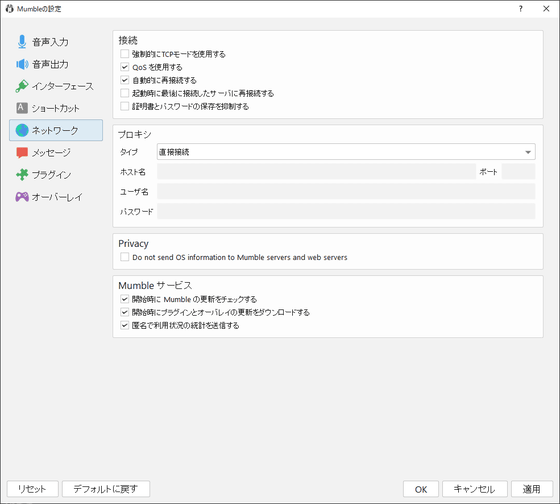
'Network' tab
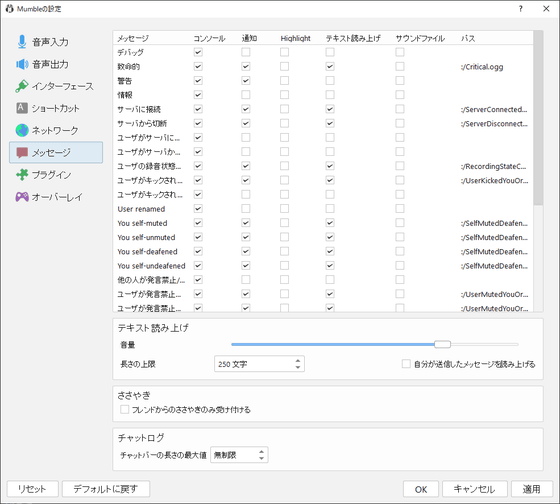
Message tab
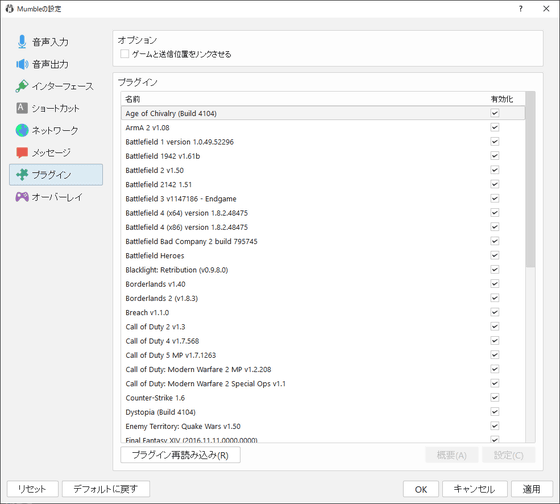
Plugins tab. From the beginning, plug-ins for use in the 'Battle Field' series and 'Call of Duty' series have been enabled.
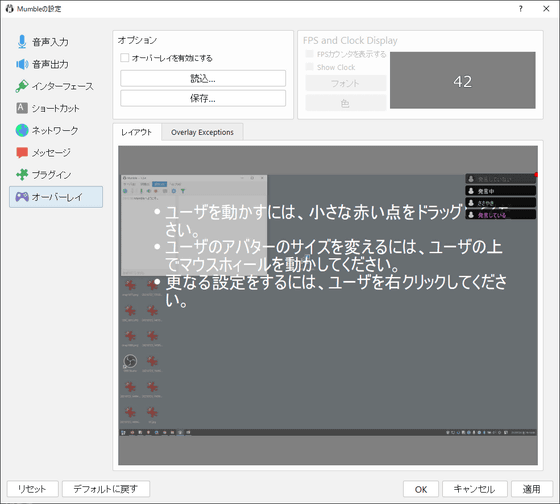
Overlay tab. One of the features of Mumble is that it can be overlaid on the game.
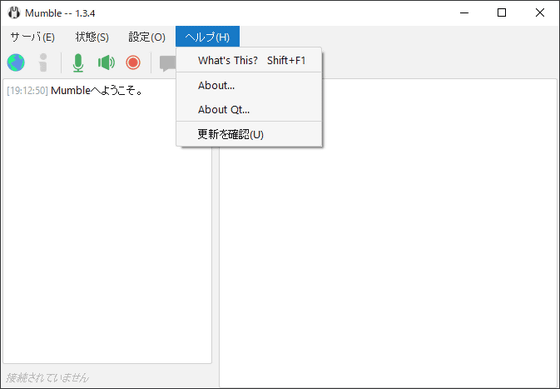
The rest is 'help'.
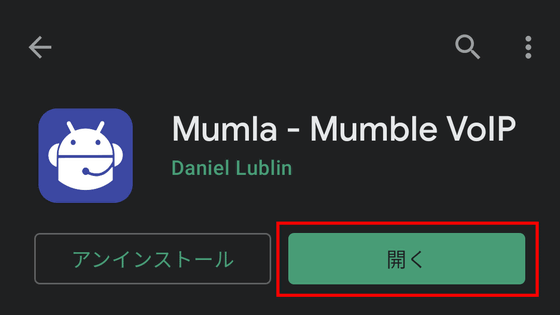
In addition, Mumble also publishes third-party Android apps.
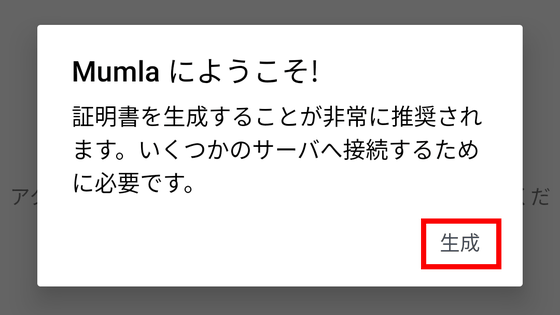
At startup, the 'Welcome to Mumla!' Dialog opens, and it is recommended to generate a certificate, so tap 'Generate'.
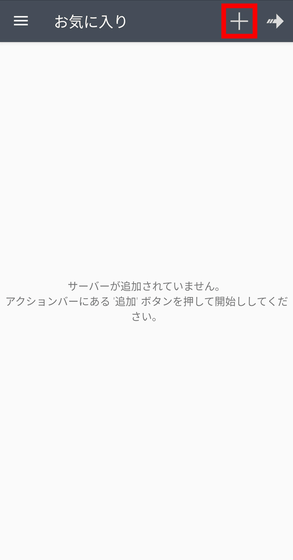
The default screen looks like this. Click the '+' in the upper right corner ...
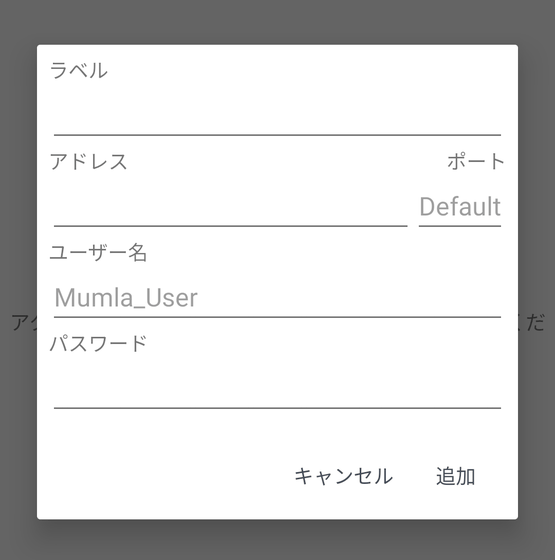
Add server information and connect. Unlike the PC version, you cannot 'connect to any of the listed servers', so you need the information of the server you want to connect to.
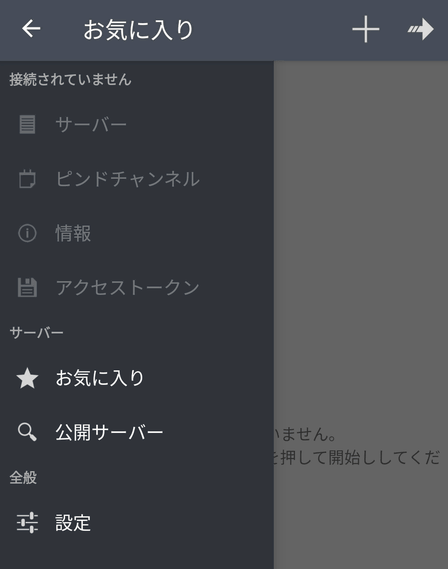
The menu when you tap the hamburger icon looks like this.
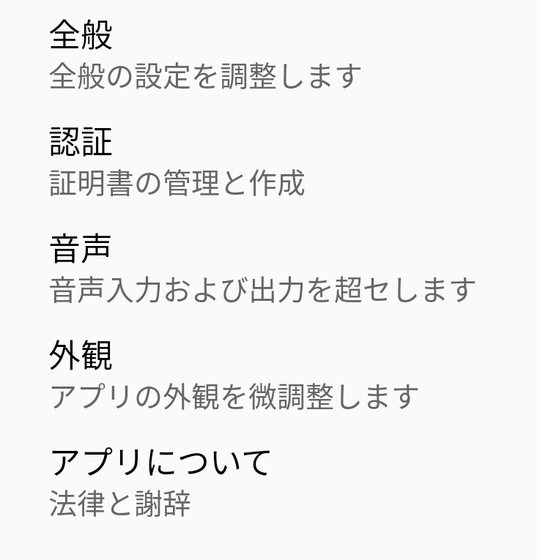
The contents of the settings are 5 items: 'General', 'Authentication', 'Voice', 'Appearance', and 'About apps'.
'General' looks like this.
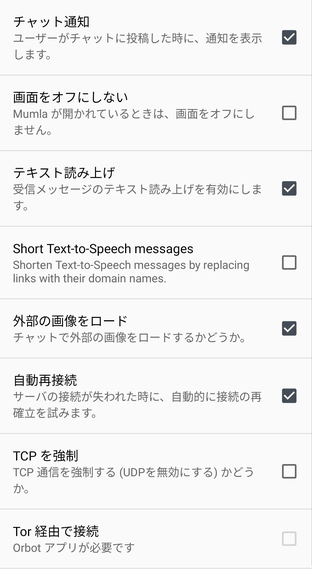
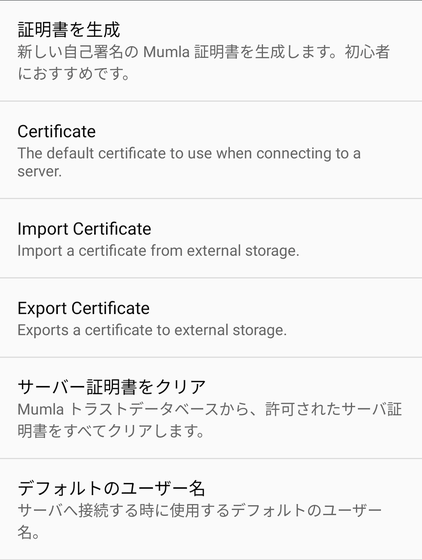
'Authentication' looks like this. Most of it has been translated into Japanese, but some setting items remain in English.
'Voice' has many setting items.

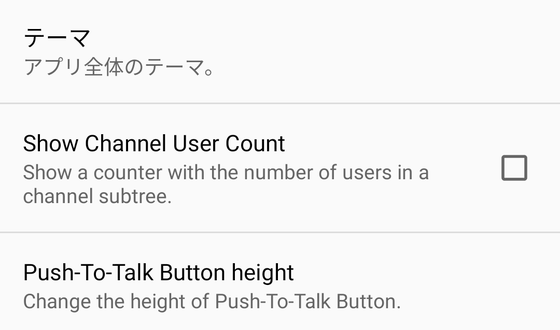
You can change the theme etc. in 'Appearance'.
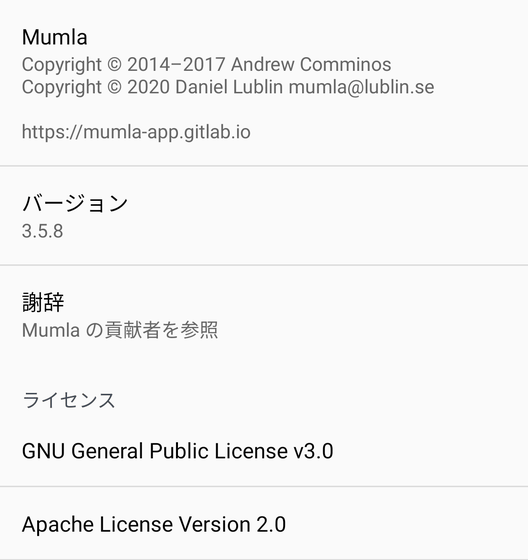
'About the app' looks like this.
In addition, the iOS version app was official until 2017, but maintenance was delayed and the download page disappeared.
Related Posts:


