Easy adjustment with presets & USB microphone 'Pre Sonus Revelator' that allows you to immediately monitor the return of your voice with a single microphone
The 'PreSonus Revelator ' is a USB microphone equipped with effects, a mixer, and a loopback, and can be used for various purposes such as distribution, live games, and online meetings. There are various easy ways to participate in online meetings, such as smartphone microphones and speakers and microphones attached to earphones, but it is unfortunate for everyone who participates to hear the voice you are talking about or to be covered with noise. , I decided to use it because it might be easier for the other party to hear.
PreSonus | Revelator --New Generation USB Microphone --powered by MI7
◆ Product appearance
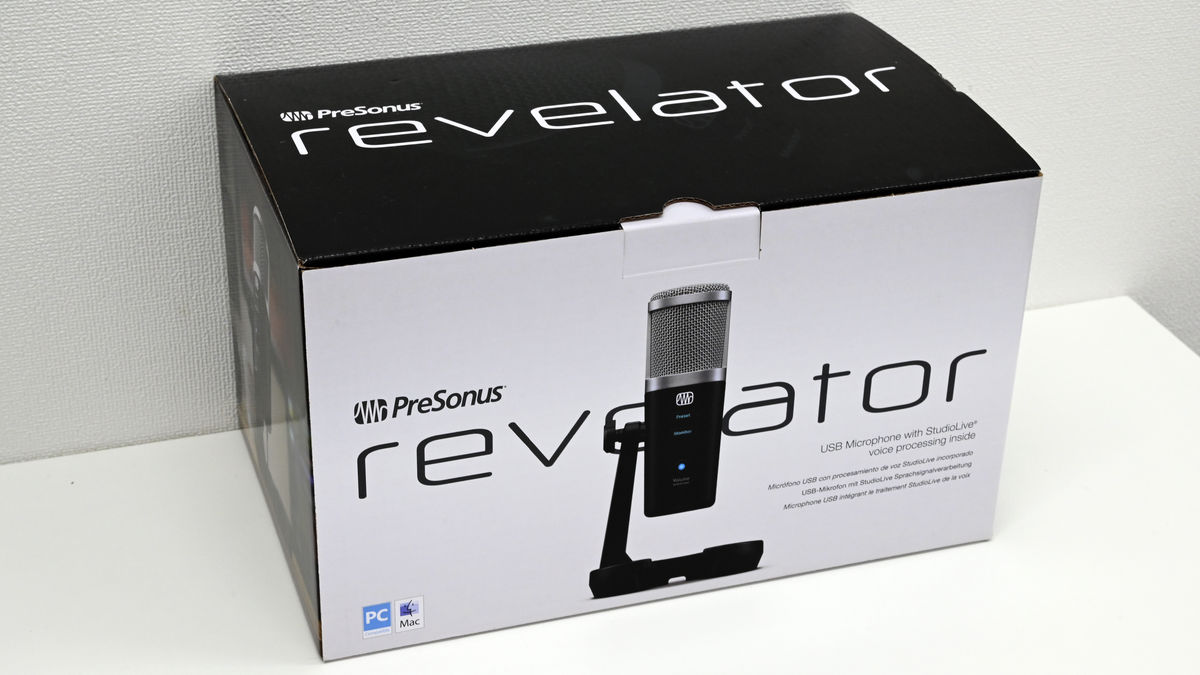
The outer box looks like this.
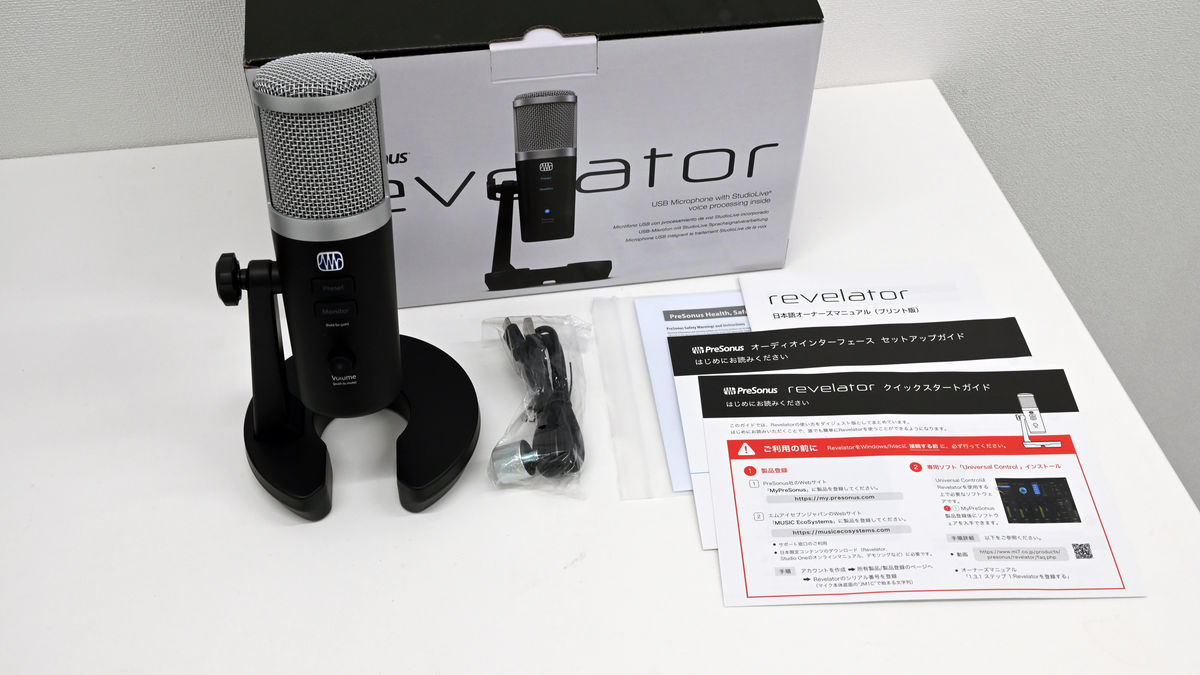
The main unit, USB cable and boom adapter, manuals and guides are included.
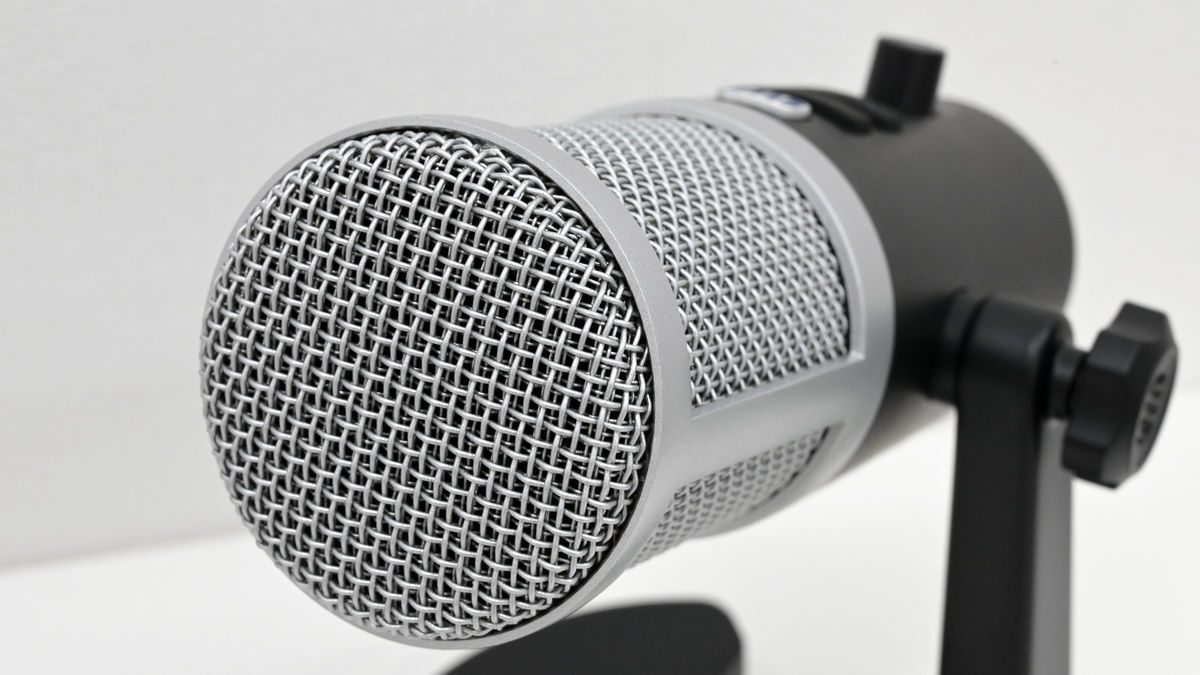
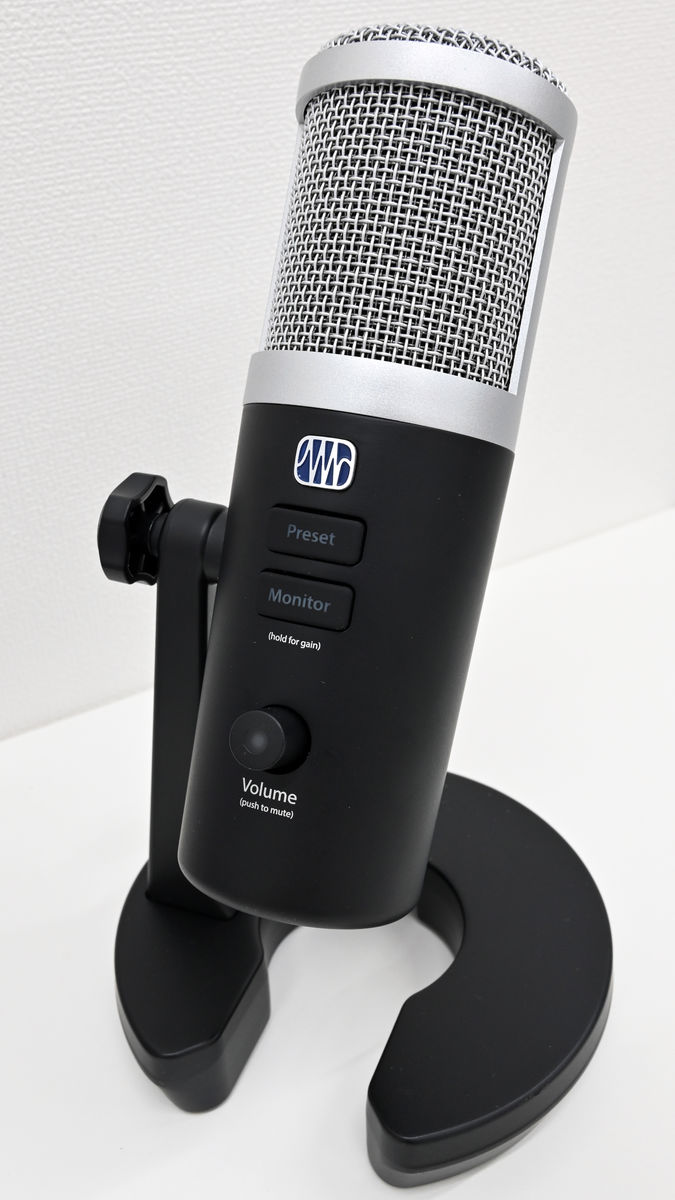
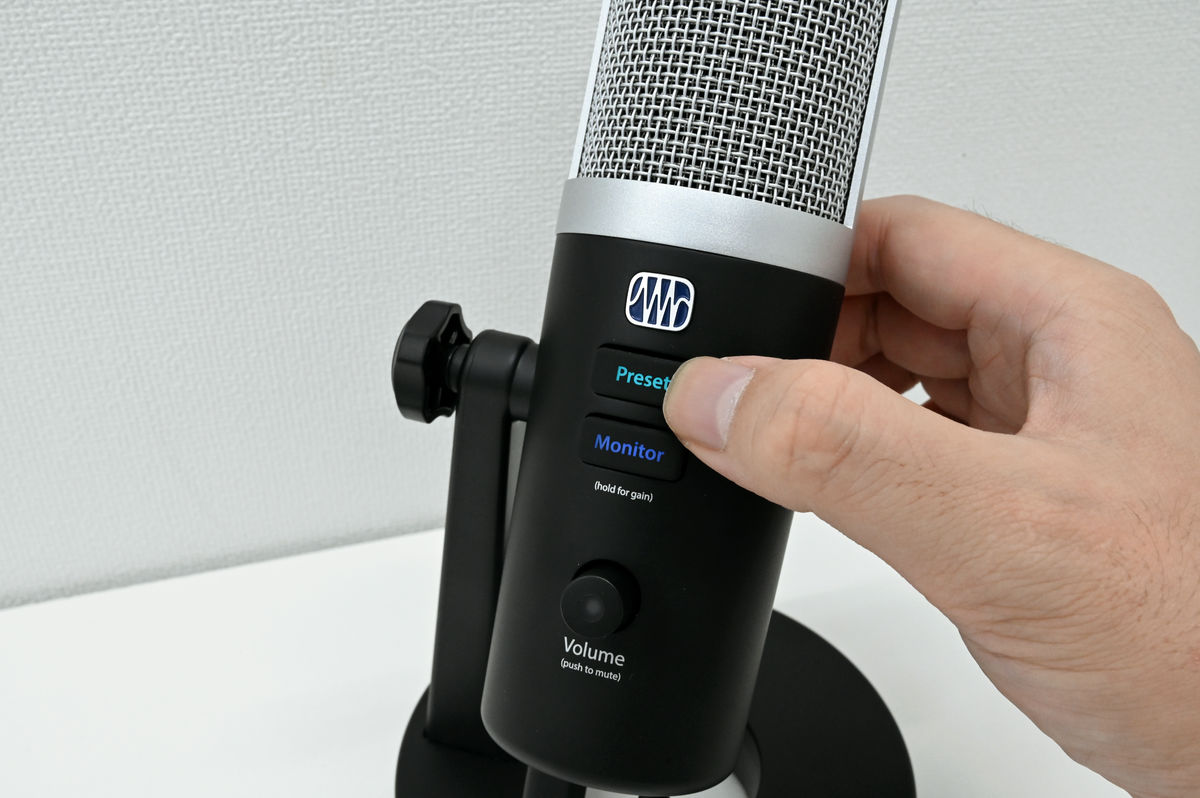
The microphone body is already attached to the stand. It has two buttons, 'Preset' and 'Monitor', and a Volume knob.
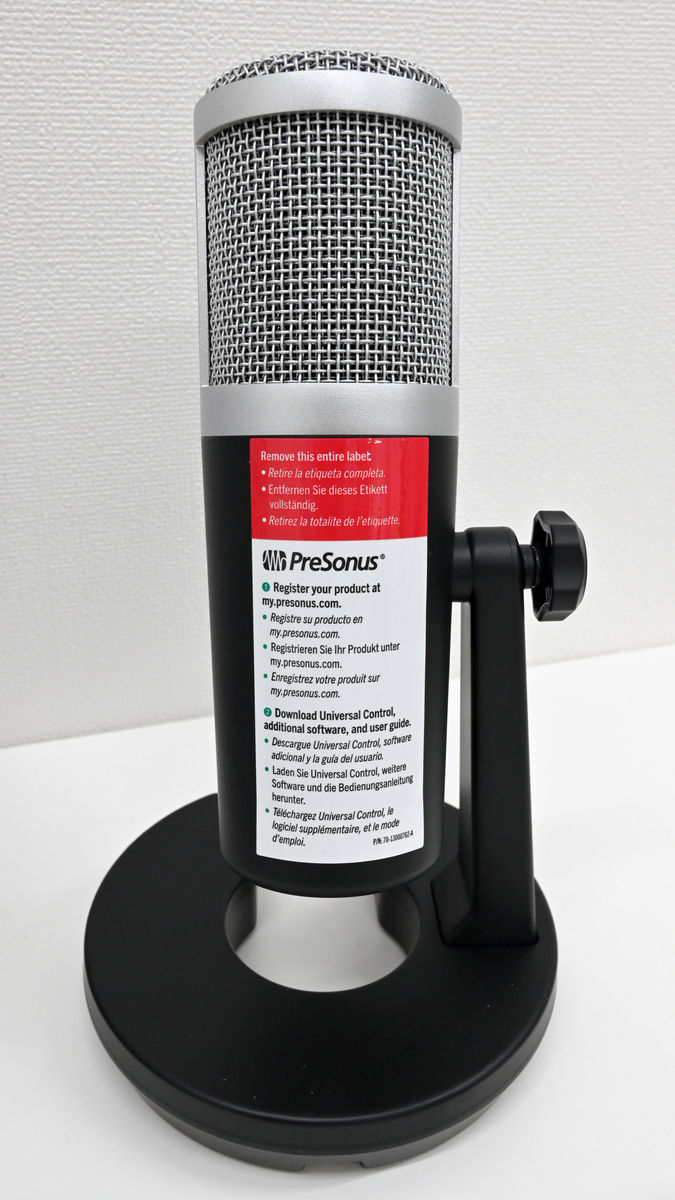
The back side of the main body looks like this. The label affixed calls for product registration and software download, and can be peeled off when using.
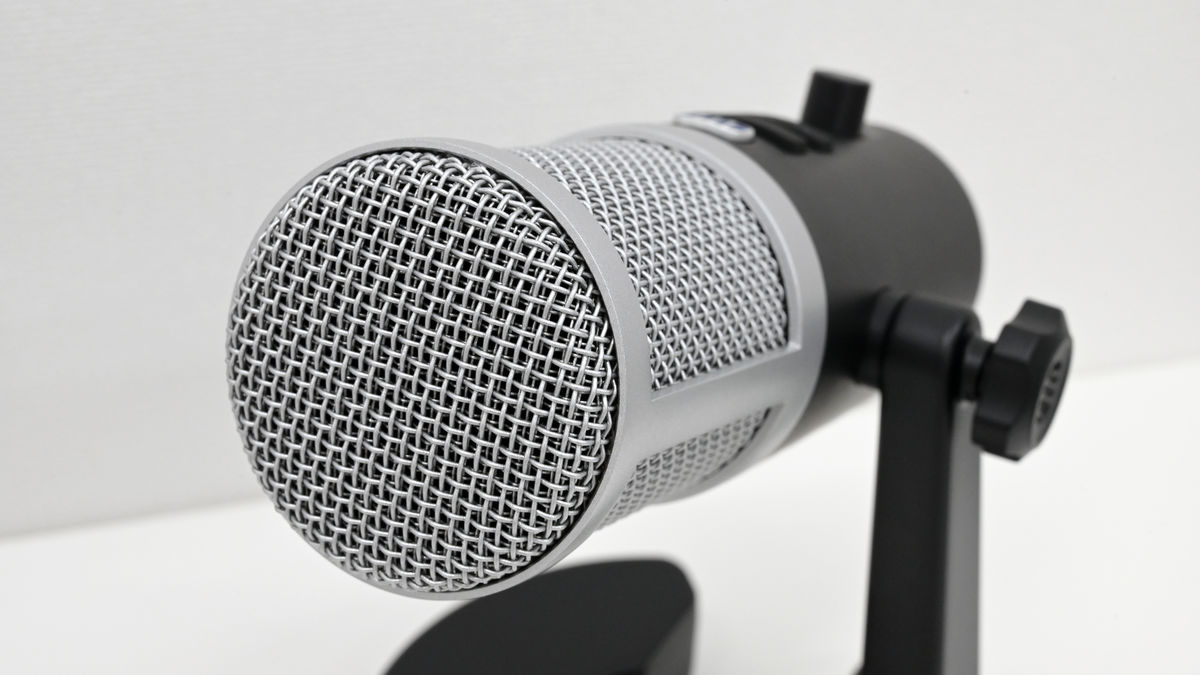
The angle can be changed freely.
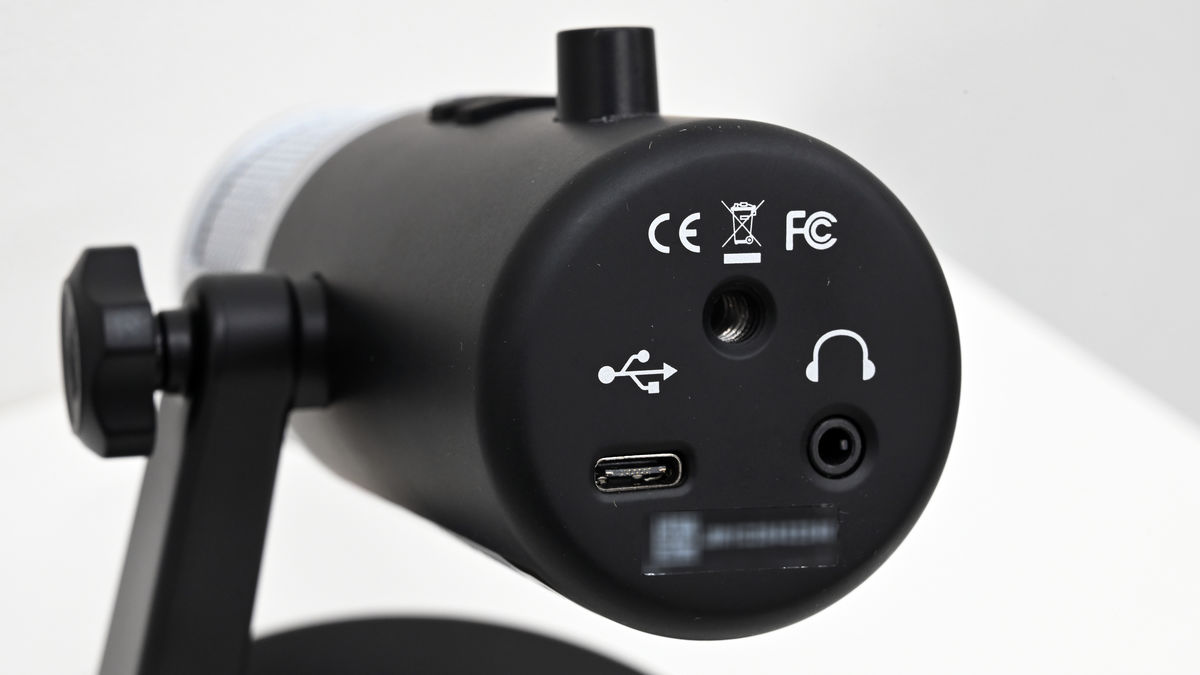
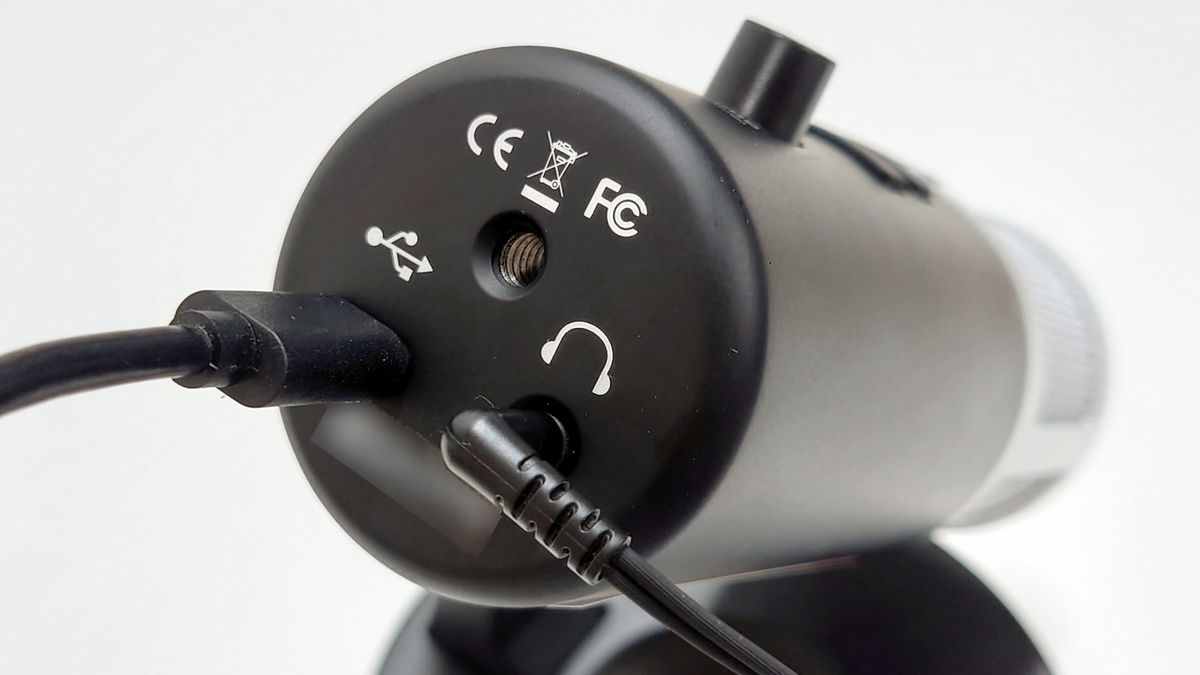
The bottom of the microphone has a tripod screw, a USB Type-C port, an earphone jack, and a serial number. After this, leave the microphone aside without connecting to the PC until the software installation is complete.
◆ My.PreSonus user registration & product registration
Register as a user of 'My.PreSonus' to obtain the dedicated software 'Universal Control ' required to use Revelator. First, access the following URL.
My.PreSonus
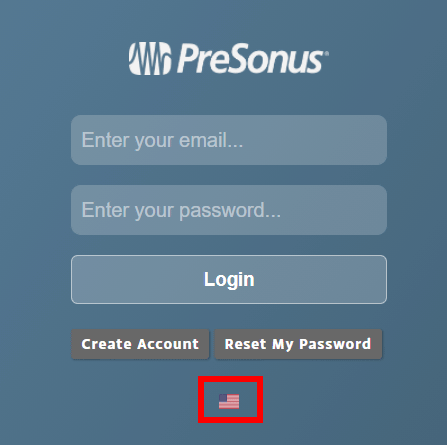
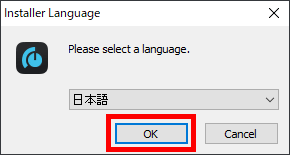
You will see a login form like this. If it is displayed in English, click the icon at the bottom.
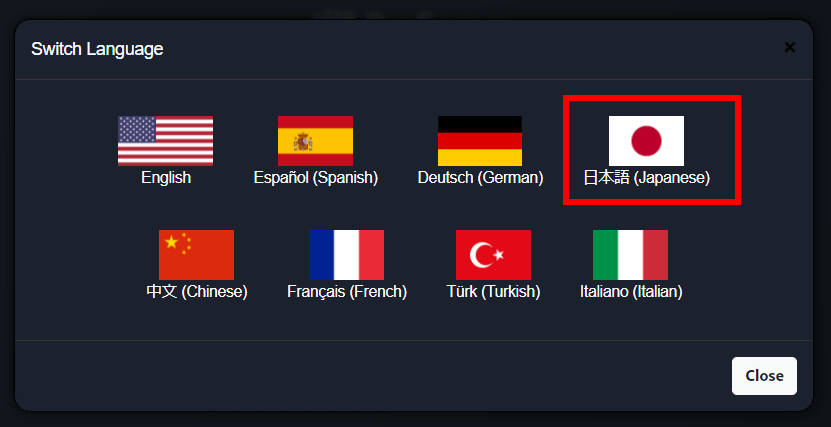
A dialog called 'Switch Language' will be displayed, so select 'Japanese'.
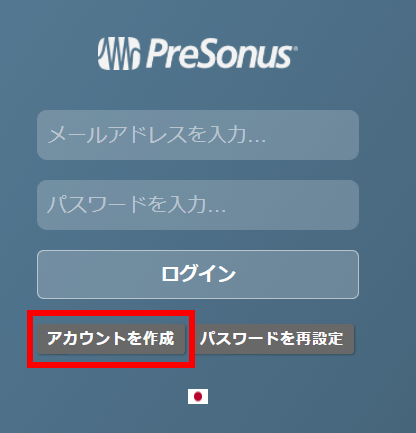
You will be returned to the login form, so click 'Create Account'.
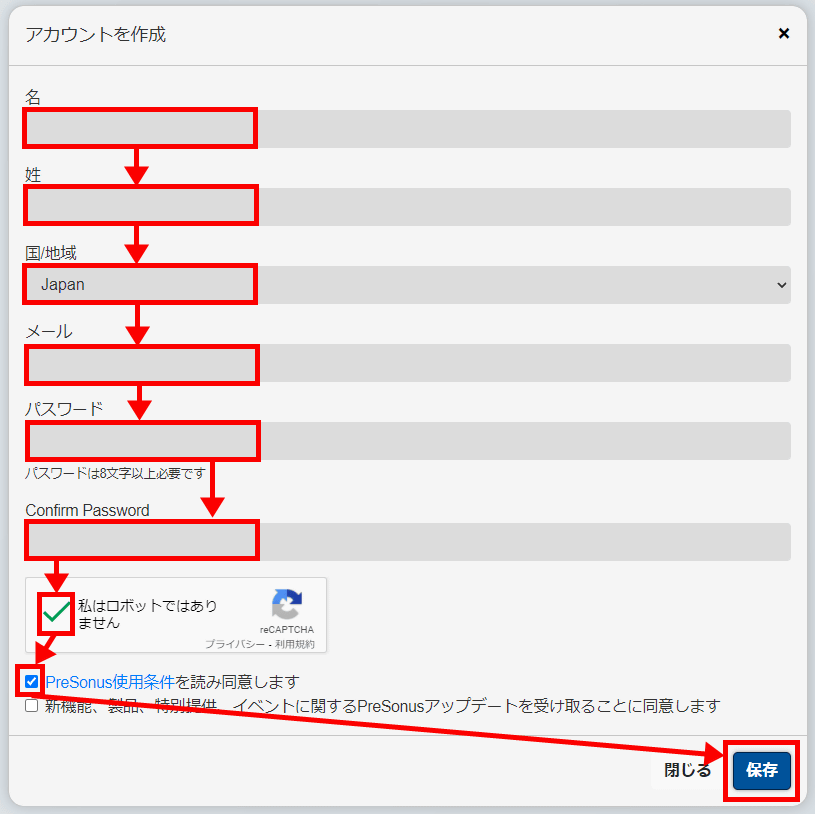
Enter your first name, last name, country / region, email address, and password you want to use (twice), check 'I am not a robot' and 'I read and agree to the PreSonus Terms of Use', and click 'Save'. ..
Click 'Go to My.PreSonus'.

My.PreSonus opens. If you follow this procedure, you should see the message 'Your account has not been activated' on the right side of the screen.

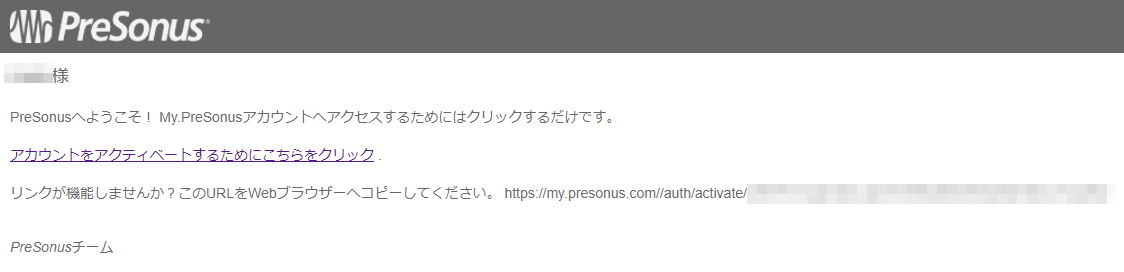
The following email has arrived at the email address you registered earlier, so click the URL or paste it into the address field of your browser to activate it.
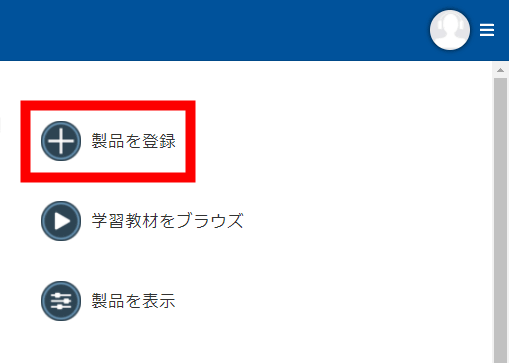
The activation message disappears in My.PreSonus, so click 'Register Product' next.
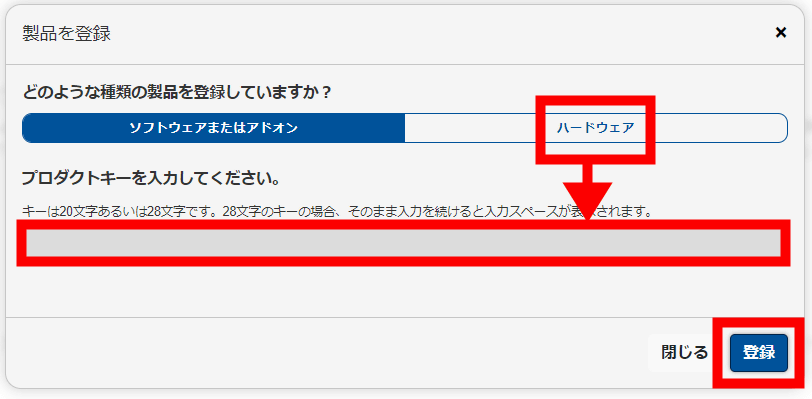
Click 'Hardware', select the purchase date, enter the serial number on the bottom of the microphone and click 'Register'.
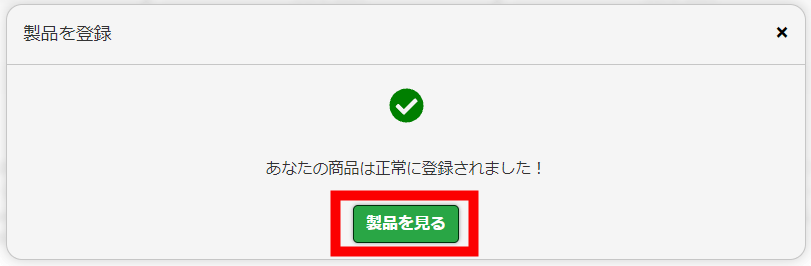
Click 'View Product'.
The registered Revelator page will open, so click 'Download Universal Control --Windows'.

Click 'Save File' and save it to any location.

◆ Installing Universal Control
Start the downloaded 'Universal Control'.
The language selection should be Japanese, so click 'OK'.
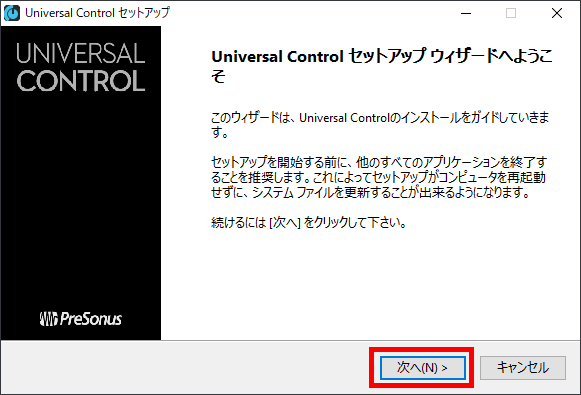
Click 'Next'.
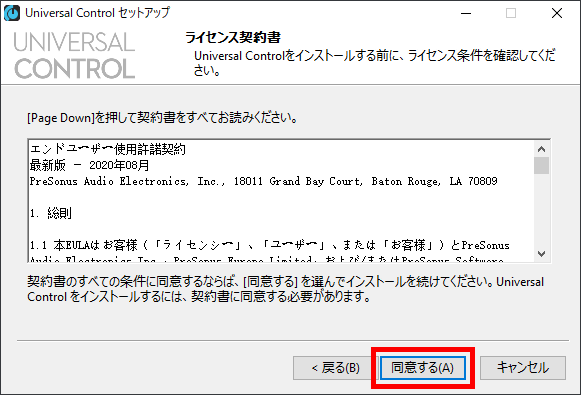
Click 'Agree'.
There is no problem with the installation destination by default, so click 'Next'.

Click 'Install'.
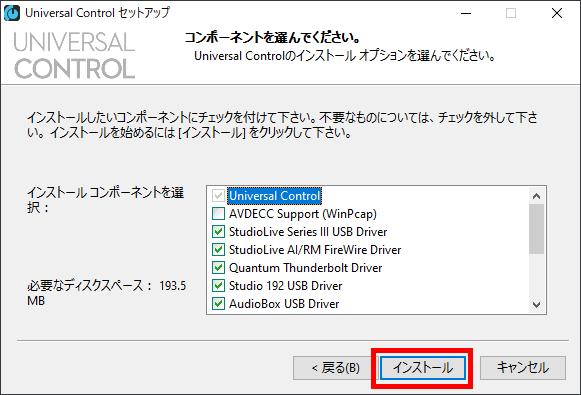
Click 'Finish'.

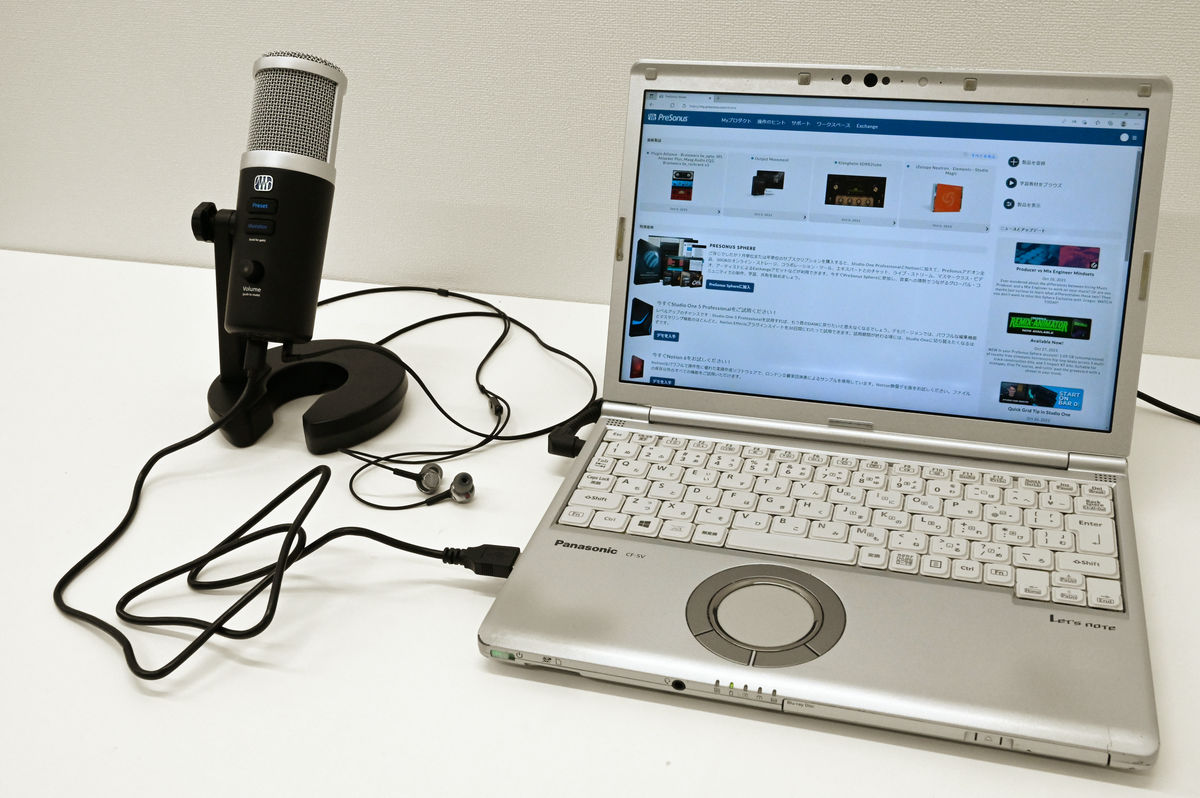
Once the installation is complete, restart your PC. After restarting, connect Revelator and PC with a USB cable. Also, connect earphones or headphones for an audio monitor to the 3.5mm mini jack on the bottom of the Revelator.
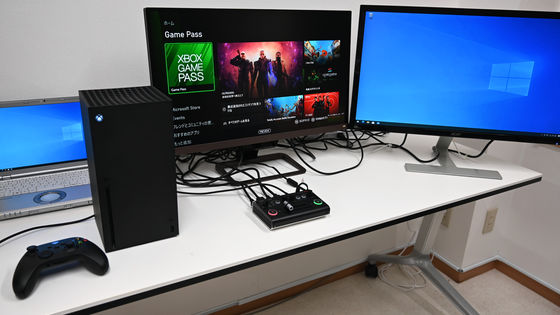
The surrounding environment at the time of use is like this as an example.
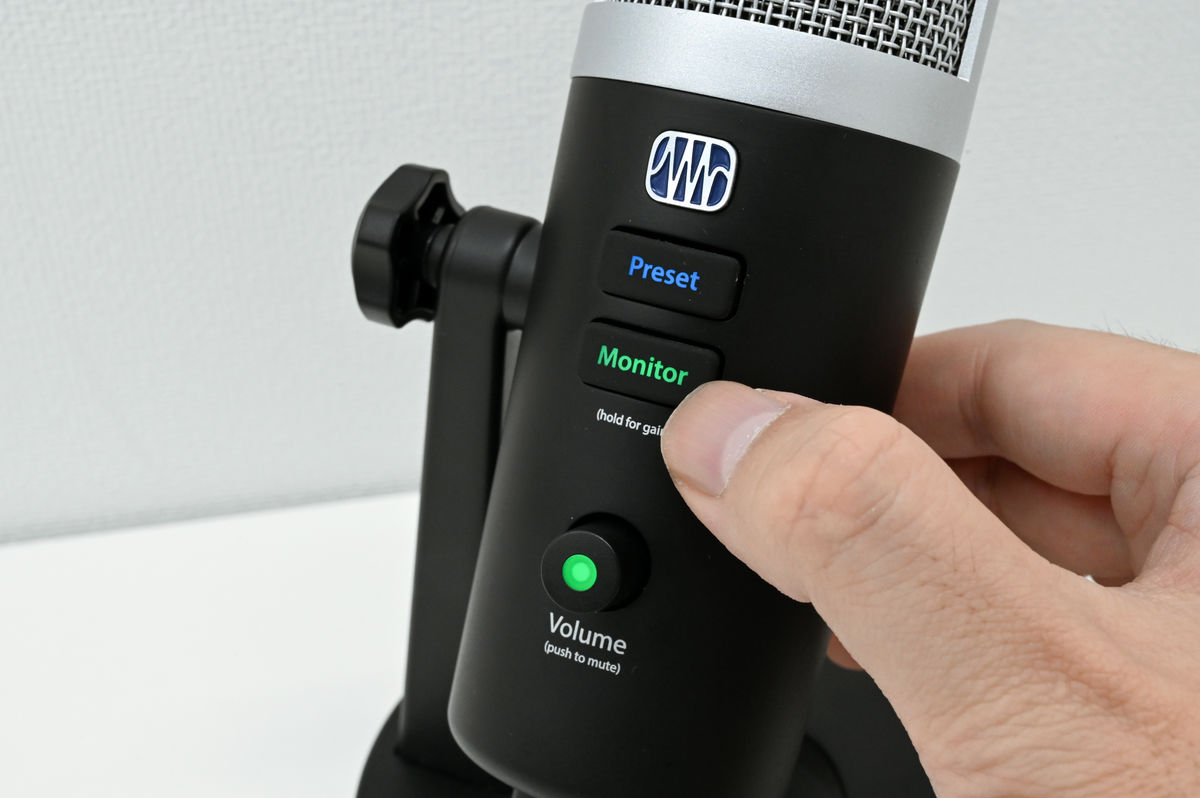
Since there is no power button and no built-in battery, connecting and disconnecting the USB cable is equivalent to turning the power on and off. When the power is turned on, the letters of the 'Preset' button and 'Monitor' button will illuminate.
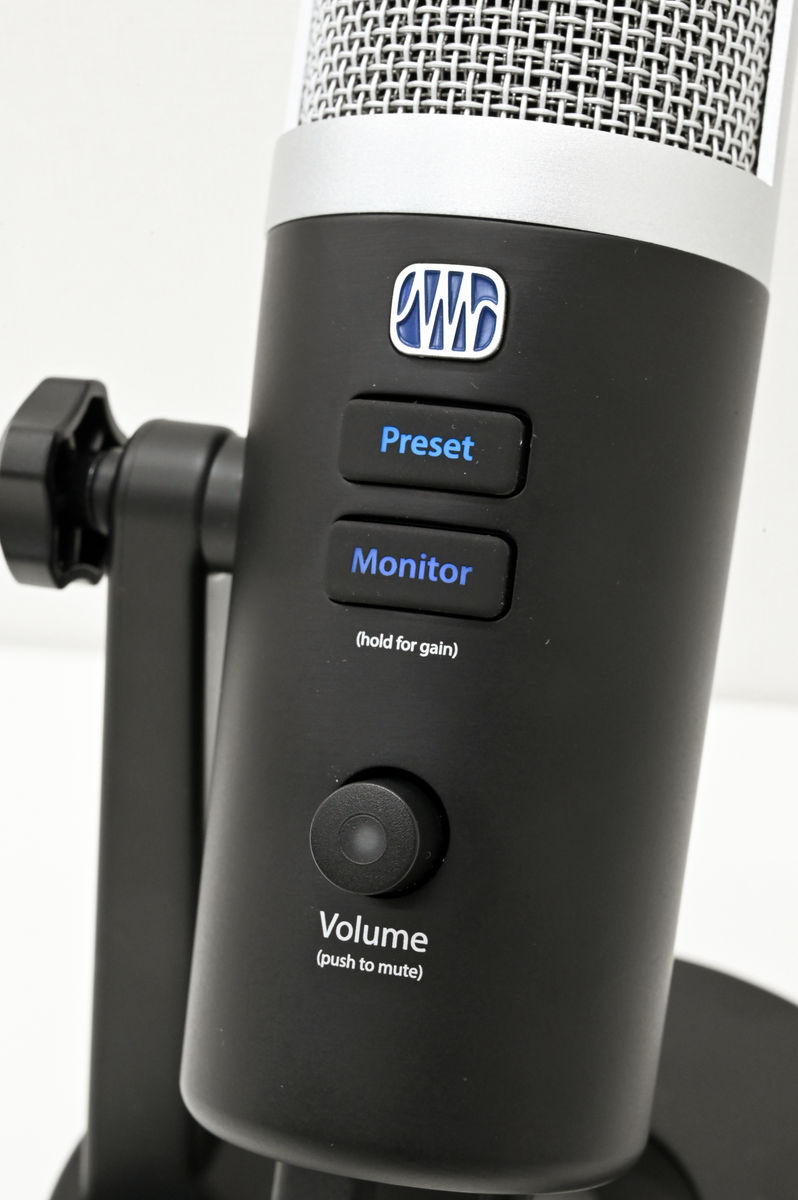
You can adjust the monitor volume by turning the Volume knob in this state.
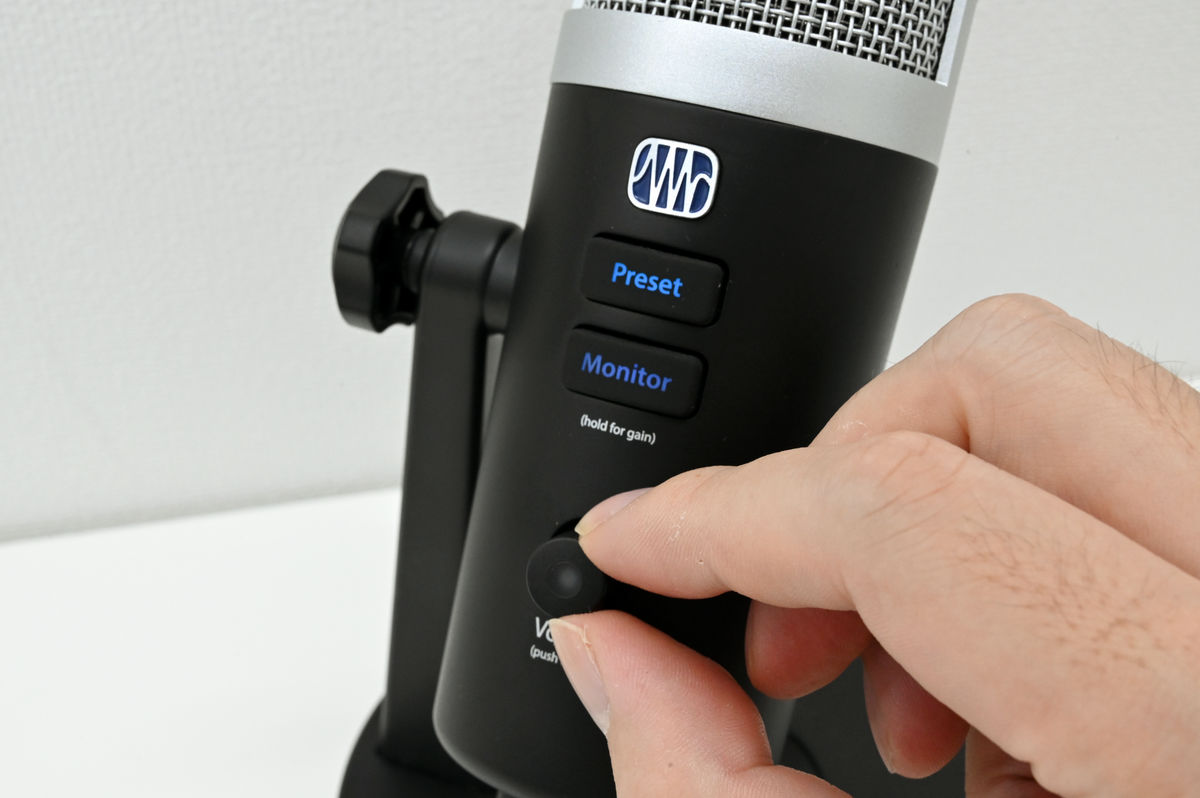
If you press and hold the Monitor button for 1 second, it will turn green, and in this state you can adjust the microphone level by turning the Volume knob. While monitoring the output sound with earphones, adjust it so that it sounds at an appropriate volume.
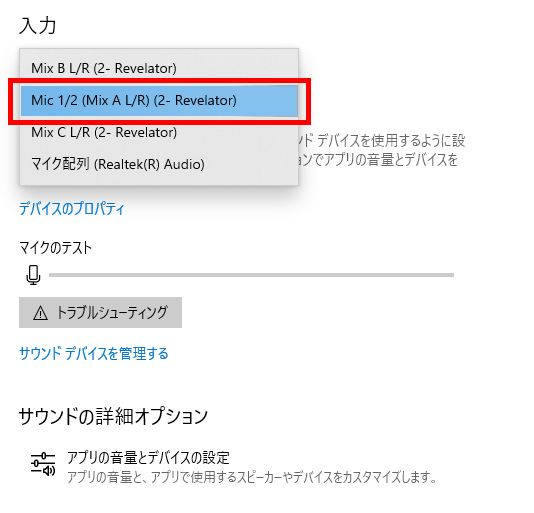
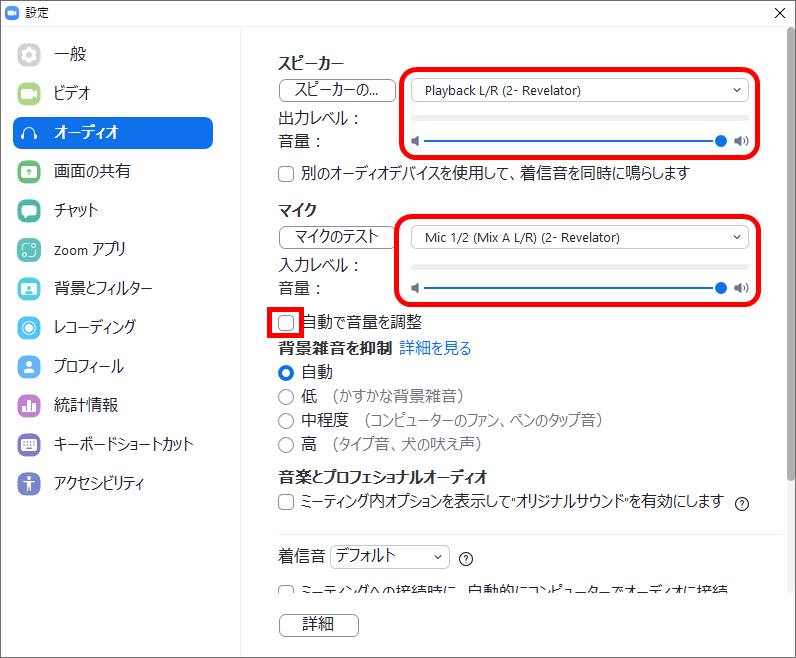
To use it as the default microphone, set the output in the 'Settings'-> 'System'-> 'Sound' section of the PC to 'Playback L / R (2-Revelator)'. Also, since the volume is adjusted with the knob on the microphone body, set the Windows master volume to 100.

Also, set the input to 'Mic 1/2 (Mix AL / R) (2-Revelator)'.
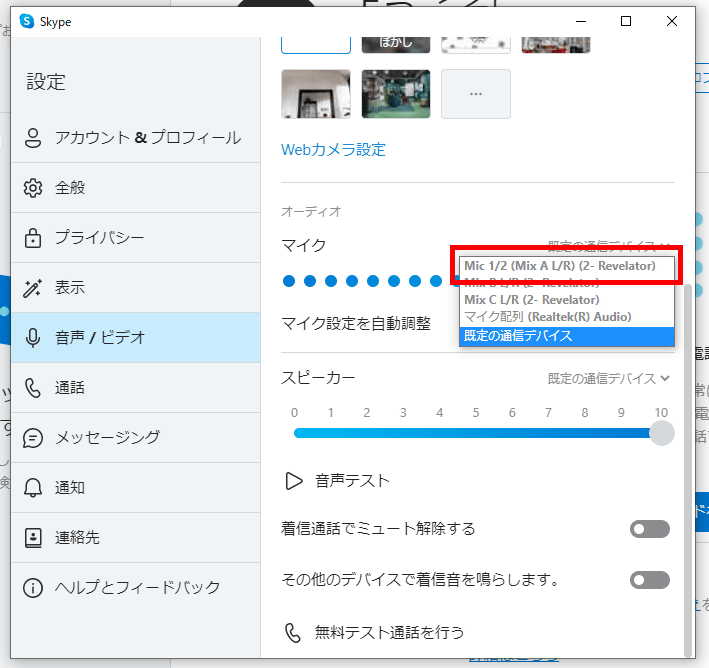
The settings for individual software are almost the same. For Skype, set the microphone to 'Mic 1/2 (Mix AL / R) (2-Revelator)' and the speaker to 'Playback L / R (2-Revelator)' in the 'Audio / Video' settings.
For Zoom, in the 'Audio' section of the settings, set the speaker and microphone to 'Playback L / R (2-Revelator)' and 'Mic 1/2 (Mix AL / R) (2-Revelator)', respectively. Uncheck 'Automatically adjust volume'. Keep the volume at maximum as well.
For OBS, set the microphone audio and audio device to 'Mic 1/2 (Mix AL / R) (2-Revelator)' and 'Playback L / R (2-Revelator)' in the 'Audio' item of the settings. Uncheck 'Disable the function that automatically lowers the volume of Windows'. Also, by setting 'Mix BL / R (2-Revelator)' and 'Mix CL / R (2-Revelator)' for microphone voice 2 and microphone voice 3, audio can be supplied to other apps. At this time, in the application on the receiving side, select the same source as the one set to microphone audio 2 or 3 as the speaker output source.

You can now use it as a microphone.
If you press the Preset button on the main unit, the text color will change and the microphone preset will change. For each text color, blue is 'male for announcement', yellow is 'female for announcement', green is 'screamer (small voice)', and pink is 'slap echo'. The former three have different settings depending on the voice quality, and the slap echo is a strong echo.
Use 'Universal Control' to change the preset contents.
If you start it with the microphone connected, this screen will appear, so click 'Revelator' at the bottom.
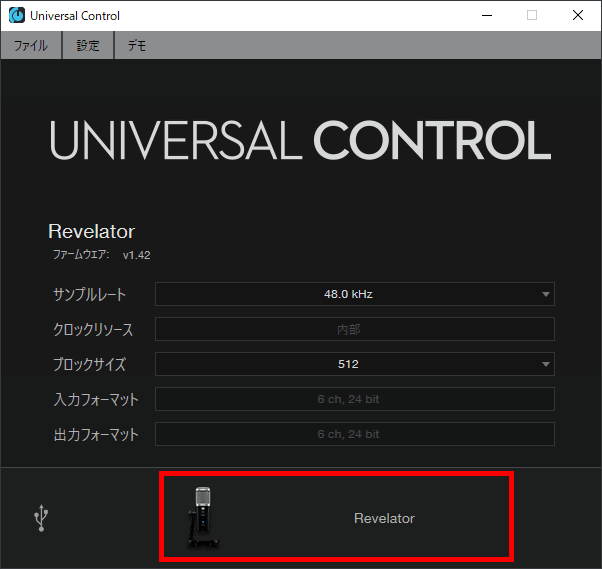
The preset adjustment screen looks like this.

The four presets lined up in the upper left are the presets that are selected when you press the 'Preset' button on the main unit. The dial on the right has a total of 16 preset slots, the left half has eight presets from the beginning, and the slot on the right half allows you to register your own presets.
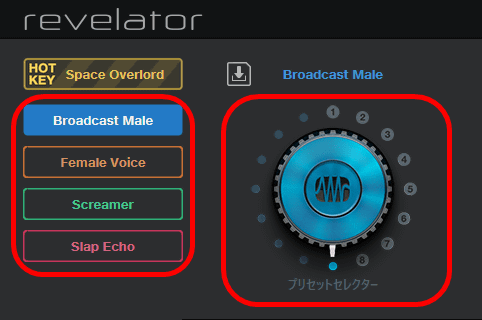
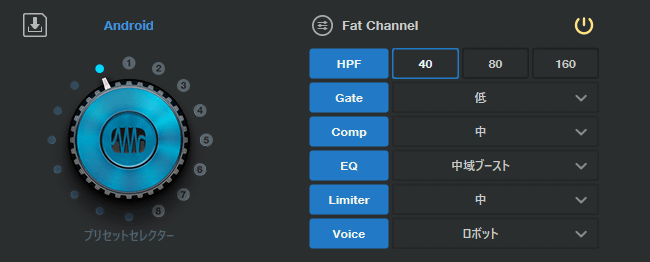
By default, the above-mentioned 'Broadcast Male', 'Broadcast Female', 'Screamer', 'Slap Echo', and 'Citizens Radio (CB)' are available. 'Radio' 'Space Overlord' 'AM Radio' 'Android'.
Each Fat Channel (rough setting) is different, so it may be a good idea to compare and refer to multiple presets and work out the settings that suit you.
The basic usage is described in the included Japanese owner's manual (print version), but a more detailed PDF version can be downloaded by registering the product with the Japanese version agency, MUSIC Eco Systems.
◆ Registration of MUSIC EcoSystems & download of PDF manual
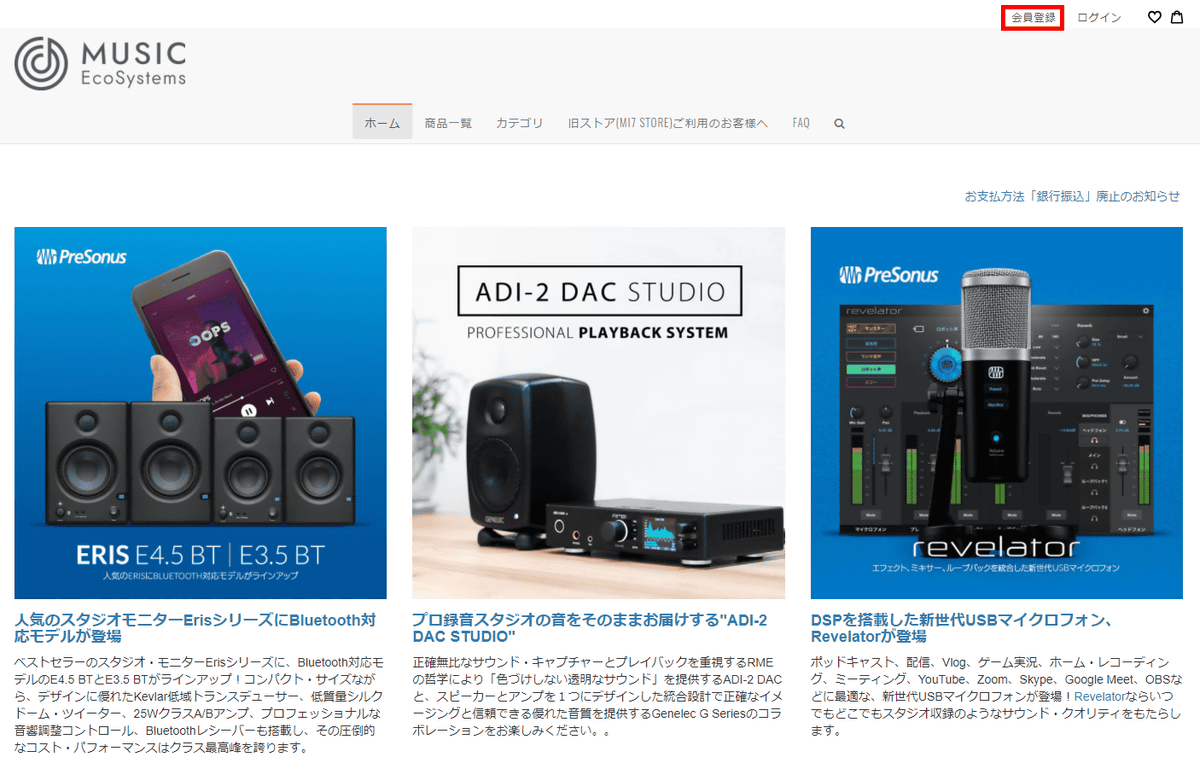
When registering as a MUSIC EcoSystems user, first access the official website. If you purchase from the MUSIC EcoSystems site, it will be registered automatically, so the following procedure is not required.
MUSIC EcoSystems
Click 'Membership Registration' in the upper right.
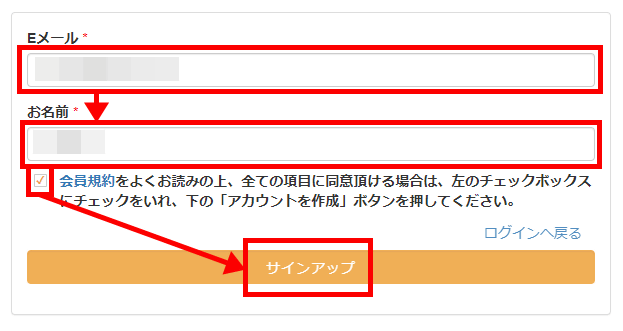
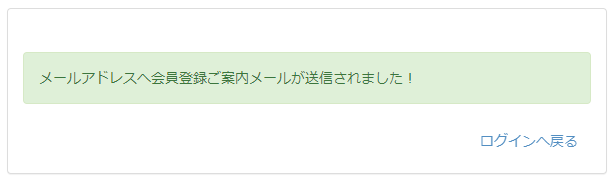
Enter your email address and name, check the checkbox and click 'Sign up'.
An email will be sent to the email address you entered.
Open the URL in the email you received in your web browser.
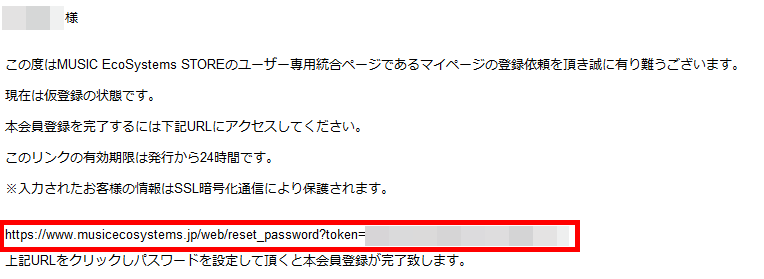
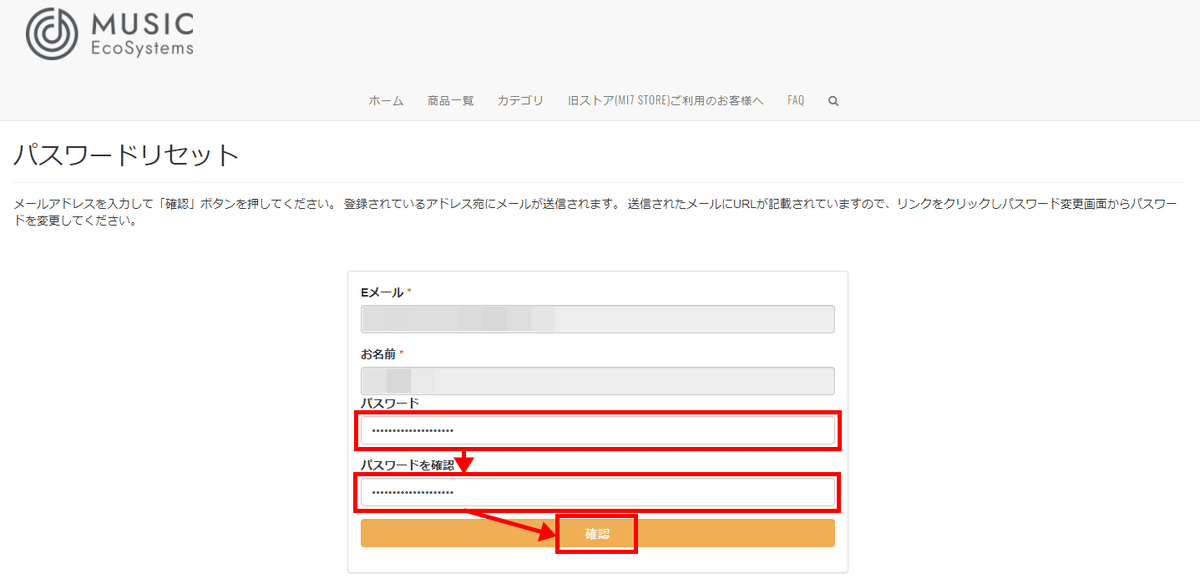
The password reset screen opens, which is correct. Enter the password and click 'Confirm'.
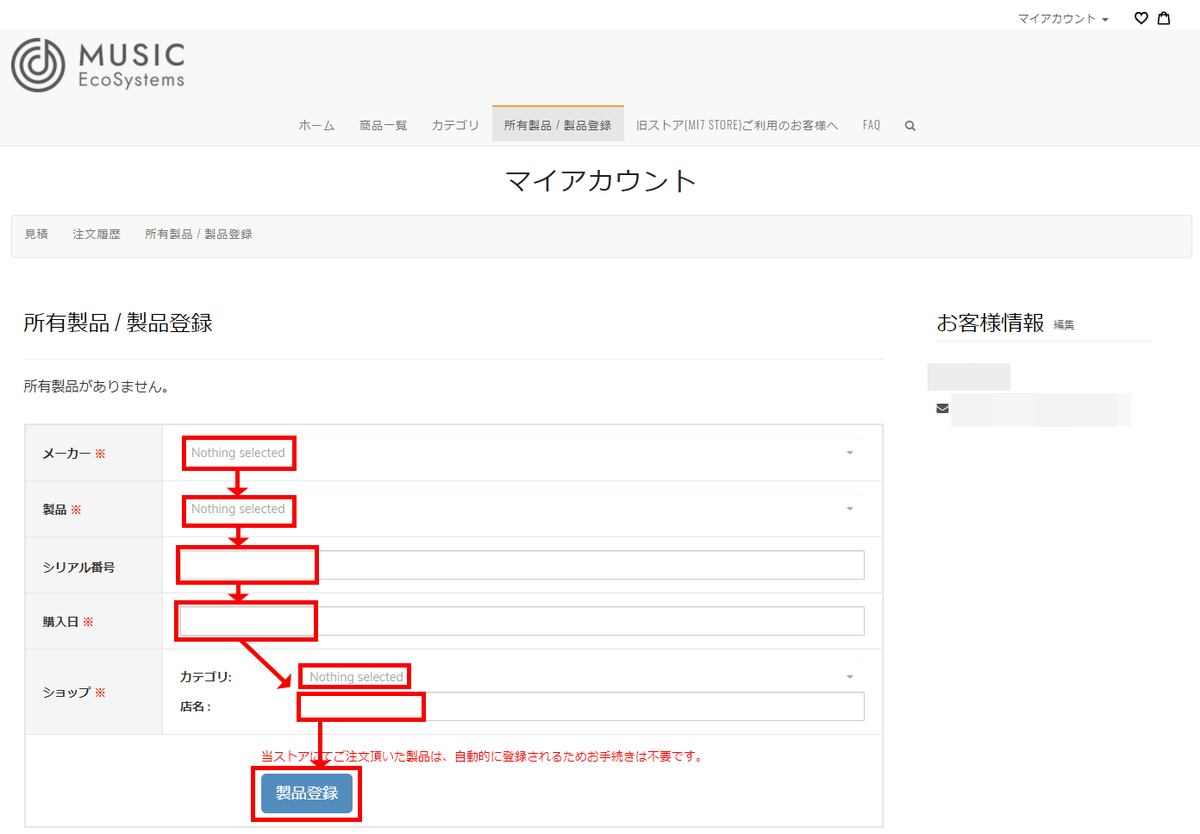
Click 'Owned product / Product registration'.

Select the manufacturer and product name from the pull-down menu, enter the serial number, purchase date, and shop information you purchased, and click 'Product Registration'. Since the serial number is not marked with *, it looks okay if you do not enter it, but in reality, if you try to proceed without entering it, an error will occur, so you must enter it.
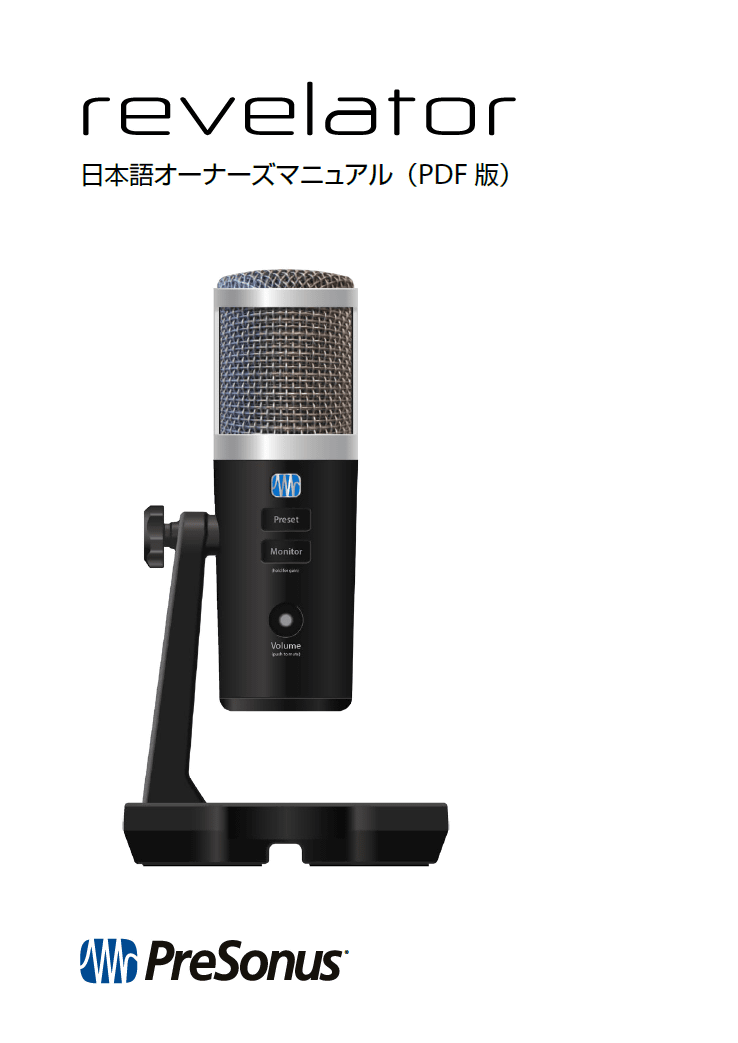
Once the product is registered, you will be able to download the PDF version of the owner's manual.
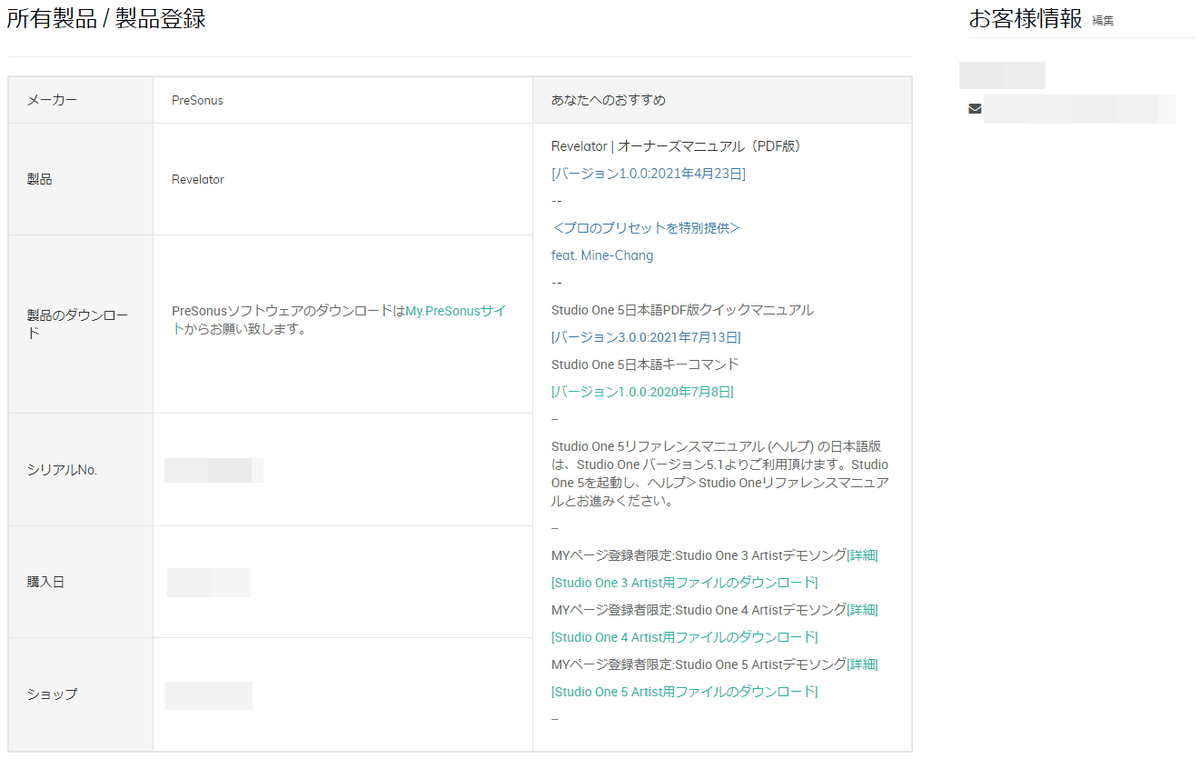
The print version is a simplified version of this PDF version.
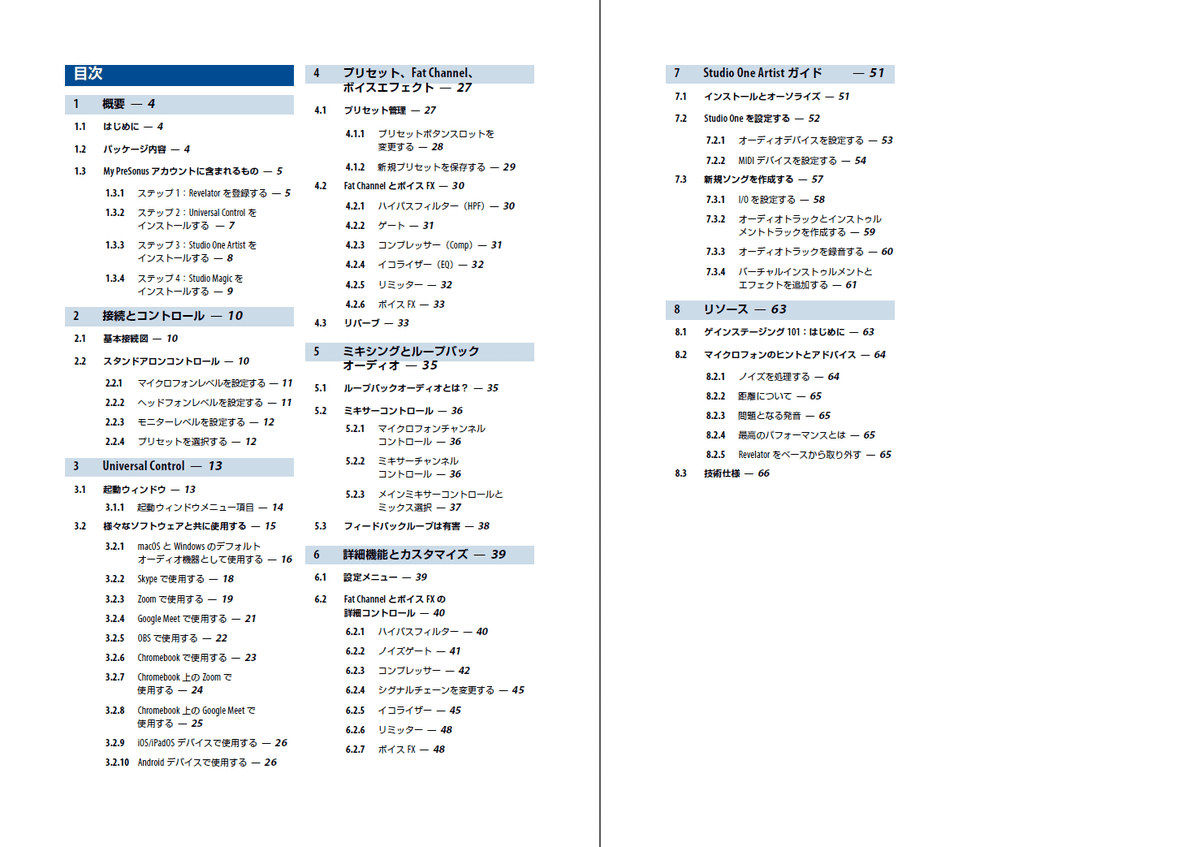
The table of contents looks like this. The print version is an extraction of '1 Overview', '2 Connections and Controls', and '3 Universal Control', so '4 Presets, Fat Channel, Voice Effects', '5 Mixing and Loopback Audio', and '6 Advanced Features and Customization'. If you want to know about the 5 sections of '7 Studio One Artist Guide' and '8 Resources', please get the PDF version.
Related Posts: