Makita's 'Rechargeable Inflator MP180DRG' Review, Rechargeable and Easy to Carry

When I went shopping by bicycle, the air was exquisitely reduced to an uncomfortable ride, and it was troublesome to manually reinsert it every time, so in order to reduce the trouble, Makita's 'MP180DRG' is a rechargeable inflator. I decided to introduce.
Rechargeable inflator MP180DRG / Makita Co., Ltd.
'MP180DRG' is put in such a case.

When I open the case, it looks like this.

The contents are the main body, battery, charger, and instruction manual.
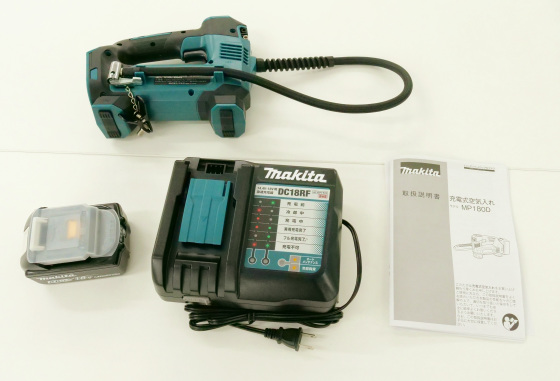
The main body looks like this.
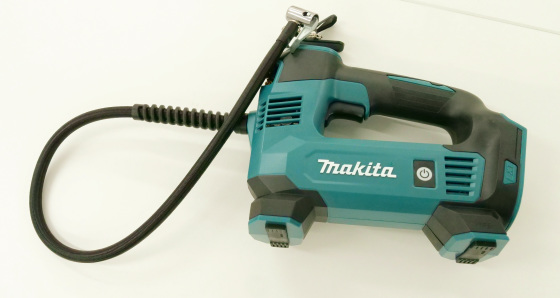
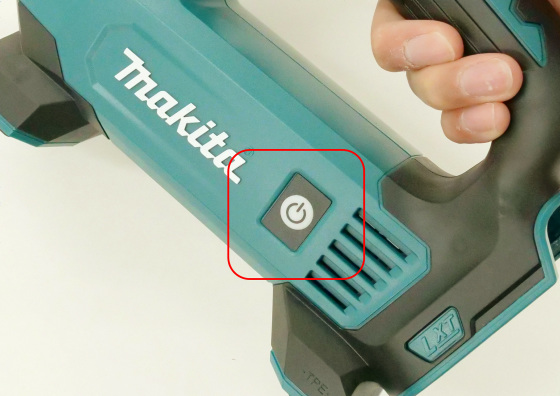
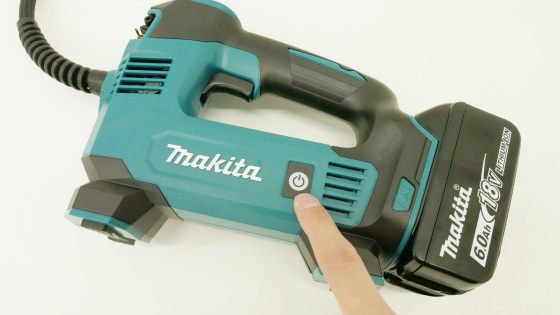
Power button on the left side.
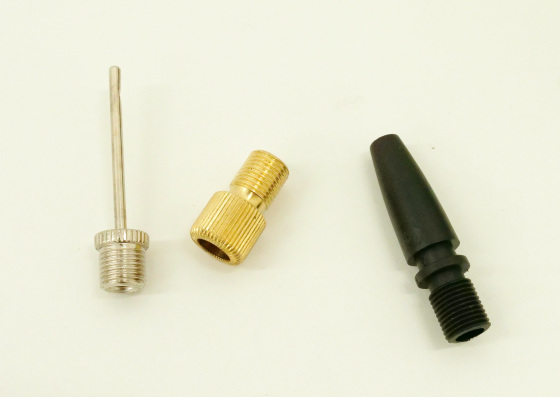
There are various adapters in front.
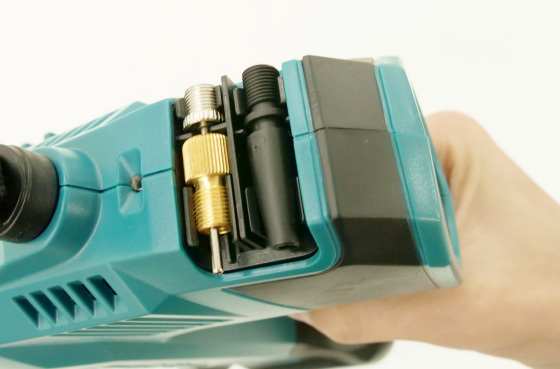
There are three types of adapters for balls, presta valves, and floats.
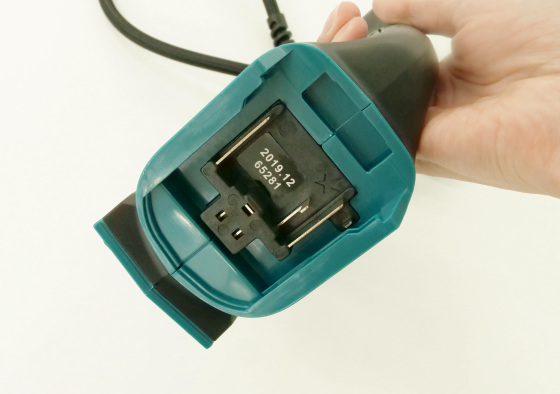
There is a battery mounting part at the back.
The length of the air hose is about 67 cm.
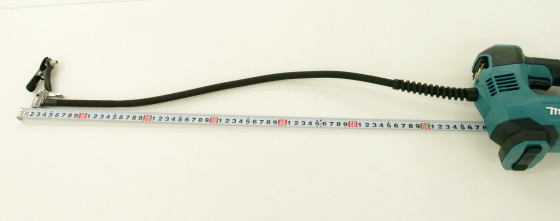
The tip is an air chuck compatible with
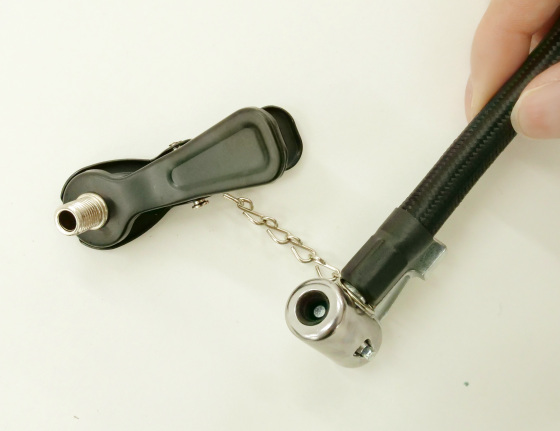
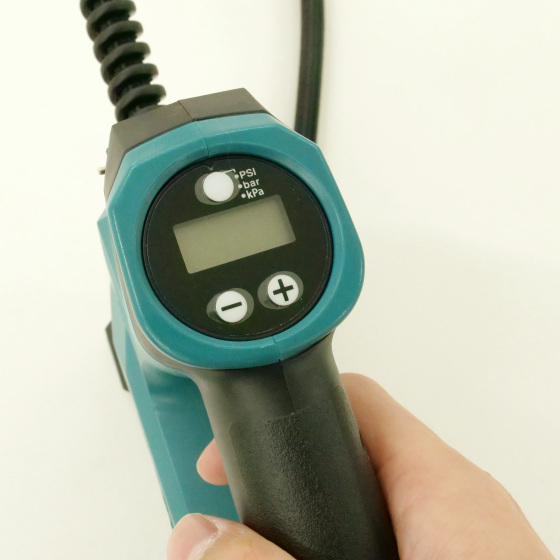
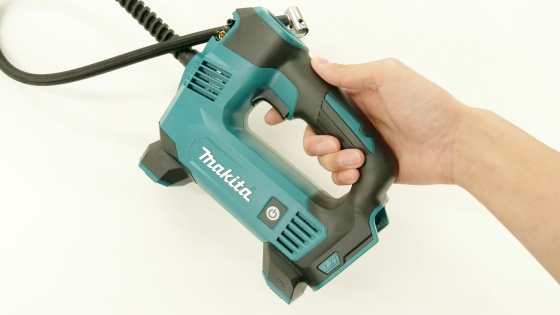
When you take it in your hand, it looks like this, and the trigger is installed at the position of the index finger.
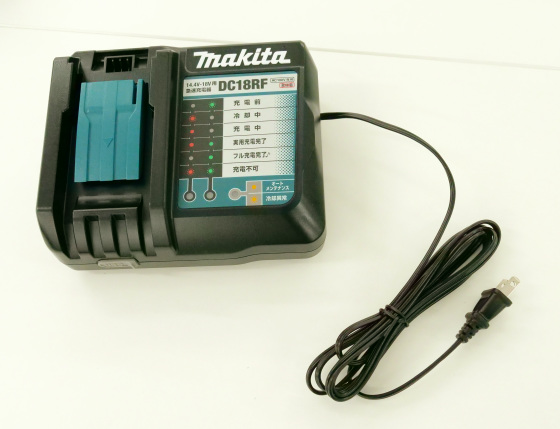
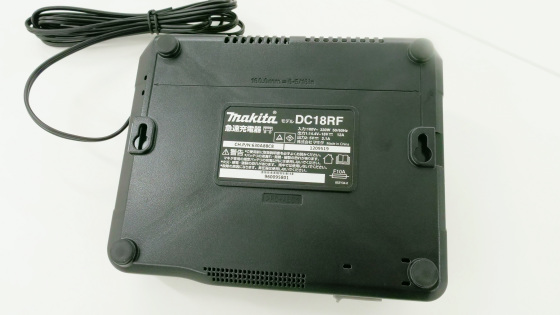
The charger looks like this.
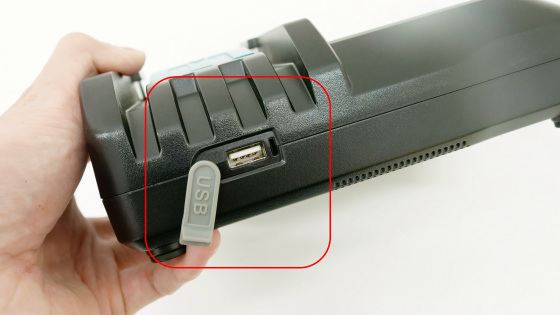
It is also possible to supply USB power using the USB port installed on the front.
There are non-slip and hanging screw holes on the back.
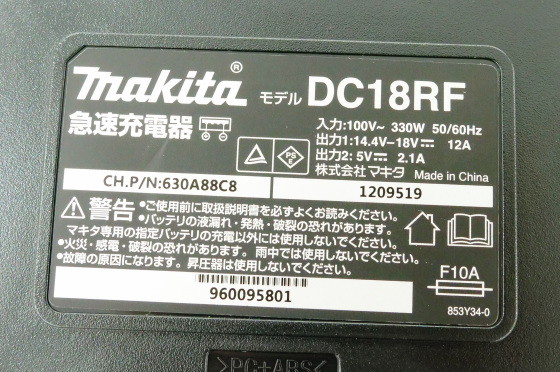
The output to the lithium-ion battery is 14.4-18V-12A, and the output to the USB port is 5V-2.1A.
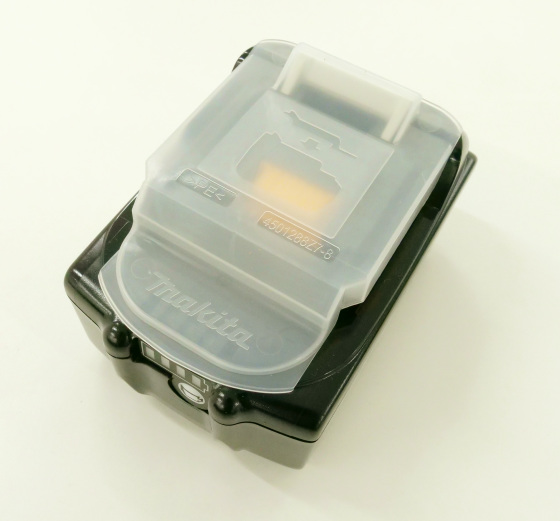
Lithium-ion battery comes with a cover.
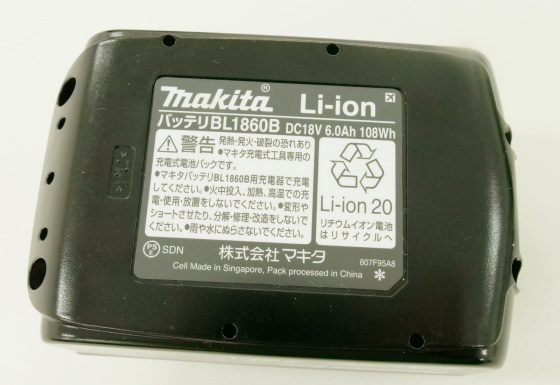
It is DC18V, 6.0Ah, 108Wh.
When you connect the charger to a power source, the charging indicator light will turn green.
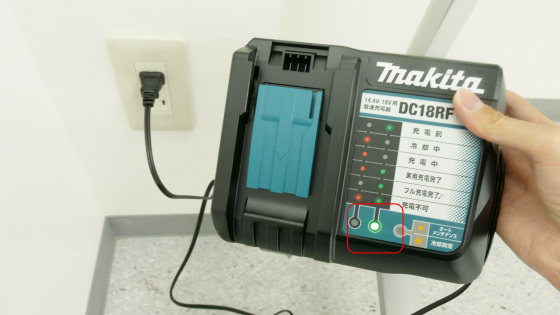
When installing the lithium-ion battery in the charger, check the orientation ...
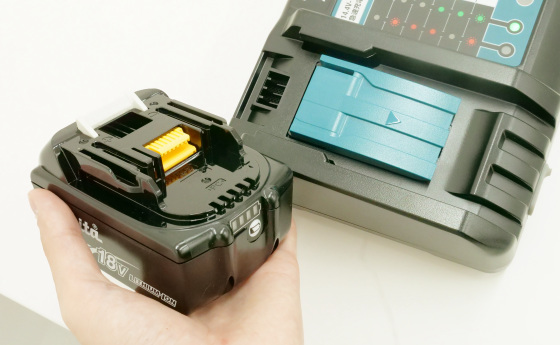
Attach it to the charger.
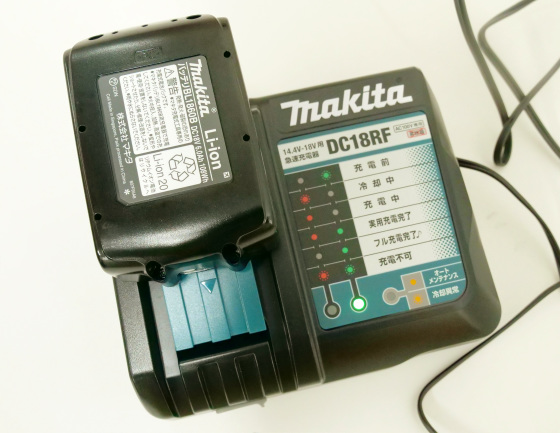
Below is a movie showing how to attach a lithium-ion battery to a charger. A melody will be played when the lithium-ion battery is attached to the charger, but this is a melody that will be played as a notification when charging is complete. If you quickly reattach the lithium-ion battery, the melody type will switch to 5 types + silence mode in order. It takes about 27 minutes to fully charge and about 40 minutes to fully charge.
Make sure to check the orientation when attaching the lithium-ion battery to the main unit.
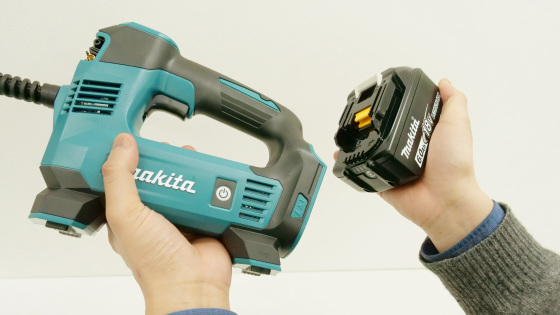
When the installation is completed, it looks like this. The mass of the main body including the lithium-ion battery is about 1.7 kg.
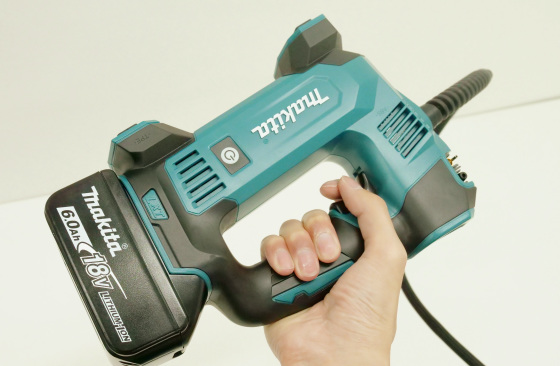
Press the button on the left side to turn on the power.
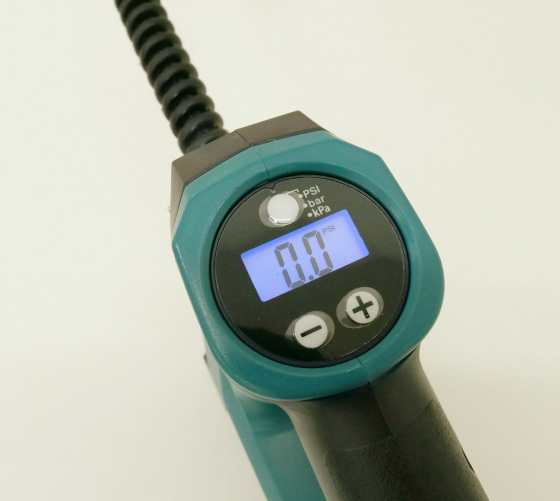
The display panel lights up when the power is turned on. The white button at the top can change the display unit of air pressure to PSI, bar, kPa, and the-and + buttons at the bottom can set the air pressure you want to inject.
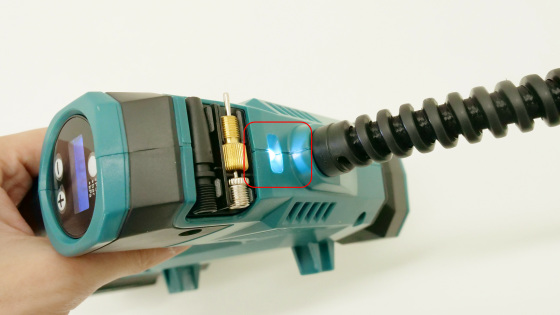
The front light will light up while the main unit is driving.
I will actually use it. First of all, from the
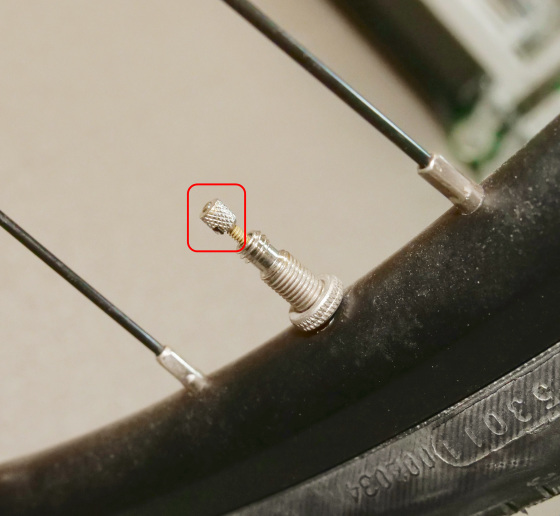
Equipped with a presta valve adapter.
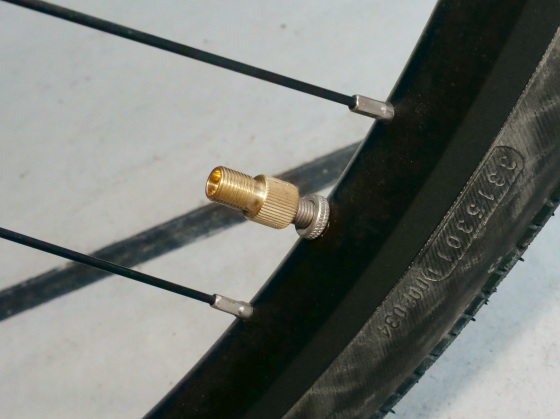
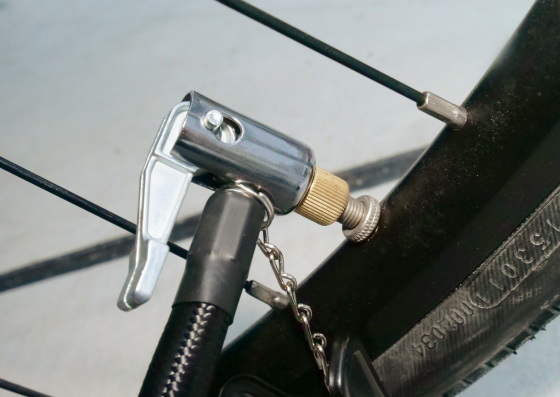
Connect the air chuck from above and close the lock lever.
Since the proper air pressure is written on the tire like this, check it ...

Set the air pressure with the button.
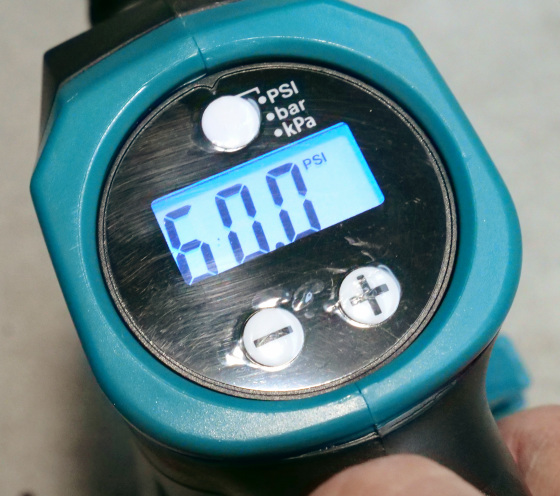
The movie that I actually put air in is below. When the trigger is pulled, injection starts, and when the set air pressure is reached, injection stops automatically. Also, the value displayed on the panel will switch to 'Current air pressure'.
Next, let's inflate the English valve on a typical bicycle.
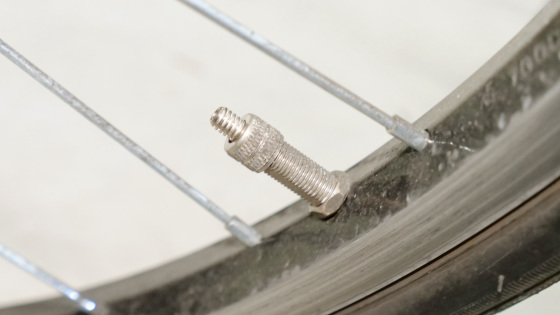
Connect the English valve adapter to the air chuck of the main body ...
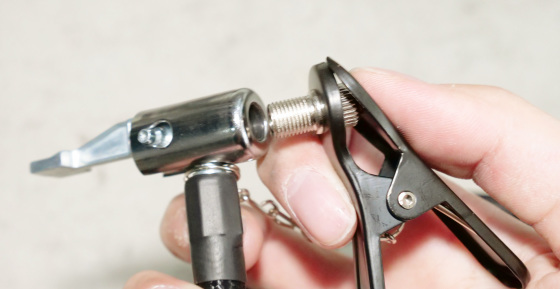
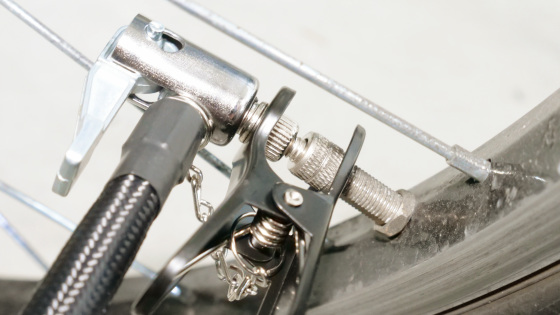
Attach it to the valve of your bicycle.
Check the proper tire pressure ...

Turn on the power of the main unit and set the air pressure with the button.
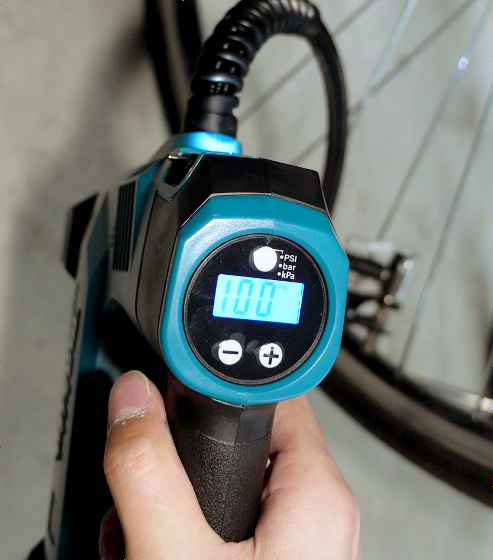
Below is a movie that I actually put in air. Since the English valve does not display an accurate pressure value due to its characteristics, it is necessary to inject air while checking the condition of the tire.
The 'MP180DRG' is very convenient not only because it is easy to inject air by pulling the trigger without using your hands or feet, but also because it automatically stops when you set the appropriate air pressure. Also, since the air pressure is displayed as a numerical value instead of a scale, it is also nice to be able to put in exactly the target air pressure.
MP180DRG can also be purchased at Amazon.co.jp , and the price is 27,927 yen including tax at the time of article creation.

Related Posts:
