A fierce man who made his own PS5 with a golden luxury feeling appeared
![](https://i.gzn.jp/img/2021/03/29/playstation-5-brass/00_m.jpg)
Building a high-end PlayStation 5 (it was HARD!) --YouTube
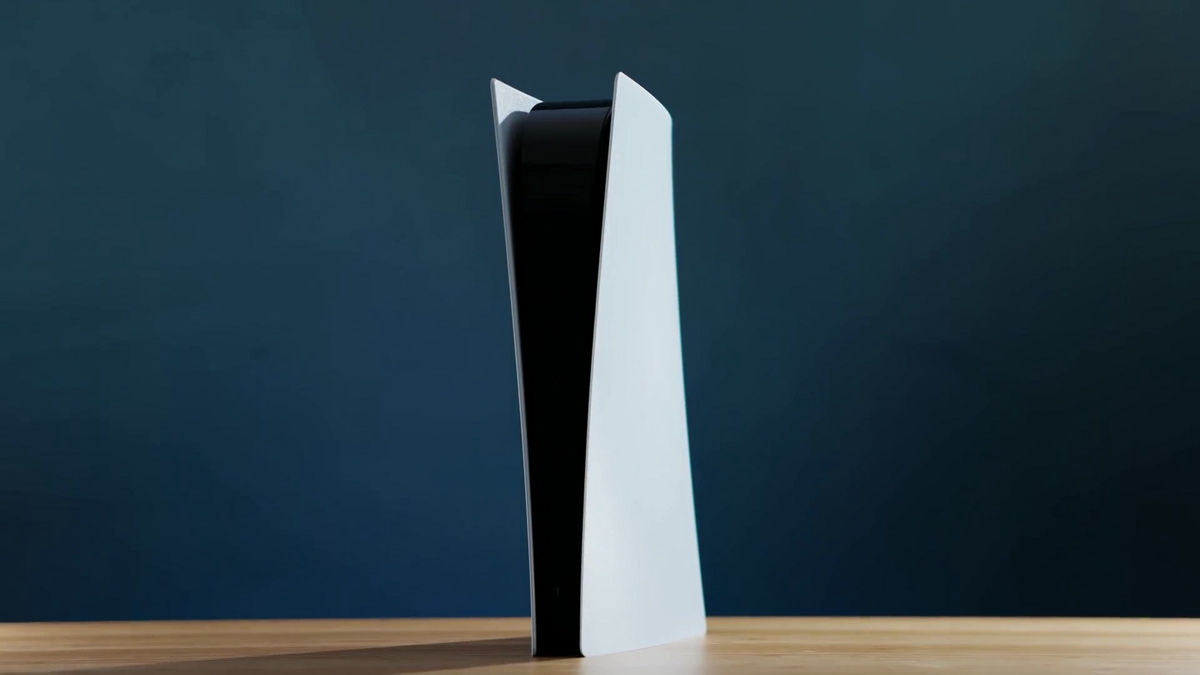
The appearance of PS5 is only the following black and white colors at the time of article creation. Therefore, it seems that there is a high demand for changing the appearance, such as the appearance of replacement plates ' Darkplates' for transforming PS5 into black from a third party.
![](https://i.gzn.jp/img/2021/03/29/playstation-5-brass/s01_m.jpg)
DIY Perks also came up with the idea of changing the look of the PS5 to something more stylish, and chose to use brass for that.
![](https://i.gzn.jp/img/2021/03/29/playstation-5-brass/s02_m.jpg)
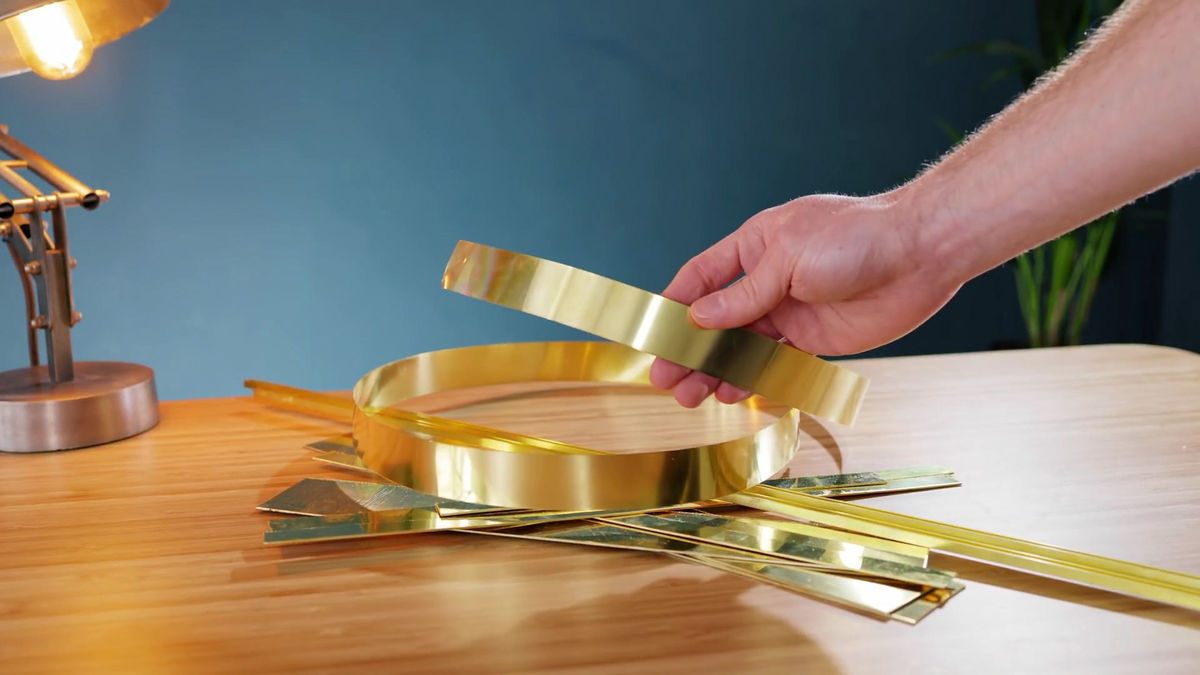
The reason for choosing brass as the material is that brass is easy to process and relatively inexpensive, and has been used for various things since ancient times.
![](https://i.gzn.jp/img/2021/03/29/playstation-5-brass/s03_m.jpg)
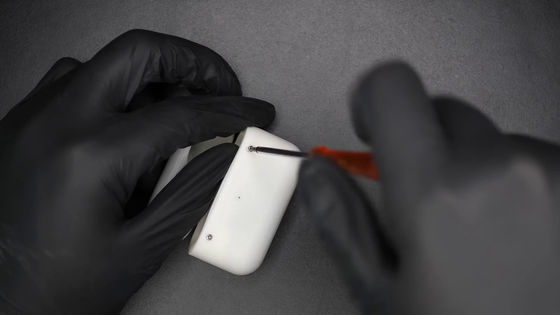
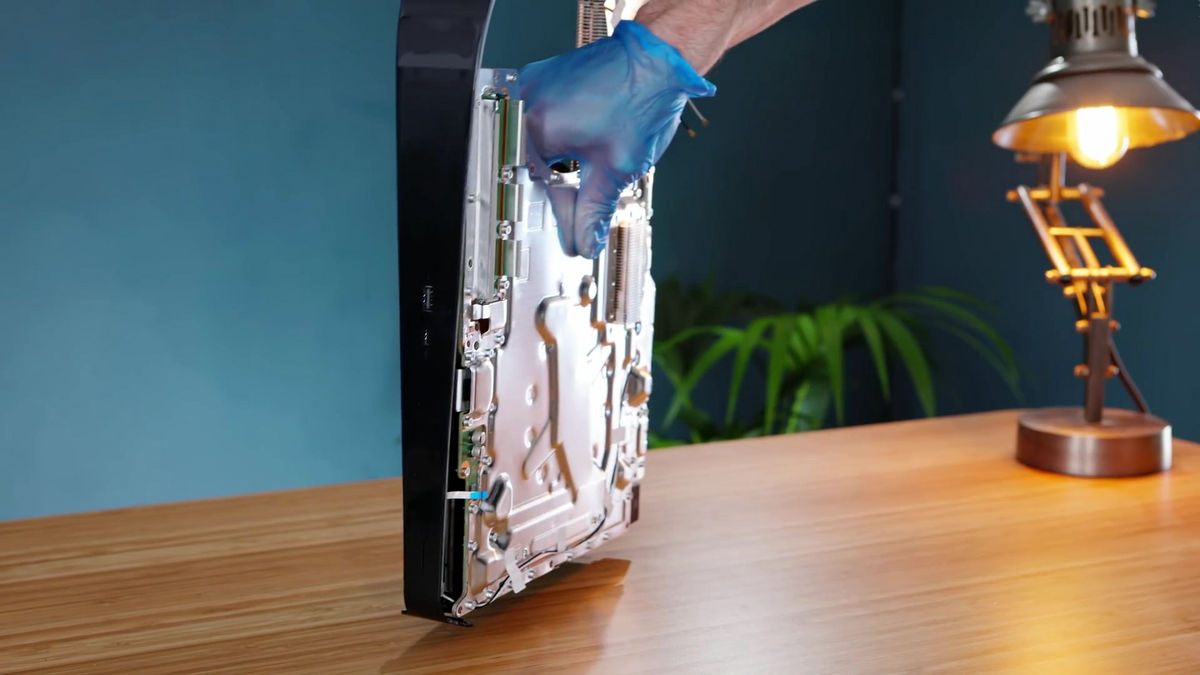
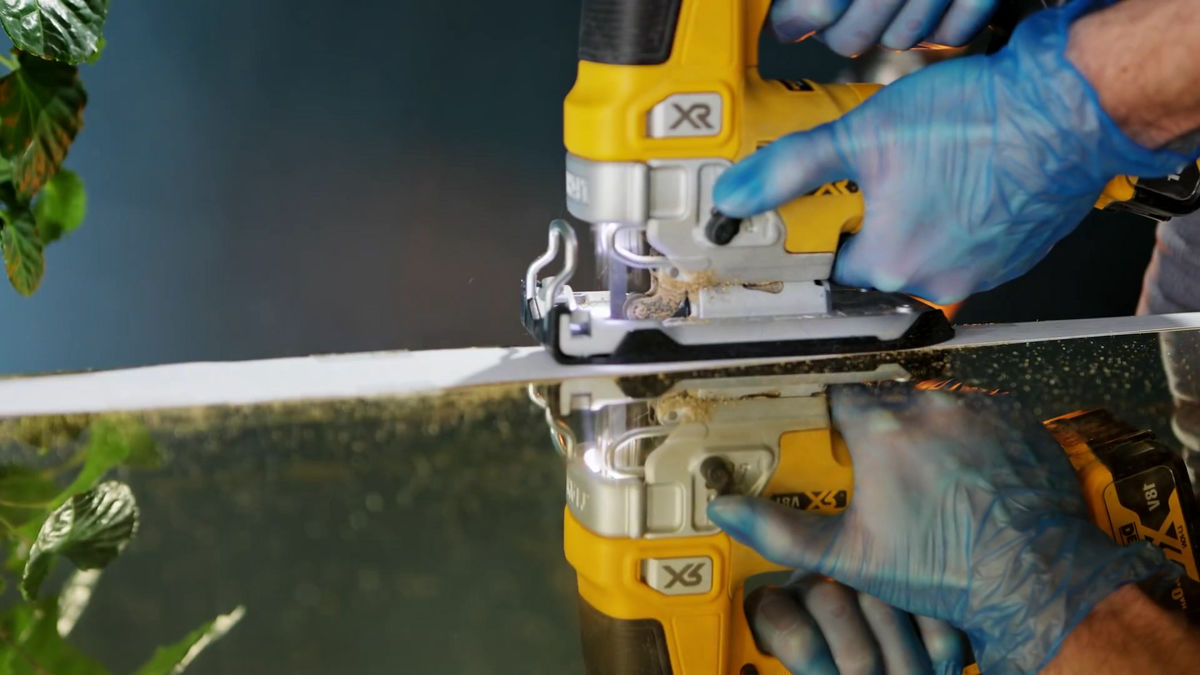
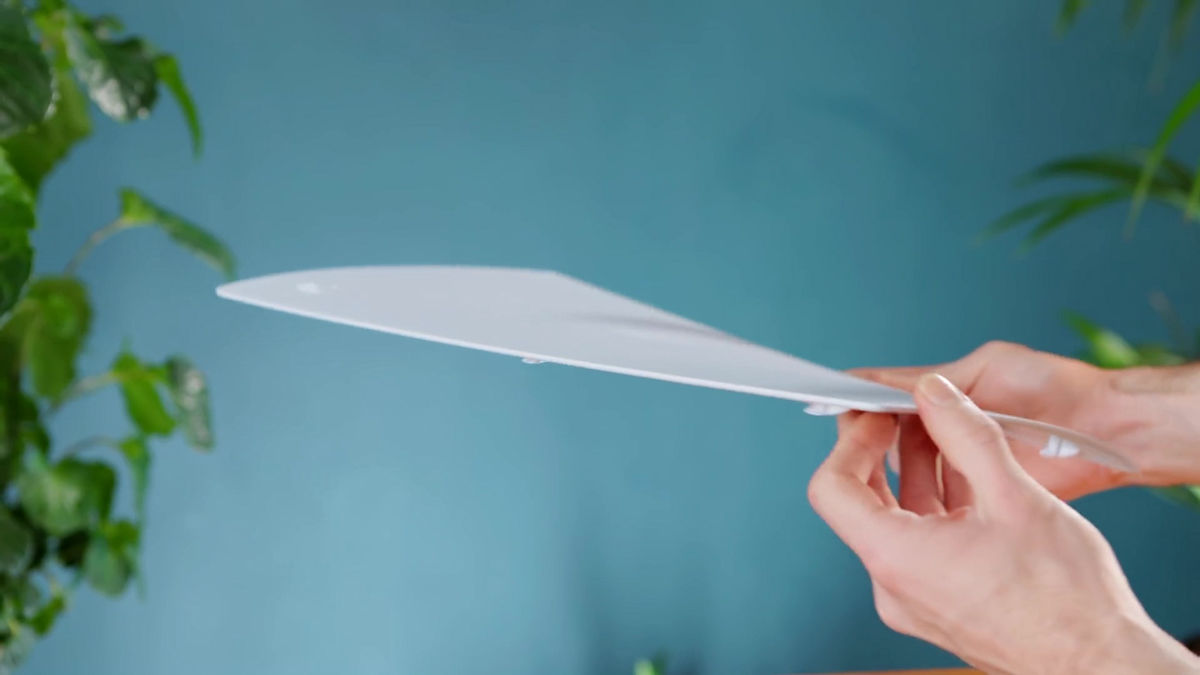
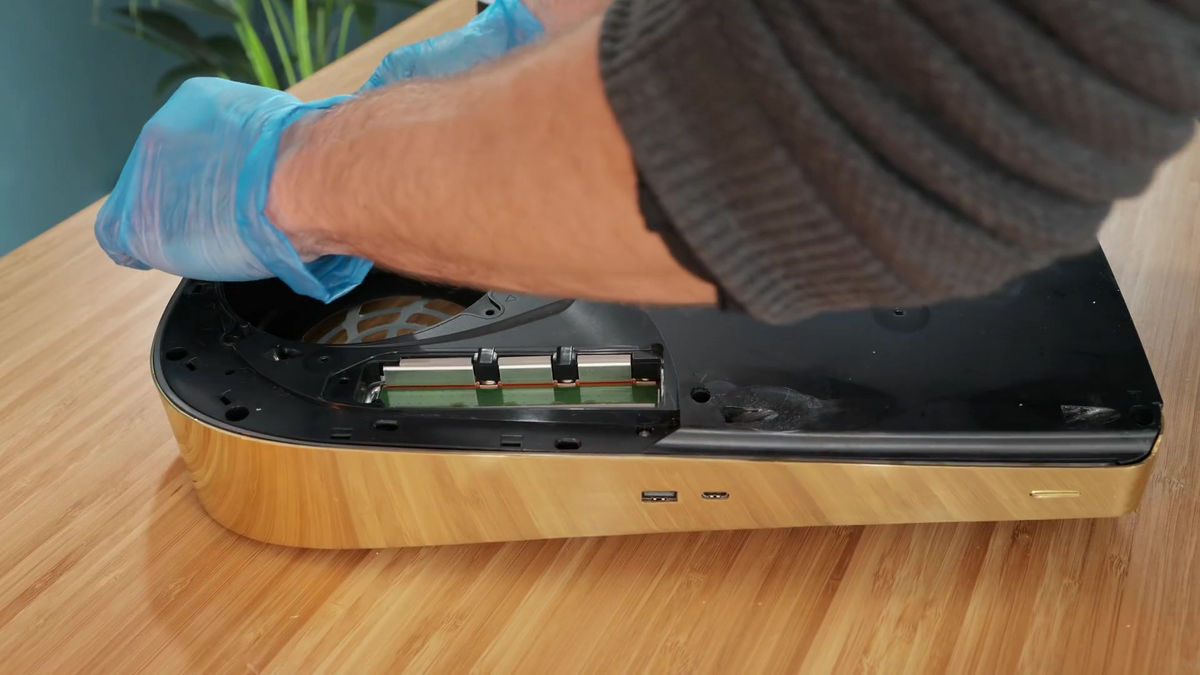
That's why I will disassemble the PS5 at once ...
![](https://i.gzn.jp/img/2021/03/29/playstation-5-brass/s04_m.jpg)
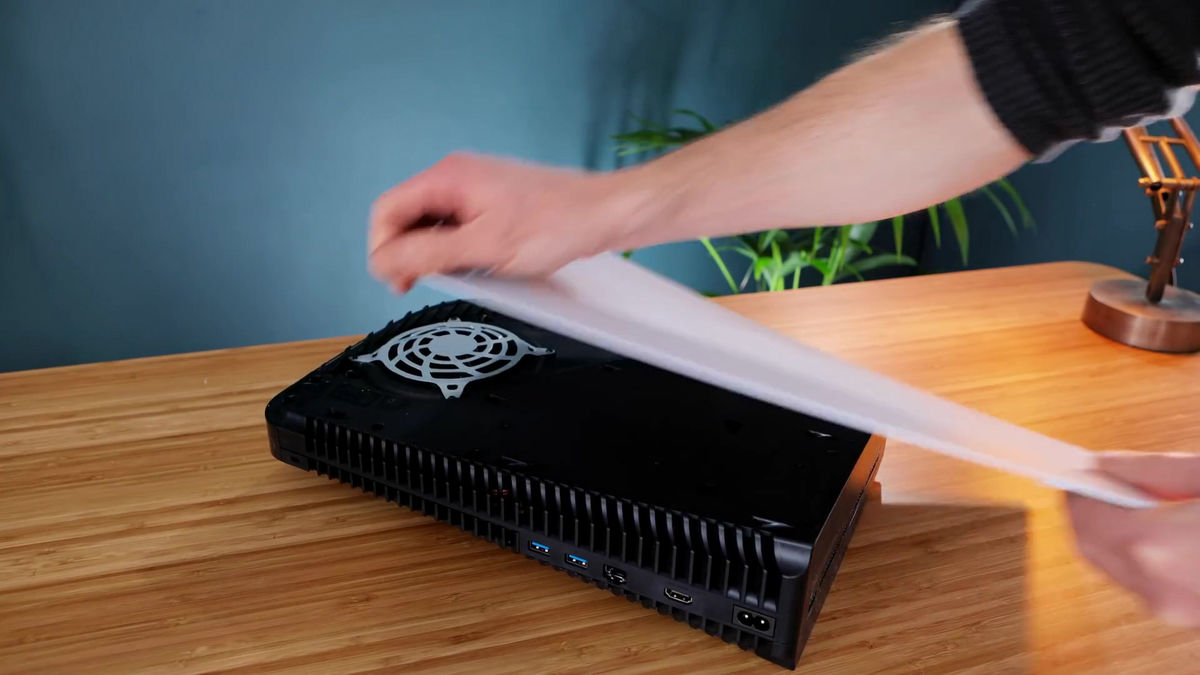
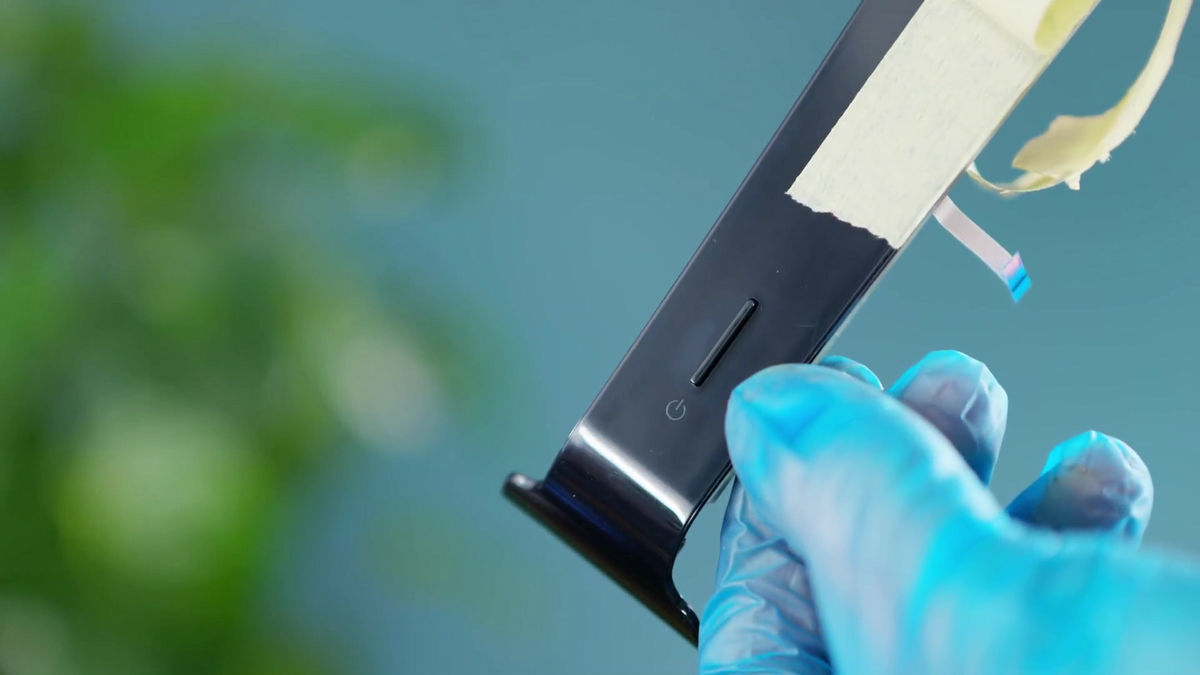
Remove the faceplate. First of all, make this plate from brass.
![](https://i.gzn.jp/img/2021/03/29/playstation-5-brass/s06_m.jpg)
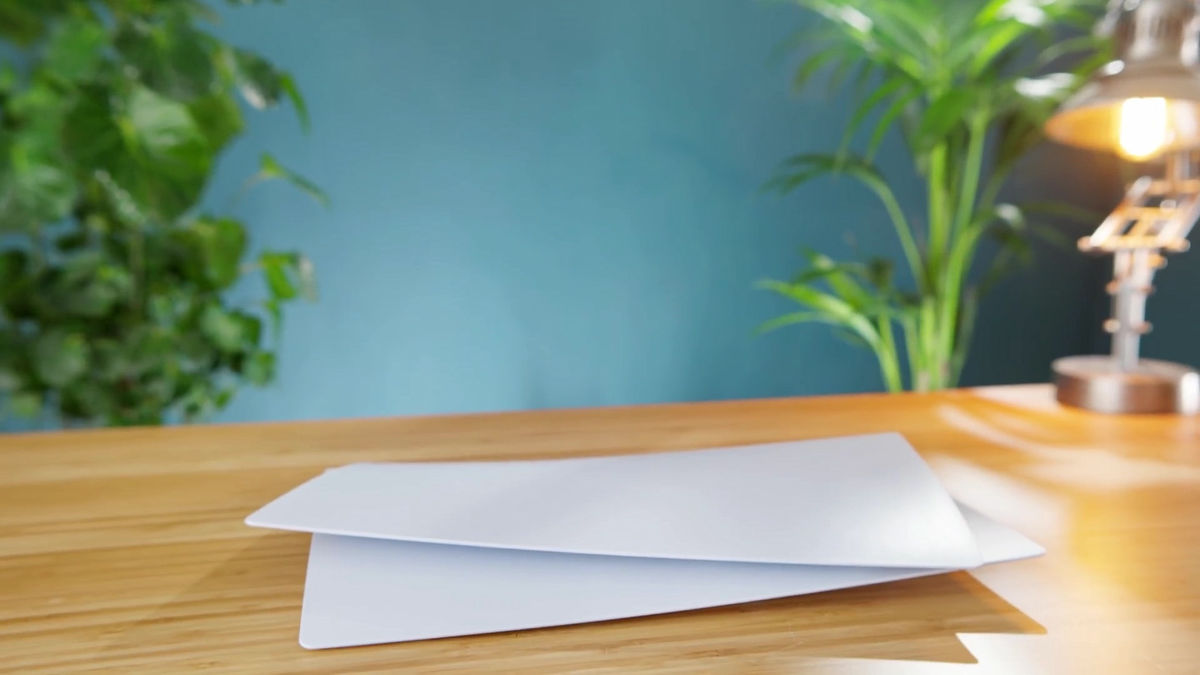
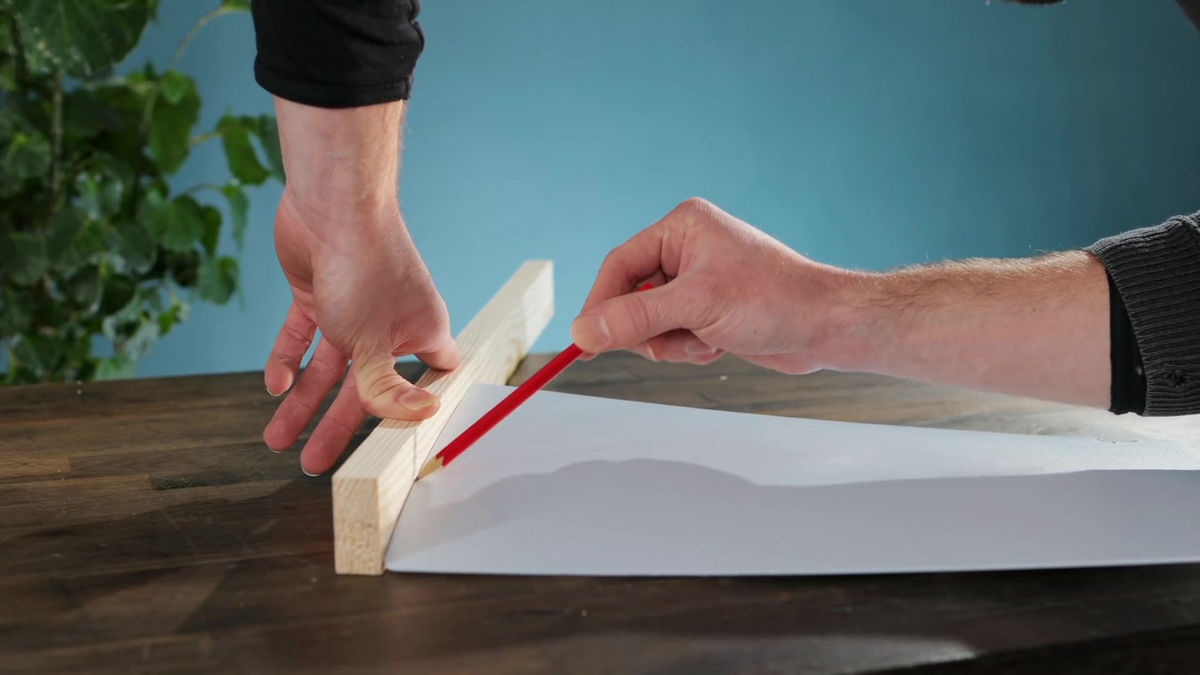
Trace the shape of the front plate with paper ...
![](https://i.gzn.jp/img/2021/03/29/playstation-5-brass/s07_m.jpg)
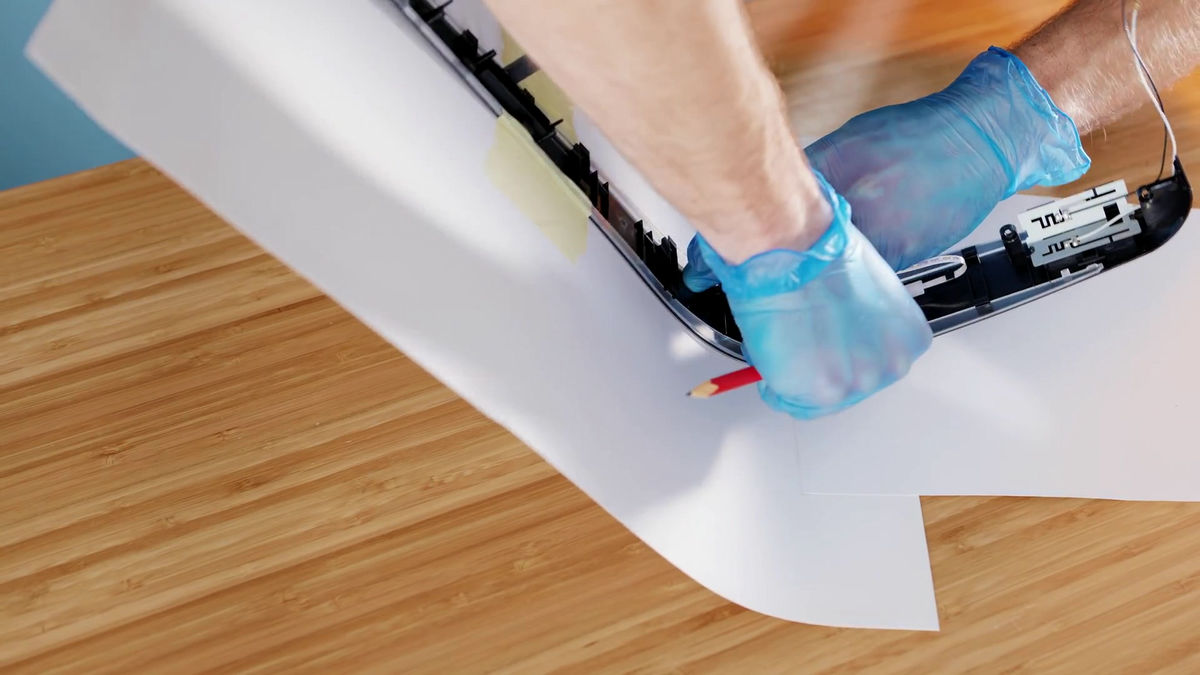
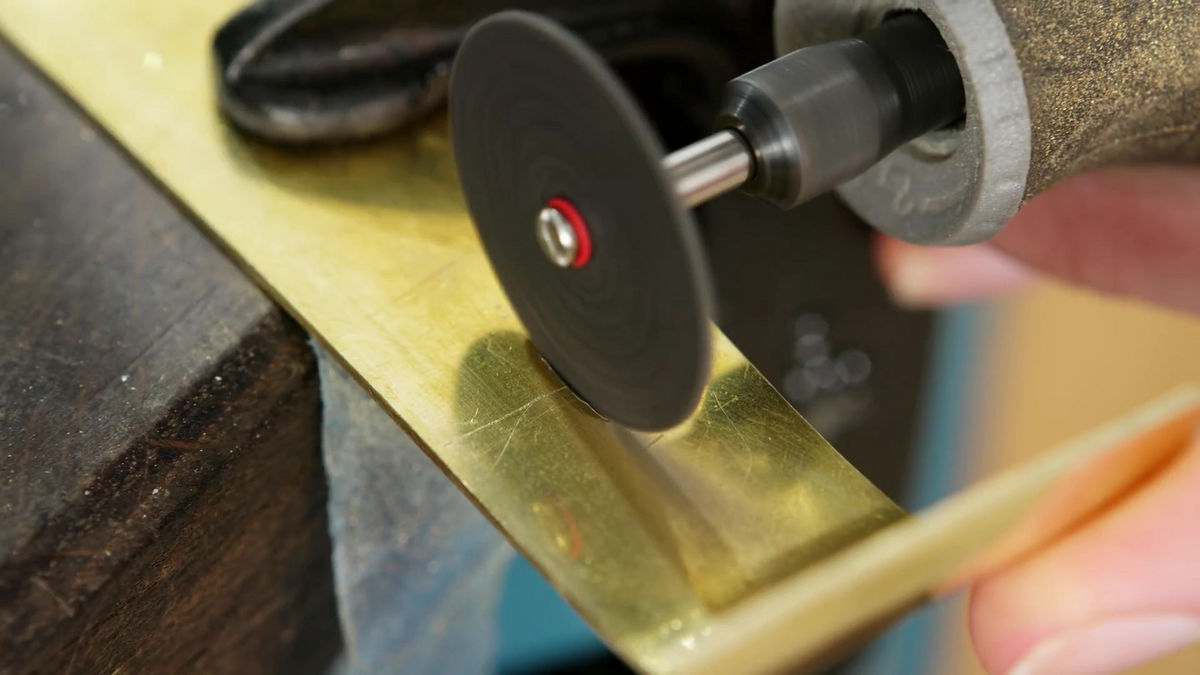
Cut the brass plate along this pattern.
![](https://i.gzn.jp/img/2021/03/29/playstation-5-brass/s08_m.jpg)
Bend the cut plate.
![](https://i.gzn.jp/img/2021/03/29/playstation-5-brass/s09_m.jpg)
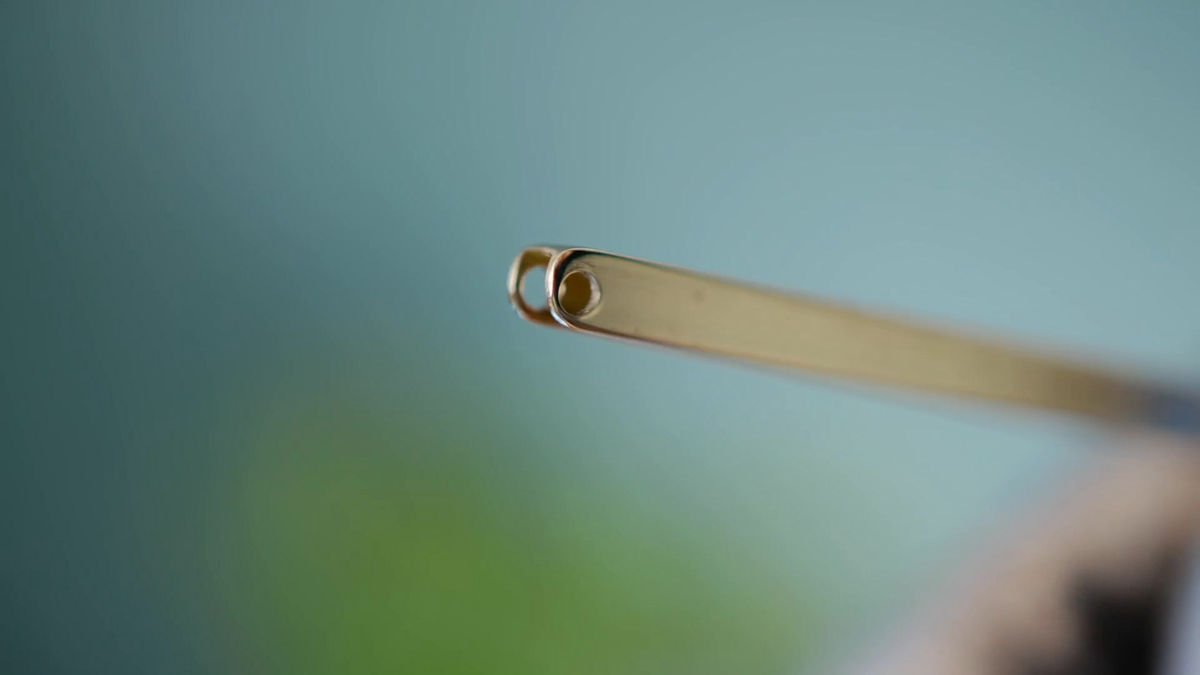
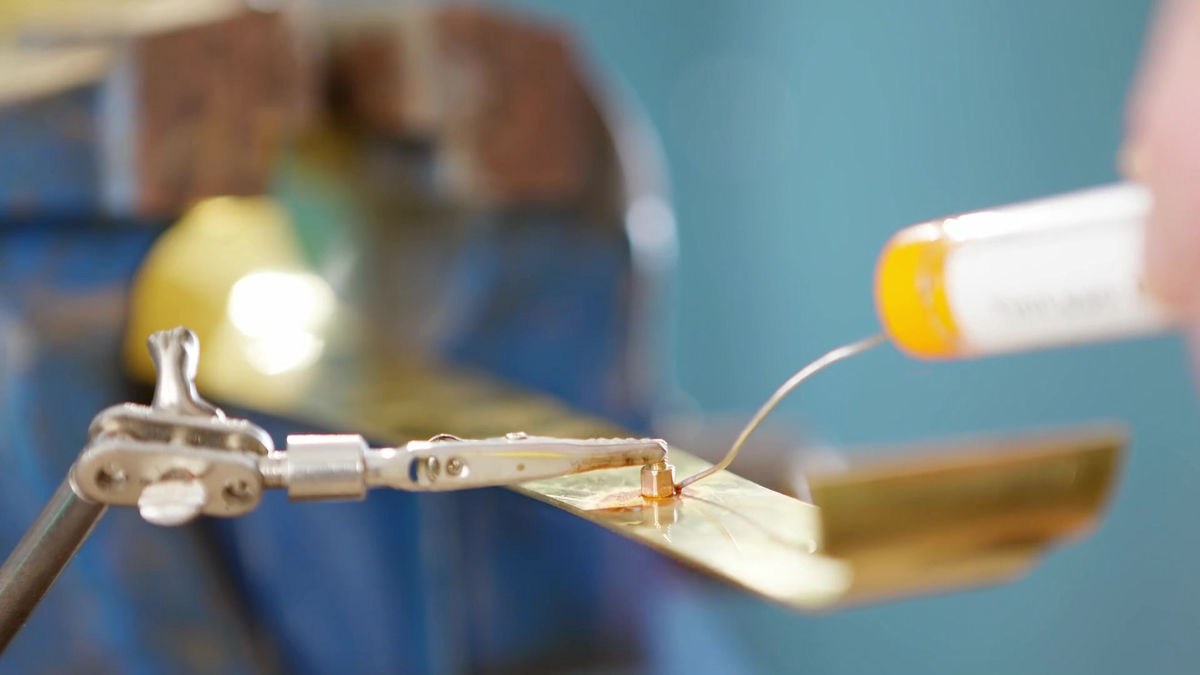
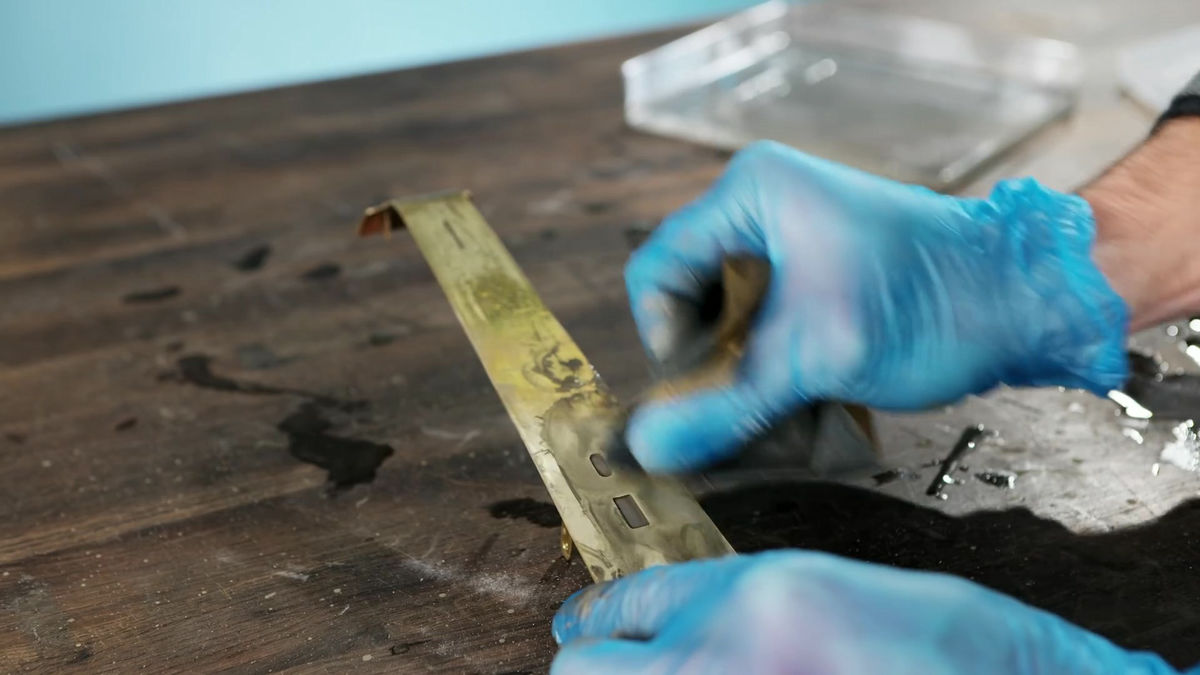
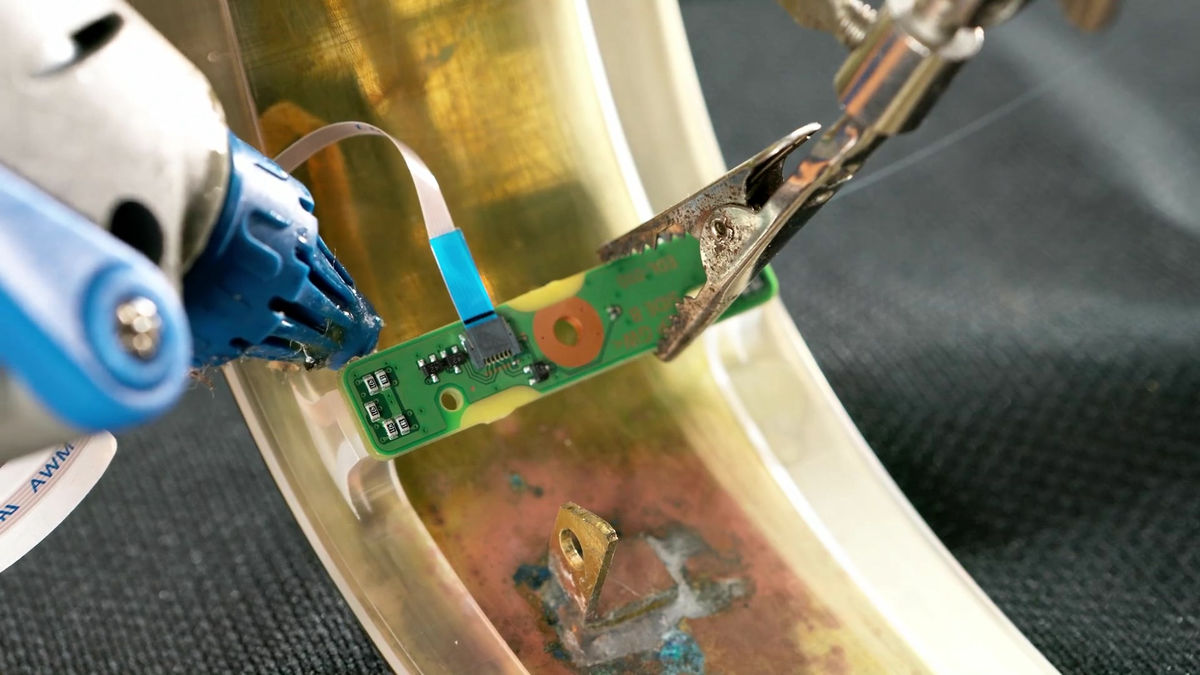
Next, create a power button at the bottom of the front plate.
![](https://i.gzn.jp/img/2021/03/29/playstation-5-brass/s10_m.jpg)
Since the board is attached to the back side of the power button as shown below, even the parts to attach this board are reproduced.
![](https://i.gzn.jp/img/2021/03/29/playstation-5-brass/s11_m.jpg)
First, use a file to manually process the power button.
![](https://i.gzn.jp/img/2021/03/29/playstation-5-brass/s12_m.jpg)
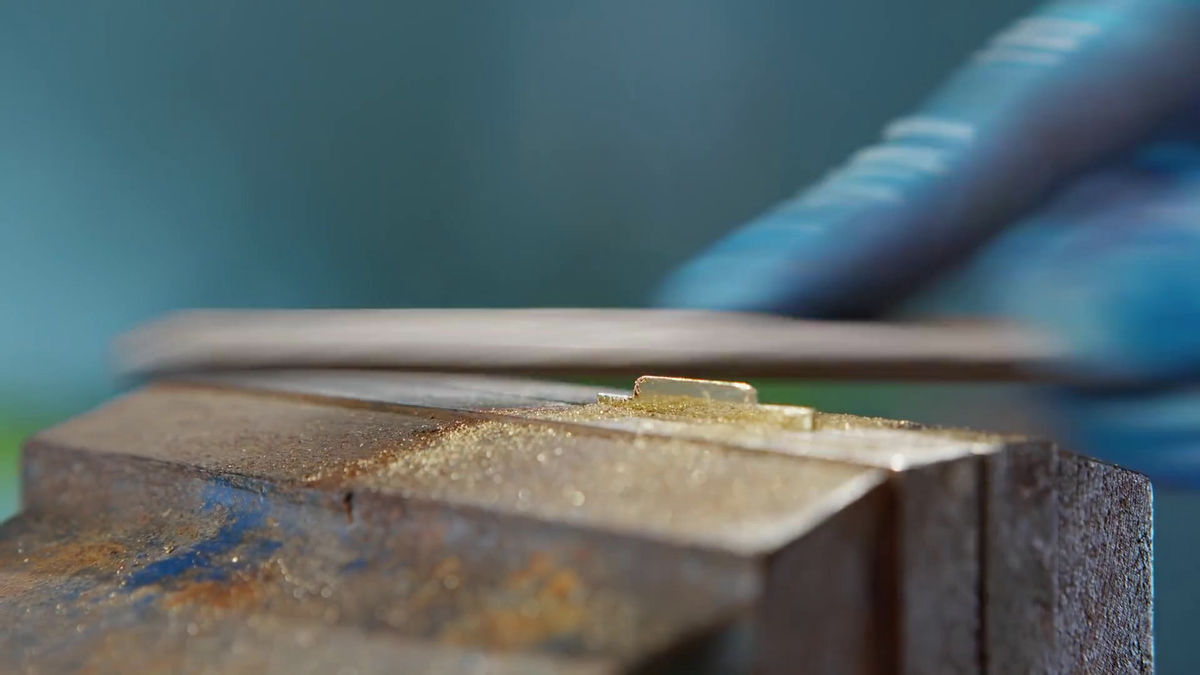
If you make a hole in the front plate ...
![](https://i.gzn.jp/img/2021/03/29/playstation-5-brass/s13_m.jpg)
The power button is complete.
![](https://i.gzn.jp/img/2021/03/29/playstation-5-brass/s14_m.jpg)
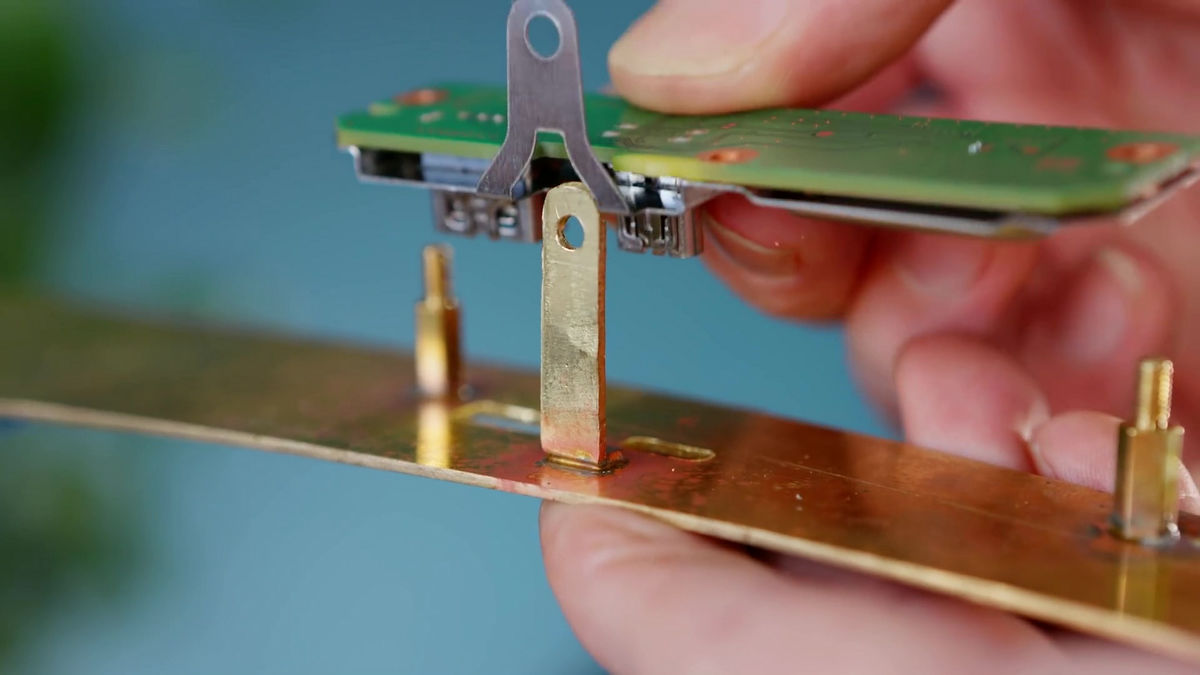
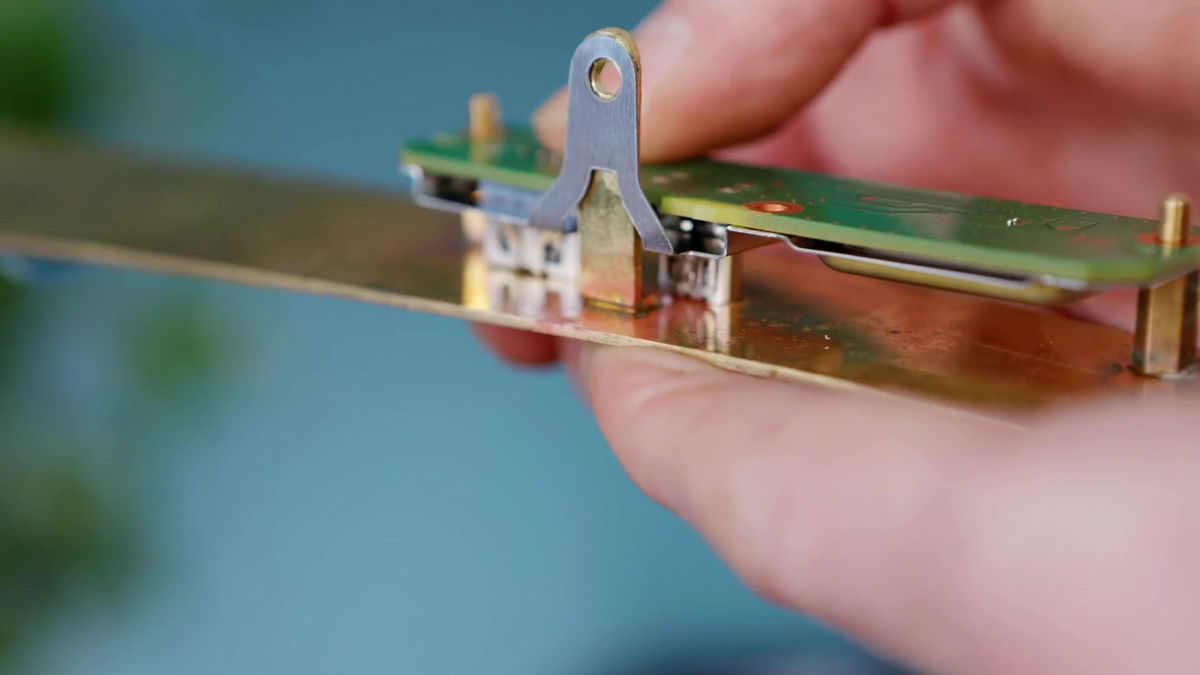
Fix the screws on the back side of the front plate ...
![](https://i.gzn.jp/img/2021/03/29/playstation-5-brass/s15_m.jpg)
Attach the board and you're done.
![](https://i.gzn.jp/img/2021/03/29/playstation-5-brass/s16_m.jpg)
![](https://i.gzn.jp/img/2021/03/29/playstation-5-brass/s17_m.jpg)
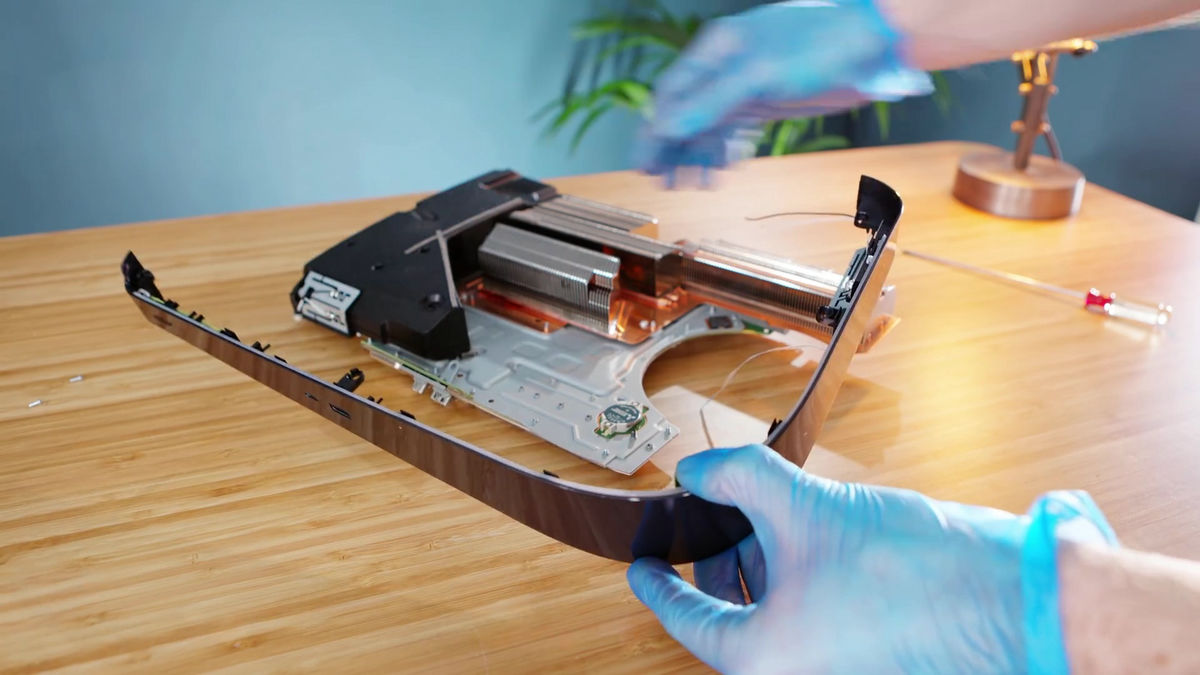
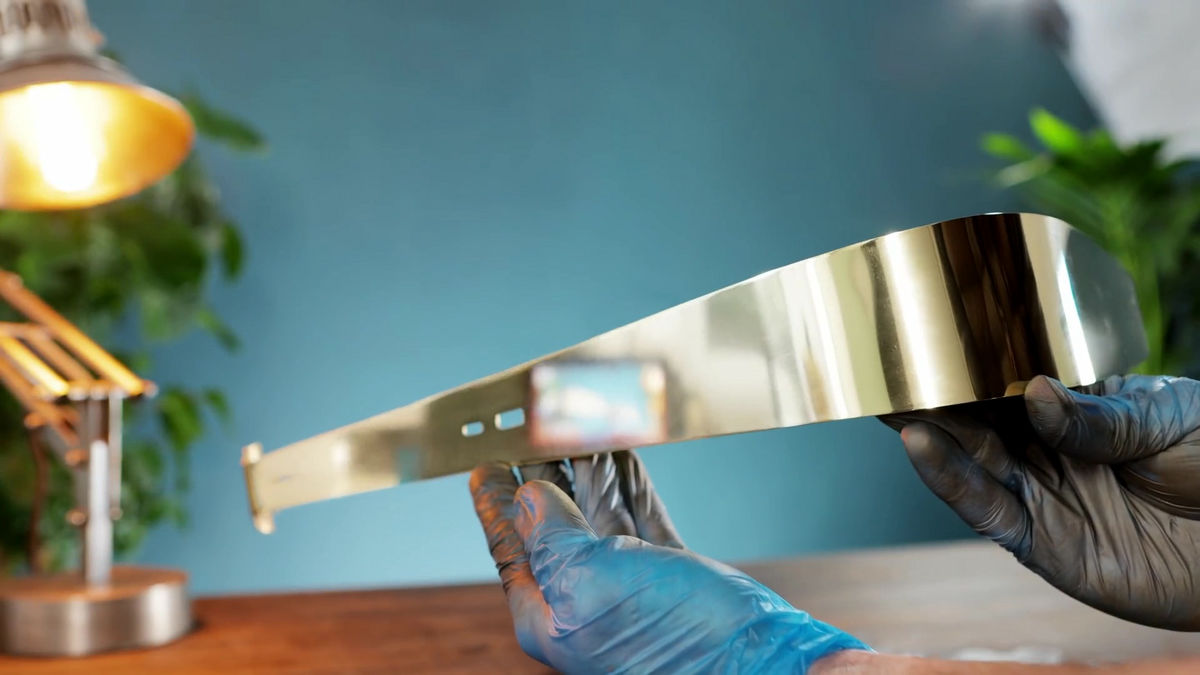
Next, we will reproduce the side plate in brass.
![](https://i.gzn.jp/img/2021/03/29/playstation-5-brass/s18_m.jpg)
The side plate has a complicated curved surface with irregularities, but ...
![](https://i.gzn.jp/img/2021/03/29/playstation-5-brass/s19_m.jpg)
Can this be reproduced on a flat brass plate?
![](https://i.gzn.jp/img/2021/03/29/playstation-5-brass/s20_m.jpg)
First of all, the plate is bent manually, but ...
![](https://i.gzn.jp/img/2021/03/29/playstation-5-brass/s21_m.jpg)
With this, it is impossible to reproduce the complicated curved surface of the side plate.
![](https://i.gzn.jp/img/2021/03/29/playstation-5-brass/s22_m.jpg)
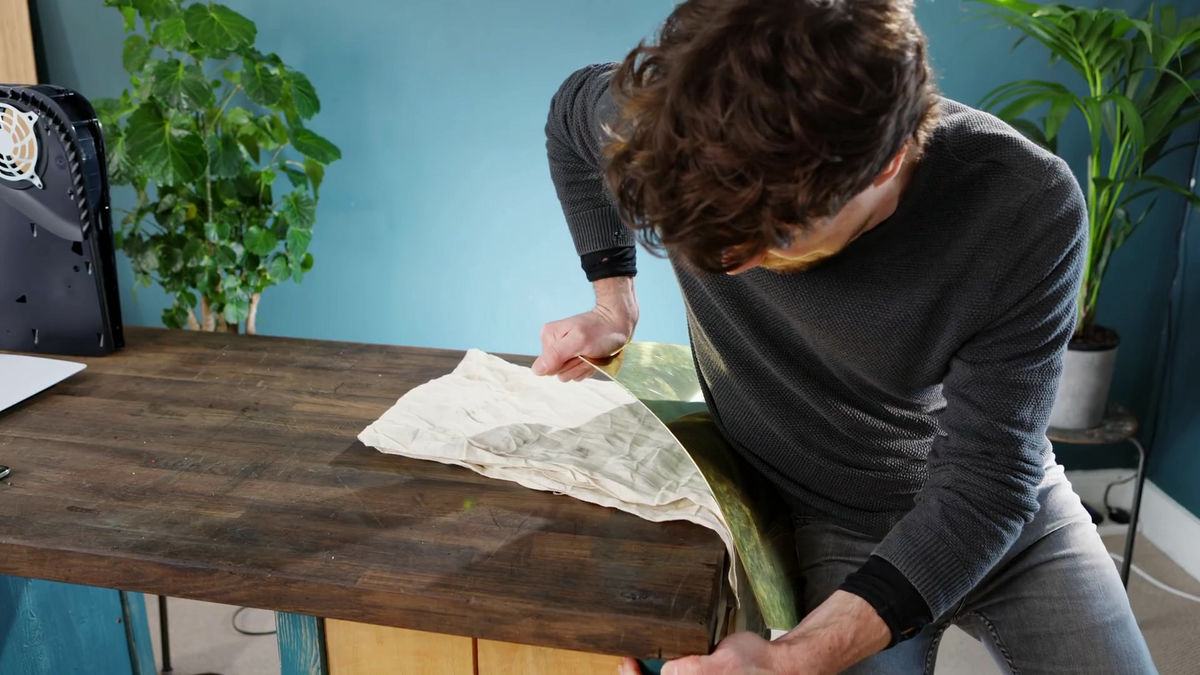
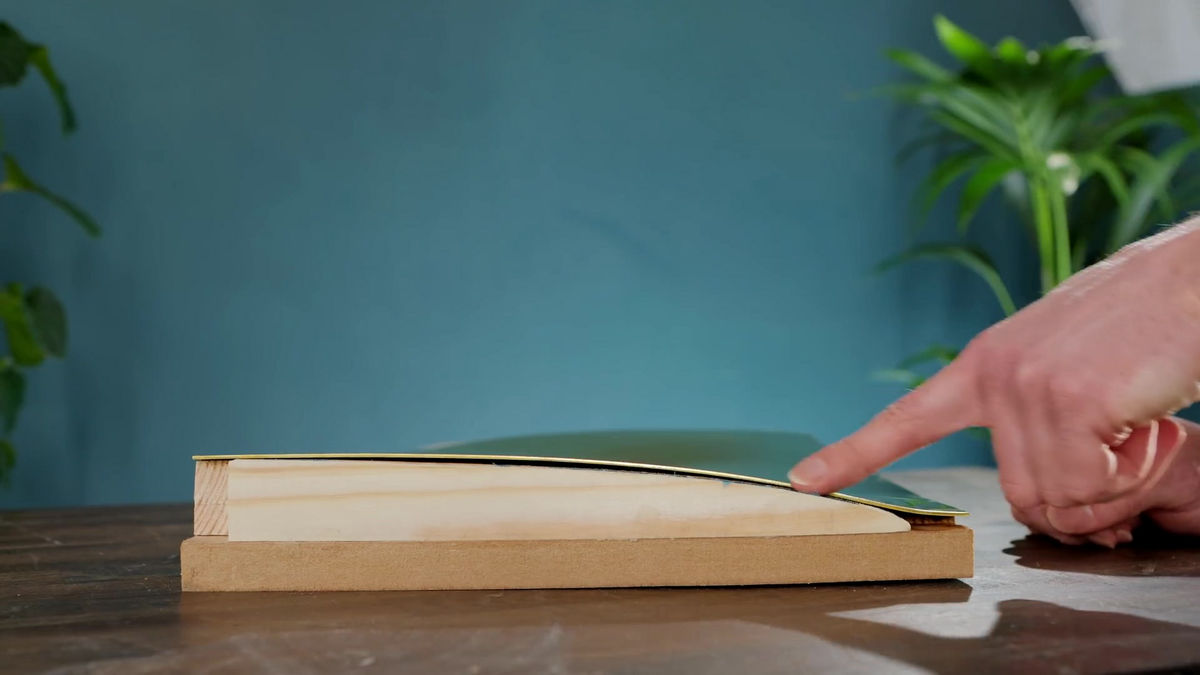
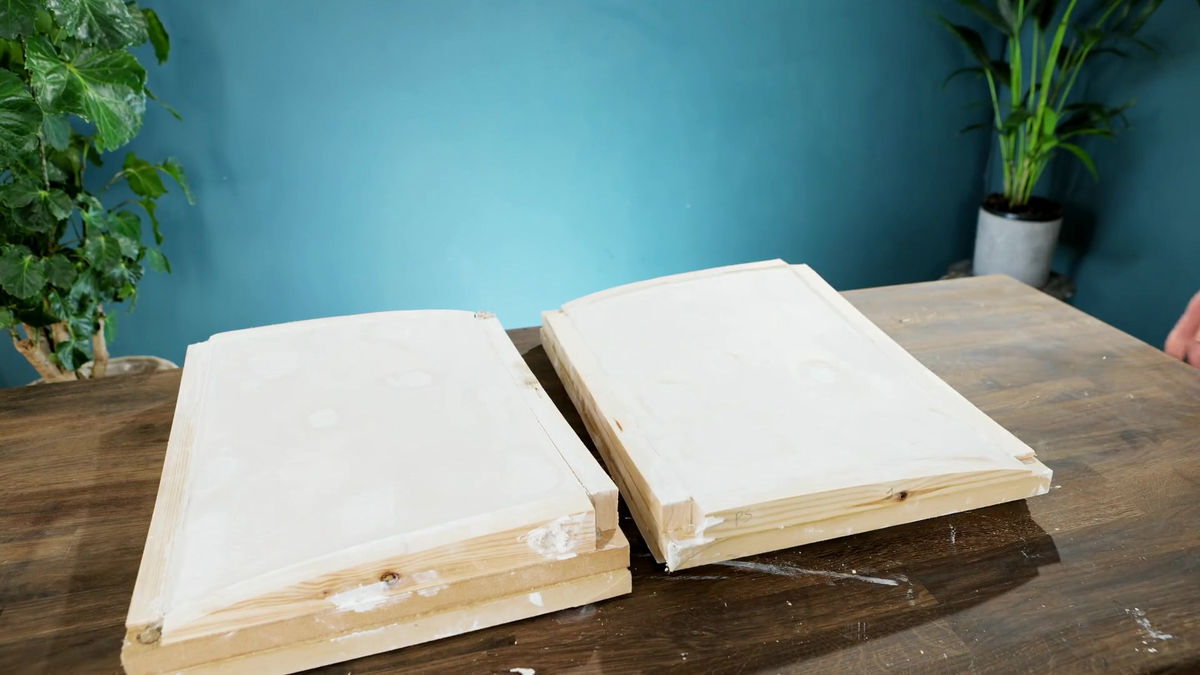
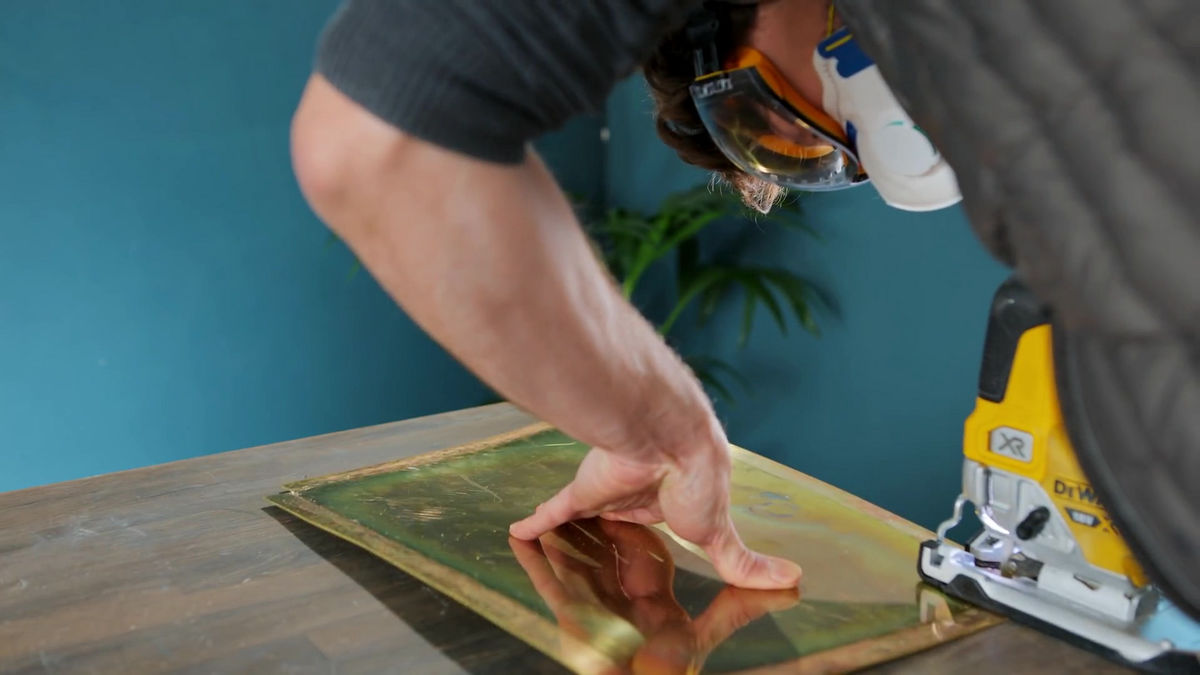
So, the side plate is shaped with wood ...
![](https://i.gzn.jp/img/2021/03/29/playstation-5-brass/s23_m.jpg)
Create a crate that fits the side plate perfectly.
![](https://i.gzn.jp/img/2021/03/29/playstation-5-brass/s24_m.jpg)
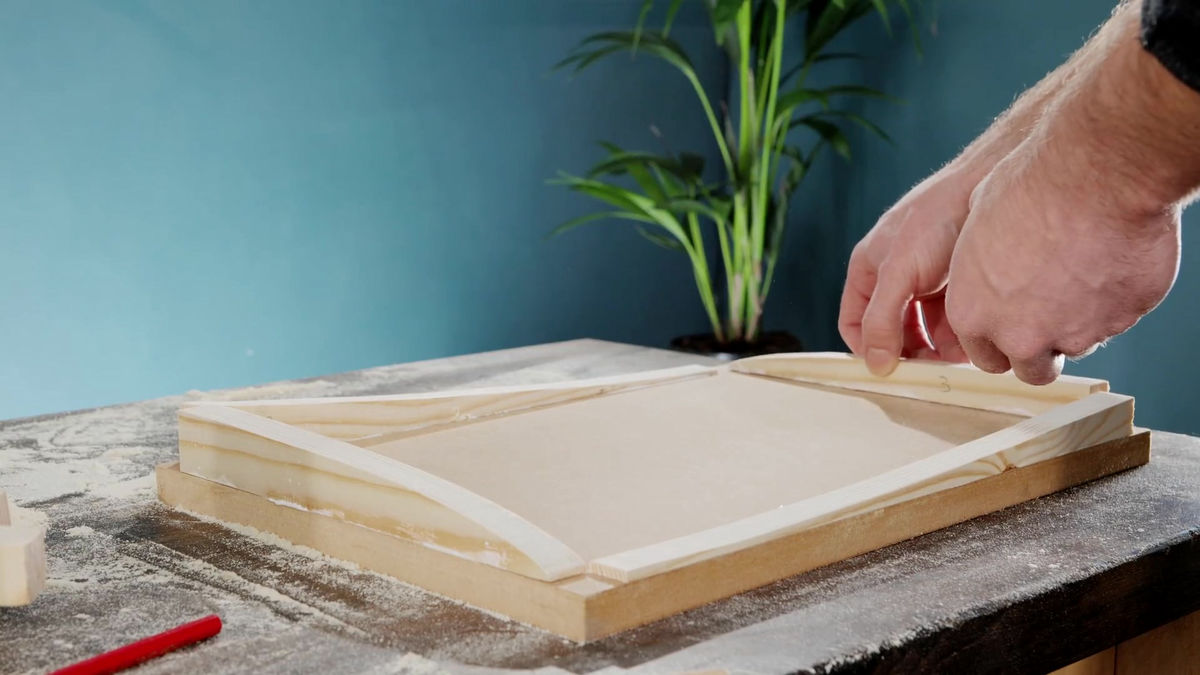
Place a brass plate on this crate ...
![](https://i.gzn.jp/img/2021/03/29/playstation-5-brass/s25_m.jpg)
Fix the four corners with weights.
![](https://i.gzn.jp/img/2021/03/29/playstation-5-brass/s26_m.jpg)
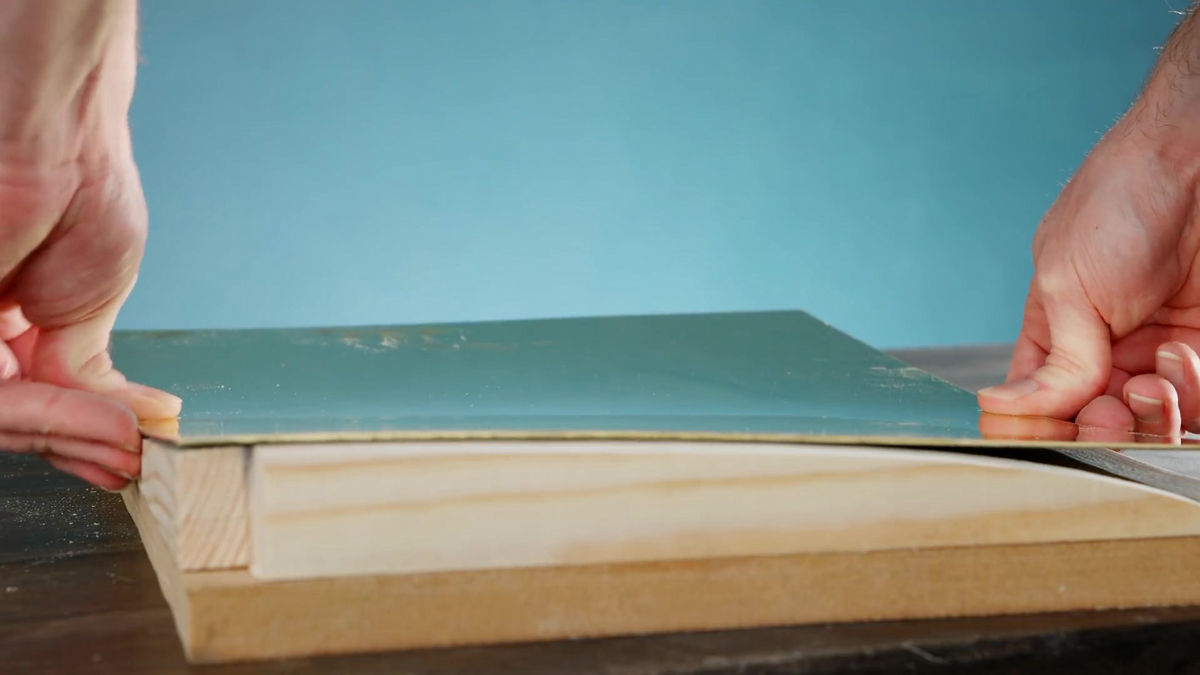
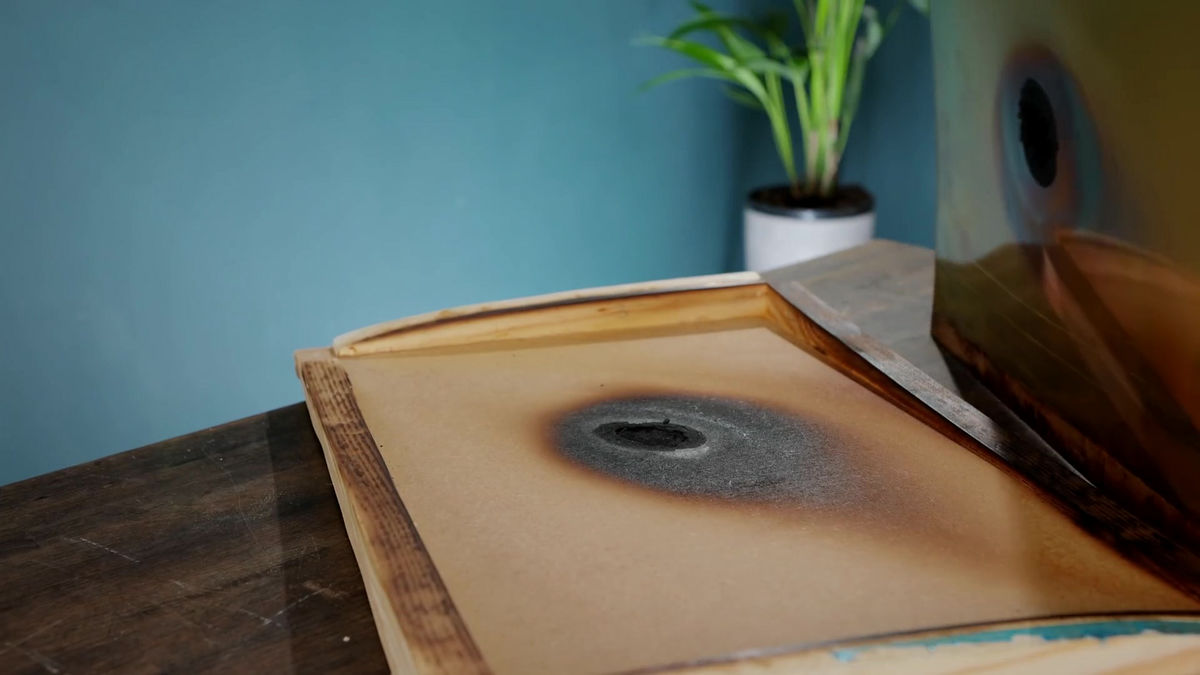
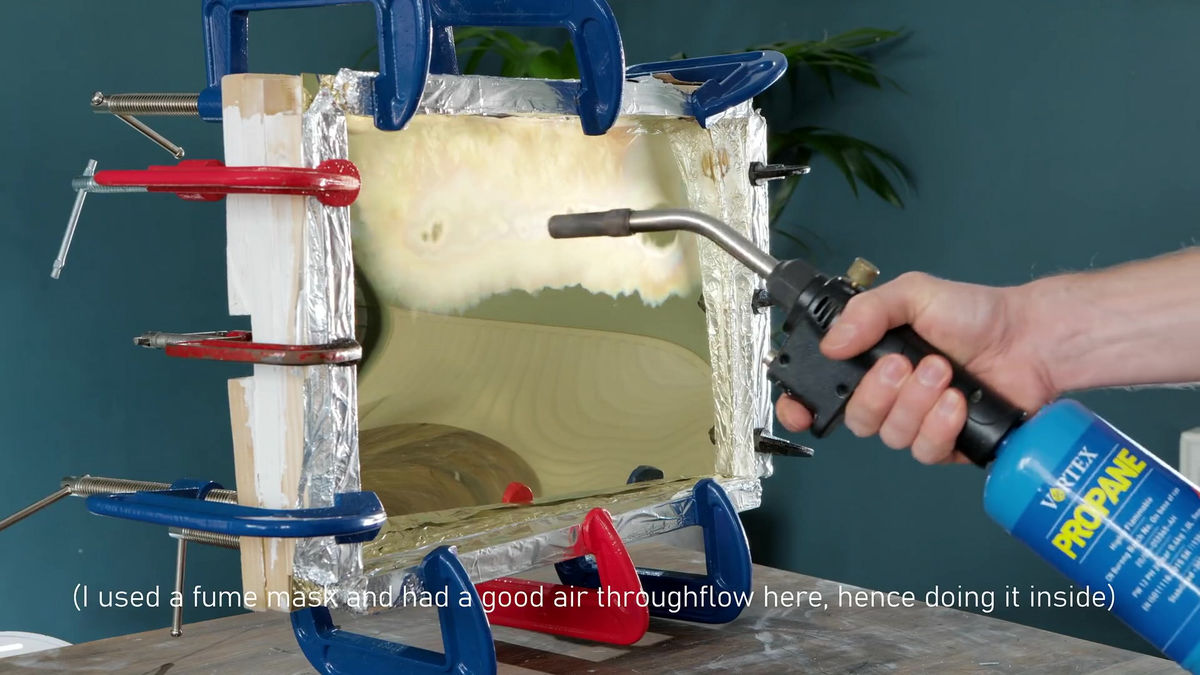
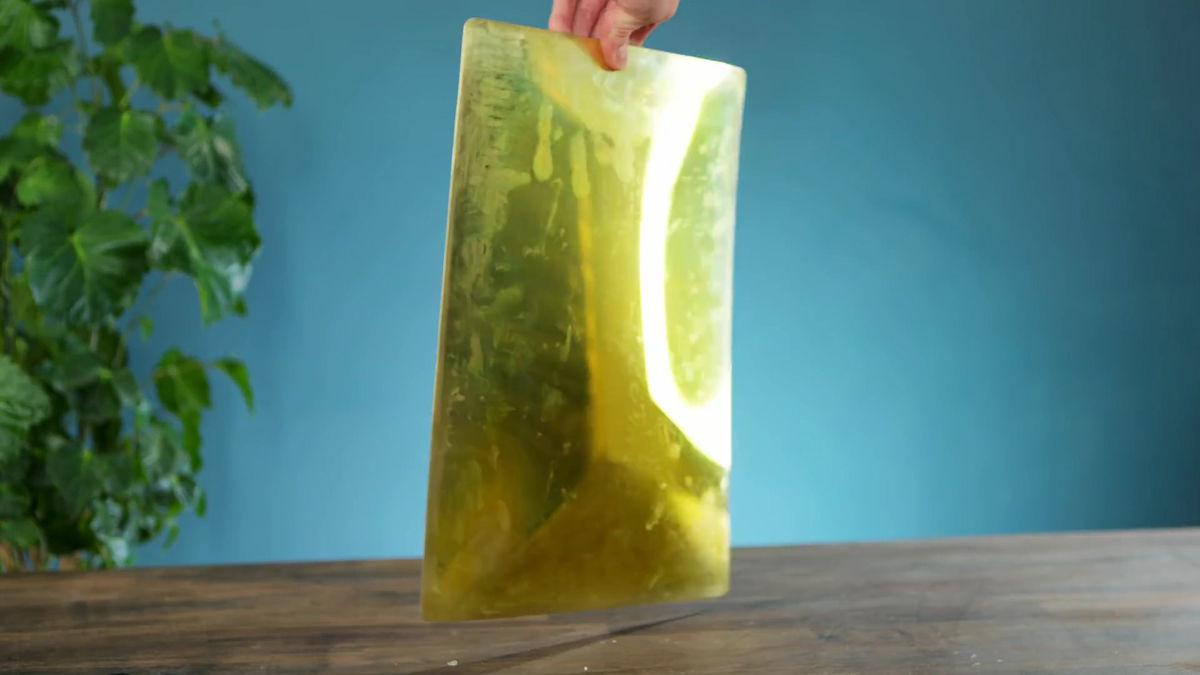
Then, by heating with a burner, the brass plate is processed so that it has a curved surface according to the mold.
![](https://i.gzn.jp/img/2021/03/29/playstation-5-brass/s27_m.jpg)
The brass plate maintains a curved surface along the crate even when the weight is removed.
![](https://i.gzn.jp/img/2021/03/29/playstation-5-brass/s28_m.jpg)
However, probably because it was heated at too high a temperature, the wooden frame was burnt and the upper side of the brass plate became dirty.
![](https://i.gzn.jp/img/2021/03/29/playstation-5-brass/s29_m.jpg)
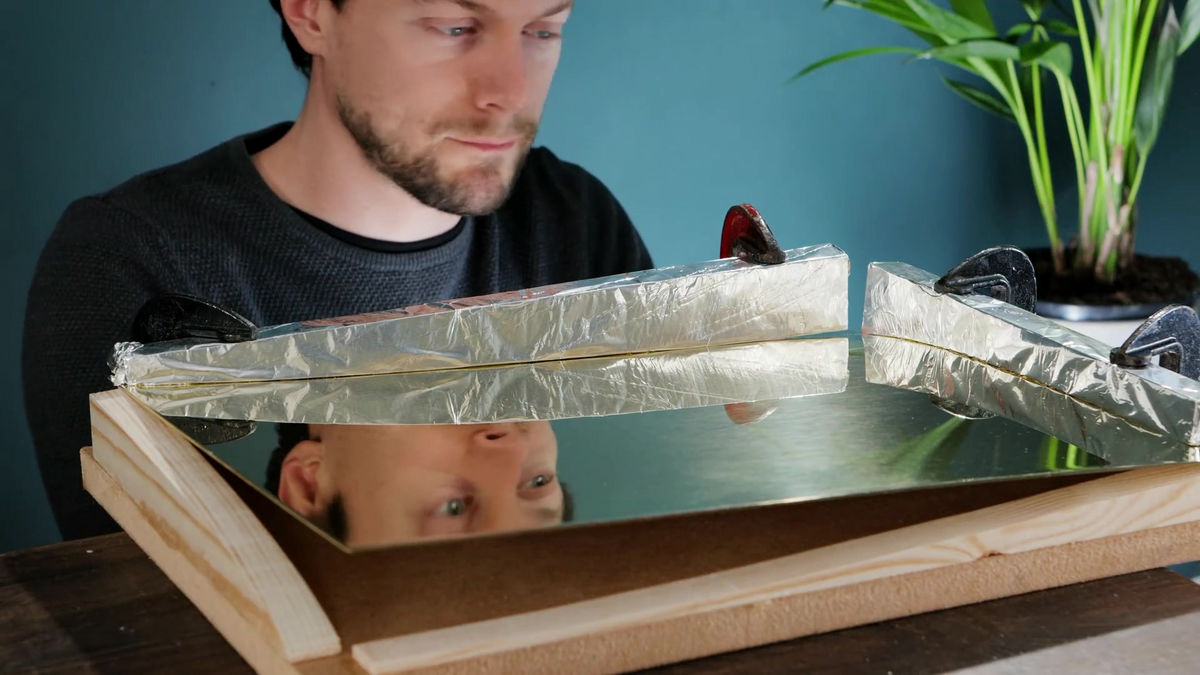
Therefore, cover the claws on the back side of the side plate with clay ...
![](https://i.gzn.jp/img/2021/03/29/playstation-5-brass/s30_m.jpg)
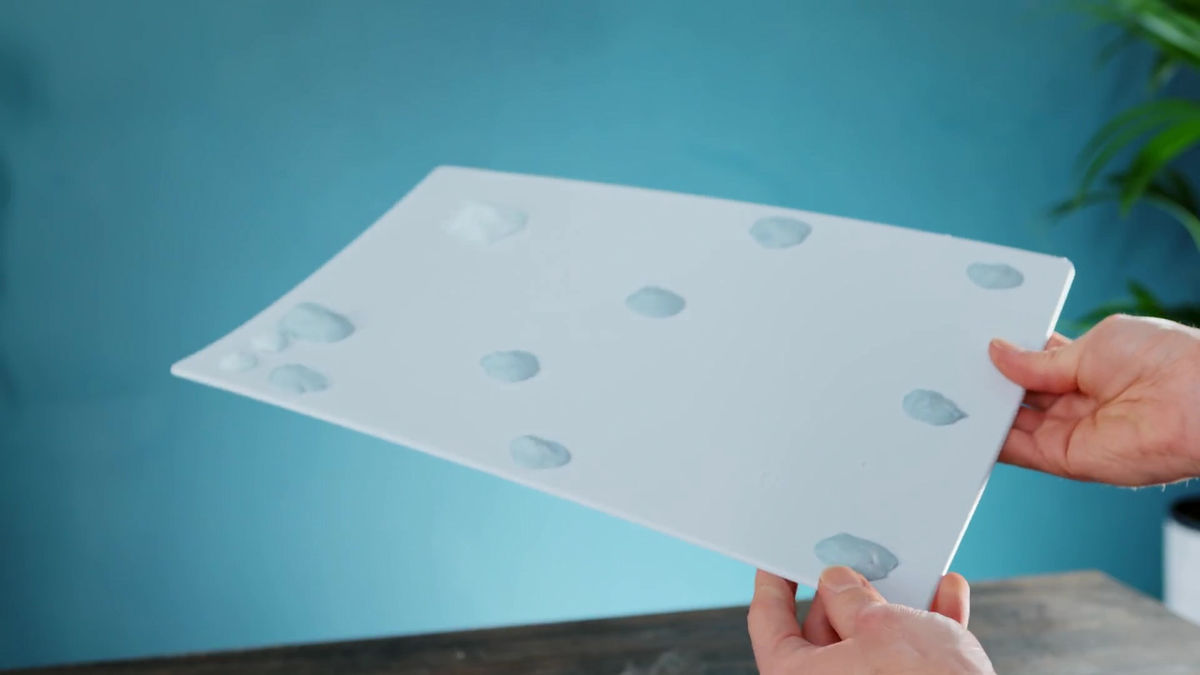
Fixed to a wooden frame.
![](https://i.gzn.jp/img/2021/03/29/playstation-5-brass/s31_m.jpg)
After that, pour the plaster into the crate.
![](https://i.gzn.jp/img/2021/03/29/playstation-5-brass/s32_m.jpg)
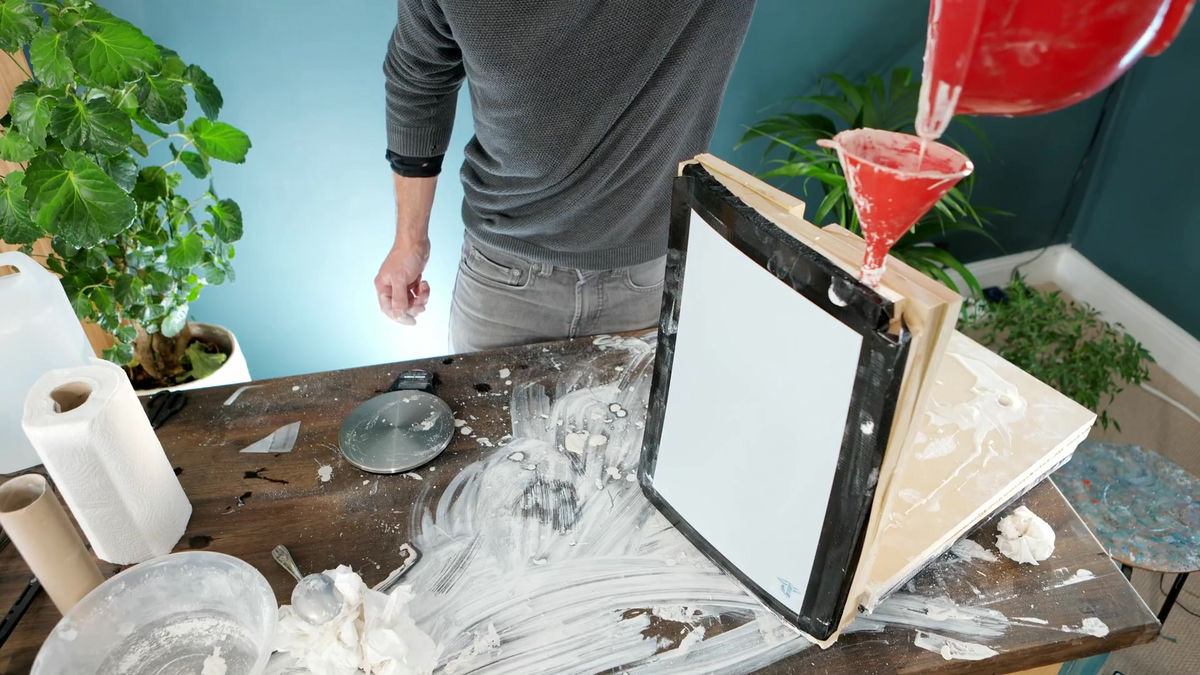
If you fill the wooden frame with plaster ...
![](https://i.gzn.jp/img/2021/03/29/playstation-5-brass/s33_m.jpg)
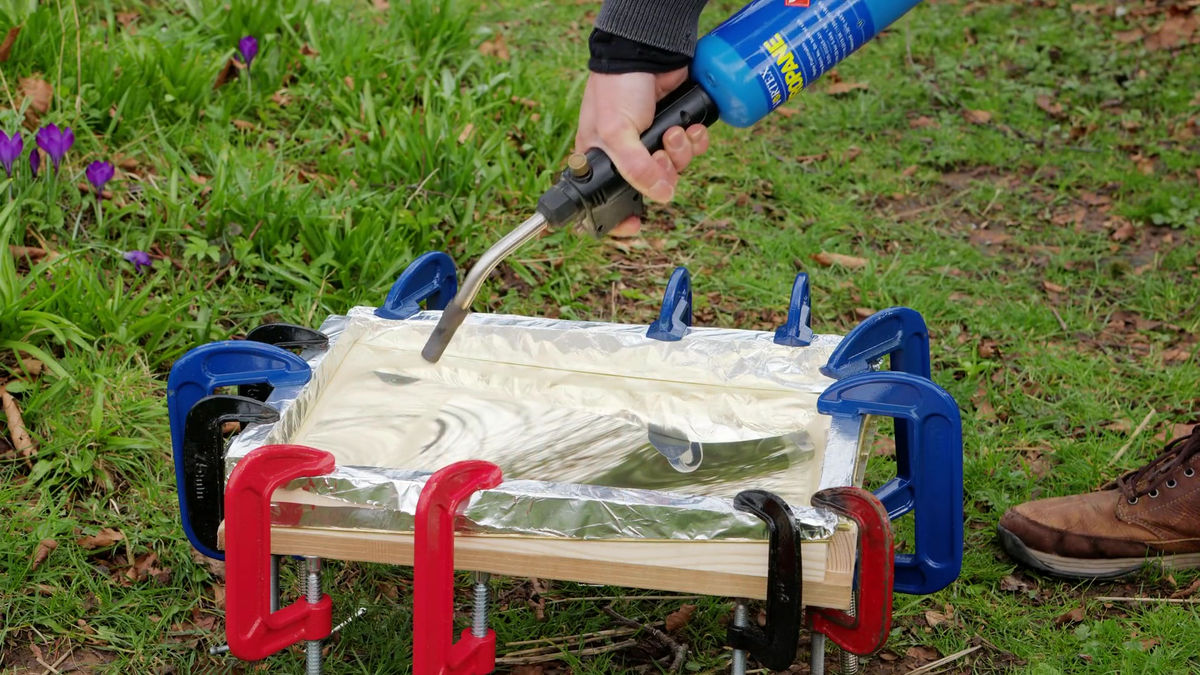
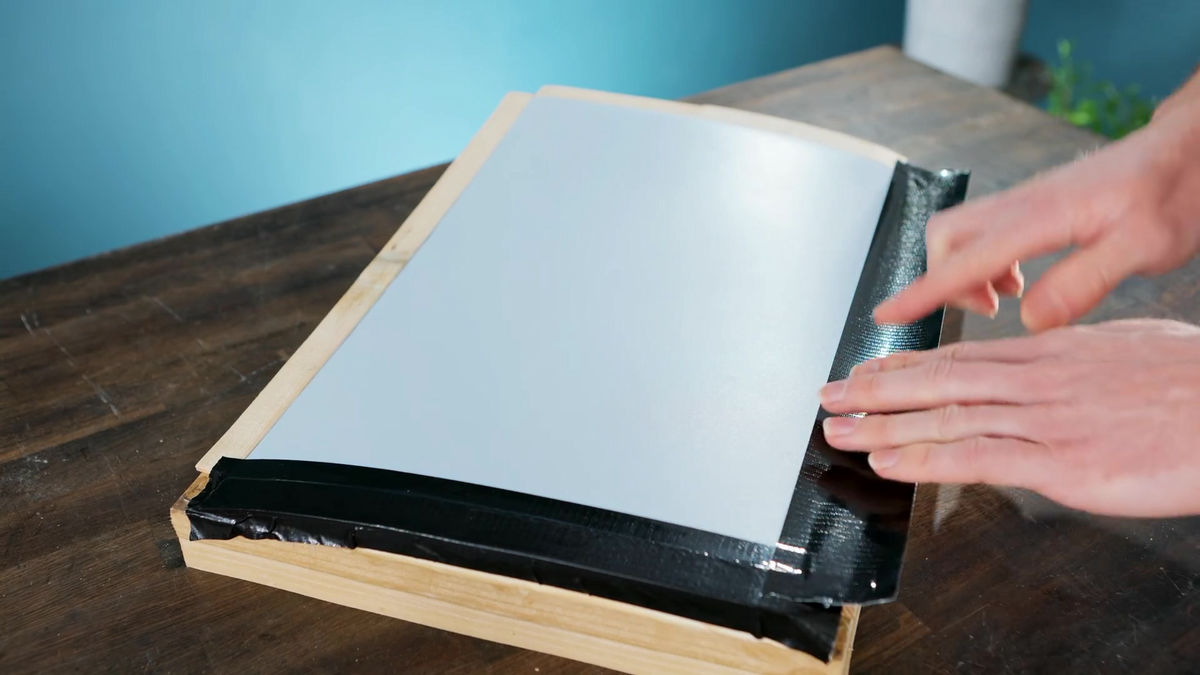
After that, put a weight on the brass plate as before and heat it with a burner.
![](https://i.gzn.jp/img/2021/03/29/playstation-5-brass/s34_m.jpg)
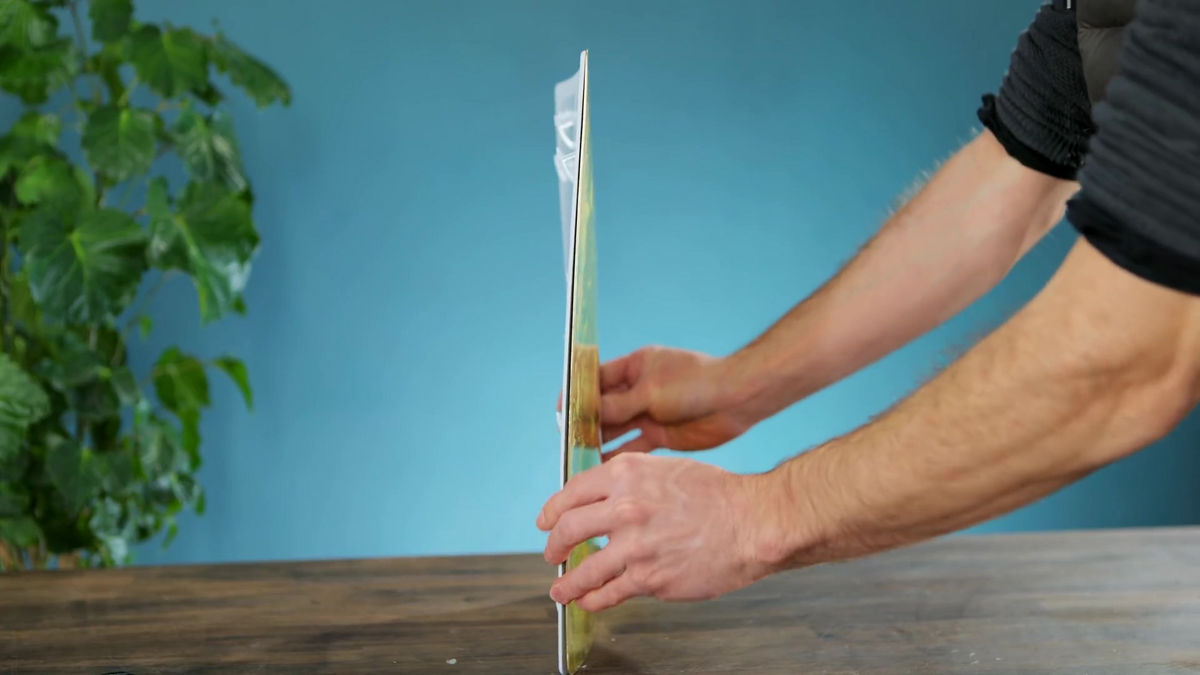
If you can reproduce a beautiful curved surface ...
![](https://i.gzn.jp/img/2021/03/29/playstation-5-brass/s35_m.jpg)
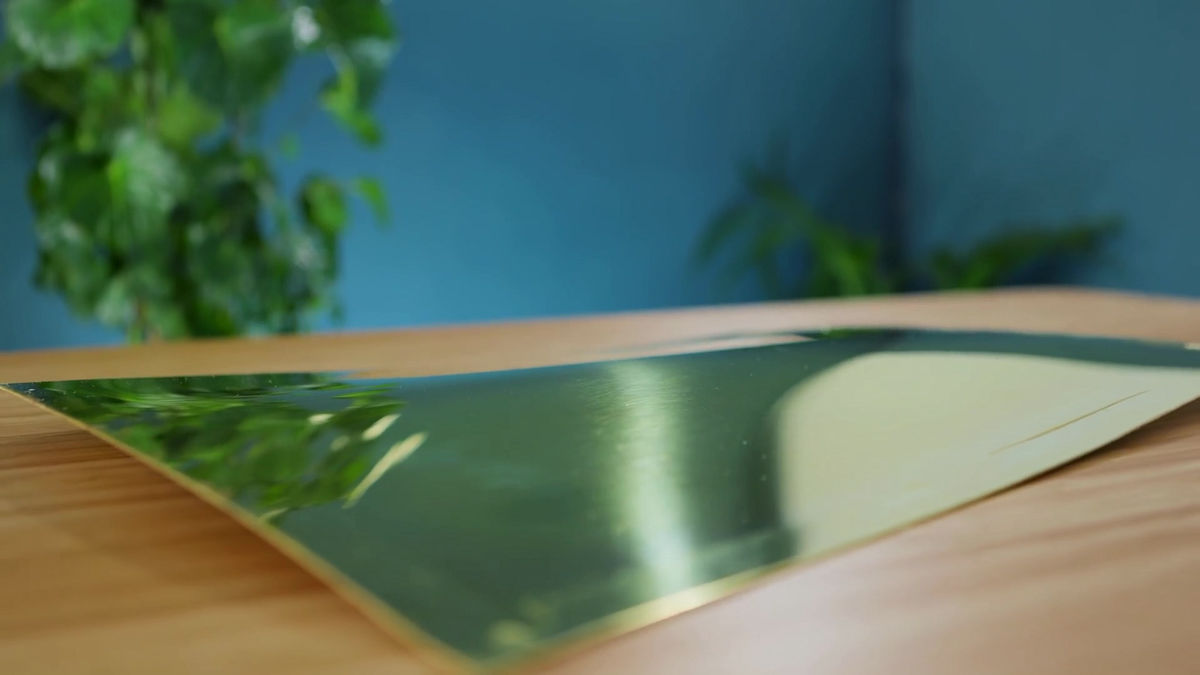
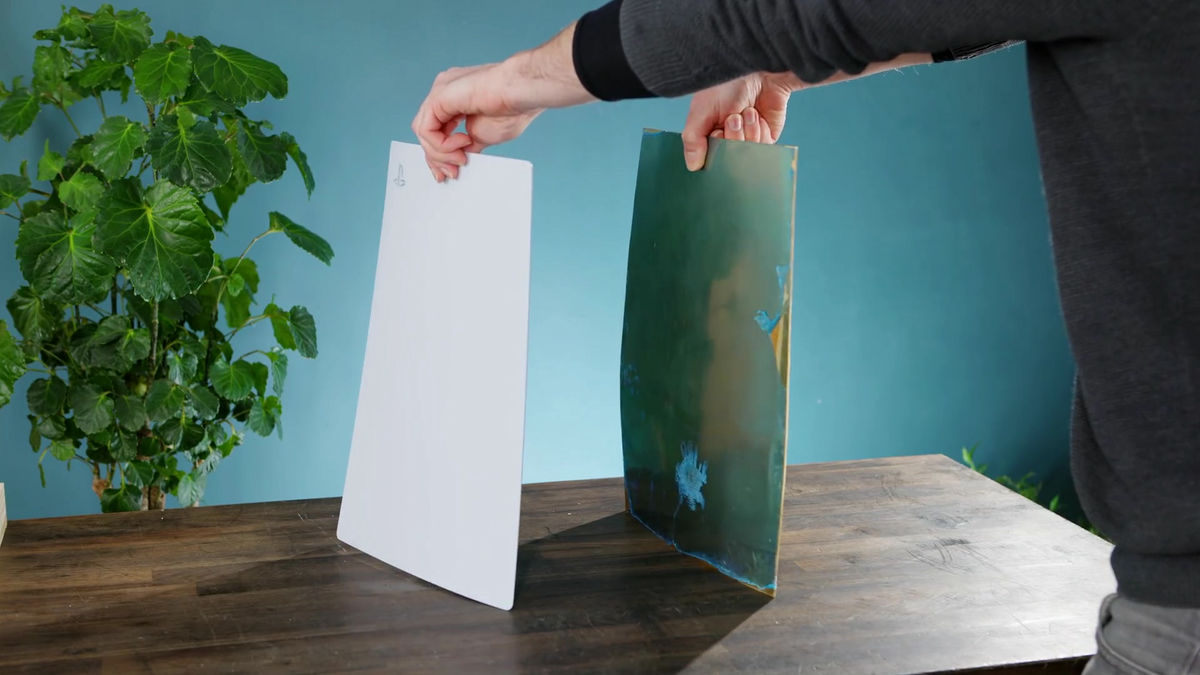
Cut the brass plate along the side plate ...
![](https://i.gzn.jp/img/2021/03/29/playstation-5-brass/s36_m.jpg)
Complete.
![](https://i.gzn.jp/img/2021/03/29/playstation-5-brass/s37_m.jpg)
It looks like this when stacked with the side plate of PS5.
![](https://i.gzn.jp/img/2021/03/29/playstation-5-brass/s38_m.jpg)
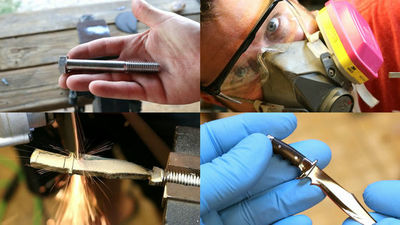
After completing the creation of each part, polish the surface ...
![](https://i.gzn.jp/img/2021/03/29/playstation-5-brass/s39_m.jpg)
![](https://i.gzn.jp/img/2021/03/29/playstation-5-brass/s40_m.jpg)
Various parts are transplanted from the front plate of PS5.
![](https://i.gzn.jp/img/2021/03/29/playstation-5-brass/s41_m.jpg)
Then attach it to the PS5 body.
![](https://i.gzn.jp/img/2021/03/29/playstation-5-brass/s42_m.jpg)
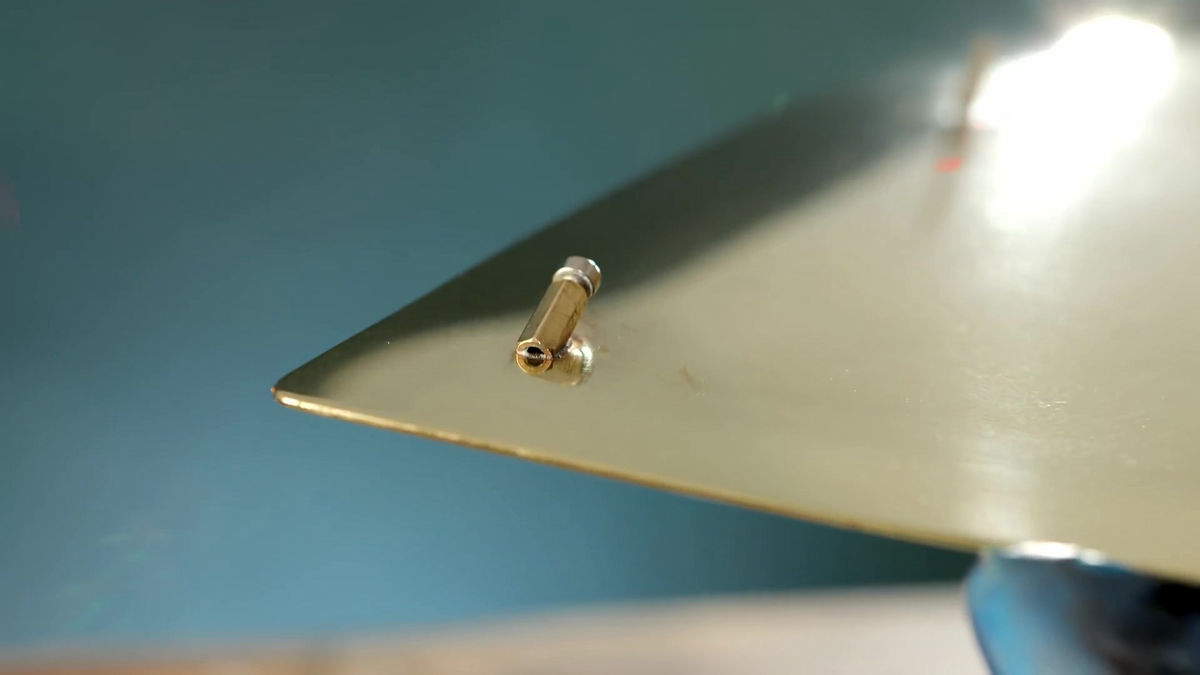
The claws for fixing the side plate and the main body are reproduced by cutting the nut diagonally.
![](https://i.gzn.jp/img/2021/03/29/playstation-5-brass/s43_m.jpg)
The power button that I worked hard to create ...
![](https://i.gzn.jp/img/2021/03/29/playstation-5-brass/s44_m.jpg)
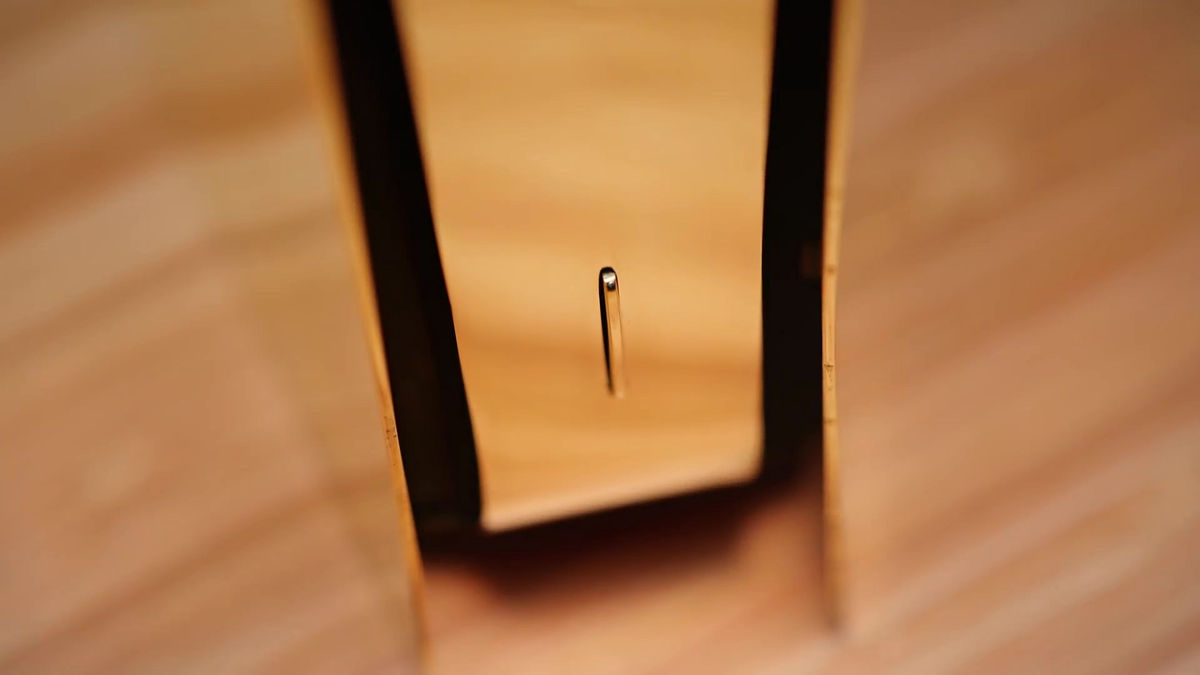
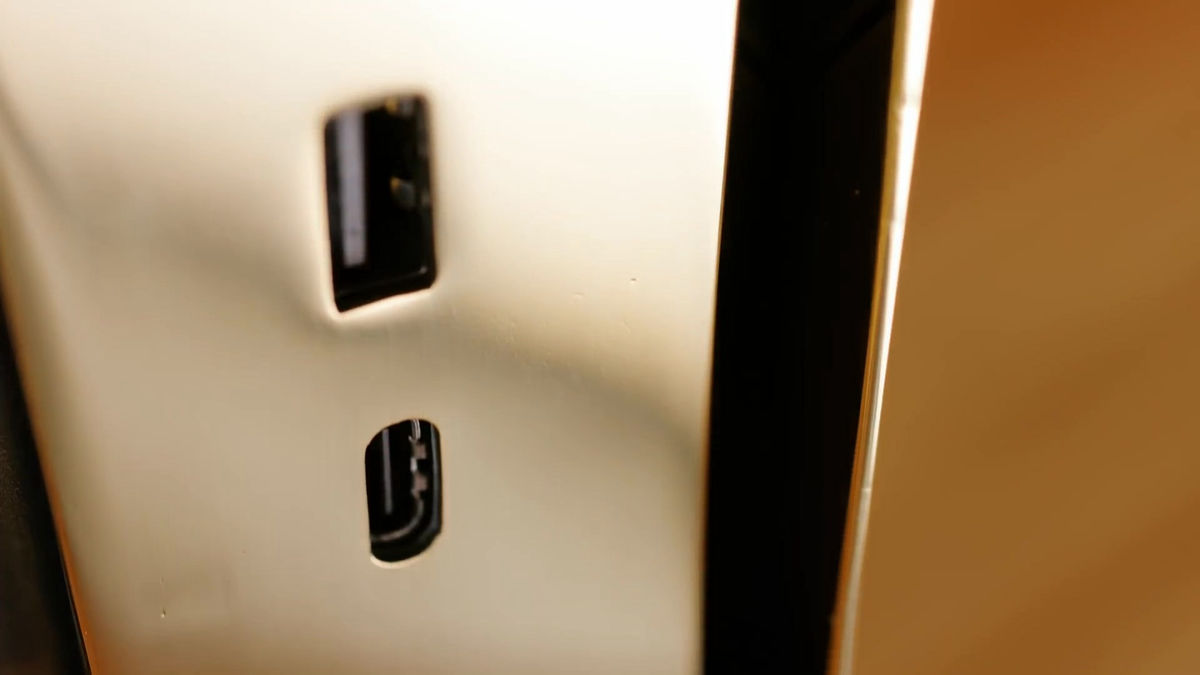
USB port on the faceplate
![](https://i.gzn.jp/img/2021/03/29/playstation-5-brass/s45_m.jpg)
![](https://i.gzn.jp/img/2021/03/29/playstation-5-brass/s46_m.jpg)
Seen from the front, it looks like this.
![](https://i.gzn.jp/img/2021/03/29/playstation-5-brass/s47_m.jpg)
Top surface
![](https://i.gzn.jp/img/2021/03/29/playstation-5-brass/s48_m.jpg)
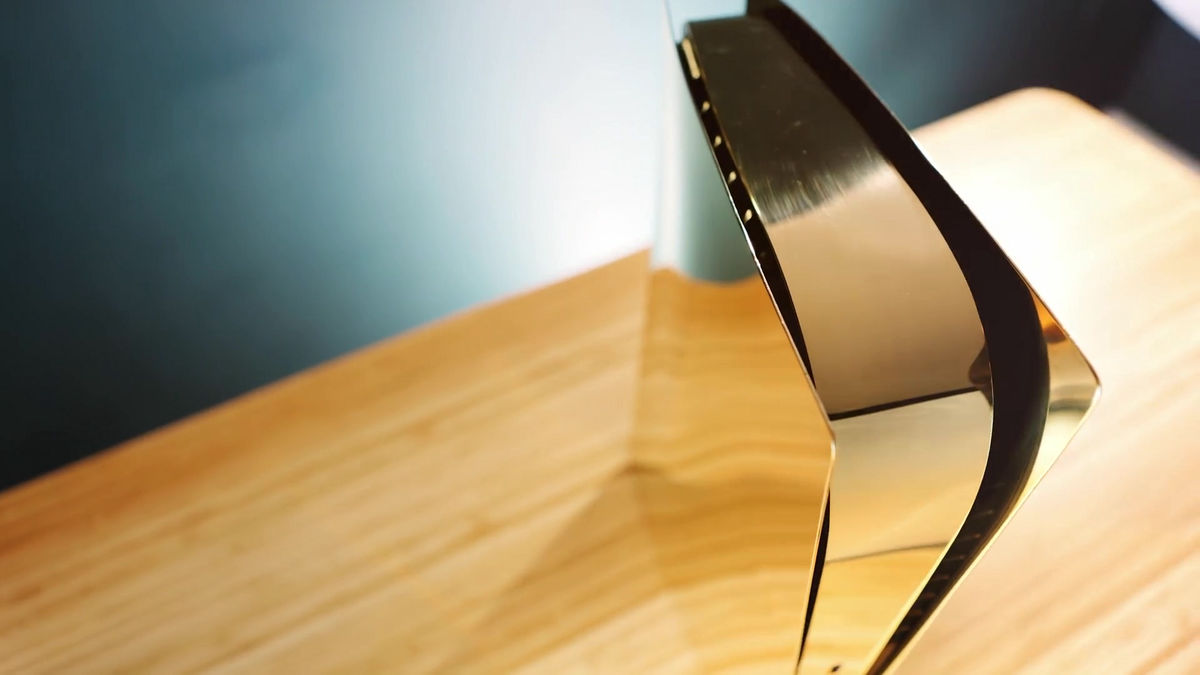
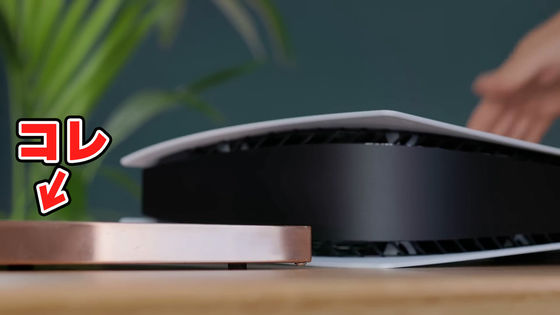
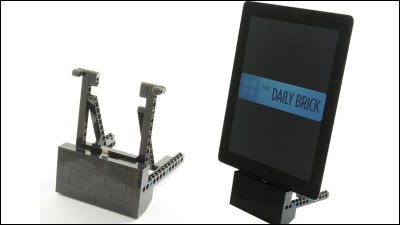
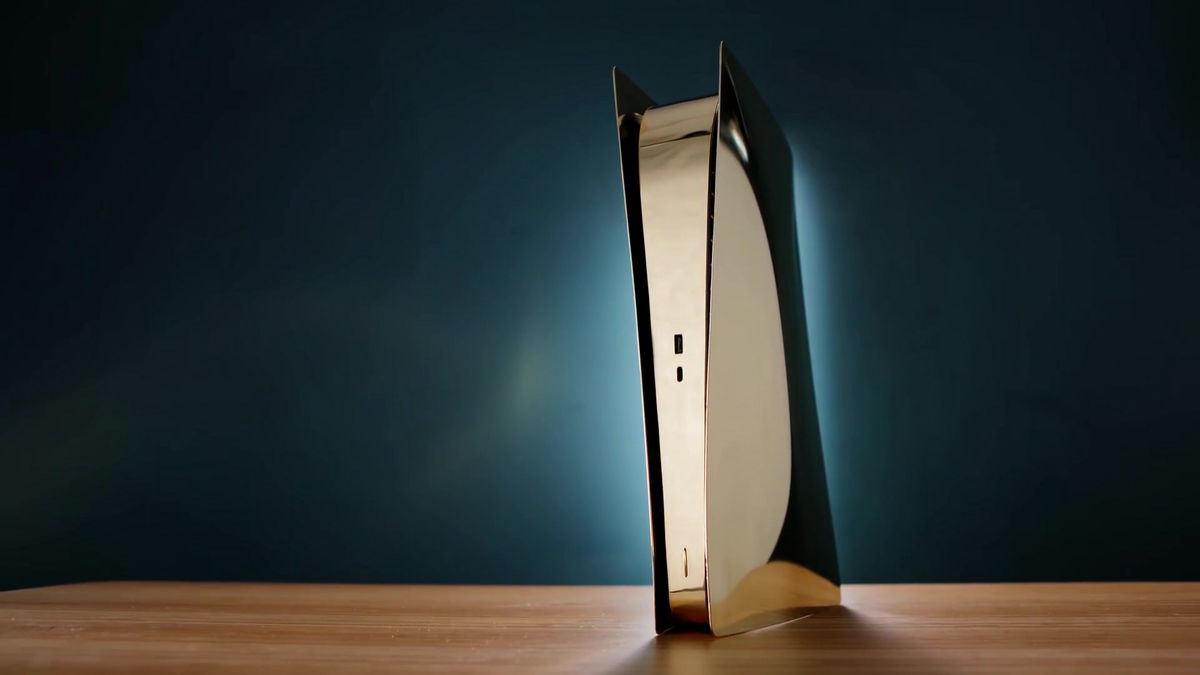
That's why the golden brass 5 is completed.
![](https://i.gzn.jp/img/2021/03/29/playstation-5-brass/s49_m.jpg)
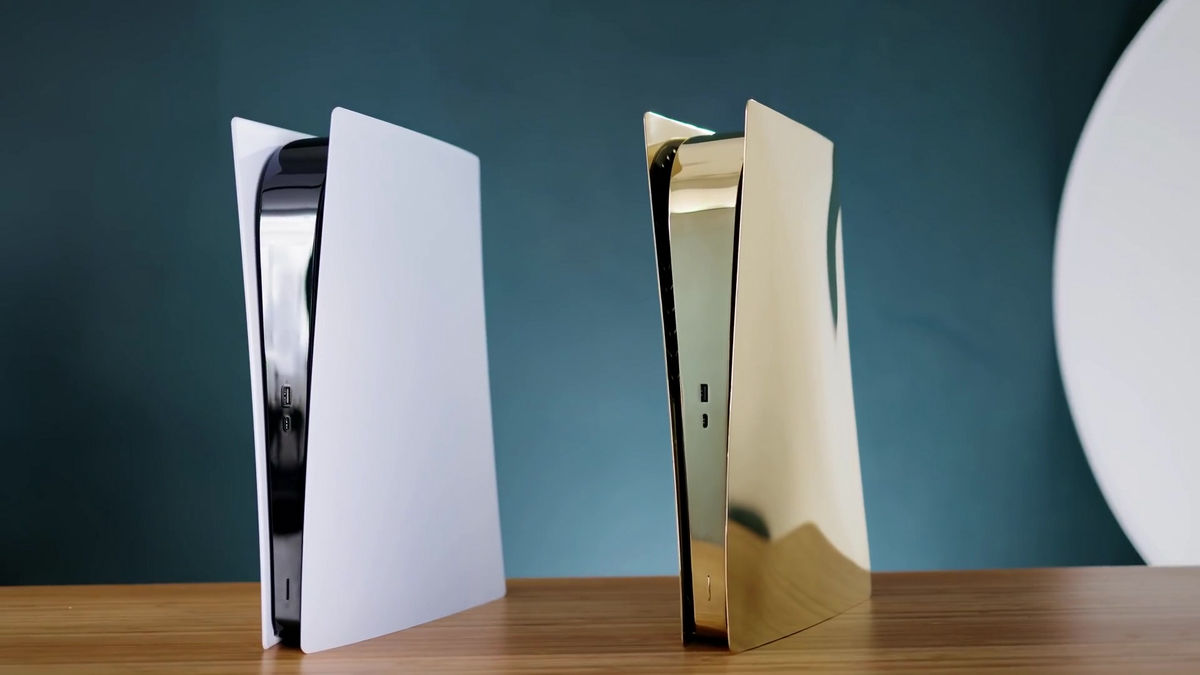
Compared to PS5, it looks like this. It is an overwhelming sense of luxury.
![](https://i.gzn.jp/img/2021/03/29/playstation-5-brass/s50_m.jpg)
Related Posts: