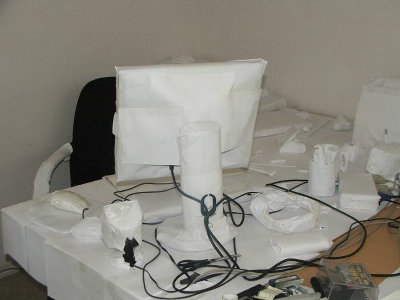
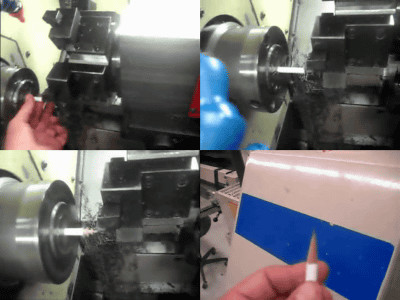
Hand made discount iPhone 5 dock made by do-it-yourself

The iPhone 5 is now charging and communicating with the new Lightning connector instead of the 30 pin connector used for the iPhone 4, but we also needed to renew the iPhone dock accordingly. So the idea of making docks for one dollar (about 80 yen) using unnecessary waste materials and on-site items is "Build an iPhone 5 dock for $ 1"is.
The movie that shows the whole story until the iPhone dock is made from waste materials is from the following.
Build an iPhone 5 dock for $ 1 - YouTube
Newly released iPhone 5 in the fall

Until now iPhone's charging cable used a 30 pin connector, but from the iPhone 5 a new Lightning connector is to be used.
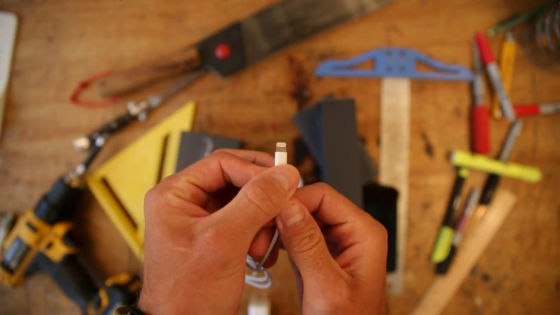
That means that the old cable has become useless.
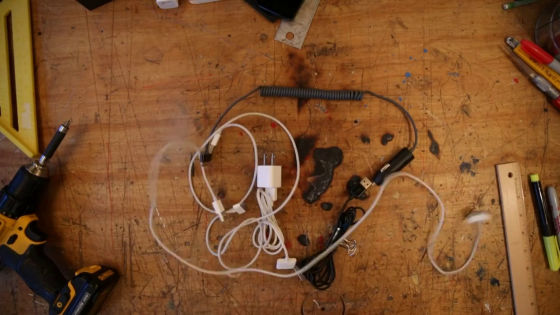
Even at the work desk ......
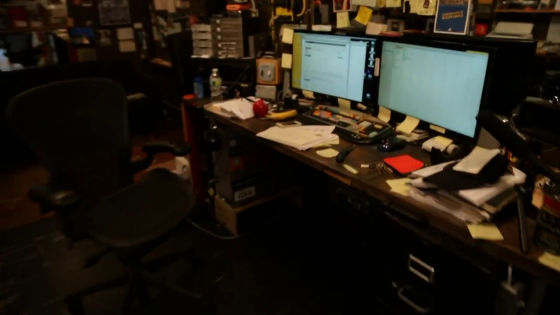
Using the iPhone dock in front of the PC, iPhone 4 can charge without problems ...

IPhone 5 can not be connected to the connector.

Since I can not help it, I removed the iPhone dock so far fixed to the desk ......

To make something new.

First of all, we choose materials from waste materials.

This time I will make it with vivid red.

Make sure that there is enough room for the iPhone to snap in ... ...

I will draw a line with a pen.

Cut waste material with electric saw.

Put the cut on top of the base tree.

Try fitting the iPhone again and check the condition. In the end it seems to be a design that stacks three pieces of wood.

Next time I will make a groove to fit the iPhone.

Check the width of iPhone.

Mark it ... ...

I will dig a groove along the signs.

Once completed ......

Suck off wood scraps with a vacuum cleaner.

Next, mark the part to pass the connector.

Choose a drill blade with the same thickness as the connector.

Open a hole with an electric drill ... ...

This time I took out the knife.

I will clean the wooden fibers etc. that jumped out of the hole.

Passing the connector through the hole ......

I could connect with the iPhone.

Next from the shelf ......

Remove the screws.

I will fix the wood with screws using a drill.

Clean the surface with sandpaper.

And with hot melt adhesive ......

I will fix the connector.

Looking from the front like this.

In this state the cable will come out from the back of the board and can not be fixed to the table so we will add another board below. I made a groove with a cable so that it fits ......

Fasten with screws.

It was a clip taken out of the glass bottle.

There is a cable out from the side of the dock, but as it is it will move as you like.

That's why we pinched the cable with clips ......

Fasten with screws.

Like this.

Finally, the date is burned on the front of the dock and the dock is completed.

In the middle of the desk, in front of the PC, the space is made because I removed the dock of iPhone 4.

Then I will fix the red dock I made earlier.

Do not move perfectly.

The red dock full of handmade feeling has a presence.

I put the iPhone 5 there ... ...

It worked properly, completed! If you challenge with materials that are in your hands and hands instead of being marketed in this way, there must be a completely different world there.

Related Posts:
in Video, Posted by darkhorse_log


