Introducing a fierce man who has remodeled the biggest PS5 in the history of game machines to an ultra-slim less than 2 cm
The
Genius YouTuber Rebuilds His PS5 To Be Less Than An Inch Wide
https://kotaku.com/ps5-slim-sony-youtube-diy-perks-1849084848
The PS5 has been remodeled into a slim body by DIY Perks , a YouTube channel that has remodeled various gadgets and game consoles on its own. You can check the state of the modification in the following movie.
Building the WORLDS FIRST PlayStation 5 slim --YouTube
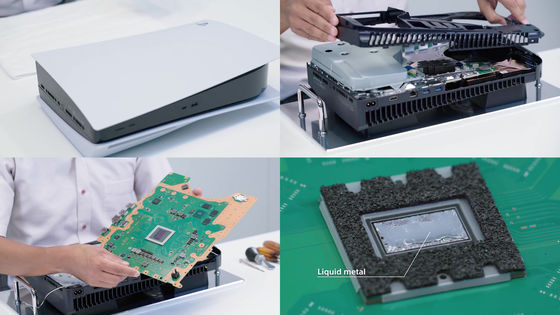
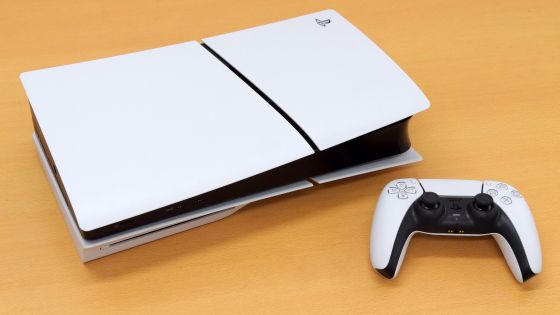
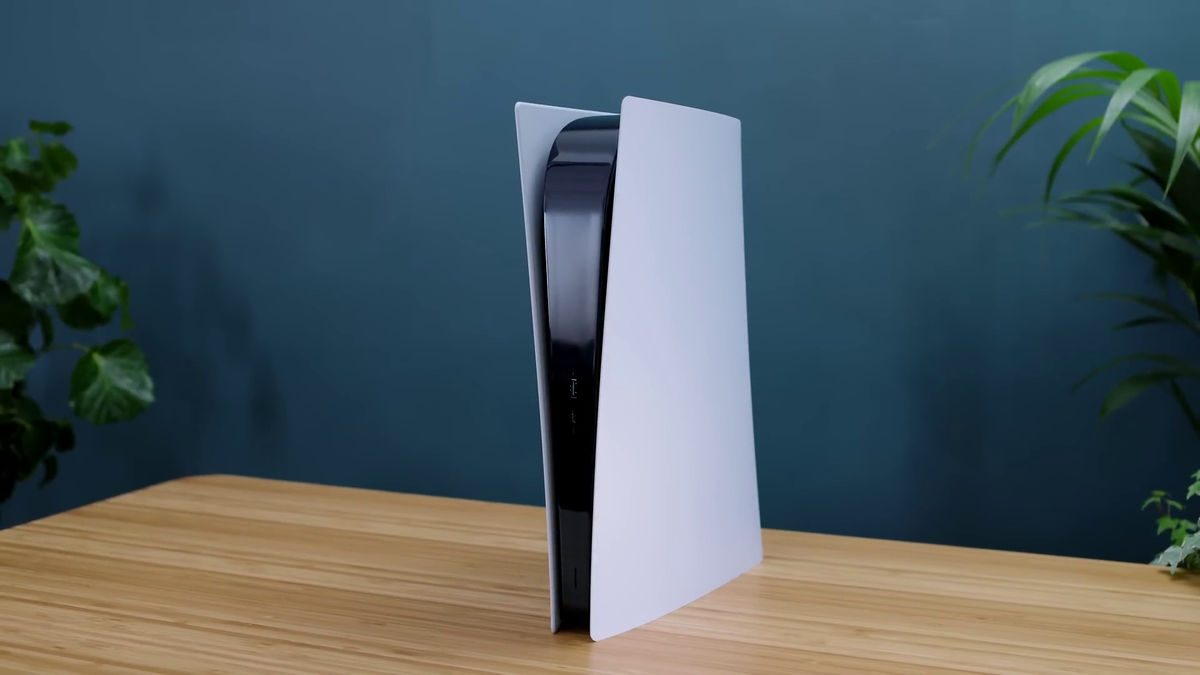
This is the PS5 Digital Edition. It measures 390 mm in width x 92 mm in height x 260 mm in depth, and weighs about 3.9 kg, which is quite huge.
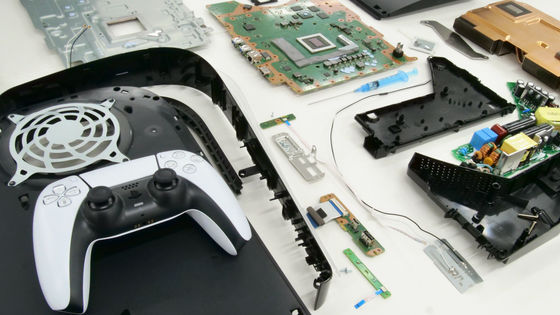
So, first of all, disassemble PS5. You can find out more about how to disassemble the PS5 by reading the
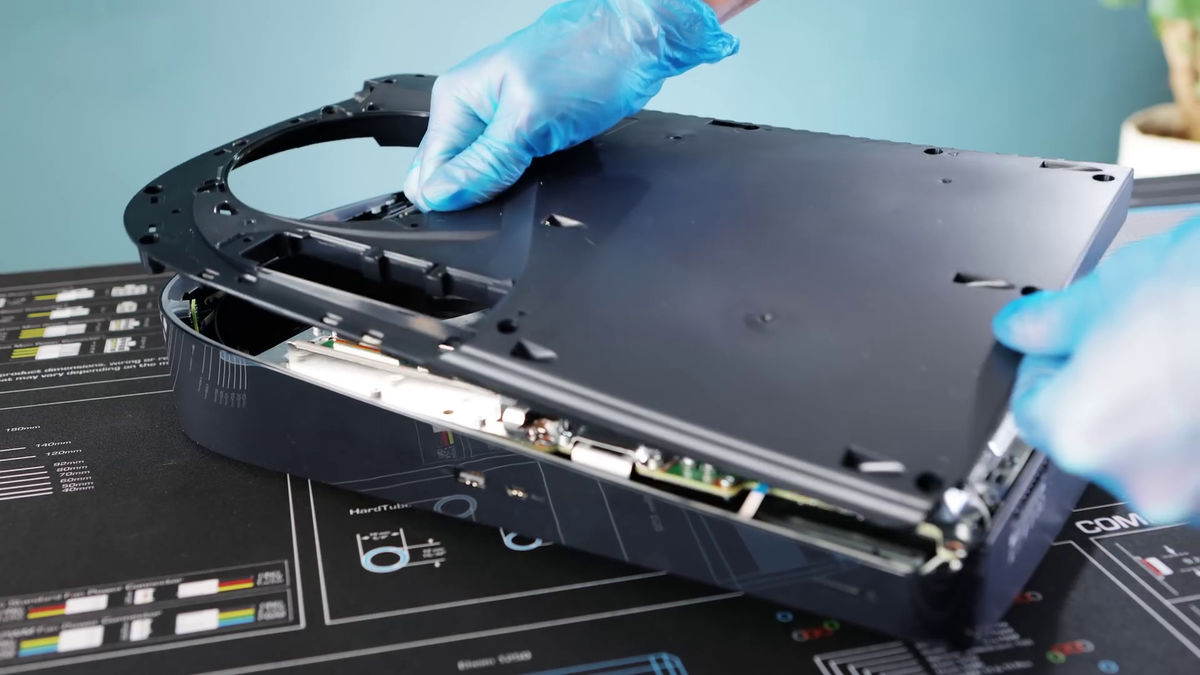
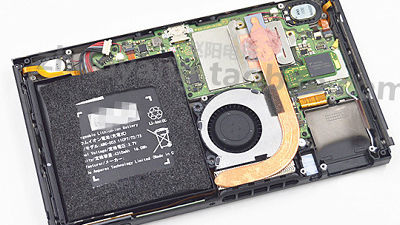
When disassembled, you can see the huge heat sink and built-in power supply.
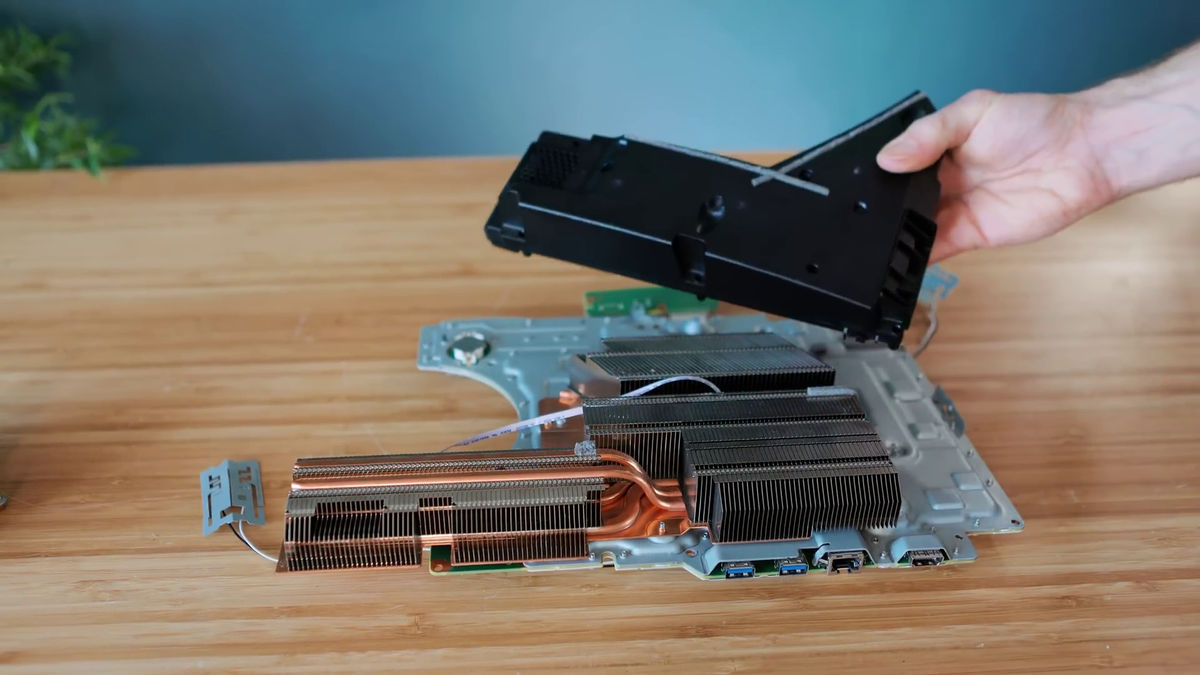
This is the built-in power supply.

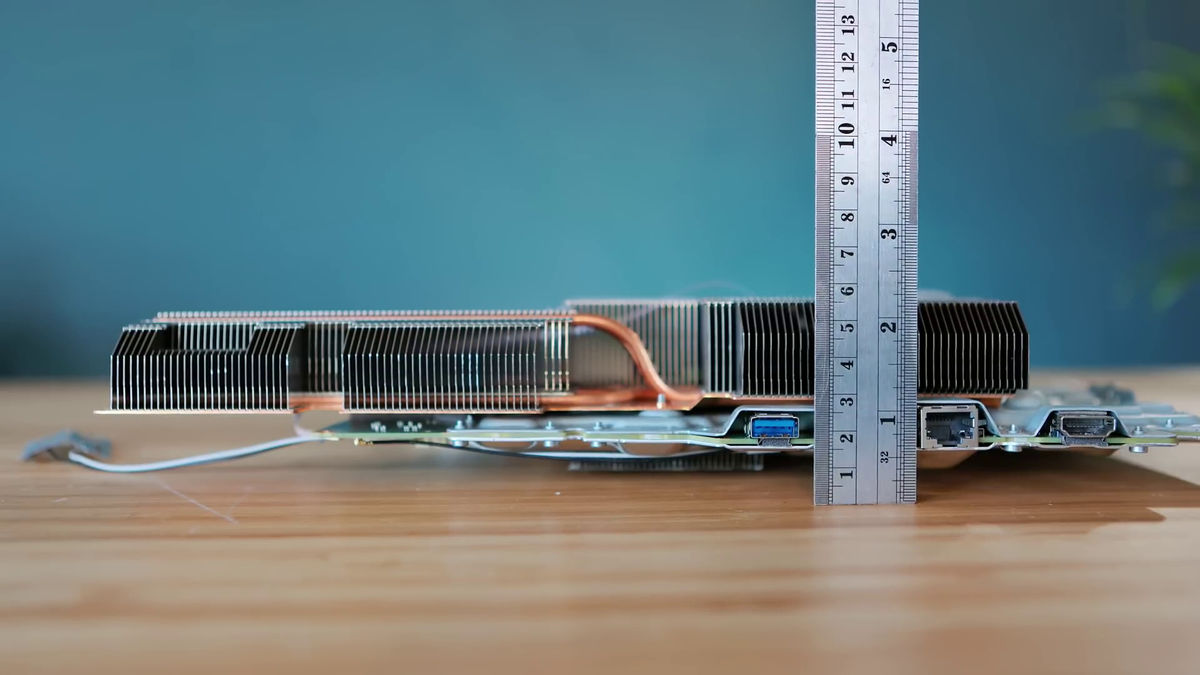
The heat sink is attached to the board and the shield, and when these are put together, it is a little less than 6 cm thick.
Disassemble these and take out the board first.
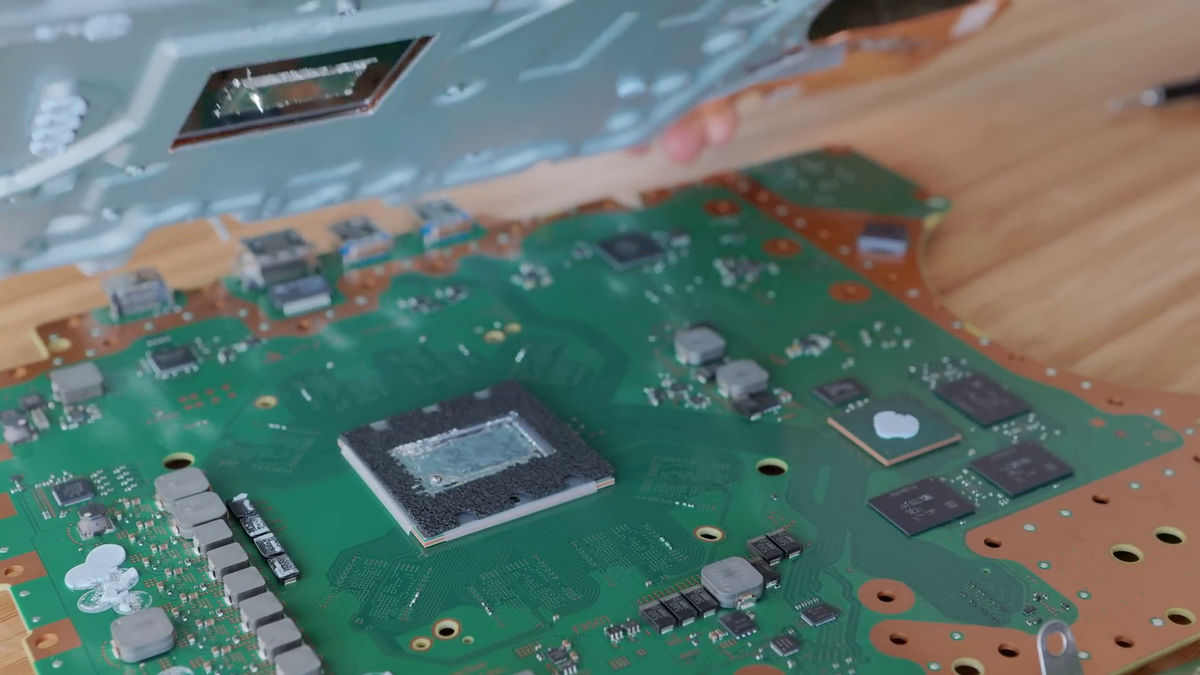
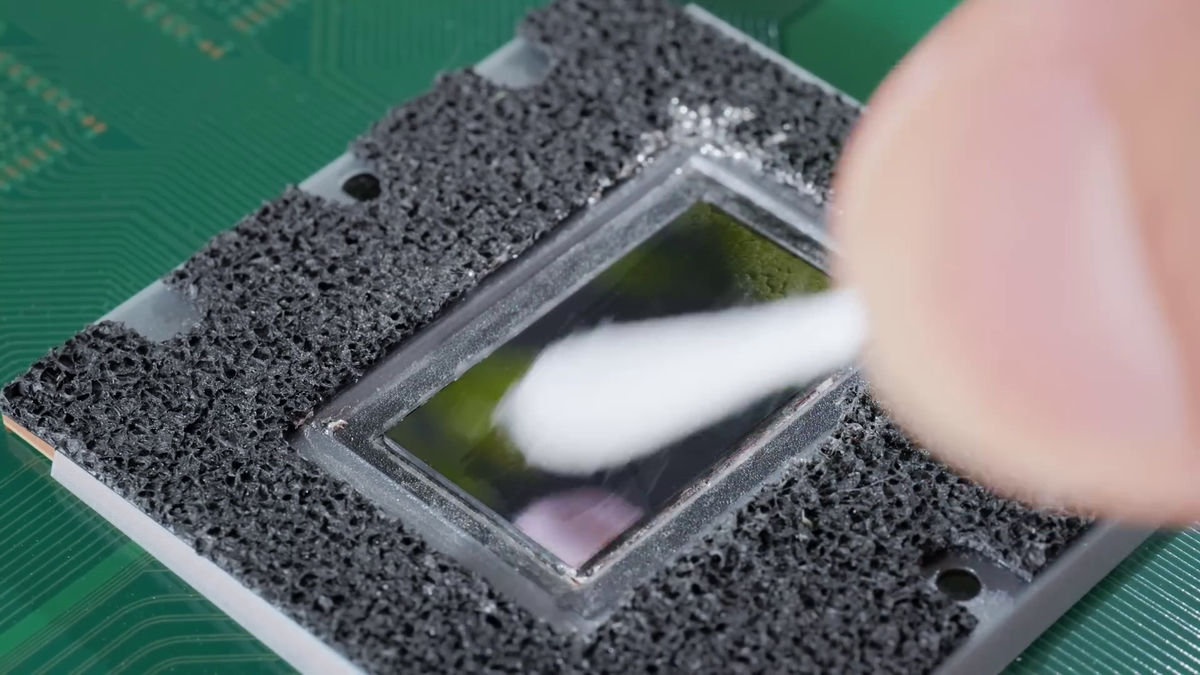
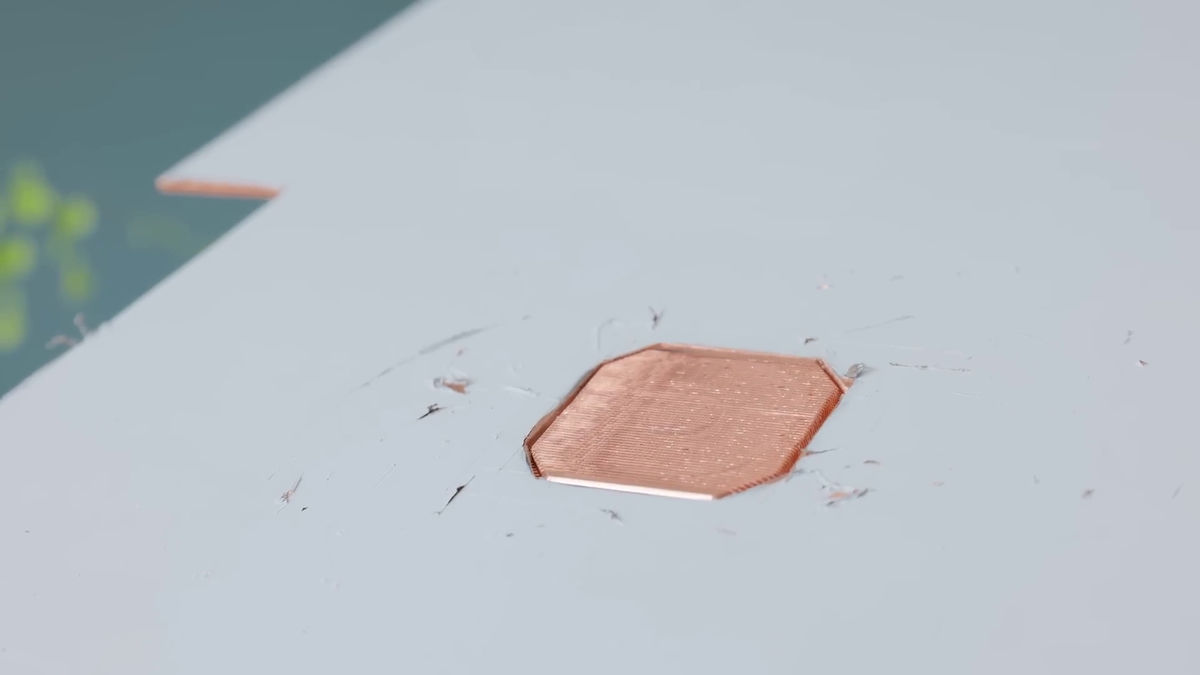
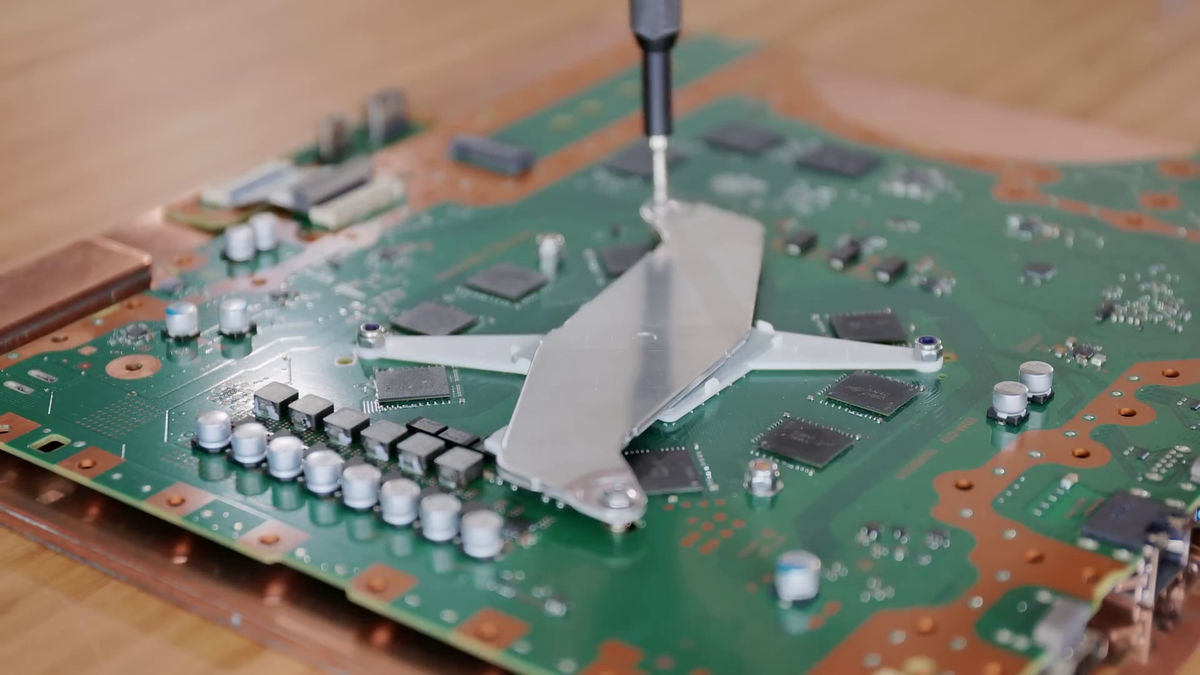
The PS5 custom SoC is covered with liquid metal, so first remove it cleanly.
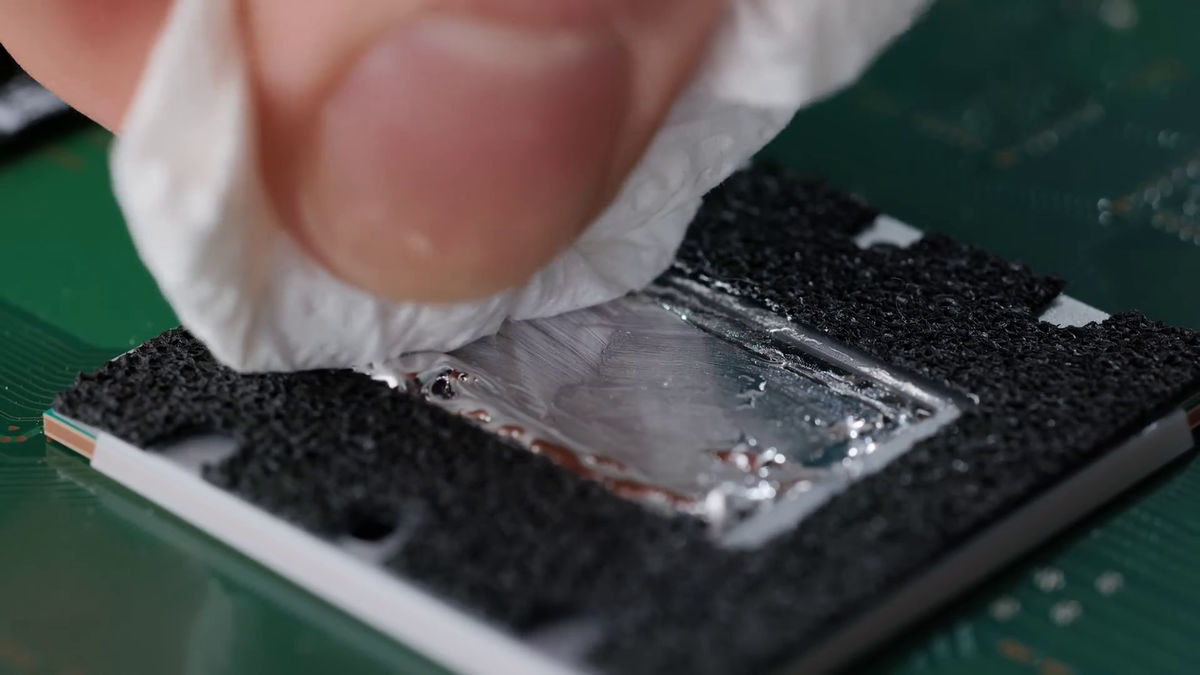
Smooth and shiny
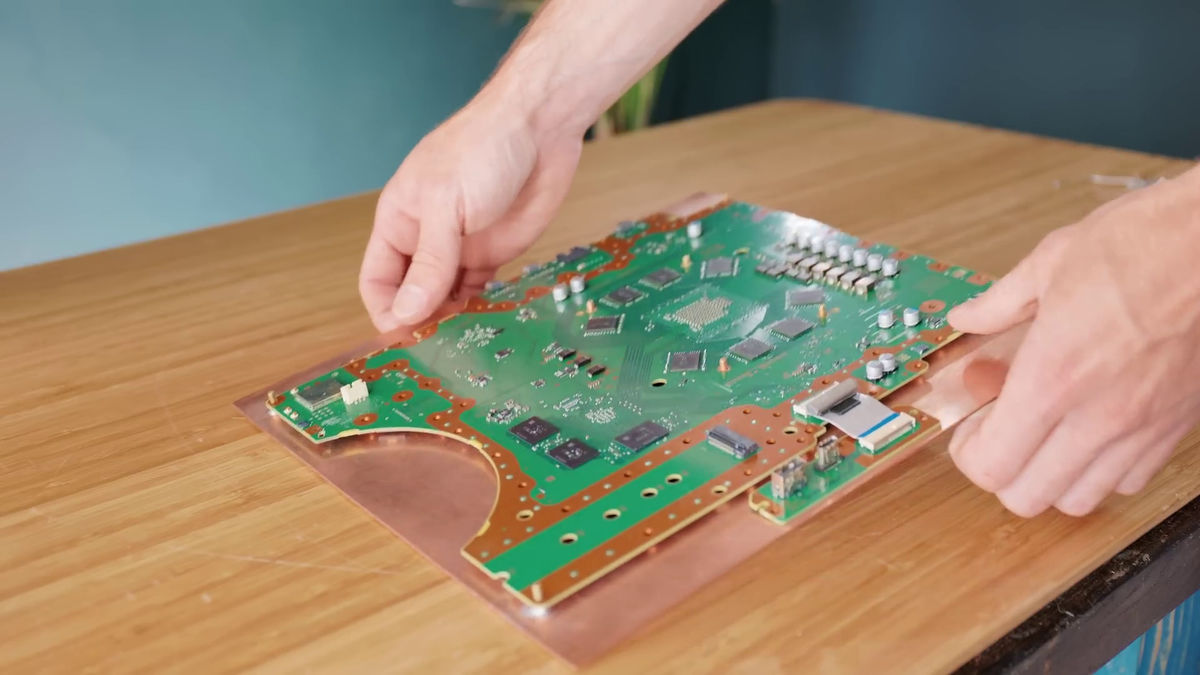
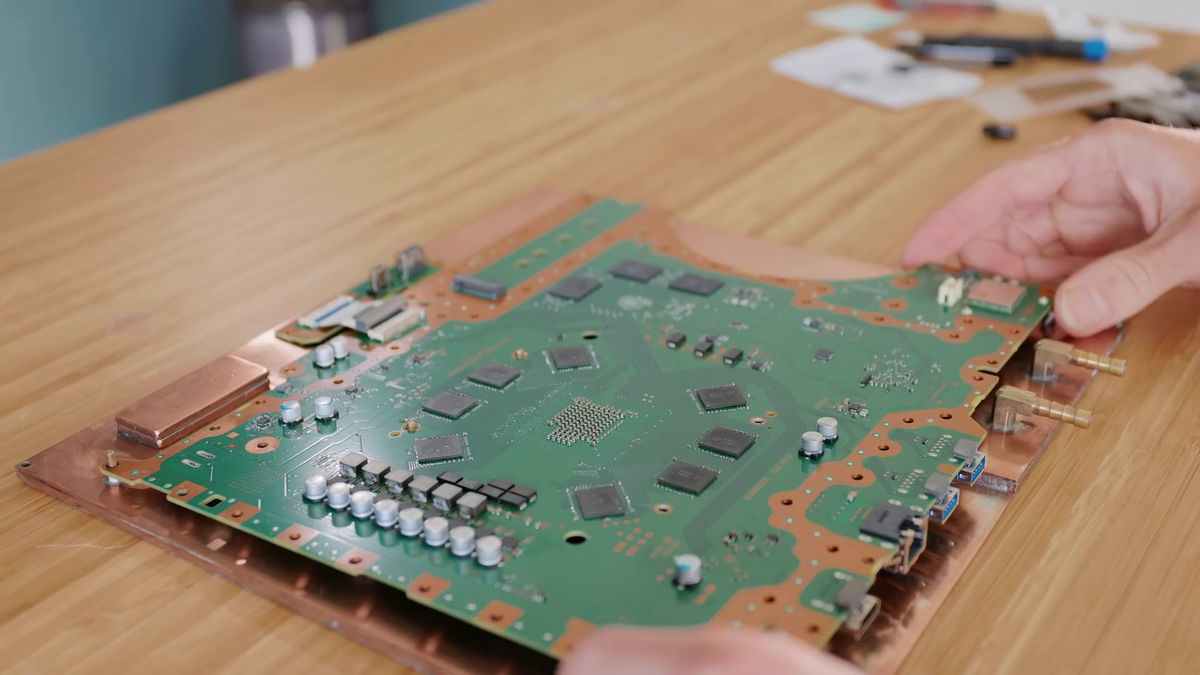
Now it's just the board. The board alone is extremely thin.
So, from here, the creation of a homemade ultra-thin heat sink & water cooling system starts. First of all, from the head part of the ready-made water cooling system ...
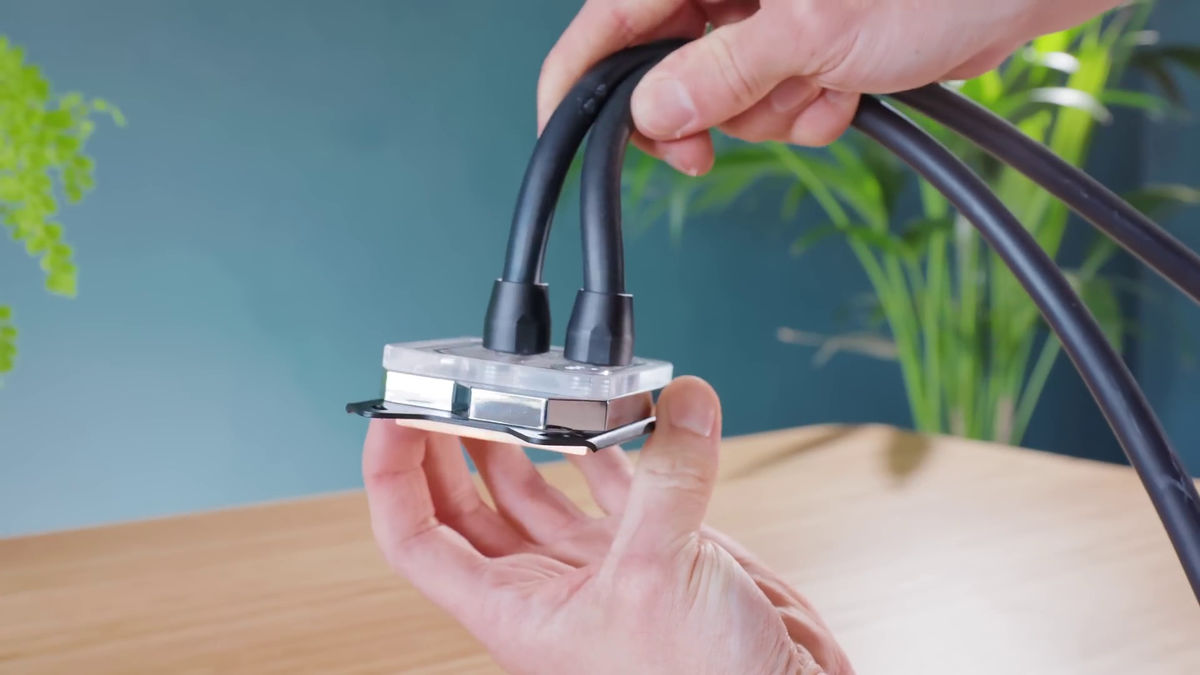
Take out only the base part.
It seems that this will be installed so that it can be mounted on a custom SoC on the board like this.
So, remove unnecessary parts from the board ...
Prepare a copper plate that is about the same size as the board.
Make a hole in this ...

Cut unnecessary parts from the base of the water-cooled head.

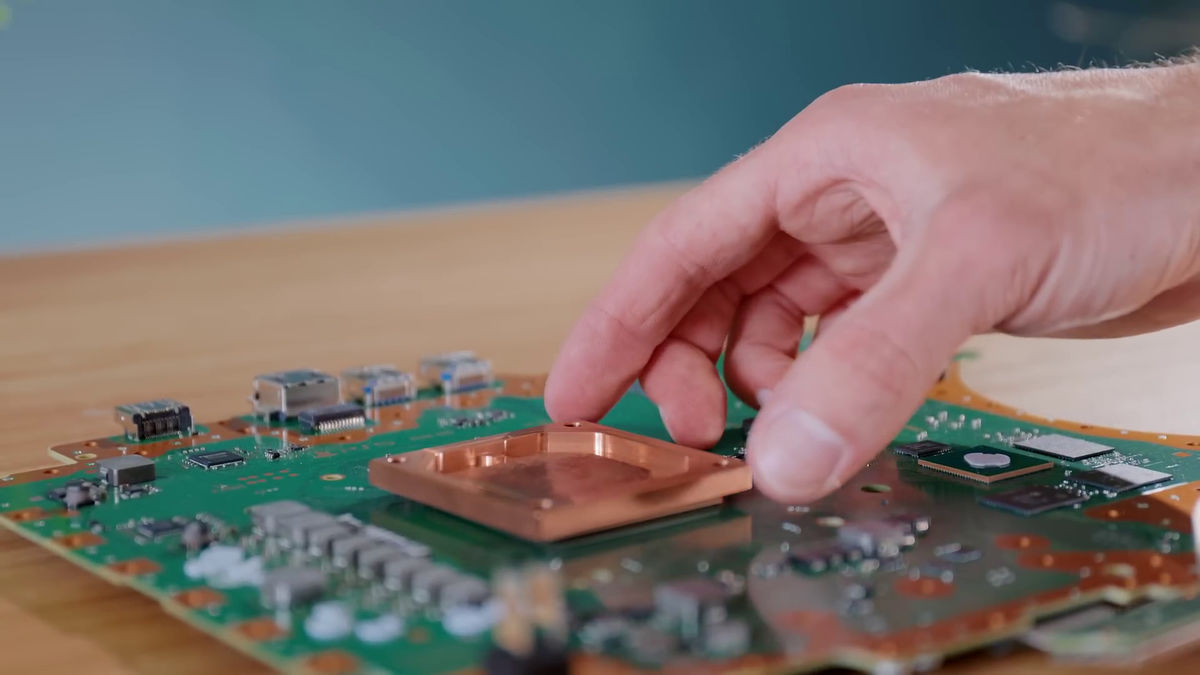
In this way, the base part fits perfectly into the hole made in the copper plate.
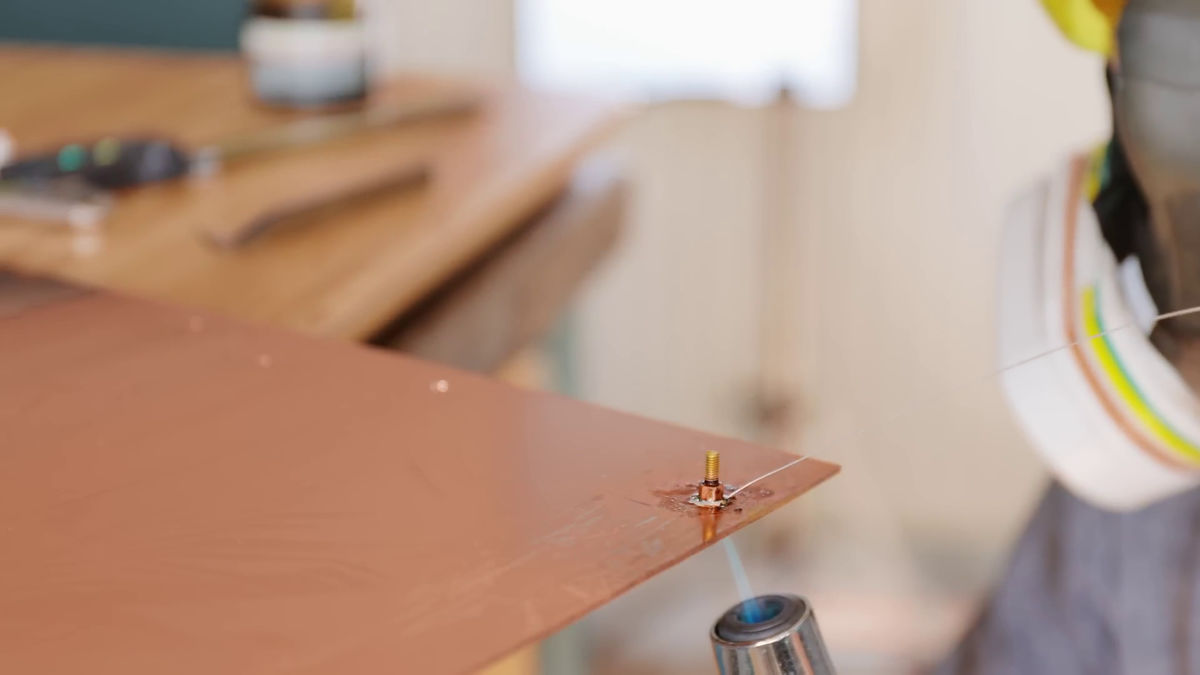
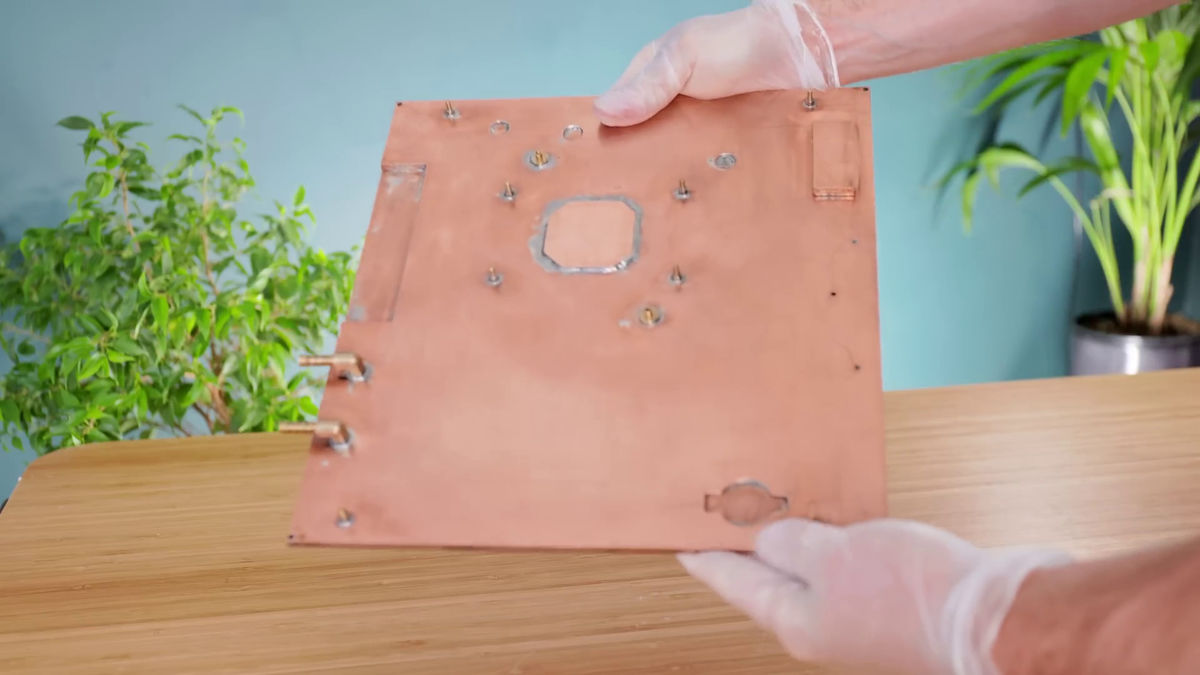
Make the necessary holes in the copper plate ...
Weld the screws.
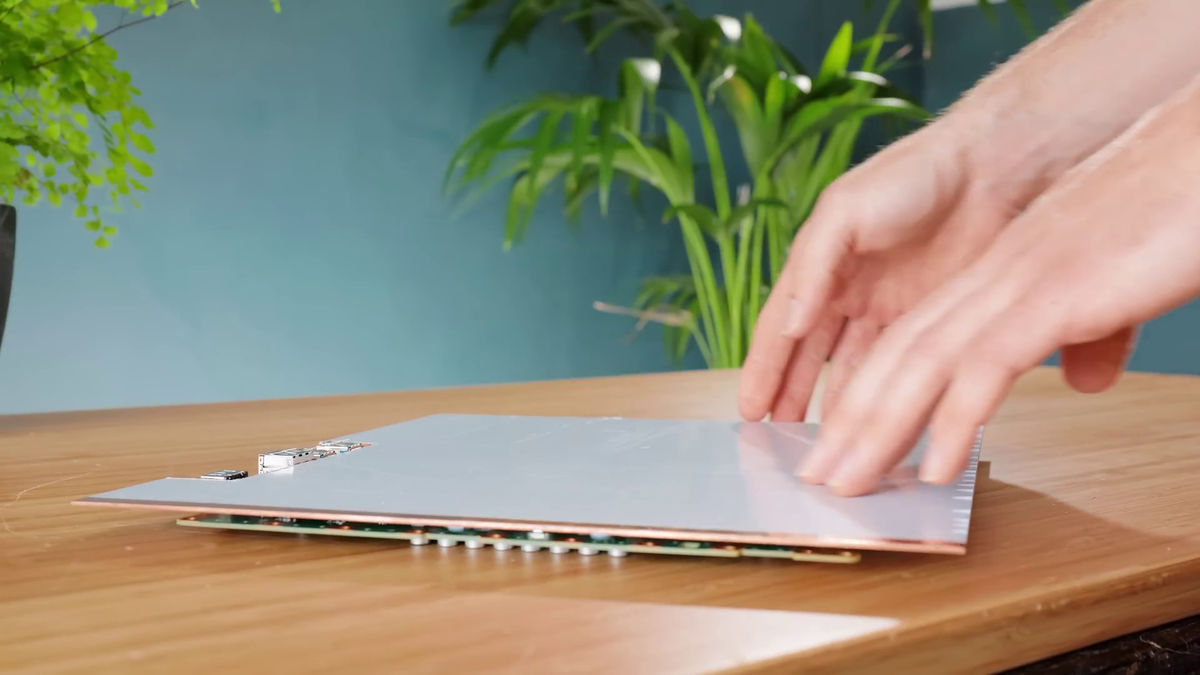
Place the board on the copper plate like this.
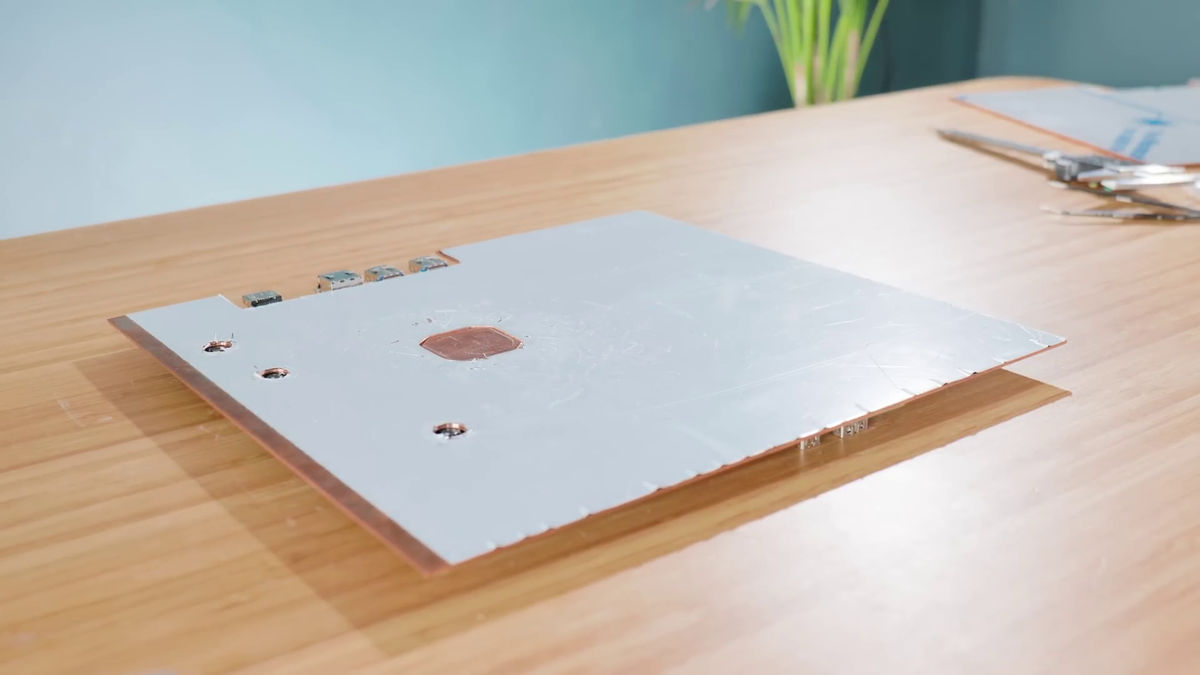
Turn it over. The custom SoC and I / O port parts are cut to prevent interference.
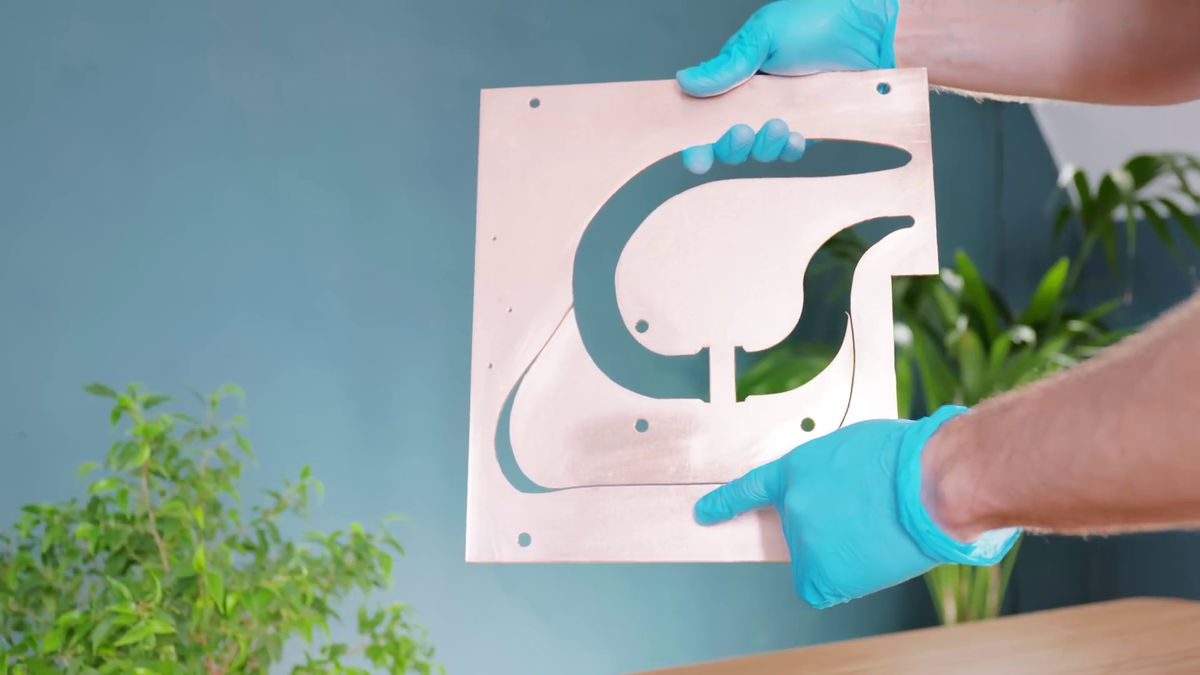
In addition, prepare a copper plate of the same size ...
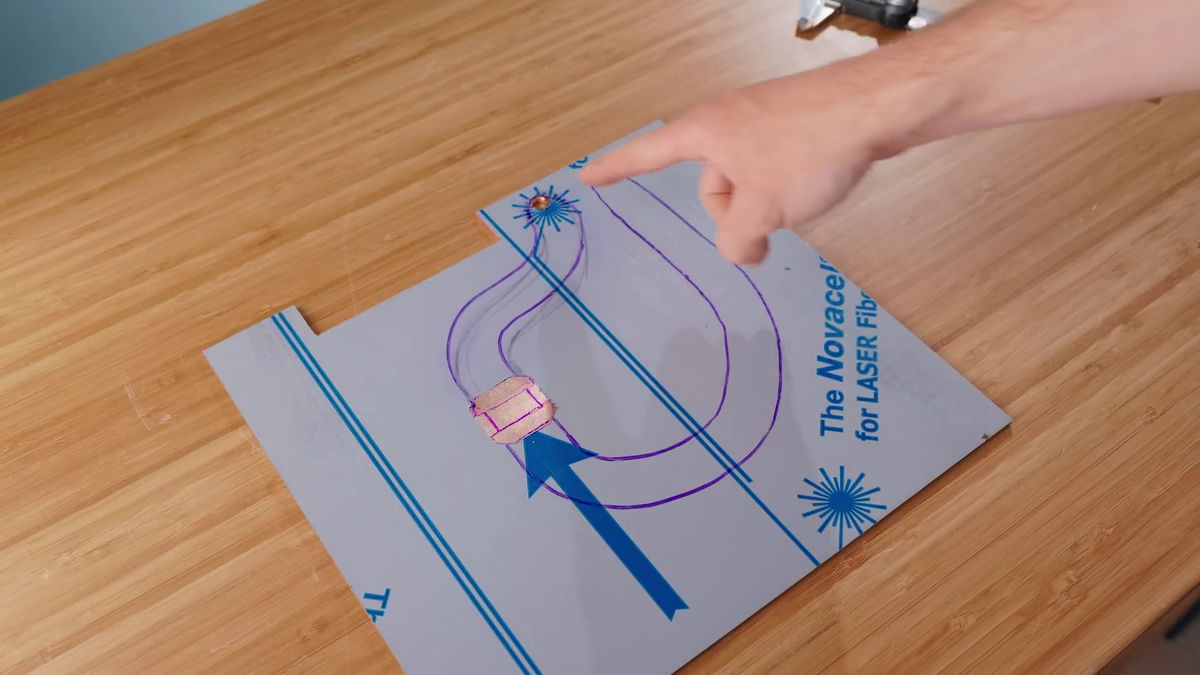
Cut according to the line.
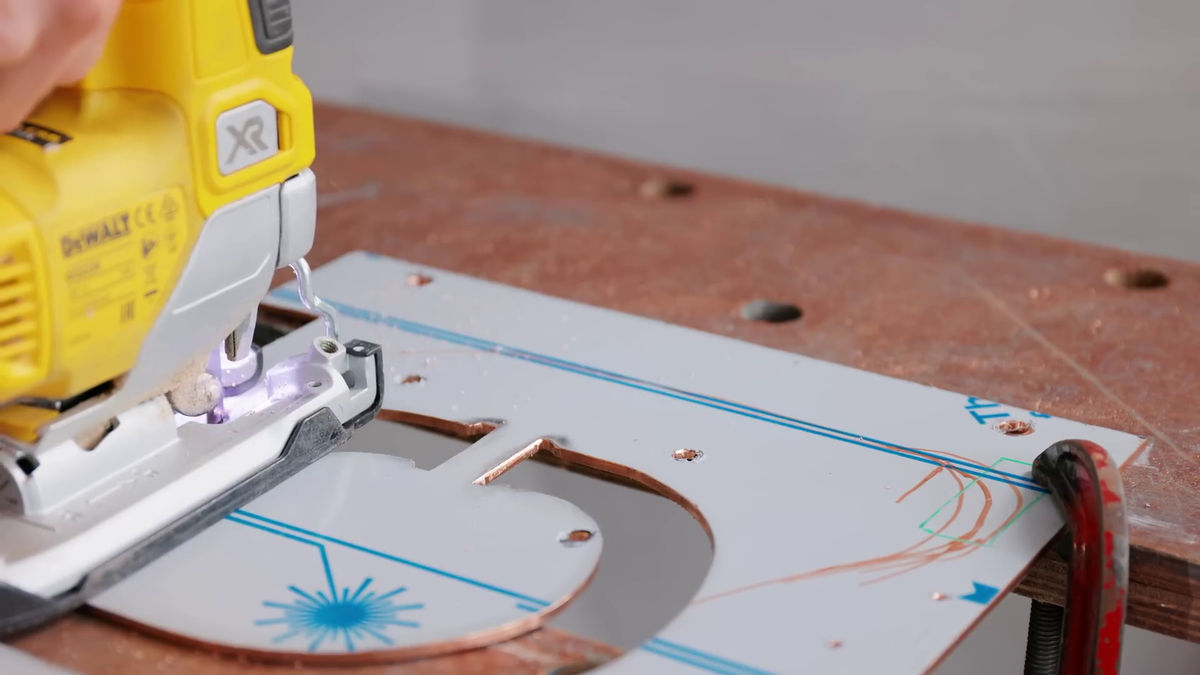
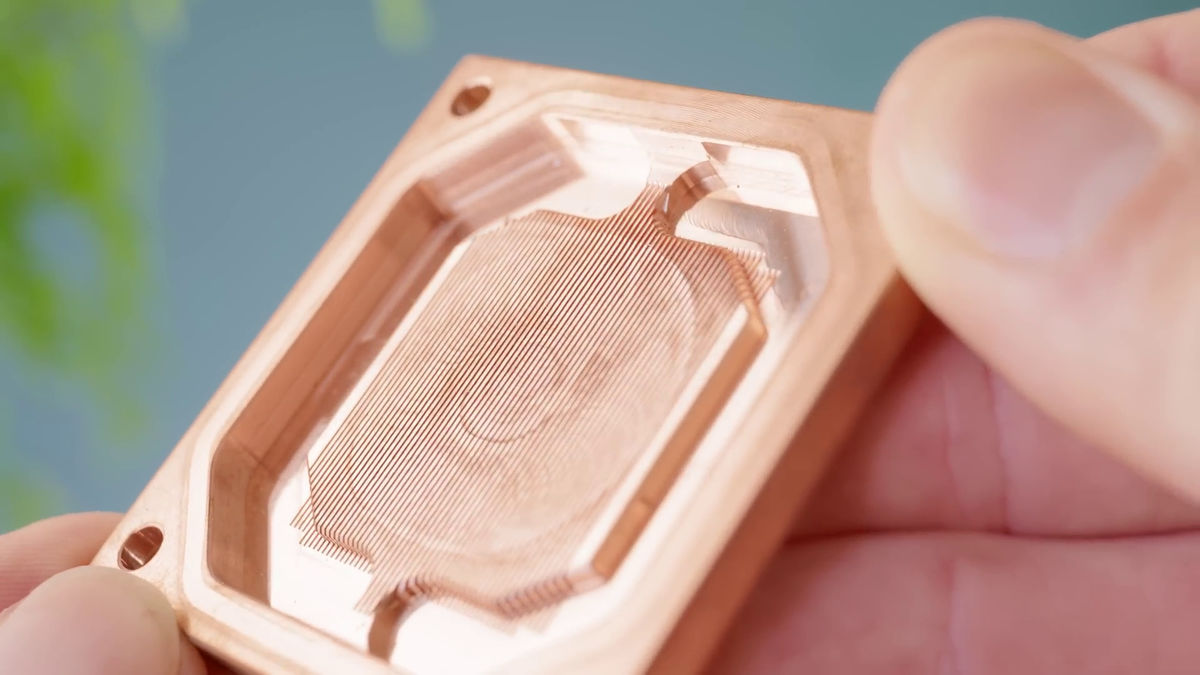
When the cut is over, it looks like this. The large groove is the path for the cooling water in the water cooling system.
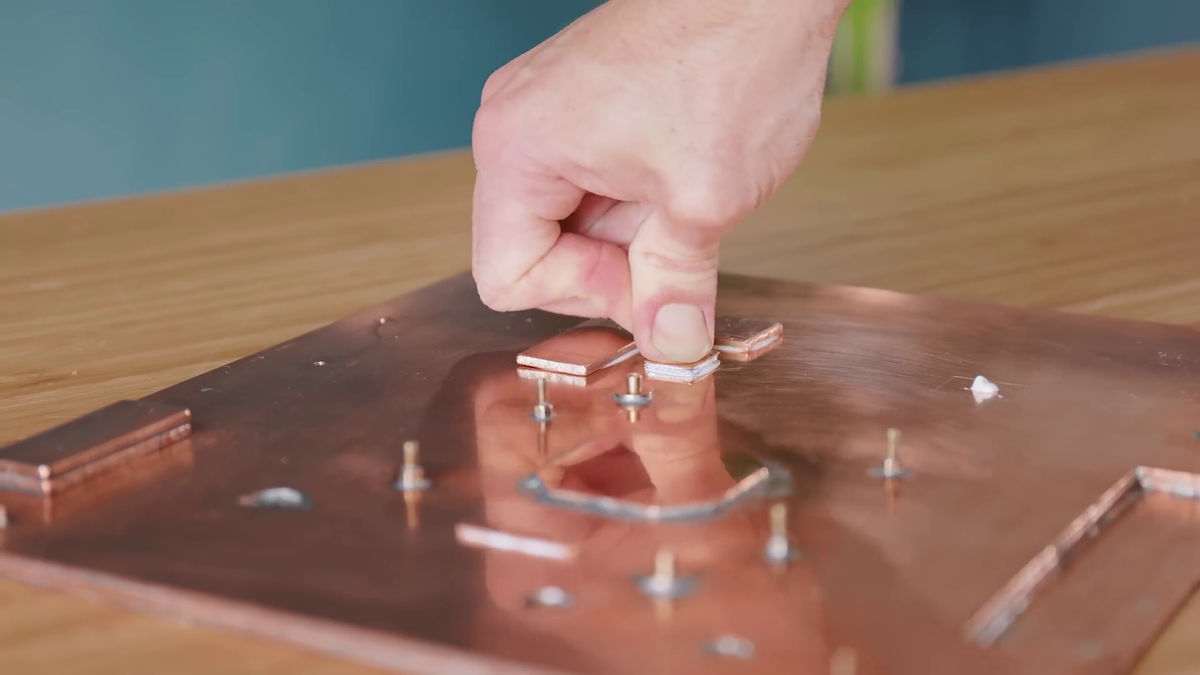
Layer this on another copper plate ...
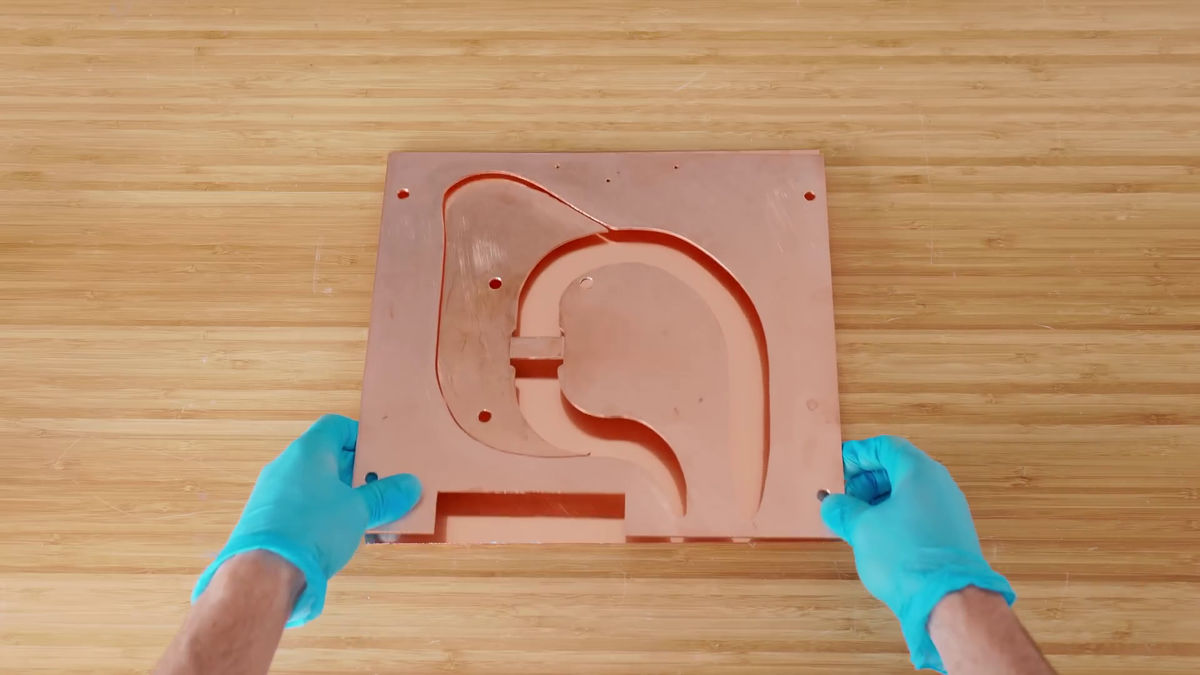
Weld.
What is painted in the finely cut groove is ...
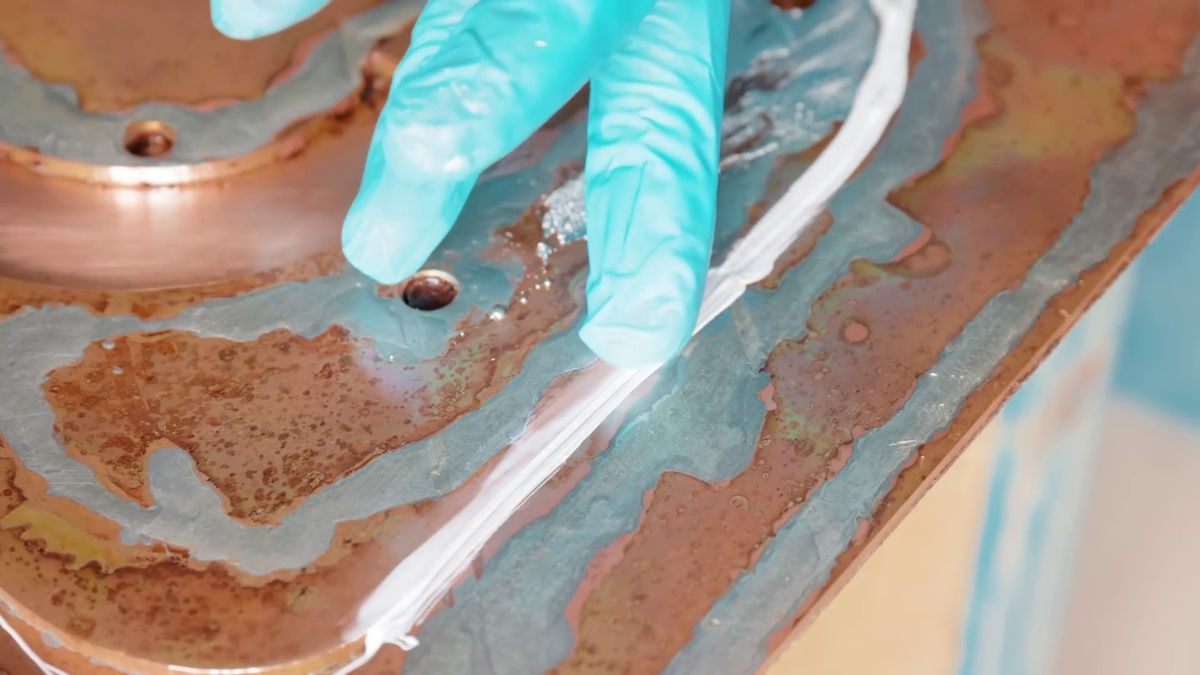
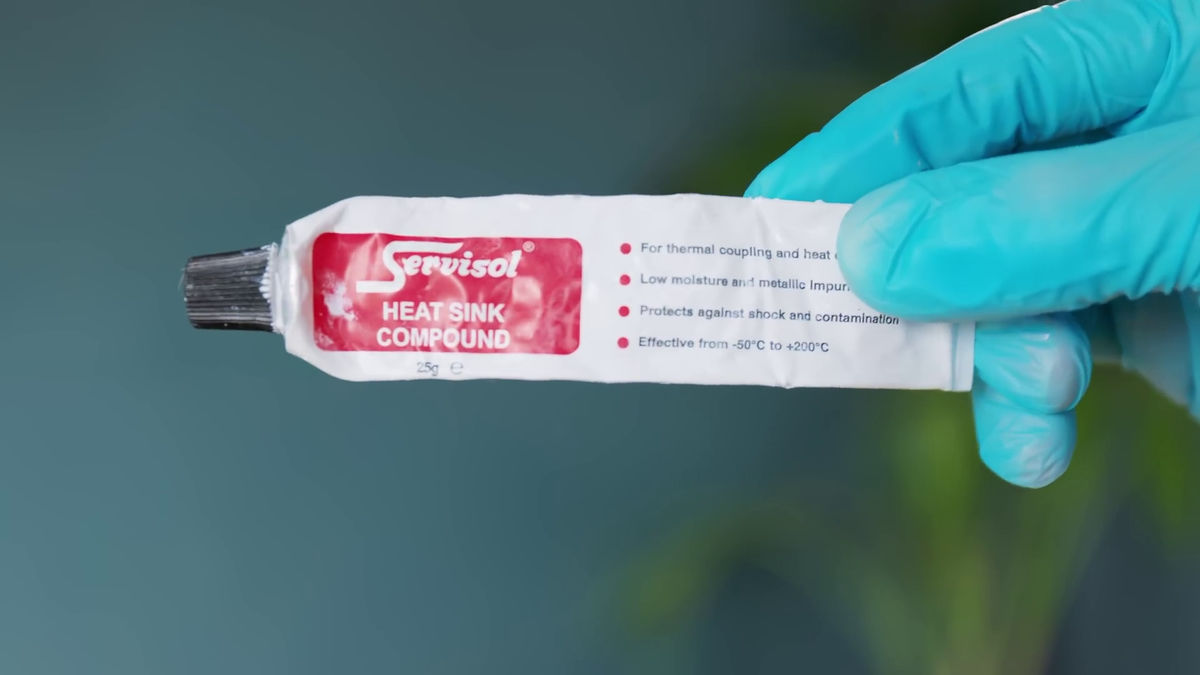
A special adhesive for sticking
Welded by overlapping with a copper plate with a hole in the custom SoC part made first.

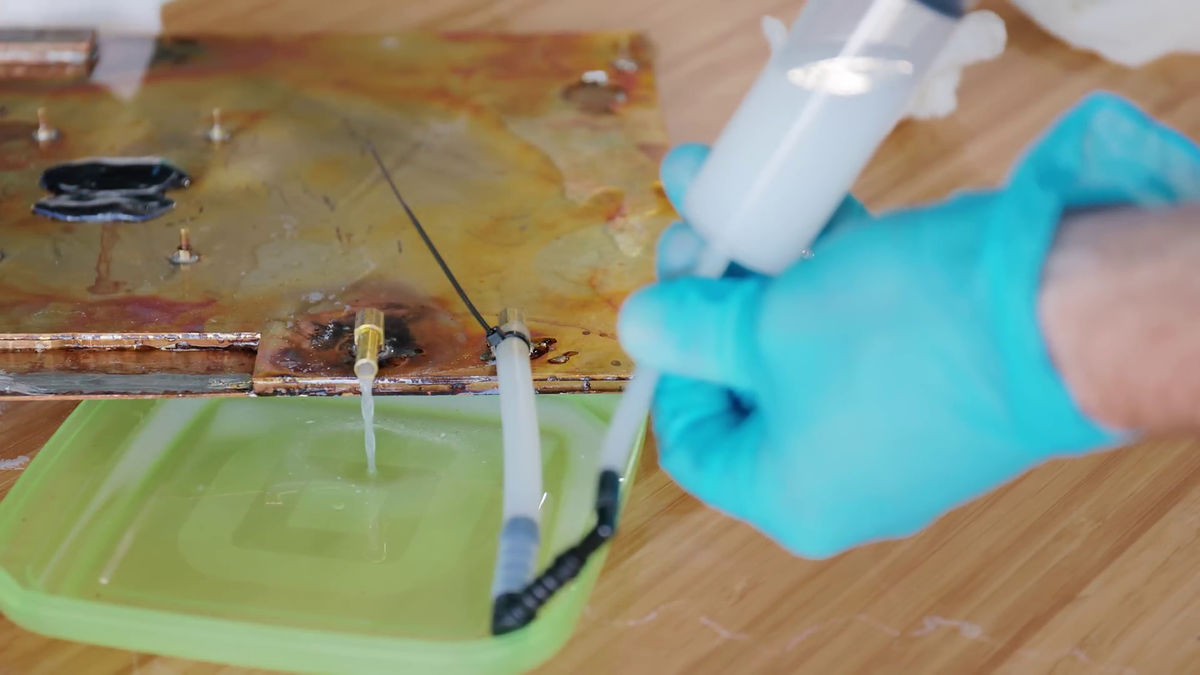
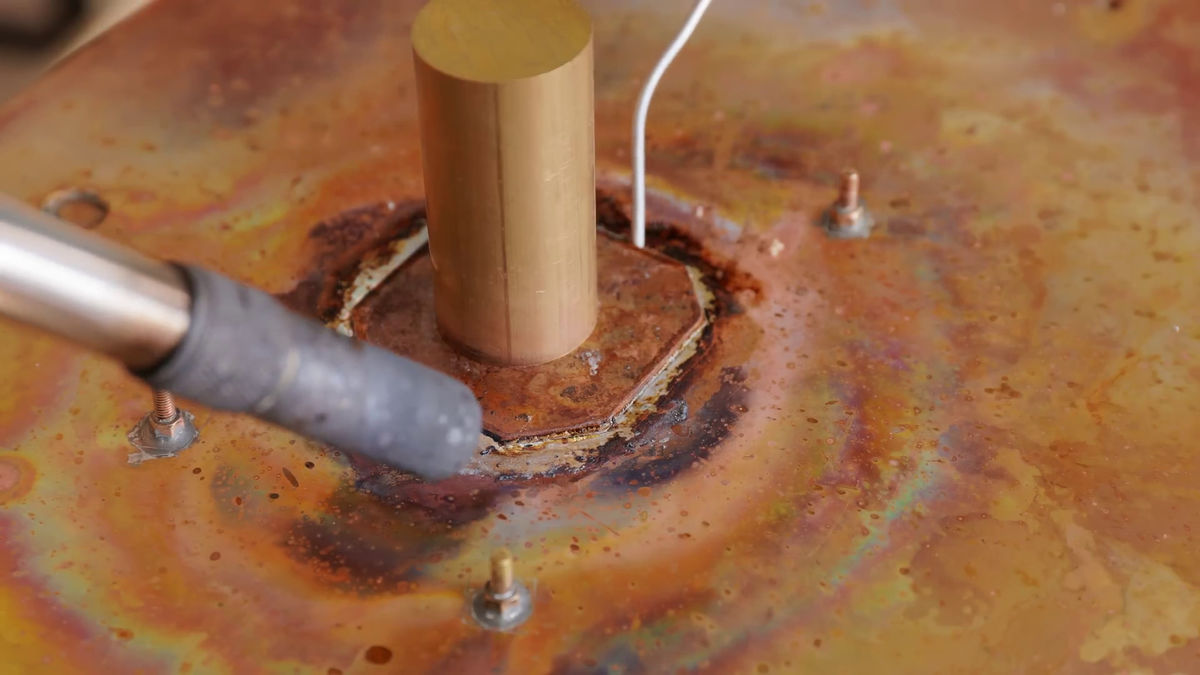
Next, install pipes at the inlet and outlet of the cooling water.

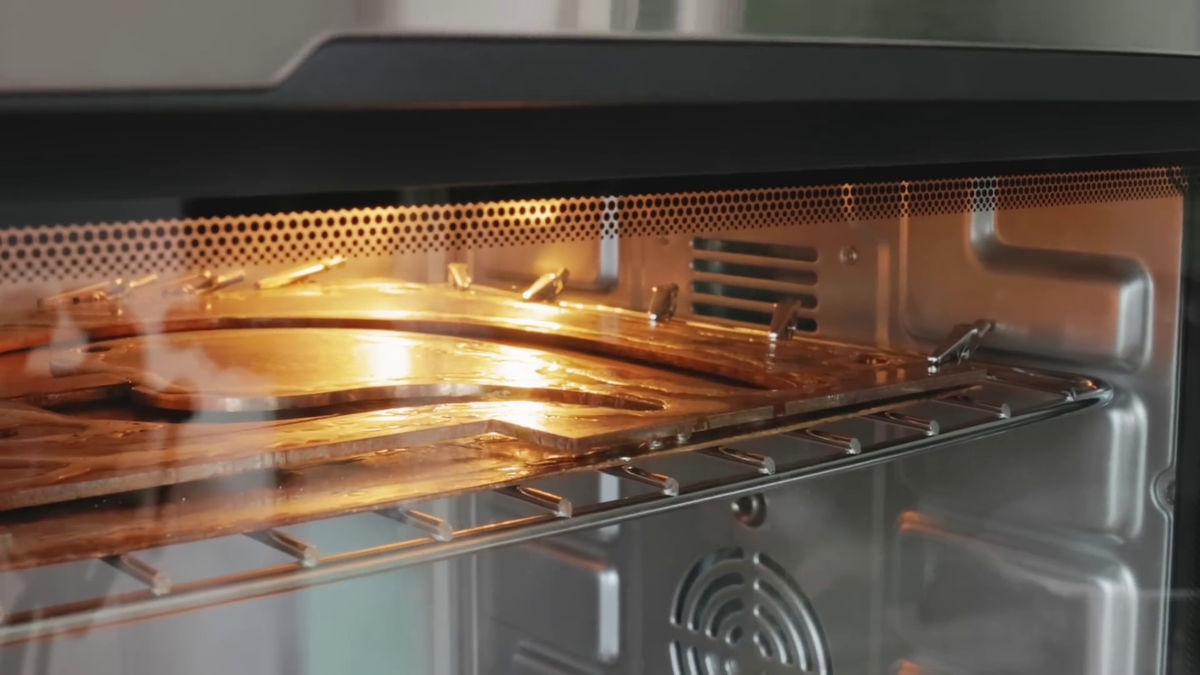
Pour water here and check if it works properly.
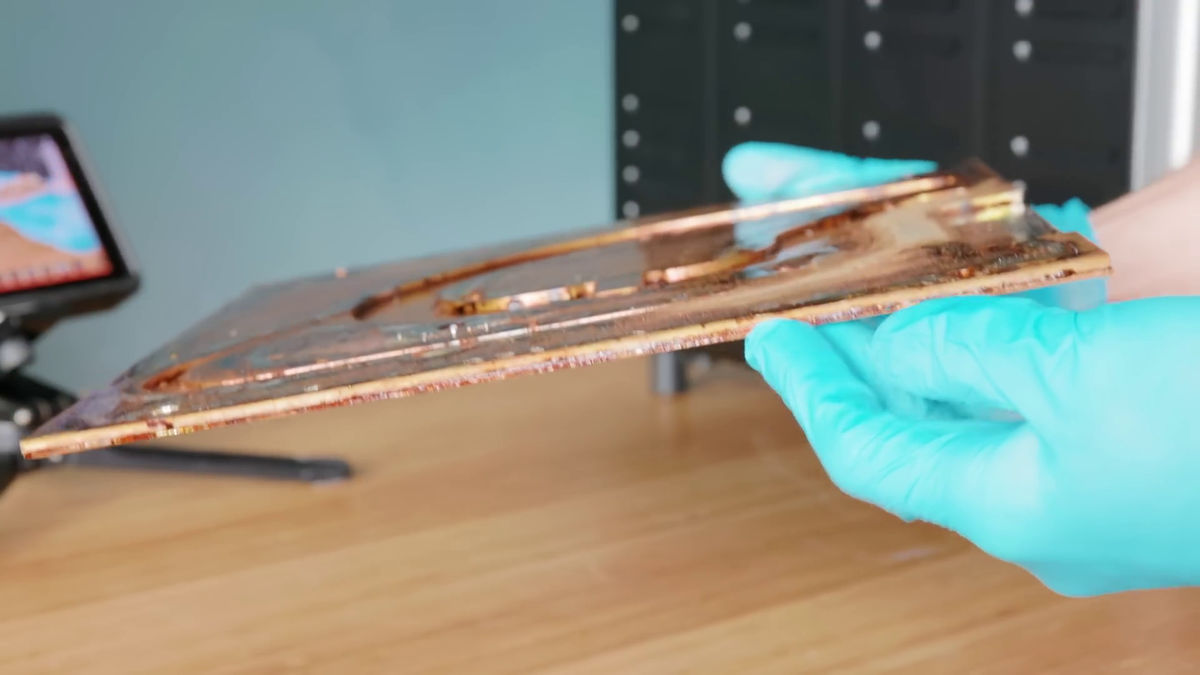
The custom SoC part is still open, so ...
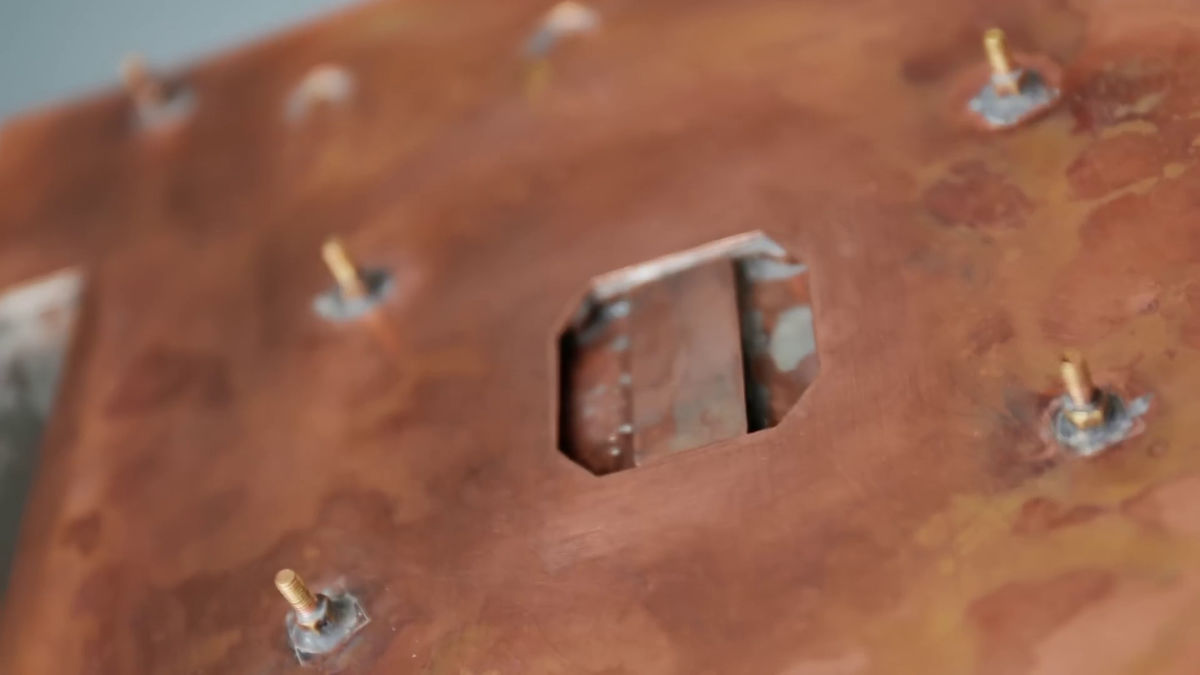
Weld the base part.
I decided to clean the dirty copper plate once using an abrasive.
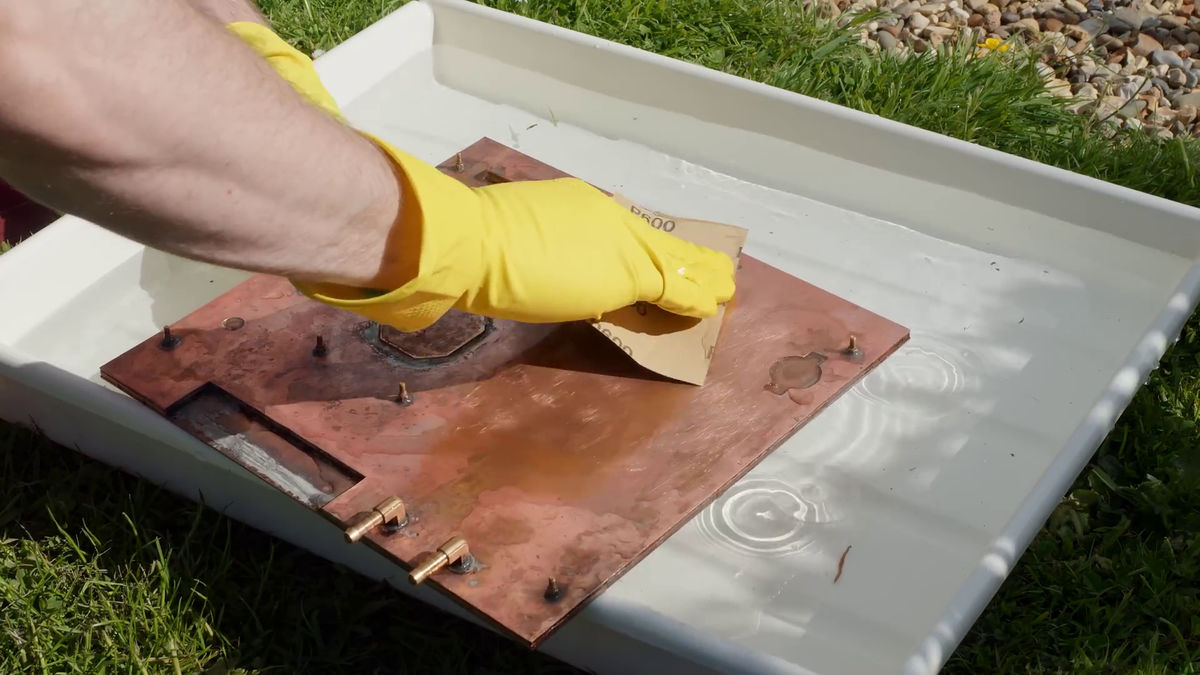
It's shiny.
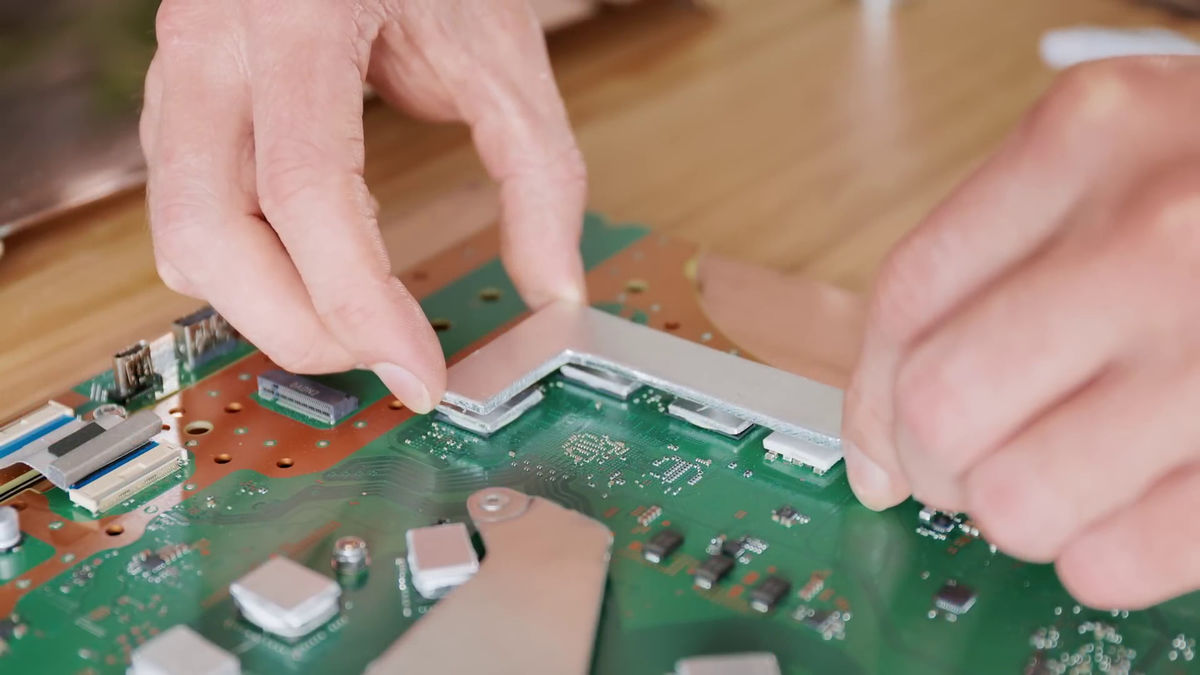
Next, check the back side of the PS5 board where the custom SoC is not mounted.
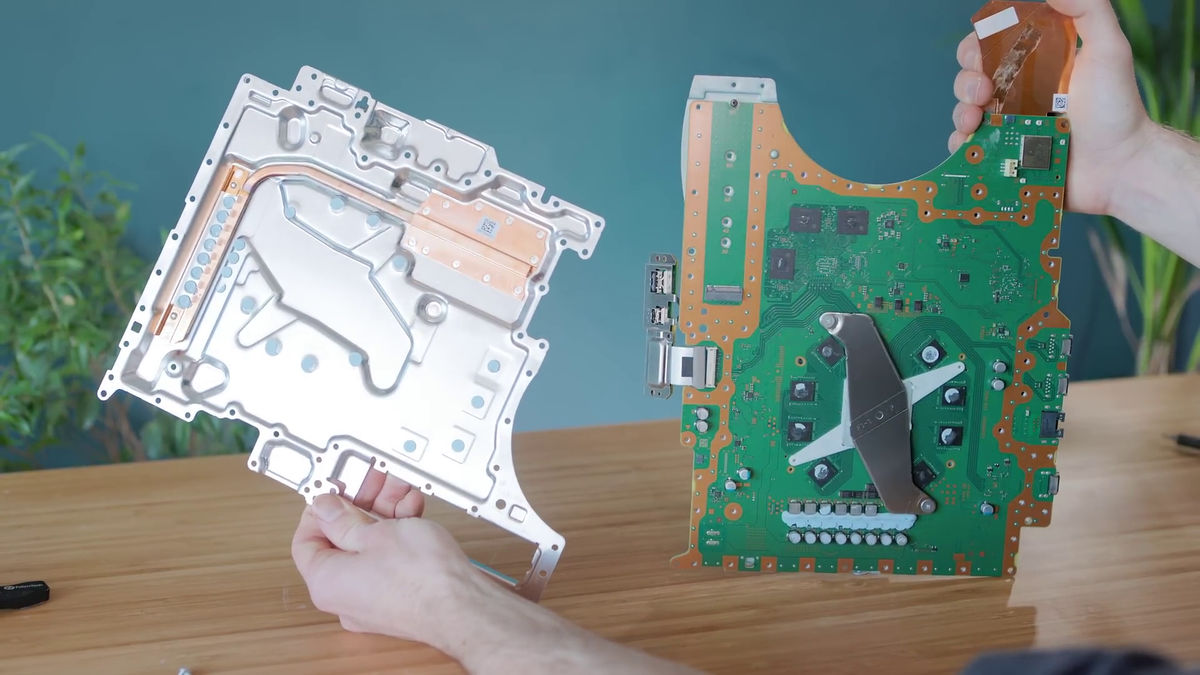
Custom SSDs and memory chips are mounted on the back of the board, all of which are coated with heat-dissipating silicone.
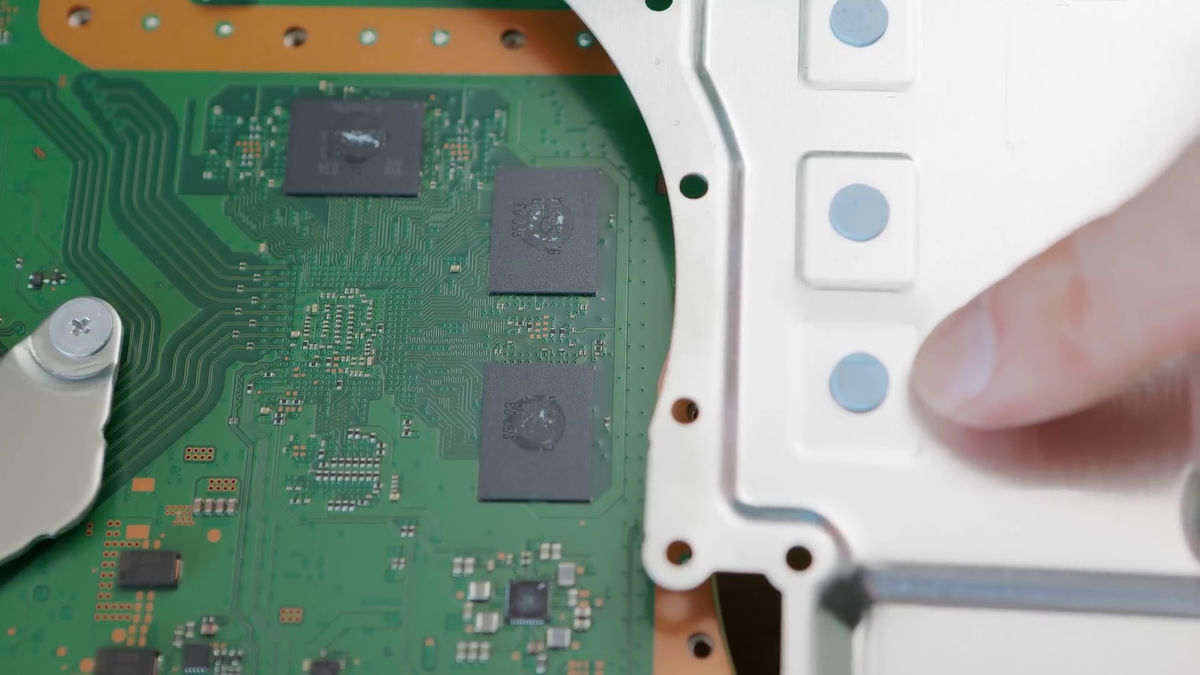
Therefore, a copper plate is installed in the part where various chips are placed.
Apply new liquid metal to the custom SoC ...
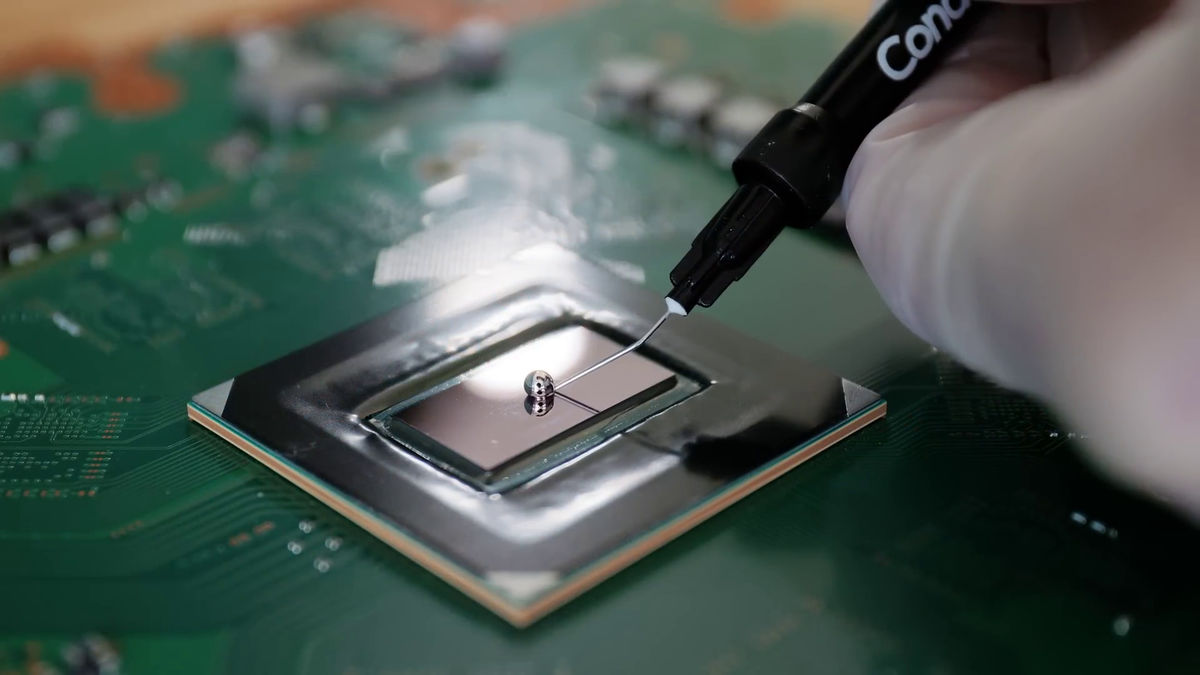

Secure the board on top of the copper plate parts.
The parts arranged to cross in a cross are the ones that were originally attached to the PS5.
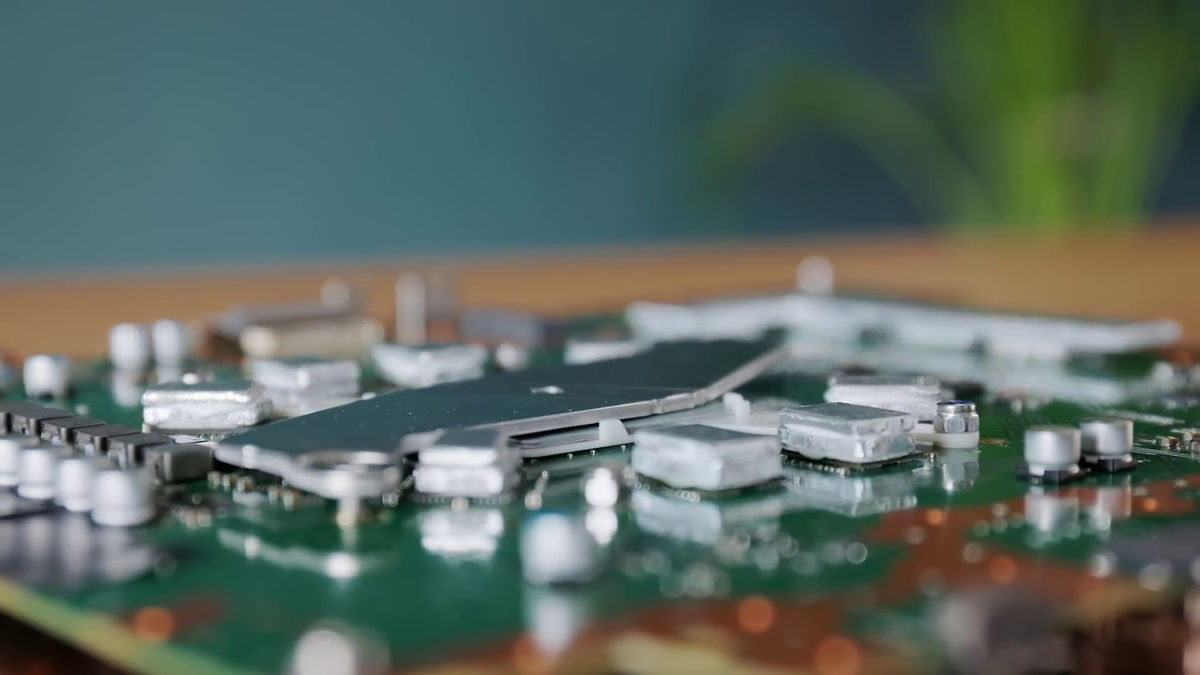
A handmade metal plate is placed on the various chips on the surface that does not come into contact with the copper plate to improve heat dissipation efficiency.
It looks like this when you finish loading. You can see the silver plate on top of the memory and custom SSD.
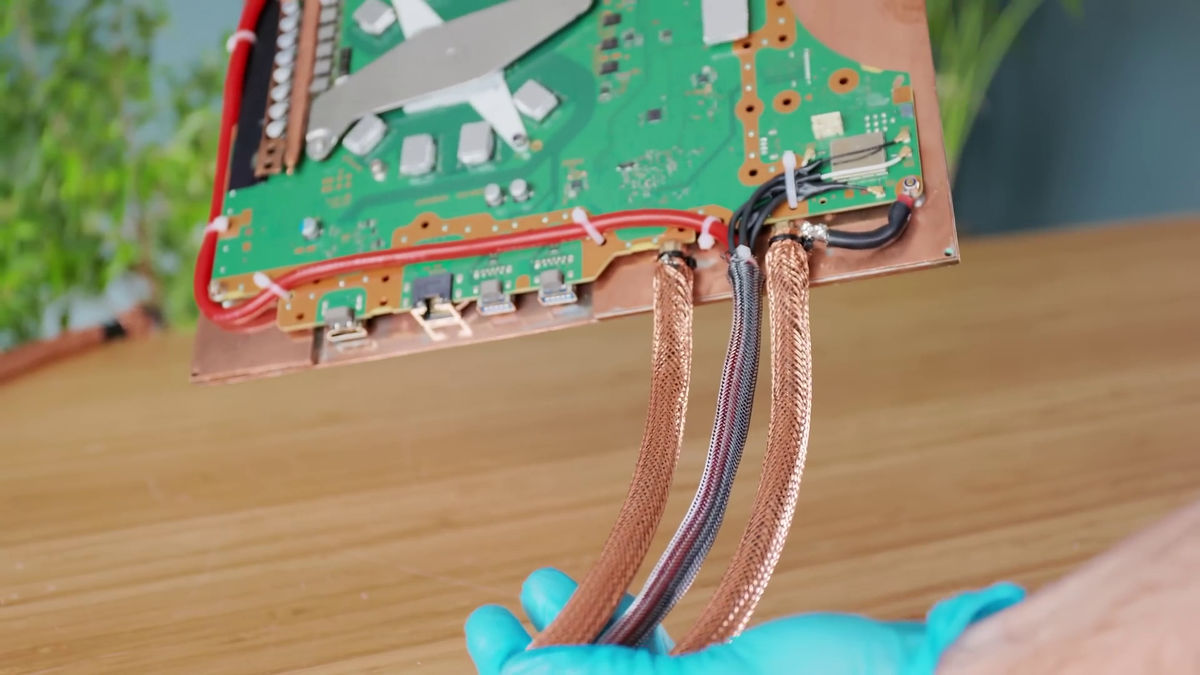
Next, a brown heat pipe attached to the PS5 shield.

Purchased and installed a heat pipe to replace this.
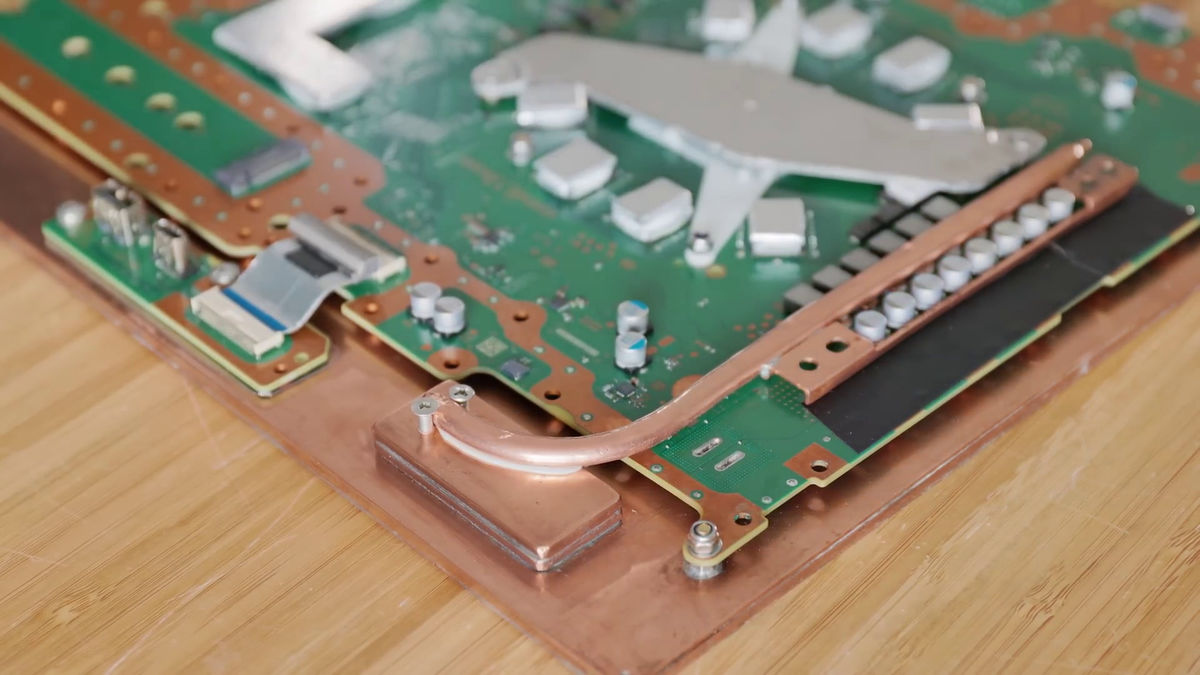
After that, wire various parts correctly ...
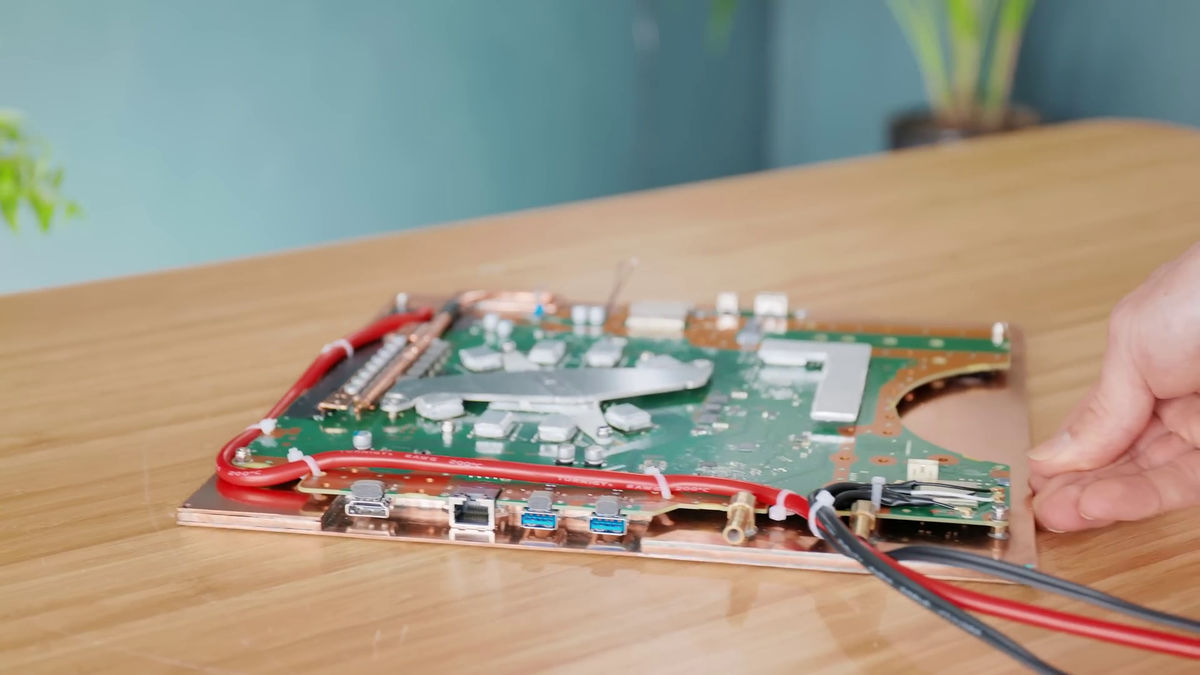
Connect the tube that serves as the passage for the cooling water to the pipe.
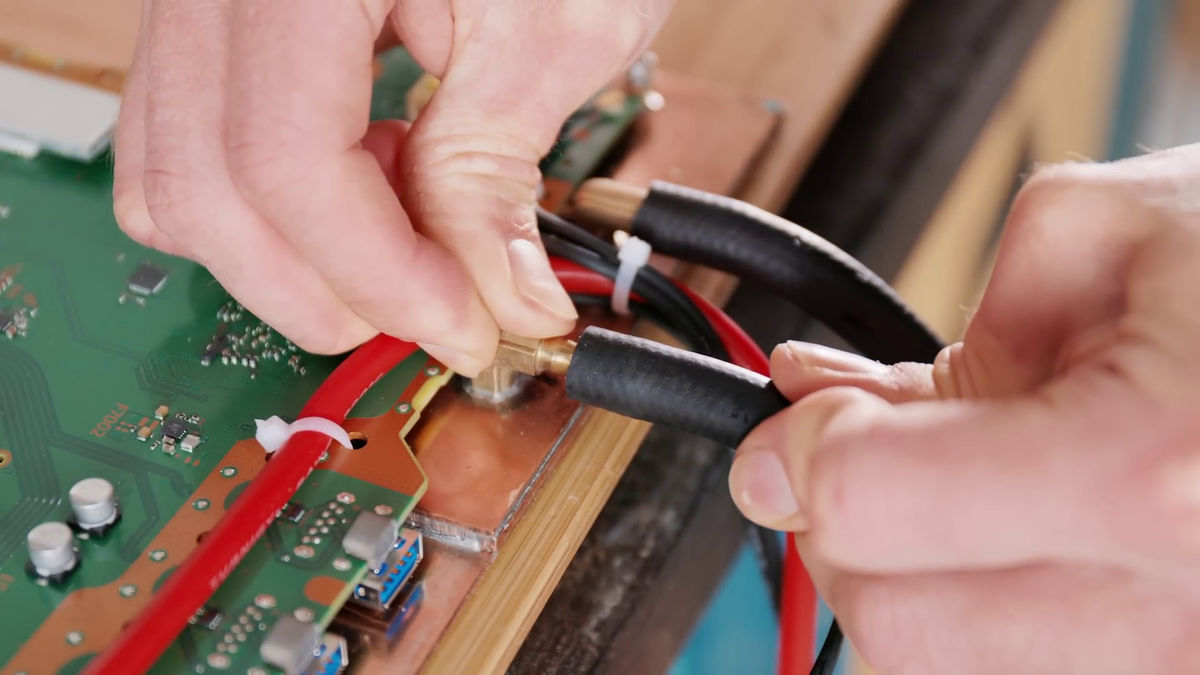
In addition, cover the cable with a cover.
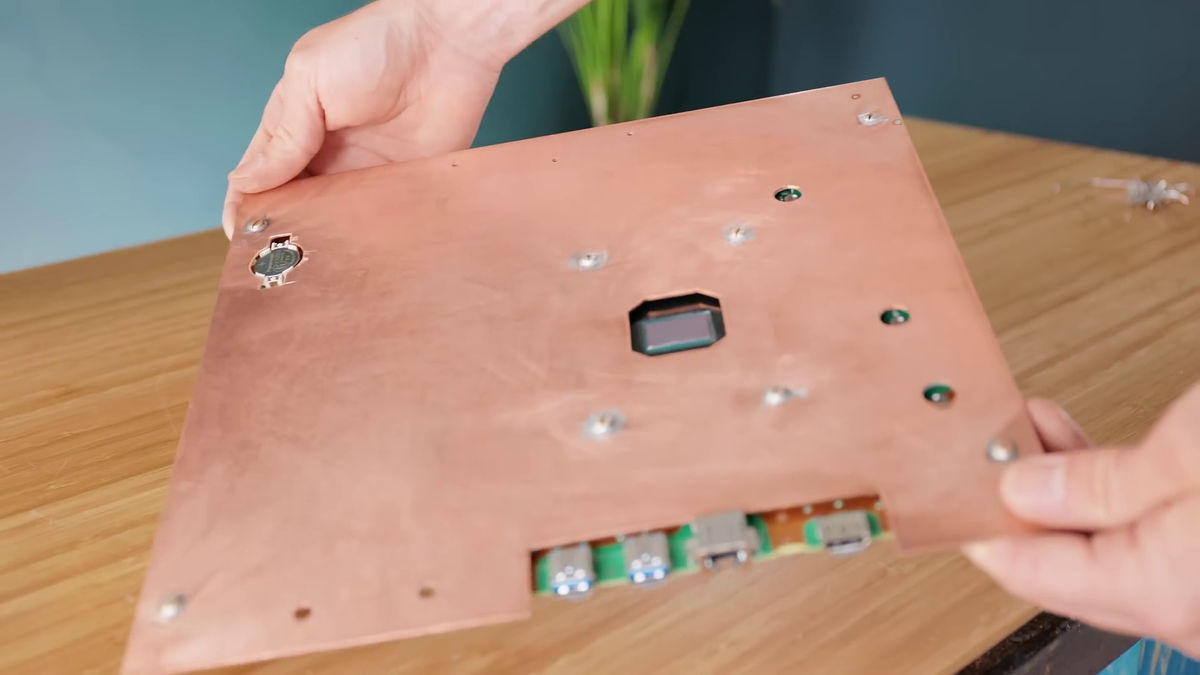
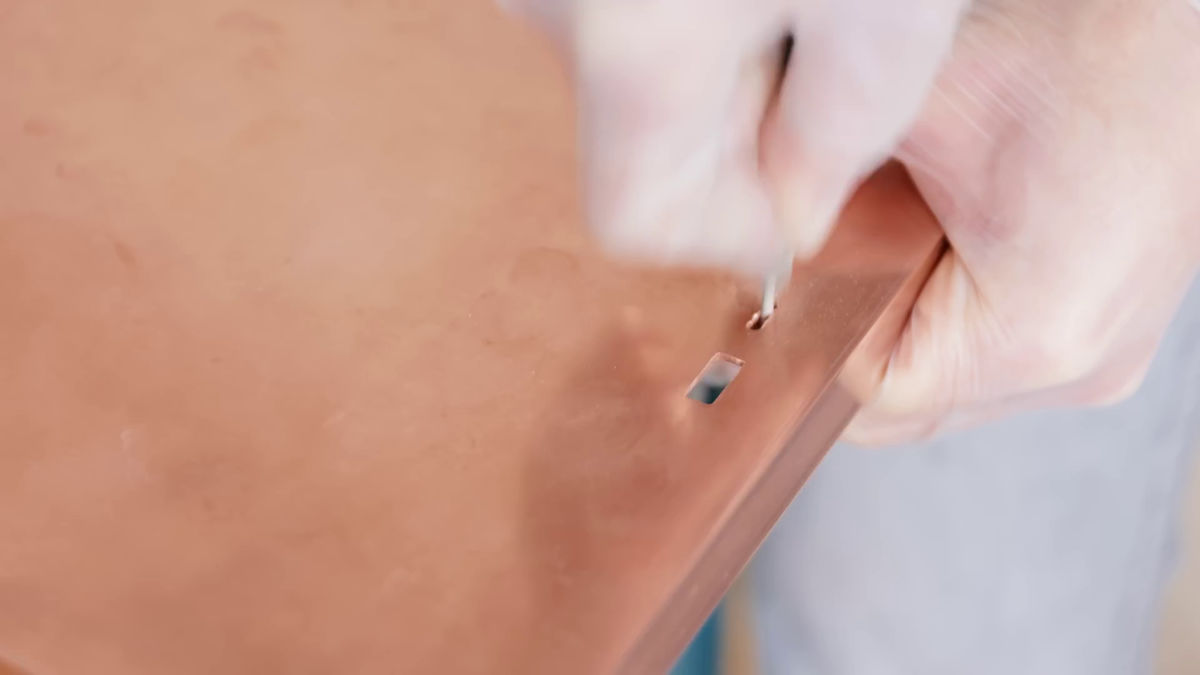
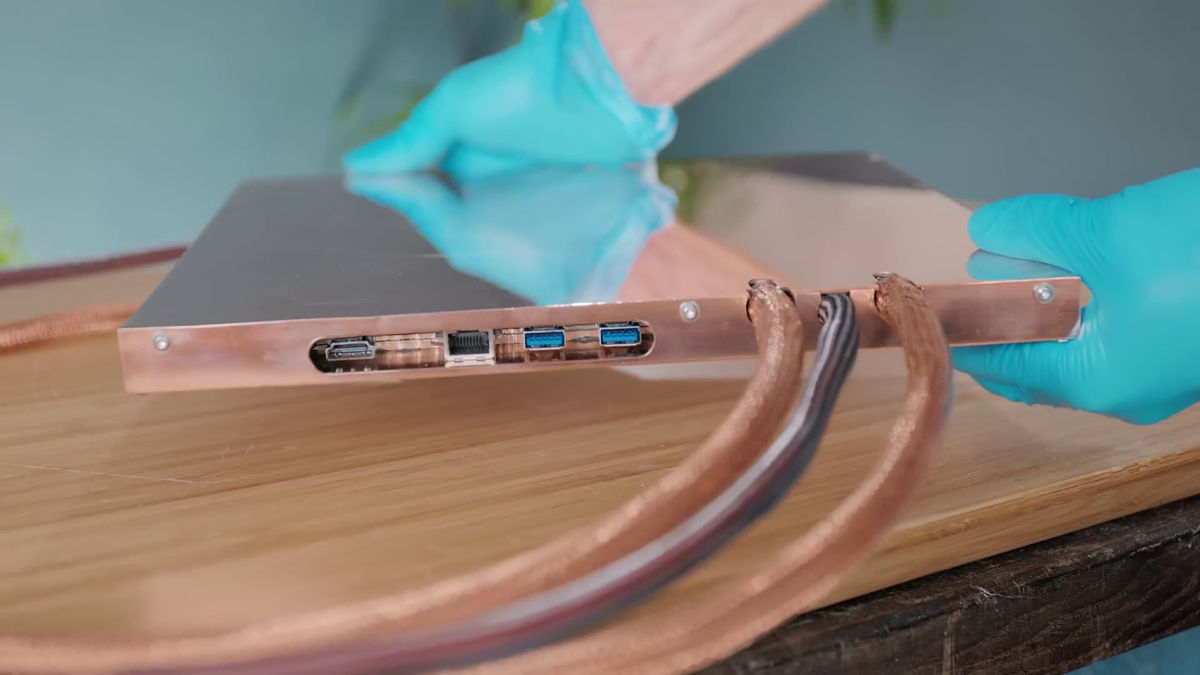
And also make a case from a copper plate ...

Drill a hole for the I / O port.
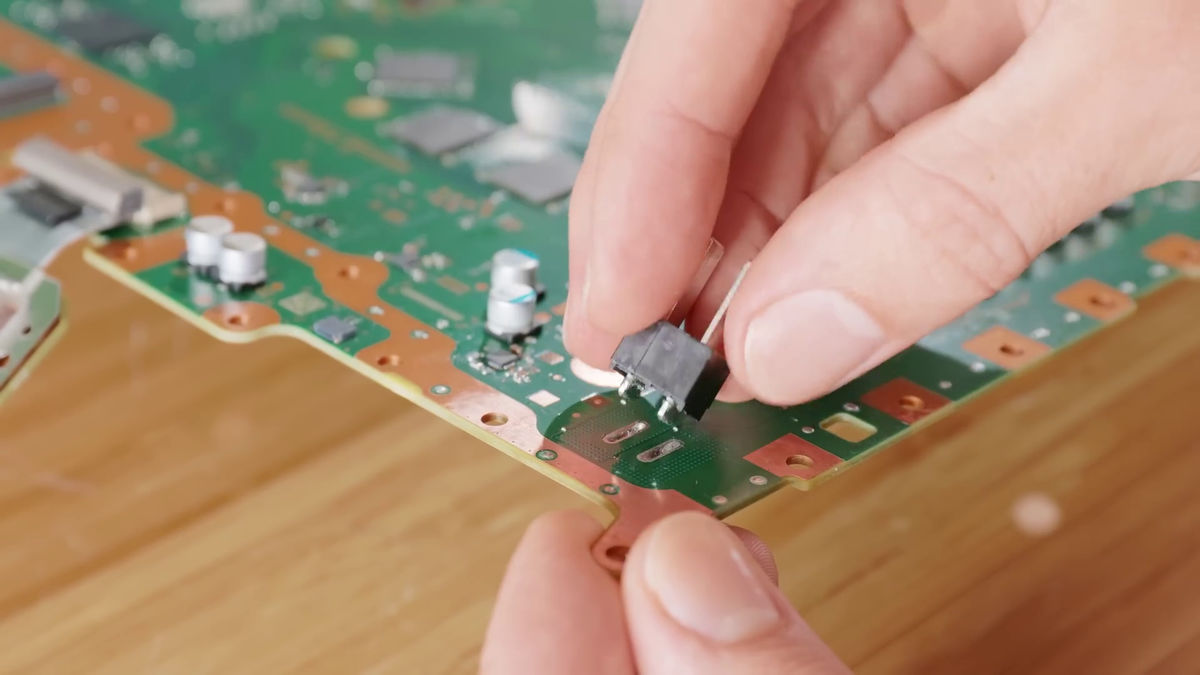
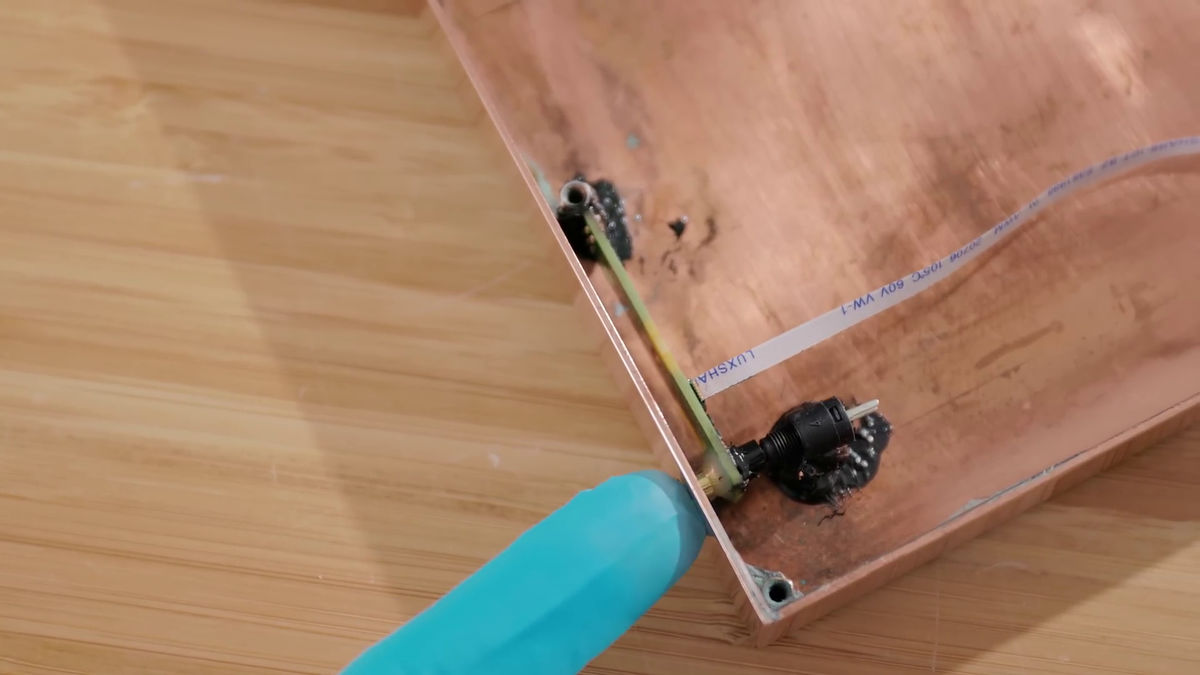
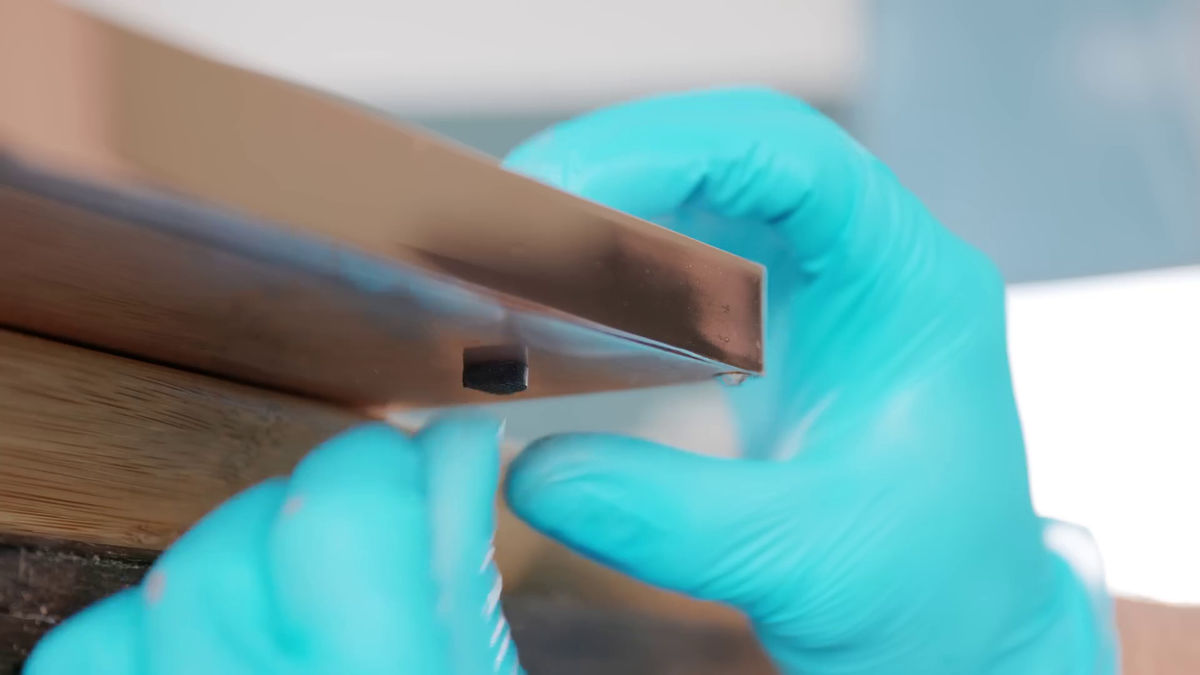
I also made my own power button.
After attaching the legs ...
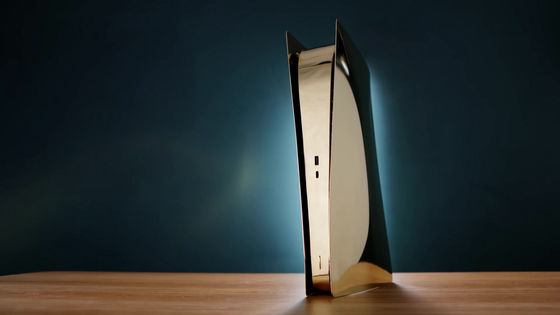
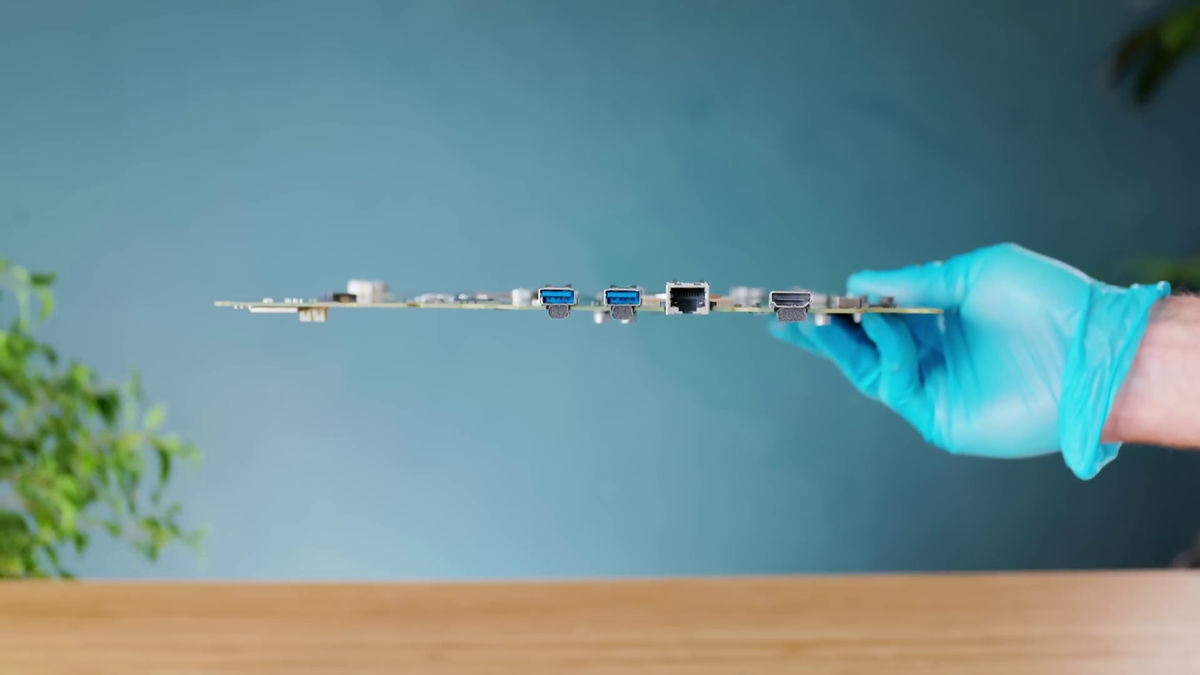
Complete. The I / O port can be accessed from the back.
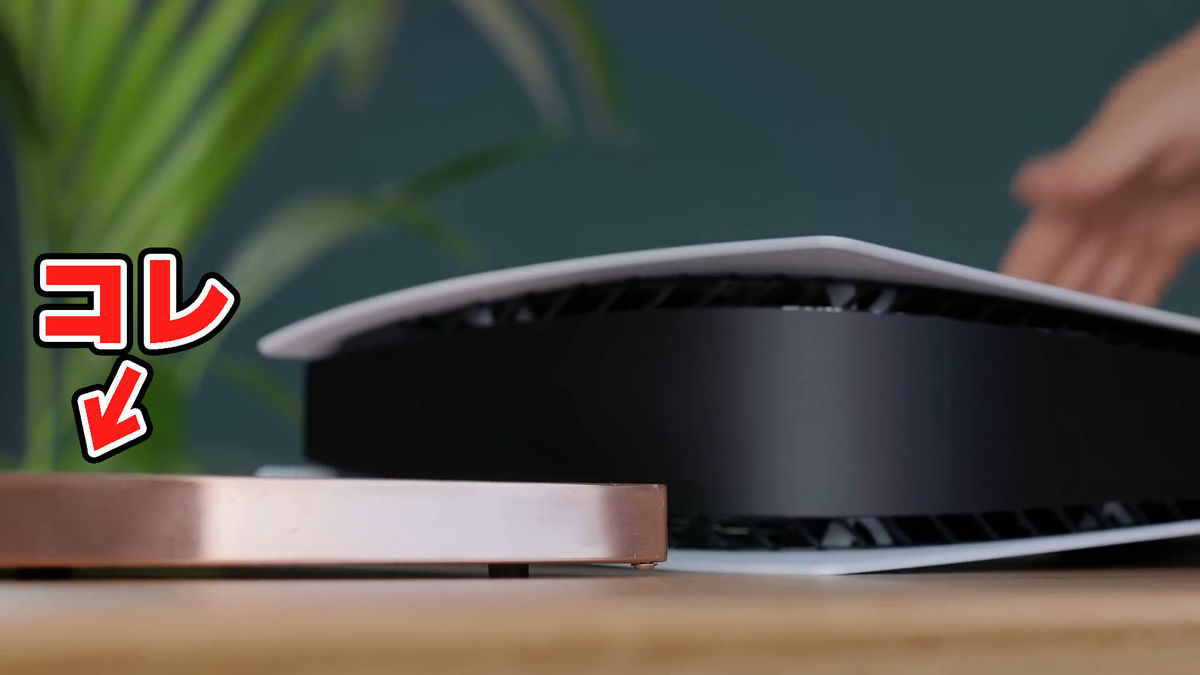
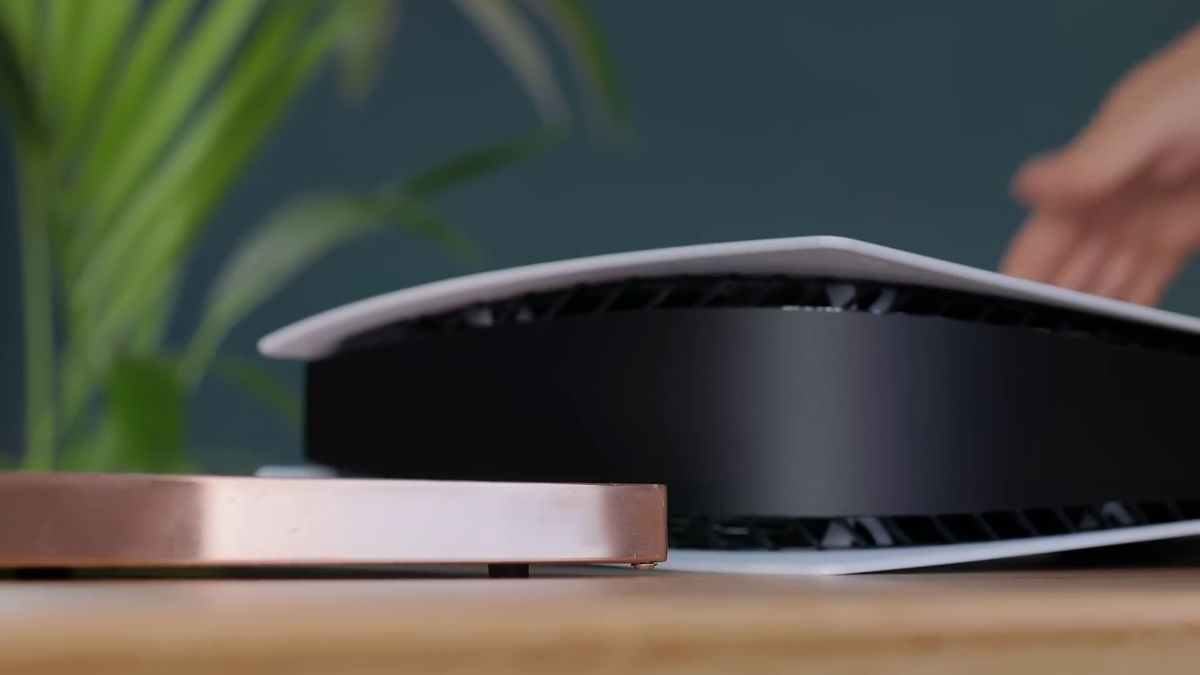
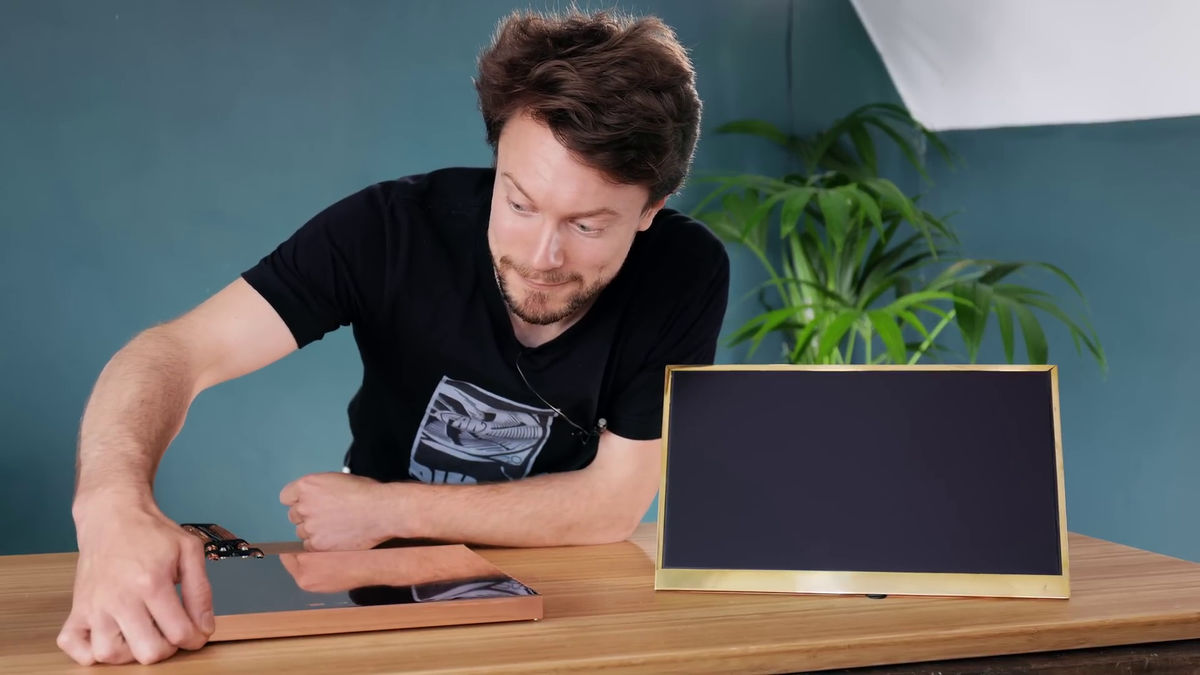
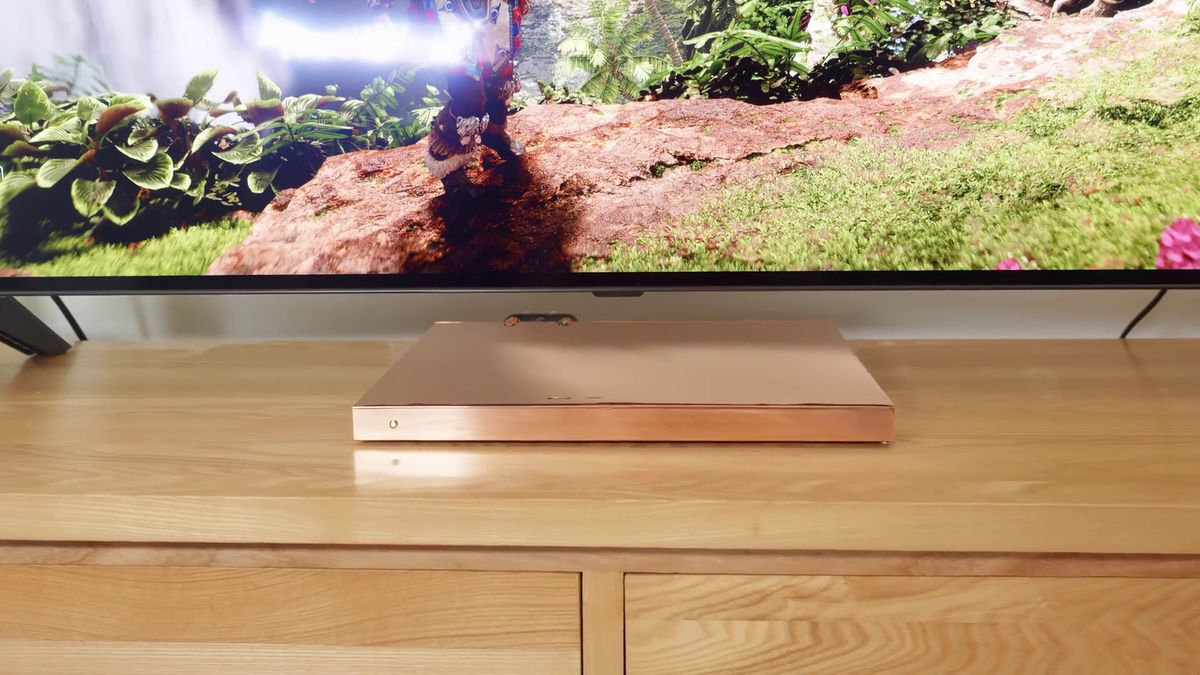
When installed, it looks like this.
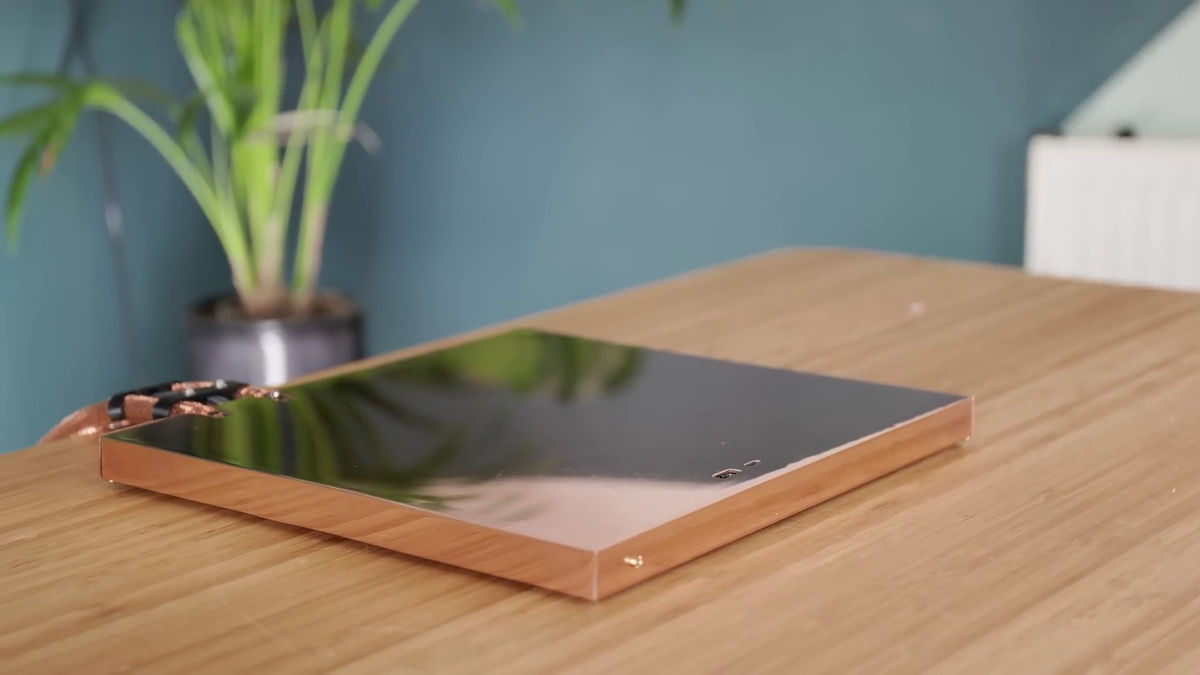
The thickness is amazingly less than 2 cm.

Compared to PS5, it looks like this.
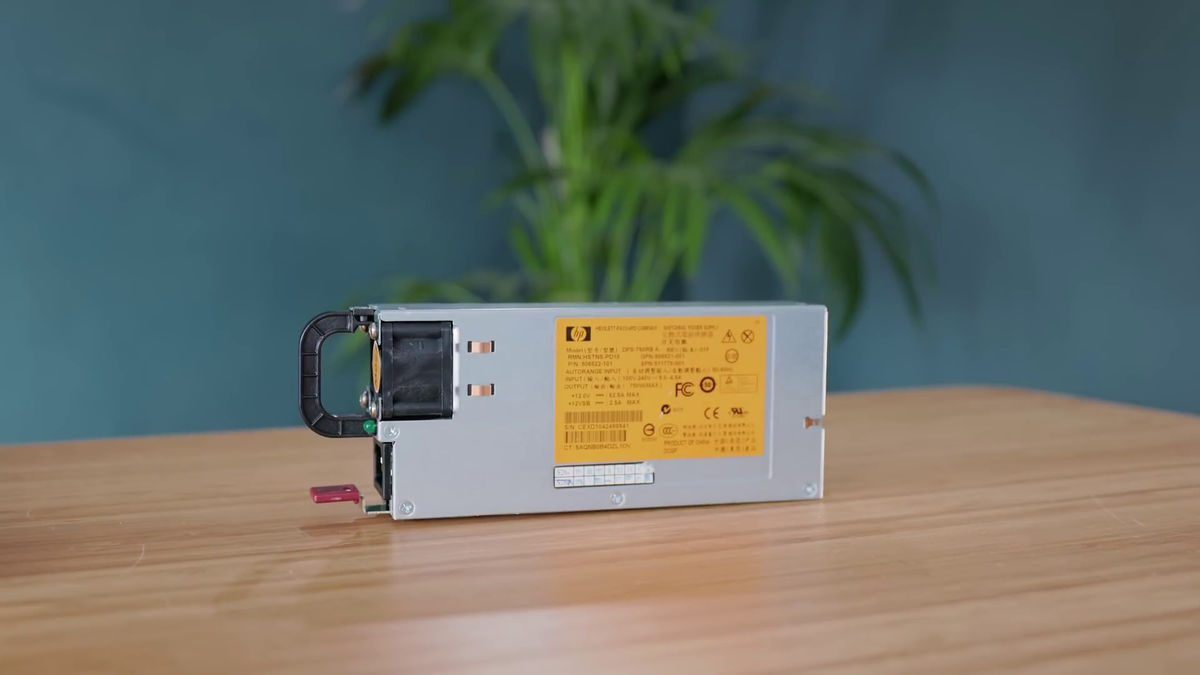
However, this alone will not work, so we will create the base part of the power supply and water cooling system. First, prepare the same input / output power supply as the PS5's built-in power supply.
The base part of the water cooling system uses that of
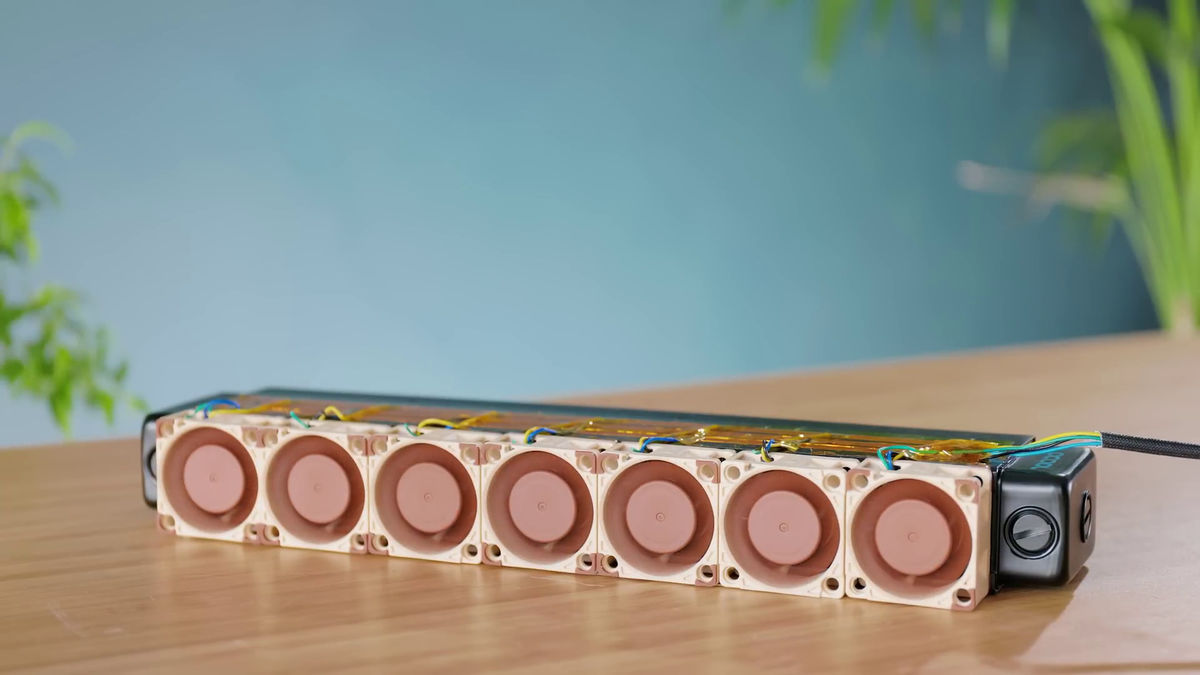
Put these together.
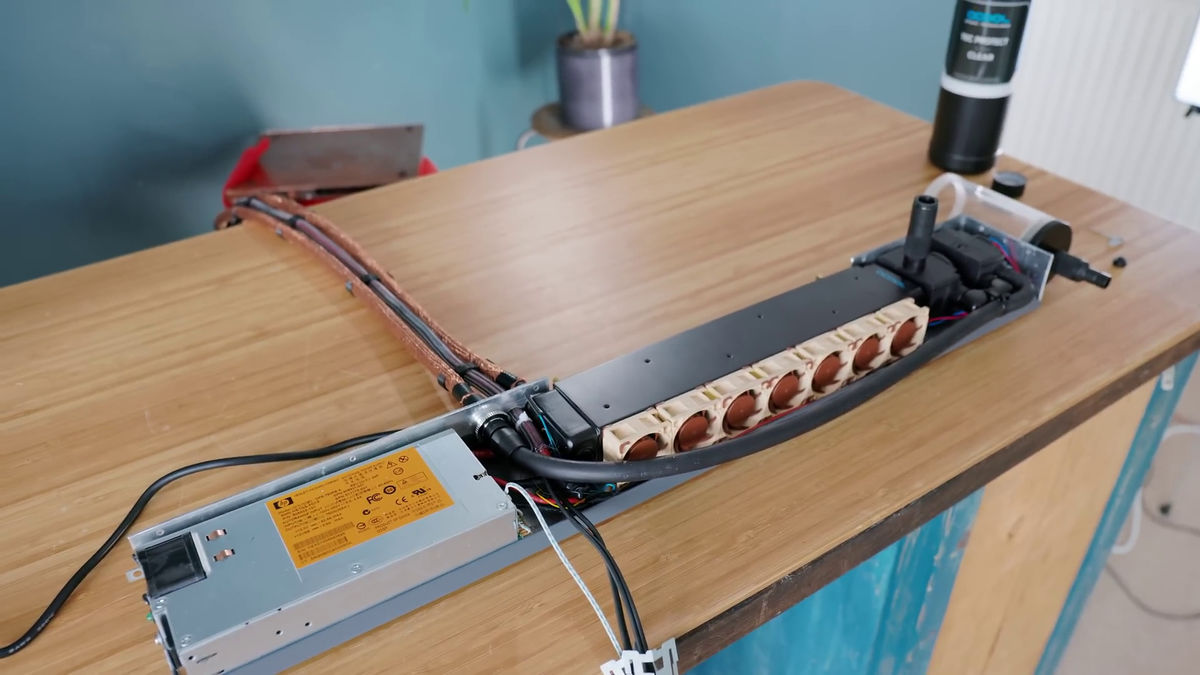
Pass the cooling water through the water cooling system ...
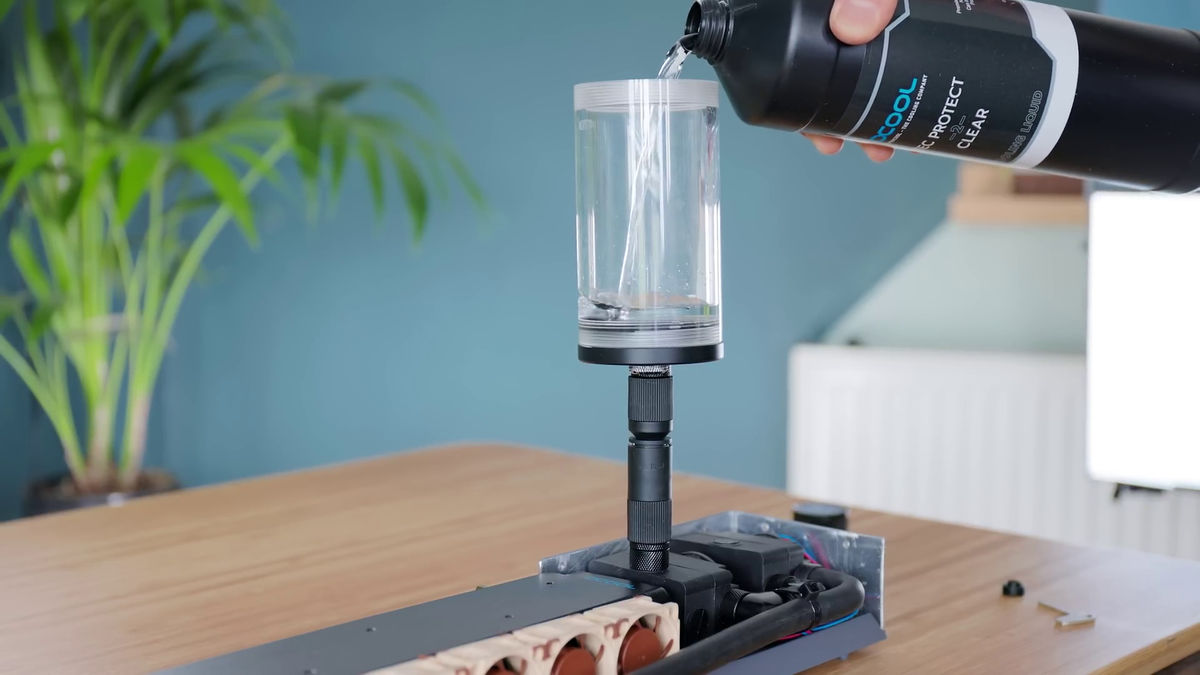
Complete with a case.

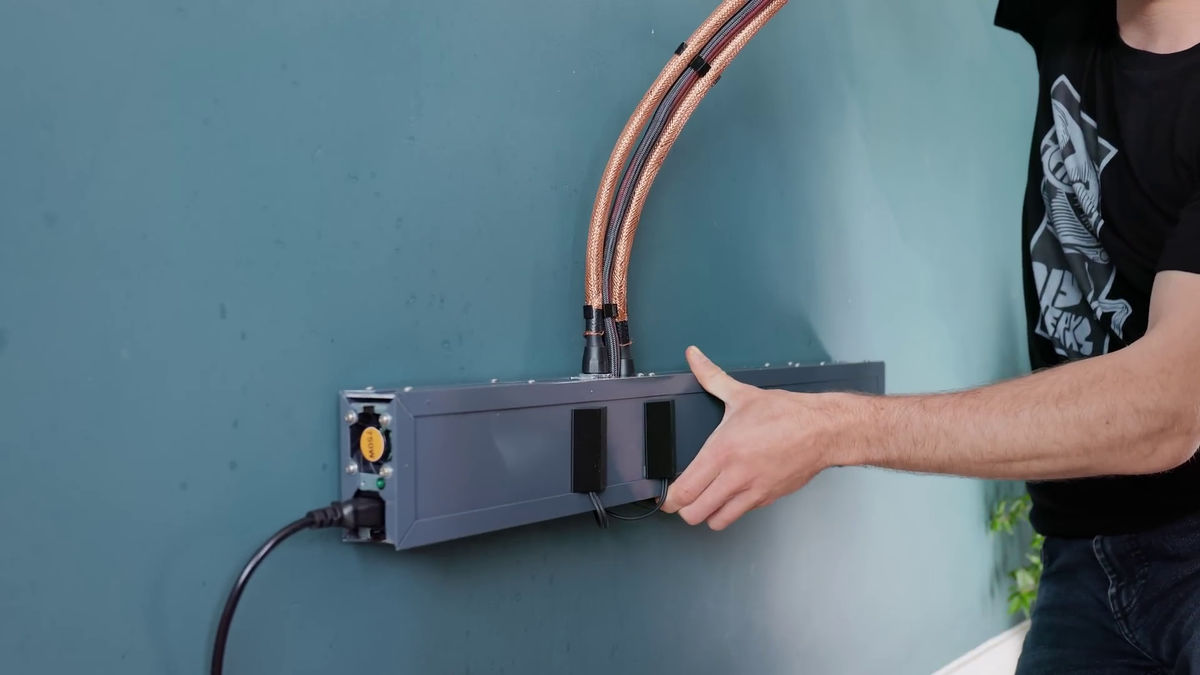
If you fix the power supply & water cooling system so that it is hidden on the wall, you will succeed in slimming down the PS5.
After that, only operation check. Although the startup experiment failed twice ...
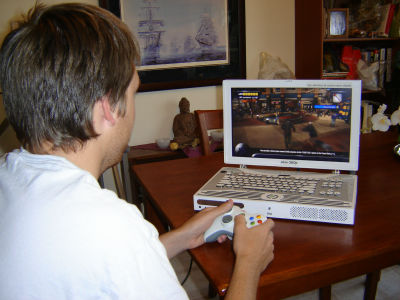
After checking the wiring and replacing the board, it finally succeeded in starting up. You can play the game just like a regular PS5.

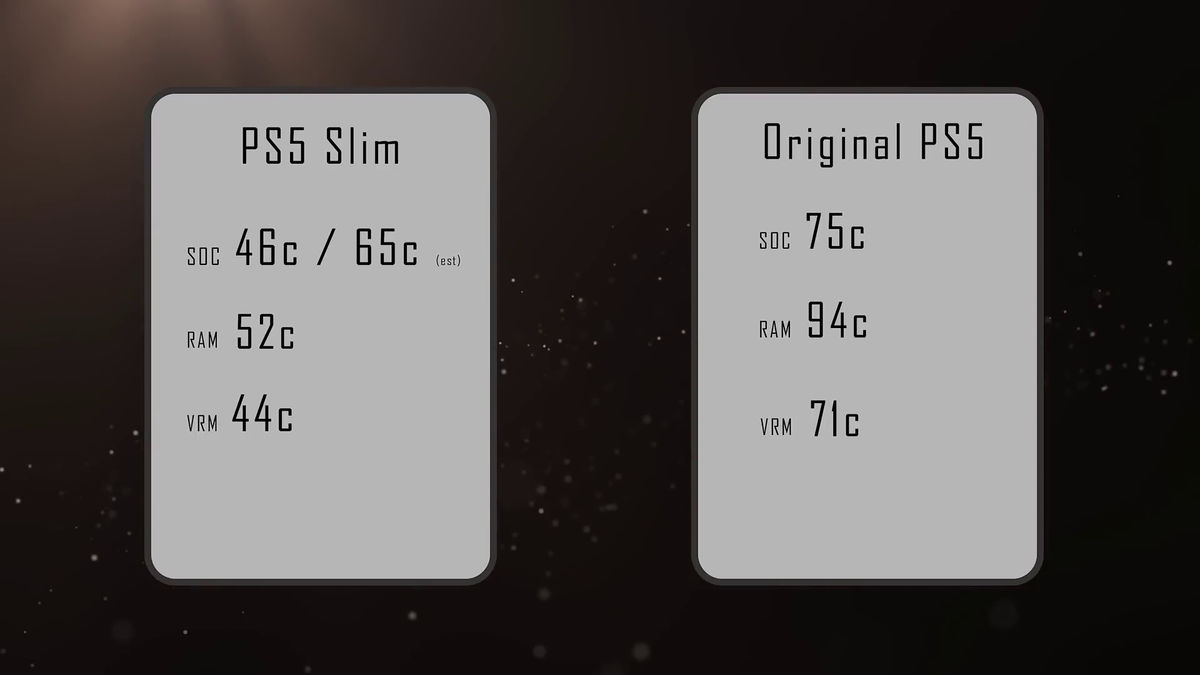
In addition, the modified PS5 (PS5 Slim) by DIY Perks had a SoC temperature of 46 degrees (estimated 65 degrees), a memory of 52 degrees, and a voltage regulator module temperature of 44 degrees when operated at room temperature of 24 degrees. On the other hand, the normal PS5 has a SoC of 75 degrees, a memory of 94 degrees, and a voltage regulator module of 71 degrees, and it was shown that the cooling performance of various components also surpasses that of PS5.
The movie ends while playing the PS5 game '
In addition, it seems that it took about 2 months to modify PS5 by DIY Perks.
Related Posts: