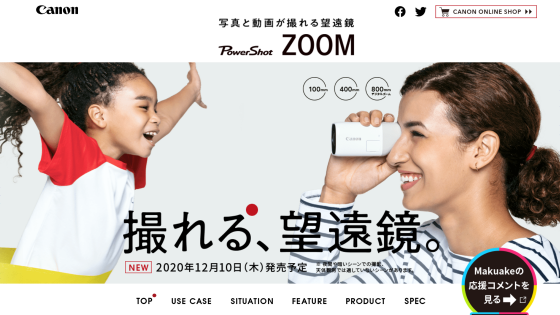
Video camera 'PowerShot ZOOM' review that can be used as a telescope in the palm of your hand
Canon has announced the 'PowerShot ZOOM ', a compact and lightweight telescope-type camera. With autofocus and optical image stabilization, it weighs about 145g and is about the weight of a paperback book, making it easy to hold, and it is possible to perform operations such as recording and shooting with just one hand. I got the chance to touch it a little earlier, so I actually tried it out.
Canon: PowerShot ZOOM Special Site
◆ 2: Actual shooting
◆ 3: Cooperation with smartphone apps
◆ 4: Charging method and summary
◆ 1: Opening & appearance of the main body looks like this
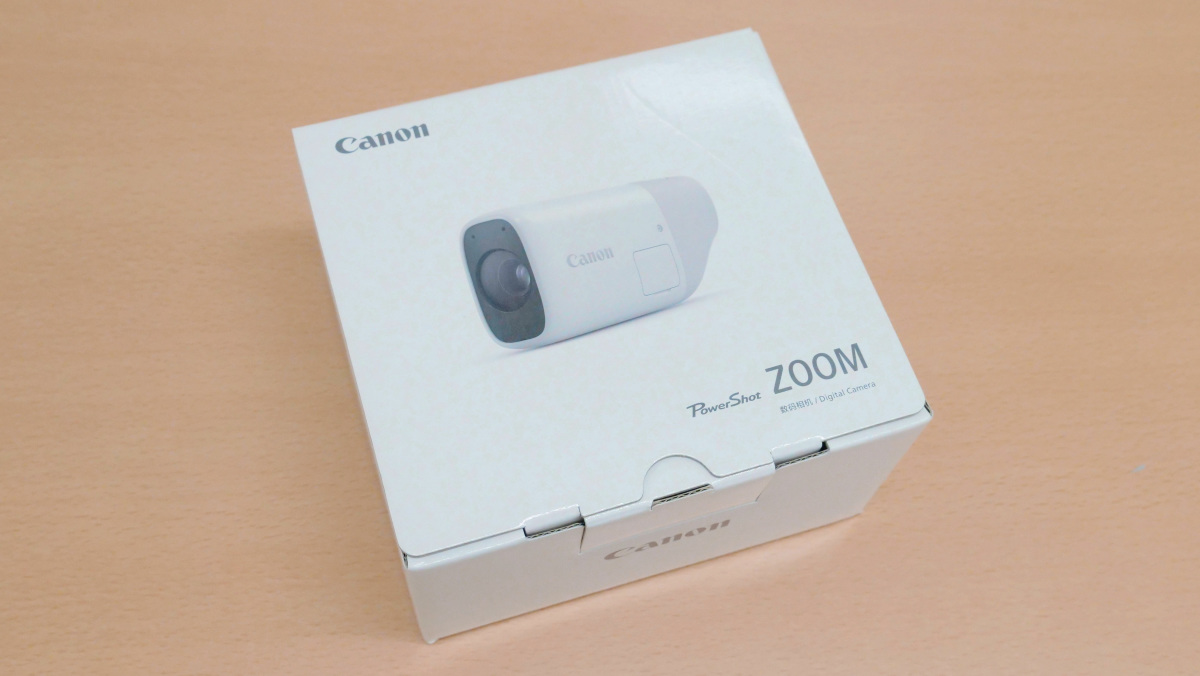
The package of 'PowerShot ZOOM' looks like this.
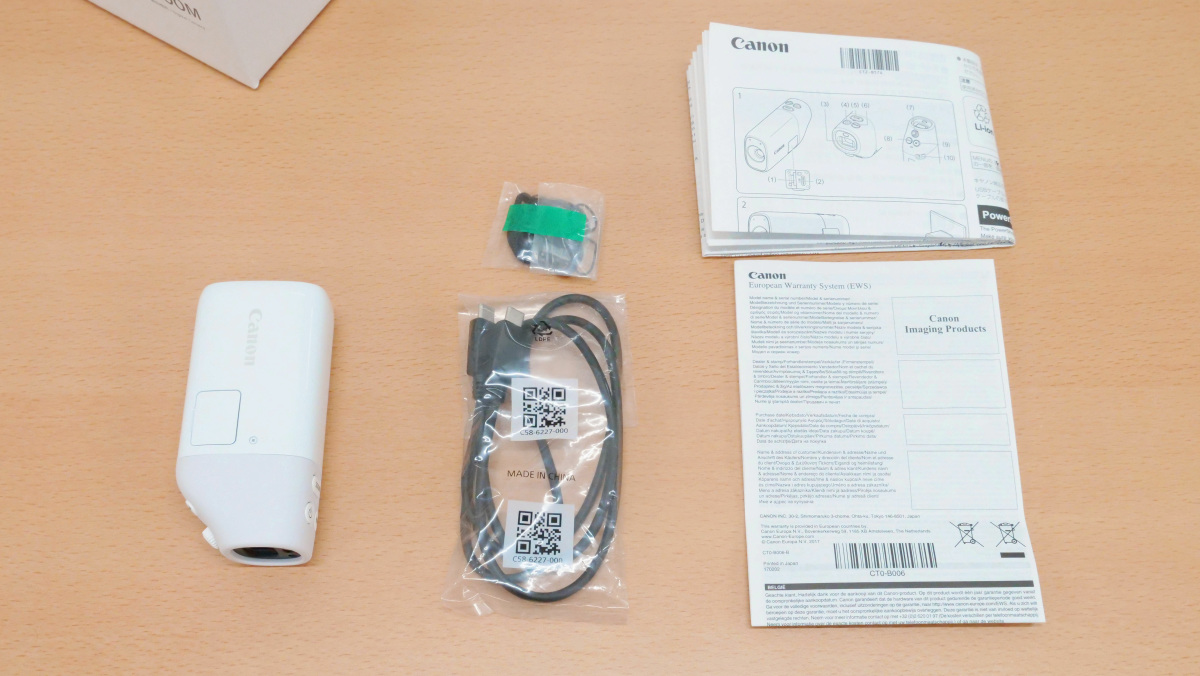
It contained a PowerShot ZOOM, a strap, a Type-C USB cable on both ends, instructions, and warranty instructions for Europe.
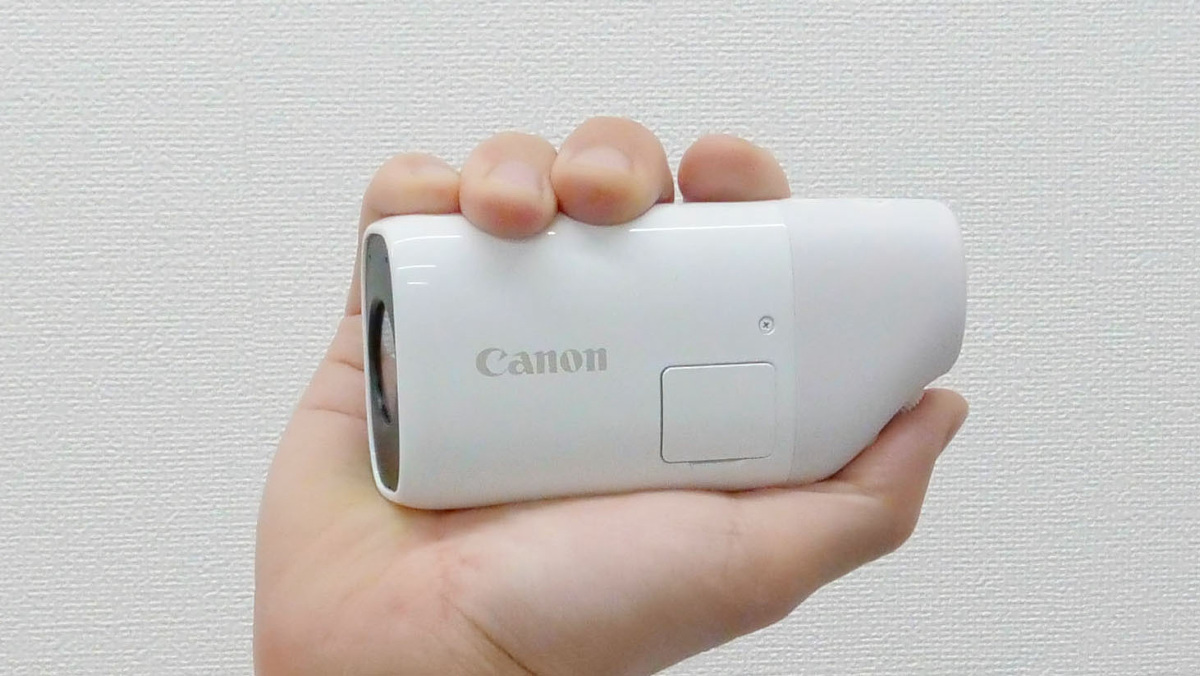
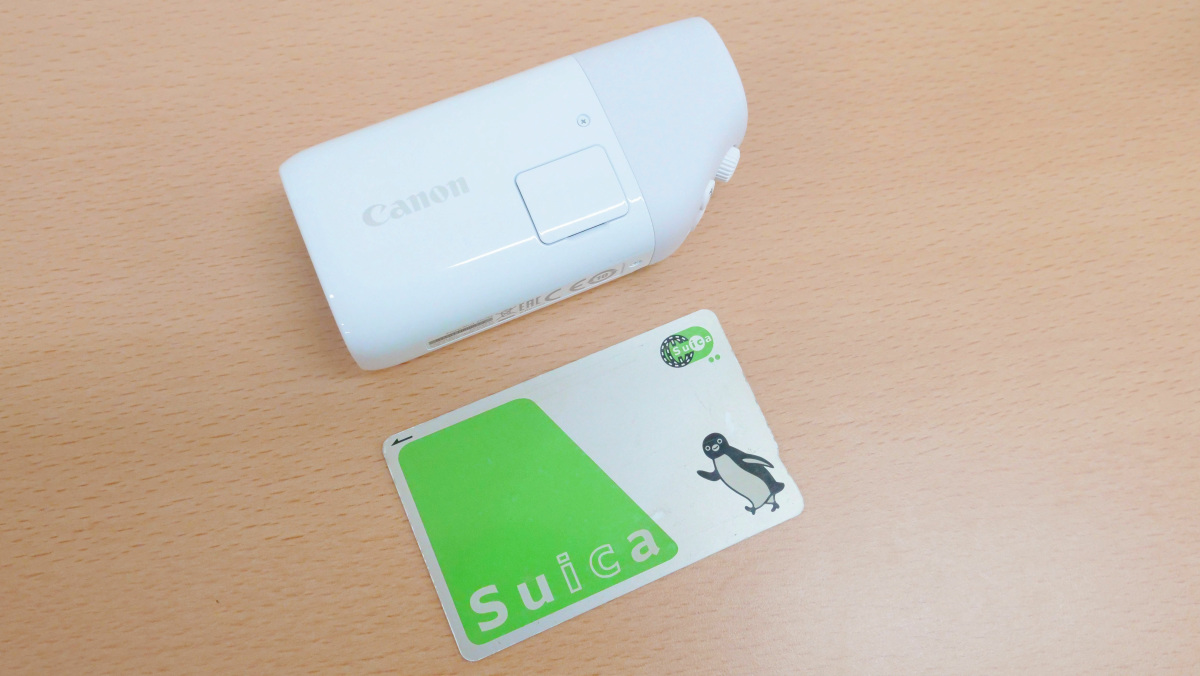
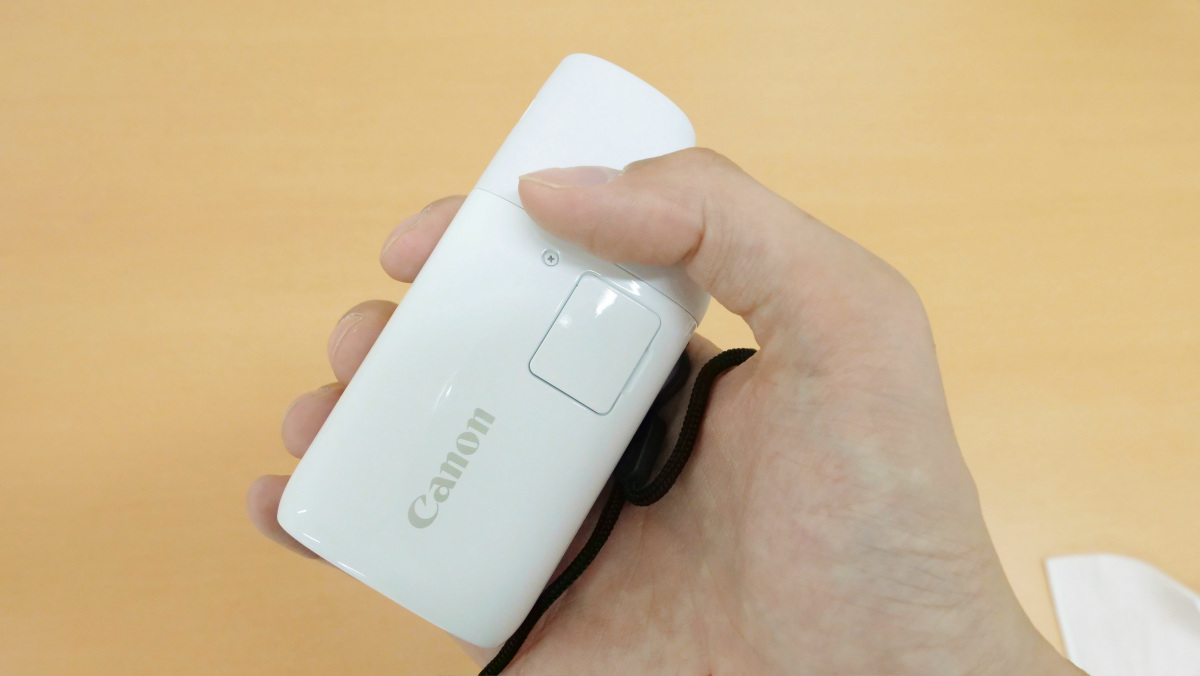
This is PowerShot ZOOM. The size is about 33.4 mm x about 50.8 mm x about 103.2 mm, and the weight of the main body alone is about 144 g. It is a size that fits comfortably in the palm of your hand.
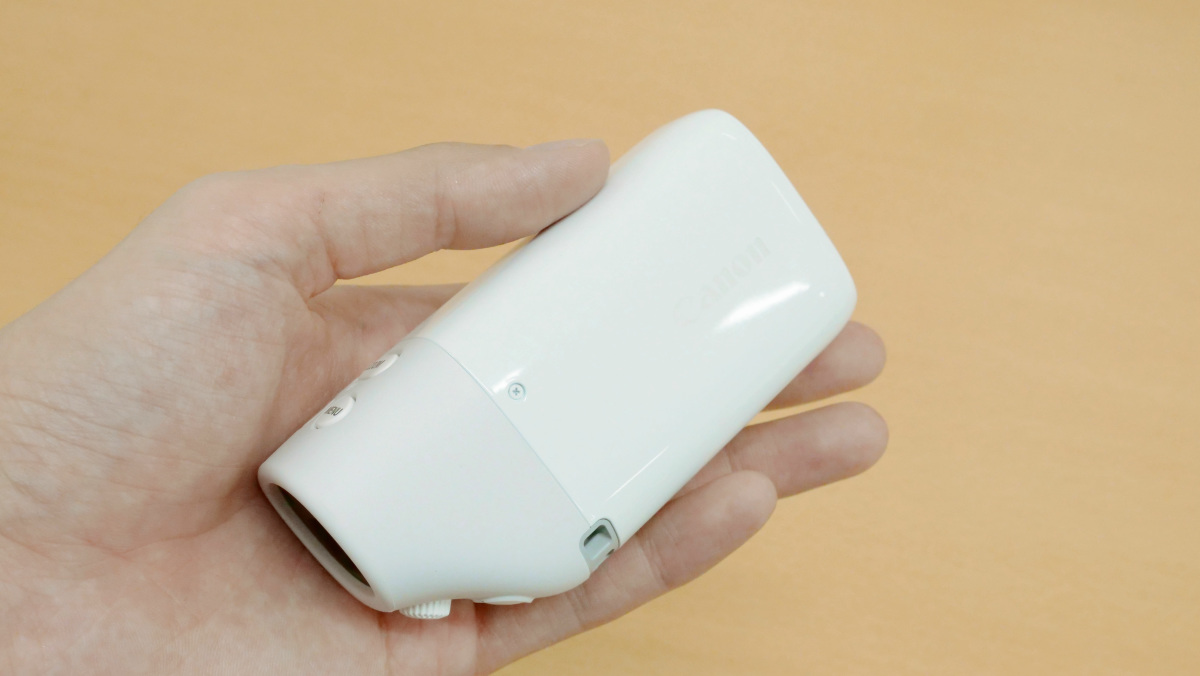
The height is almost the same as the transportation IC card, and it feels a little longer. You can see that it is quite small as a video camera.
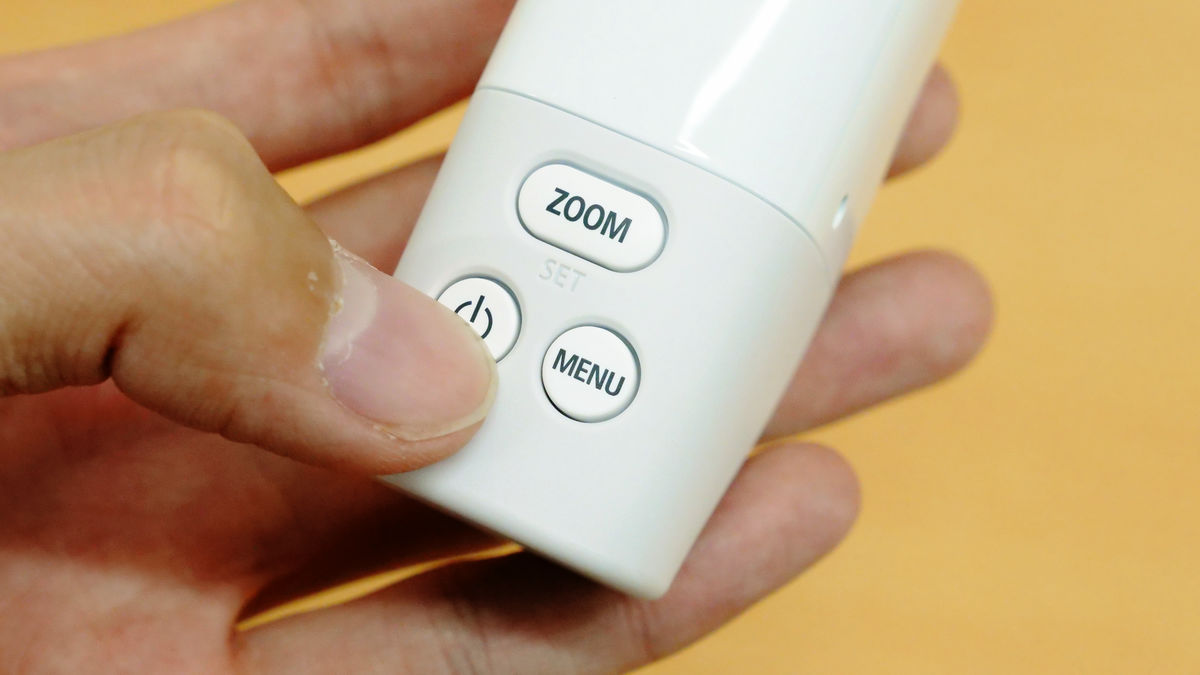
There is a power button, a menu button, and a zoom button on the top.
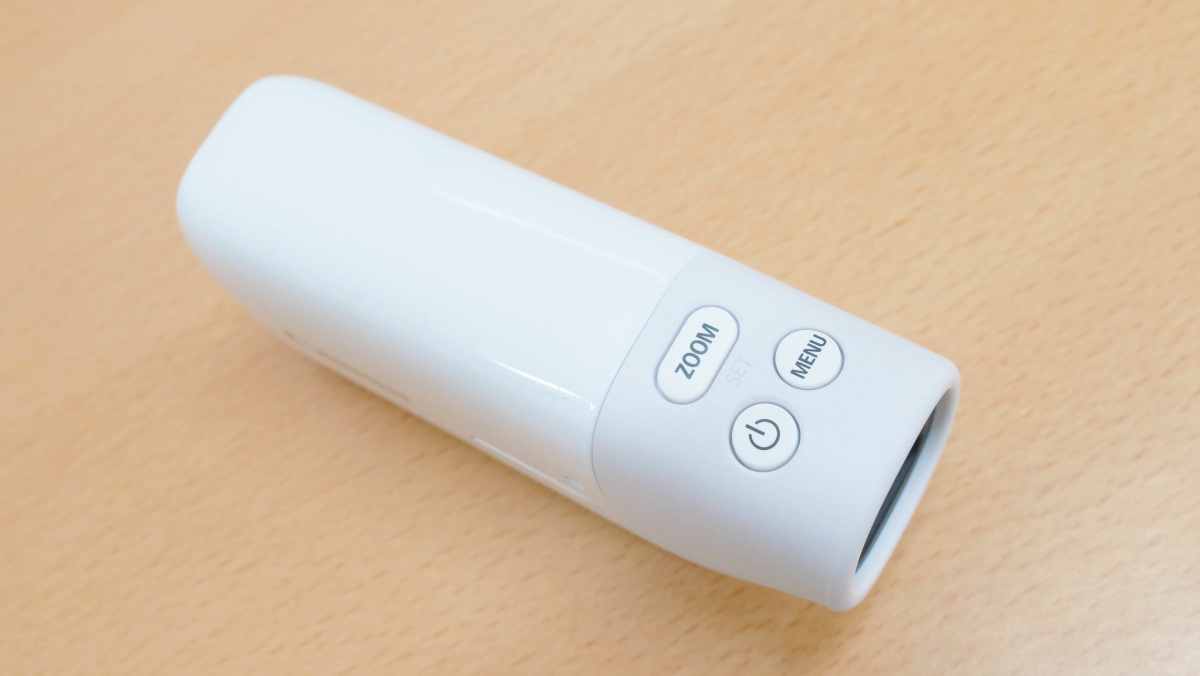
Press the power button once to turn it on, and press and hold it to turn it off from the on state.
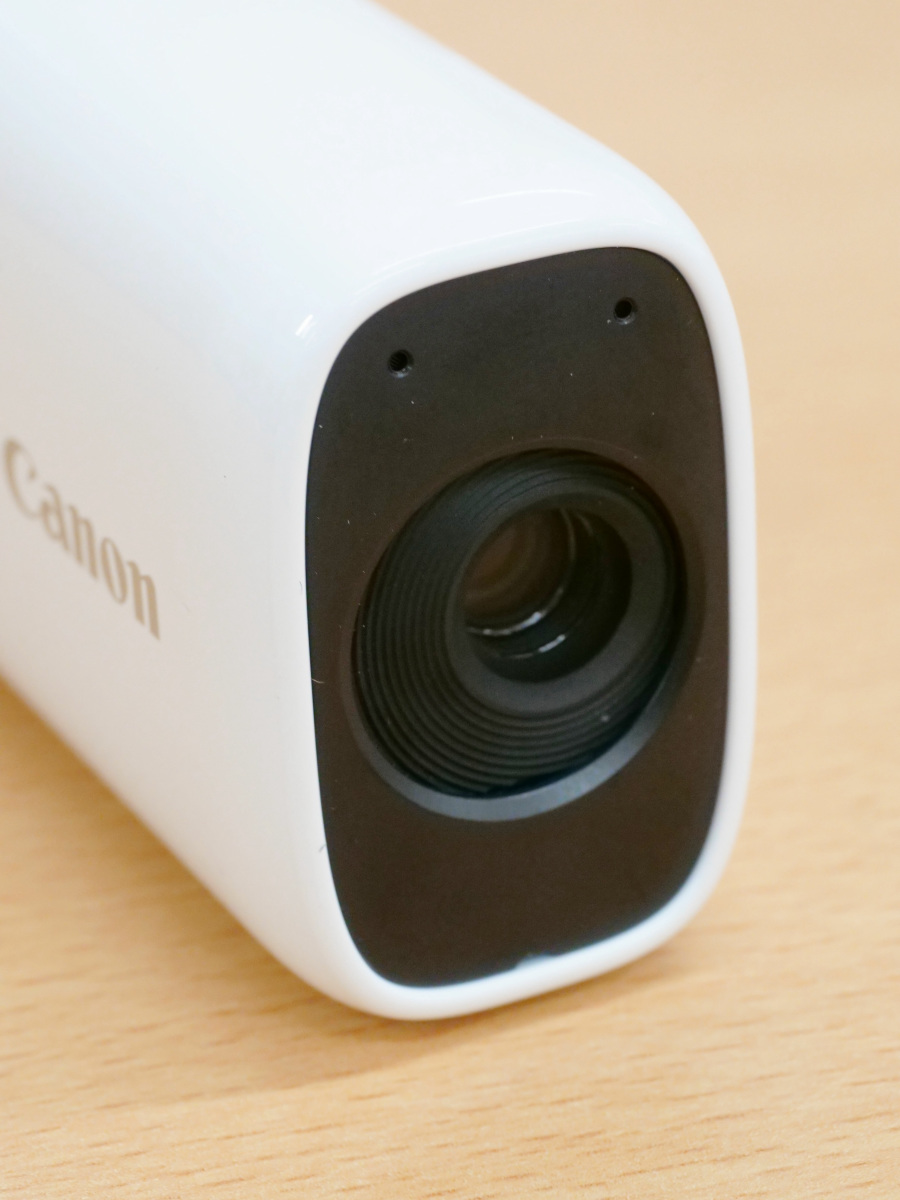
The front has two microphone holes at the top and a lens in the center. The focal length of the lens can be switched between 100mm, 400mm, and 800mm in the 35mm format with the ZOOM button. 100mm and 400mm are optical zooms, but 800mm is a digital zoom, so the image quality will deteriorate.
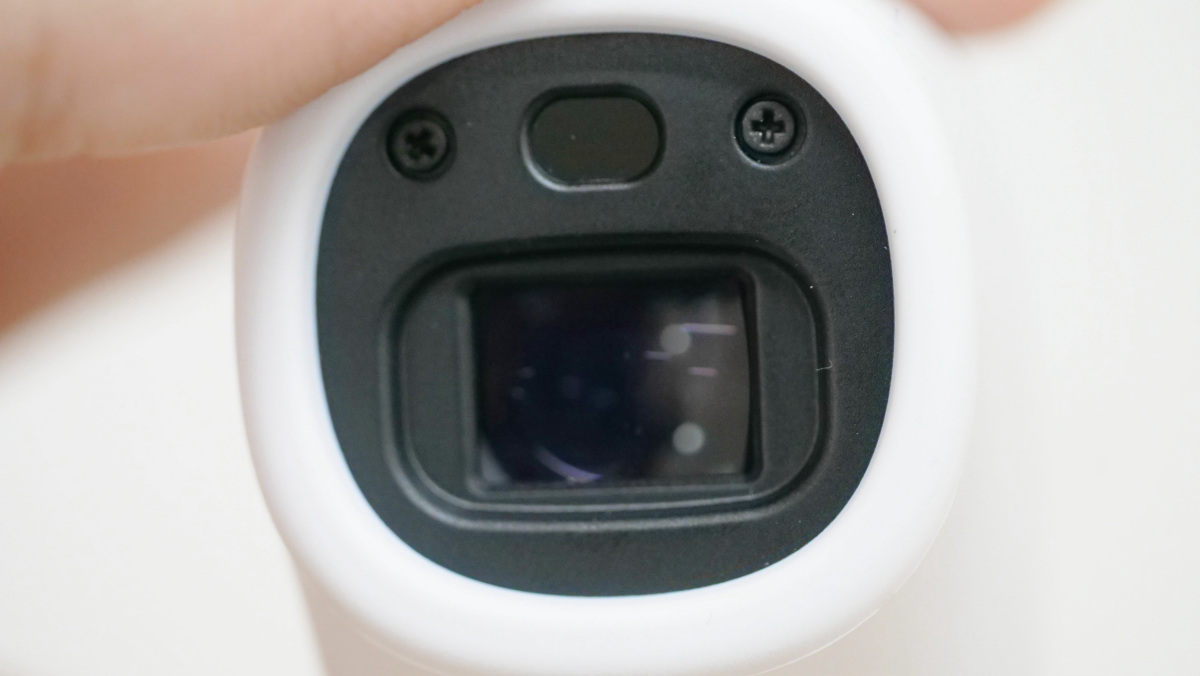
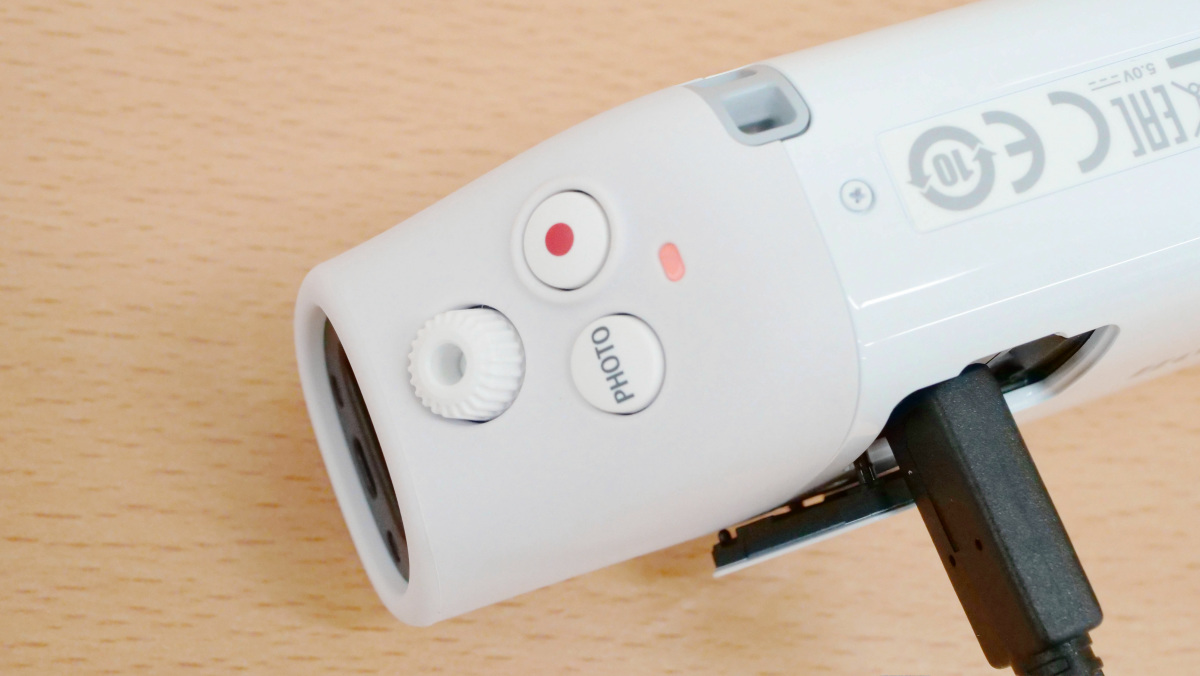
On the back side, there is a proximity sensor and viewfinder, a diopter adjustment dial, a still image shooting button with 'PHOTO' written on it, and a video shooting button with a red circle.
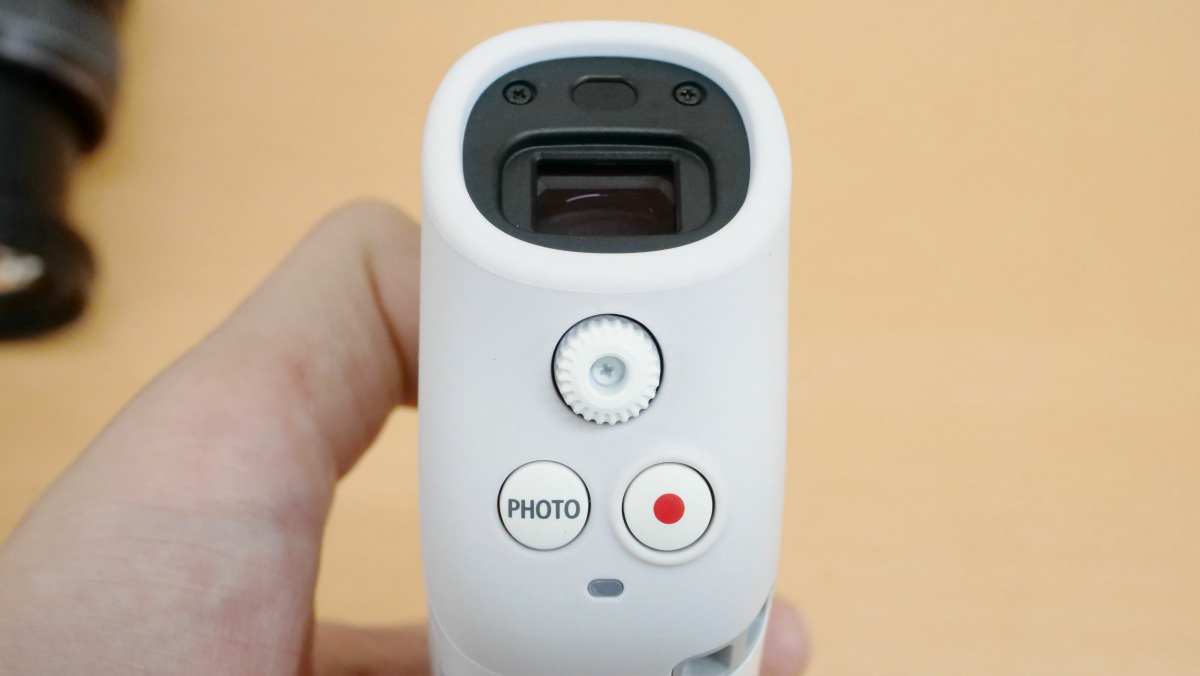
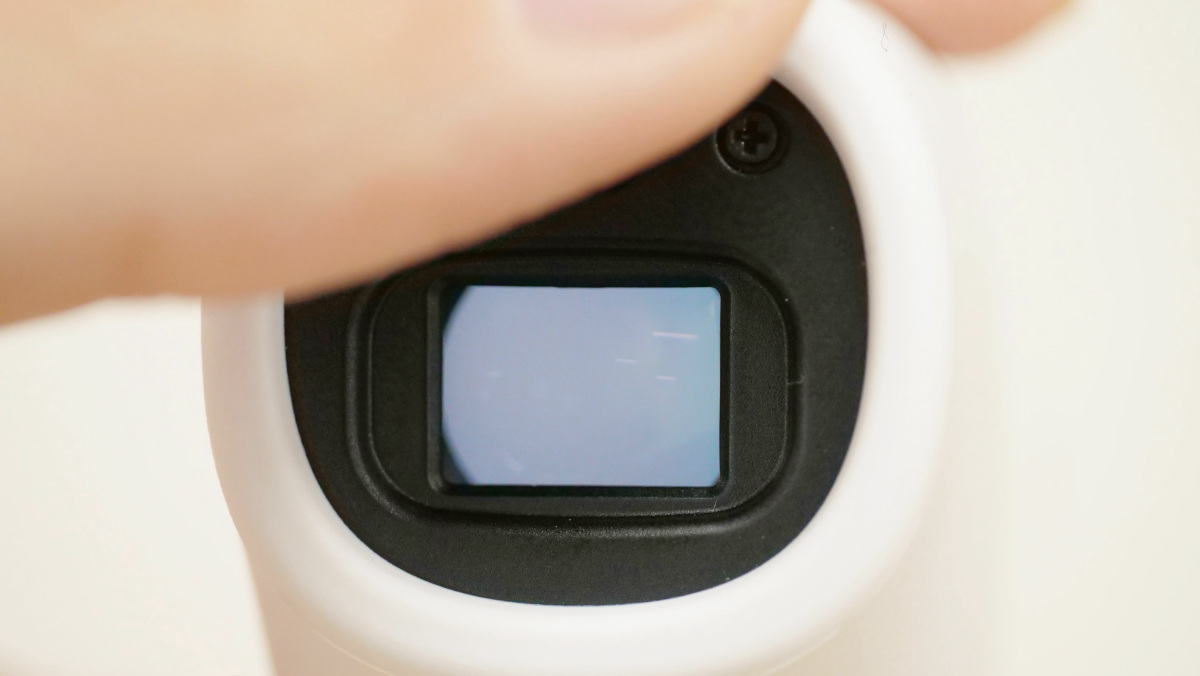
Since it has a proximity sensor, the viewfinder will go dark when you take your face off even when the power is on.
When the proximity sensor responds, it looks like this. You can adjust the focus of the images and menus displayed in the viewfinder with the diopter adjustment dial. One editorial staff commented, 'The focus adjustment range is wider than that of my digital camera, and I was able to adjust it so that I could see it clearly with the naked eye.'
Below the cover on the left side facing the lens is a microSD card slot and a USB Type-C port. This cover sticks to the body so you won't lose it. Since it does not have a built-in storage, it is necessary to install a microSD card when taking pictures or recording video, but it is okay if you do not have a microSD card when using it as a telescope.

There was also a hole for the strap on the bottom.

I actually attached the attached strap and took it. The body is light, small and easy to hold, but it is safer to put the strap in your hand to prevent it from falling.
◆ 2: Actual shooting
First of all, I will shoot a still image. Like the shutter button on a digital camera, the 'PHOTO' button for still image shooting has two levels of pressing. You can use 'half-press' to correct camera shake and 'full-press' to release the shutter.

I actually took a picture. I'm shooting with a 4x zoom (400mm), but it's also beautiful with image stabilization. You can also switch to exposure compensation and continuous shooting mode from the menu. The continuous shooting mode can shoot about 10 frames per second. After switching, you can shoot continuously by pressing and holding the PHOTO button 'fully'.
The video was shot in full HD (1920 x 1080 pixels). For fps, 29.97 and 23.98 can be selected from the menu. The following video was shot at 29.97fps, the beginning was 4x zoom (400mm) shooting, and then the ZOOM button was pressed to switch between 8x (800mm) and 1x (100mm). It is formulated while standing still without moving, but when it is 8 times, the camera shake is a little strong.
◆ 3: Cooperation with smartphone apps
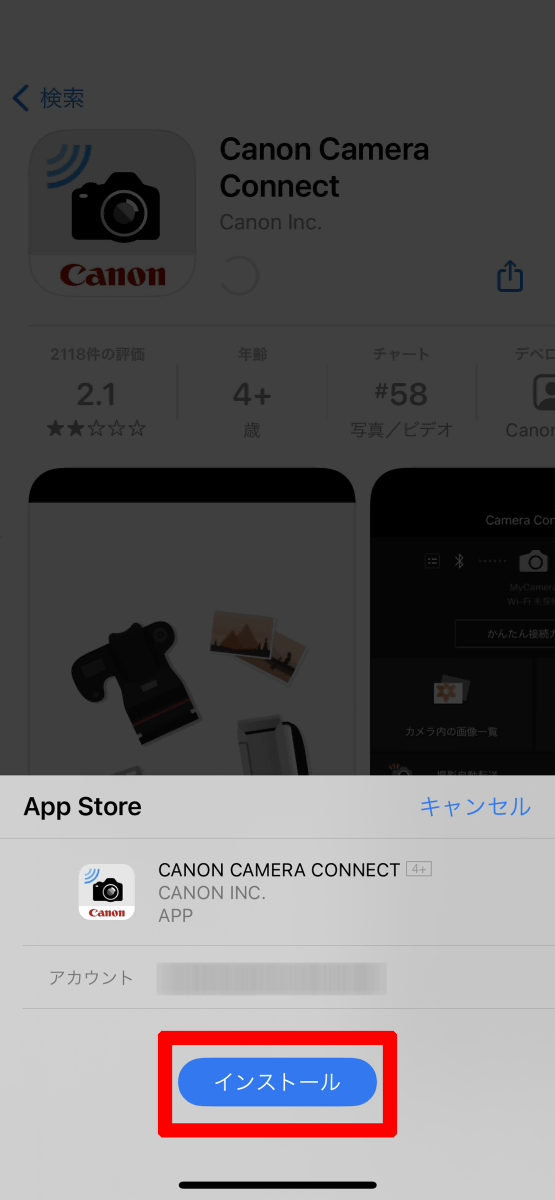
PowerShot ZOOM has a function called 'remote live view shooting' that allows you to shoot still images while watching the live view image displayed on the smartphone by linking with the smartphone. The smartphone app 'Canon Camera Connect' is required to use the function. This time I will install it on iPhone 12. First, search for Canon Camera Connect in the App Store and tap 'Get'.

Tap 'Install'.
Tap 'Open' when the installation is complete.

You will be asked to use location information, so tap 'Allow while using the app'.

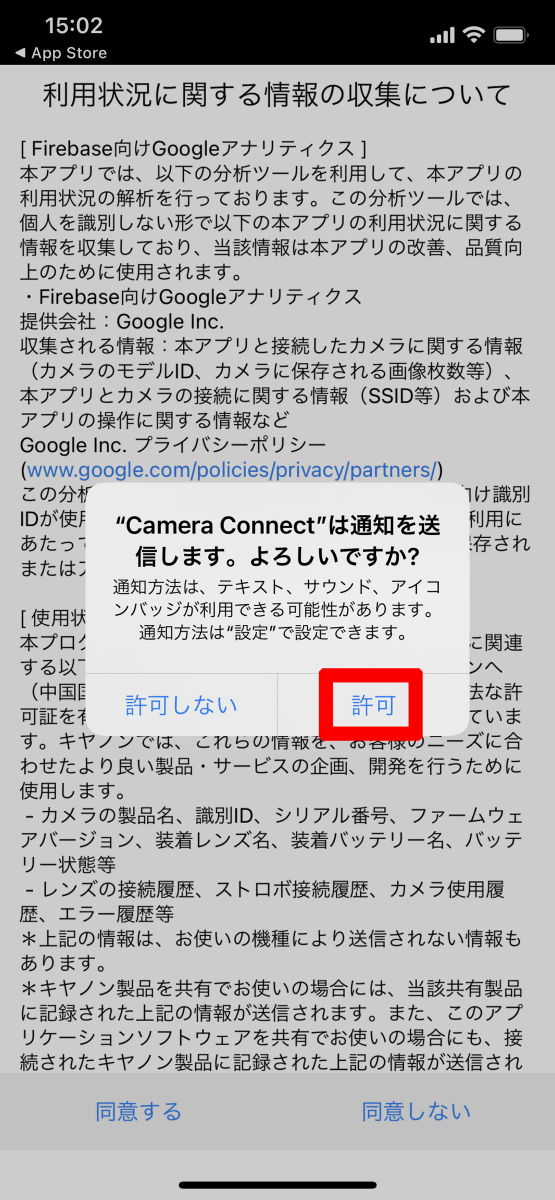
You will be asked for permission to send notifications, so tap 'Allow'.
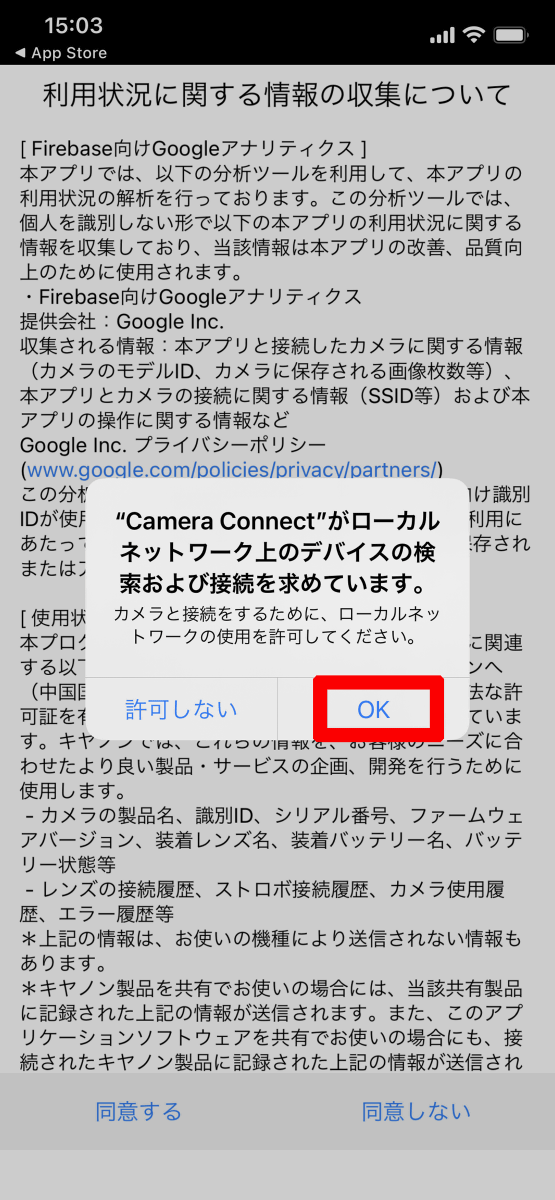
You will be asked to search for and connect to devices on your local network, so tap 'OK'.
You will be asked to access the photos in your device, so tap 'Allow access to all photos'.

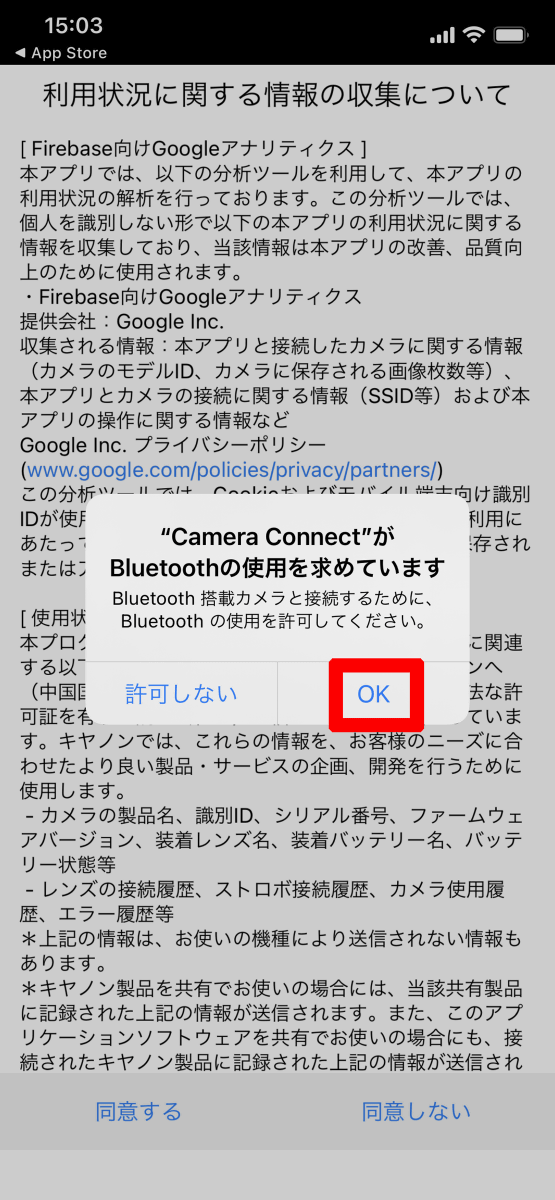
You will be asked to use Bluetooth, so 'OK'
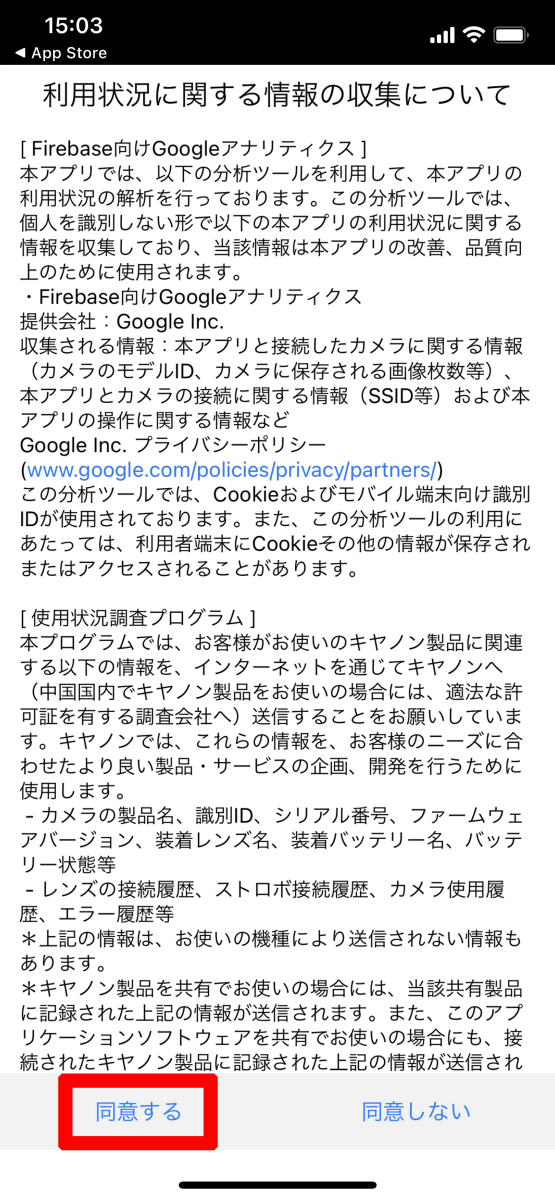
Read 'About collecting information about usage' and tap 'Agree'.
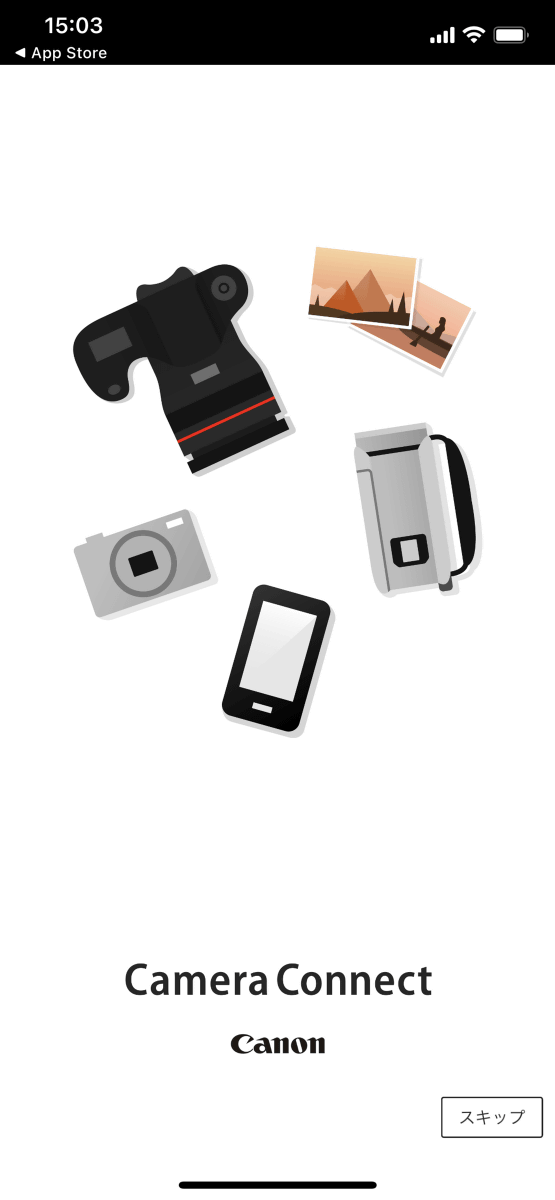
Enter the introduction screen. Swipe the screen to the left to read the usage guide.
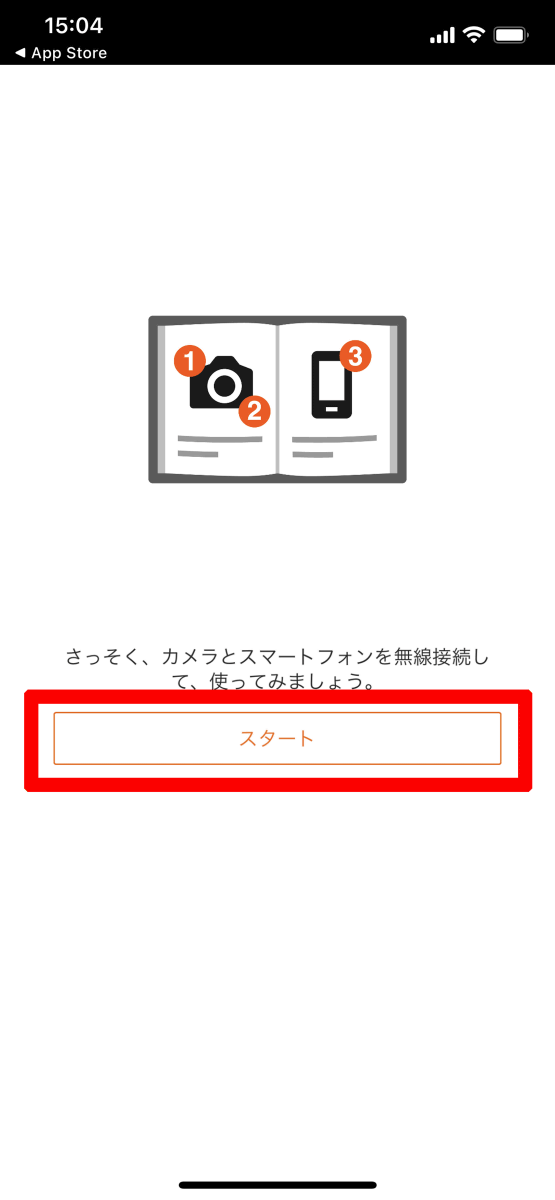
Go to the last page and you will see this screen. Tap 'Start'.
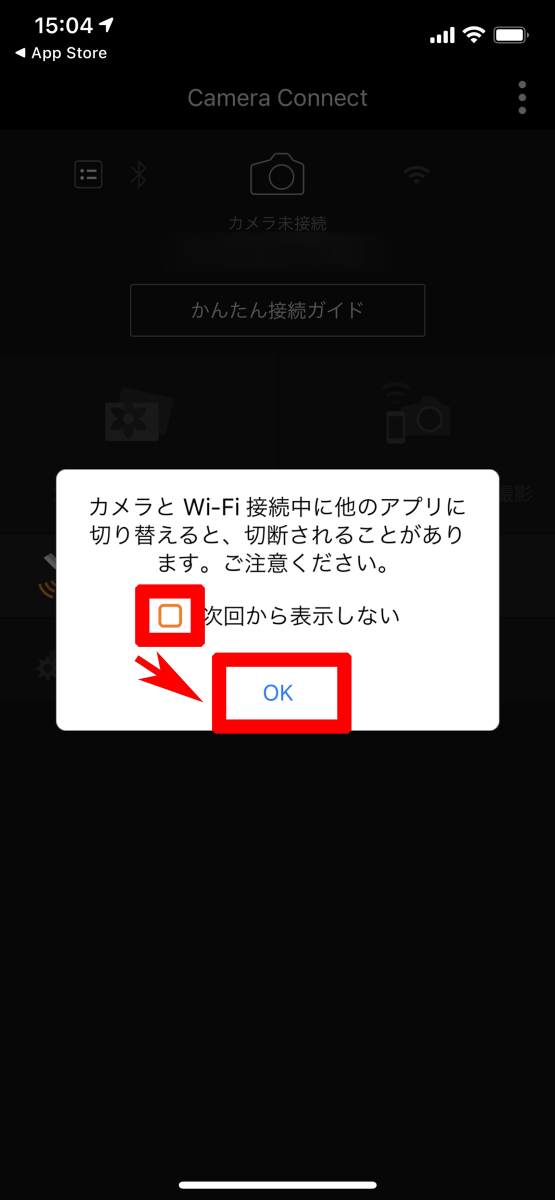
When you switch apps, you will be warned that the connection with the camera will be disconnected. This notice will be displayed many times when using the app, so check 'Do not display from next time' and tap 'OK'.
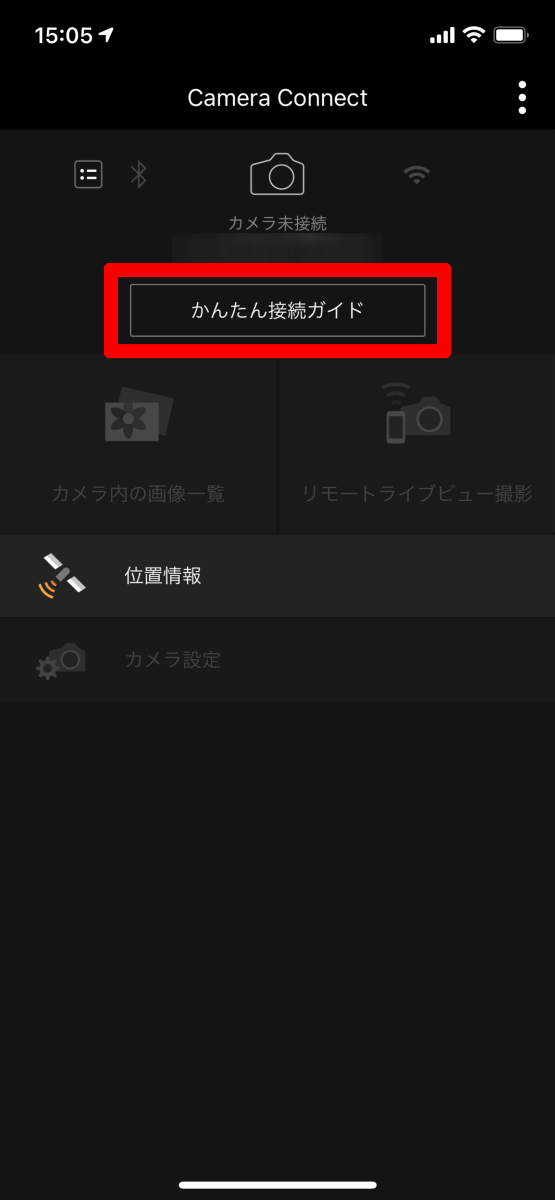
I moved to the home menu of the app. First, tap 'Easy Connection Guide' to connect to PowerShot ZOOM.
Tap 'Connect camera / camcorder for the first time'.

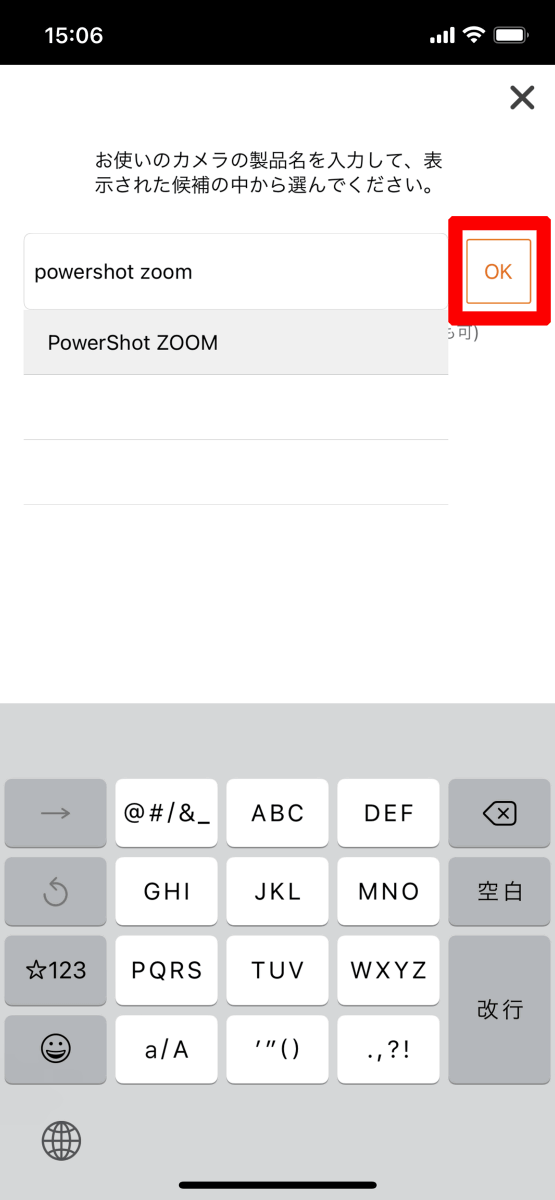
Tap the input field, enter 'powershot zoom' in lowercase, and tap 'OK'.
If there is no mistake in the connected camera, tap 'Yes'.

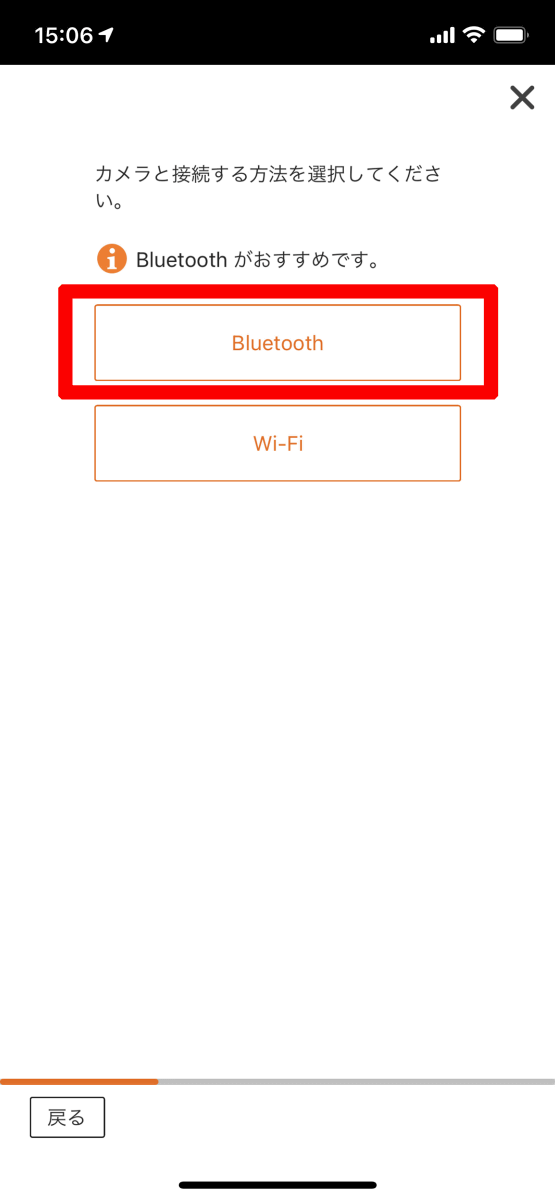
Select how to connect to the camera. This time, select 'Bluetooth'.
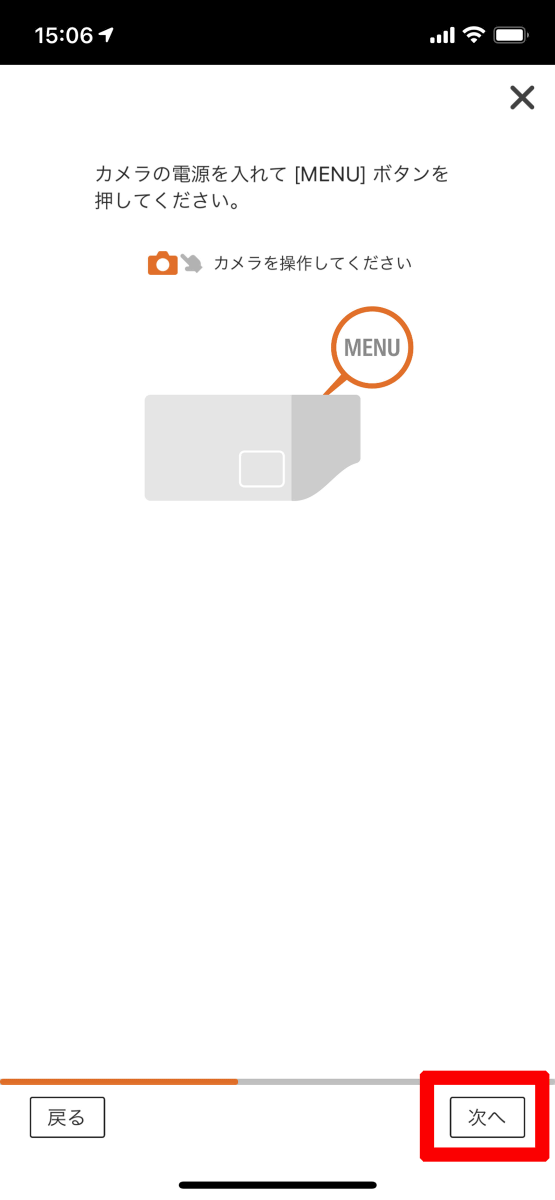
Follow the instructions of the app to turn on the PowerShot ZOOM. After confirming that the power is on, tap 'Next'.
Operate the menu screen of PowerShot ZOOM. On the application side, tap 'Next'.
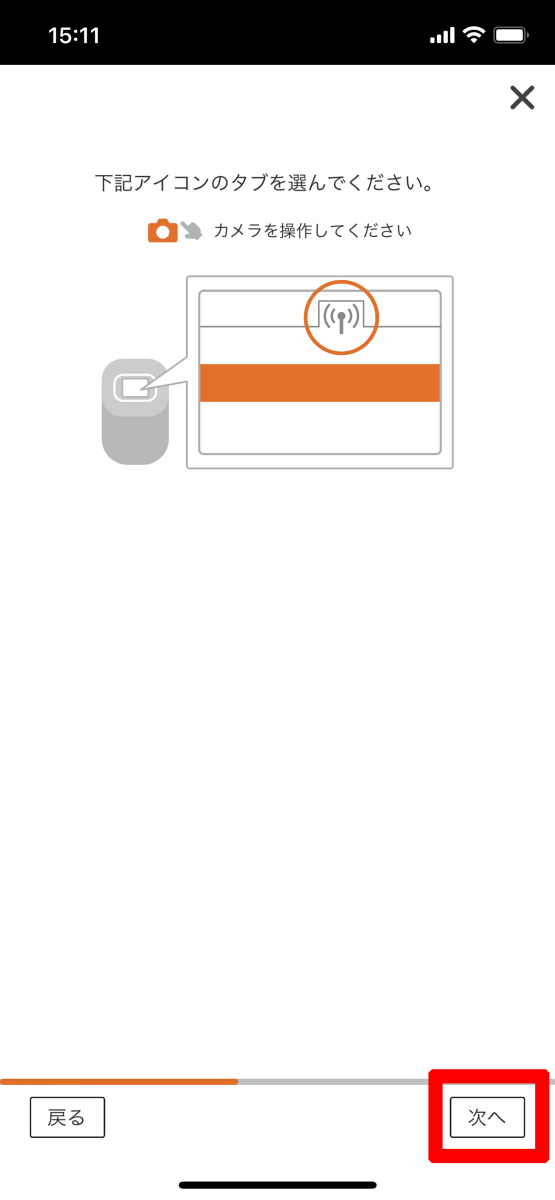
Since 'Bluetooth' is selected this time, select 'Bluetooth' on the PowerShot ZOOM side as well. After selecting, tap 'Next'.

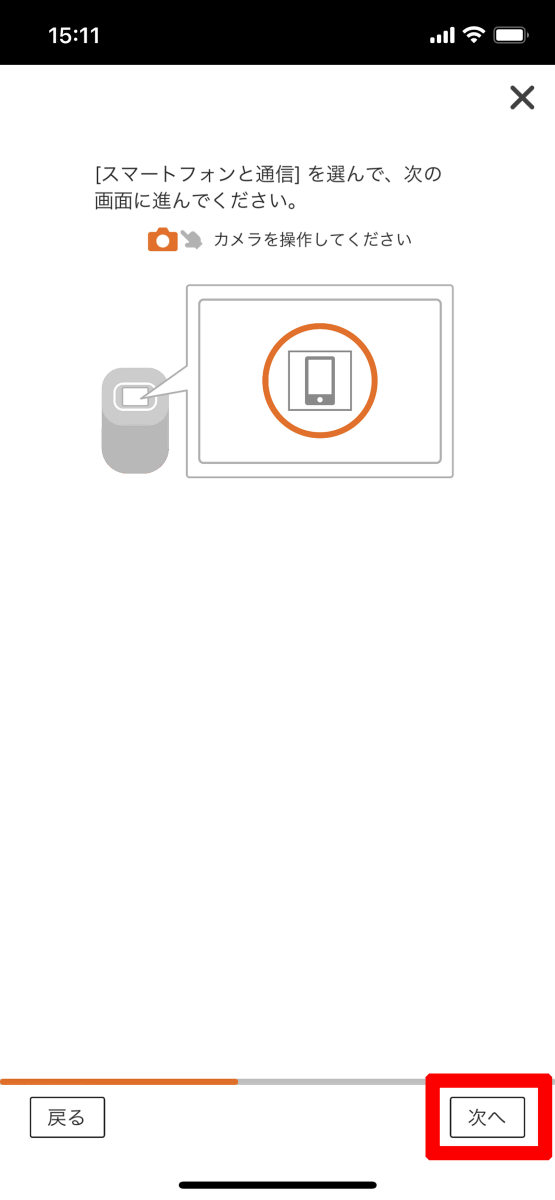
Select 'Communicate with smartphone' and tap 'Next'.
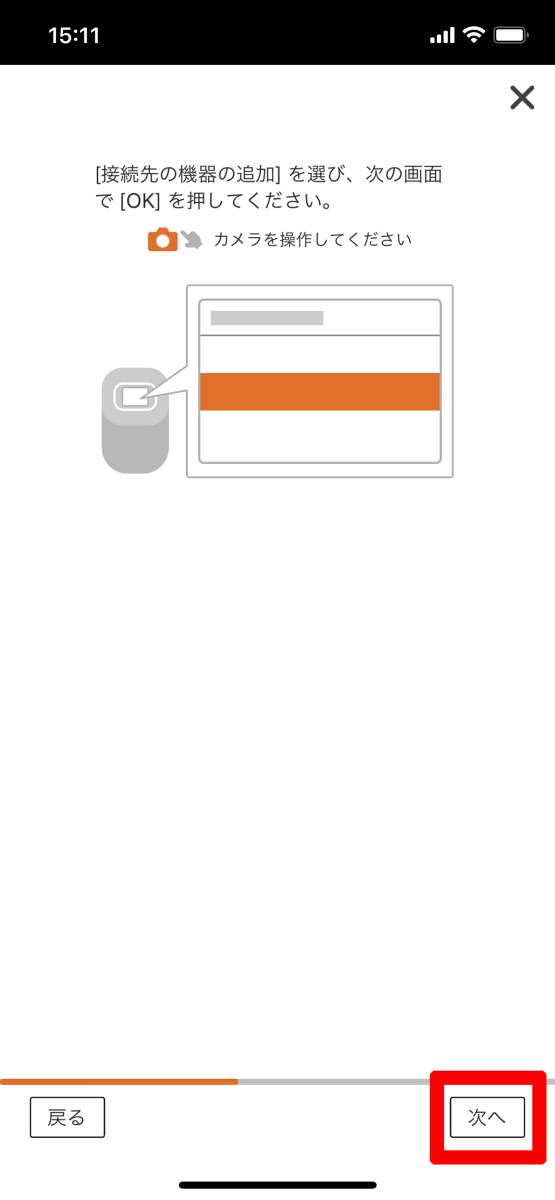
Select 'Add device to connect to'. At this point, the message 'Please install Camera Connect on your smartphone' will appear on the PowerShot ZOOM screen. Tap 'Next'.
Select 'Bluetooth Pairing' in PowerShot ZOOM.
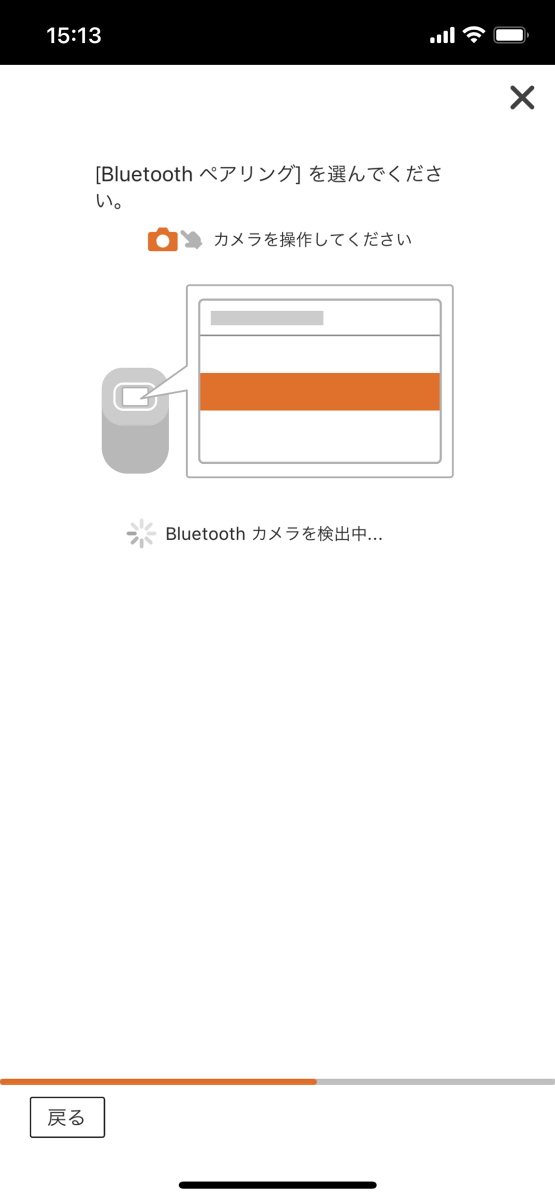
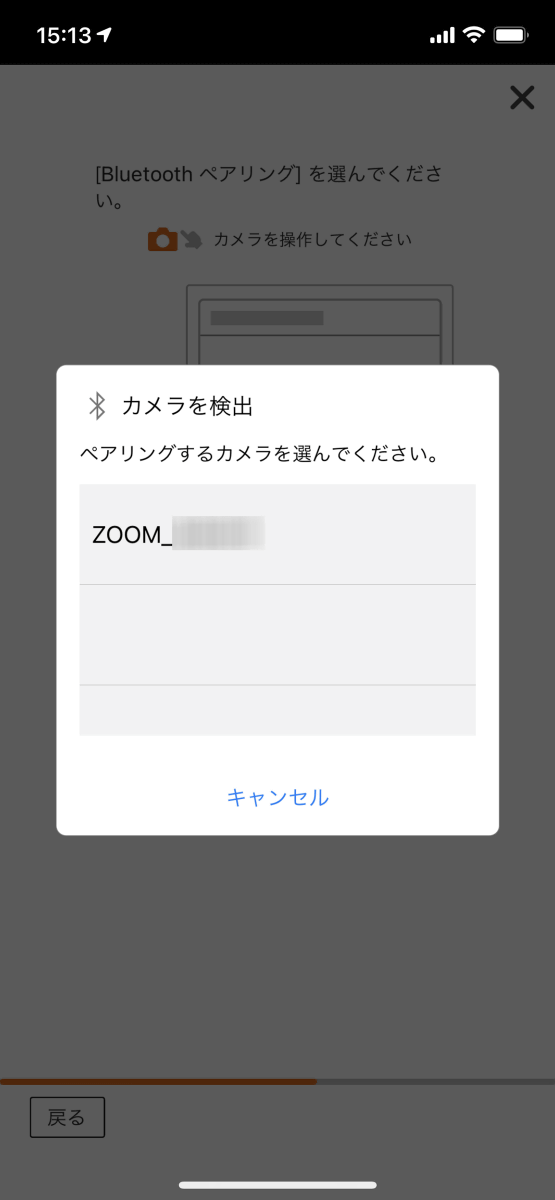
Check the screen of the app and select the camera to pair with.
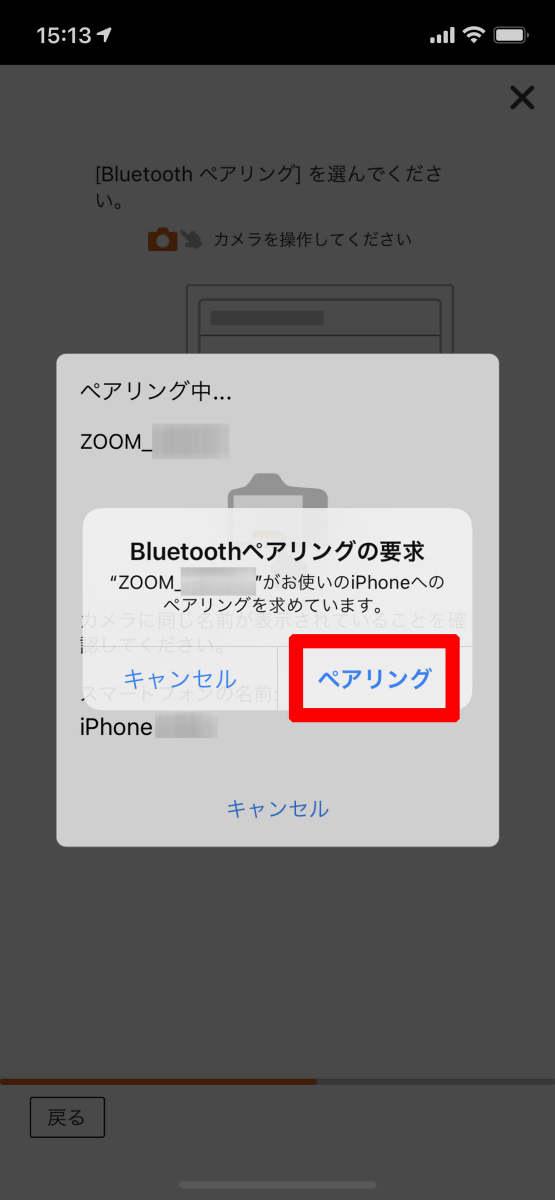
'Bluetooth pairing' is required, so select 'Pairing'.
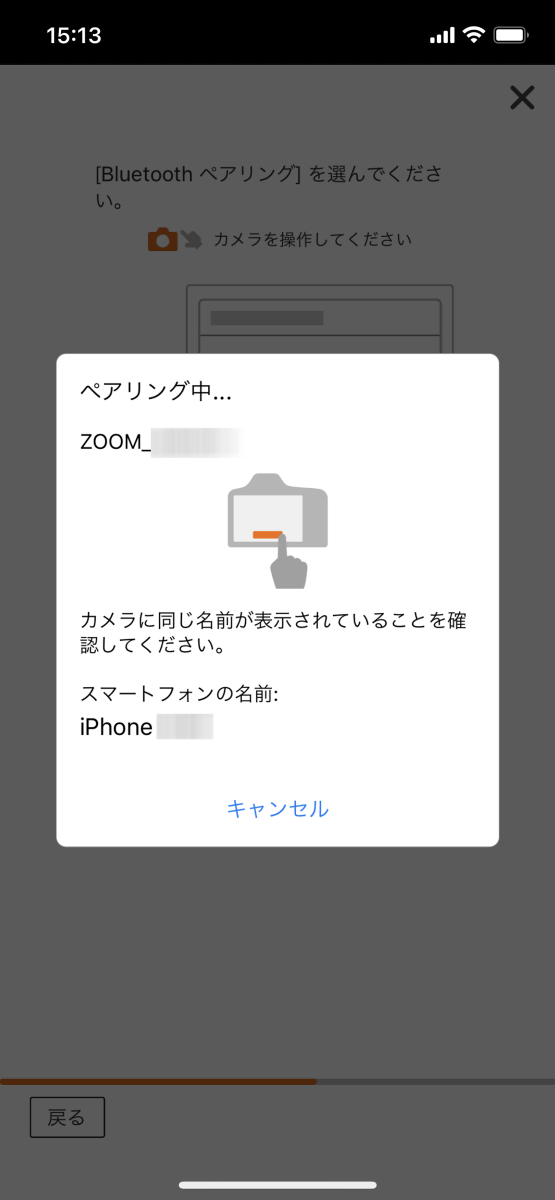
In PowerShot ZOOM, the message 'Connect with 〇〇 (smartphone name)' is displayed, so select 'OK'.
The connection was successful. Press 'Start' to return to the app's home menu.

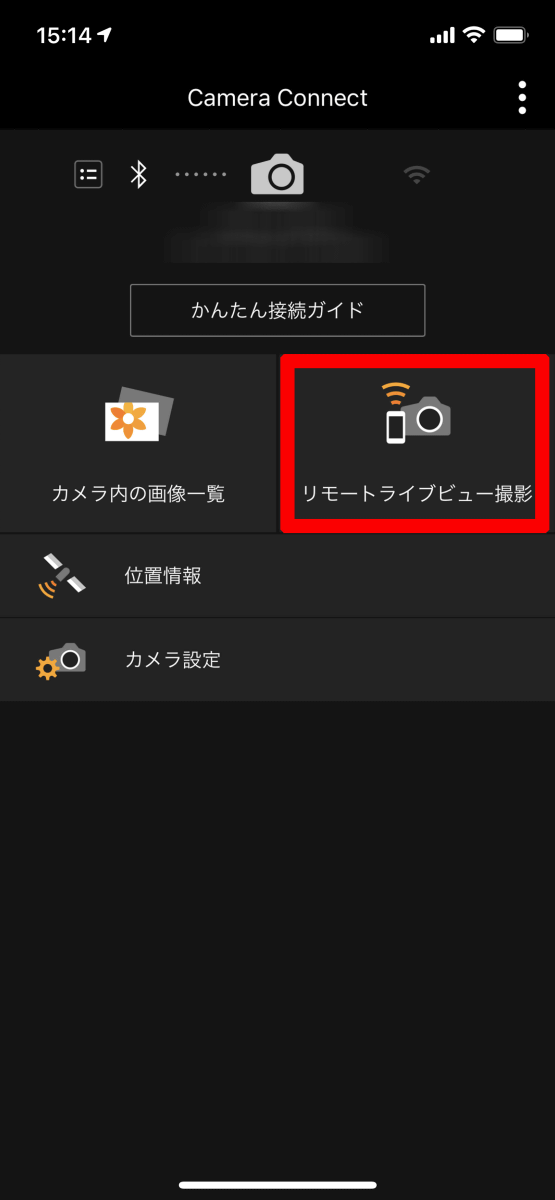
We will actually use the remote live view shooting function. Tap 'Remote Live View Shooting'.
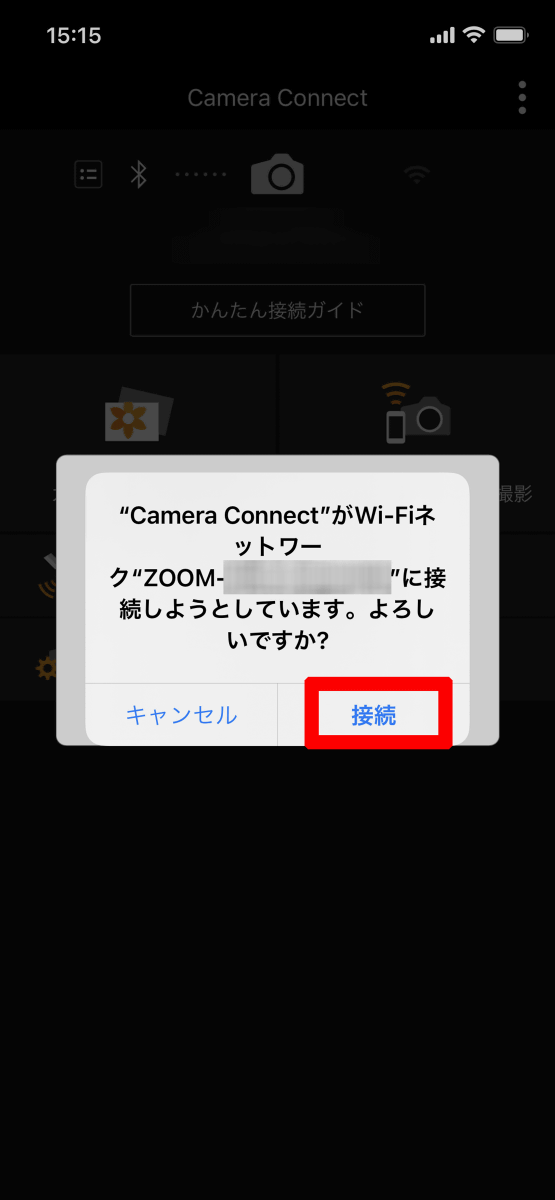
You will be asked to connect to the PowerShot ZOOM Wi-Fi network, so tap 'Connect'.
You can now see the scenery of PowerShot ZOOM on the screen of the app. Since it is only connected to the Wi-Fi of PowerShot ZOOM, it can be connected even when you are out.

If you watch the video below, you can see that the view seen by the camera is reflected in the app. I was a little nervous because the connection was unstable.
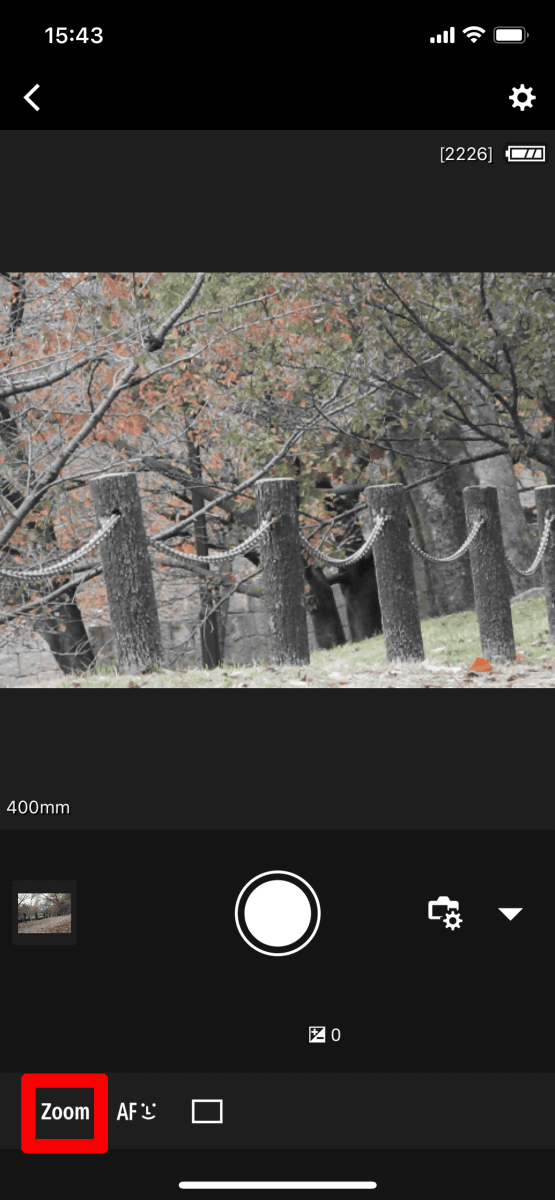
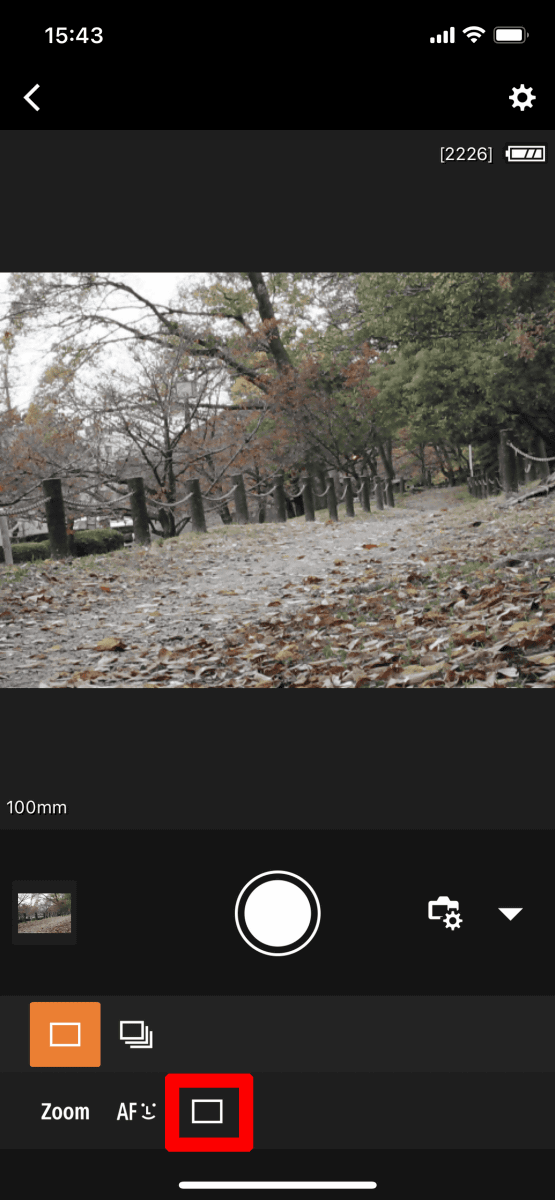
You can also operate PowerShot ZOOM with the app. You can zoom by pressing 'Zoom' at the bottom left. Press once to 400 mm.
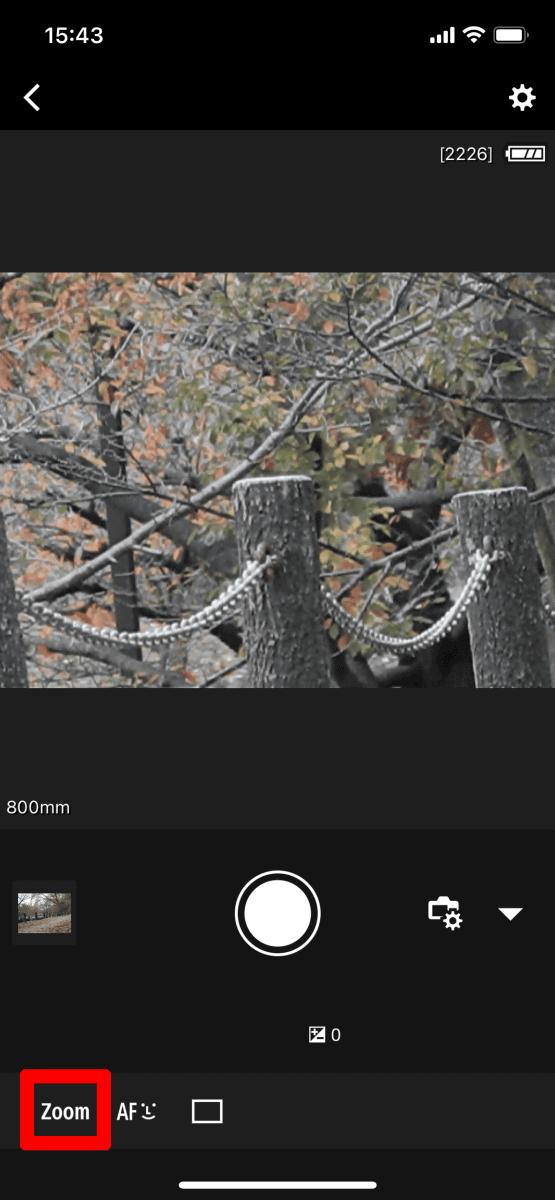
Press it again to switch to 800 mm. It is a wireless connection, but you can see that it is displayed neatly. Press it further to return to 100 mm. You can shoot a still image as it is by tapping the white circle in the middle. However, you cannot shoot videos with this function.
Switching to continuous shooting mode ...
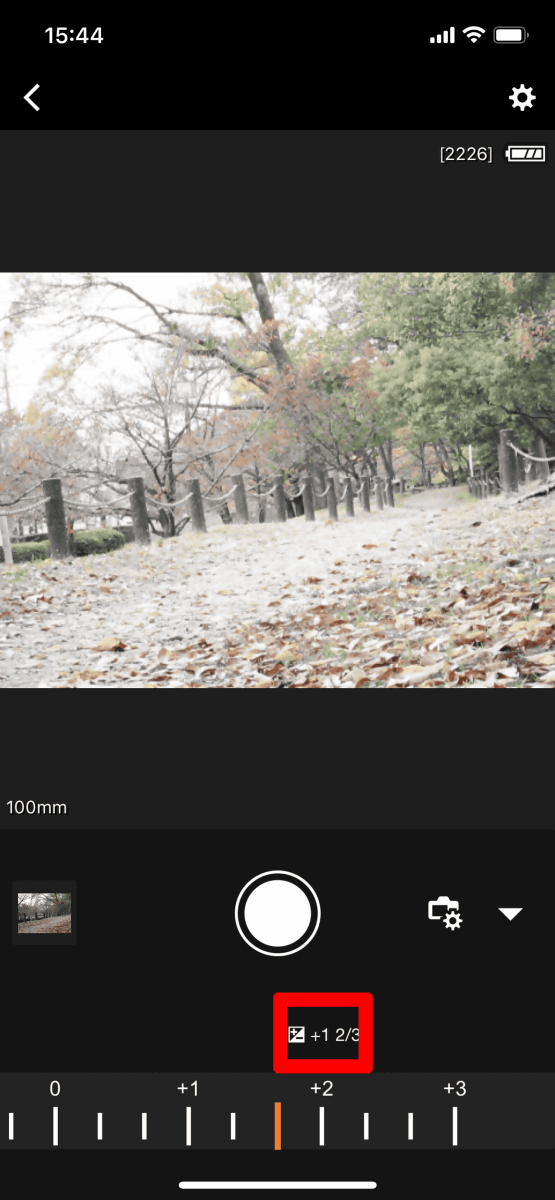
You can also perform exposure compensation.
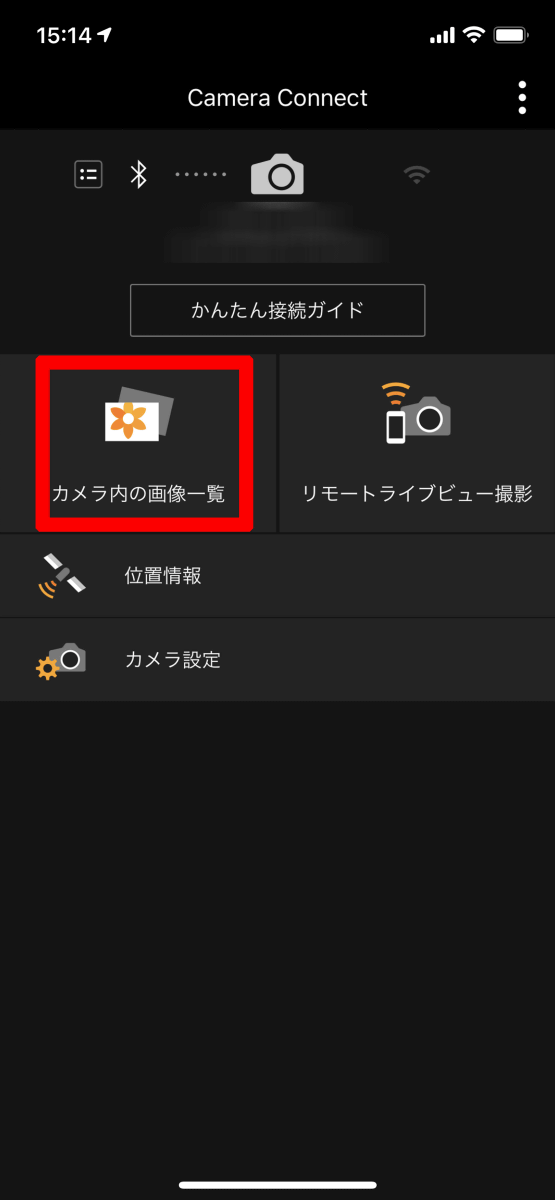
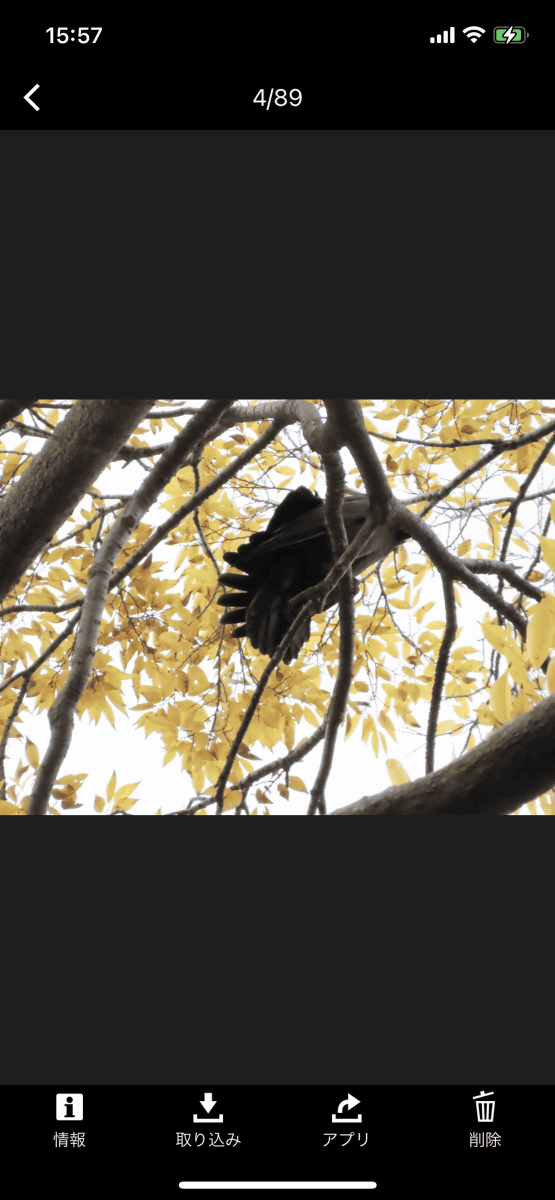
There is also a function to check what was taken with PowerShot ZOOM with the app. Return to the home menu of the app and tap 'Image list in camera'.
The images taken earlier are lined up.
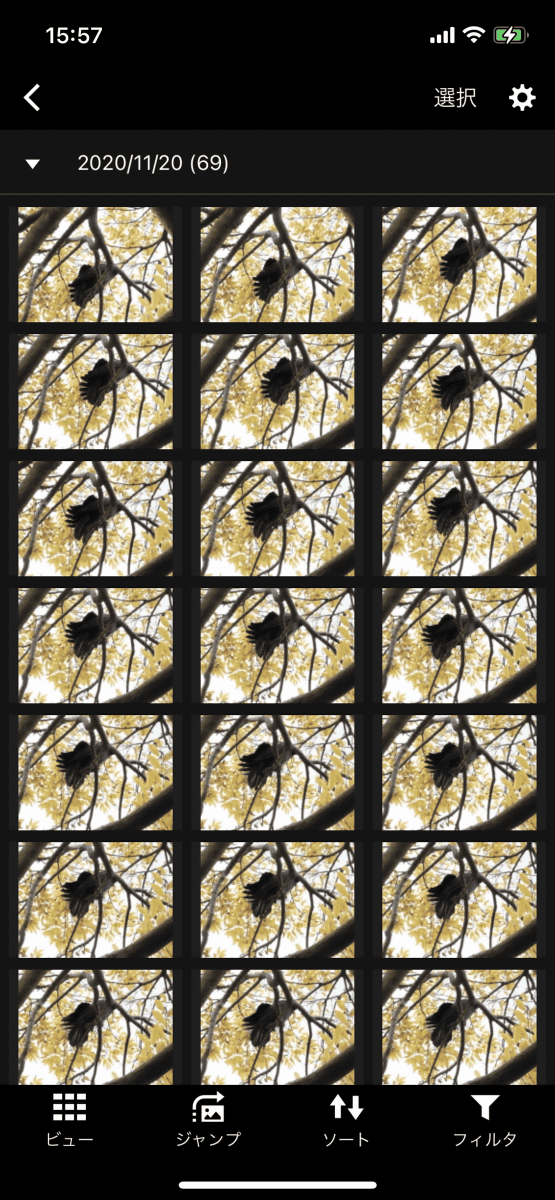
I chose one.
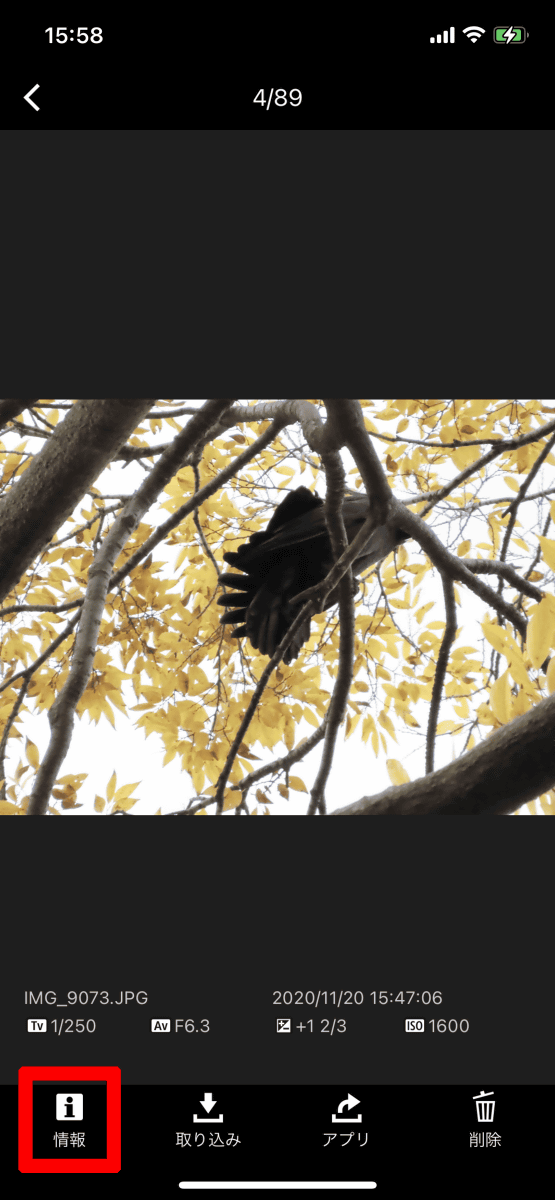
If you press 'Information', you can check the shutter speed and F value of the captured image.
If you press 'Import', the save size selection screen will be displayed, and if you press 'OK', you can save it to your smartphone as it is.

◆ 4: Charging method and summary
The power adapter required for charging and power supply is not included. Canon recommends using the genuine 'USB power adapter PD-E1', but it is said that a USB Type-C power adapter that supports Power Delivery, has an output voltage of 9V, and has an output current of 2A or more can be used even with commercial products. The power adapter that Canon has confirmed the operation is
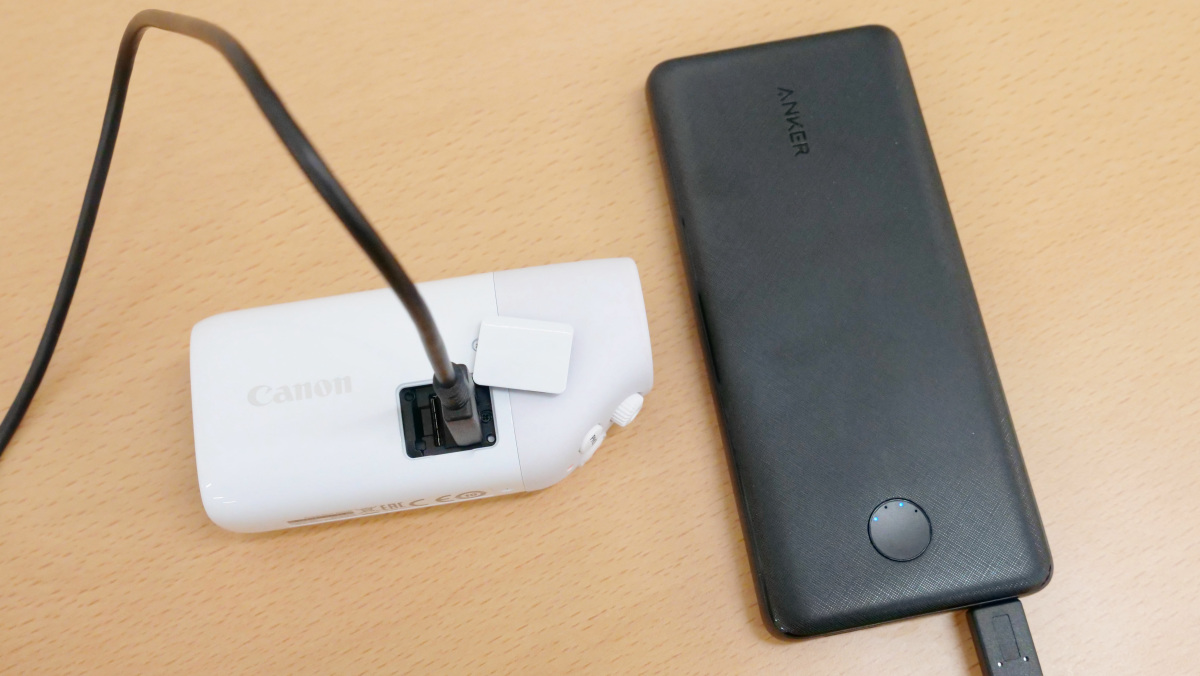
When you connect the USB Type-C cable and charging starts, the lamp will glow red. It is possible to shoot a movie for about 60 minutes on a full charge.
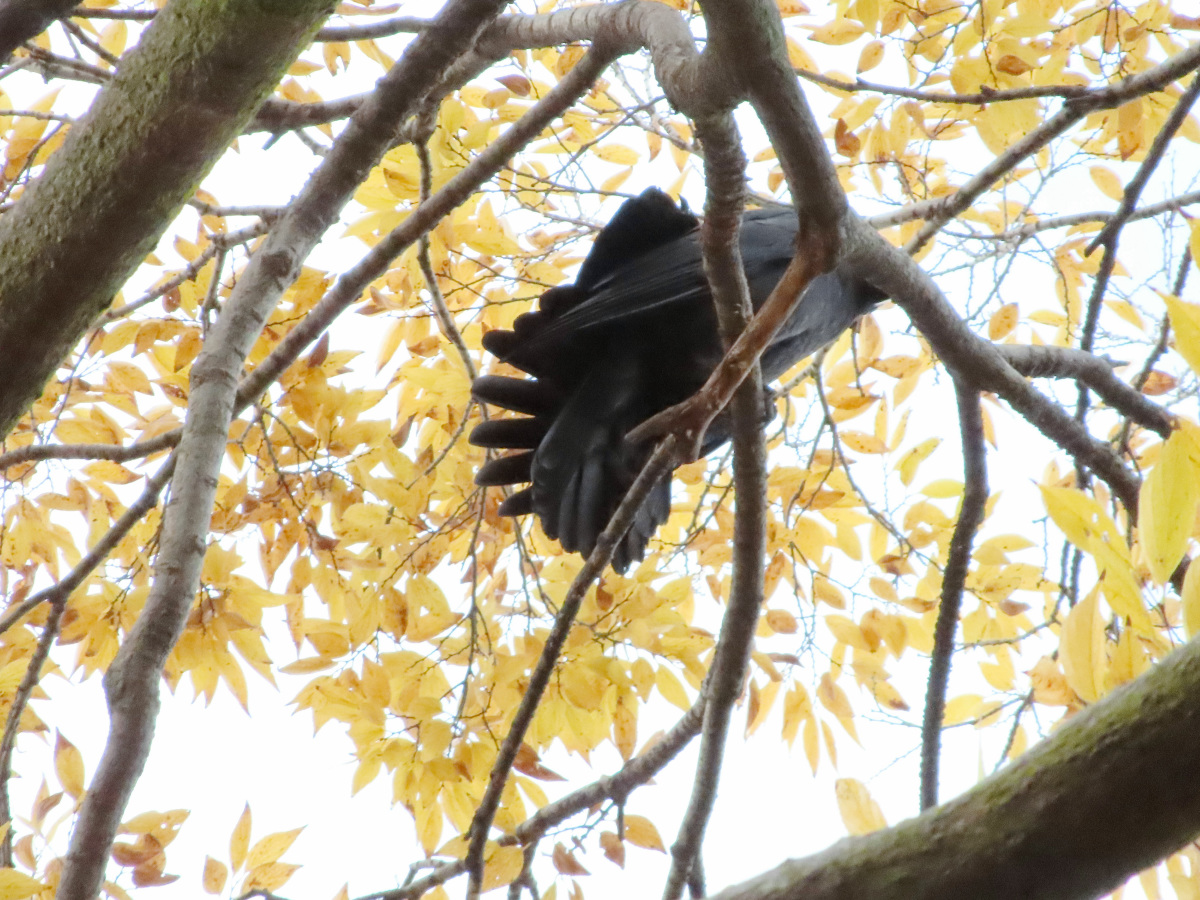
The biggest point is that it is light as a whole. I don't feel too tired even if I hold it for a long time to see the birds overhead. It is a nice point that you can easily take beautiful pictures without making particularly difficult settings with functions such as autofocus. It's so easy that you'll want to start bird watching right away.
PowerShot ZOOM will be released on Thursday, December 10, 2020. The selling price at the Canon online shop is 35,750 yen including tax.
Canon Telescope Camera PowerShot ZOOM Sales Page | Canon Online Shop
https://store.canon.jp/online/secure/powershot_zoom.aspx
Related Posts: