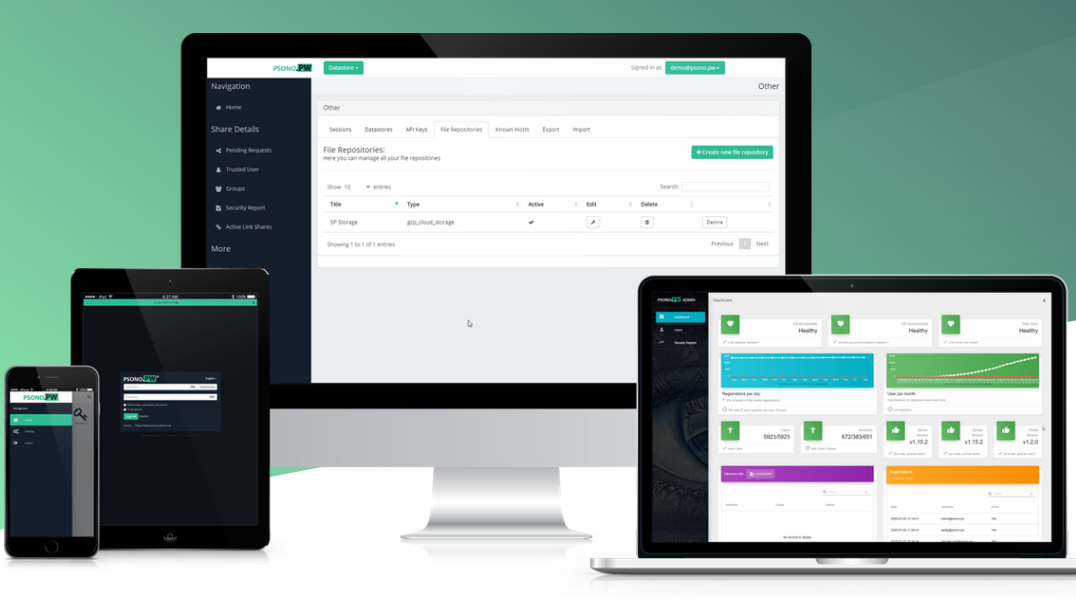
Free & self-hosted open source high-performance password manager 'Psono' review
There's
Password Manager for Teams | Psono
https://psono.com/
This time, Psono is built on the g1-small instance of GCP. The image uses Ubuntu 20.04 LTS Minimal. First, execute the following command to install Docker.
[code] curl -fsSL get.docker.com -o get-docker.sh
sudo sh get-docker.sh [/ code]
Add the user to the docker group so that the Docker command can be executed by general users.
[code] sudo usermod -aG docker username [/ code]
Next, install docker-compose with the following command.
[code] sudo curl -L 'https://github.com/docker/compose/releases/download/1.27.3/docker-compose-$(uname -s)-$(uname -m)' -o / usr / local / bin / docker-compose
sudo chmod + x / usr / local / bin / docker-compose [/ code]
Create a directory to persist PostgreSQL data.
[code] sudo mkdir -p / var / local / docker / postgres [/ code]
Next, we will describe the configuration file of the Psono server.
[code] sudo mkdir -p / var / local / docker / psono
sudo mkdir -p / var / log / psono
sudo vi /var/local.docker/psono/setting.yaml [/ code]
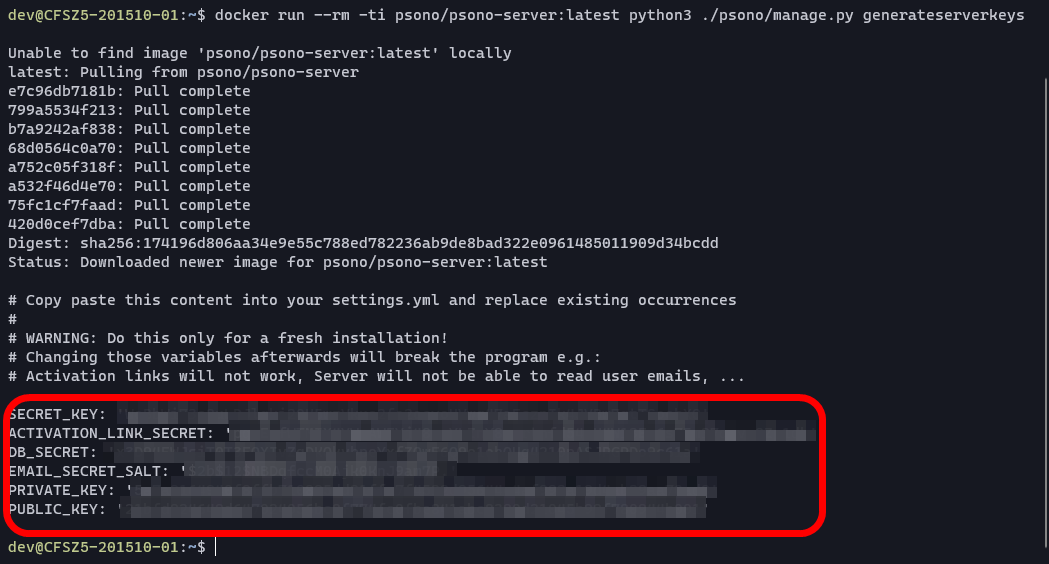
Execute the following command to generate random numbers to be used on the Psono server.
[code] docker run --rm -ti psono / psono-server: latest python3 ./psono/manage.py generateserverkeys [/ code]
The execution result screen looks like this. The red frame is the execution result, and it is described in the setting file as it is.
Described in the configuration file to disable debug mode.
[code] DEBUG: False [/ code]
Set the domain name and URL used by Psono.
[code] ALLOWED_HOSTS: ['*']
ALLOWED_DOMAINS: ['examlpe.com']
HOST_URL:'https://www.example.com/server' [/ code]
Since email is used for account verification, settings for sending email are also required. Since MailHog is used for MTA this time, the container name is specified for 'EMAIL_HOST' and the port number is 1025.
[code] EMAIL_FROM:'[email protected]'
EMAIL_HOST:'mailhog'
EMAIL_HOST_USER:'psono'
EMAIL_HOST_PASSWORD:'password'
EMAIL_PORT: 1025
EMAIL_SUBJECT_PREFIX:''''
EMAIL_USE_TLS: False
EMAIL_USE_SSL: False
EMAIL_SSL_CERTFILE:
EMAIL_SSL_KEYFILE:
EMAIL_TIMEOUT: [/ code]
Specify the database to refer to.
[code] DATABASES:
default: default:
'ENGINE':'django.db.backends.postgresql_psycopg2'
'NAME':'psono'
'USER':' psono'
'PASSWORD':'password'
'HOST':'postgres'
'PORT': '5432' [/ code]
Specify the Psono template.
[code] TEMPLATES: [
{
'BACKEND':'django.template.backends.django.DjangoTemplates',
'DIRS': ['/ root / psono / templates'],
'APP_DIRS': True,
'OPTIONS': {
'context_processors': [
'django.template.context_processors.debug',
'django.template.context_processors.request',
'django.contrib.auth.context_processors.auth',
'django.contrib.messages.context_processors.messages',
],,
},
},
] [/ code]
It is possible to implement a cache with Redis and authenticate using YubiKey or LDAP , but for the time being, describe the above settings in 'settings.yaml'.
Next, set Cron on the host side.
[code] sudo vi /etc/cron.d/psono [/ code]
Add the following description to the end.
[code] 30 2 * * * docker run --rm -v /var/local/docker/psono/settings.yaml:/root/.psono_server/settings.yaml -ti psono / psono-server-enterprise: latest python3. /psono/manage.py cleartoken >> /var/log/cron.log 2> & 1 [/ code]
Next, we will introduce a web client to access Psono. First, create a configuration file for the web client with the following command.
[code] sudo mkdir -p / var / local / docker / psono-client
sudo vi /var/local/docker/psono-client/config.json [/ code]
The contents of the configuration file are as follows.
[code] {
'backend_servers': [{
'title': 'Psono.pw',
'url': 'https://www.example.com'
}],
'base_url': 'https://www.charolittle.tk/',
'allow_custom_server': true,
'allow_registration': true,
'allow_lost_password': true,
'disable_download_bar': false,
'authentication_methods': ['AUTHKEY'],
'saml_provider': []
} [/ code]
Create a directory to store the certificate in order to support reverse proxy and HTTPS with Nginx-proxy and Let's encrypt.
[code] sudo mkdir -p / var / local / docker / nginx-proxy / certs [/ code]
Create a 'docker-compose.yaml' file to start the container.
[code] sudo vi /var/local/docker/docker-compose.yaml [/ code]
The contents of docker-compose.yaml are as follows. The volumes_from option shouldn't have been available in version 3 docker-compose.yaml, but it was available in the latest version 1.27.3 at the time of writing.
[code] version: '3'
services: services:
psono-server:
image: psono / psono-server-enterprise: latest
container_name: psono-server
ports: ports:
-'10100: 80'
volumes:
--/var/local/docker/psono/settings.yaml:/root/.psono_server/settings.yaml
--/ var / log / psono: / var / log / psono
sysctls:
net.core.somaxconn: 65535
environment: environment:
VIRTUAL_HOST: examle.com, www.example.com
LETSENCRYPT_HOST: examle.com, www.example.com
LETSENCRYPT_EMAIL: [email protected]
restart: unless-stopped
psono-client:
image: psono / psono-client: latest
container_name: psono-client
ports: ports:
-'101 01:80'
volumes:
--/var/local/docker/psono-client/config.json:/usr/share/nginx/html/config.json
environment: environment:
VIRTUAL_HOST: psono.example.com
LETSENCRYPT_HOST: psono.example.com
LETSENCRYPT_EMAIL: [email protected]
restart: unless-stopped
nginx-proxy:
image: jwilder / nginx-proxy
container_name: nginx-proxy
ports: ports:
-'80:80'
-'443: 443'
volumes:
--/var/run/docker.sock:/tmp/docker.sock:ro
--/ var / local / docker / nginx-proxy / certs: / etc / nginx / certs: ro
--/etc/nginx/vhost.d
--/ usr / share / nginx / html
restart: unless-stopped
letsencrypt:
image: jrcs / letsencrypt-nginx-proxy-companion
container_name: letsencrypt
volumes:
--/var/run/docker.sock:/var/run/docker.sock:ro
--/ var / local / docker / nginx-proxy / certs: / etc / nginx / certs: rw
volumes_from:
--nginx-proxy
restart: unless-stopped
mailhog:
image: mailhog / mailhog: latest
container_name: mailhog
ports: ports:
-'1025: 1025'
-'8025: 8025'
restart: unless-stopped [/ code]
After that, execute the following command in '/ var / local / docker' to start the container.
[code] docker-compose up -d [/ code]
Execute the 'docker ps' command, and it is OK if all the containers are started. This completes the setup.

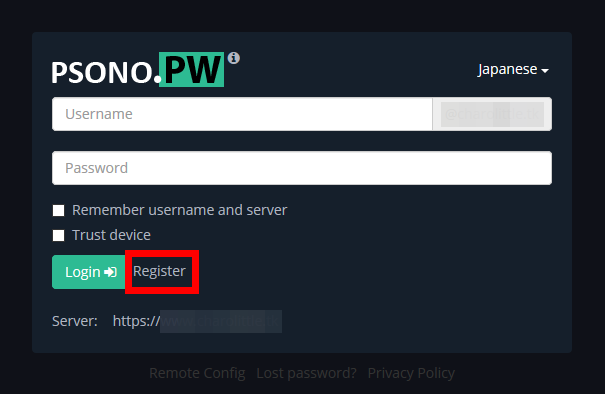
When I accessed 'https://psono.example.com' from a browser, the login screen was displayed. I haven't registered an account yet, so click 'Register'.
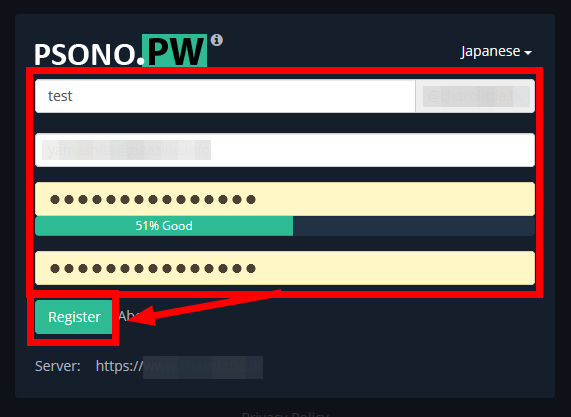
Enter your user name, email address and password and click 'Register'.
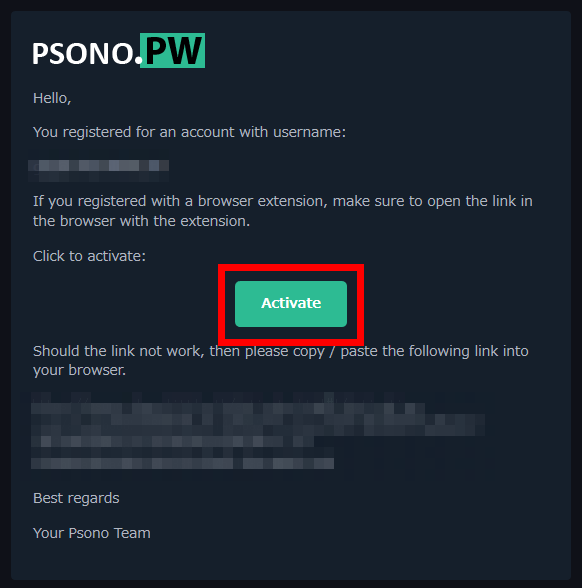
An email will be sent to the email address you entered, so click 'Activate'. In addition, since MailHog is used for MTA this time, mail will reach localhost.
Click 'Back to home' when your account has been verified.
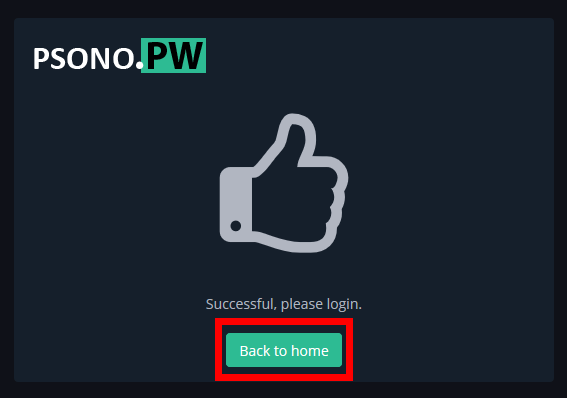
The home screen of Psono is displayed.

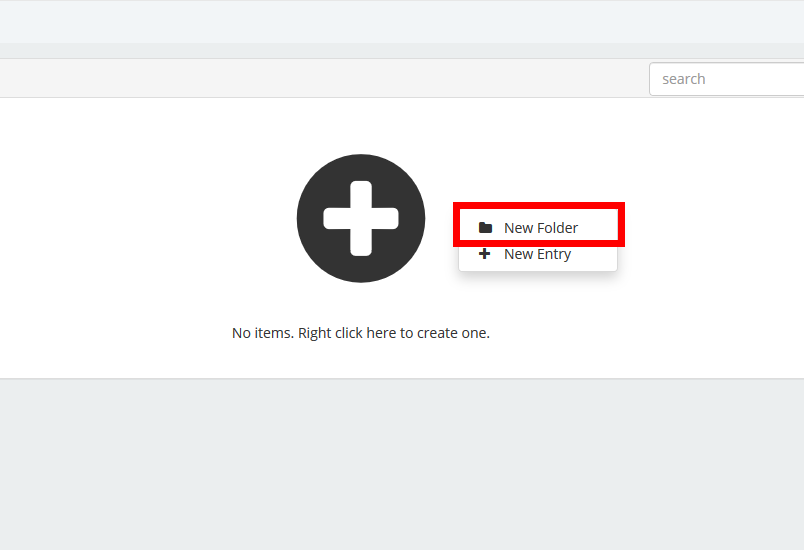
Right-click on the screen and click 'New Folder' to create a folder for classifying account information.
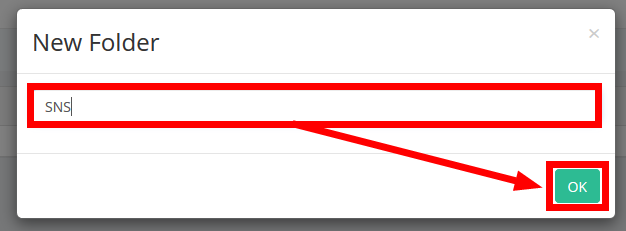
Enter the folder name and click 'OK'.
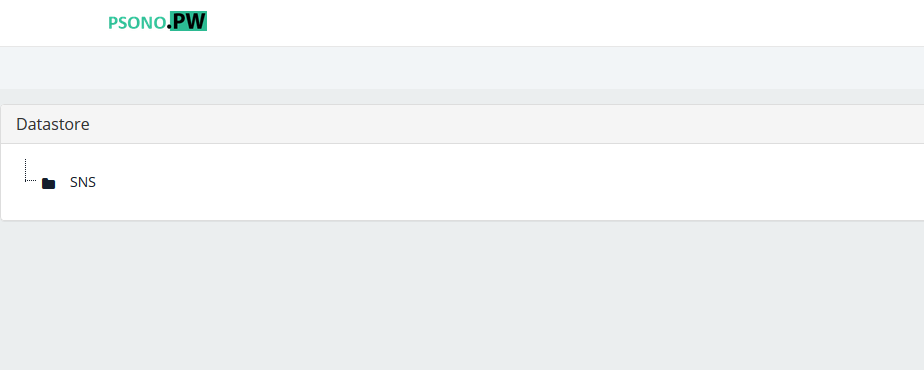
The folder has been created.
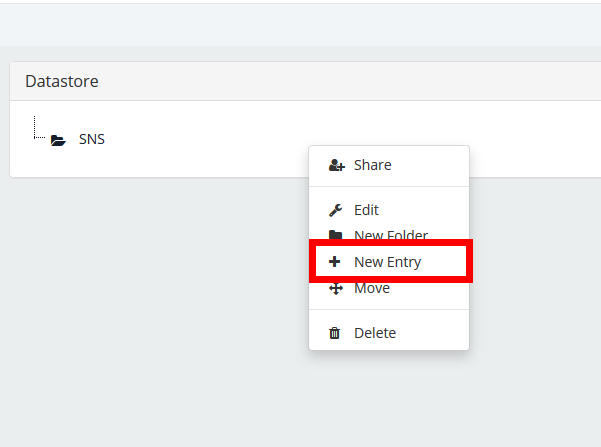
To register your account information, right-click on the folder and click 'New Entry'.
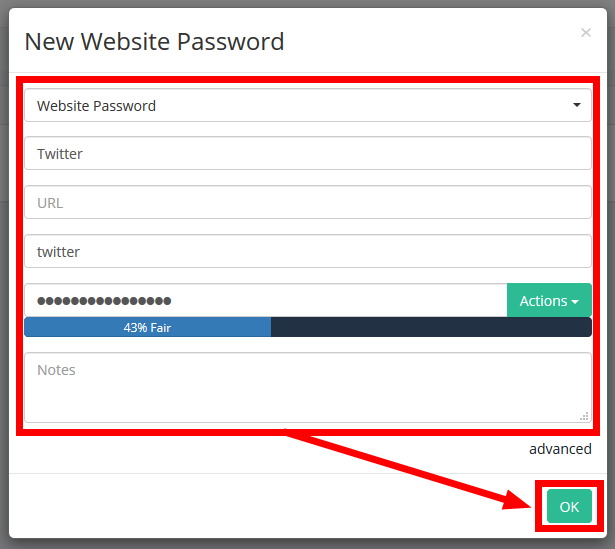
Enter the account type, account information name, URL, user name, and password and click 'OK'.
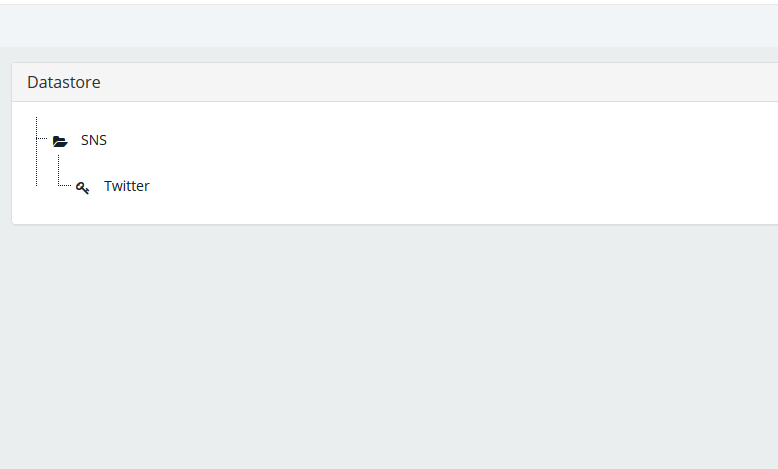
I was able to register my account information under the folder.
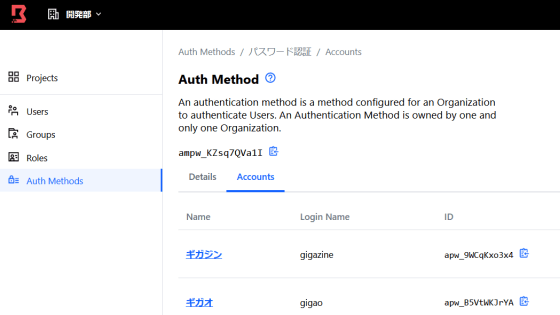
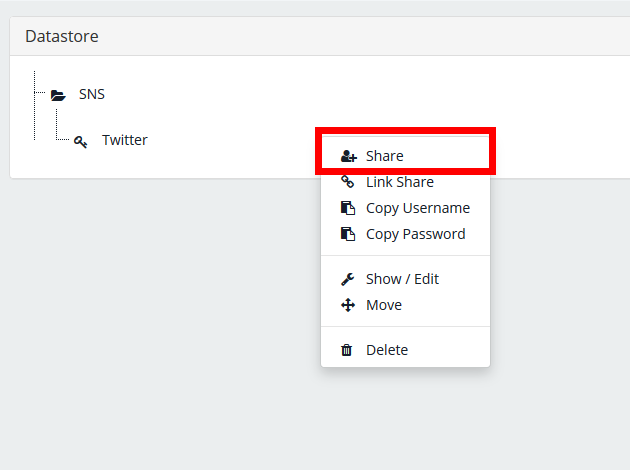
By right-clicking on an item, you can share your account information, copy your username and password, edit the item, and more.

Click Share to share your account information with Psono users.
Set the authority for the account information, select the account to share and click 'OK'.

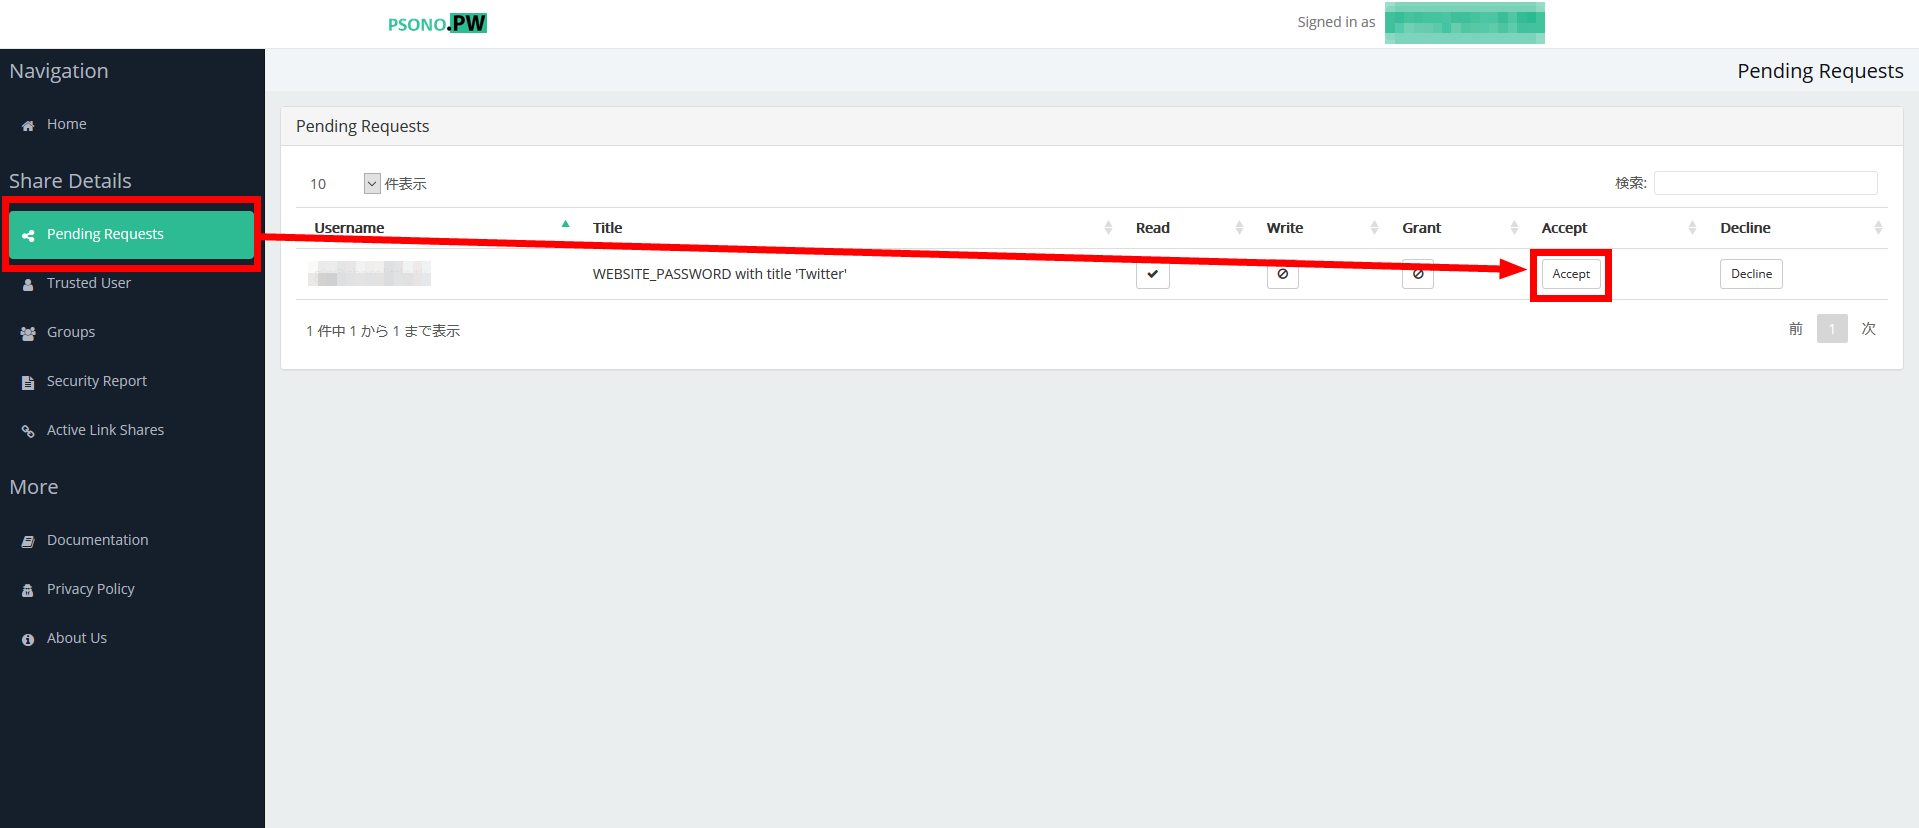
If you check 'Pending Requests' on the Psono screen of the shared account, the account information you shared earlier will be displayed, so click 'Accept'.
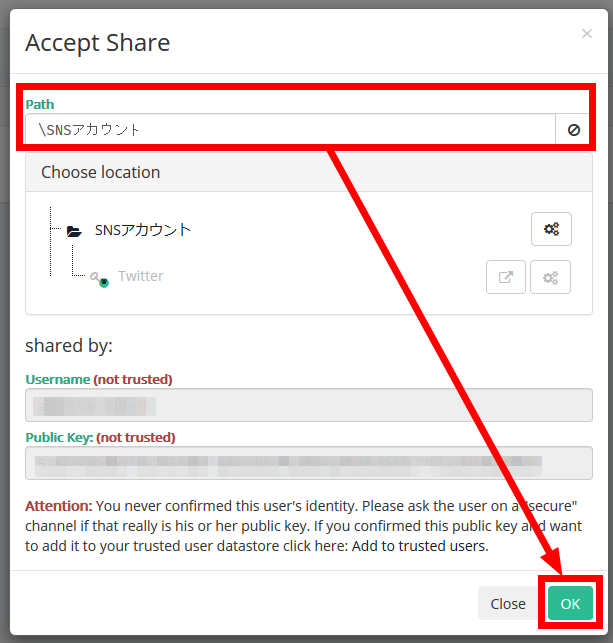
Specify the folder to register the account information and click 'OK'.
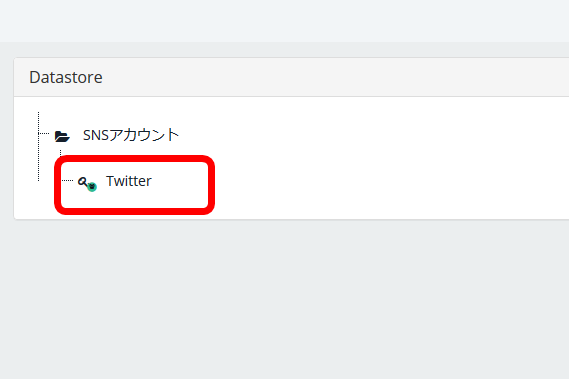
You are now able to share your account information.
Users who have shared their account information once will be displayed in 'Trusted User'.

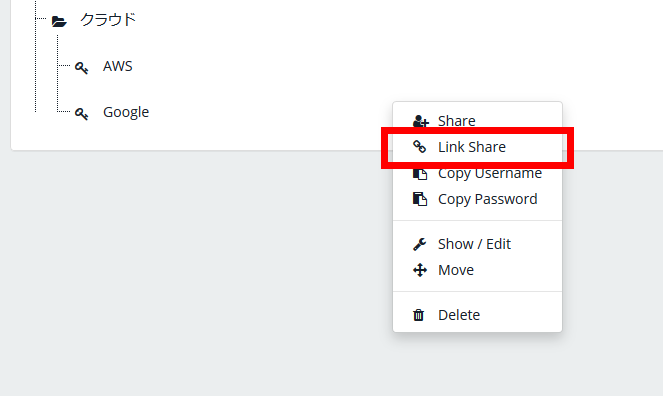
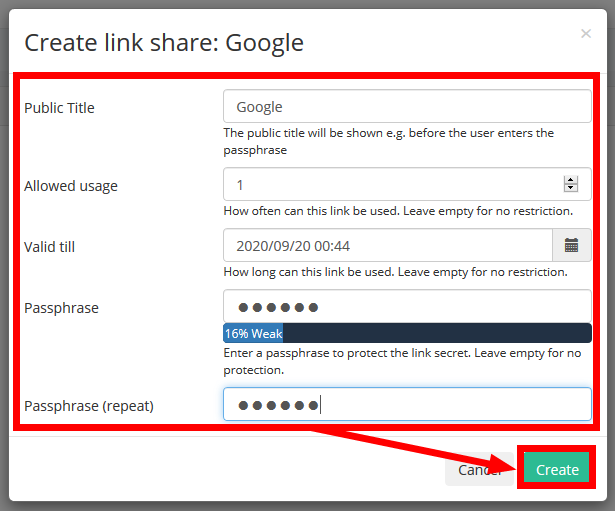
Also, to share your account information with people who are not using Psono, click 'Link Share' on the item.
Enter the share name, expiration date, passphrase, etc. and click 'Create'.
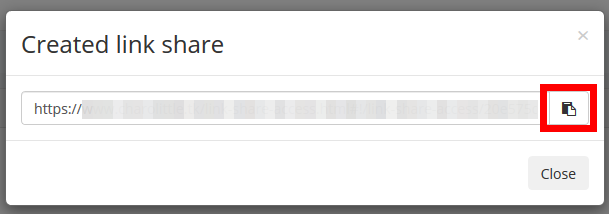
Click the button in the red frame, copy the link and share it with the other party. At the time of writing the article, the subdomain of the sharing link was that of the Psono server, and it was necessary to modify it to the subdomain of the web client.
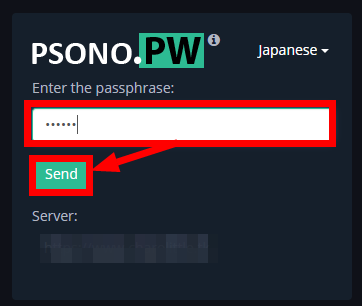
When you access the link, enter your passphrase and click 'Send' ...
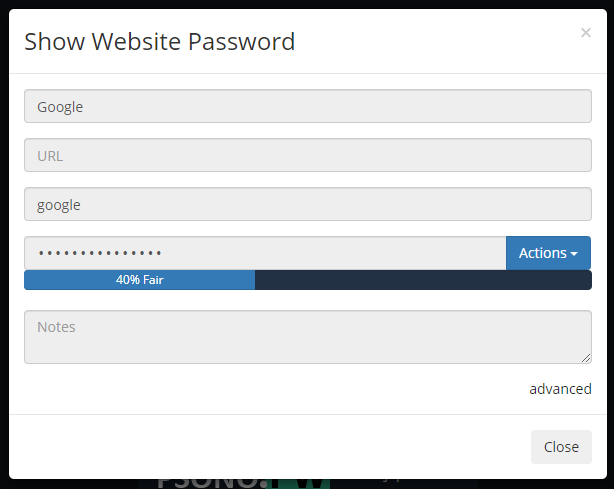
I was able to access my account information.
You can check the sharing status of your account information from 'Activate Link Share' on the Psono web client.

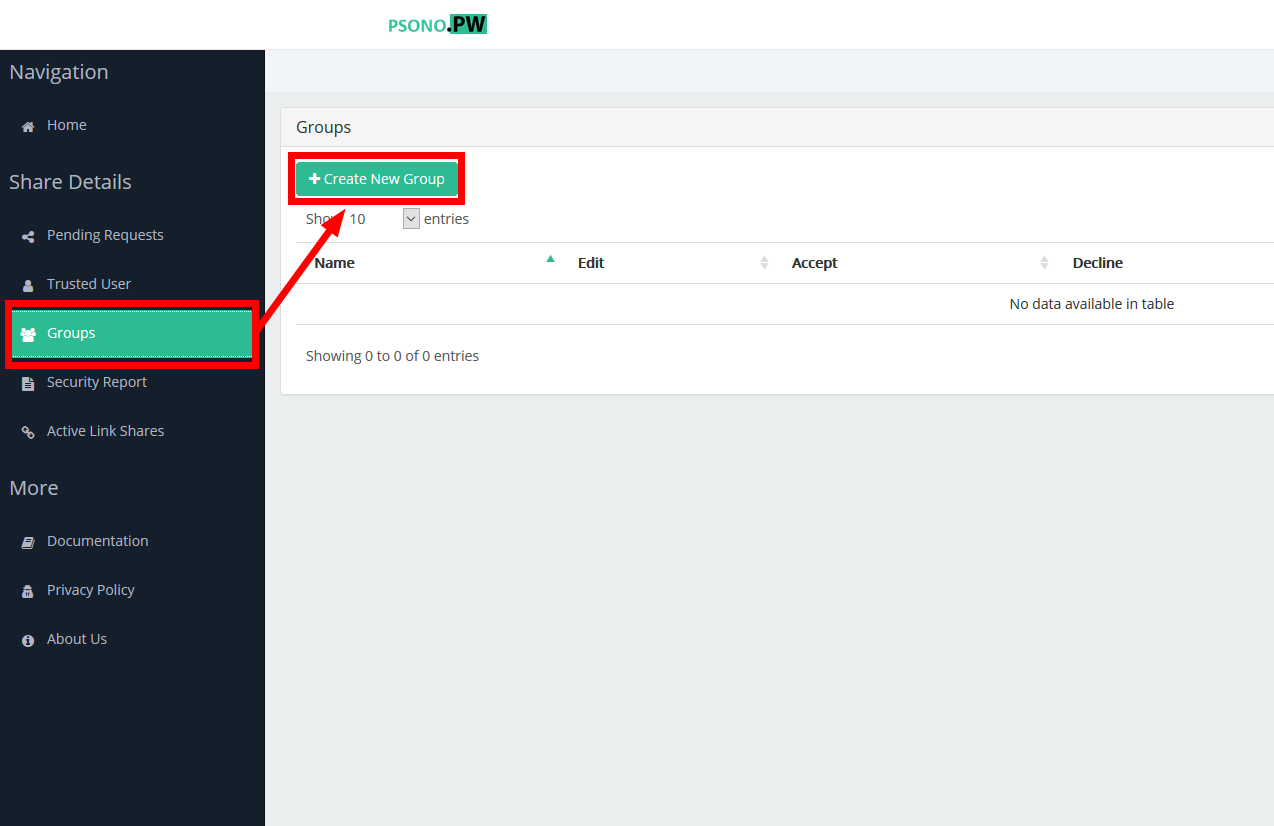
Group sharing is useful when sharing the same account with teams. Click 'Create New Group' from 'Groups' on the web client.
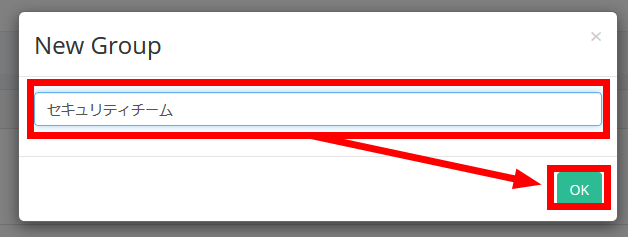
Enter the group name and click 'OK'.
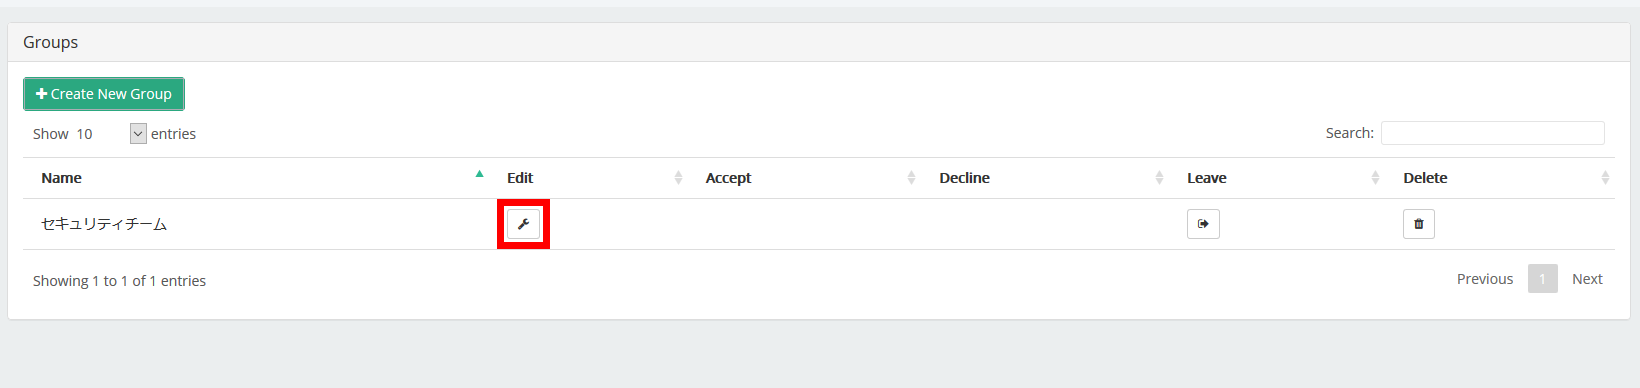
Click the button under 'Edit' to edit the group.
Set the group members and their permissions and click 'Save'.

Users added to the group can join the group by clicking 'Accept' from the 'Groups' menu.

Specify the folder to register the account information shared in the group and click 'OK'.

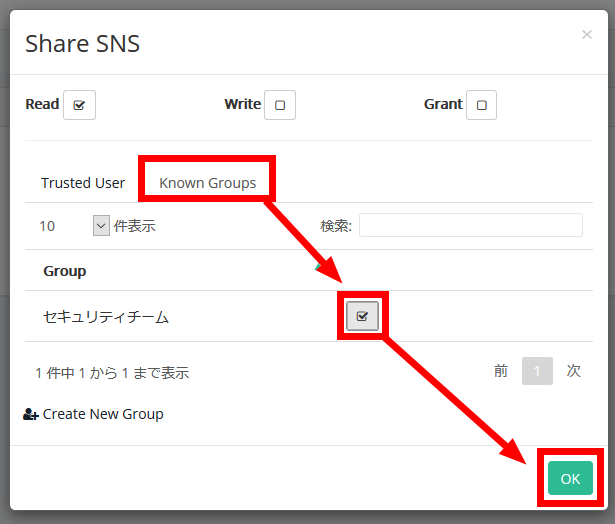
All you have to do is select a group from 'Known Groups' when sharing your account information. You can share information with Akan to all members of the group.
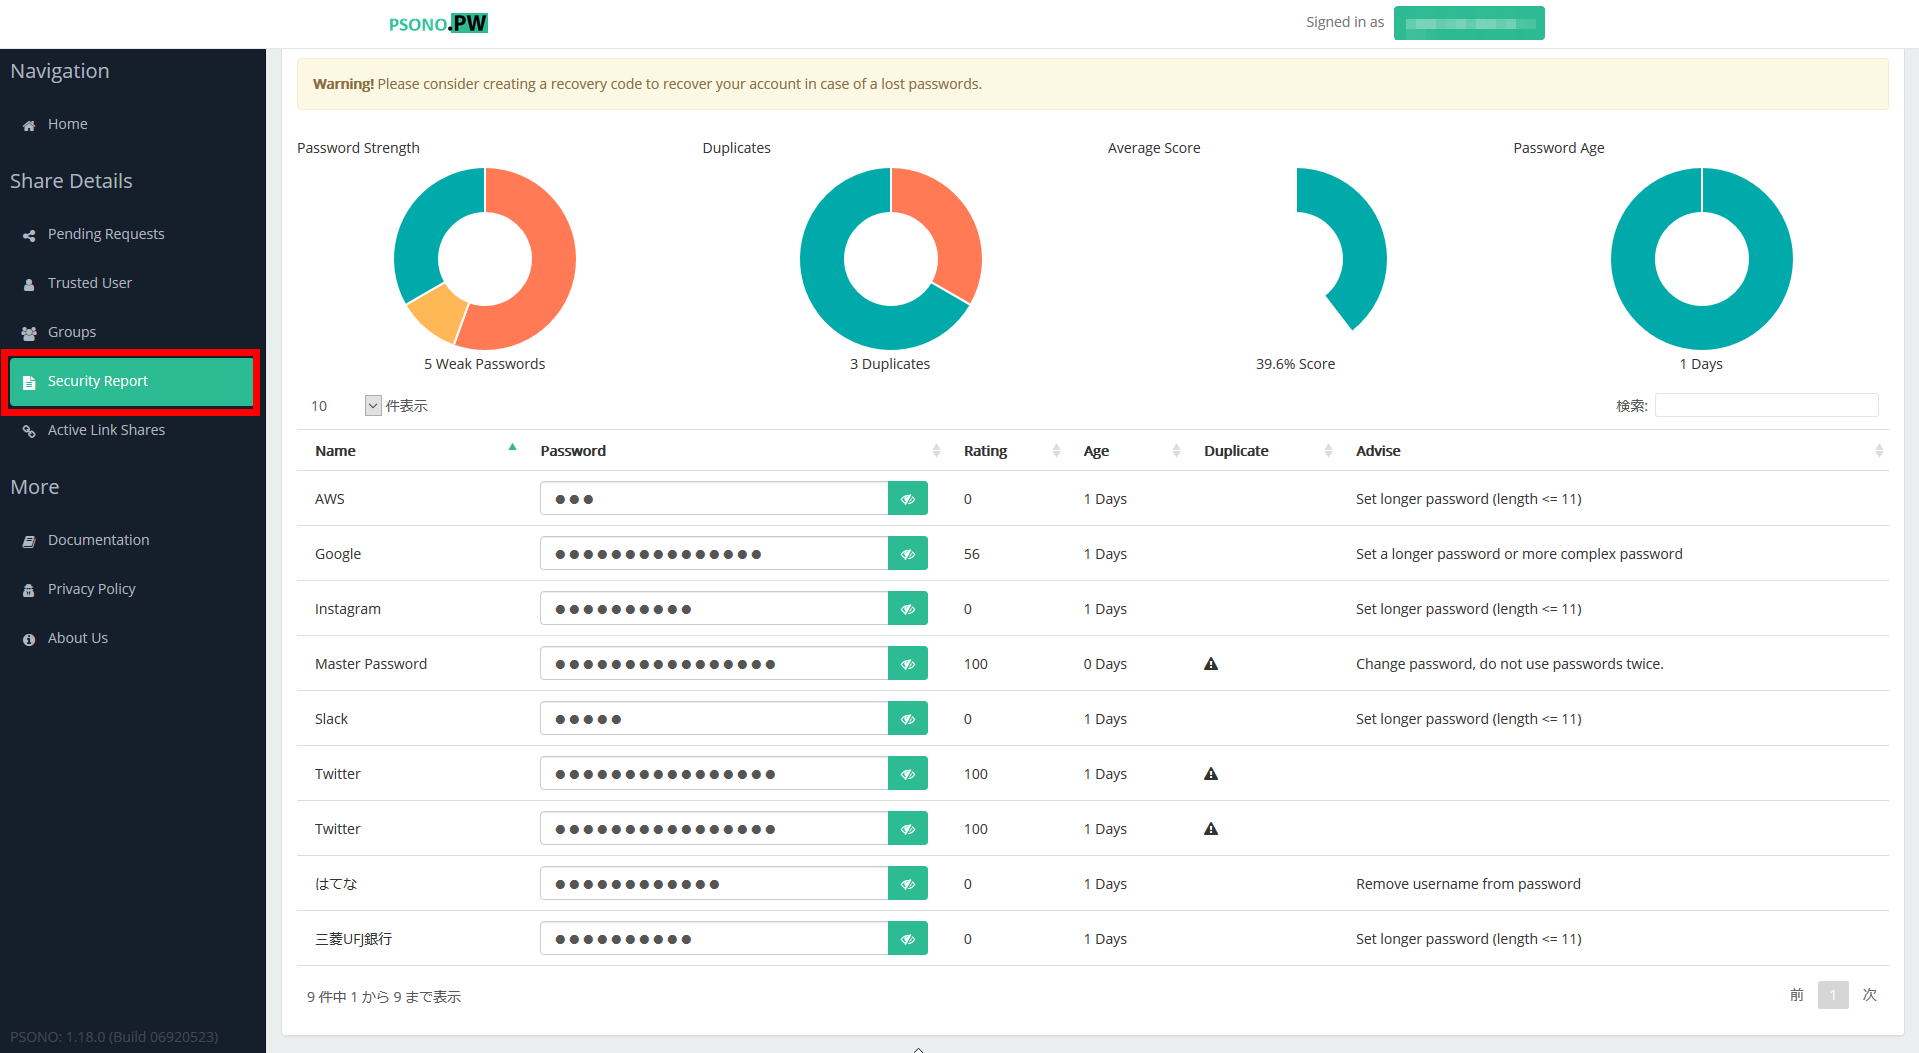
On the 'Security Report' screen, you can check the strength of the password and the period during which the password has not been changed for each account.
Psono also has add-ons for Firefox and Chrome.
Psono-Free Password Manager-Get Extensions for Firefox (ja)
Psono --Free Password Manager --Chrome Web Store
https://chrome.google.com/webstore/detail/psono-free-password-manag/eljmjmgjkbmpmfljlmklcfineebidmlo
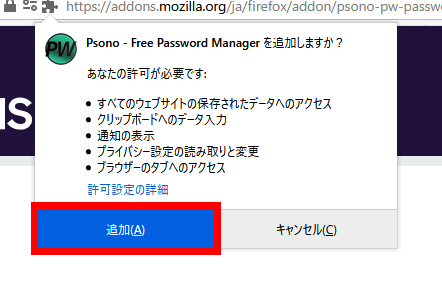
This time I will introduce it to Firefox. Go to the Firefox add-ons page and click 'Add to Firefox'.

Click 'Add'.
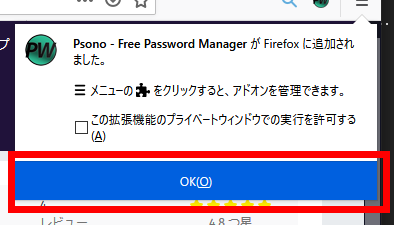
Click 'OK'. This completes the add-on installation.
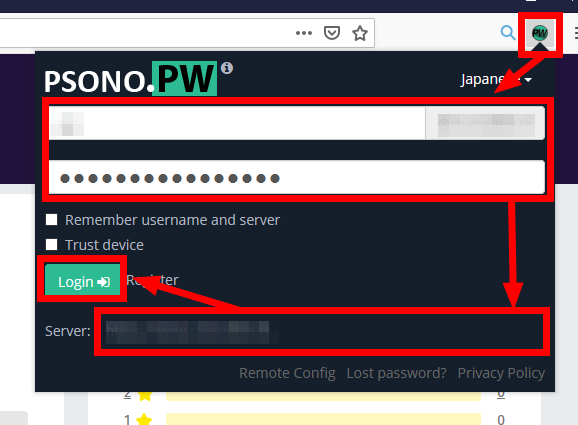
Click the Psono icon in the upper right corner of Firefox and you will be prompted to log in. Enter your user name, password, and URL of the Psono server and click 'Login'.
Now you can check your account information from your browser ...

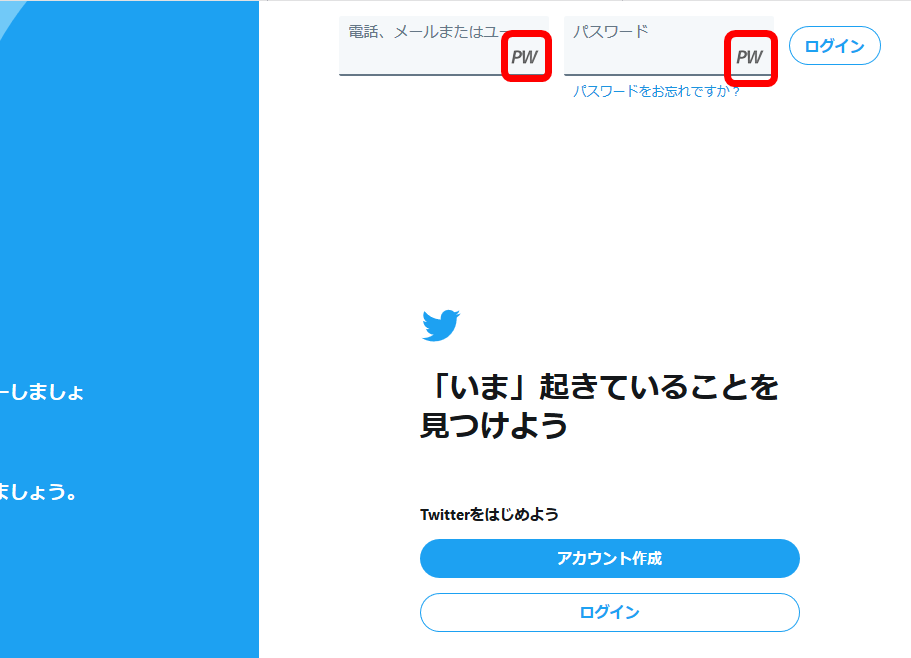
You can link Psono with the login screen of the website.
In addition, although I built the web client myself this time, it is also possible to use the web client officially prepared by Psono. The minimum required to use Psono is 'Psono server' and 'MTA'.
Related Posts: