I actually tried collaborative editing using 'Tiptap' which can easily create a WYSIWYG rich text editor that can be collaboratively edited and works on all browsers

Tiptap is an open source toolkit for building rich text editors on the web. '
Dev toolkit for building collaborative editors – Tiptap
https://tiptap.dev/
Node.js must be installed to use Tiptap. From the URL below, select the installation method that matches your environment.
Installing Node.js using a package manager | Node.js
https://nodejs.org/en/download/package-manager
In order to use Ubuntu this time, I installed Node.js with the following code.
[code]curl -fsSL https://deb.nodesource.com/setup_lts.x | sudo -E bash - &&\
sudo apt-get install -y nodejs[/code]
This time, we will implement Tiptap on Next.js. Prepare a working directory with the code below.
[code]npx create-next-app[/code]
You can set the name and the library to use, so select as follows. This time I named it 'tiptap-test'.
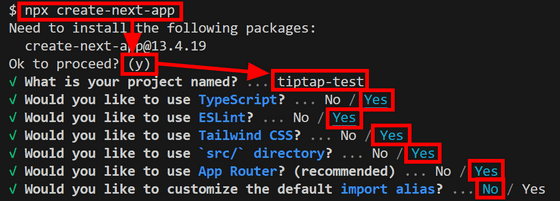
Move the directory with the code below and start the application.
[code] cd tiptap-test
npm run dev[/code]
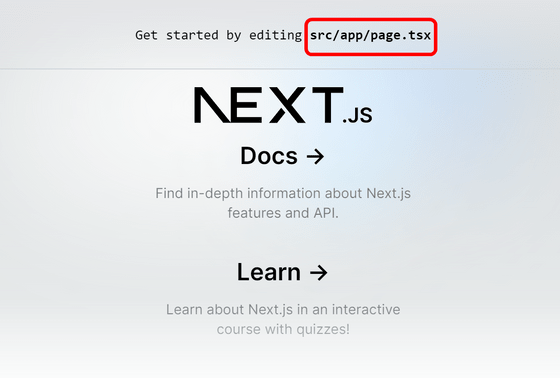
Since the URL is displayed, open it with a browser.

It is OK if the Next.js page opens as shown in the figure below. As stated on the page, the contents of 'src/app/page.tsx' are displayed.
Next, set up Tiptap. Install the Tiptap library with the following command.
[code]npm install @tiptap/react @tiptap/pm @tiptap/starter-kit[/code]
Copy the code for 4 files described in the 'Setting Up Tiptap' item
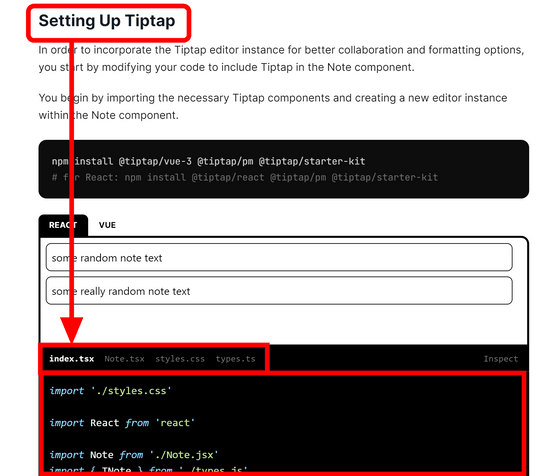
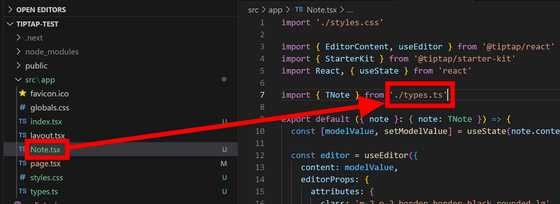
Create 4 files where 'page.tsx' is and paste the copied code in each. Furthermore, after entering ''use client'' at the top of index.tsx, replace './Note.jsx' and './types.js' with './Note.tsx' and ' ./types.ts”.
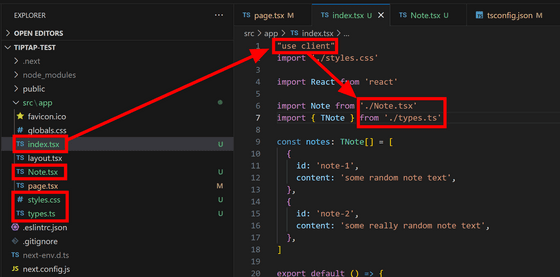
Similarly, in the import statement of Note.tsx, it is OK if you rewrite the part where the extension is '.js' to '.ts'.
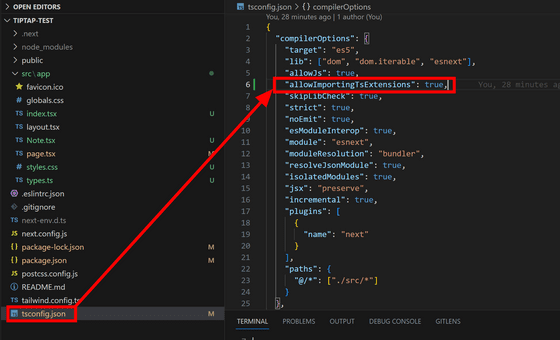
Open 'tsconfig.json' and add ''allowImportingTsExtensions': true,' to 'compilerOptions' so that it can be imported as '.ts'.
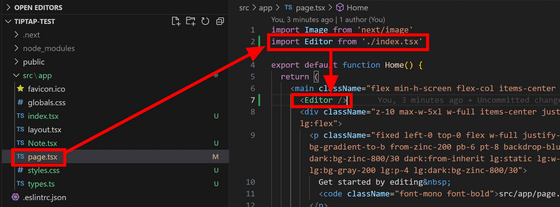
Finally, open page.tsx, import the content of index.tsx, and place it in an appropriate part.
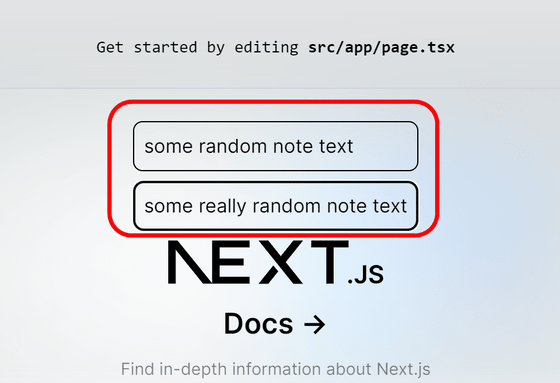
When you look at the browser, the editor is inserted. You have successfully set up the Tiptap editor.
Next, we introduce a collaborative editing mechanism. Install the required libraries with the following command.
[code]npm install @tiptap/extension-collaboration yjs @hocuspocus/provider[/code]
Scroll to the bottom of
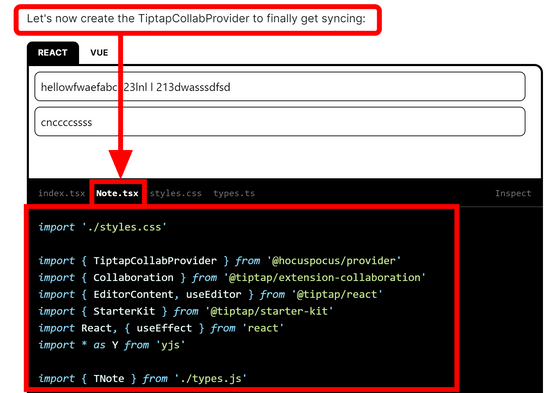
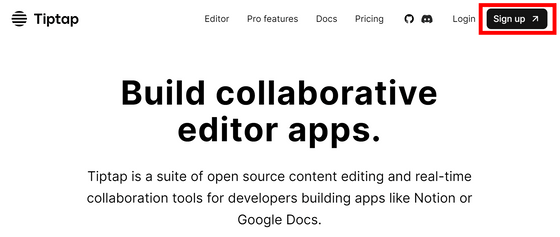
To get the data necessary to set up collaborative editing, go to Tiptap's top page and click 'Sign up'.
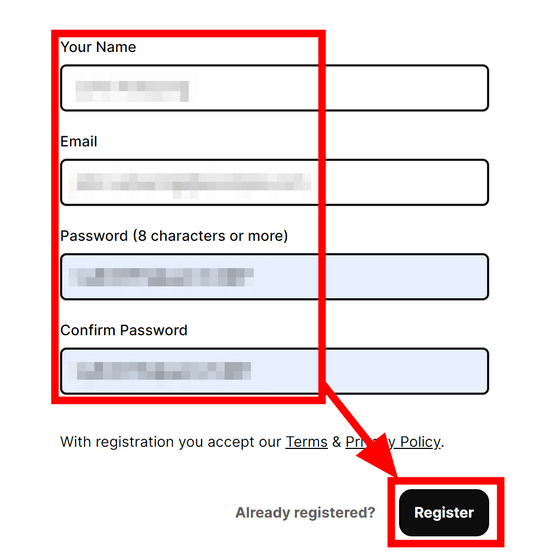
Enter your name, email address, password and click 'Register'.
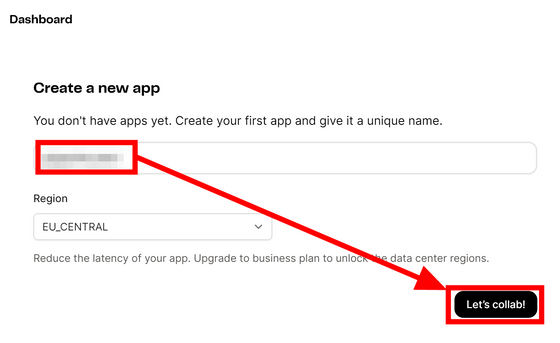
Give the app an easy-to-understand name and click 'Let's collab!'
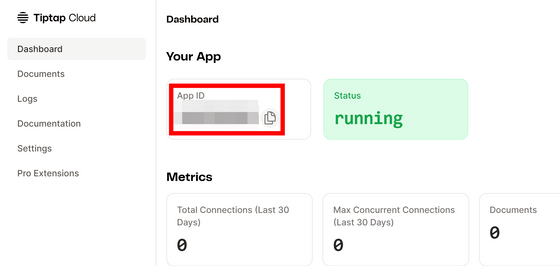
Since the dashboard opens, copy the 'App ID' and save it at hand.
Then click 'Settings' and copy 'JWT' in the Authentication item.
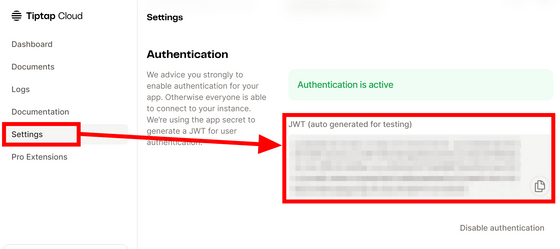
Replace the 18th and 19th lines of 'Note.tsx' with the copied App ID and JWT and save.

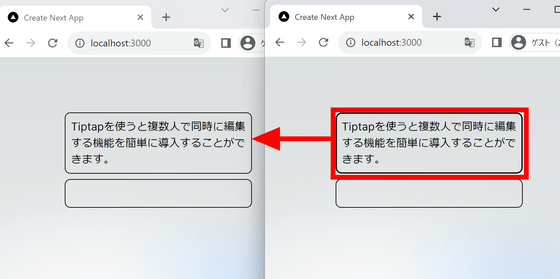
Collaborative editing is now possible. If you open two browsers as a trial and edit one, it will be reflected in the other in real time.
The free version of the backend service is limited to 5000 connections and 10 simultaneous accesses per month. According to the price list , the Starter plan with a monthly charge of $ 1.49 (about 220 yen) can handle up to 100,000 connections and 200 simultaneous accesses per month, and the Business plan with a monthly charge of $ 9.99 (about 1460 yen) is 1 million per month It can handle up to 1000 connections/simultaneous accesses.
Related Posts:
in Software, Web Service, Review, Web Application, Posted by log1d_ts


