I tried using SSH server 'Bitvise SSH Server' for Windows which can also use UNIX-like commands

If you try to build an SSH server for remote login to Windows PC or server, you need to install software for the server. However, it seems a bit scary for many SSH server software to use due to security concerns that development has ended and years have passed, and the official version is not published. Under such circumstances, I tried using what actually SSH server " Bitvise SSH Server " which has appeared in 2004 and continues to develop as of August 2018.
Bitvise SSH Server | Bitvise
https://www.bitvise.com/ssh-server
◆ Initial setup
After accessing the download page of Bitvise SSH Server, click "Bitvise SSH Server Installer" to download the installer.

Right-click on the downloaded "BvSshServer-Inst.exe" and click "Open".

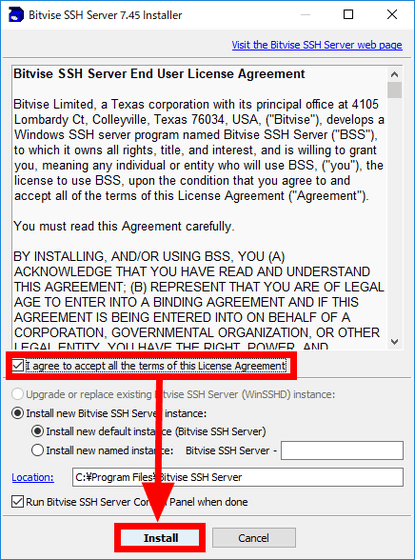
As Bitvise SSH Server installer launches, check "I agree to accept all the term of this License Agreement" and click "Install".
The edition selection screen will be displayed. "Standard Edition" is an edition intended for commercial use, the trial period is set to 30 days. On the other hand, "Personal Edition" is an edition for personal use, there is no limit to the trial period, but it is limited compared to Standard Edition. In this case, check the radio button of "Personal Edition" and click "OK".

The name input screen will be displayed, enter a name in "Name" and "Last name" and click "OK".

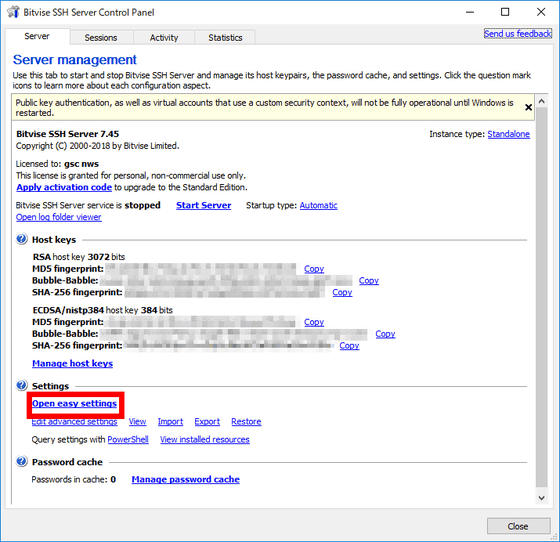
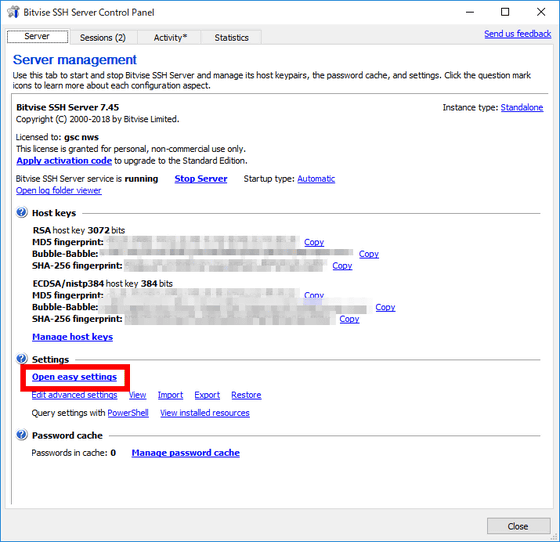
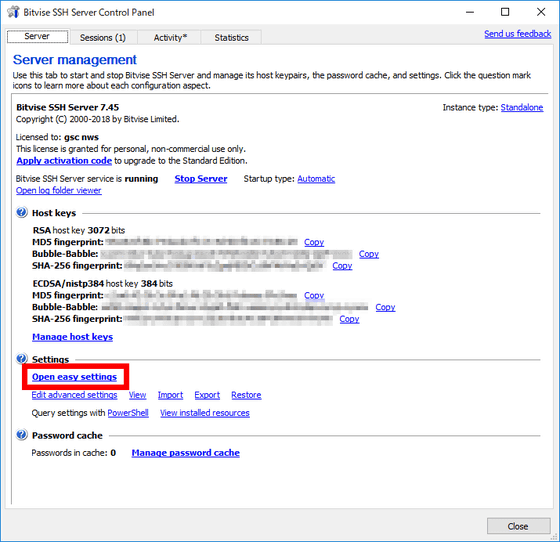
The installation starts, and when finished, the Bitvise SSH Server setting screen is displayed. Click "Open easy settings" under Setting.
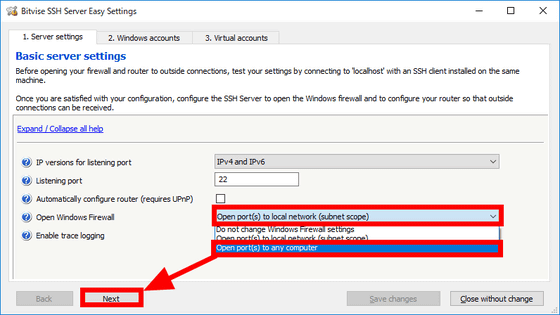
As the server setting screen is displayed, click "Open port (s) to local network (subnet scope)", click "Open port (s) to any computer" and select "Next" click.
The Windows account setting screen will be displayed. Bitvise SSH Server can use the user account registered in Windows as the login ID, but here you register and use the account separately. Uncheck "Allow login to any Windows account" and click "Next".

As the account setting screen is displayed, click "Add".

Next the account registration screen will be displayed. In this case, do not use the secret key and set the user who logs in with ID and password. In "Virtual account name", enter the user name (here, gigao) and click "Virtual account password".

Enter the password to be registered in "Password" and "Confirm Password", and click "OK".

Click "OK".

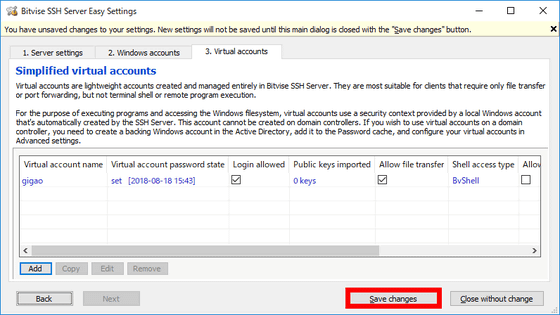
Click "Save changes".
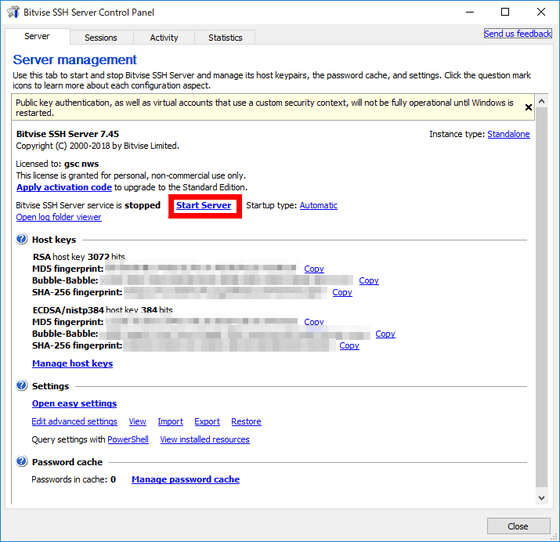
Click "Start Server" on the server setting screen.
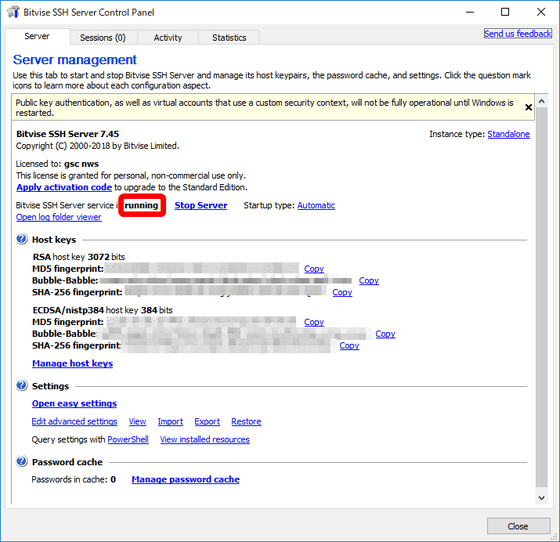
Then the status of the server setting screen becomes "running" and the server started up.
◆ SSH connection actually try
Before connecting to SSH, prepare the root directory and file to move after SSH login. The default root directory of Bitvise SSH Server is "C: \ SftpRoot". So, open a command prompt and run the following command to set up a text file (sample.txt) with the folder of SftpRoot and "This is a file on the server" just under the C drive.
mkdir c:\SftpRoot

echo これはサーバー上のファイルです > c:\SftpRoot\sample.txt 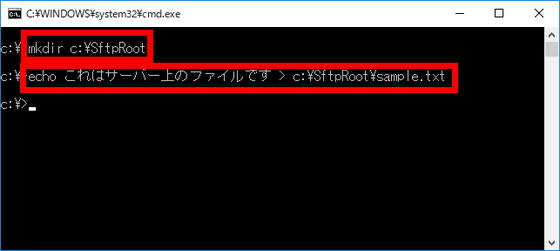
I will try logging in with SSH immediately. Try remote login using SSH client software " ConnectBot " of smartphone application this time. When you tap and tap [gigao @ [IP address of Bitvise SSH Server]] on the host URI of the connection destination with ConnectBot ......
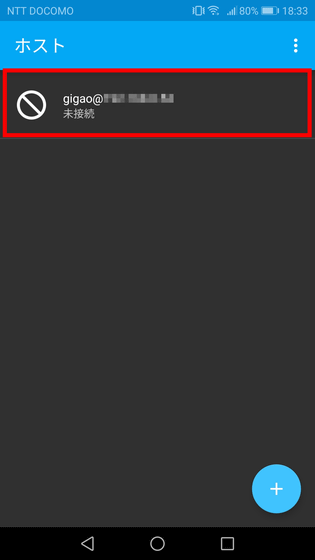
Since a registration message of the public key fingerprint is displayed, tap "Yes".
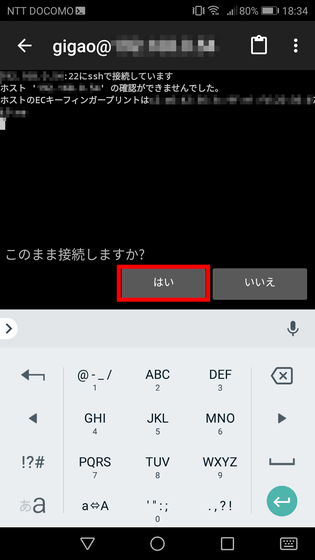
As you are prompted for a password, enter your password and tap the Enter key.
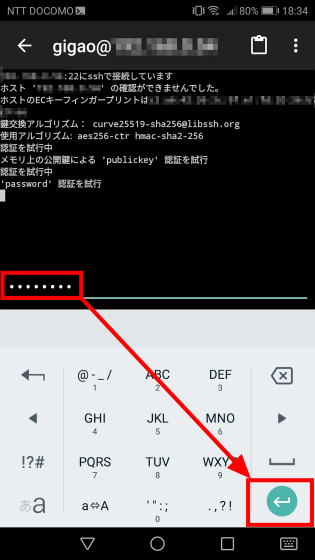
Then, login to Bitvise SSH Server is completed and commands can be input.
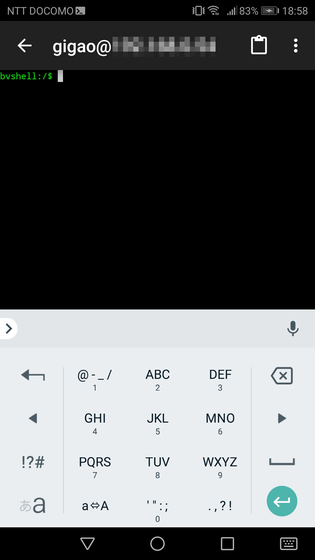
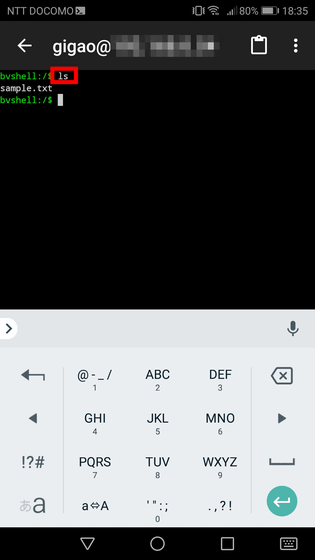
After logging in to the server, a UNIX-like command called bvshell becomes available. For example, entering the "ls" command will display the list in the directory, and sample.txt created in the root directory "C: \ SftpRoot" will be displayed.
If you open the file with the following cat command, it is possible to confirm that "This is a file on the server" is written in the file.
cat sample.txt 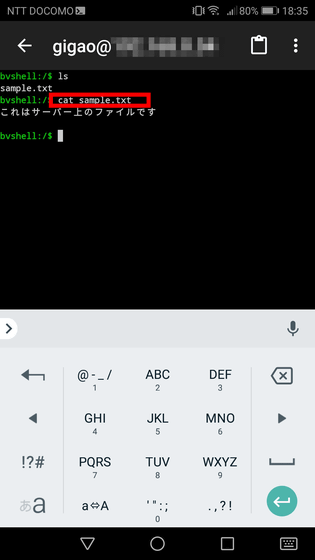
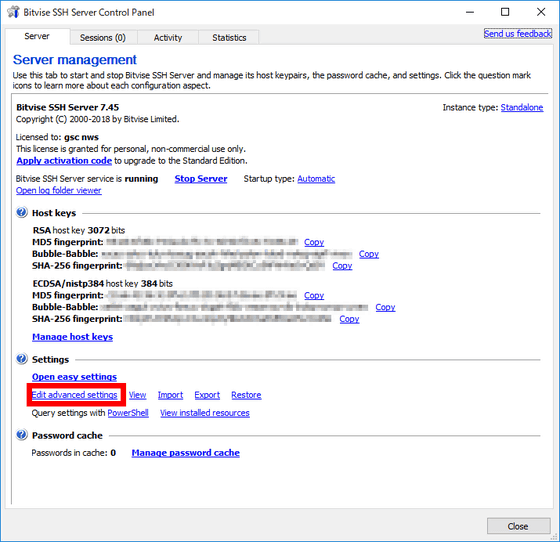
◆ Bandwidth limitation So far we have used basic functions, but try using the bandwidth limit function available in Bitvise SSH Server. To do this, click "Edit advanced settings" on the server setting screen.
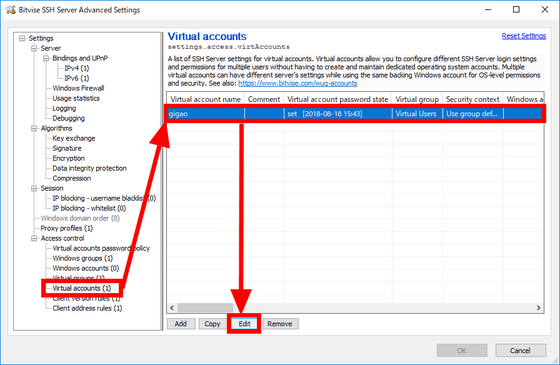
As the extension setting screen is displayed, click on "Virtual accounts" in the left view and click "user ID you want to set" "Edit".
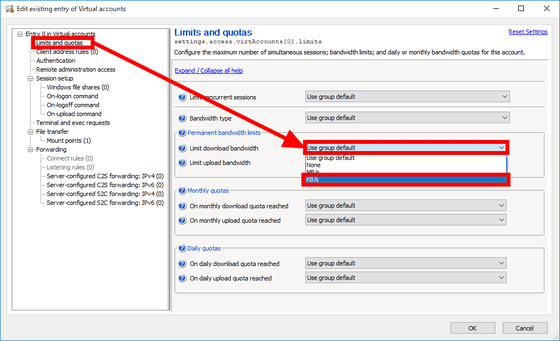
Let's limit the download bandwidth to 10 KB per second. First, click "Limits and quotas" from the left view, click on the "Limits download bandwidth" selection box and click "KB / s".
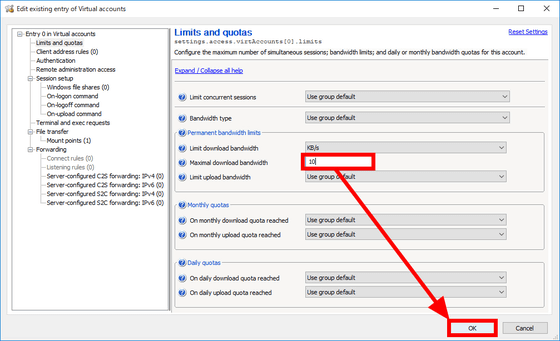
Enter "10" in "Maximal download bandwidth" and click "OK".
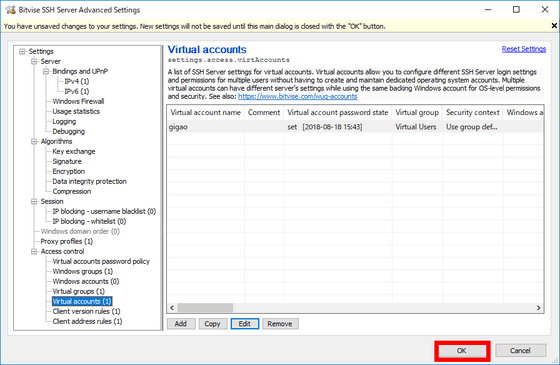
Click "OK" on the extended setting screen to reflect the setting.
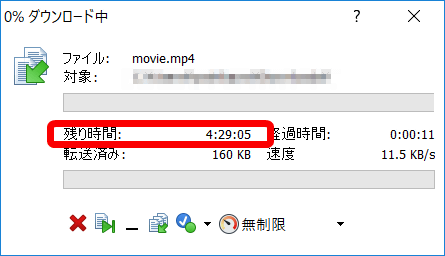
Next I will check the download speed. To check the download speed, check with " WinSCP ". Firstly, install WinSCP on the PC where Bitvise SSH Server is set up. And we installed about 180 MB movie file in the root directory of the server. And downloading it with WinSCP, the default state will complete the download in about 10 seconds, but with the limitation applied, the download speed will be about 10 KB per second and the remaining time will be about 4 hours 30 It was minutes. It was confirmed that the limit was added correctly.
◆ Increase the number of paths that can be used for SSH login. Next, let's change the "virtual file system" function that allows you to set a different path as a personal directory besides the root directory. Click "Open easy settings" on the server setting screen.
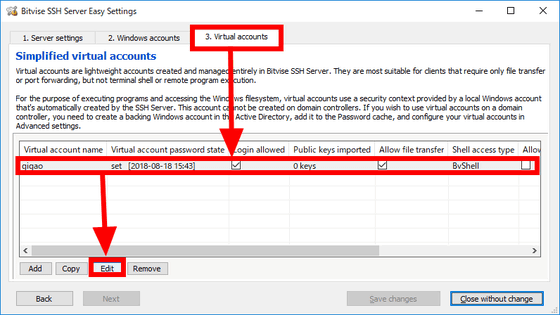
Click the "3. Virtual accounts" tab and click "Set user (gigao)" "Edit".
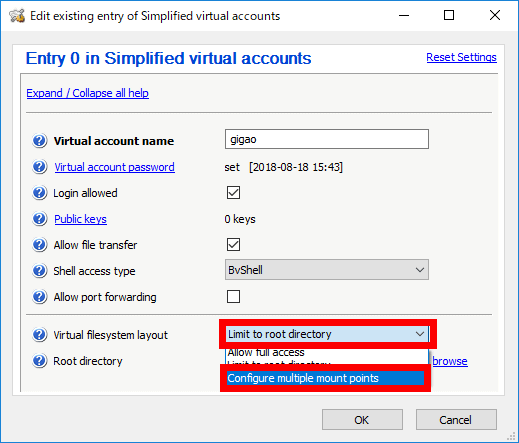
Click the "Virtual filesystem layout" select box and click "Configure multiple mount points".
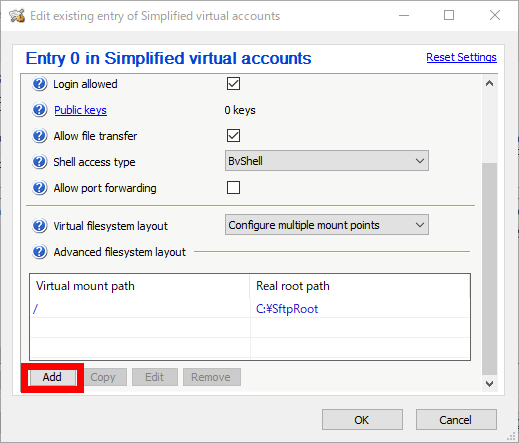
Then, since the item "Advanced filesystem layout" is added, click the "Add" button at the bottom of it.
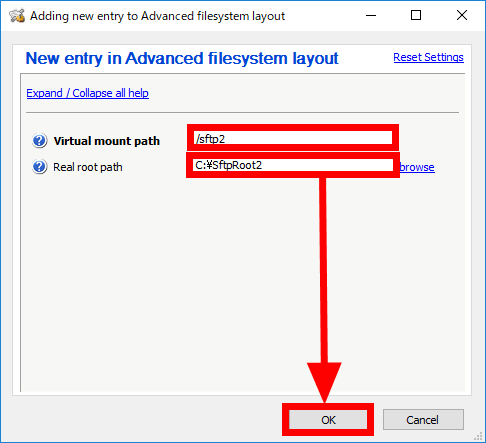
As the setting screen for the new directory path is displayed, enter "/ sftp 2" for "Virtual mount path" and "C: \ SftpRoot 2" for "Real root path", then click "OK".
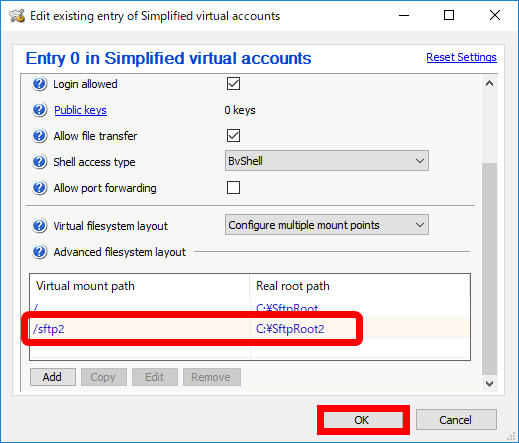
Then, since the contents of "/ sftp 2" has been added to "Advanced filesystem layout", click "OK".
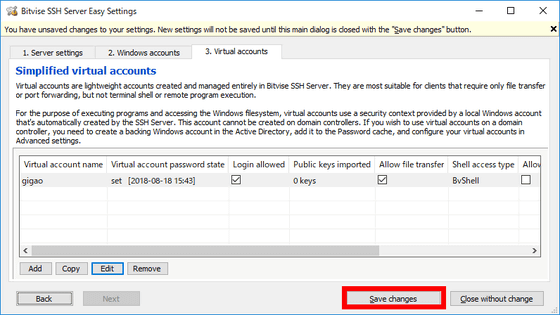
Click "Save changes" to reflect the setting.
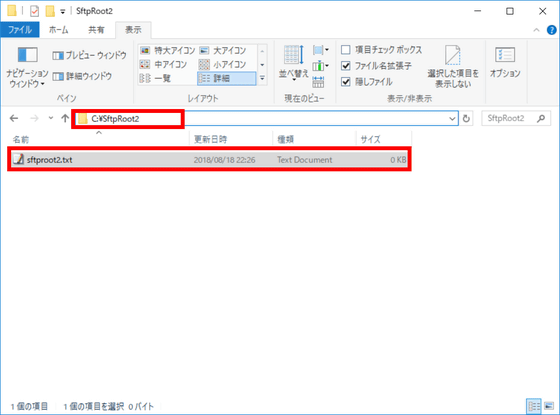
Then, set up the file "sftproot2.txt" in the path and folder of "C: \ SftpRoot 2".
Then, when connecting with ConnectBot and executing the ls command right under the root directory, the directory "sftp 2" appeared.
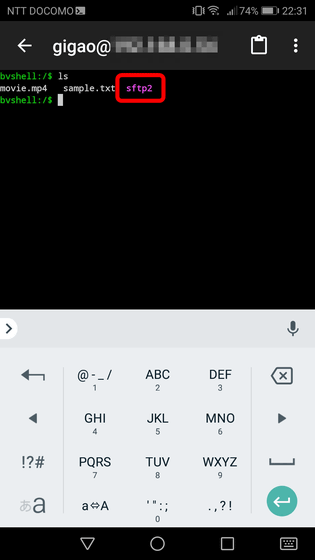
When you display the list of files in sftp2 with the following command, "sftproot2.txt" is displayed and another path can be set as a personal directory.
ls sftp2 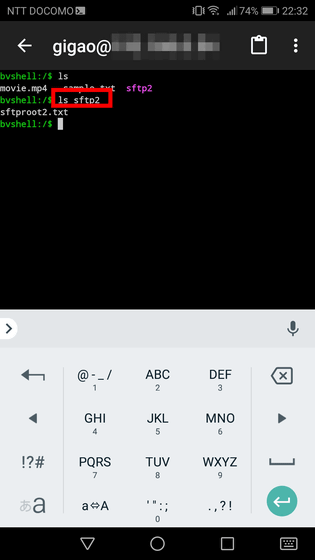
◆ Displaying statistical information
With Bitvise SSH Server, you can see statistical information that lets you know, for example, how much each user has used resources. Click on the "Statistics" tab on the server setting screen and click "user you want to see (gigao)" "View in new window".
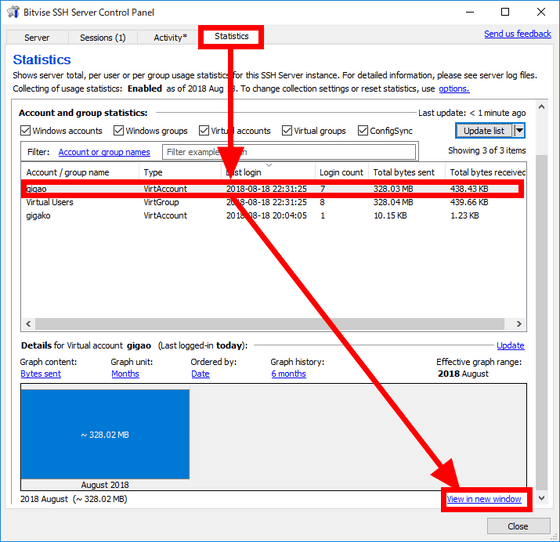
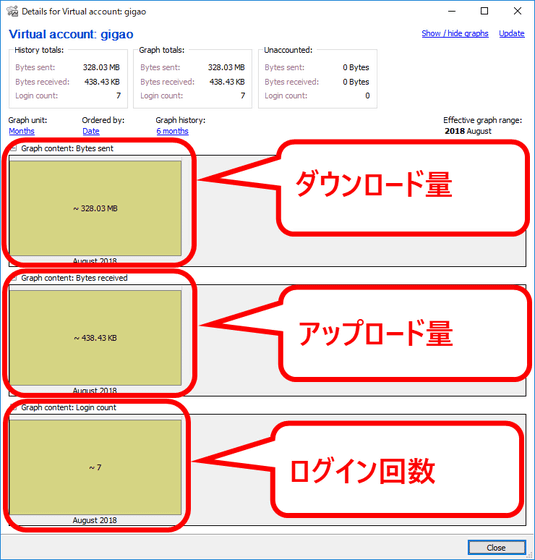
Then, three graphs are displayed, "download amount", "upload amount", "login count" are displayed from the top. This display can be switched to daily, monthly, etc., for example.
◆ Git repository integration
Using Bitvise SSH Server, you can publish the Git repository of version control system to other PCs. To do this, click "Open easy settings" on the server setting screen.
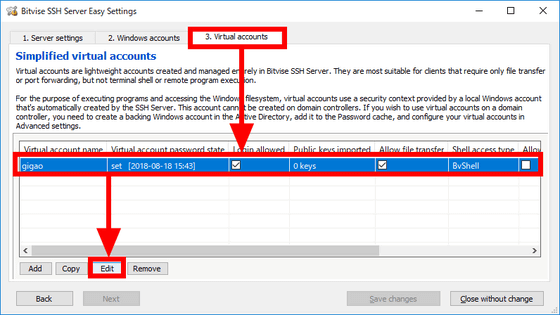
Click the "3. Virtual accounts" tab and click "Set user (gigao)" "Edit".
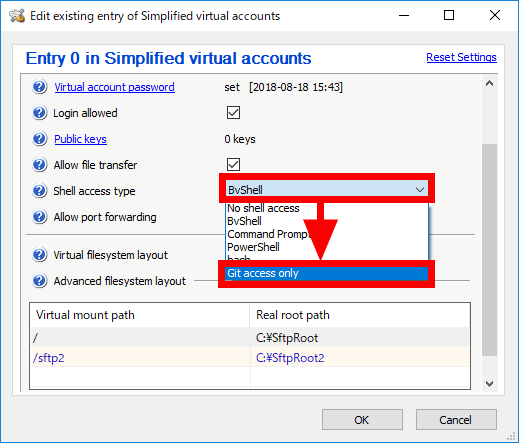
Click the "Shell access type" select box and click "Git access only".
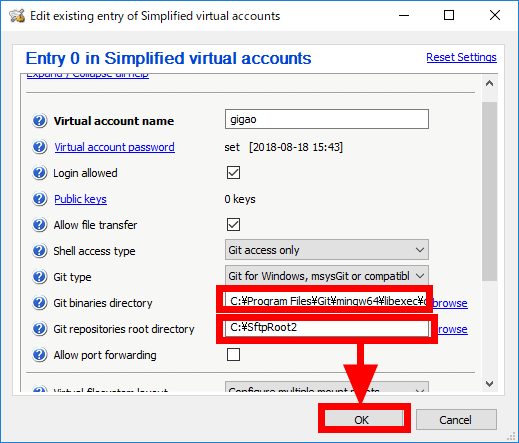
Enter the Git binary file path in "Git binaries directory" and the path of Git repository ("C: \ SftpRoot 2" here) in "Git repositories root directory" and click "OK".
Click "Save changes" to finish.
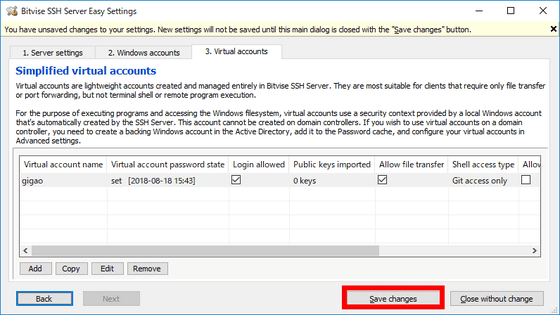
After that, it becomes possible for multiple users to use the set Git repository.
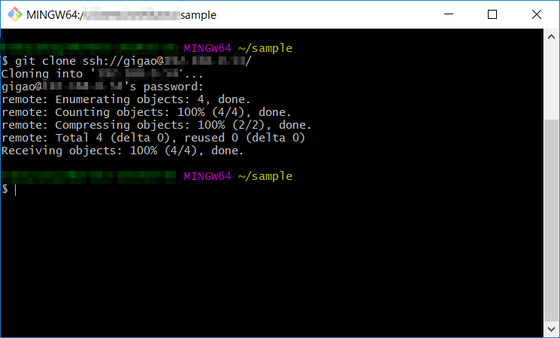
In addition to this, many functions are implemented as below and it is also possible to make fairly detailed settings.
· Single sign-on function · Obfuscation function · Telnet function · Port transfer function · Setting description in text file · Multi-instance function · Redundant configuration
Related Posts:
