I tried using a free application "Veer Editor" that allows easy editing of 360-degree movies from smartphones

Even if you shoot a beautiful movie with a camera on a smartphone, if you see something you should not display or the color is not good, it just got stuck, it will be a store for a while or you will delete it It is thought that. If this is a movie taken with a 360 degree camera, it is already hard. Even though I think that it is absolutely okay at the time of shooting, there is something that should not be shown when checking the movie and it may be that "even if this can somehow hide, I can share ..." . So, you can easily edit 360 degree camera movie from mobile terminal with easy operation "Veer Editor"I tried to see if the 360 degree camera movie can be processed easily in fact.
VeeR VR Video Editor | VeeR VR
https://veer.tv/veer-editor
Actually using "Veer Editor", you connect the movie moving in the side road of the river with the movie shooting the square in front of the station, hide the things you do not want to display with icons etc. with icons, The movie below is the one that added telop etc. Even in a state where you do not know the operation of the application at all, you can edit so far in about 30 minutes.
I tried various movies of 360-degree camera movies with "Veer Editor" - YouTube
◆ Setup
"Veer Editor"AppStore,Google PlayYou can download from. Here I will use the iOS version of the application to try it on iPhone.
VeeR Editor on the App Store
https://itunes.apple.com/jp/app/veer-vr-editor-edit-360-video/id1274467955

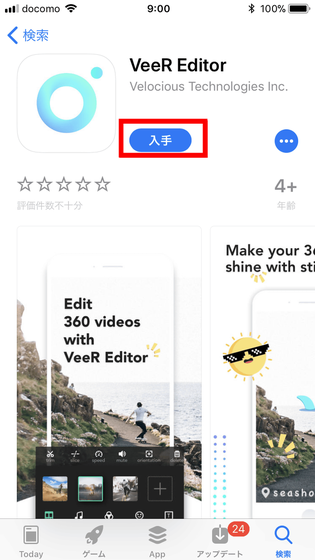
Go to the above URL and tap on acquisition ... .... ·
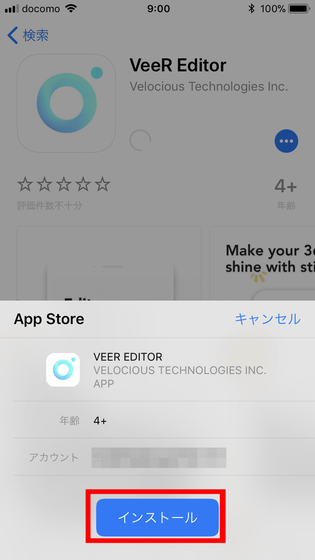
Tap Install.
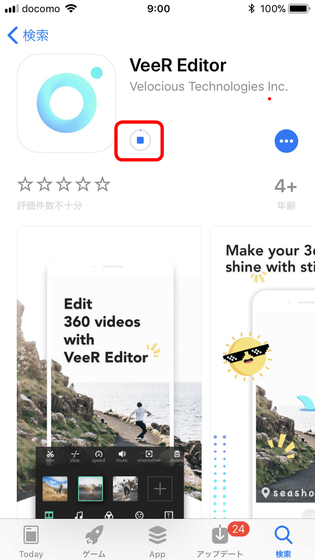
Installation of the application will start ......
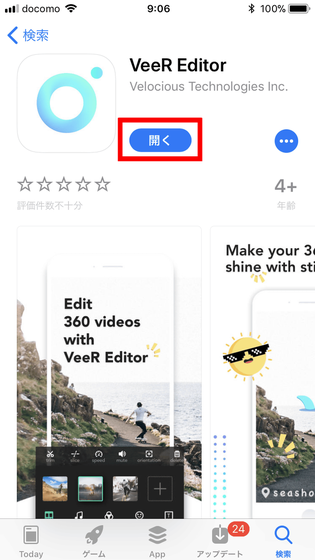
When finished, tap Open.
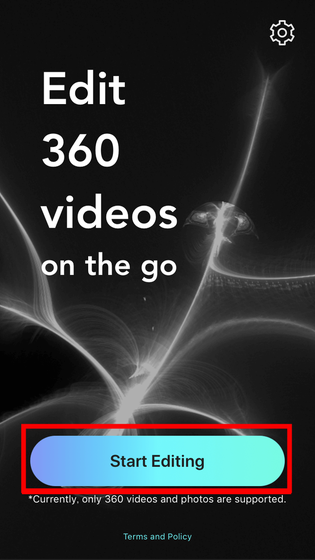
When "Veer Editor" opens, tap "Start Editing".
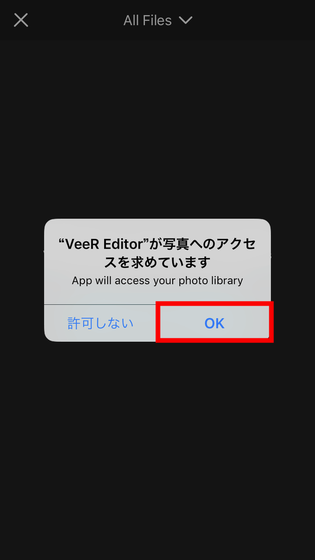
"Veer Editor is requesting access to photos" is displayed, so tap "OK".
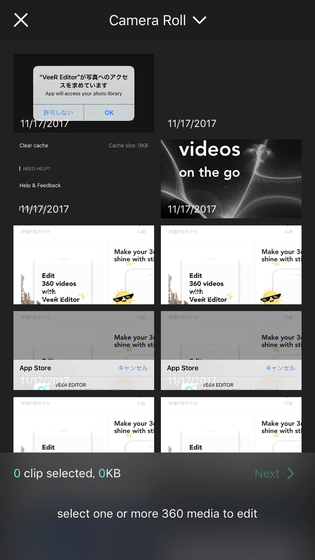
The movie selection screen will be displayed. However, unfortunately there is no movie taken with a 360 degree camera in the iPhone, so there is no editing target.
So, the 360 degree camera "THETA SGo to Kawahara Go!
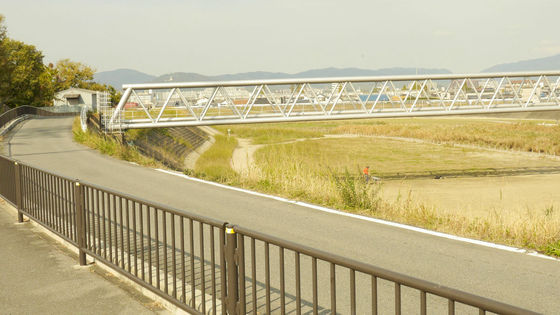
Because Kawahara alone was unsatisfactory, I took it even in the square in front of the station.
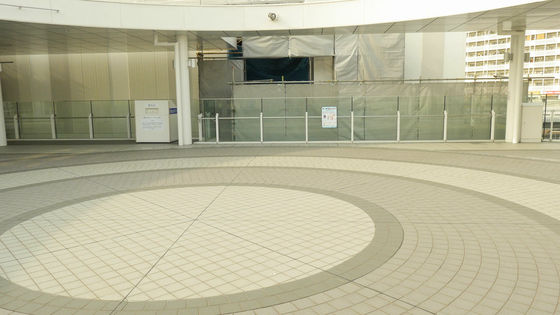
Since the movies for editing with "Veer Editor" are now available, we will start editing movies.
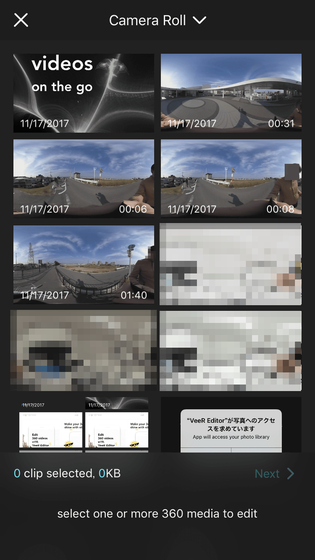
◆ Select clip
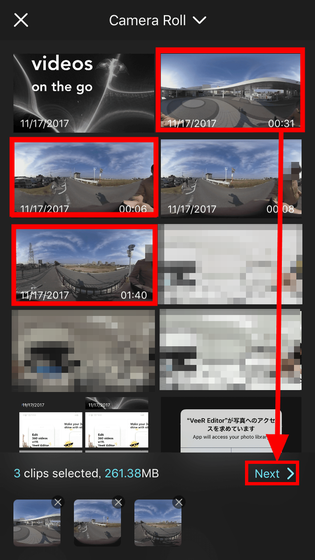
The clips on the movie selection screen are arranged in order of the creation date. Since the movie taken this time was filmed in order for each scene, select three clips to be used for editing in order from the bottom and tap "Next". In this way, you will edit the connected movies in the order of the selected clip, but you can change the clip order during editing.
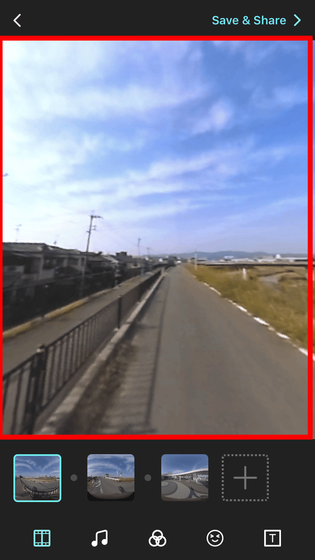
When the edit screen is displayed, the movie with the three clips concatenated is played, so immediately tap the movie screen to start editing.
◆ Cut the extra part of the movie
I will try cutting the extra part of the movie at the beginning. First, I want to cut off the extra part of the first clip, so tap the first clip. Then tap "trim" of scissors mark.
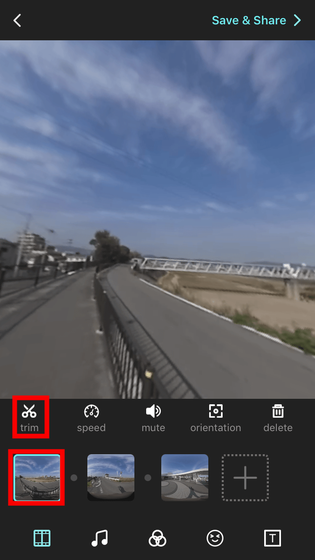
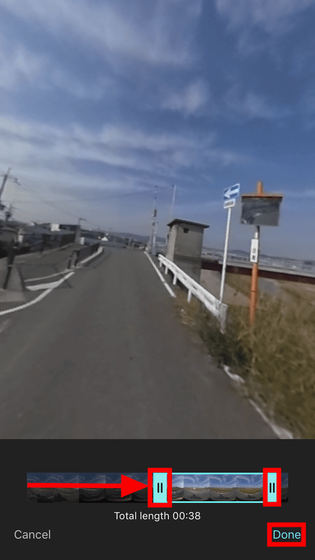
Move the blue seek bar, select only the part that you want to keep, tap "Done" and cut editing is completed. It is easy. Even if you mistake the range to cut by tap mistake or drag mistake, you can start over again and again.
◆ Change clip playback speed
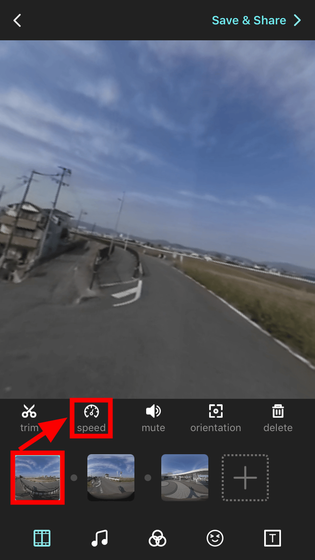
Next, change the playback speed of the first clip. Tap the first clip and tap 'speed'.
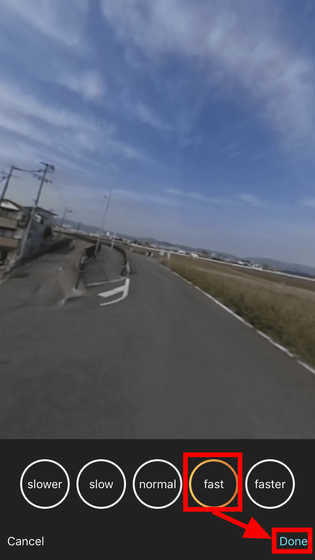
The selection screen of the playing speed is displayed and it is possible to change to 5 stages of "slower" "slow" "normal" "fast" "faster". By specifying the speed with the tap and pressing the play button in the middle, the clip is played at the selected speed, so you can decide the speed while checking the playing condition of the movie.
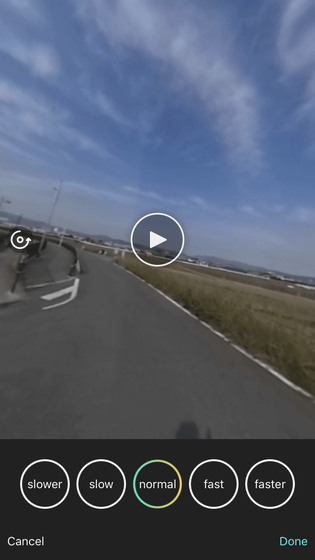
Here, tap "fast" which was a good feeling, and tap "Done".
◆ Mute the sound of the clip
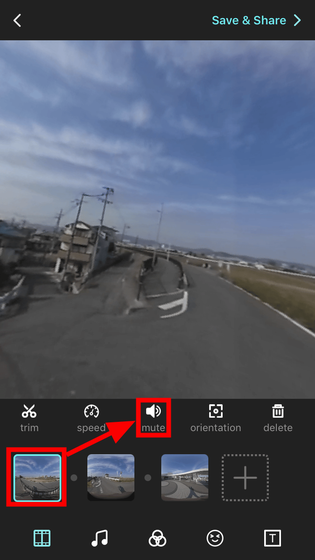
Next, mute the sound of the first clip (silence). Mute the sound of the clip to add another piece of music provided by "Veer Editor" to the whole movie. Tap to select the clip you want to mute and tap "mute" to silence the entire clip.
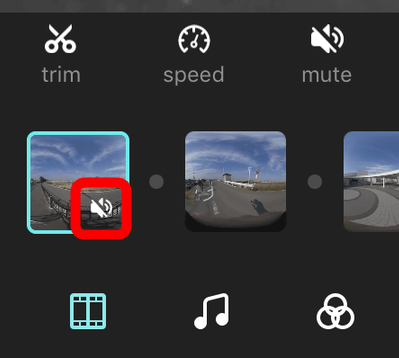
The clip that sounded muted gave a mark indicating that there was no sound.
◆ Adjust the viewpoint position at the start of the movie
Unlike normal movies, the position of the viewpoint at the start of the clip is also important for 360 degree cameras. So select the first clip and tap 'orientation' to change the starting point of the view.
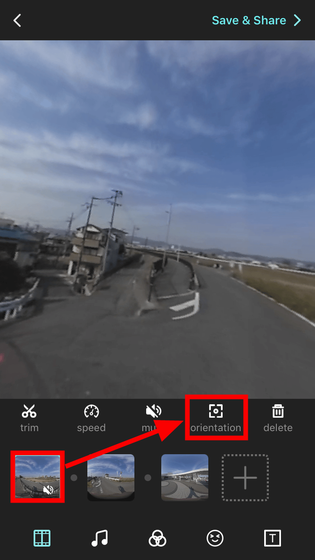
Then, "Please drag and select the line of sight position at the start" is displayed, so adjust by dragging ......
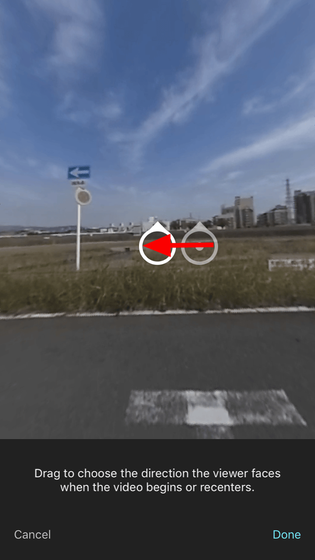
Specify the playback position so that it is straight in the traveling direction, tap "Done", and setting is completed.
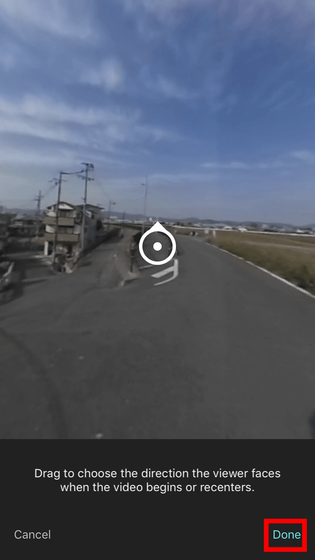
\
◆ Select music to play in the movie
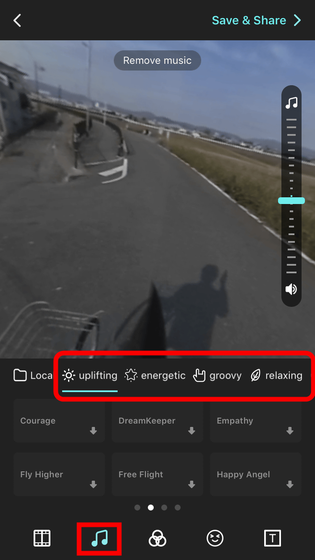
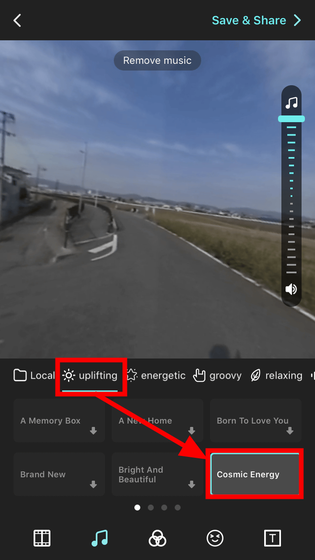
Next I will try setting music for movies. Tap the music icon to open the music selection screen. Music is categorized into genres, and "uplifting", "energetic", "groovy", "relaxing", "ambient", "cinematic (Cinematic songs) "There are six types. Because "Veer Editor" says royalty-free songs can be used ... ...
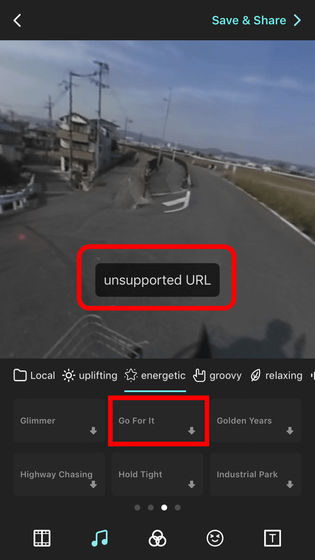
Appropriately tap "Go For It" of "energetic", I got out as "unsupported URL". There seems to be some unusable songs.
As I tried it a lot, "Cosmic Energy" of "uplifting" was tapped and I could select it. However, it seems that you can not preview playback of the selected song, so I do not know what kind of song it is, but I will try to select it for the time being.
◆ Adjusting the tint of movies
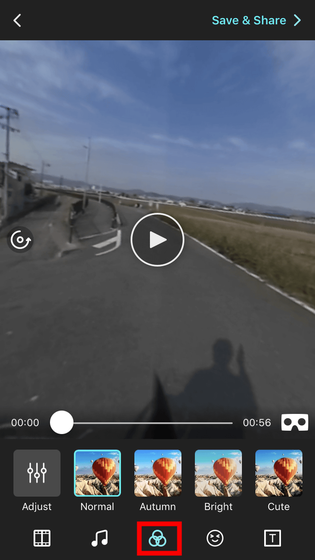
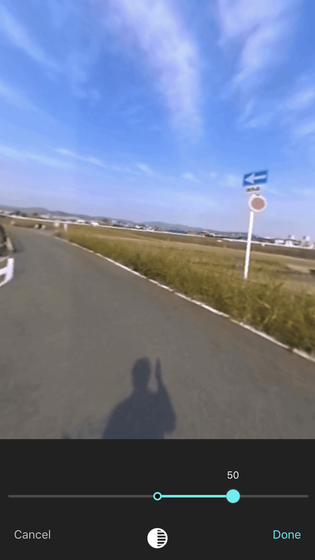
It seems that you can also adjust the color of the movie. If you are going to make a special movie, I want to leave it as a little better color. Tap the middle icon at the bottom to display the color setting screen. There are "Adjust" and "Automatic" settings that you can adjust manually, and 11 types of preset, such as "Normal" and "Black and White", are set for automatic setting.
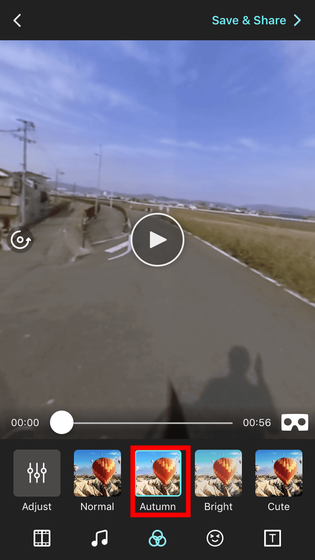
Make it "Autumn" ...
I made it "Story"
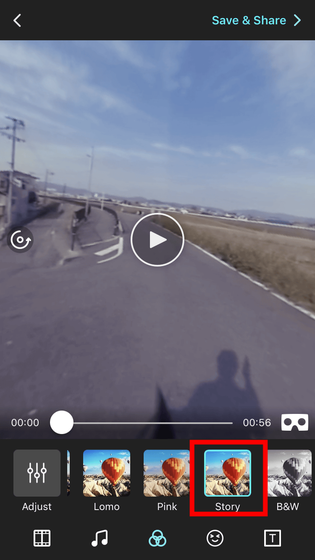
After all, once returned to "Normal", I set it manually. Depending on the movie, the preset auto setting may be somewhat comfortable, so you can evaluate the abundance of presets.
◆ Attach icons to movies
As a way to eliminate "things that can not be shown", the icons provided by "Veer Editor" are icons. Tap the "character" icon to display the icon screen. Here are icons of characters, things that hide part of the face, arrows, etc. are prepared. Here, tap an icon like a black ghost ... ...
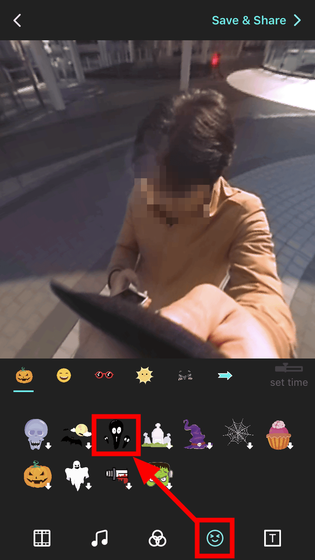
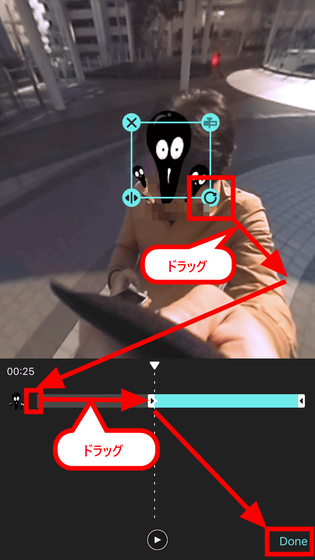
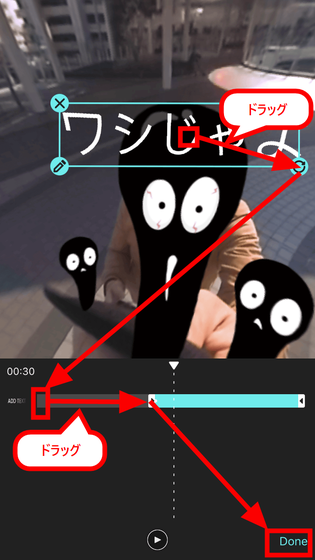
Arranged on the face. Then, drag the edge of the icon to adjust the size and decide where to place from where in the movie with the bottom gauge. Since this is the last clip, set the time from the beginning of the clip to the end of the movie as the icon display time. When finished tap "Done".
◆ Add a telop to a movie
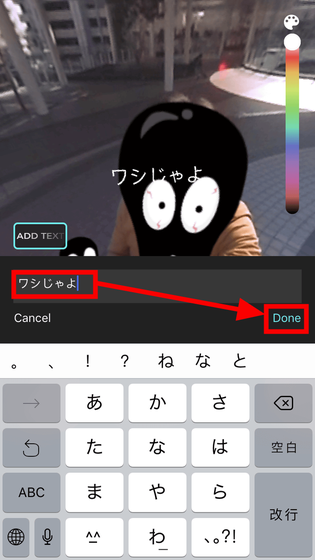
Let me attach a telop at the end. Tap the "ticker" icon and tap "ADD TEXT".
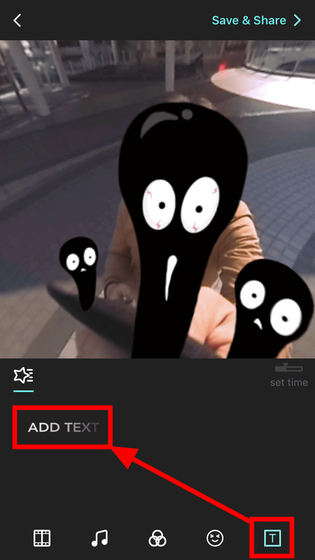
The text entry screen opens. Here, black haunted associate with the criminal of a certain work, entering "Eagle じ ゃ よ じ" quickly. The color of the telop can be adjusted with the color bar, but since the default white color is good, tap "Done" in this state ... ...
Tap the ticker, adjust the size in the same way as the icon, then set the telop display time with the lower gauge.
◆ Save videos
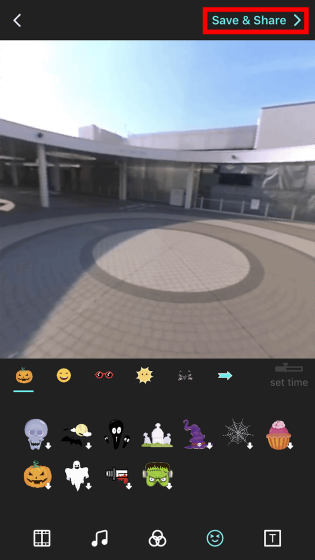
In this way, when you finish editing each clip, tap "Save & amp; Share" and save.
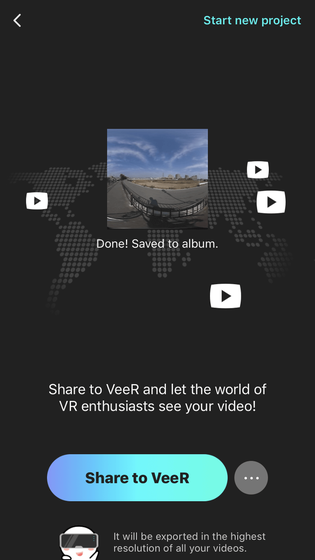
Saved movies are "VeeRYou can also share it. If you do not share it, OK if you quit the application as it is.
This is the movie at the beginning.
I tried various movies of 360-degree camera movies with "Veer Editor" - YouTube
"Veer Editor" is an easy and intuitive operation that allows you to edit a movie taken with a 360 degree camera and I think that it is enough ant as a free application. However, sometimes I felt a little inconvenient, because I could not preview play music set for movies, clip can not be cut in less than one second by cut editing, and so on. I would like to expect improvements in future updates.
Related Posts:


