I tried the Petit cinema experience with the speaker "ONEmicro" which realized the wireless 5.1 ch surround system with the world's first power supply

Completely broken complete wireless 5.1ch surround system which made wireless speaker cable and power cord "ONEmicro"ButKickstarterWe made it into a product through the campaign. Since it means that you can enjoy the powerful sound that does not fit that body from a compact body, I tried arriving "ONEmicro" from the initial setting.
ONEaudio | ONEsurround.micro
https://www.oneaudio.cc/onesurroundmicro
◆ "ONEmicro" set Exterior photo review
The set of "ONEmicro" arrived with two small and large cardboards.

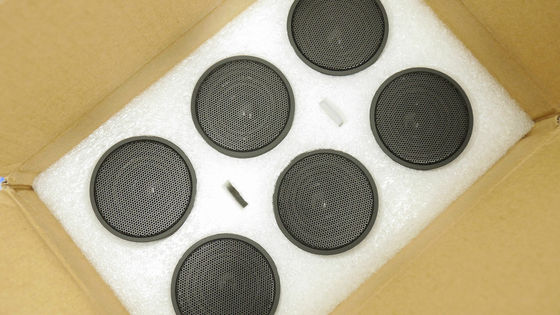
When opening a small cardboard, there are 6 "ONEmicro" speakers. Right front and left front, right rear and left back, two are aligned in the center, it becomes 5.1 surround.
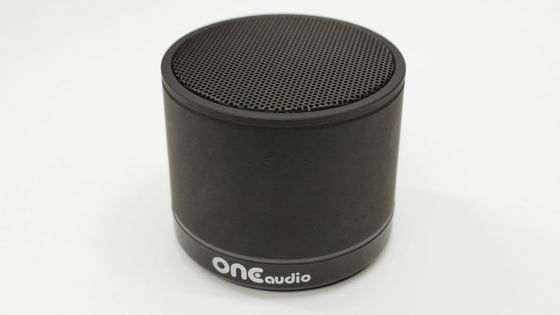
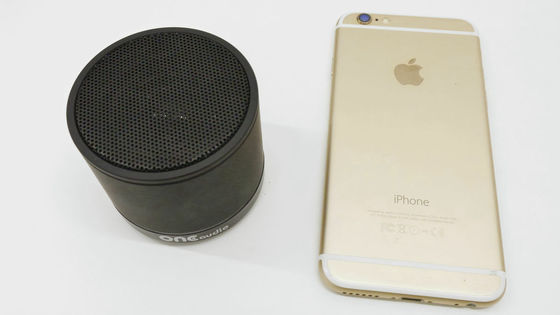
"ONEmicro" is a cylindrical speaker.
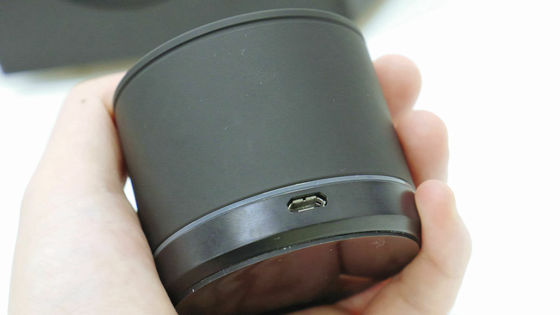
There is only one Micro - USB port on the opposite side of the logo "ONEaudio".
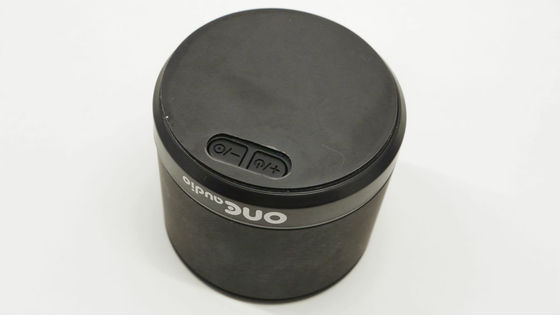
Turning "ONEmicro" over, "- / power off" "+ / power on" button.
Compared to iPhone 6, you can see that it is very compact.
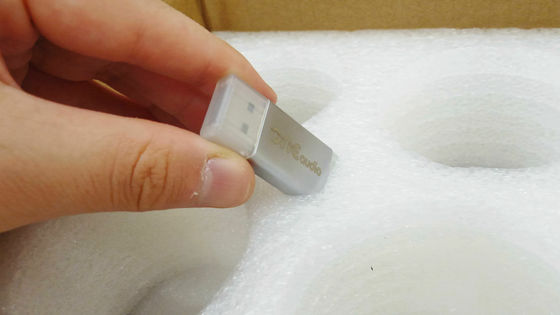
"ONEdongle" was enclosed in a small skimmer of cushioning material. We will use it for initial setup later.
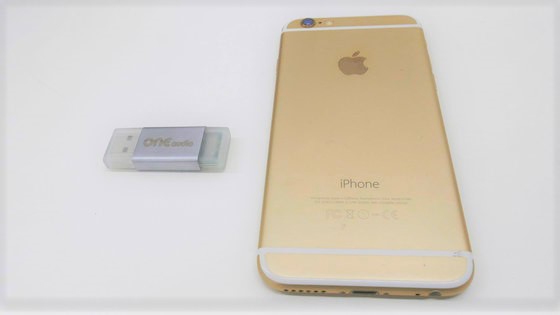
"ONEdongle" is about the size of a general USB memory, so if you align it with iPhone 6, there is this size difference.
Among the large cardboards, a set-up guide and paper for checking contents, various cables, subwoofer "ONEwoofer", cardboard containing accessories were enclosed.
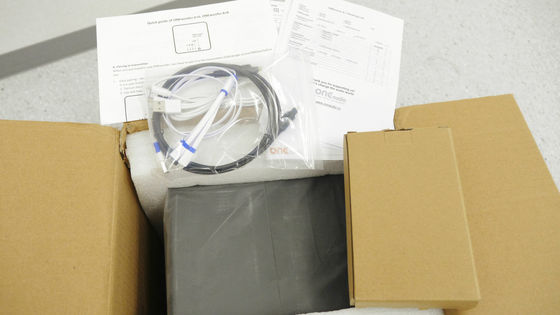
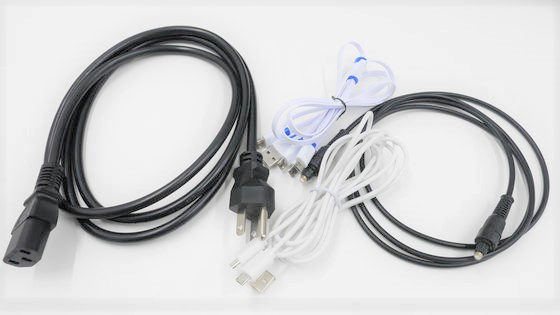
The supplied cable is a subwoofer power cable, two USB input terminals, four USB input terminals, and one optical cable.
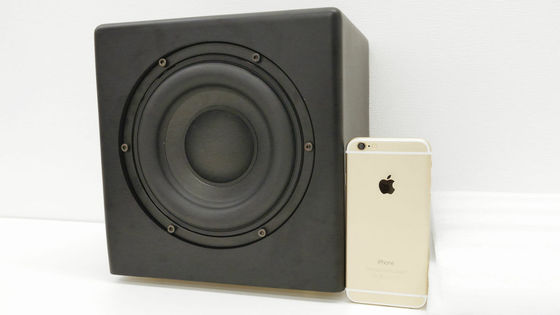
I took out "ONEwoofer" of the subwoofer. Compared with iPhone 6, I can understand the size well. It is heavy to carry, but it seems to be able to put it stably.
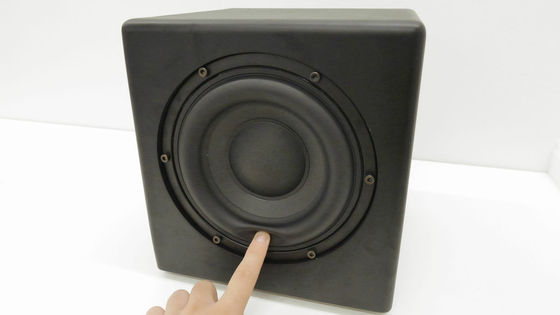
The speaker part of "ONEwoofer" is a plump and soft material.
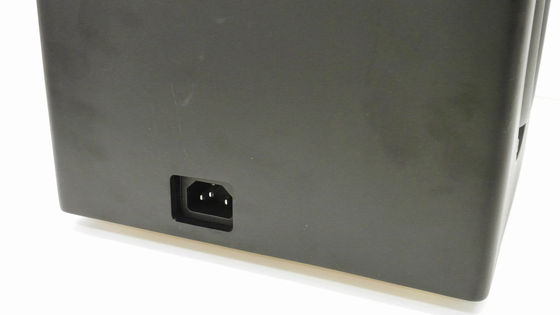
On the "ONEwoofer" side is a power cord outlet.
On the other side, 3 buttons and LEDs, 2 USB ports line up.
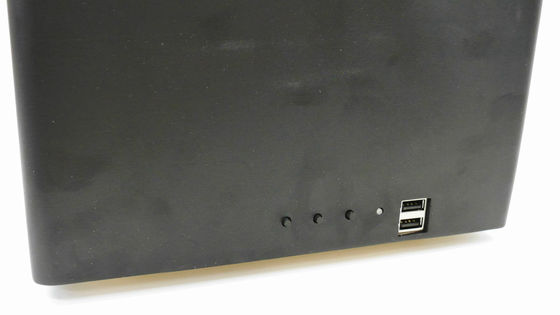
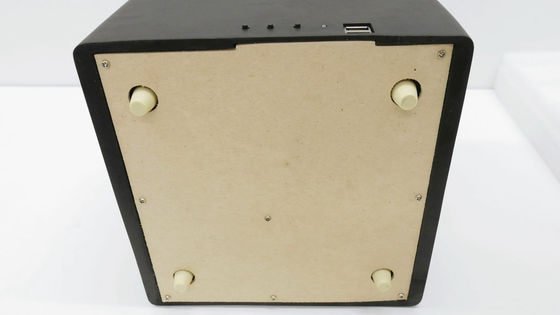
Rubber feet to prevent resonance of sound with the floor installed.
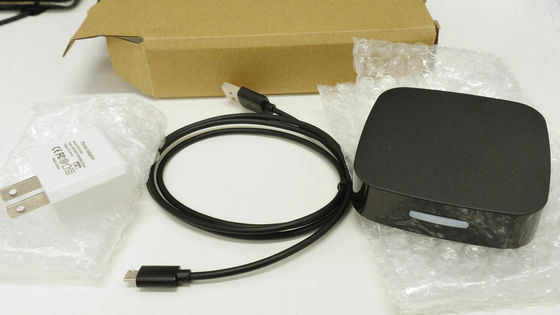
The inside of the accessory cardboard was a power adapter with a USB port, a USB cable, and "ONEbox.micro".
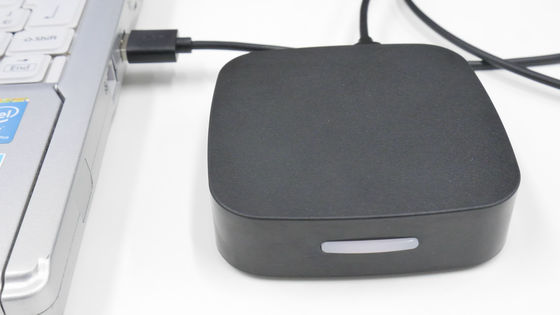
"ONEbox.micro" is also so compact. The weight is about the same as iPhone 6, and it is easy to carry.
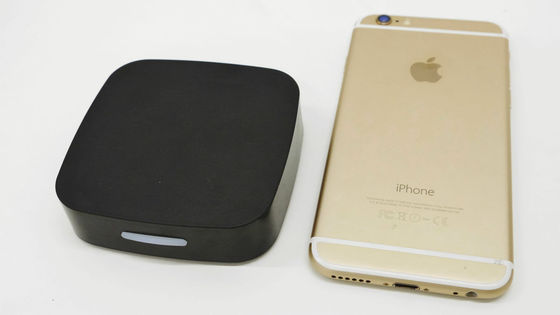
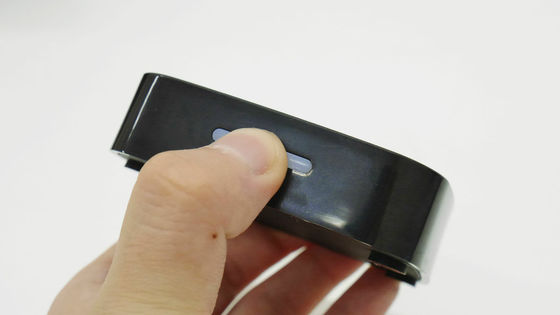
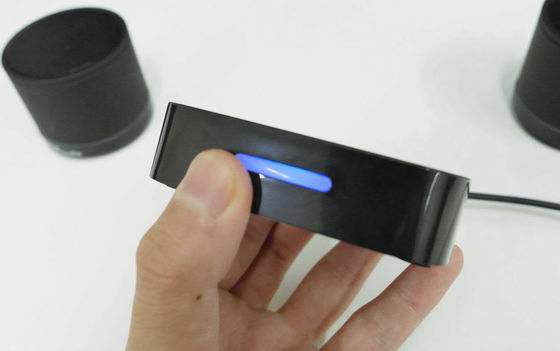
"ONEbox.micro" The LED on the front is also a button, so you can enter 3 patterns of left, right, simultaneous press.
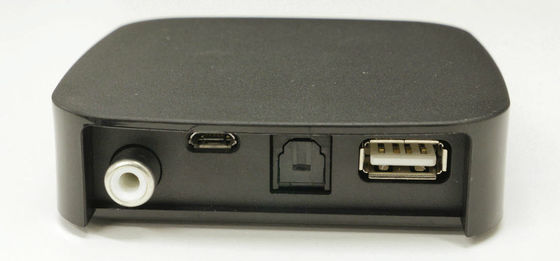
On the back side of "ONEbox.micro", RCA terminal, Micro-USB port, optical input terminal, USB port are lining up.
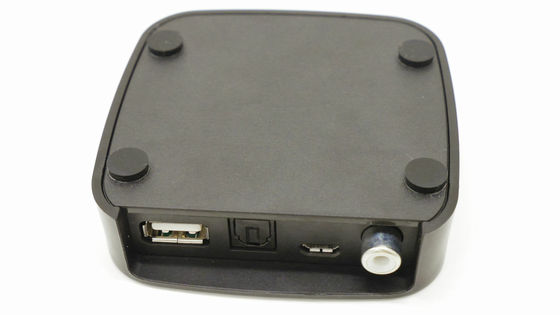
"ONEbox.micro" The rubber feet are attached to the bottom corners in the four corners.
◆ "ONEmicro" initial setup
There is no indicator in 'ONEmicro', 'ONEwoofer', 'ONEbox.micro', the condition etc are conveyed by the light emission pattern of LED and audio guide. I tried to make a sound guide of "ONEmicro" as a movie as a movie.
"ONEmicro" voice guide
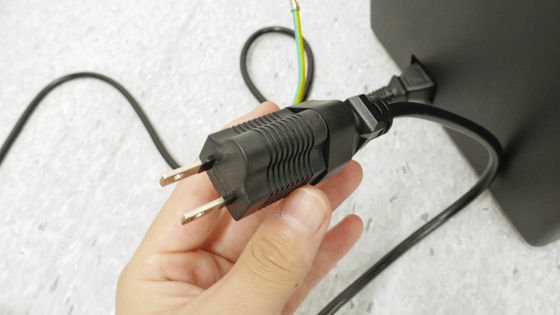
First let's set up "ONE micro" first. First of all, since the subwoofer "ONEwoofer" is the cornerstone, connect the power cable. The supplied power cable is 3p plug.
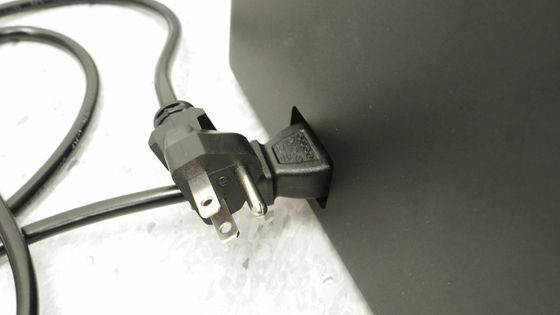
To use with a general 2p type outlet, use a conversion adapter. Since conversion adapter is not attached, it is necessary to prepare separately if 3p outlet is not available.
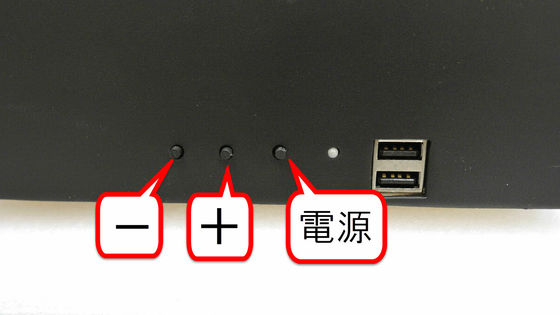
On the side of "ONEwoofer" there are two USB ports with "- button", "+ button", "power button" and LED light sandwiched. When power cable is plugged in outlet and power button is pressed for long press, ......
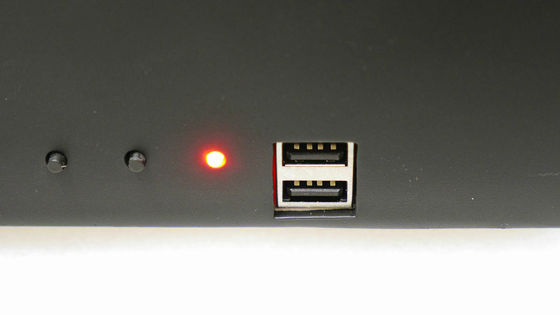
LED is red ...
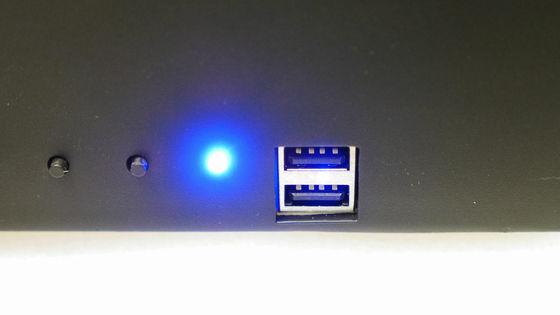
Blinking blue will sound "Please plug dongle in my USB port". The state of "ONEwoofer" can be determined by the light emission pattern of the LED, and blinking of red and blue is a pairing mode which automatically shifts at the time of the first start.
According to the audio guide, initial setup uses the included USB dongle "ONEdongle".
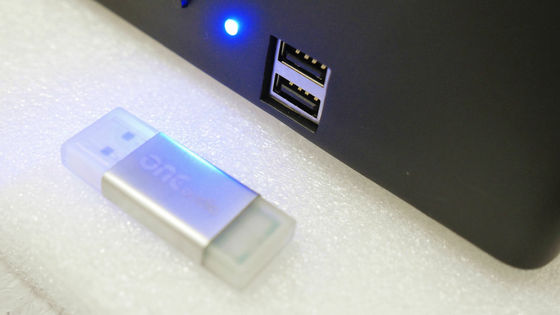
Insert "ONEdongle" in the upper USB port of "ONEwoofer" in pairing mode.
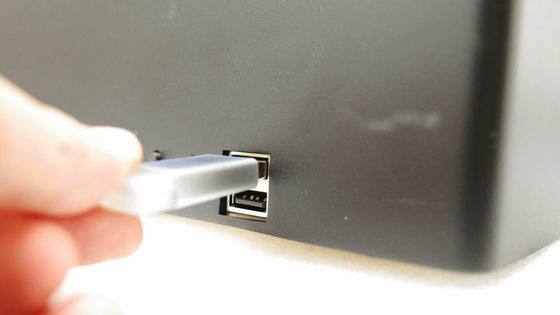
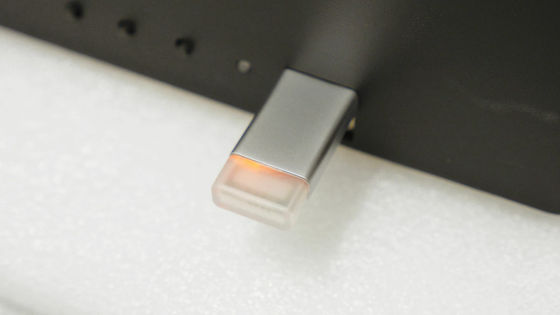
Then the "ONEdongle" LED glows red. After about 1 minute and the sound "Paired with stereo dongle" flows, it is a signal to end pairing. As a result, instead of connecting "ONEwoofer" and the speaker with a cable, you can synchronize the speakers by inserting the pairing "ONEdongle".
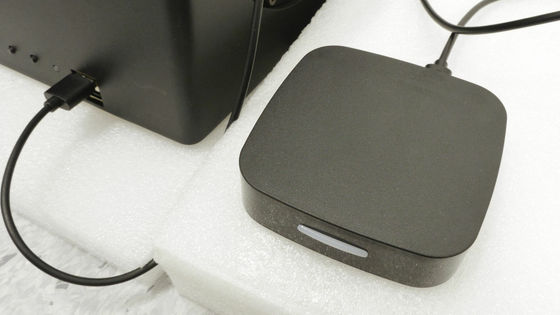
Next we will pair "ONEwoofer" with "ONEbox.micro". After unplugging "ONEdongle", pairing starts when you connect the USB cable connected to "ONEbox.micro" to the upper USB port of "ONEwoofer". After about 1 minute, the sound "Paired with micro box" flowed, pairing was completed.
Next is the setting of the main speaker "ONEmicro". First of all, in order to charge, insert the included 2 or USB cable into the input port of "ONE micro".
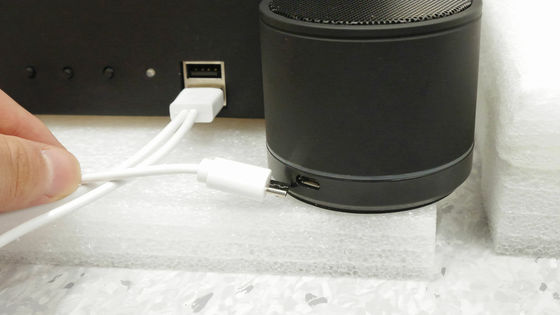
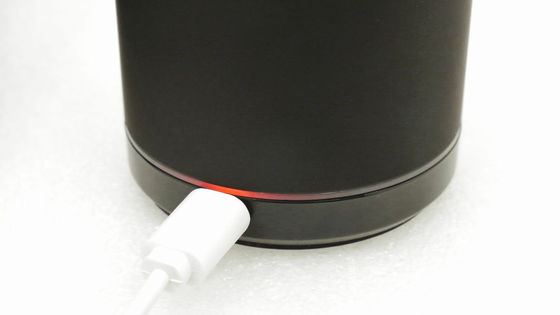
When the power was supplied, the lower part of "ONE micro" emitted red light. When the red light disappears, it means that charging is completed.
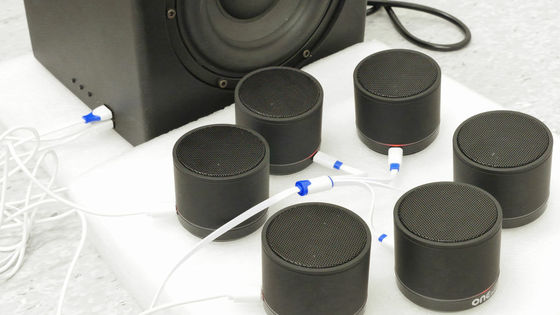
You can charge six "ONEmicro" at the same time by making use of two USB ports of "ONEwoofer" and two, four or more USB cables. It seems to take four to six hours to fully charge the six speakers of "ONE micro", but the first charge was completed in about two hours.
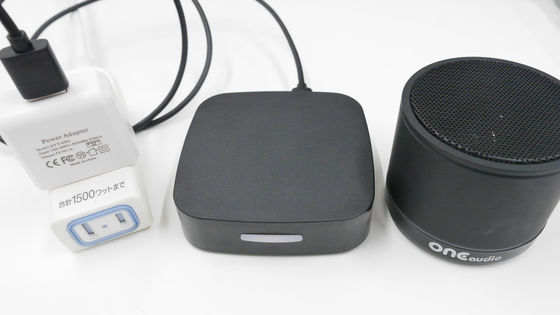
Next, pair the speaker "ONEmicro" which has completed charging with "ONEbox.micro". First connect the power adapter to the USB cable connected to "ONEbox.micro", supply power directly from the outlet, and start "ONEbox.micro". The LED part of "ONEbox.micro" flashes in red (active), the blue light flashes (standby) with an interval.
In order to switch "ONEbox.micro" to pairing mode, first press and hold the left side of the LED light part for 2 seconds. When entering pairing mode, the LED flashed red and blue.
Next, change "ONEmicro" to pairing mode. Use two input buttons on the bottom of "ONEmicro".
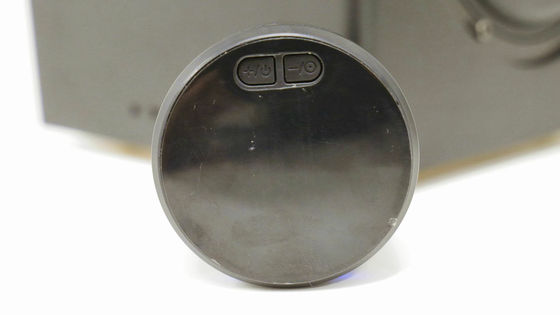
Firstly press "+" button for "Report status" and sound will flow. Press the "+" button to switch the menu, so press "+" four times until "Pair Speaker" sounds.
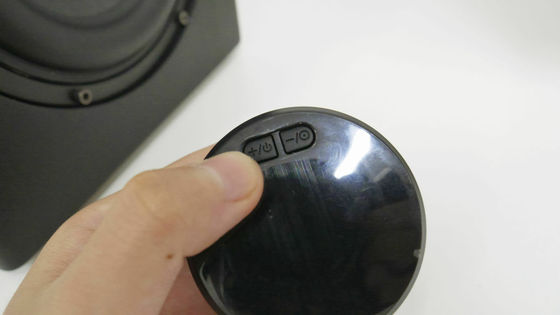
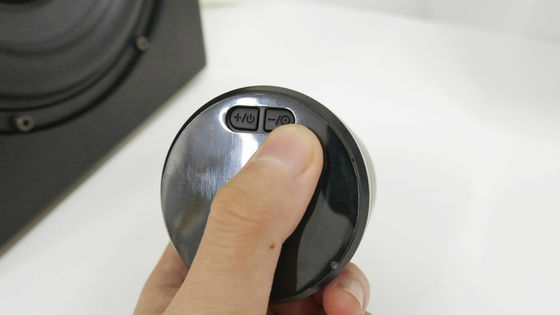
Decided with "-" button. After the voice "Ready to pair" is instructed "Please select speaker group", I will select with "+" again. "I 'm main speaker" "I' m rear speaker" "I 'm center speaker" "I' m side speaker" in order, so choose the installation location and press "-". After a few seconds the pairing ends, "Paired with micro box" flows. After doing the same thing with six "ONEmicro", initial setup is completed. Since the pairing content here is saved even when the power is turned off, it is not necessary to set the pairing again from the next start.
◆ 5.1 Surround experience
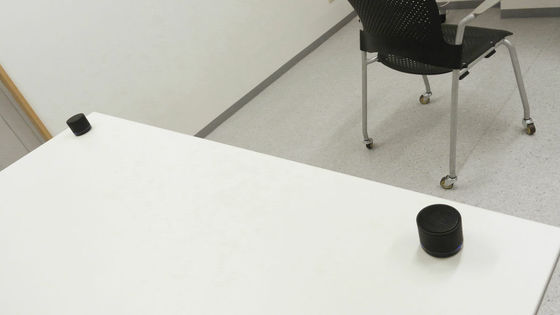
In order to experience 5.1 surround, I tried to place it like this. It is so cordless and compact that I can not figure out where the speakers are.
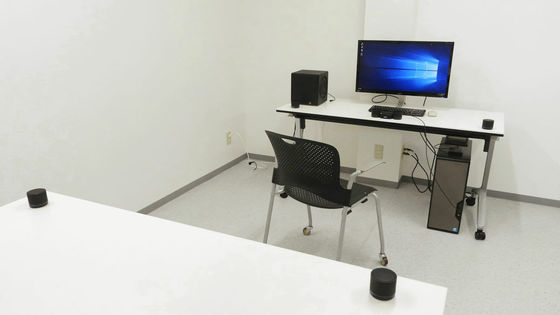
"Rear speaker" is installed on the left and right behind the chair.
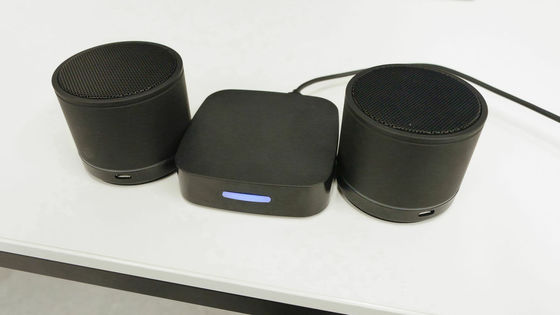
Hold in "ONEbox.micro" and two "Center speaker".
"Right speaker" on the monitor right ... ...
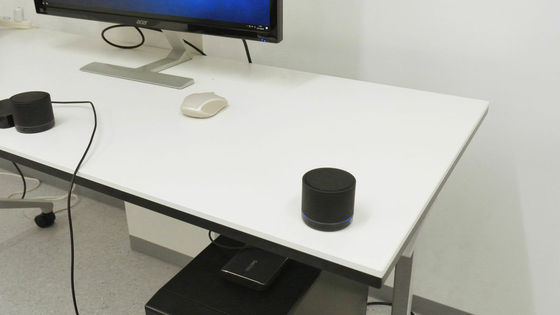
Left speaker on the left of the monitor.
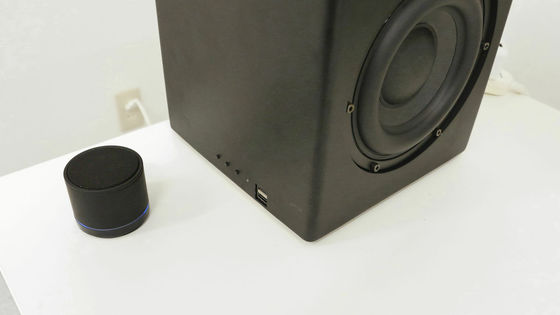
We will operate so that PC sound can be played back on "ONEmicro". First insert the USB cable into the USB port of the PC and connect it to "ONEbox.micro".
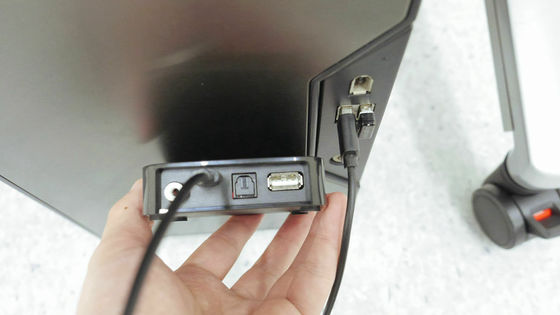
When the LED glows blue, it shifts to "Ready" mode, so long press the right side of the button for two seconds. It flows from "ONEmicro" to "Select input".
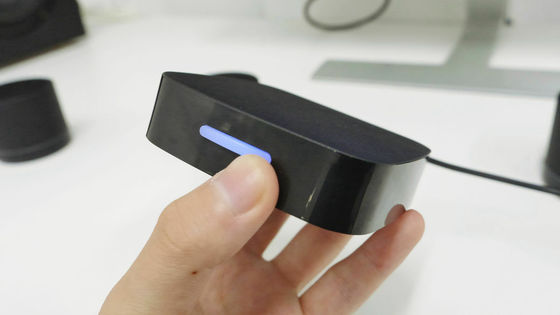
Press the left side of the button to select the "Select input" menu. Clicking the left button four times will cause "USB" to flow, so press the right button to make the decision. Completed with "Selected USB" flowing. From each speaker, PC audio flows in surround.

Try Surround 5.1 Blu-ray 'Private RyanExperience with.
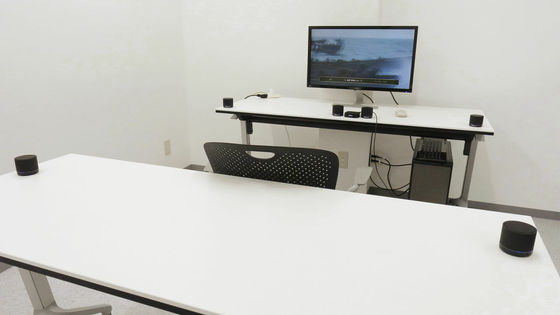
You can understand the image of 5.1 surround by watching the following movie. Shocking voice of "Private Ryan" is flowing in part.
Wireless 5.1 ch surround speaker "ONE micro" acoustic image
Although it was an impression of experiencing 5.1 surround, it was nothing inferior to home cinema. Audio is flowing to the six "ONEmicro" wirelessly connected without any delay, and since different sound flows to each one, three-dimensional sound is clearly understood. When each voice was fairly detailed, when we watched the scene where the gunshook echoed variously around all directions, the scene sinking in the water etc, I was able to taste the feeling of immersion very strongly.
◆ Lightweight
By connecting WiFi "ONEbox.micro" to the smartphone, you can operate even more compactly. First of all connect the PC and "ONEbox.micro" and supply power.
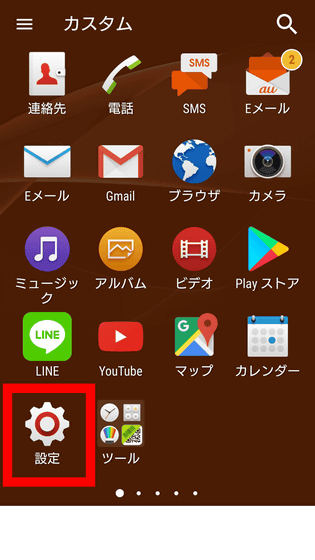
For Android OS, tap "Settings".
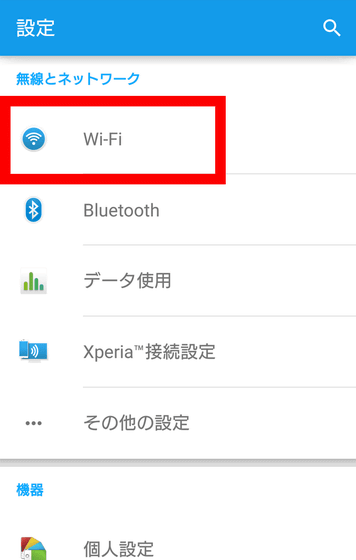
Tap "Wi-Fi".
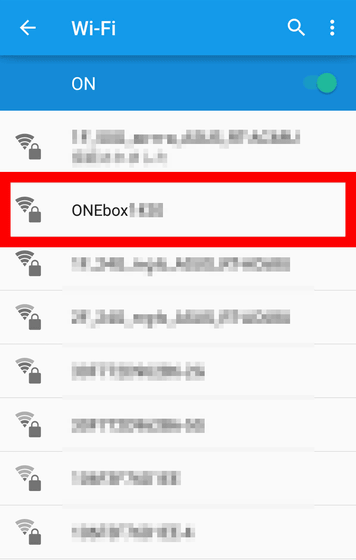
Tap "ONEbox ○○○ ○" from the Wi-Fi list. The access point name assigned to "ONEbox.micro" is described in the instruction manual.
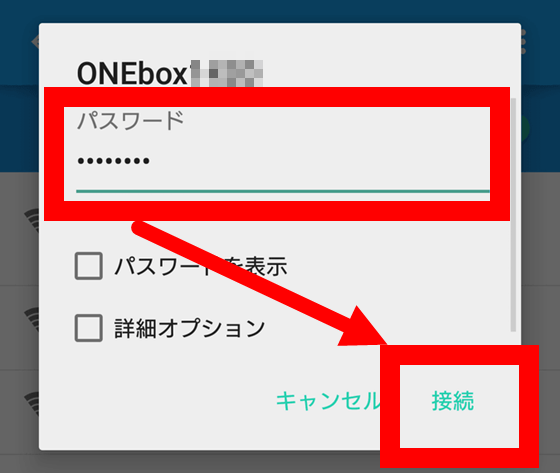
Also input the password described in the instruction manual into the red frame part and tap "Connection".
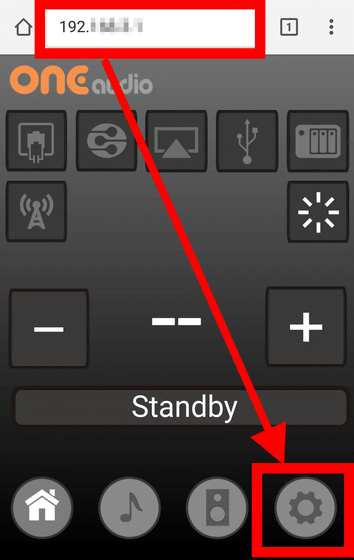
Open the browser on the smartphone and enter the IP address of "ONEbox.micro". This address is also described in the enclosed instruction manual. When you move to "ONEaudio" remote control page, tap the gear mark and move to setting screen.
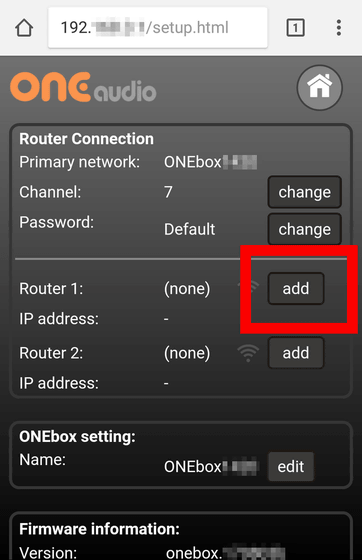
Set an access point such as home to "Router 1". First, tap "add".
Since the Wi-Fi list is displayed again, check the connectable access point and enter the password.
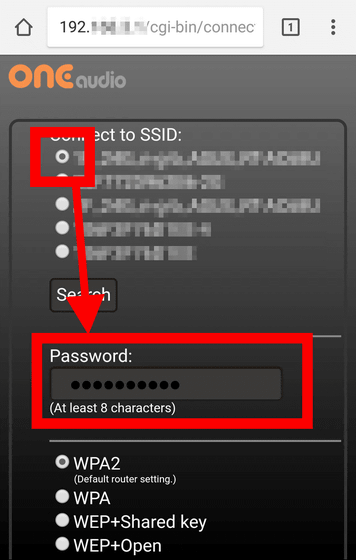
When Wi-Fi registration is available, a description will be displayed. Since it is connected to Wi - Fi that "ONEbox.micro" registered in 10 to 20 seconds, it will return to check "Router 1" again.
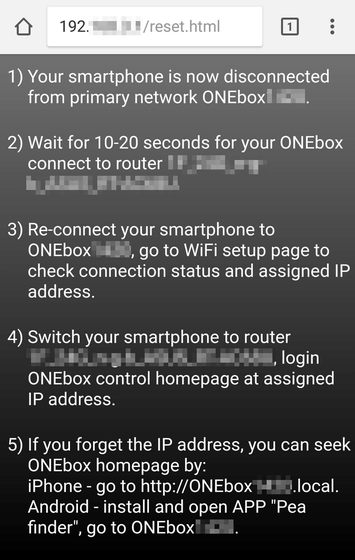
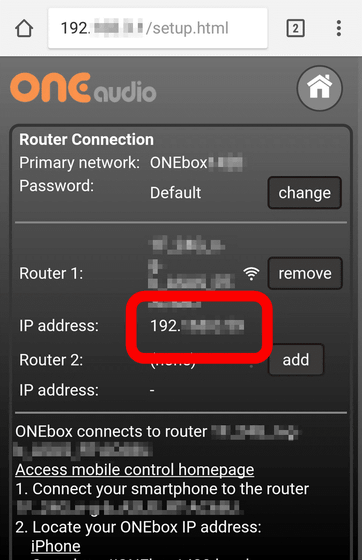
After confirming that the access point connected to "Router 1" is displayed, copy the displayed IP address.
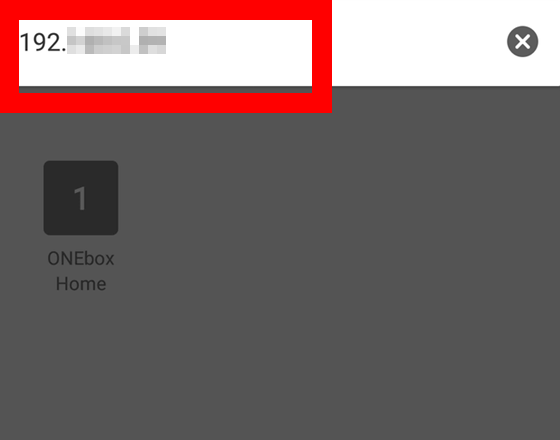
Paste the IP address copied to the browser and search ... ....
It will change again to "ONEaudio" remote control page. With the above, we were able to Wi-Fi connect the smartphone and "ONEbox.micro" via the router.
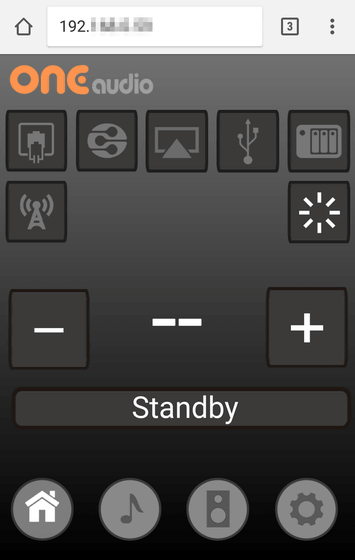
On the remote control page, you can easily change the input mode of "ONEbox.micro". USB connection from the previous PC, easy specification by changing to USB mode just by tapping the fourth icon from the left. You can also change the volume with "+" or "-".
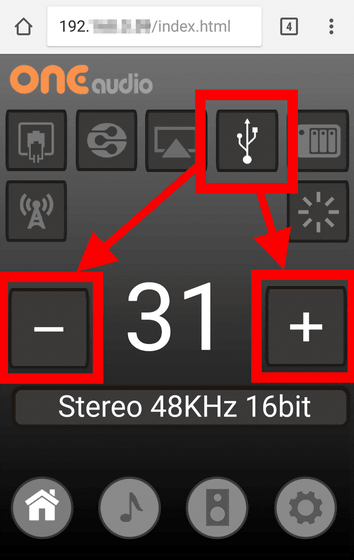
Adjusting the volume on the remote control page I tried to make the image a movie. It is inconvenient that you can not make adjustments at once by long pressing, but it is fun to be able to adjust the volume remotely.
Remotely control "ONEmicro" with a smartphone
"ONEmicro surround 5.1 full kit" which all necessary necessary items such as "ONEwoofer", "ONEdongle", "ONEbox.micro" etc. will be available in "ONEmicro" which makes 5.1 surround easy and lightweight "ONEmudio" official page "ShopYou can purchase from. The price at the time of writing the article was 668 dollars (about 73,500 yen). There was no character display with the indicator, it was inconvenient that you could only confirm the operation with the accompanying guide while listening to the blinking patterns of voice and LED, but if you do only simple synchronization, installation, tidying, carrying It was easy for me to learn more than I could feel the movie experience. Also, it is ideal for "ONEmicro" that it automatically pairs at restart as long as initial setting is done, easy to clean up and reinstall. I felt it was the perfect kit for those who newly introduce 5.1 surround which would be even essential for enjoying the latest movies to the fullest possible.
Related Posts:


