I tried playing Dolby Atmos with Sony's stereophonic home theater system 'HT-A9' where the speakers can be arranged freely.
Sony introduced the home theater system 'HT-A9 ' on August 7, 2021, which allows you to experience stereophonic sound with '360 Spatial Sound Mapping' using four speakers. Since I had the opportunity to actually touch the HT-A9, after
HT-A9 | Soundbar / Home Theater System | Sony
https://www.sony.jp/home-theater/products/HT-A9/
The appearance of the HT-A9 speaker and control box has been checked in detail in the following article. This time, we will actually install the HT-A9 and make initial settings, and try playing Dolby Atmos format stereophonic sound.
Sony's home theater system 'HT-A9' that allows you to easily enjoy stereophonic sound Photo review --GIGAZINE
·table of contents
◆ Initial setting
◆ I tried to play 3D sound in Dolby Atmos format
◆ I tried playing music wirelessly from my smartphone
◆ Summary
◆ Installation of control box and speakers
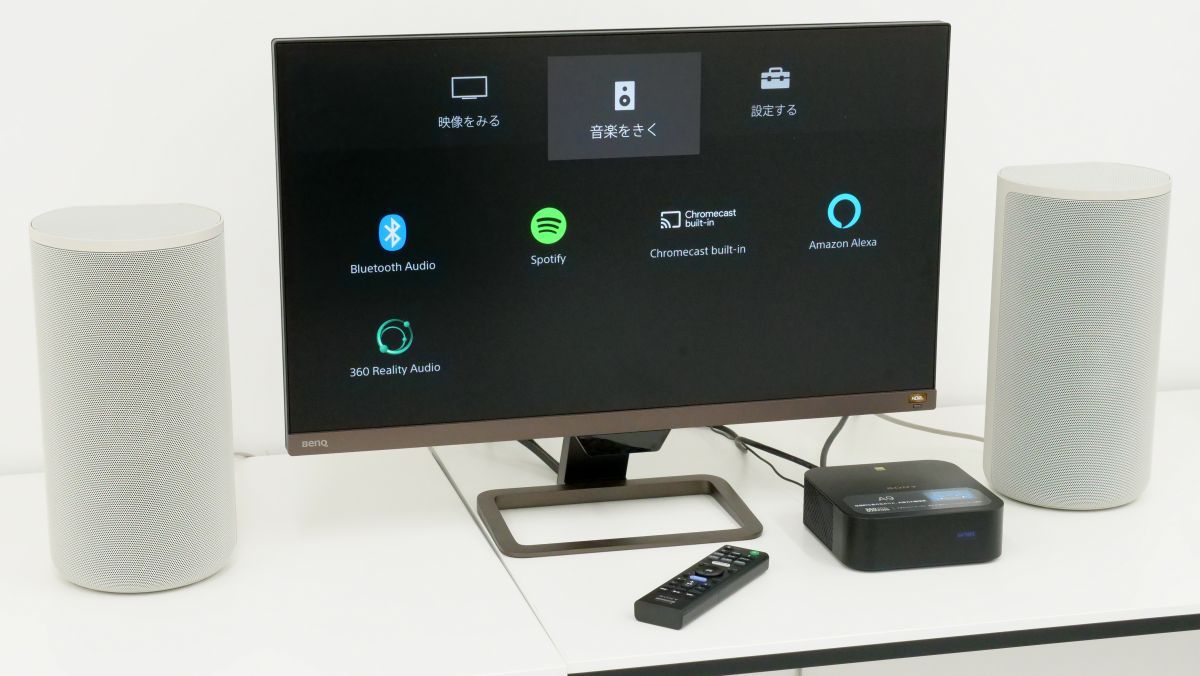
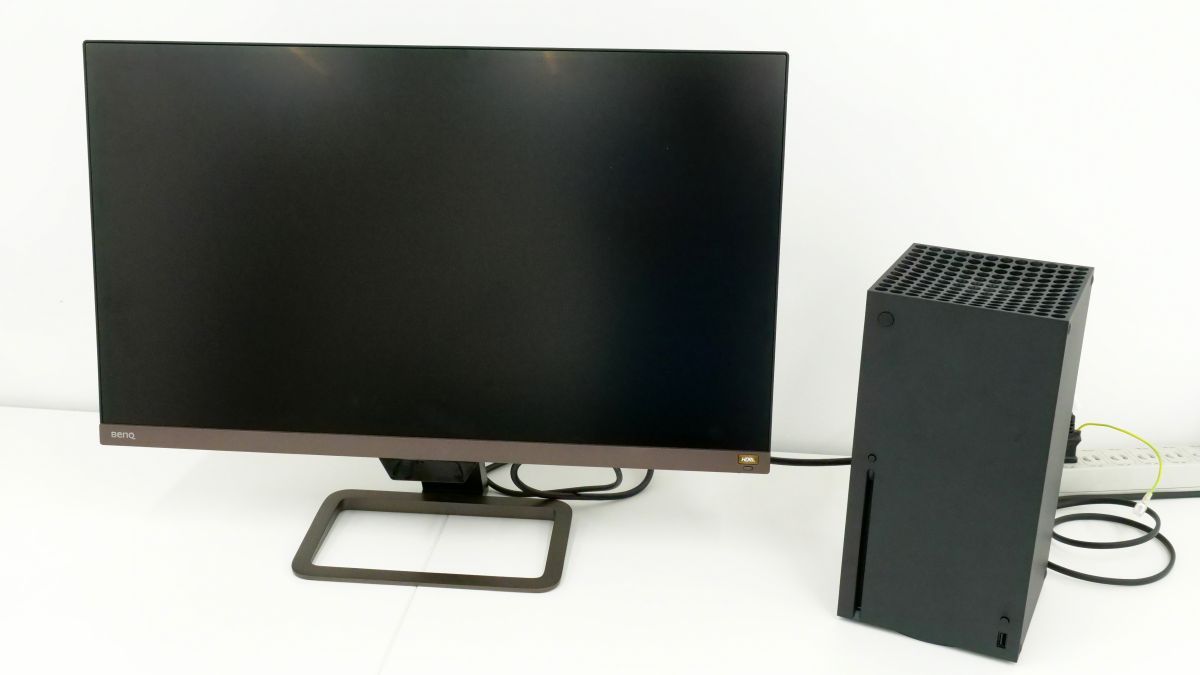
This time, in order to fully enjoy the realism of stereophonic sound by HT-A9, we built a home theater by connecting to the game machine ' Xbox Series X ' officially compatible with Dolby Atmos and BenQ's 4K monitor ' EW2780U'. to watch.
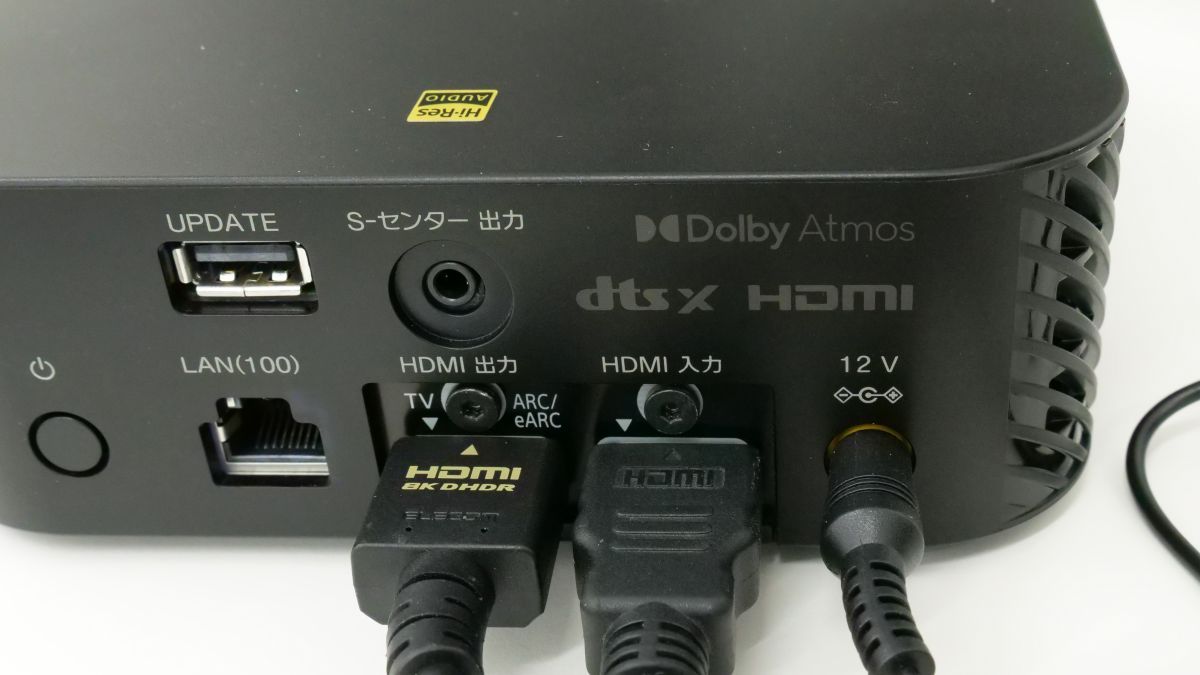
First, connect the HDMI output terminal of the Xbox Series X to the HDI input terminal of the control box of the HT-A9, and then connect the HDMI output terminal of the control box to the HDMI terminal of the monitor. In addition, connect the control box to a power source.
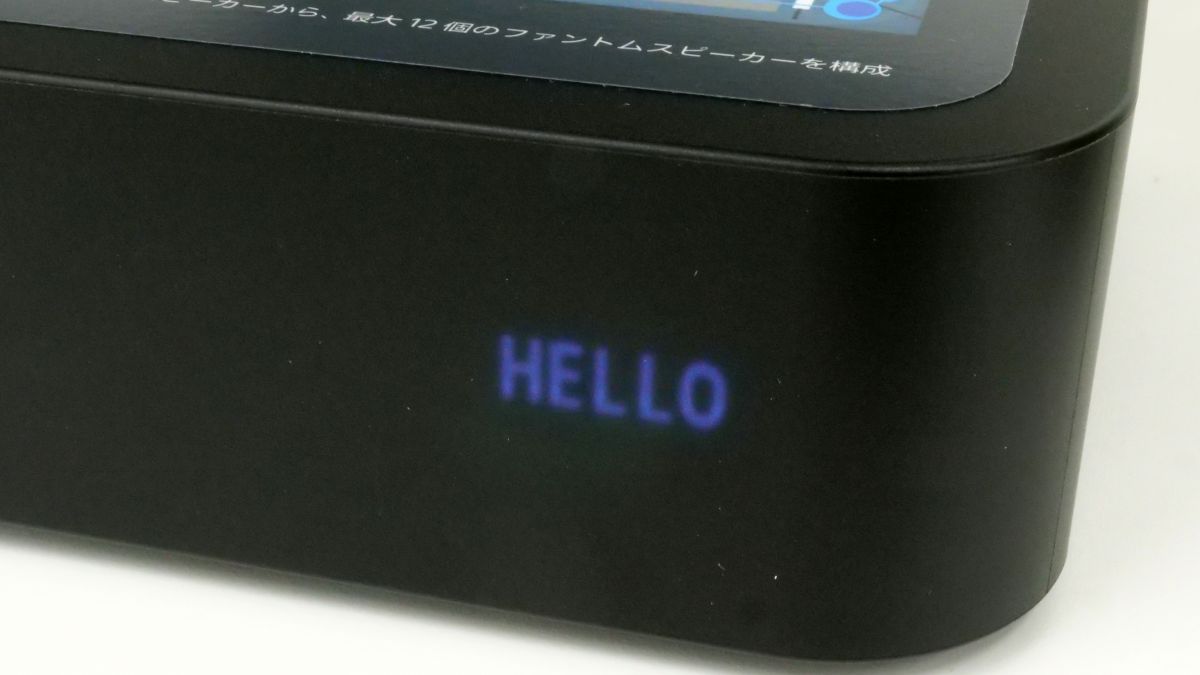
When you connect the control box to the power supply, 'HELLO' is displayed on the front.
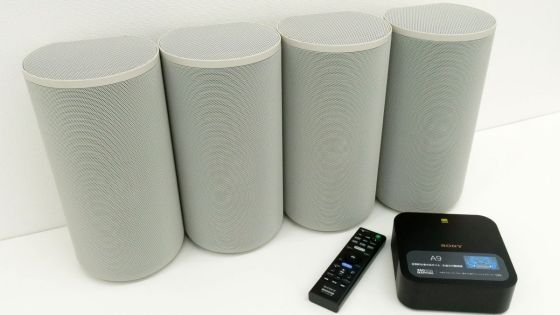
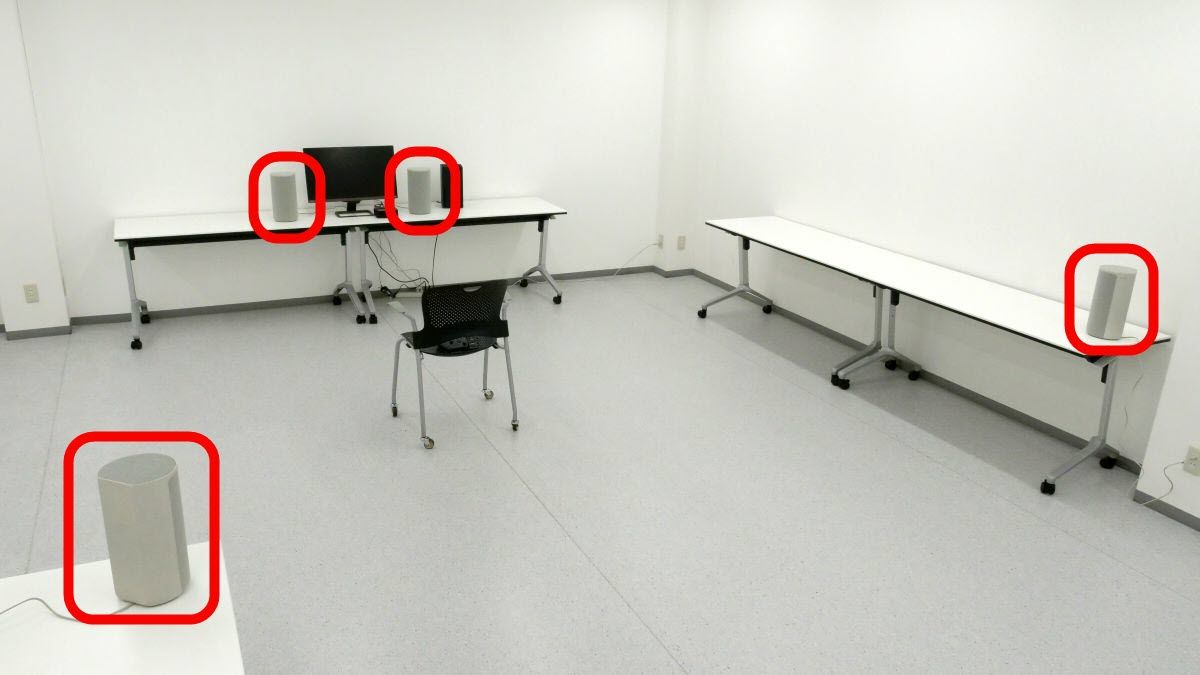
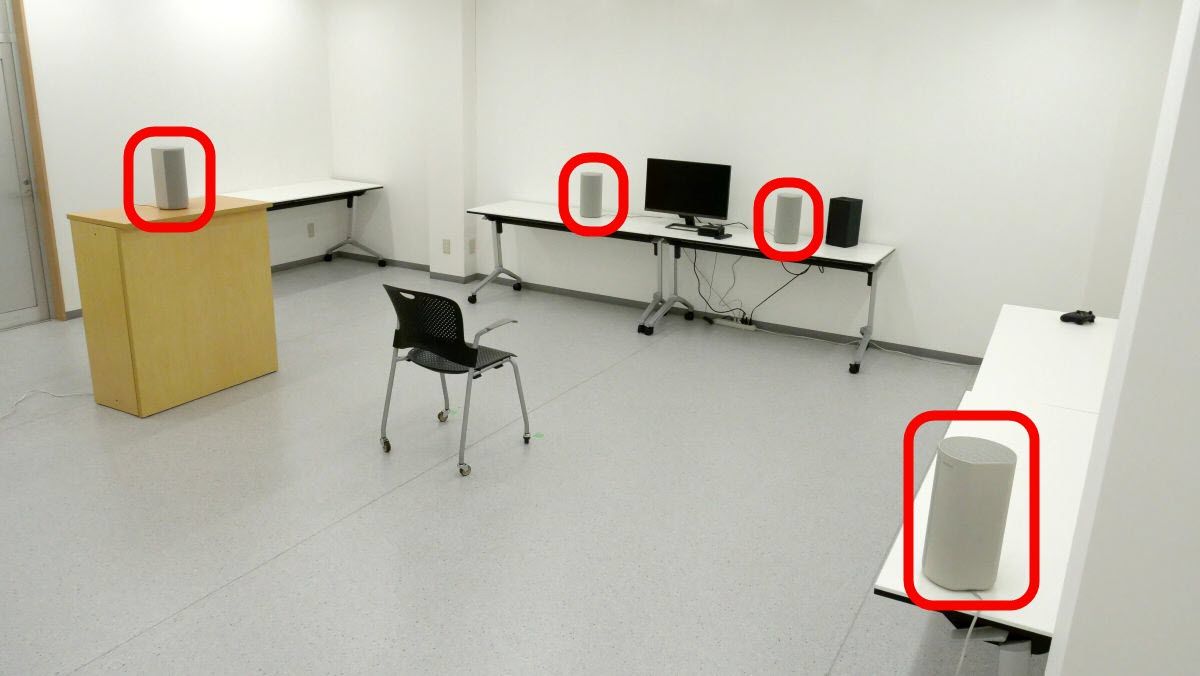
Then place the four speakers wherever you like and connect them to the power supply. The control box and speakers are wirelessly connected, so all you need is a power cord.
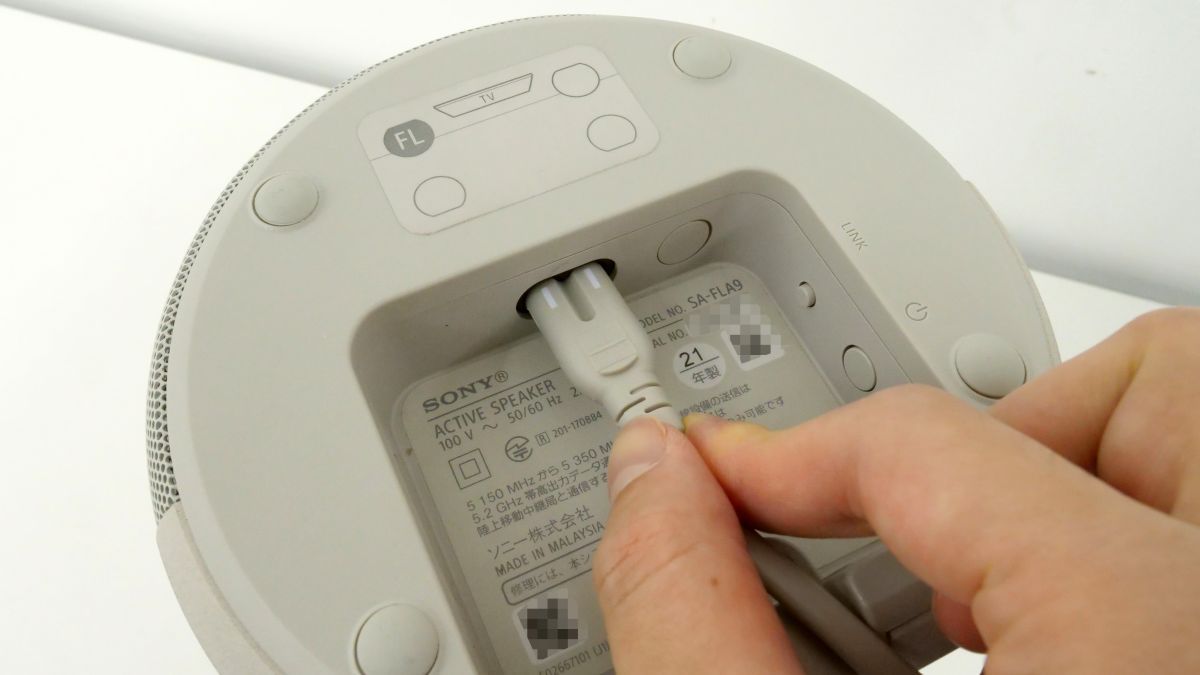
According to the instruction manual, the left and right front speakers should be placed on both sides of the TV or monitor.
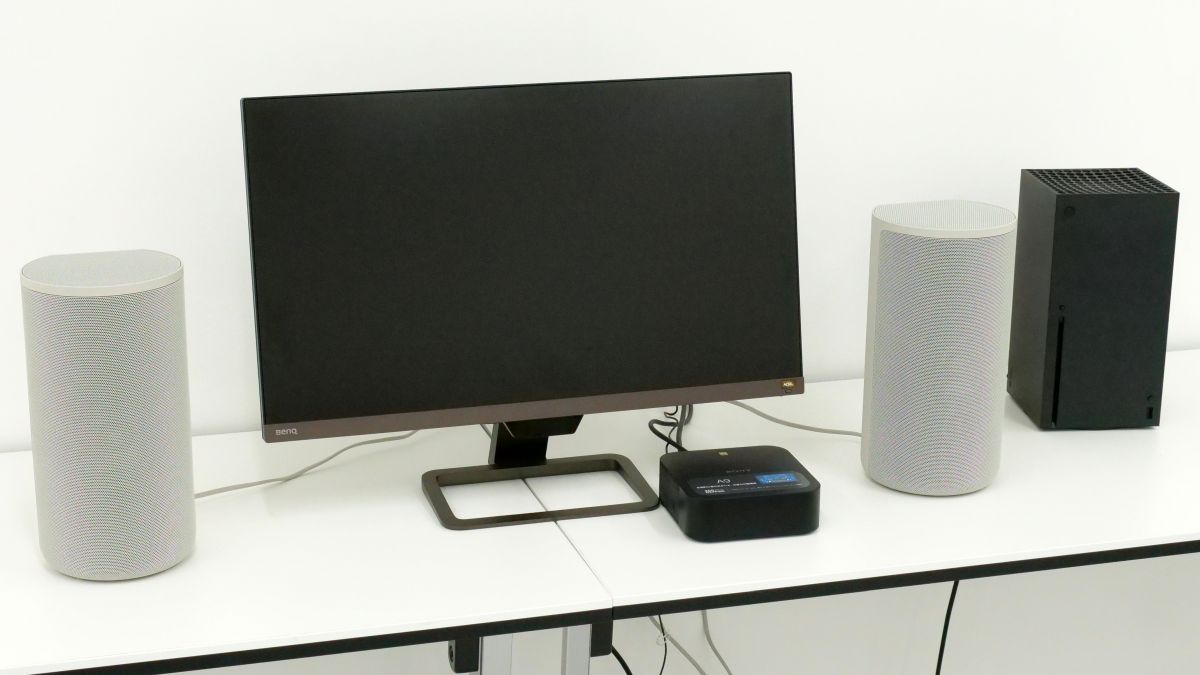
This time, the front speakers were placed on both sides of the monitor, and the rear speakers were placed behind the monitor chairs so that they were approximately the same distance.
◆ Initial setting
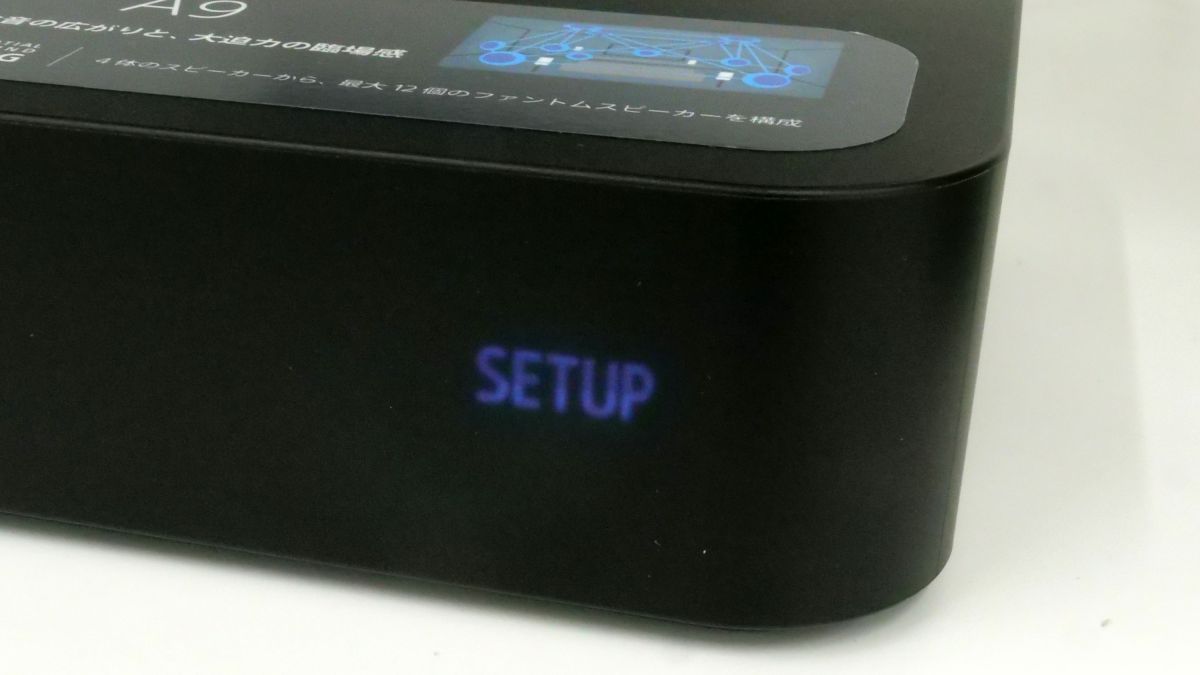
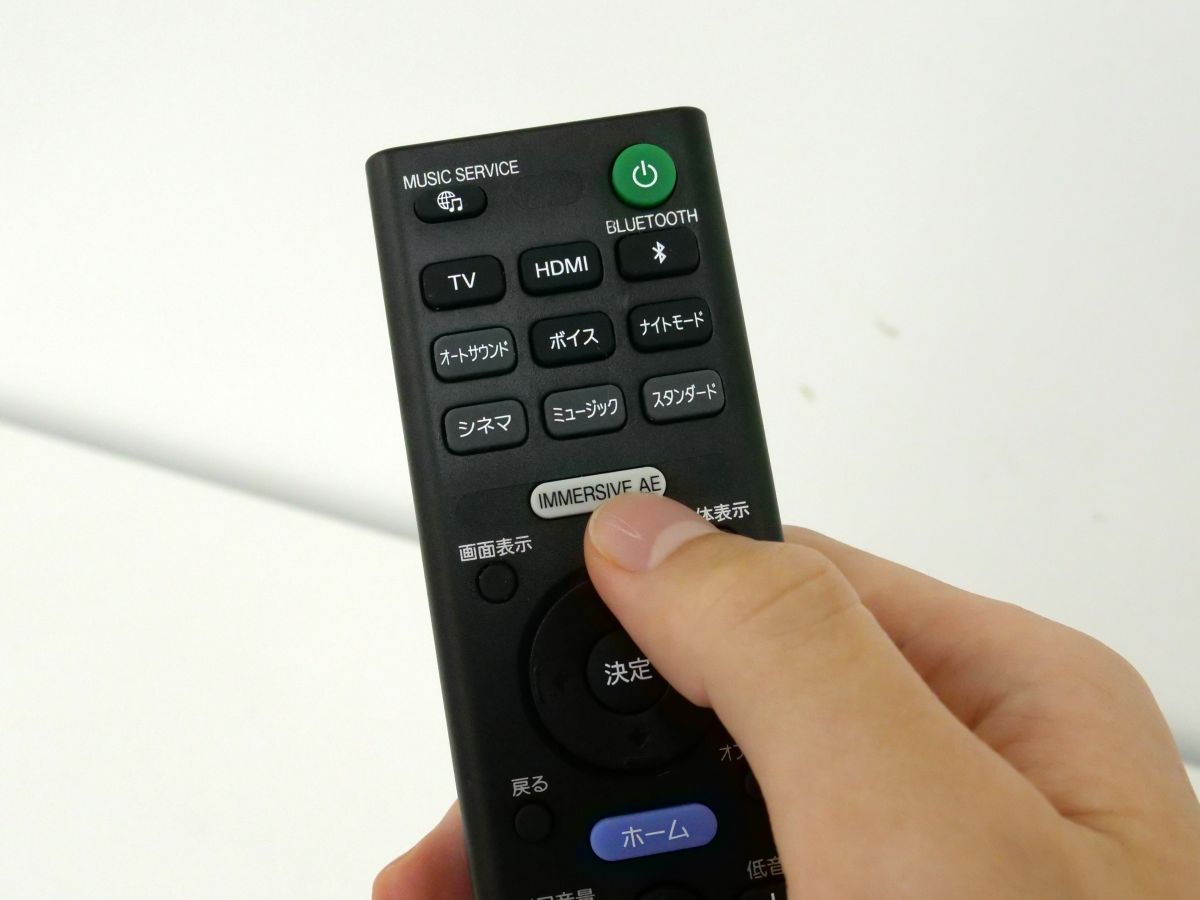
After placing and connecting the control box and speakers, press the power button on the remote control to start the initial setup.
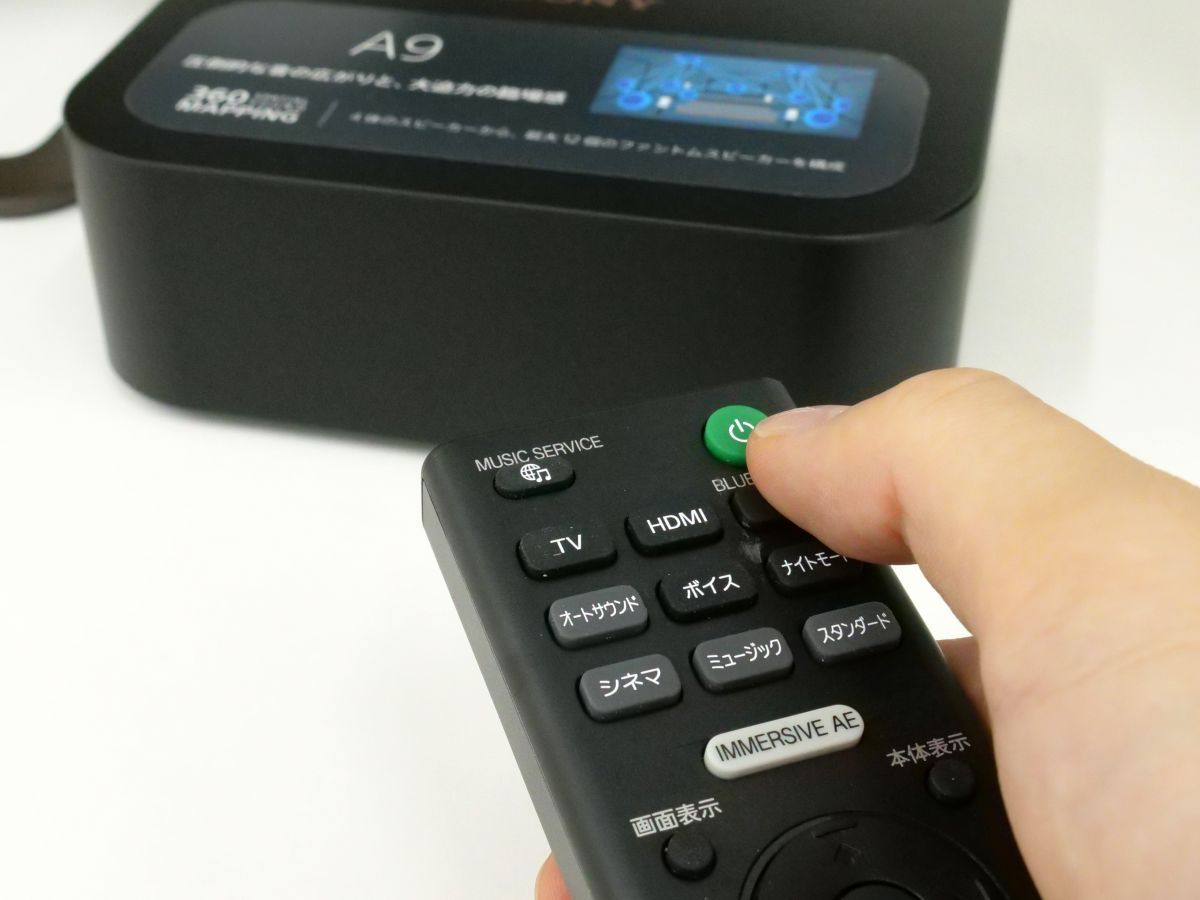
When you press the power button, 'SETUP' is displayed on the front of the control box.
After that, the connection with the speaker will be completed automatically in a few seconds, so select 'Next' with the 'Enter' button on the remote control to continue the setting.
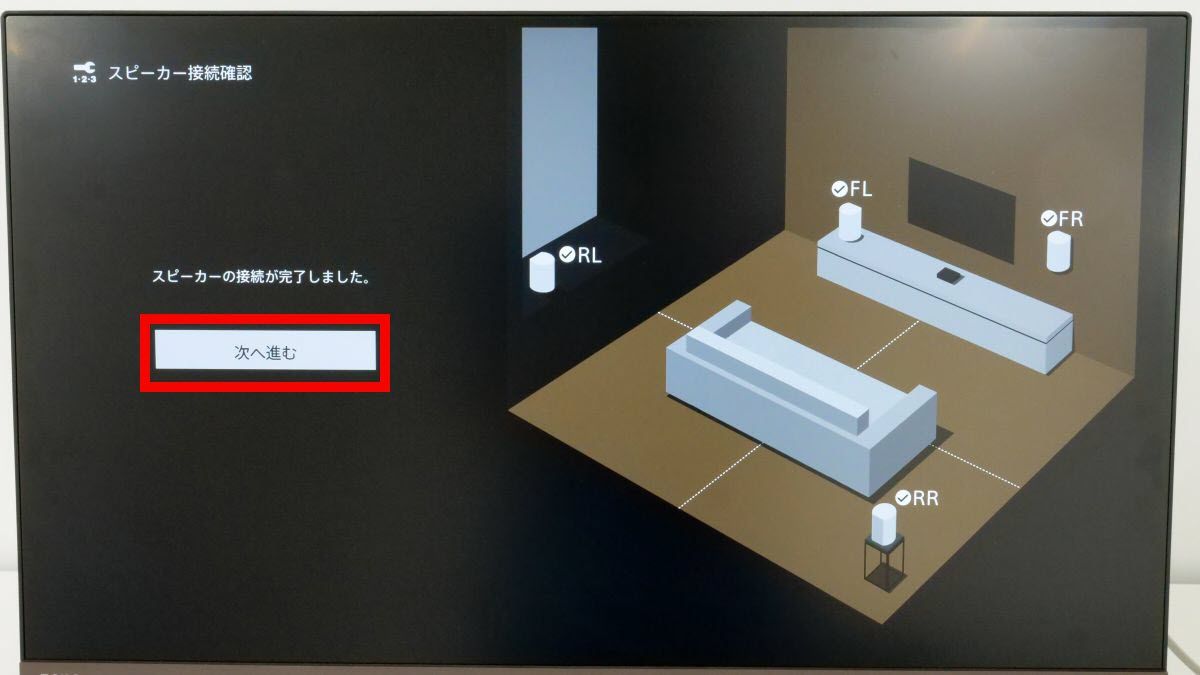
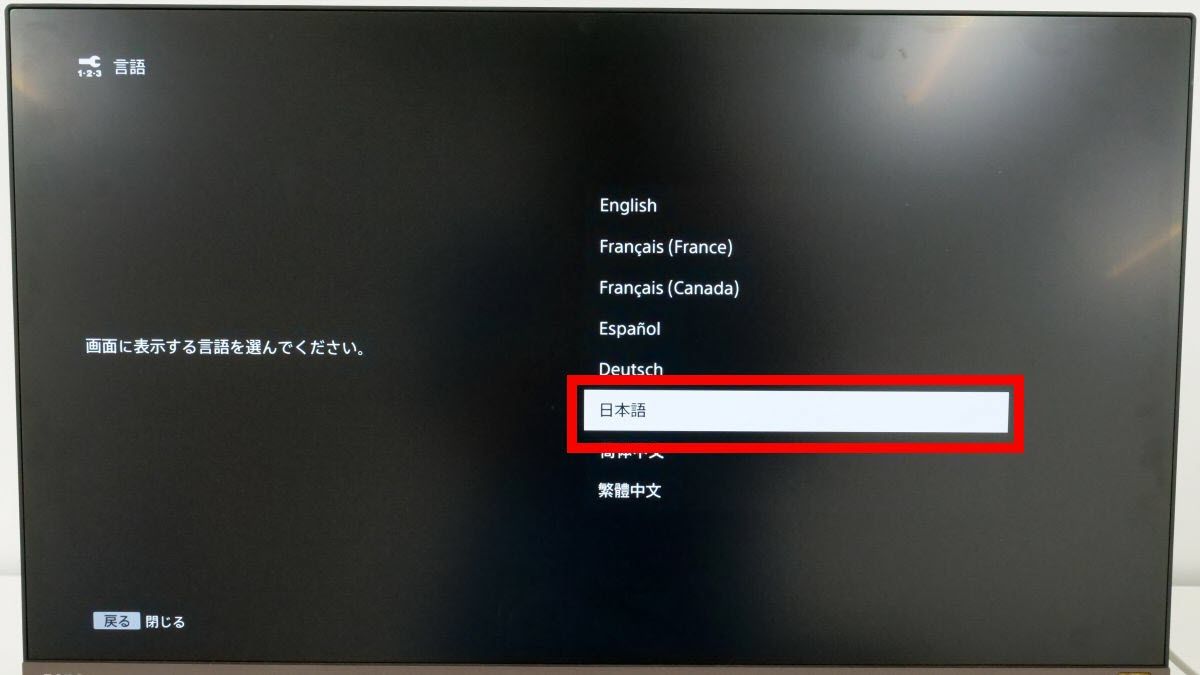
Select 'Japanese' in the language setting.
Select 'Start' to make wireless settings to suppress radio wave interference.

After waiting a few seconds, the wireless setting will be completed automatically, so select 'Next'.
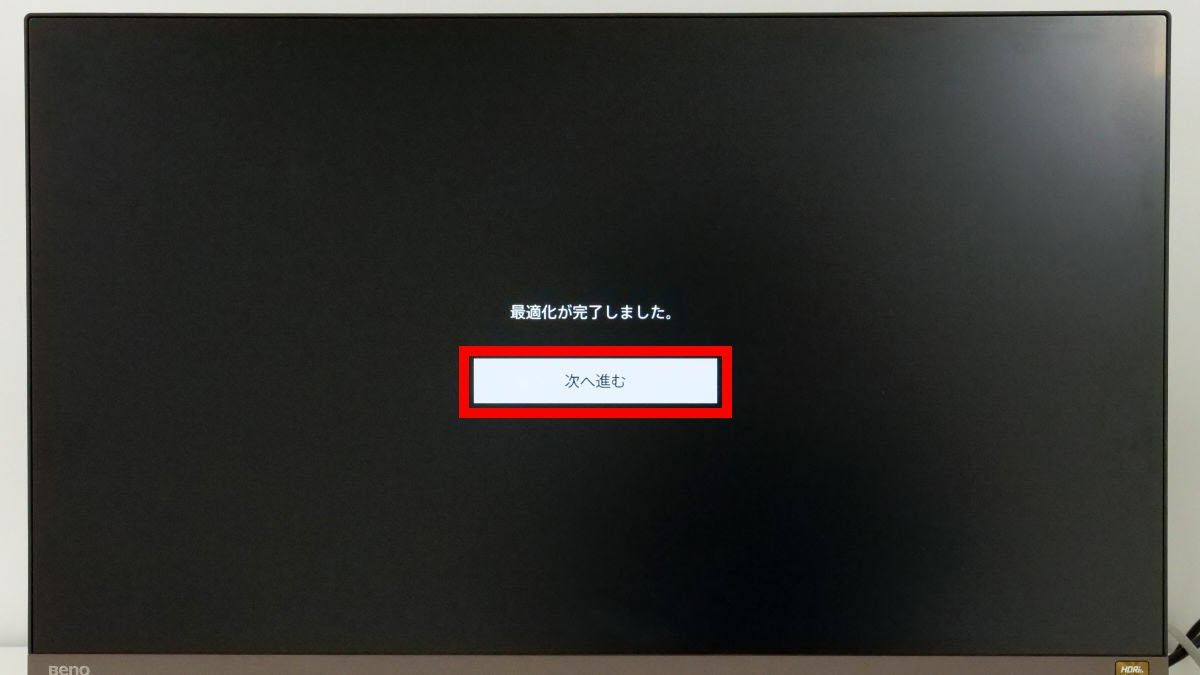
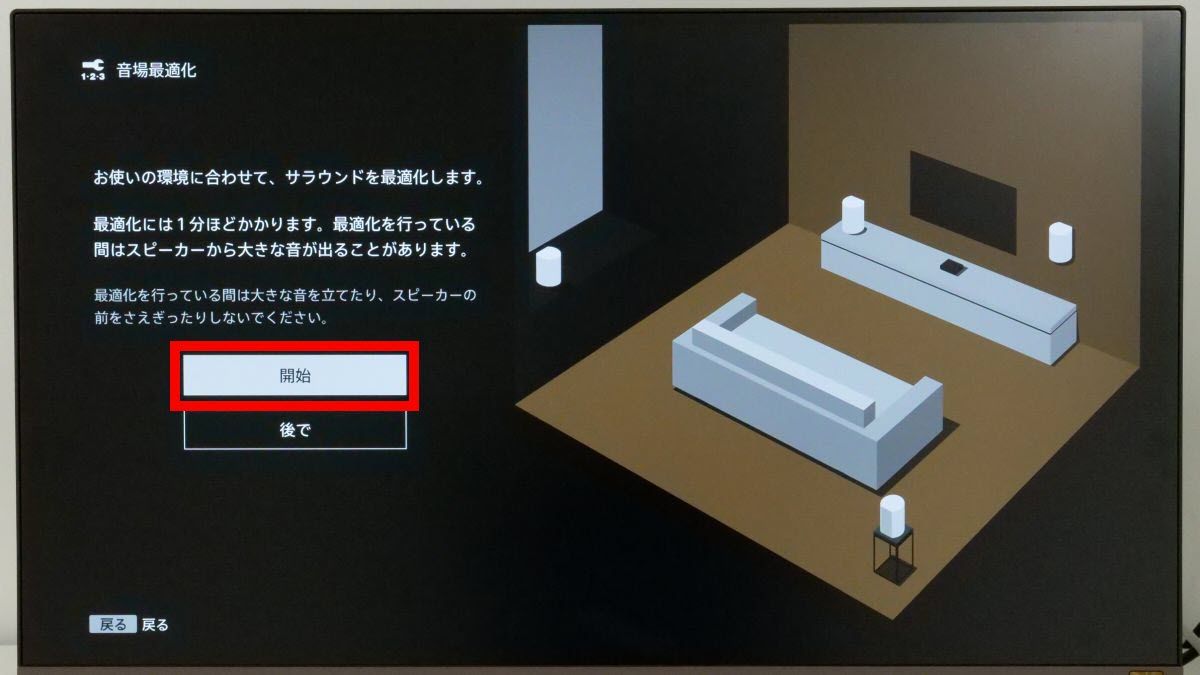
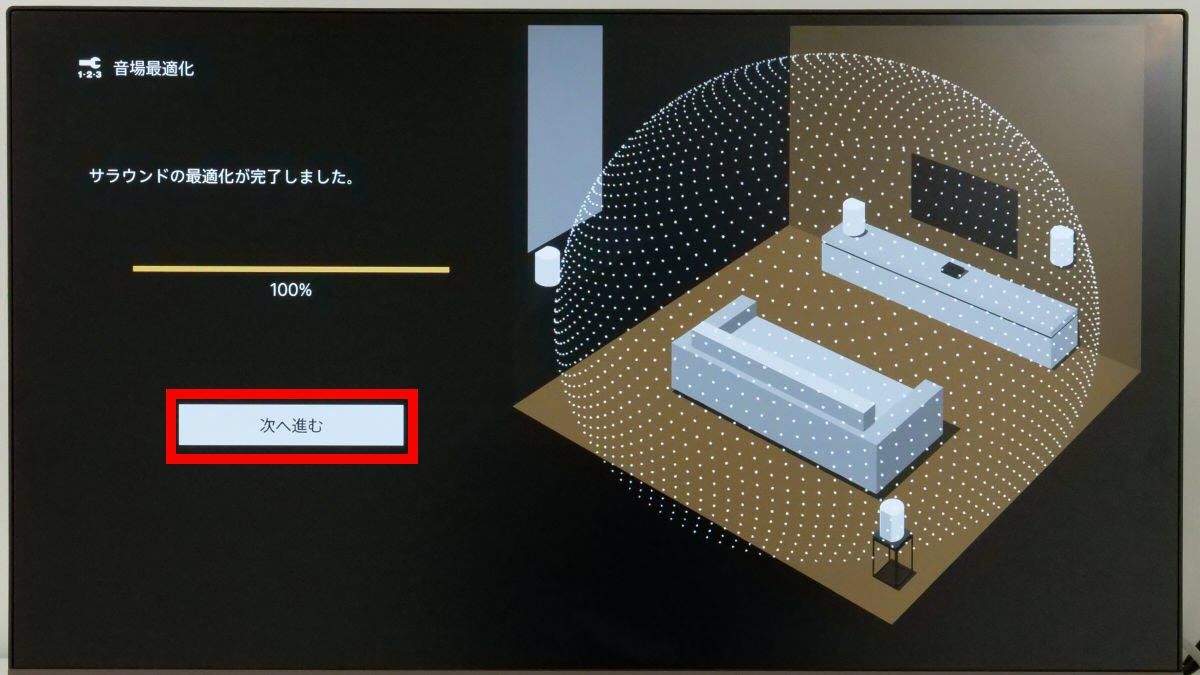
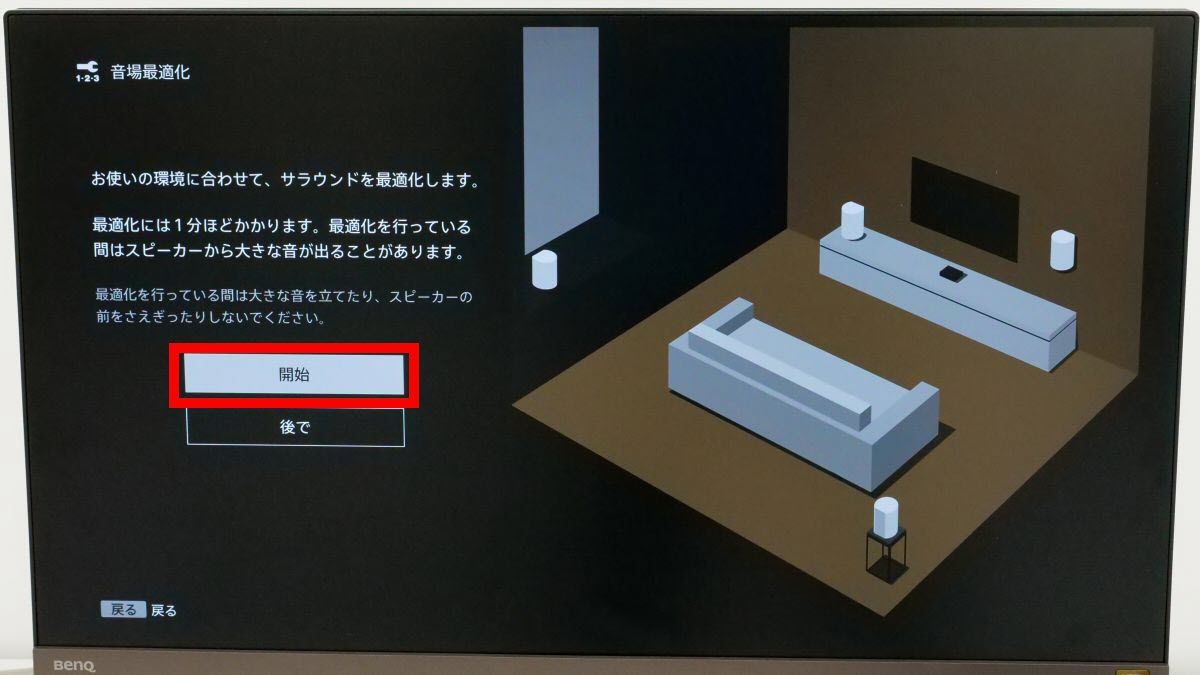
In the sound field setting, the test sound is played from the speaker to optimize the sound field. After confirming that the environment can produce sound, select 'Start' and wait quietly until the setting is completed.
Select 'Next' when the settings are complete.
Then, a sample sound of several tens of seconds will be played, so play it to the end or press the 'Enter' button on the remote control to proceed to the next screen.

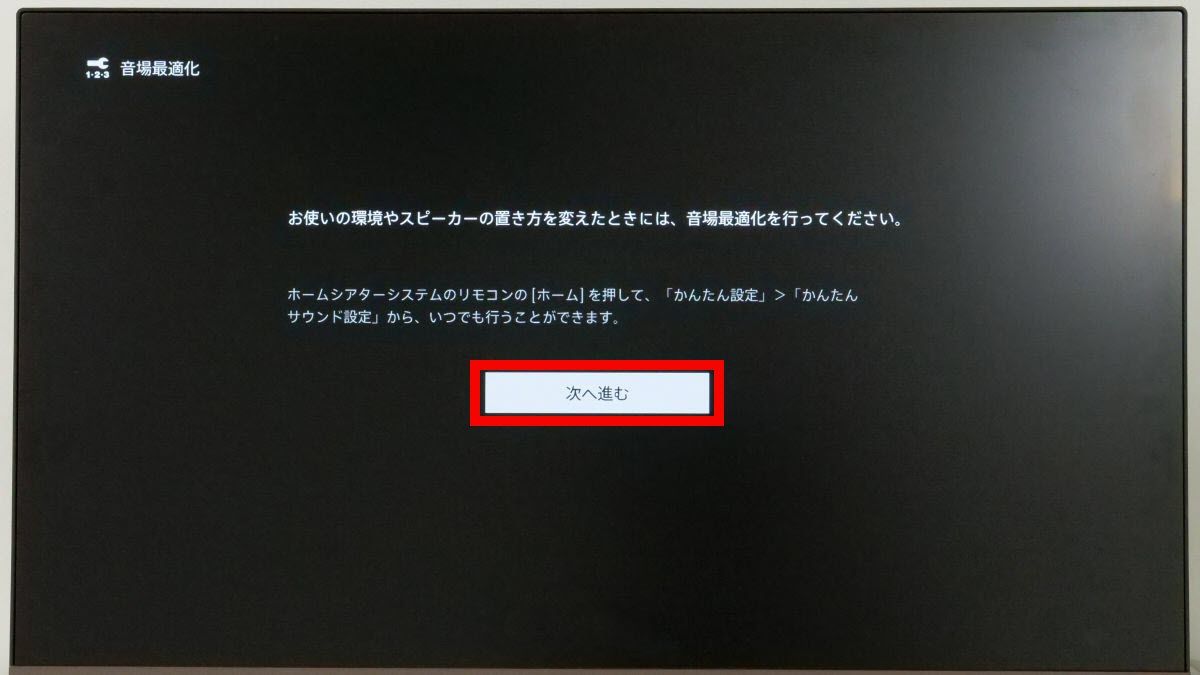
A note saying 'If you change the position of the speaker, you need to set the sound field again' is displayed, so select 'Next'.
This time, set the wireless connection to use for wireless music playback by
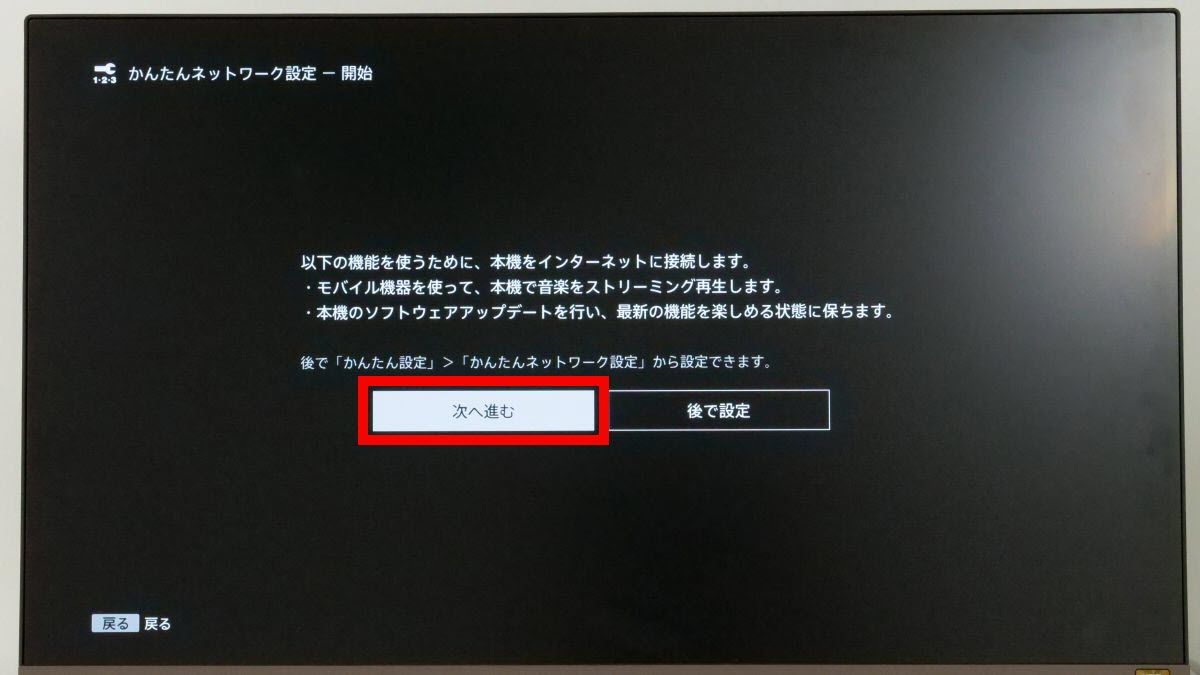
You will be prompted that you can connect by wire, but this time, just select 'Next'.

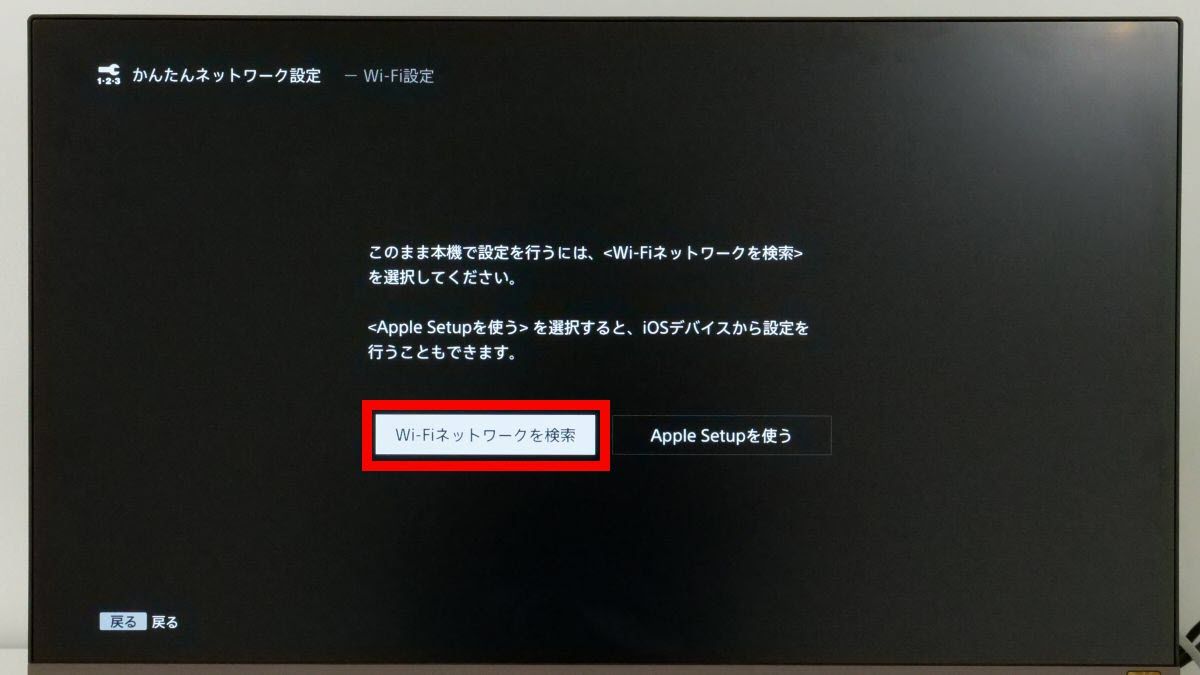
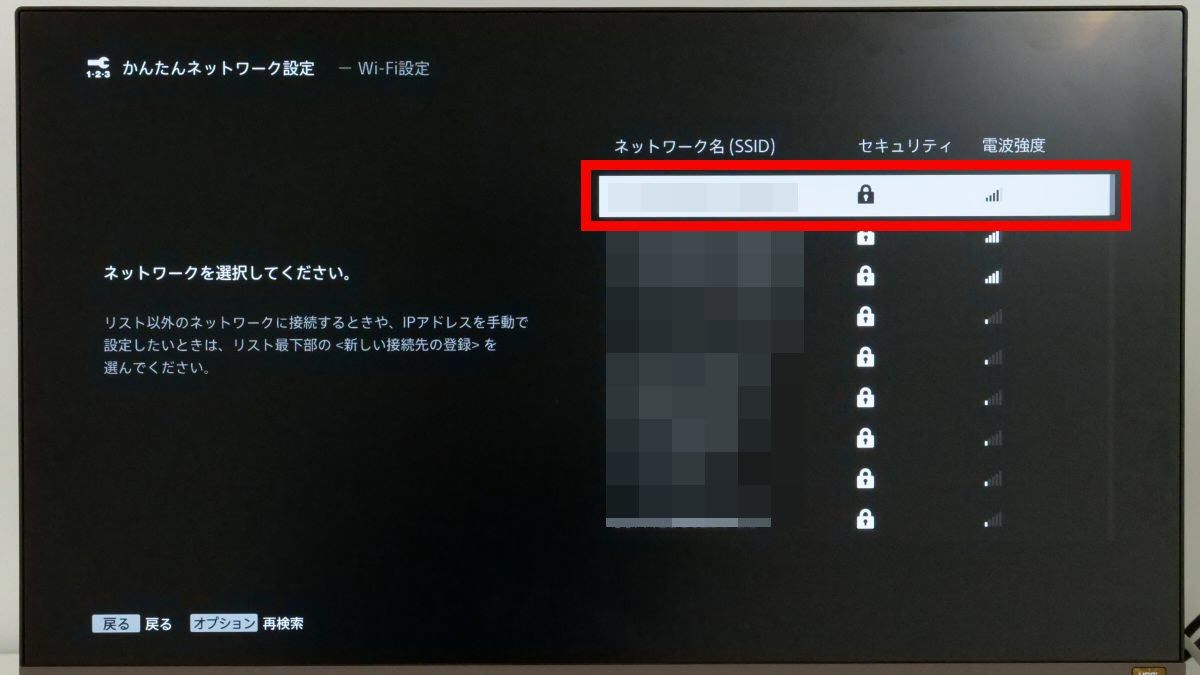
Next, select 'Search Wi-Fi network'.
Select the network name you want to connect to ...
Enter your password and select Enter.
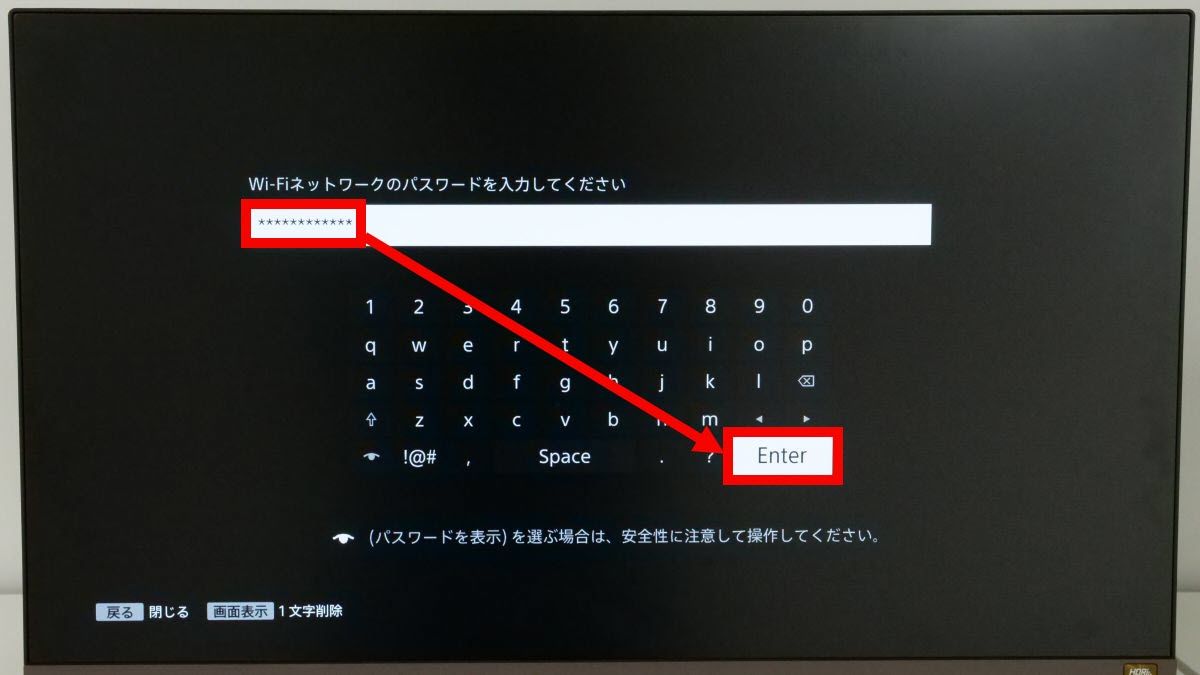
After waiting for a while, the connection to the network will be completed, so select 'Next'.

The
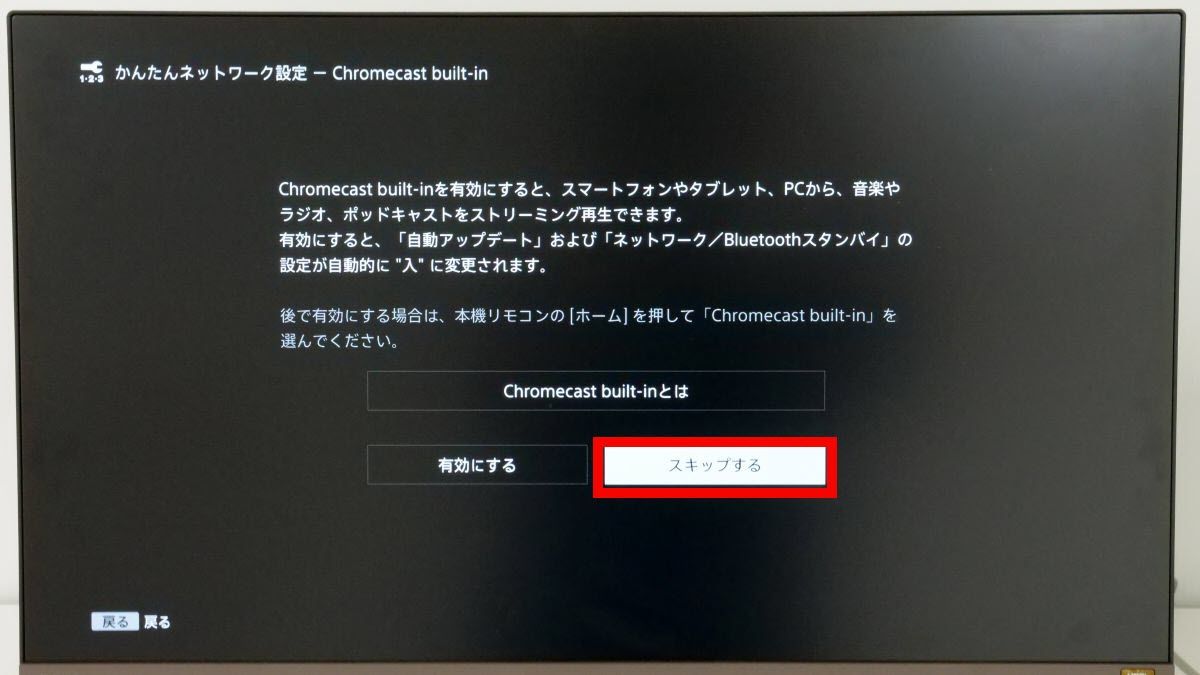
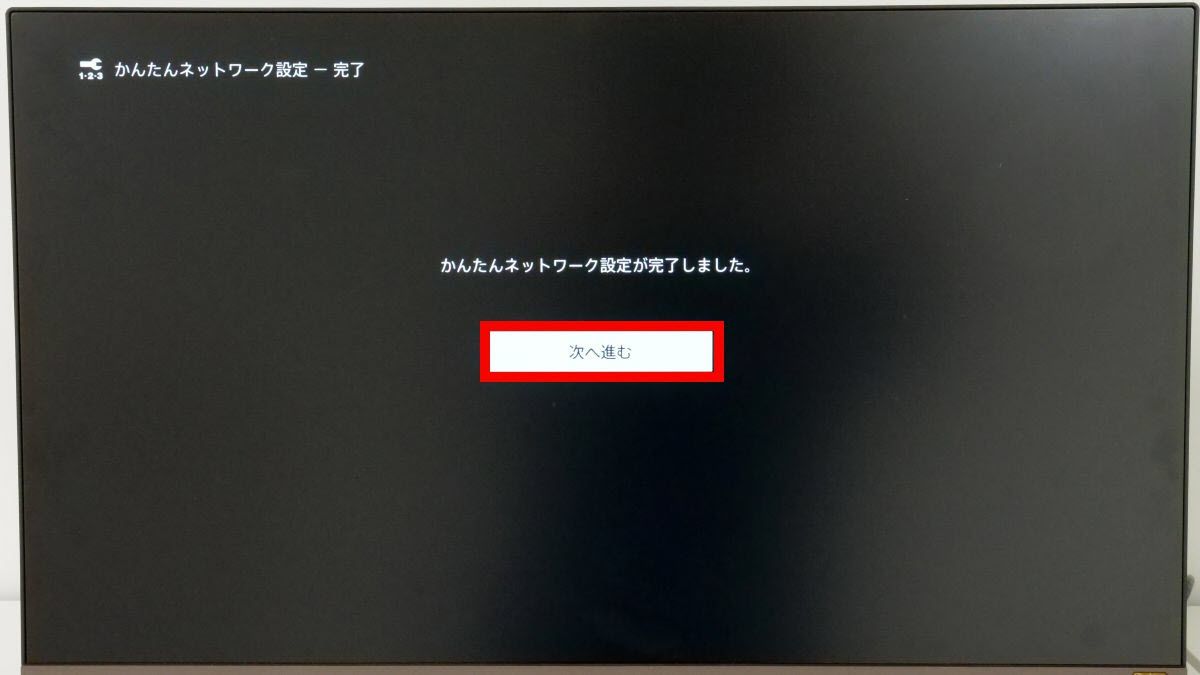
When the network setting completion screen is displayed, select 'Next'.
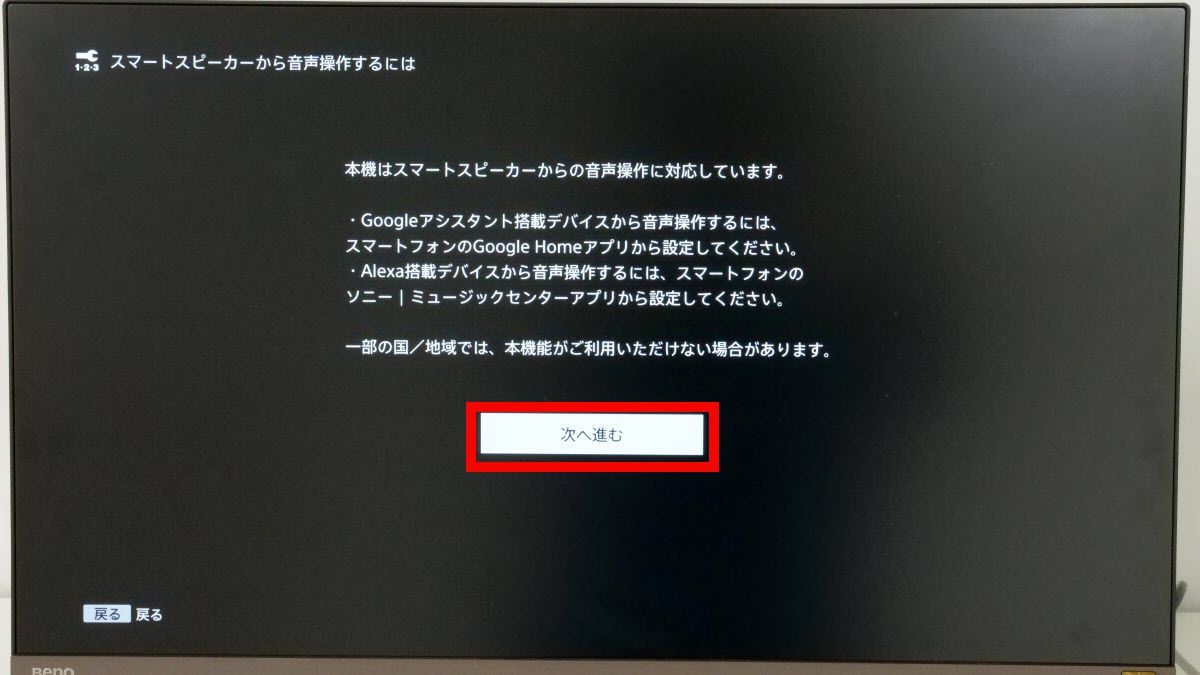
Information about smart speakers such as Alexa-equipped devices will be displayed, but since we will not use it this time, just select 'Next'.
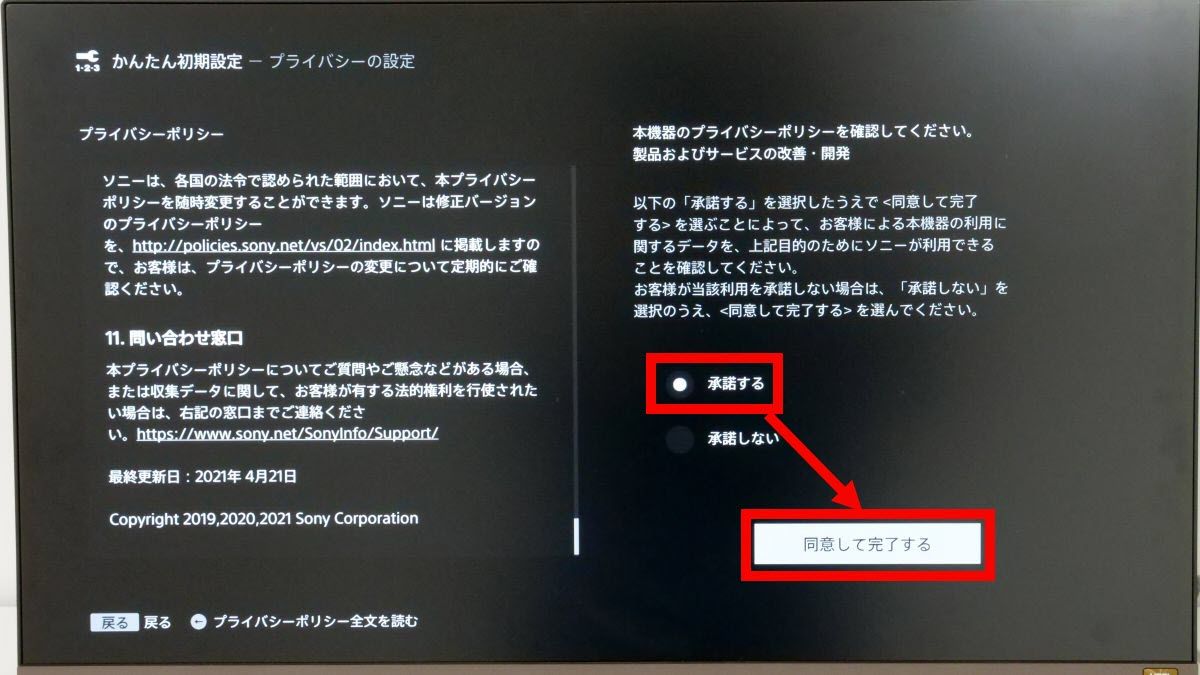
When the privacy policy is displayed, read it carefully and select 'Accept' and then 'Agree and Complete'.
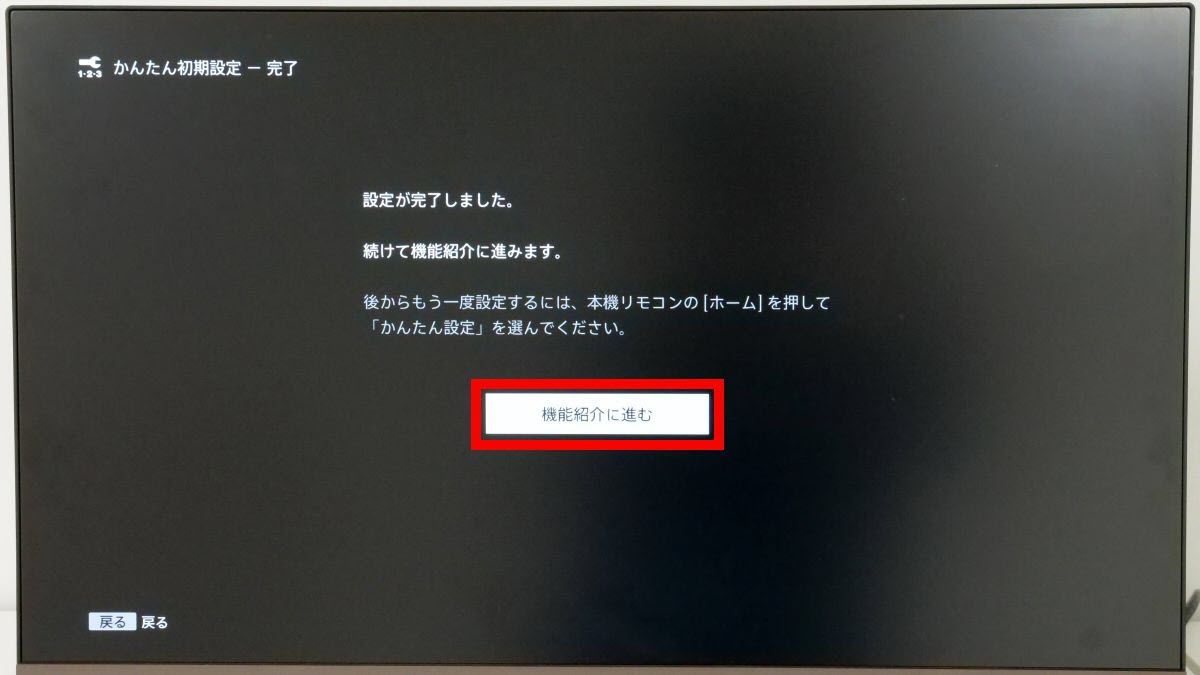
When the setting completion screen is displayed, select 'Proceed to function introduction'.
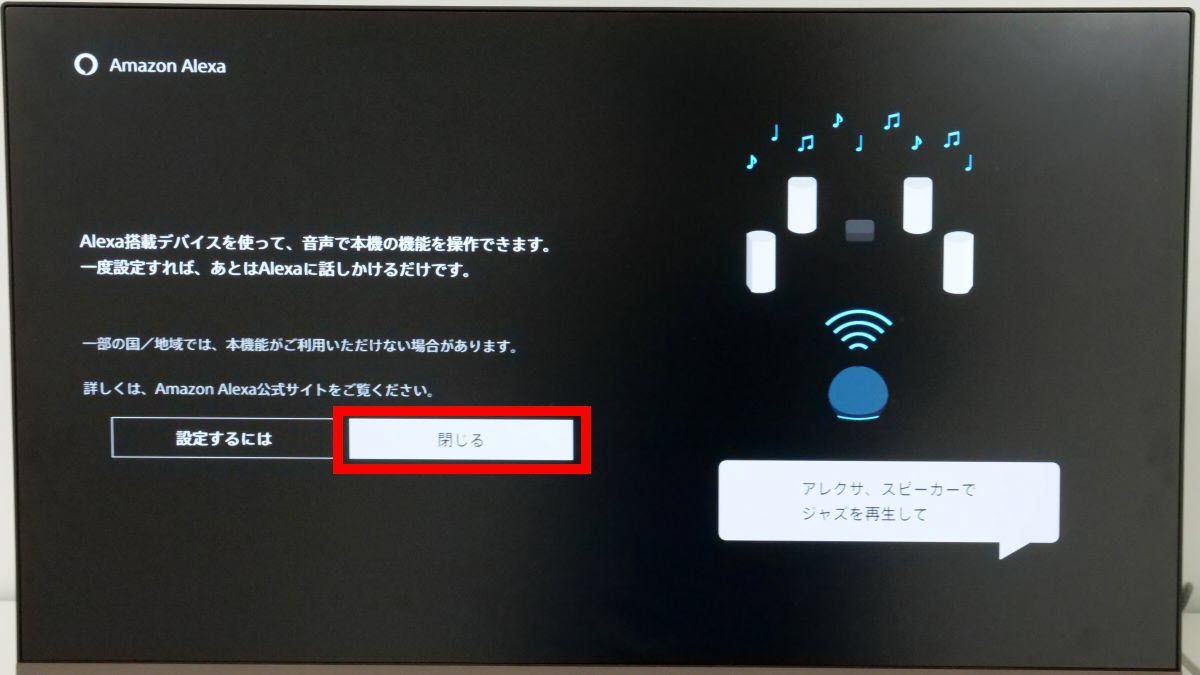
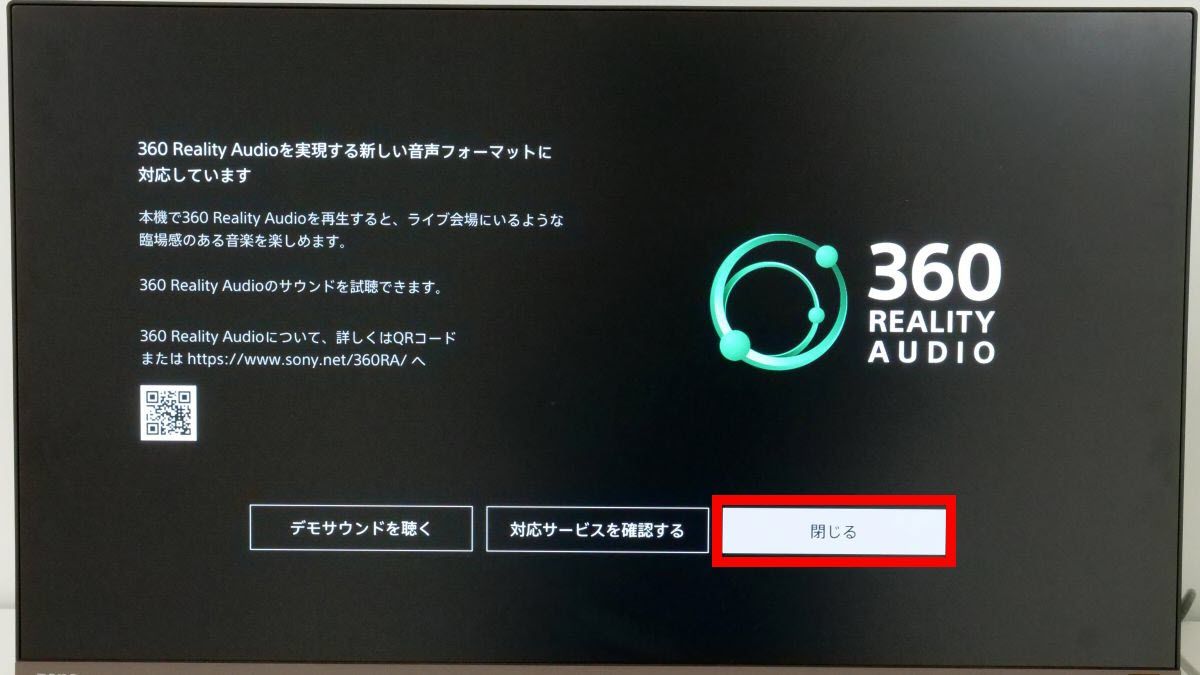
The HT-A9 can be operated with Alexa. Select 'Close' to proceed to the next screen.
Then, the top screen of HT-A9 will be displayed. This completes the initial settings. Many screens need to be transitioned during the initial setting, but except for the Wi-Fi setting, basically all you have to do is press the 'Enter' button on the remote control, and the sound field has been optimized without the need for complicated operations. You can get a 3D sound playback environment.
◆ I tried to play 3D sound in Dolby Atmos format
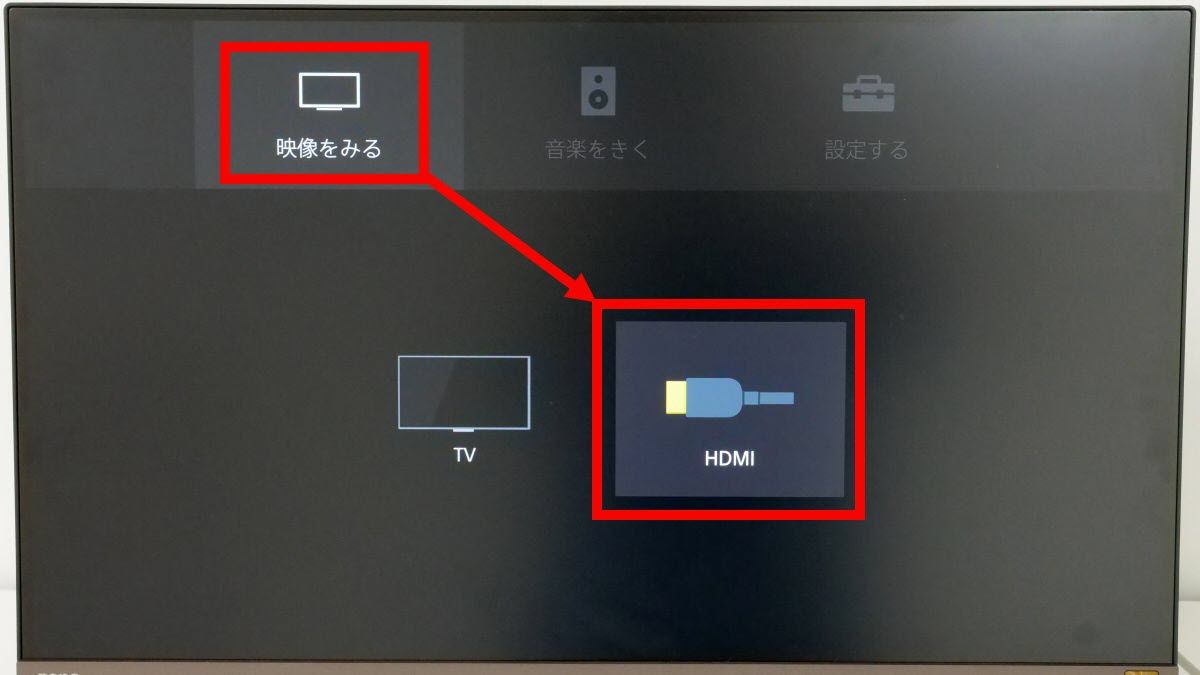
Now that the initial settings are complete, let's play Dolby Atmos format stereophonic sound using Xbox Series X. First, select 'Watch Video' on the HT-A9 and then select 'HDMI'.
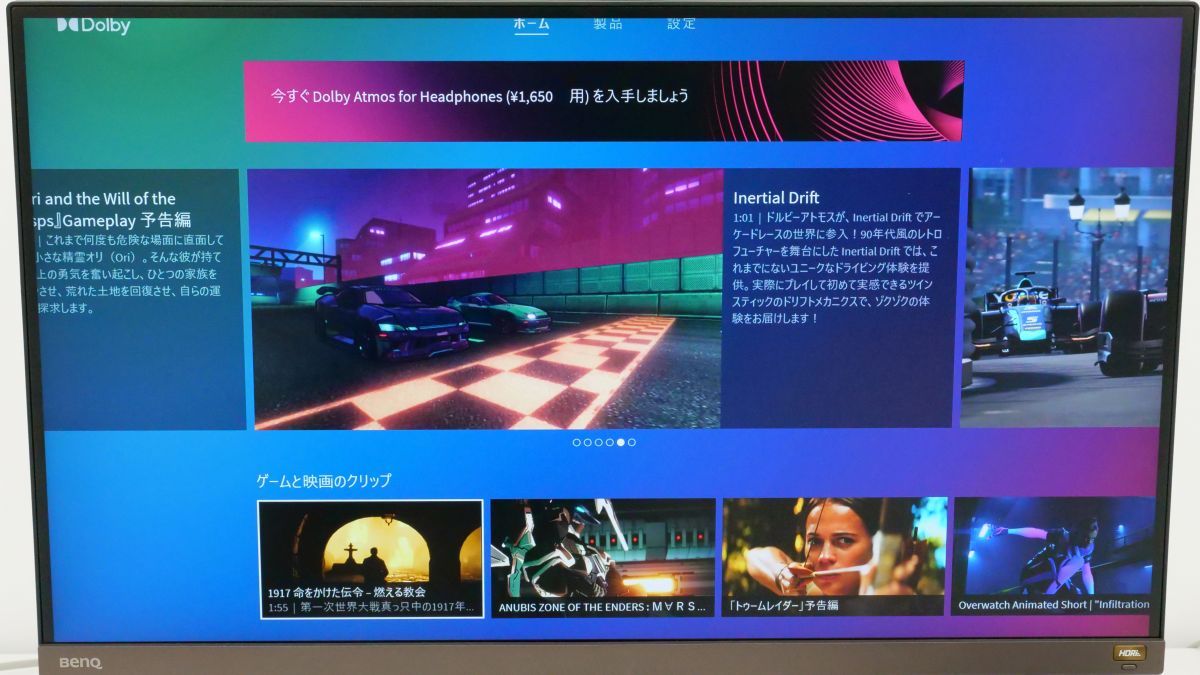
Then, the screen of Xbox Series X that is pass-through connected via HT-A9 will be displayed. This time, we will play stereophonic sound using the Dolby Atmos demo app '

When I actually ran some demos, I felt that I could hear the sound not only from the place where the four speakers were placed, but also from other angles, and I could hear the sound from any direction of 360 degrees. I enjoyed the very realistic stereophonic sound. In addition, switching from one speaker to another is smooth, and you can fully enjoy the feeling of running in 'a scene where leaves pass by at high speed from the back to the front'.
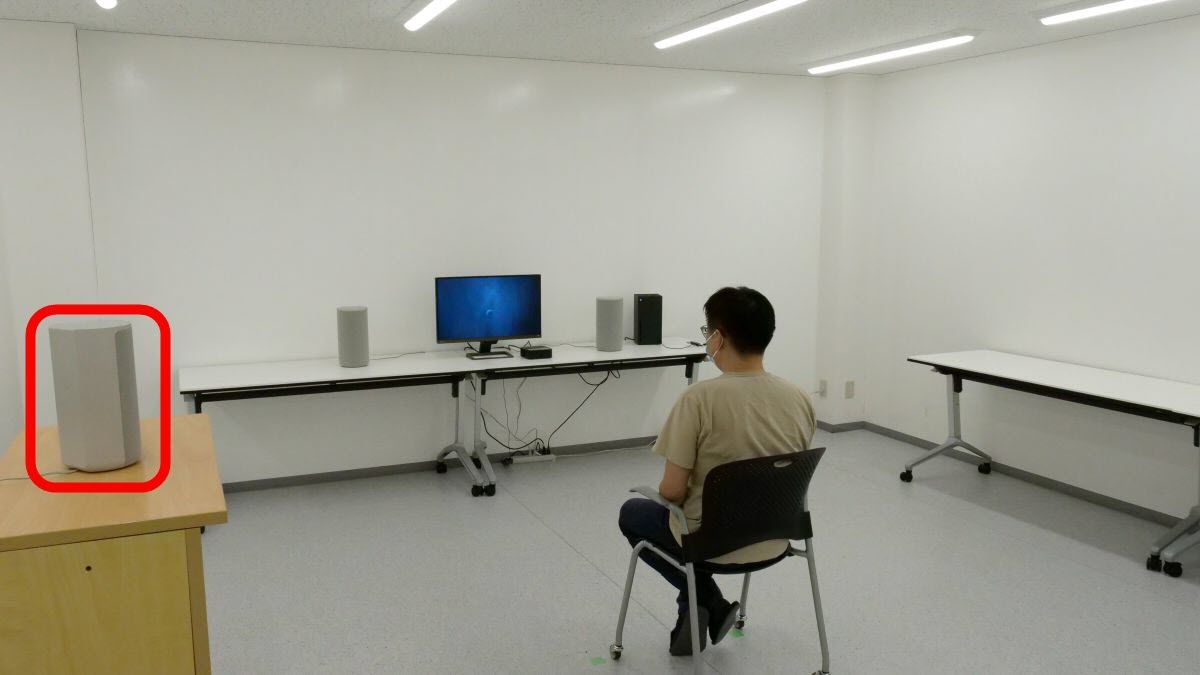
Next, the front speakers can be placed away from each other, and the rear speakers on the left side can be placed on the right side of the audience seat and at a different height from the other speakers to maintain a sense of presence even if the speaker positions change. I tried to check if it was.
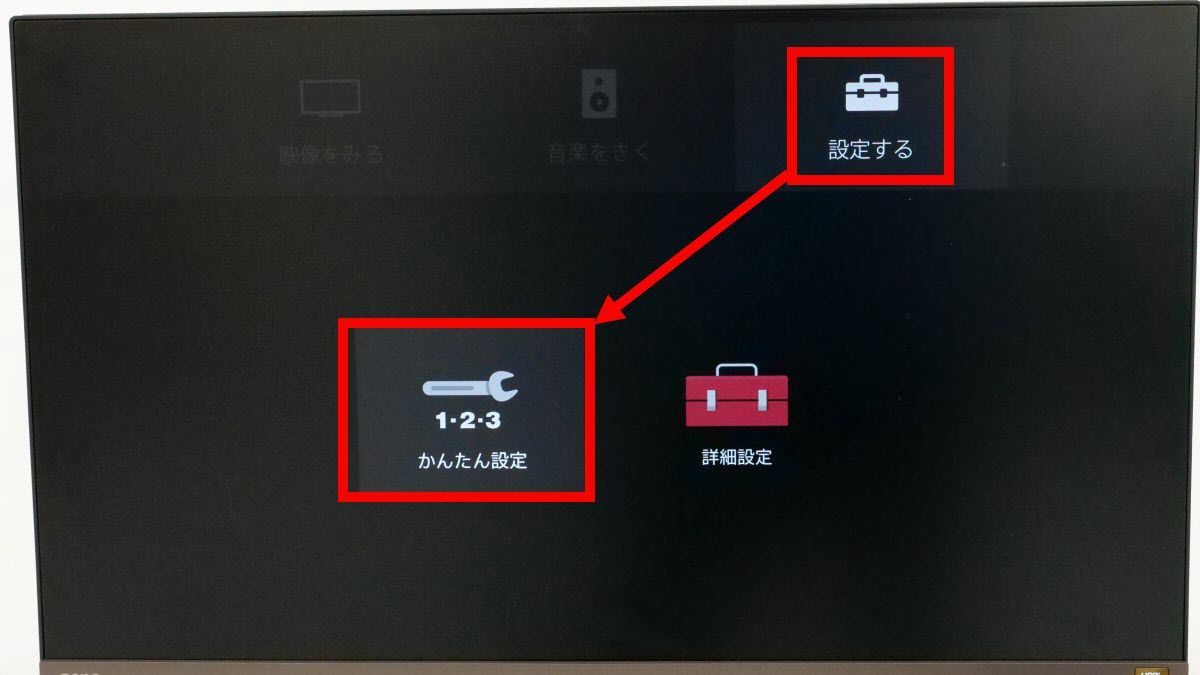
After changing the position of the speakers, set the sound field before playing the stereophonic sound. First, select 'Easy Setting' from the setting screen of HT-A9.
Next, select 'Easy Sound Settings' ...
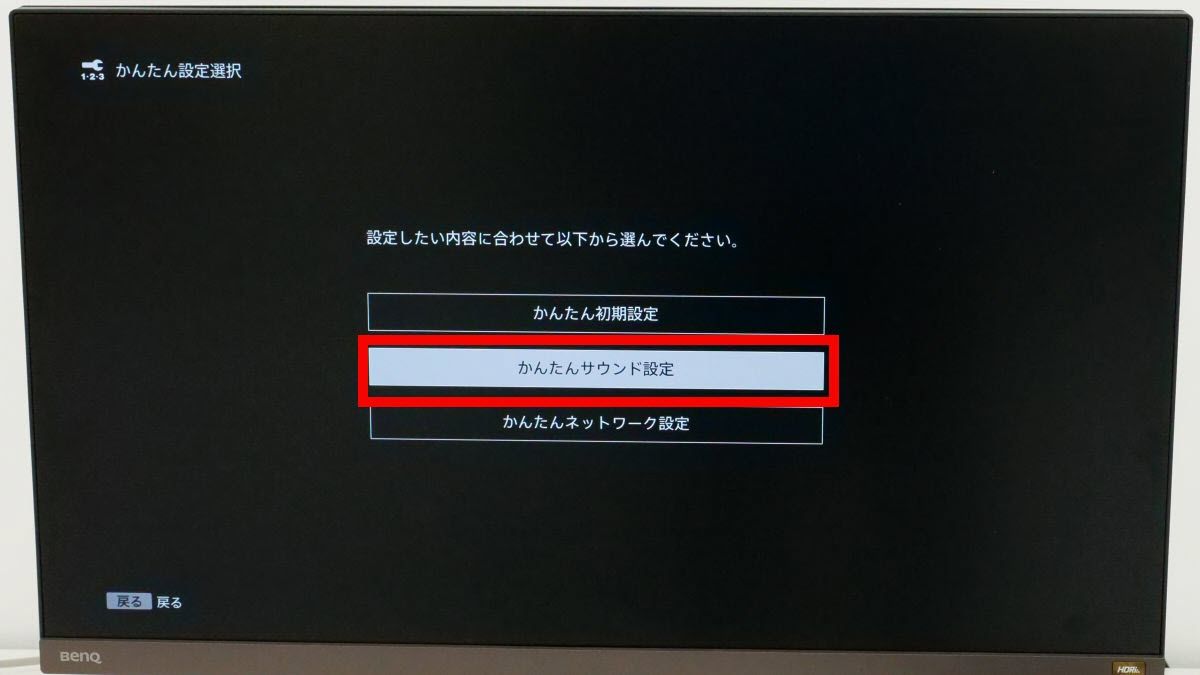
If you select 'Start', the test audio will be played and the sound field will be corrected automatically.
When playing 3D sound in this state, I felt a little discomfort due to the speakers being too close to the electronic sound that pierces my ears, but I felt almost no discomfort in the sound of the instrument or the human voice, as described above. I was able to enjoy the same sense of presence. If this is the case, it seems that even people who say that there is no space to build a surround system in the room can build a stereophonic audio playback environment with a high sense of presence.
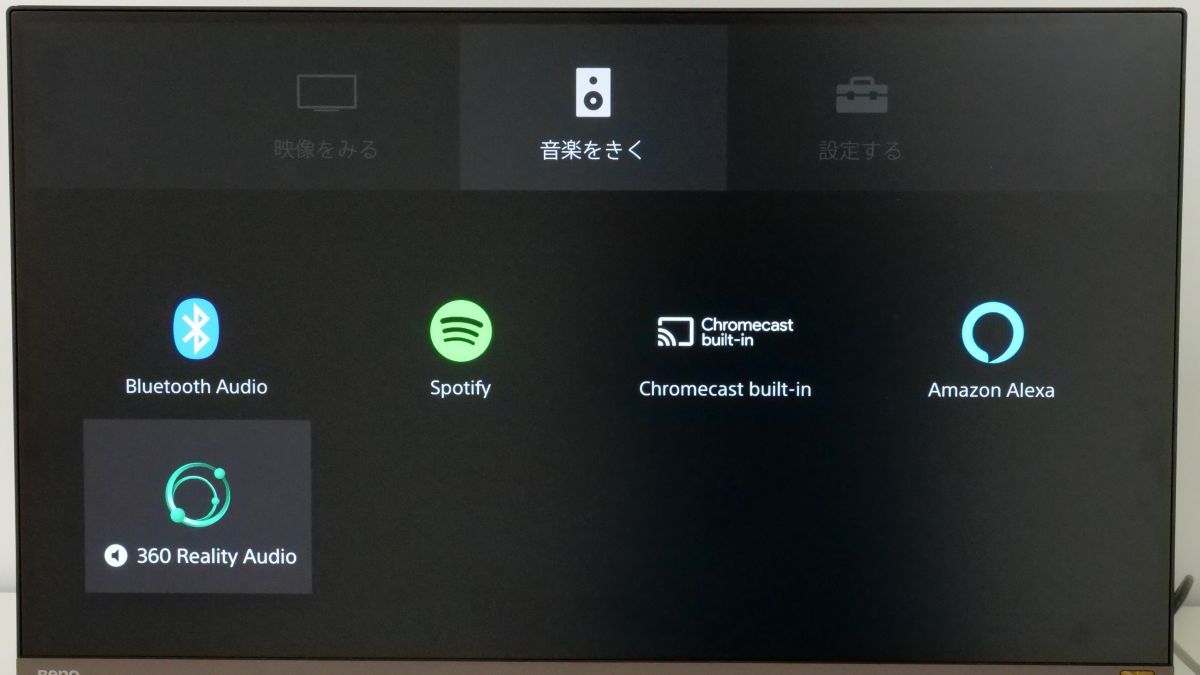
◆ I tried playing music wirelessly from my smartphone
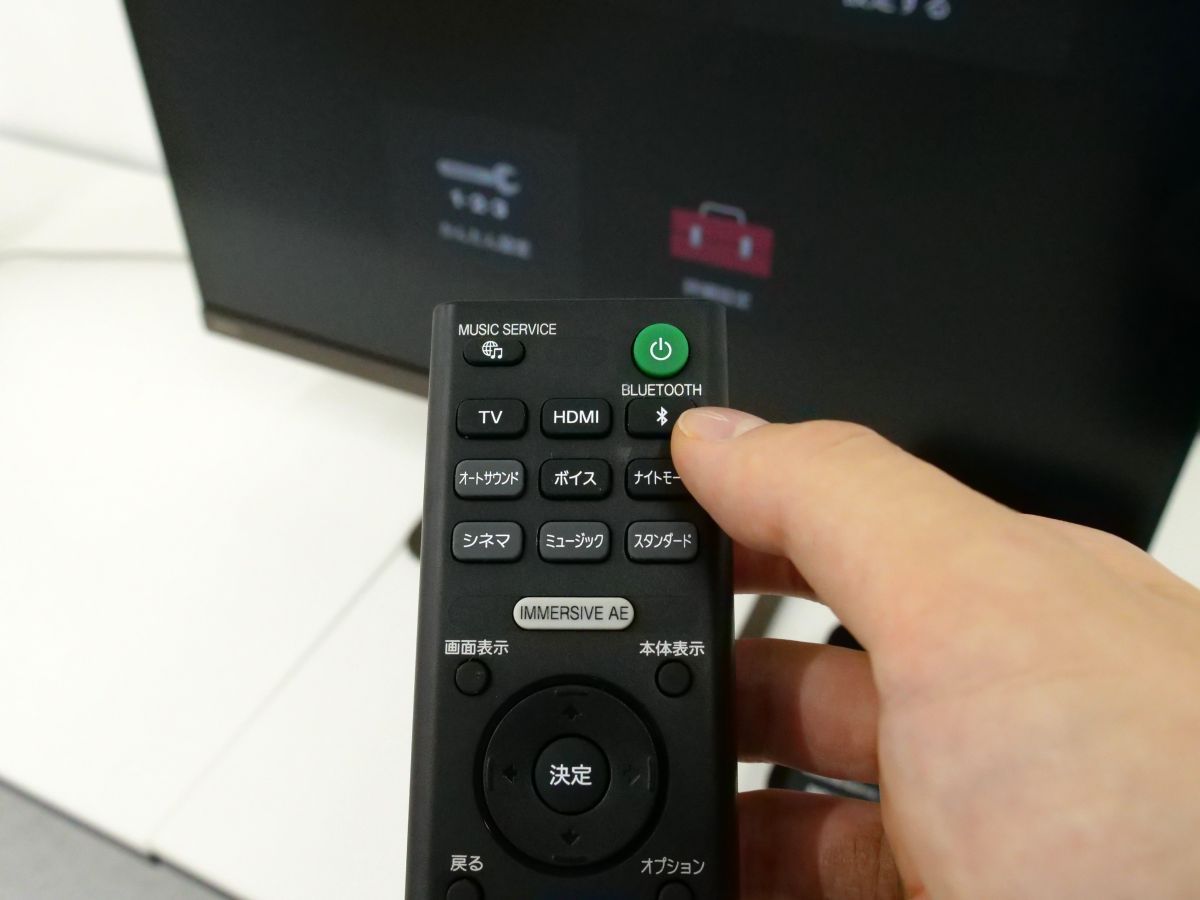
The HT-A9 supports wireless music playback via Bluetooth. To pair with a smartphone, press and hold the 'Bluetooth' button on the remote control for 2 seconds.
Then, the Bluetooth connection waiting screen is displayed on the connected monitor.
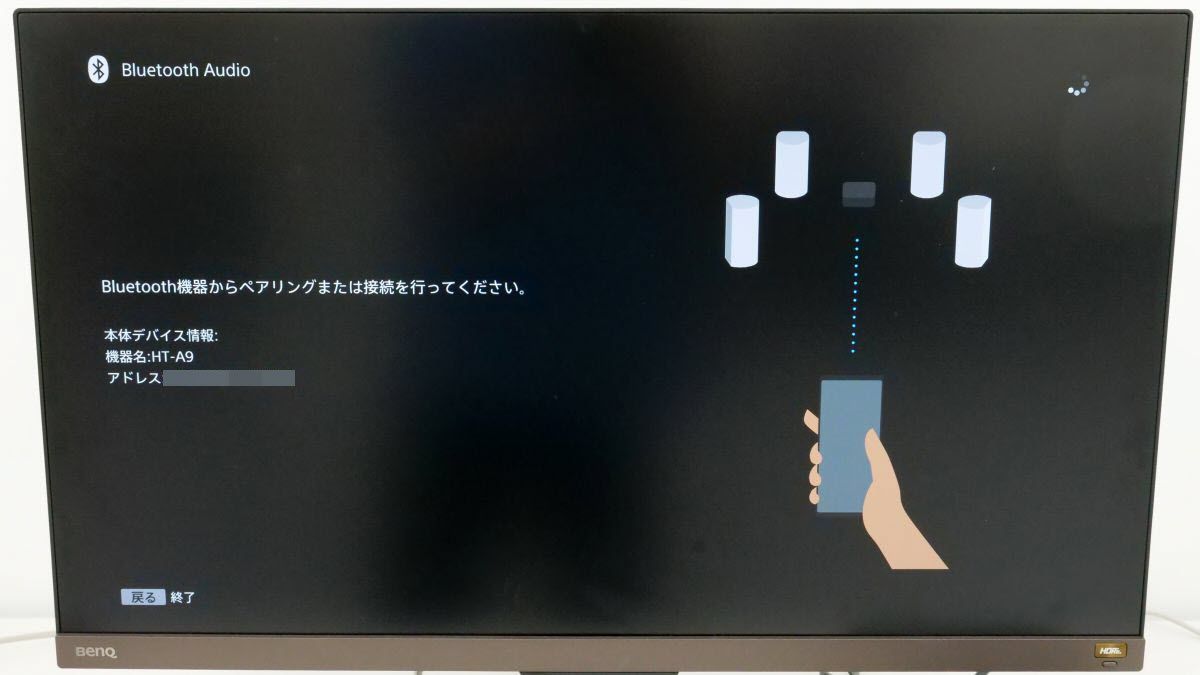
Next, select 'HT-A9' from the Bluetooth connection settings of the smartphone you want to connect to ...
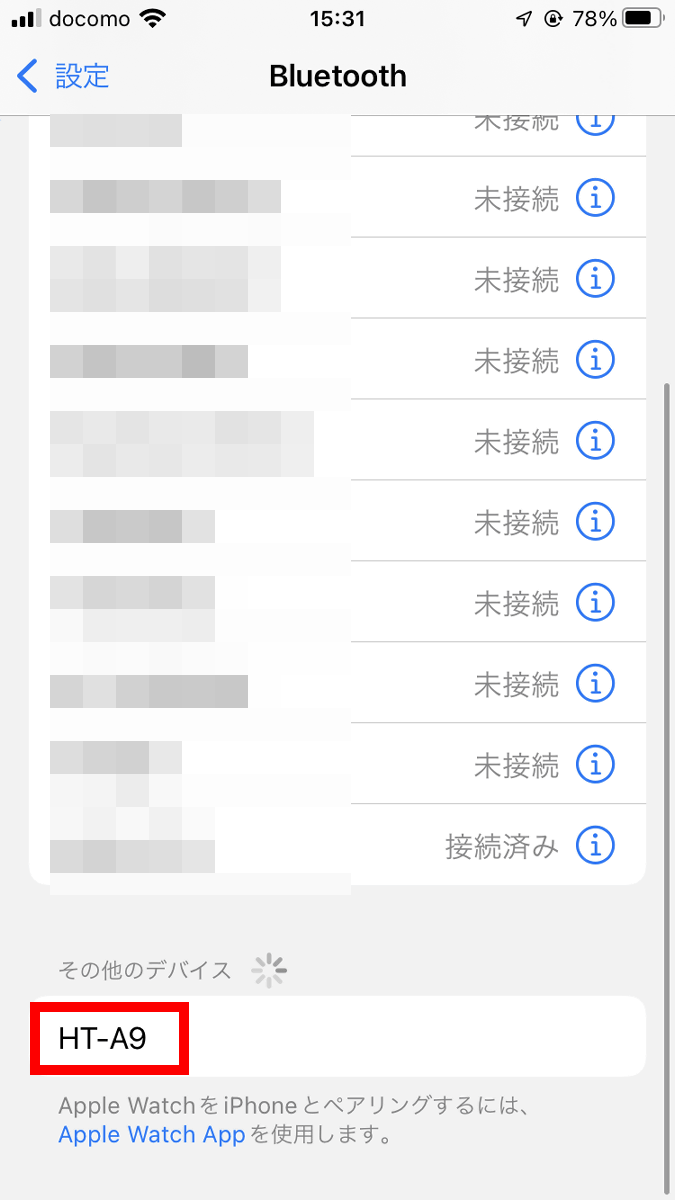
Once the connection is complete ...
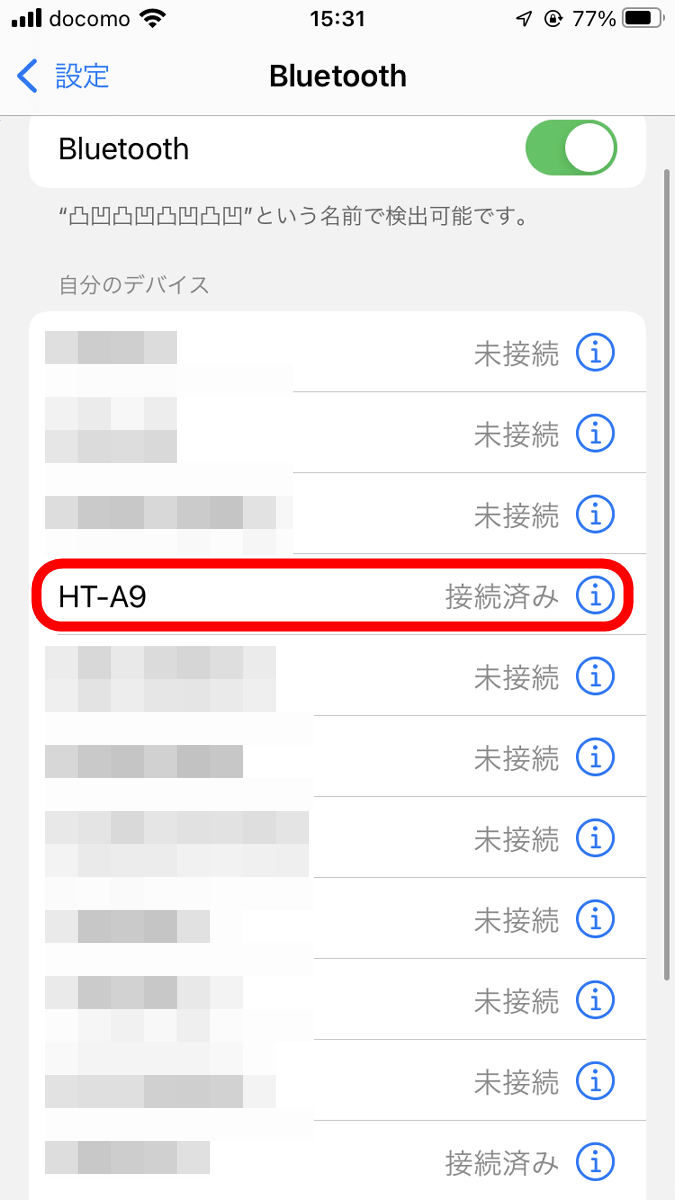
You can play music from your smartphone on the HT-A9.
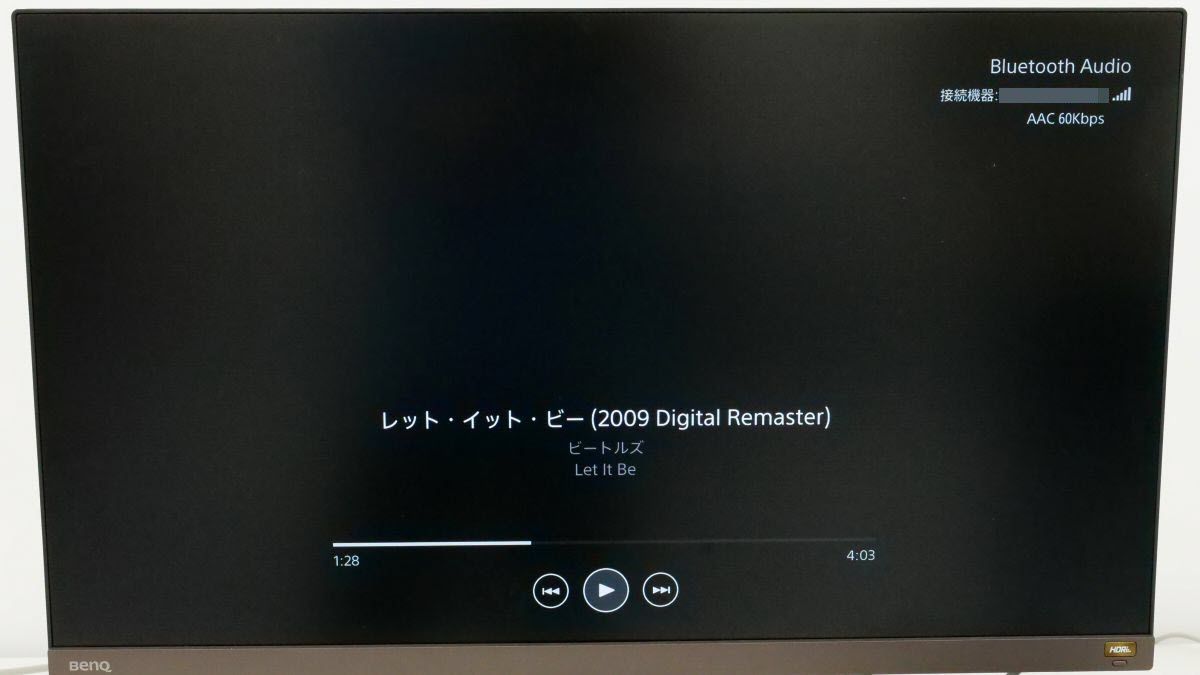
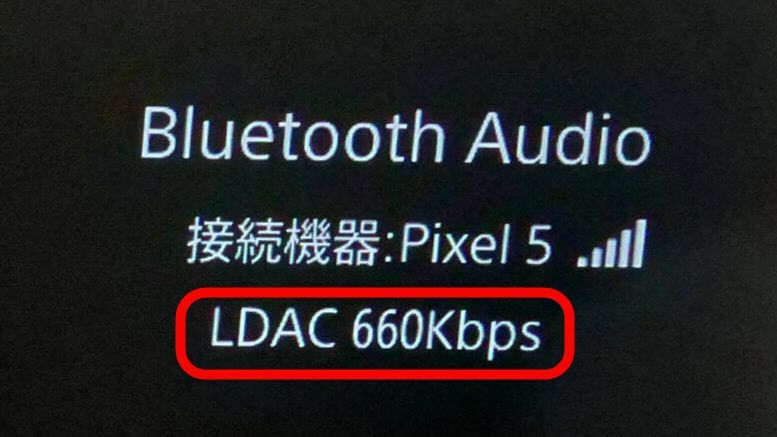
In addition, since the HT-A9 is compatible with the
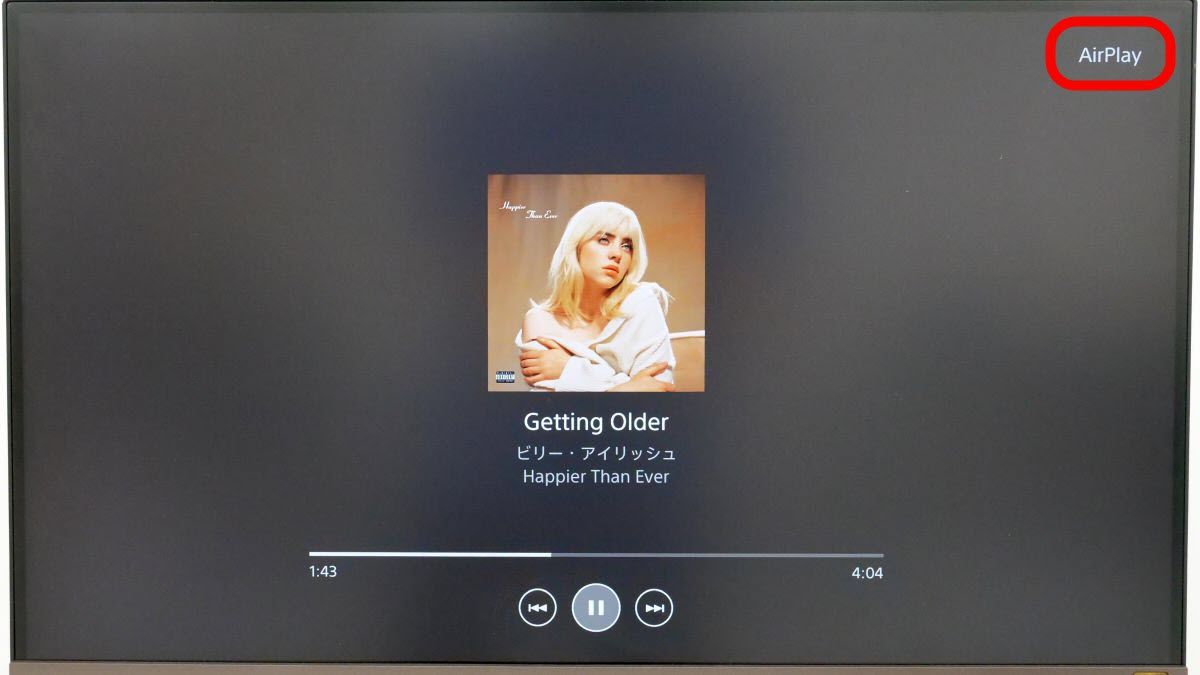
Furthermore, since the HT-A9 is compatible with Apple's wireless media playback standard, AirPlay, if you instruct Apple's terminal connected to the same LAN to play with AirPlay ...
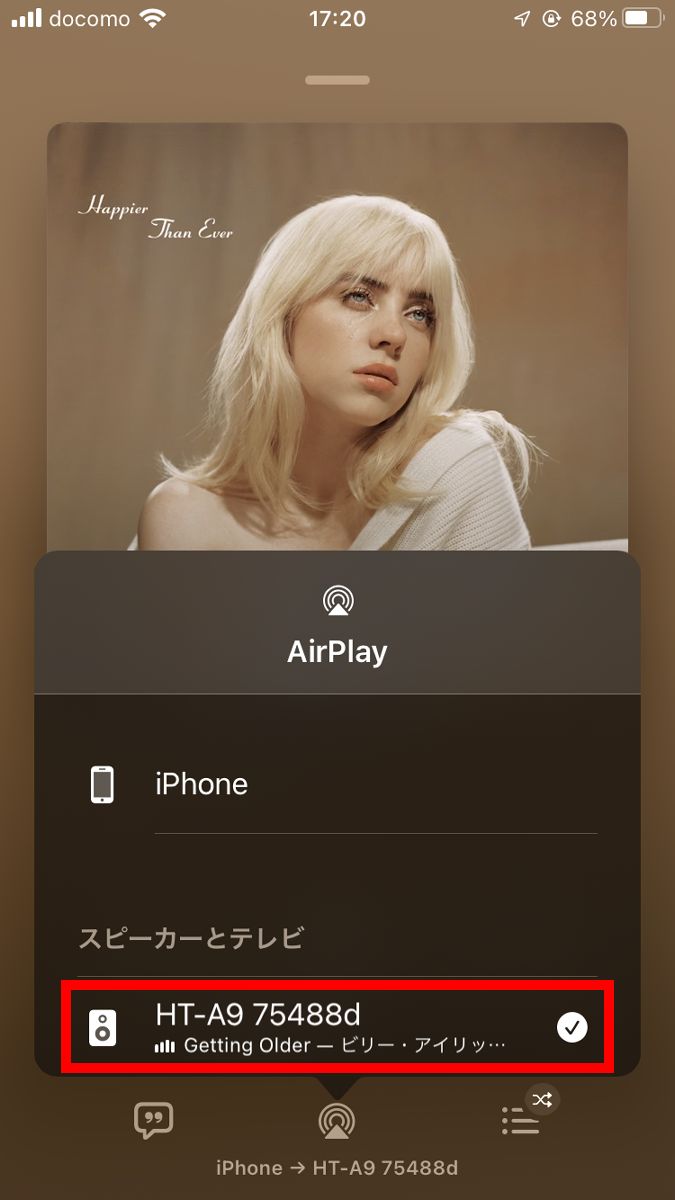
You can play music wirelessly without any settings.
◆ Summary
When I actually used the HT-A9, the wiring was very simple because the speaker and control box were connected wirelessly. Furthermore, by simply pressing the 'Enter' button on the remote control, the sound field is automatically set according to the shape of the room and the arrangement of the speakers, so even people who are not familiar with audio can easily obtain a stereophonic playback environment. It was a home theater system that could be used.
In addition, since the HT-A9 supports video pass-through connection at 4K / 120FPS, you can fully enjoy the video of high-performance game consoles such as
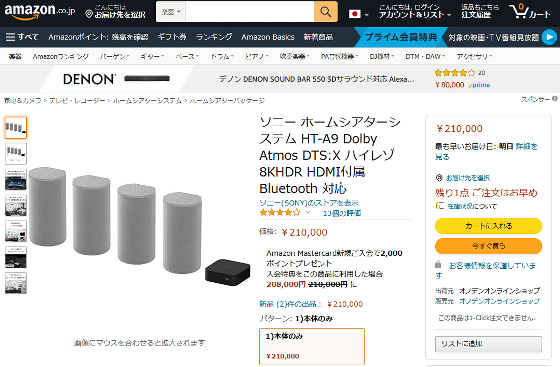
The HT-A9 is available at home electronics mass retailers and online stores. At the time of writing the article, it is available on Amazon.co.jp for 210,000 yen including tax.
Amazon.co.jp: Sony Home Theater System HT-A9 Dolby Atmos DTS: X High Reso 8K HDR HDMI Included Bluetooth Compatible: Home Appliances & Cameras
・ Continued
You can check the review article that enjoyed the deep bass by combining the HT-A9 with the wireless subwoofers ' SA-SW3 ' and ' SA-SW5' from the link below.
I enjoyed the deep bass with the subwoofers 'SA-SW3' and 'SA-SW5' that can be incorporated into Sony audio systems without any settings --GIGAZINE

Related Posts: