I tried using the kit "Flotilla" which can program the electronic parts connected to Raspberry Pi without code input

A kit that allows you to program various modules (electronic parts) connected by a USB cable to a compact computer board "Raspberry Pi" without code input and enjoy computer and programming "Flotilla"Arrived at the editorial department of GIGAZINE after the Kickstarter project. I tried experiencing immediately what Flotilla says that you can easily do electronic work without soldering & code entry and can also be used as a computer learning tool.
Pimoroni - Raspberry Pi, Adafruit, SparkFun from the UK
https://shop.pimoroni.com/
◆ Check the contents of Flotilla
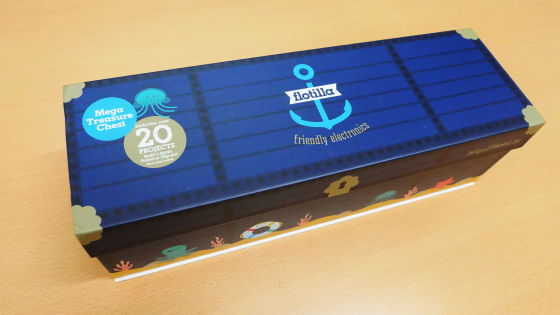
This isKickstarterIt got on "Flotilla" kit. The box is a design imitating the treasure chest of a pirate ship.
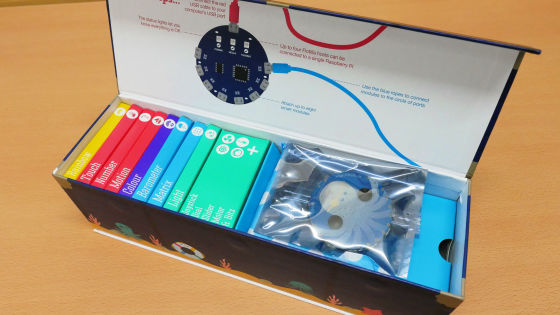
When opening the box it looks something like this.
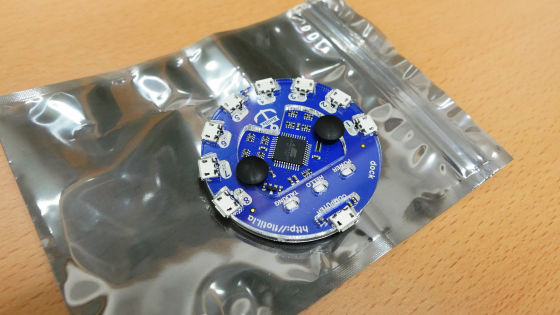
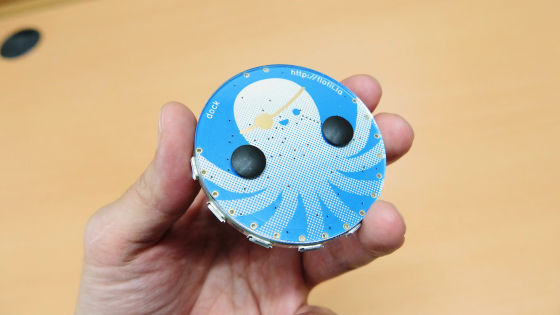
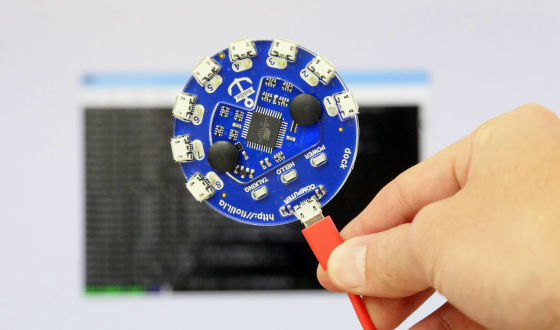
This is the "dock" of the hub that relays Raspberry Pi and modules.
It is palm-sized.
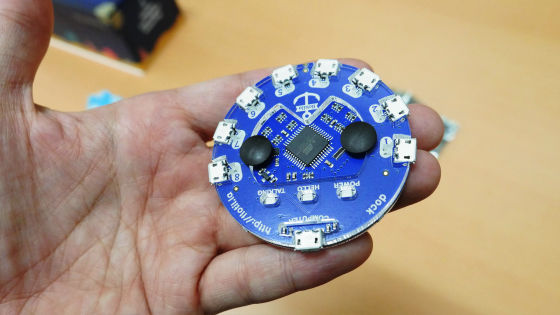
On the back is a pirate octopus. Black with non-slip rubber is attached.
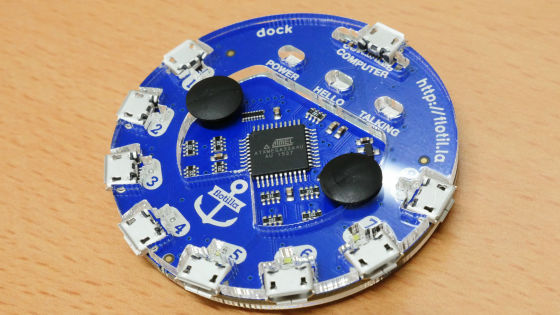
The dock is a transparent acrylic panel sandwiching the board, in the center is Atmel'sATxmega32A4UA chip is carried.
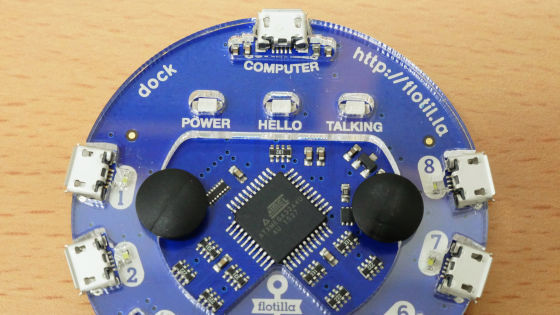
Micro-USB port connecting to Raspberry Pi at the top, with indicator LED indicating the status under it.
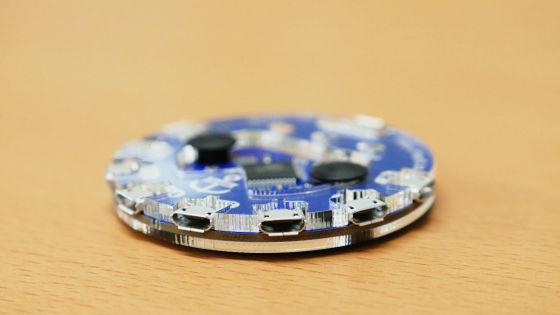
There are eight Micro - USB ports on the side so as to surround the dock. I will connect various modules here.
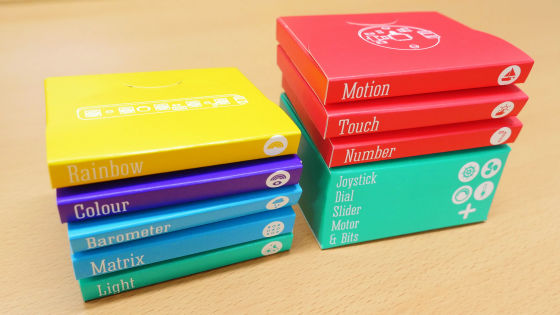
Various modules were in a small paper box.
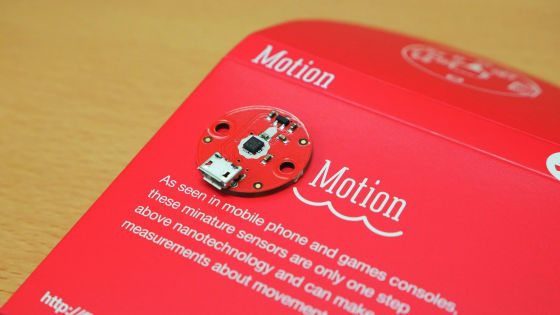
Module capable of sensing three-dimensional motion "Motion"
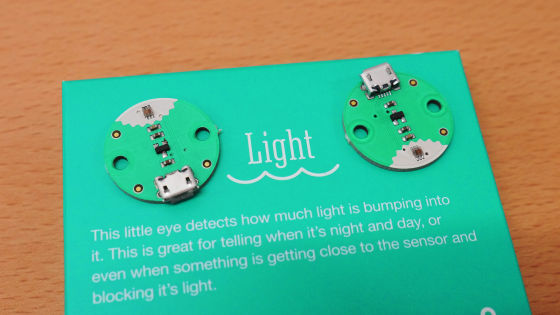
"Light" to sense brightness and objects
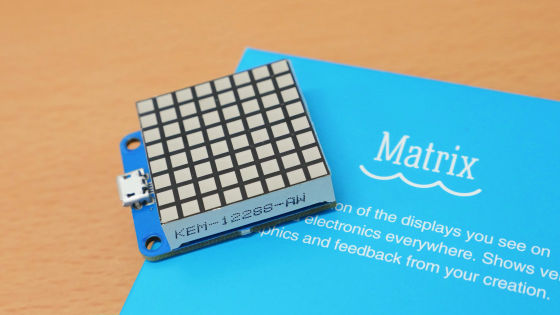
Icons and figures can be displayed with 8 × 8 LEDs, "Matrix (matrix)" which can be used for game display screens
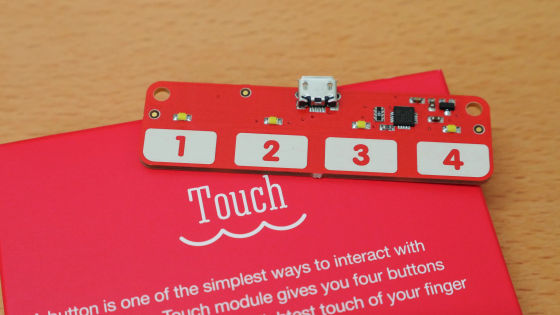
"Touch (touch)" which detects touch motion with four sensors
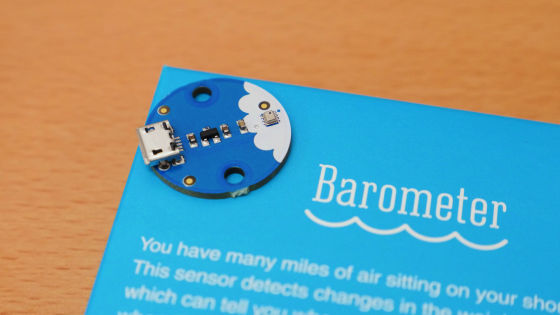
"Barometer (barometer)" which measures ambient temperature and pressure and detects change in altitude
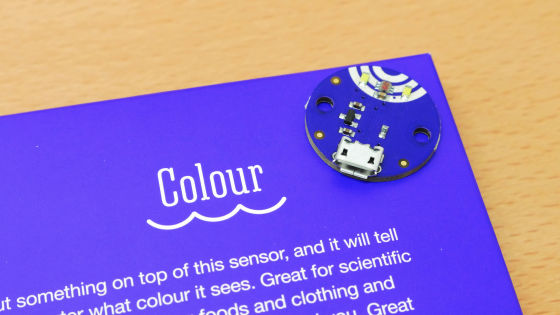
"Color (color)" for discriminating the color of an object
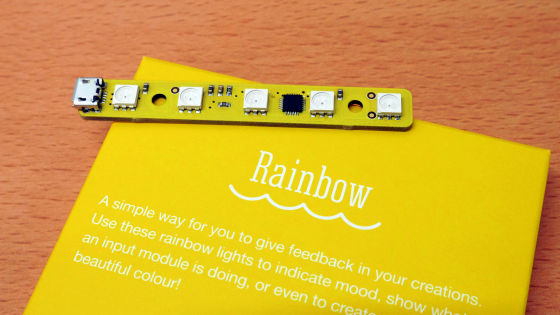
Five color LEDs shine in various colors "Rainbow"
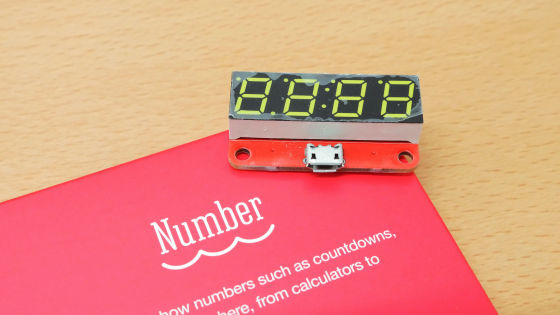
"Number (number)" which can display 4 digit number
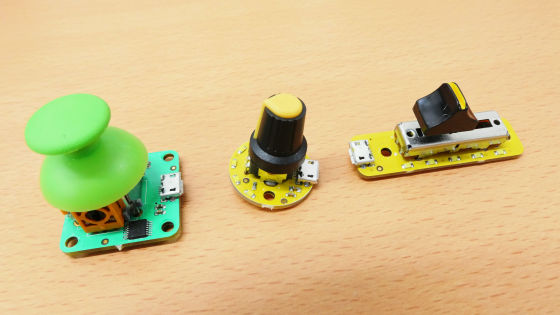
"Joystick" which can be used for robot operation from the left, "Dial" which adjusts the volume etc., "Slider" which can change the value by slide operation
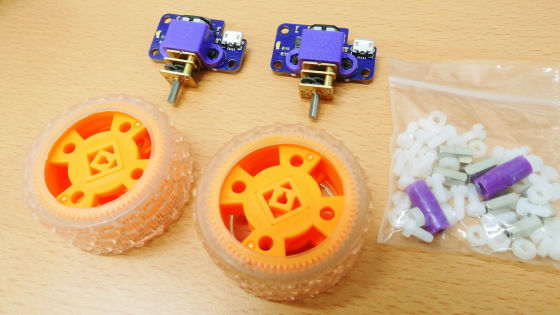
"Motor (motor)" can turn the wheel. In addition, there are various kinds of uses such as sending wind by attaching a propeller, making it a winch for winding threads, and so on.
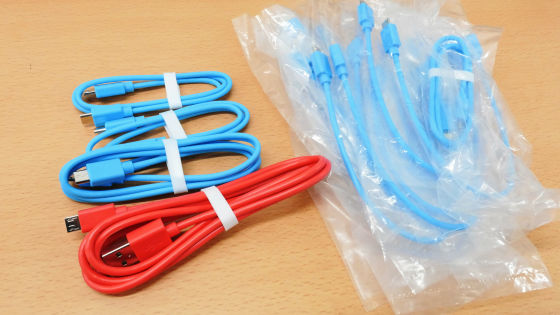
The red Micro-USB cable is for connecting the dock to the Raspberry Pi and the blue Micro-USB cable is for connecting the dock and the module.
In addition to the kit parts and recipe cards were included.
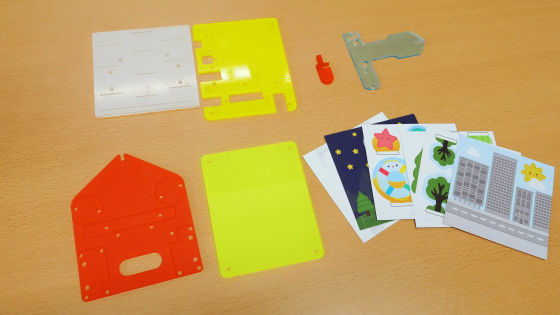
Once I checked the part, I started the setup work immediately. Two boxes of instructions are included in the box in A4 size and it is OK as this street is explained as it explains the setup work.
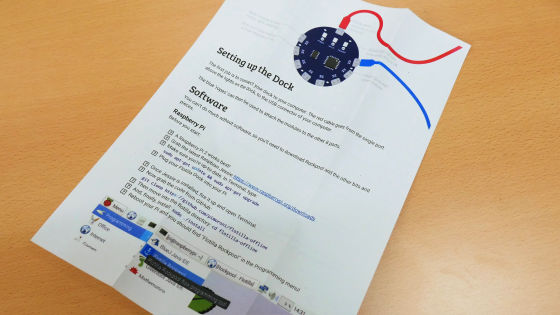
◆ Installing Raspbian
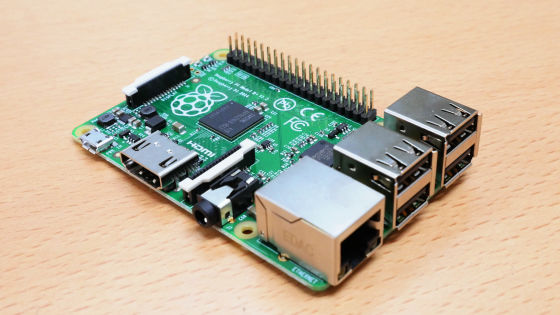
According to the instructions, the best for Flotilla is "Raspberry Pi 2Although it is said that, this time "Raspberry Pi Model B +I will use it.
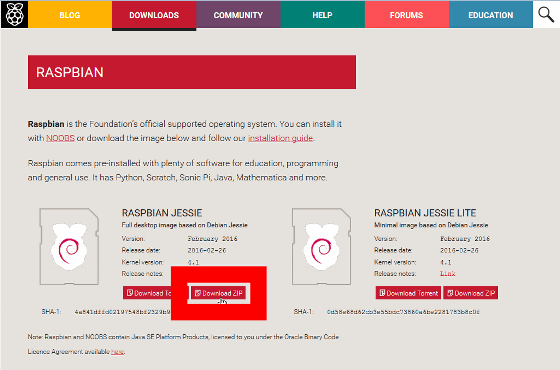
First of all, download the Raspberry Pi OS (Raspbian) image from the official website below.
Download Raspbian for Raspberry Pi
https://www.raspberrypi.org/downloads/raspbian/
At the time of writing, the best thing for Flotilla is "Raspbian Jessie", so click Raspbian Jessie's "Download ZIP". Extract the downloaded ZIP file with "Explzh" etc., and copy the contents file to microSD card of 8GB or more.
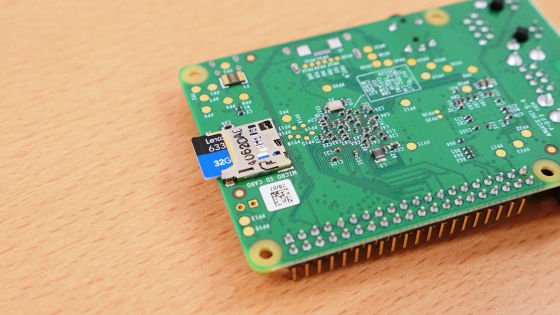
Then attach microSD card to the back of Raspberry Pi. Please be aware that all the data on the SD card will disappear after the OS installation work.
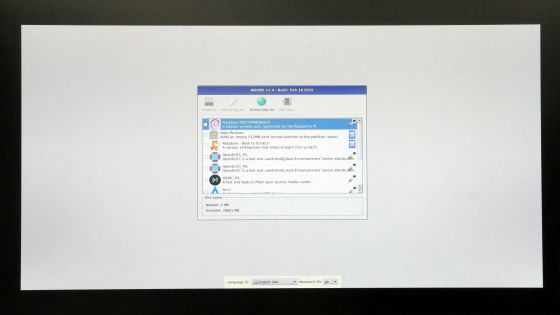
When power is supplied to Raspberry Pi with the Micro-USB cable, the initial setting screen starts up.
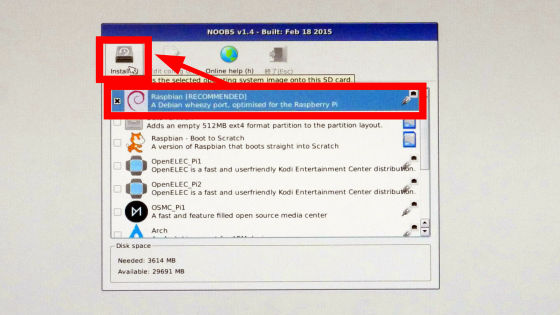
Check "Raspbian [RECOMMENDED]" at the top and click "Install".
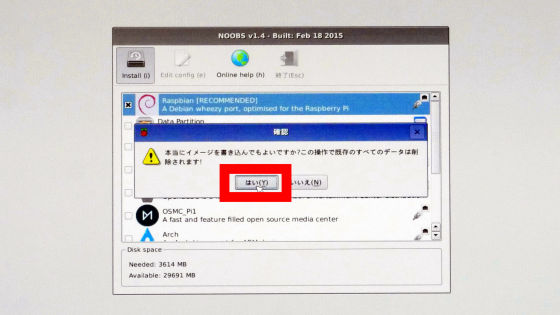
Click "Yes".
After that wait just until Raspbian is installed.
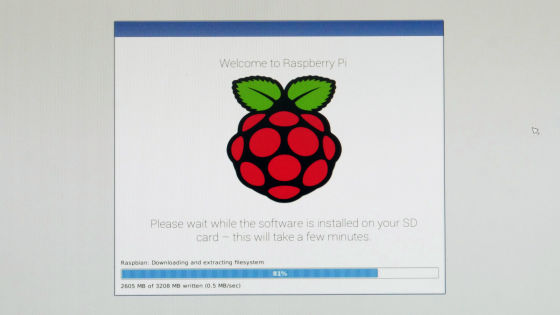
Installation completed in about 1 hour. Click "OK".
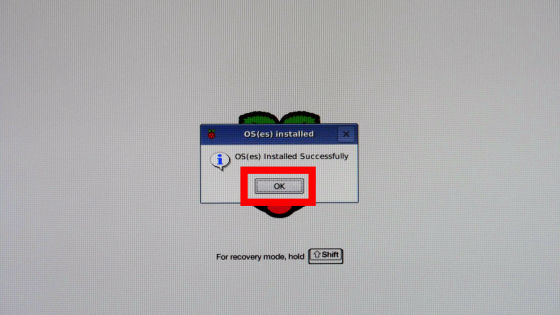
Automatically restart ... ....
The Raspbian screen was displayed.
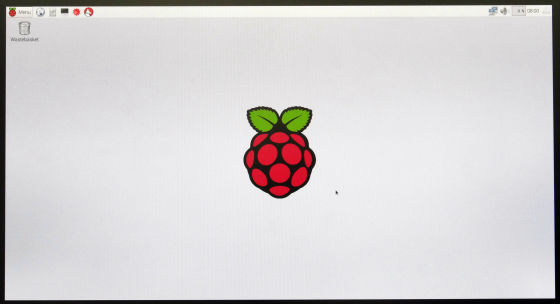
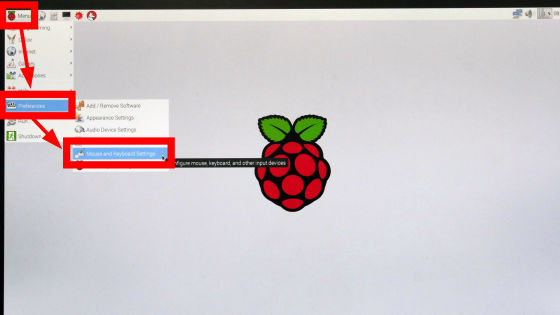
When Raspbian installation is completed, change the keyboard setting to Japanese input. Click "Menu" → "Preferences" → "Mouse and Keyboard Settings" in the upper left of the screen.
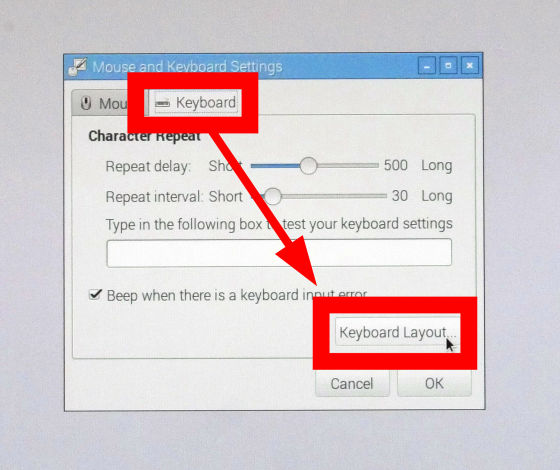
Click "Keyboard tab" → "Keyboard Layout".
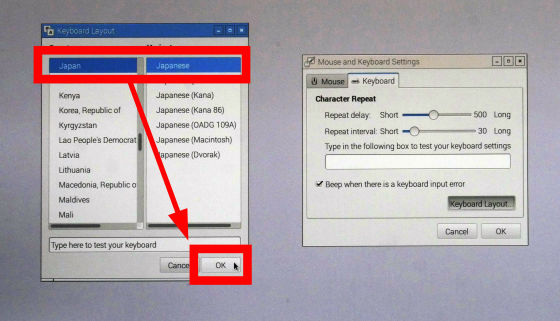
Select "Japan" "Japanese" from the Keyboard Layout window appearing on the left and click "OK" to switch to Japanese input.
◆ Installation of Flotilla programming software (Flotilla Rockpool)
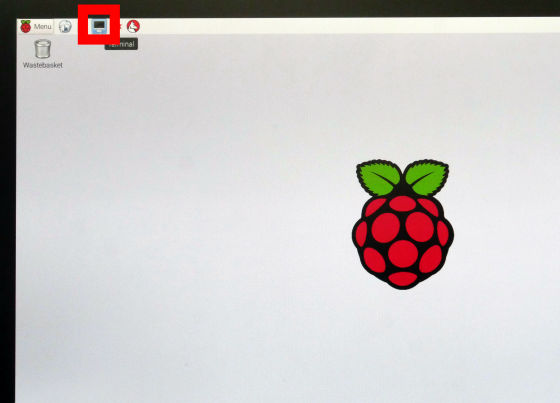
Install the special software "Flotilla Rockpool" so that Flotilla can be programmed with the browser. Click "Terminal" on the task bar.
Type "sudo apt-get update & amp; sudo apt-get upgrade" on a single line on the command line and press the enter key to execute the command.
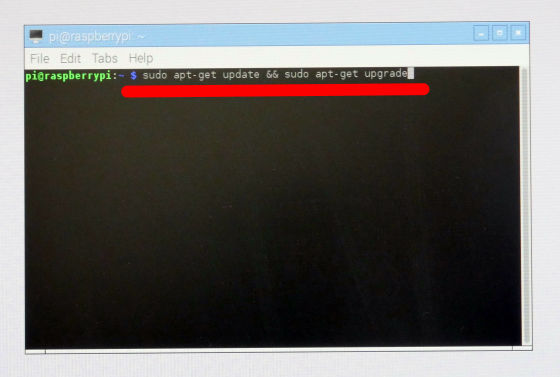
As Raspbian update starts, wait for a while.
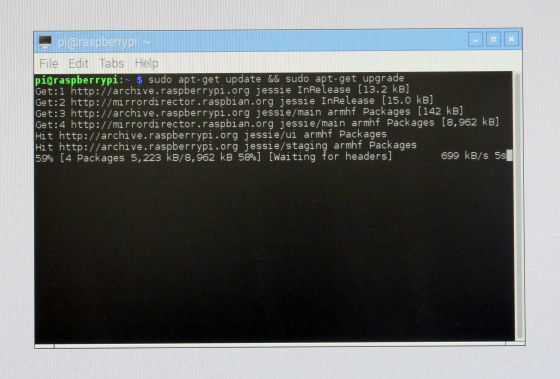
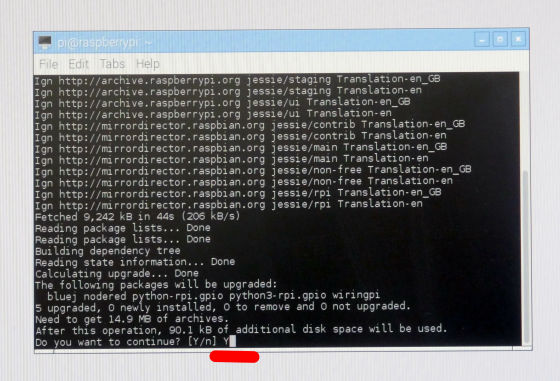
As you are asked whether you want to continue the update work on the way, enter "Y (upper case)" and execute.
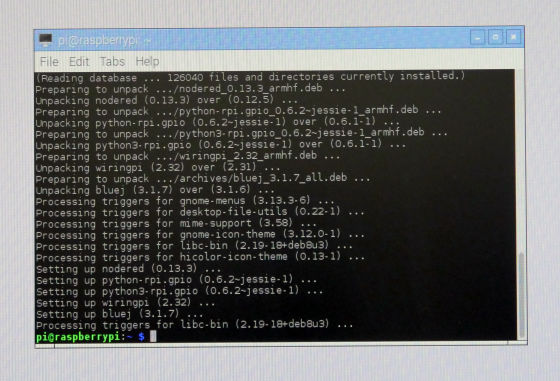
Update is complete.
Here, connect Raspberry Pi and dock using Micro-USB cable.
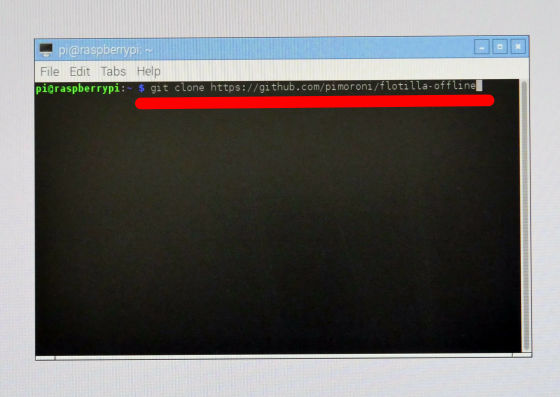
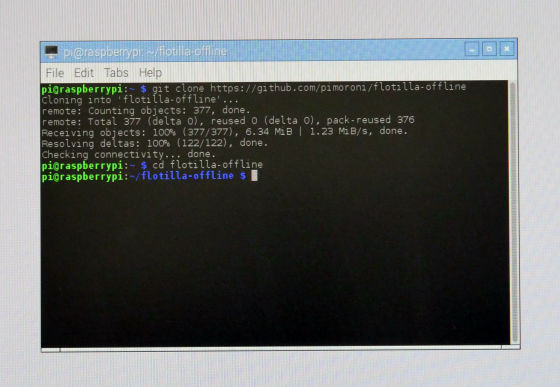
再びターミナルを開いて、「git clone https://github.com/pimoroni/flotilla-offline」と入力して、GithubからFlotilla Rockpoolのインストールファイルをダウンロードします。
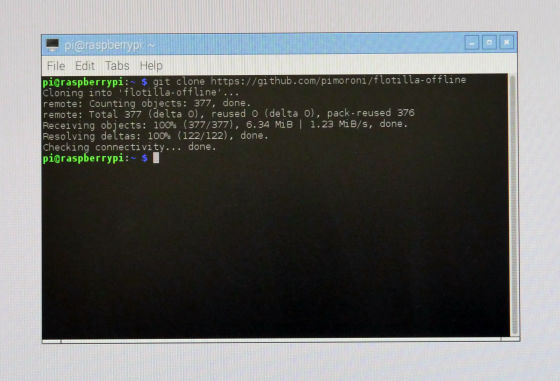
The download of the file is completed.
Next, enter 'cd flotilla-offline' ...
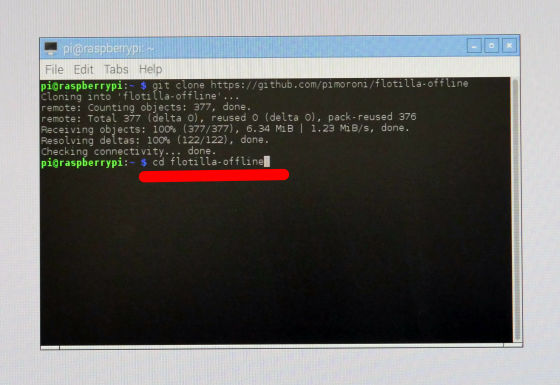
Go to the flotilla-offline directory.
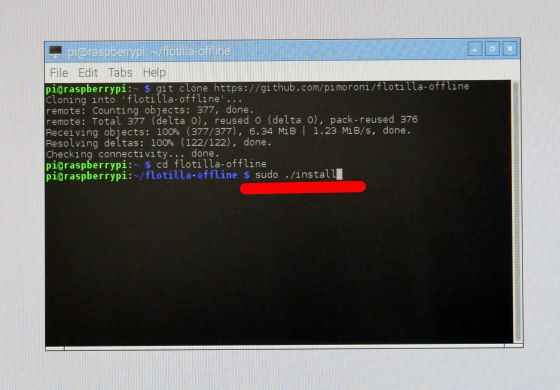
Type "sudo ./install" to install Flotilla Rockpool.
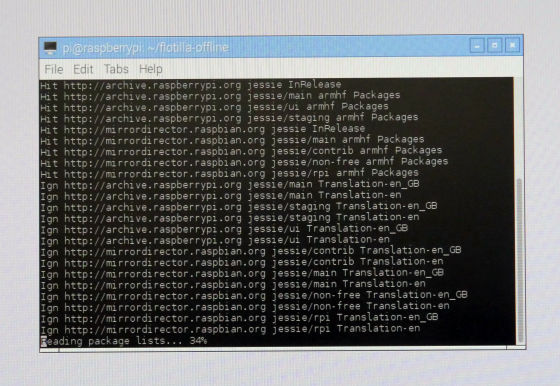
Wait a while ......
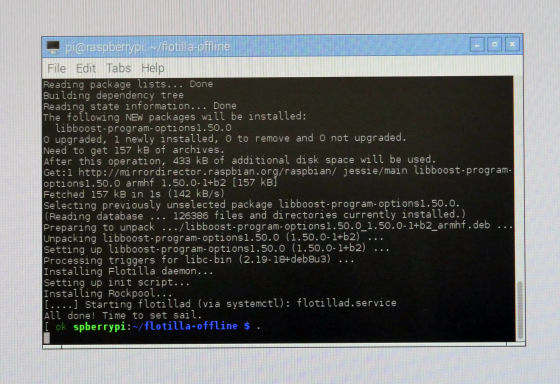
Once the installation is complete, all the settings are done.
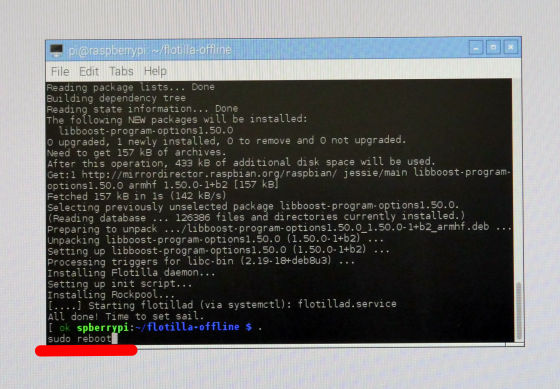
Finally, type "sudo reboot" and restart Raspbian.
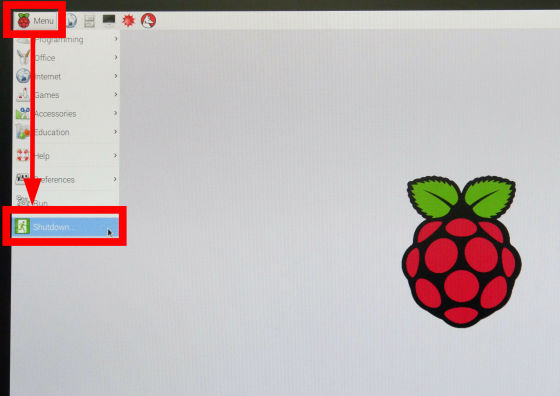
Click "Menu" → "Shutdown" on the task bar ... ...
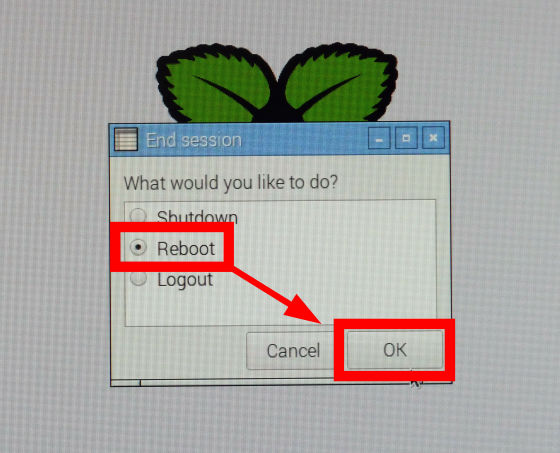
It is OK even if you select "Reboot".
◆ Flotilla Rockpool
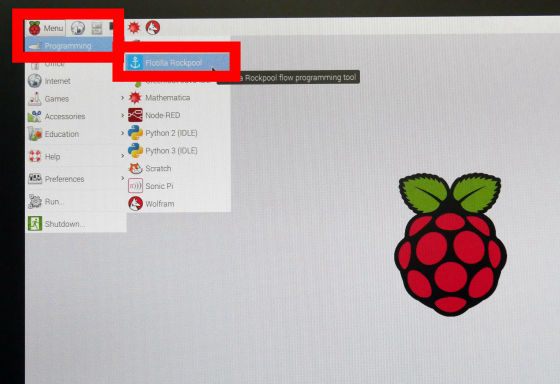
Launch Raspbian and launch Flotilla Rockpool by clicking "Menu" → "Programming" → "Flotilla Rockpool".
Then the web browser launched and the top screen of Flotilla Rockpool was displayed.
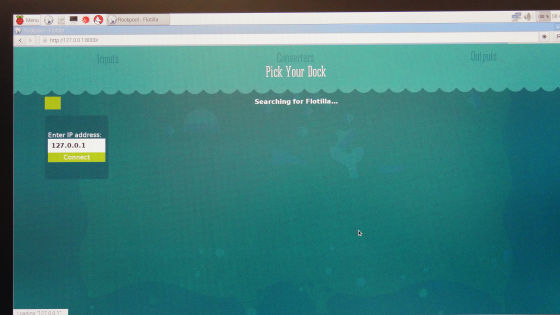
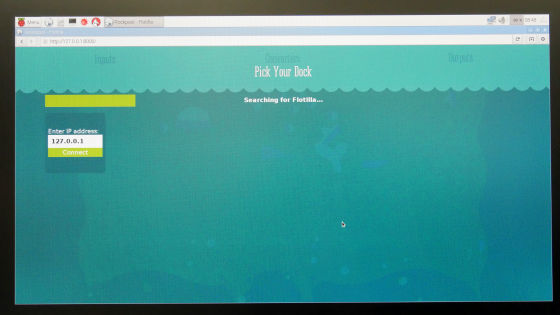
We will wait for a while as recognition work of the port of the dock will start.
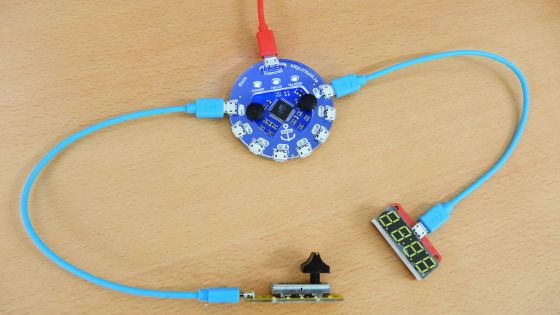
When the dock is recognized, try connecting the slider and number of the module.
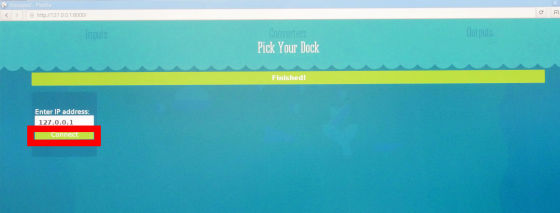
Click "Continue" under "IP address".
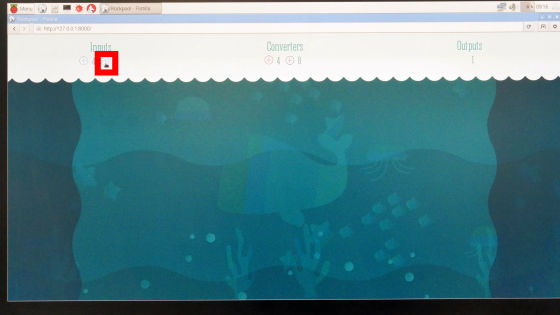
"Inputs" "Converters" "Outputs" are displayed on the screen. Click the "+" button under "Inputs".
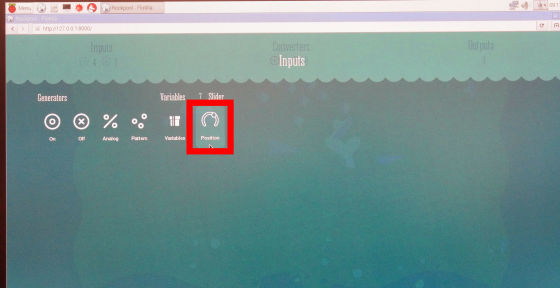
Switch to the screen of Inputs (input module) and "Slider" is recognized, so click "Position" icon.
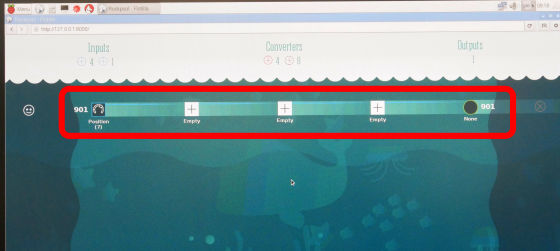
Then one line of "recipe" appeared. The recipe is a program flowing from the left to the right, and by adding the operation and conditions of the module by mouse operation, programming is possible without code input work.
Click "None" of Outputs (output module).
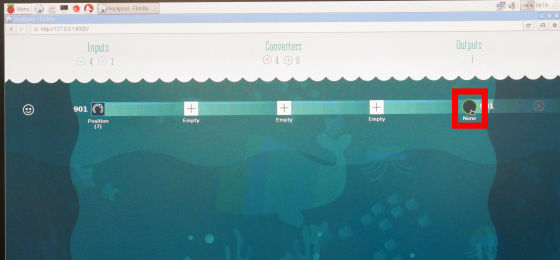
By clicking the "Number" icon, you can specify the number module connected to the dock as Outputs.
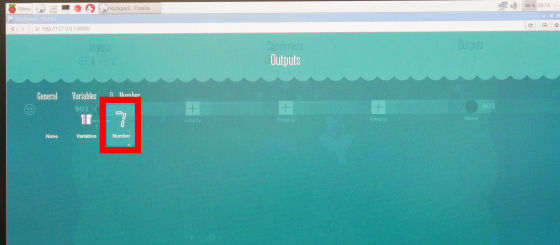
The recipe is completed in no time. This is a tremendously simple program that reads "position (position) of the input module · slider and displays the position on the output module · number as a numerical value". A program can be added to the "+" part, but if you leave it as "Empty", the program will pass through (ignored).

Confirm that the numerical value changes when moving the lever of the slider.
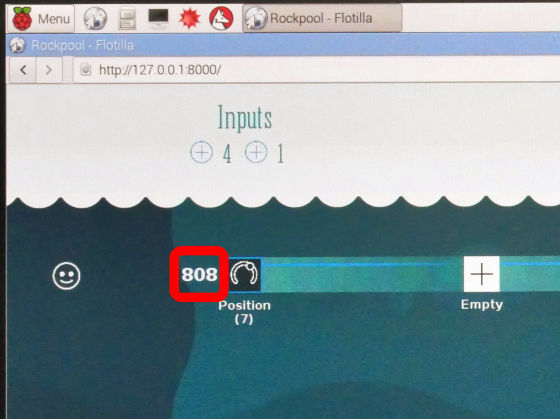
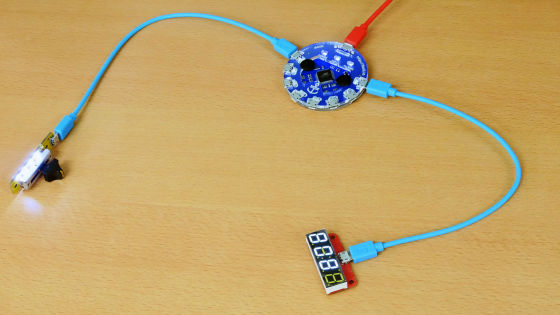
And that number was displayed in the number.
Related Posts:


