"Mozilla Webmaker" that makes it easy to create content and become a creator from mobile terminals

Mozilla known as a web browser "Firefox", etc. is a tool for helping to become a creator for users who have come into contact with Internet culture from smartphones and mobile terminals Android version "Webmaker"Has been released.
Mozilla Webmaker, Meet the World | The Mozilla Blog
https://blog.mozilla.org/blog/2015/08/17/mozilla-webmaker-meet-the-world-2/
Webmaker - Android application on Google Play
https://play.google.com/store/apps/details?id=org.mozilla.webmaker
Mozilla is worried that users touching the Internet with smartphones and other mobile terminals earlier than PCs are in a position of "read-only" where they are passively consuming content and are not actively involved. Therefore, from the philosophy that the web will be a better place by equally contributing to everyone by creating a business opportunity by standing in the position of a creator, not a consumer, that this "Webmaker" was released That's it.
I actually installed it on Nexus 6 and tried using it. First, install from Google Play.

Tap "I agree"

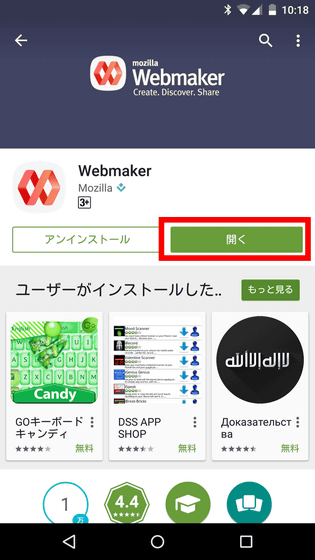
Tap "Open".

Since user registration is necessary for the first time, enter the user name, e-mail address and password displayed as the creator of the published content and tap "Join Webmaker".

If you log out, enter your user name and password and tap "Sign in" OK.

The screen is very simple, it is divided into "DISCOVER" tab where you can see what kind of contents are published, and "MAKE" tab which makes contents yourself. Tap the appropriate content displayed on the DISCOVER tab ......

You can read the contents. This is "tie the tie", first tap "Let's start".

Since there is an explanation for each stroke, tap "Ok, Then?" Button to proceed with reading ...

I finished tying a tie on the last page.

On the "MAKE" tab, you can make your own content. Tap "Create a Project".

Content consists of one or more pages, and the position of the page can be connected anywhere in the vertical or horizontal direction. First tap the pen icon to make the first one.

Tap the "+" icon here ...

Three kinds of icons appeared. The icon labeled "Aa" inserts a character, the camera icon inserts a picture, and the icon on the top right shows the button inserted.

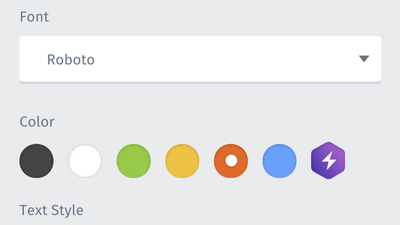
For example, if it is a letter, you can easily change the content, font, color, style (bold, italic, underline) of text in this way.

Three kinds of font "Roboto" "Bitter" "Pacifico"

There are six kinds of default colors, and when you tap the rightmost icon ......

You can choose your favorite color.

Similarly, you can change the character string, the link destination, the roundness of the corner, the font, and the background color.

When the background color is light, the text changes to black, and when the background color is dark, the character automatically changes to white.

You also set the link destination you want to fly when you tap the button yourself like this.

Since pages do not necessarily have to be connected in one direction, it is OK even if they are bent into L shapes like this.

You can see in which direction the page is connected by the arrow displayed on the screen. It's kind of you to click on the button to proceed and read, but it's OK to swipe to read the style. It depends on the creator as to what to show.

By the way, each content isCreative Commonsof"CC BY-SA 3.0It will be published in.

Returning to the "MAKE" tab, I looked at the individual menus of each project, but with "Share" and "Delete" only, the item "Keep it undisclosed as it is in the draft stage" There was no. Apparently, everything saved seems to be public.

Related Posts:
in Software, Smartphone, Review, Posted by logc_nt


