Google's official camera application "Google Camera" that enables you to power up smaho cameras for free and bokeh-like fish-eye lens - 360 degree panoramic shooting
You can create a 360 degree panoramic image and publish it to Google MapsPhoto SphereHas been available only for some compatible terminals such as Nexus 5, but Google's precious camera application "Google Camera"By the advent of Android 4.4 (KitKat) installed on any terminal can be installed. So, I tried the Google camera function which can easily take not only the photo sphere function but also a picture with a shallow depth of field like the one photographed with a single lens reflex, a panoramic photograph, a fisheye photograph etc .
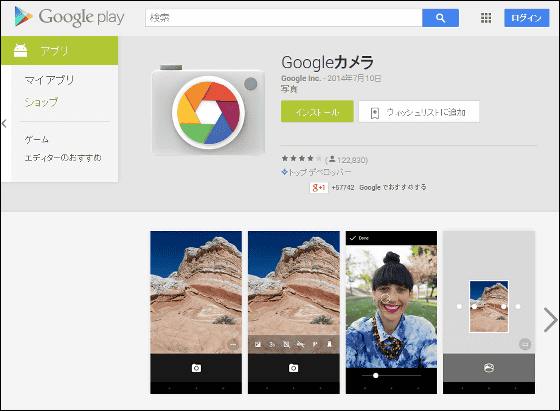
Google Camera - Android application on Google Play
https://play.google.com/store/apps/details?id=com.google.android.GoogleCamera
◆Installation
The application "Google Camera" can be used on Android 4.4 (KitKat) -stored terminals. This time, I updated to Android 4.4.2Galaxy S4I tried Google Camera using.
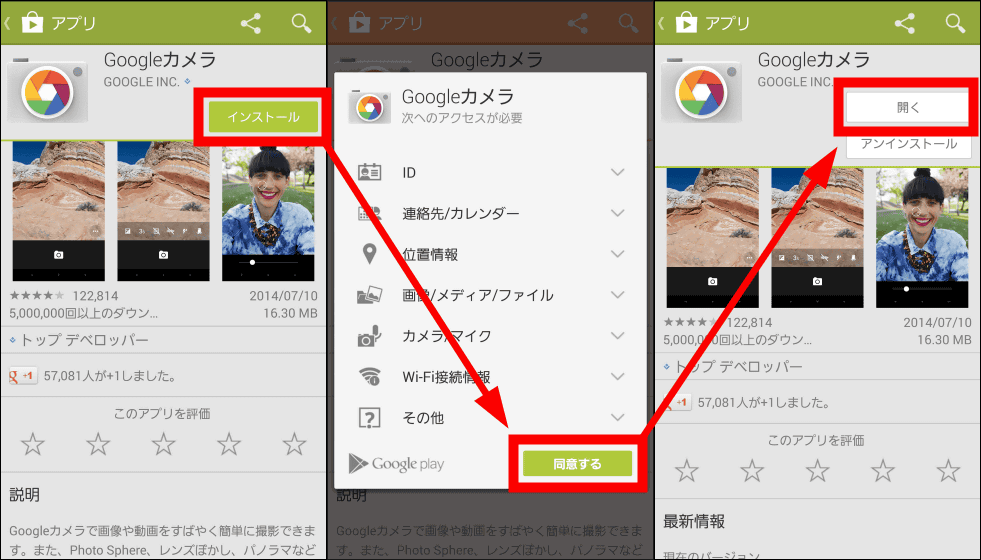
On Google Play "Google CameraSelect "Install" -> "Accept" -> "Open" to install and launch the application.
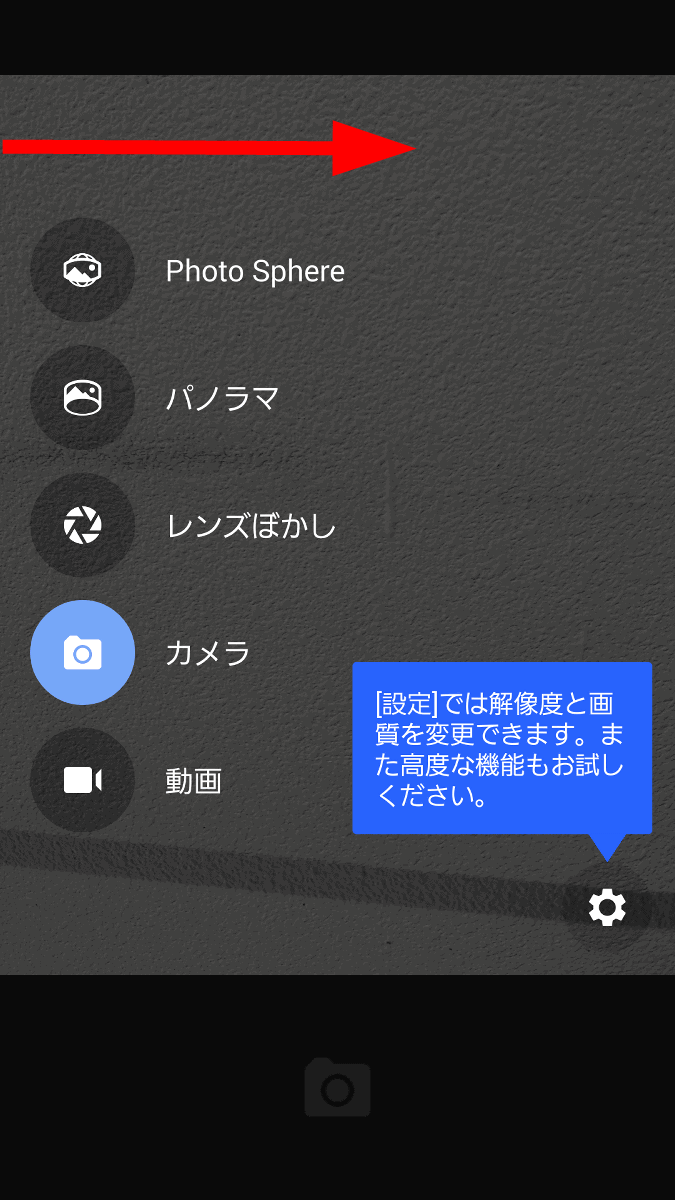
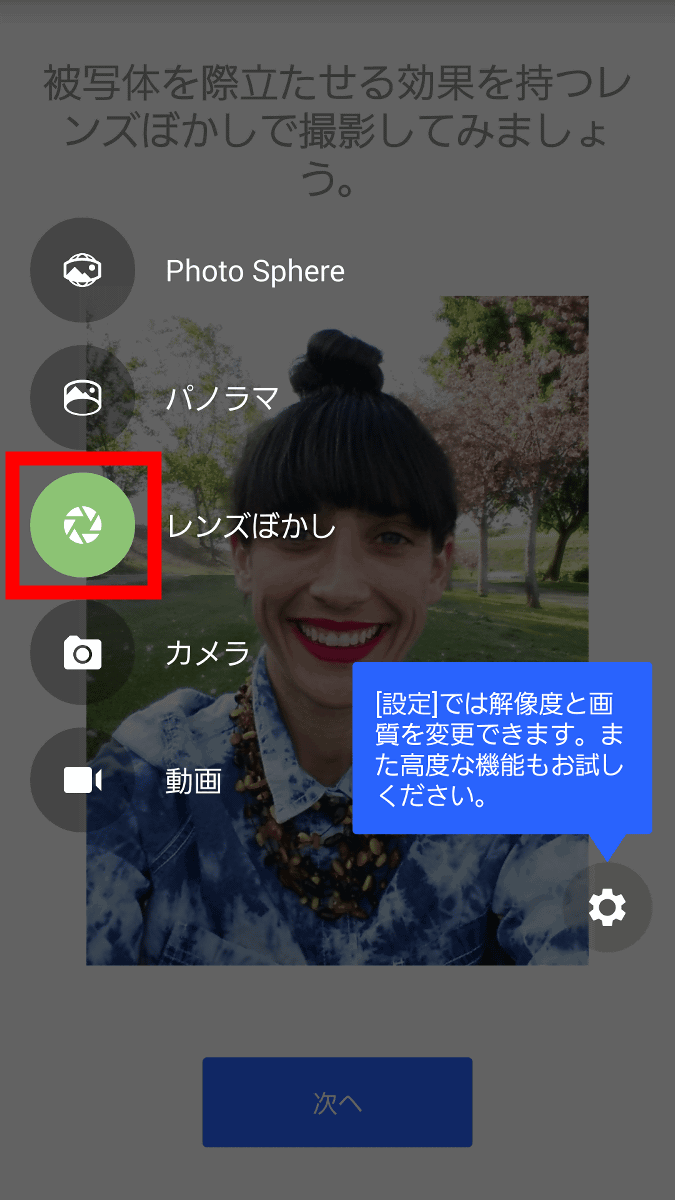
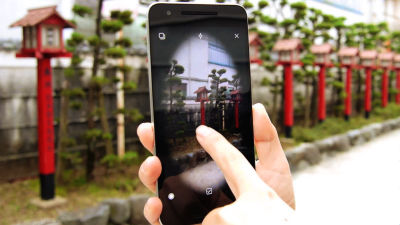
Launch the Google Camera application and the camera screen will start up. If you swipe the left part of the screen to the right here, the icons "Photo Sphere", "Panorama", "Lens Blur", "Camera" and "Movie" will appear, so it is OK to select the mode you like and switch.
◆Photo Sphere
First, tap "Photo Sphere" and start up the camera in Photo Sphere mode.
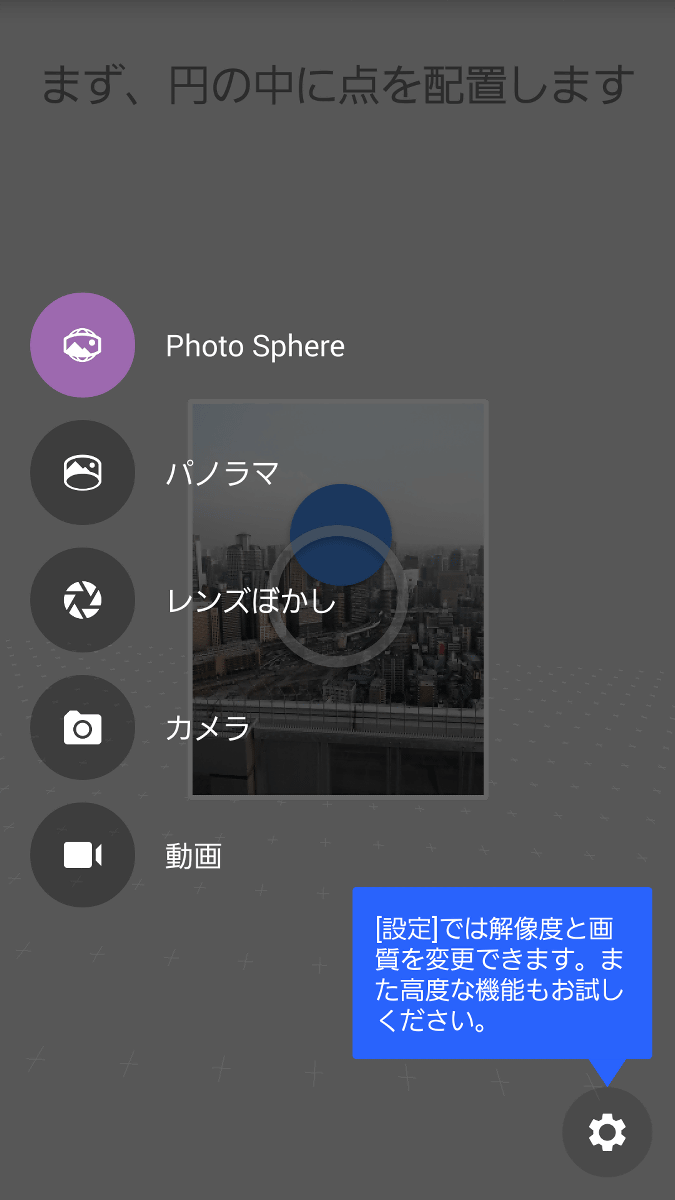
The tutorial will be launched when you first use it. A point to shoot well that "Keep the terminal position and rotate the terminal as its axis". While checking the explanation, tap "Next" and tap "OK" at the end to use Photo Sphere.

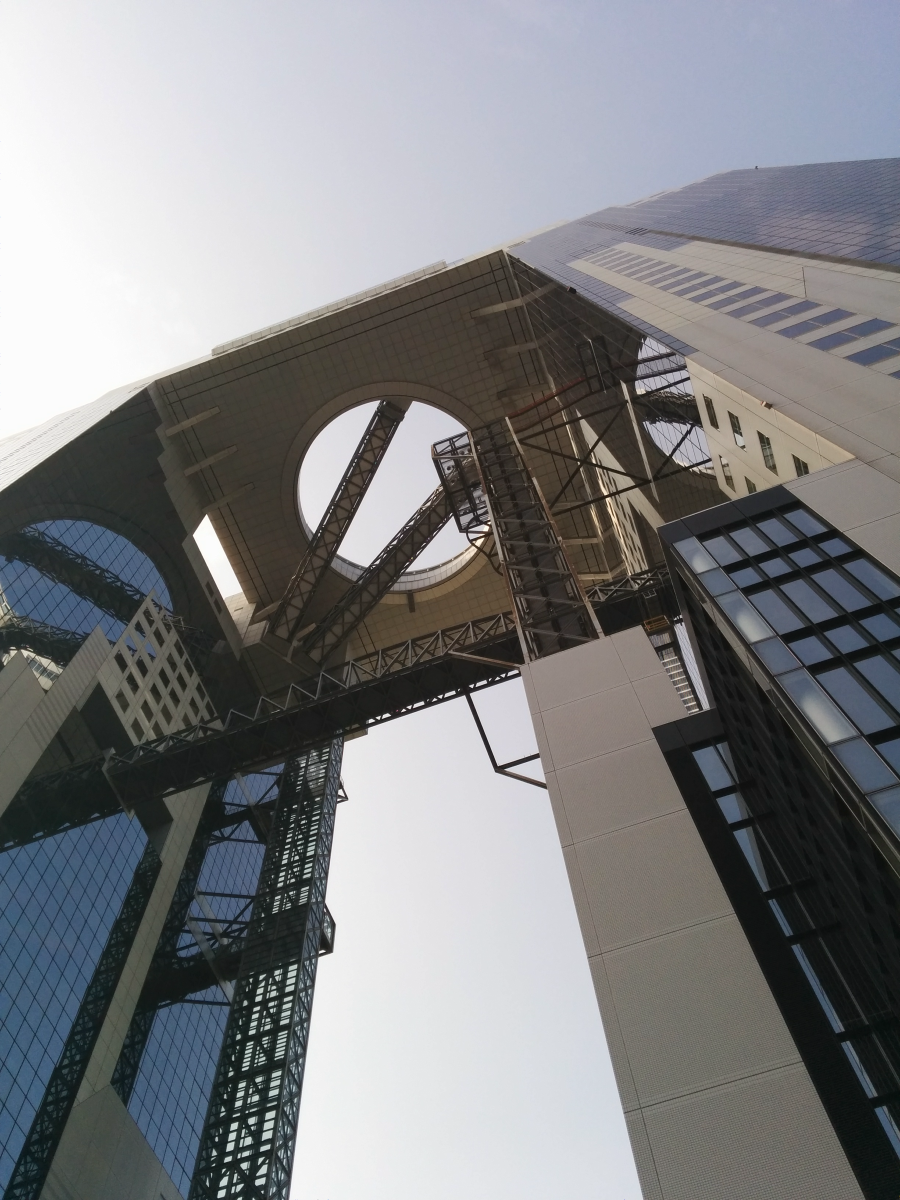
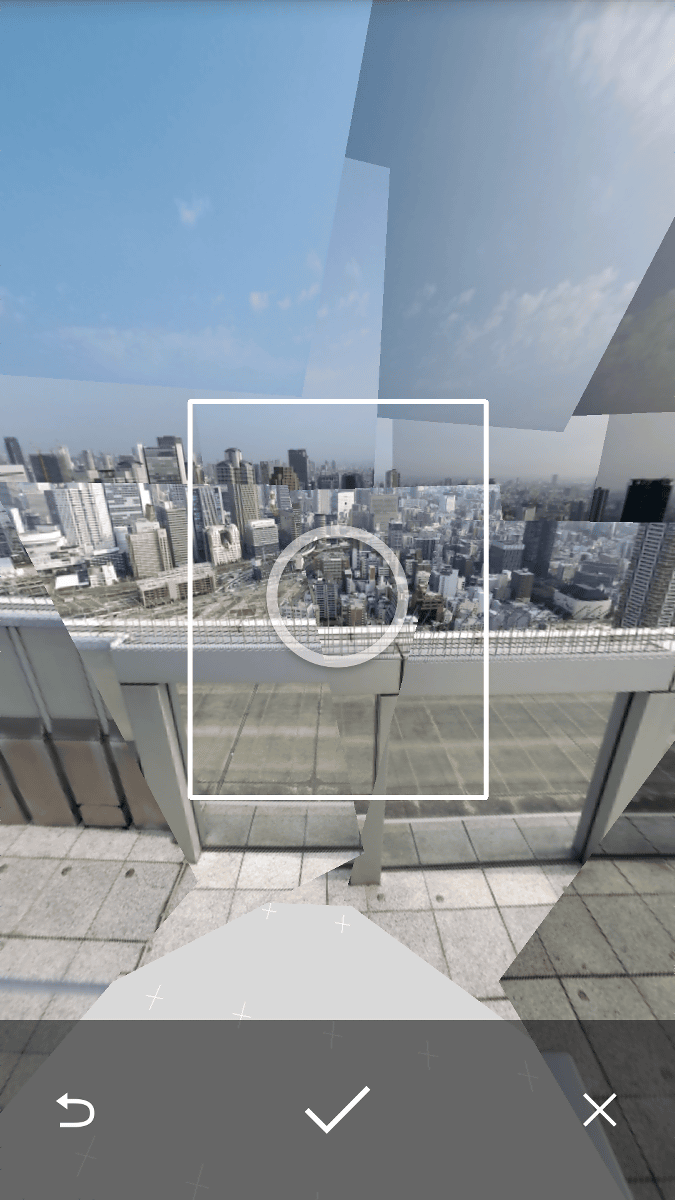
To take a photo sphere photo,Umeda Sky BuildingI went to the air garden.
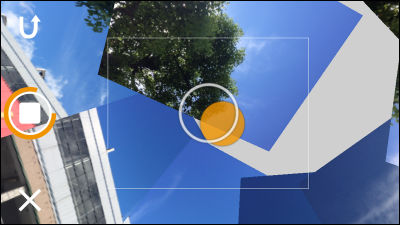
Launch the camera in Photo Sphere mode.

If you turn the camera to point to ○, the shutter will automatically shut off and the photos will be taken one after the other.
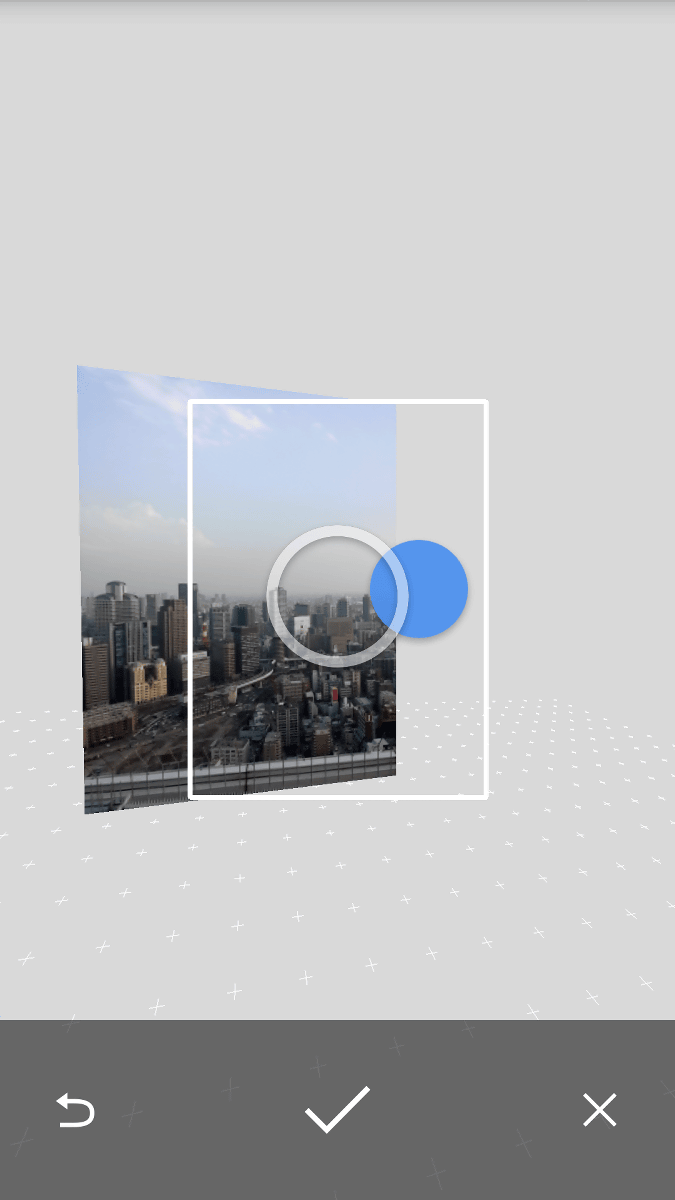
It is OK to take a round of the camera and take 360 degree panoramic photos. You can also synthesize photos by tapping the check icon at the bottom of the screen without connecting 360 degrees.
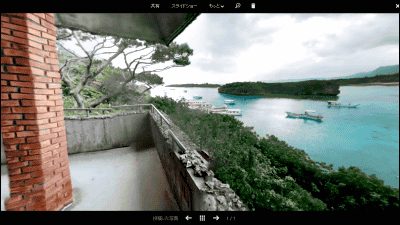
When synthesis is completed, a picture like this looks like this. To see photo spheres, tap "Photo Sphere" icon at the bottom of the screen and it is OK.

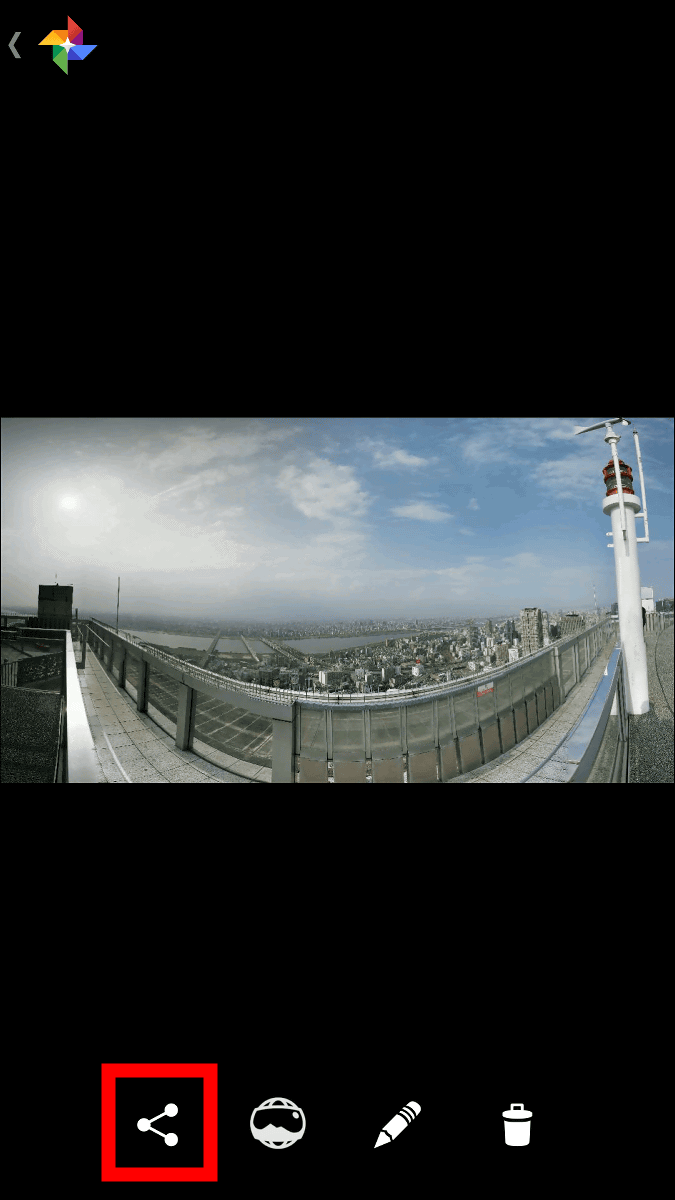
·Post to Google+
You can publish and publish your photo sphere on Google+. To post to Google+, touch the "Share" icon at the bottom of the screen.
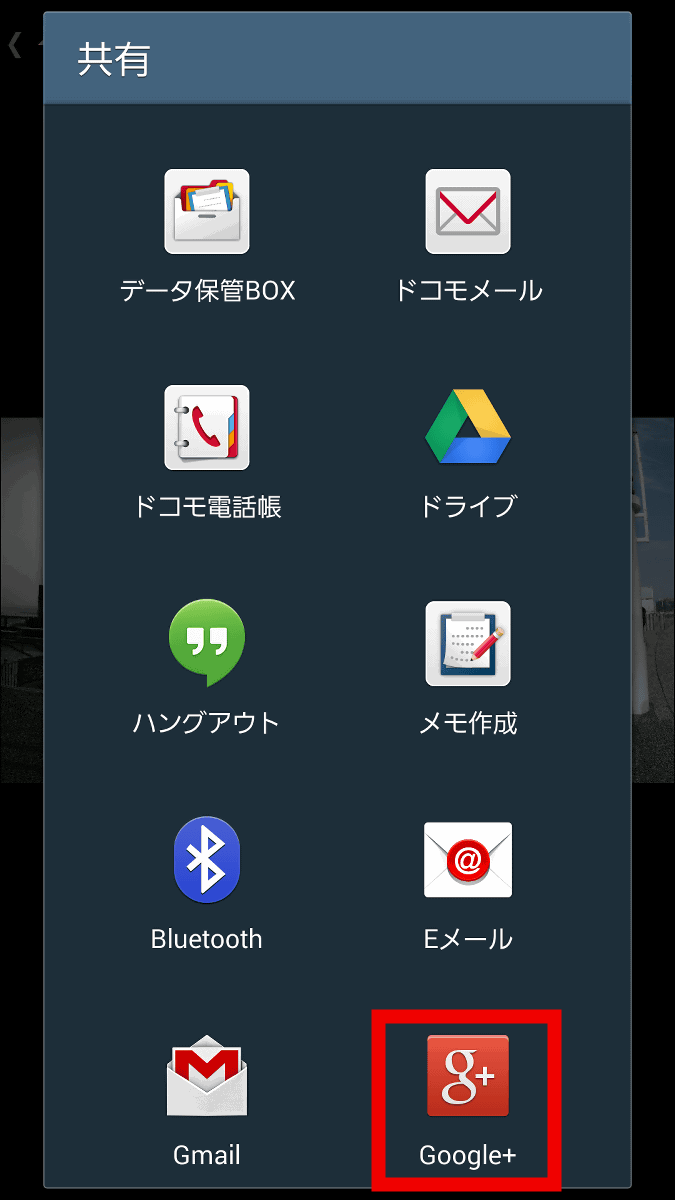
Tap "Google+".
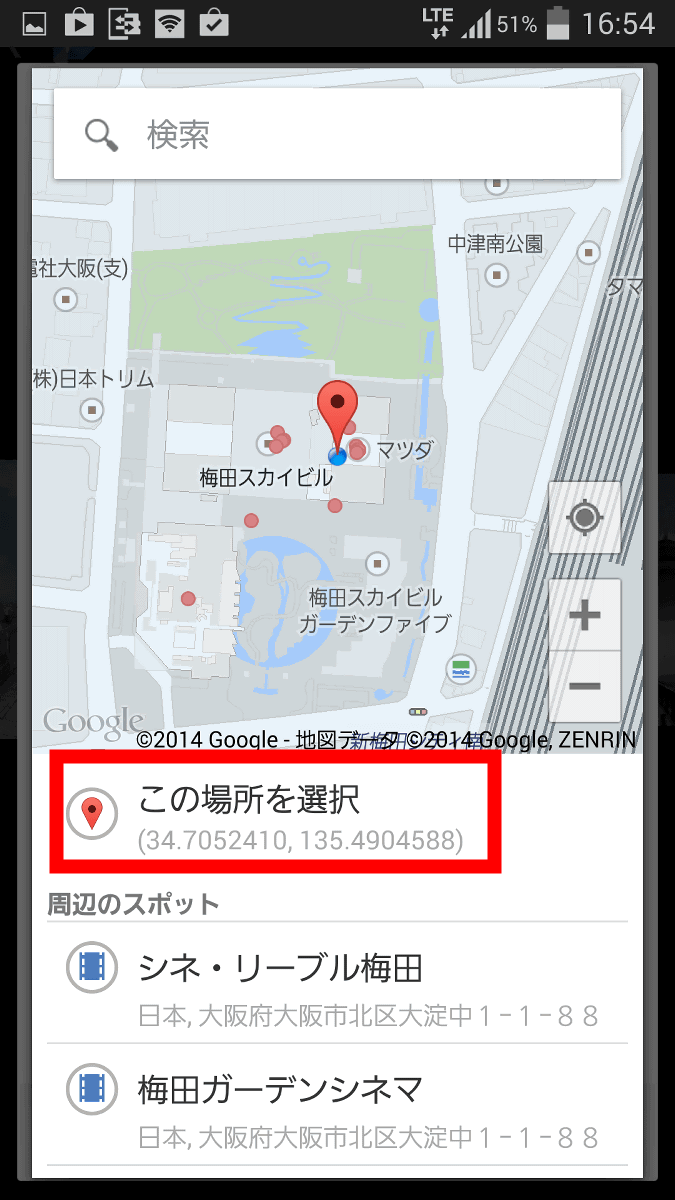
Later on, assuming that it will be published on Google Maps, it is better to add the location of the photo. Tap "Add place".
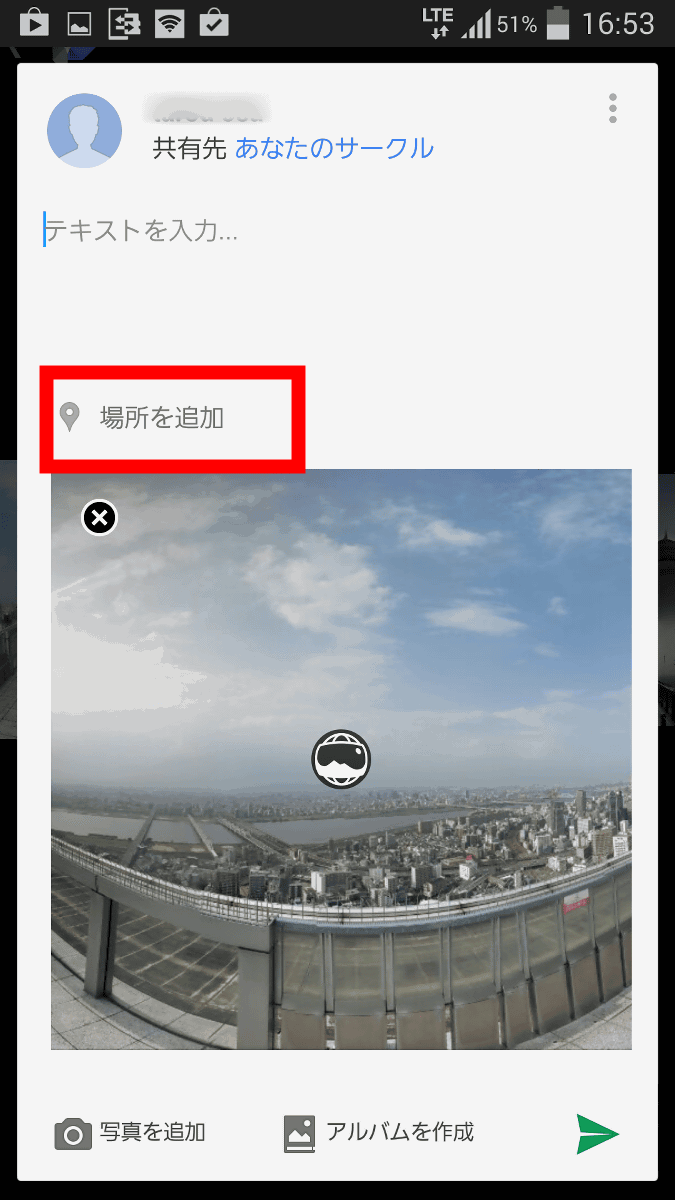
Tap "Select this place".
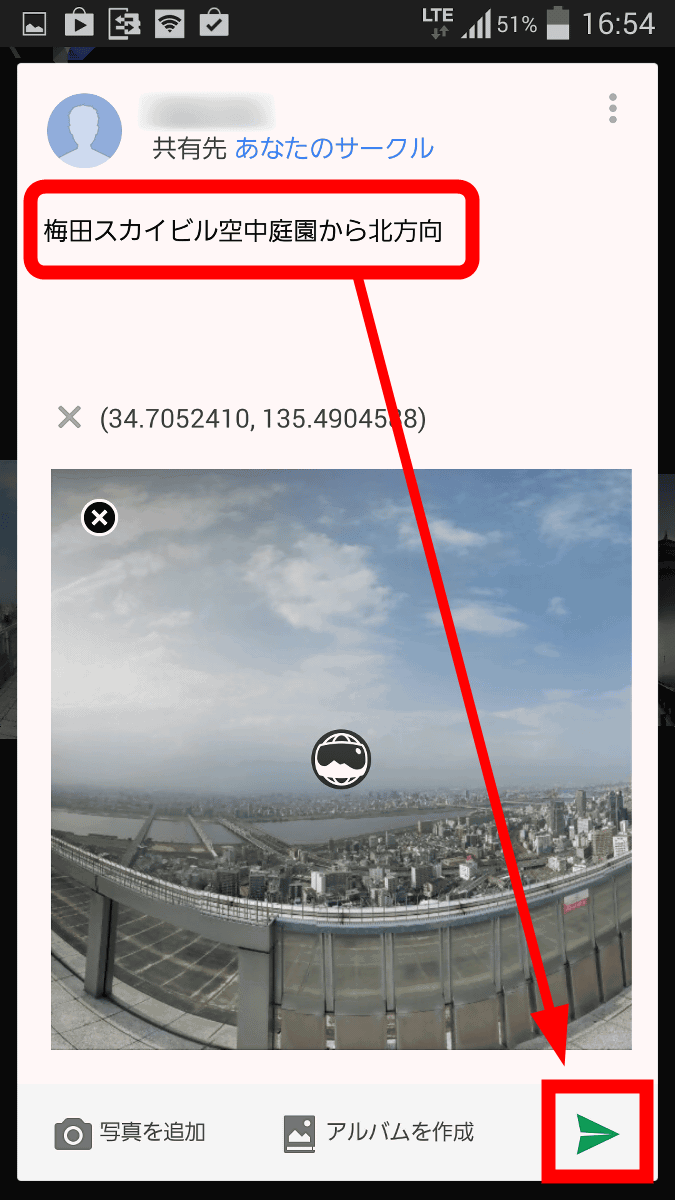
After entering the contents of the contribution, tap the "paper airplane" icon to finish posting to Google+.
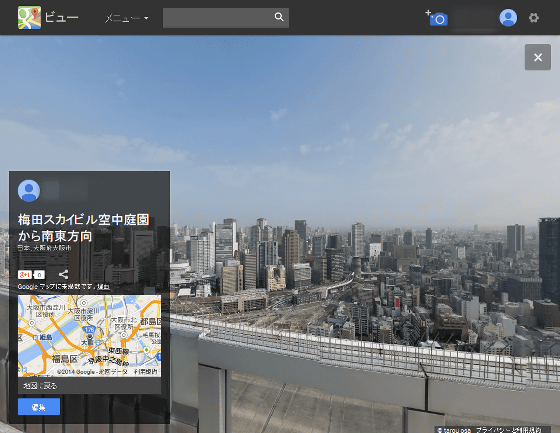
This time, Photo Sphere you submitted to Google +This pageIn can be confirmed.
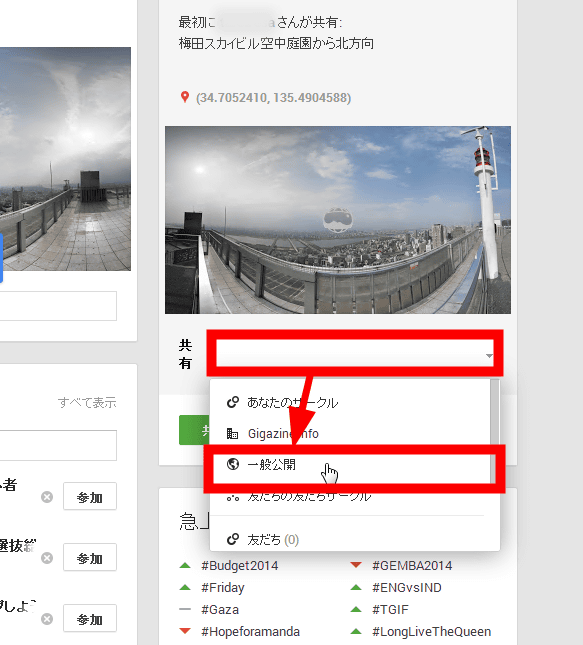
·Apply for release to Google Maps
It is also possible for people around the world to see photos taken with Photo Sphere on Google Maps. In order to make an application for publication to Google Maps, we first make the photo of Google+ Photo Sphere public.
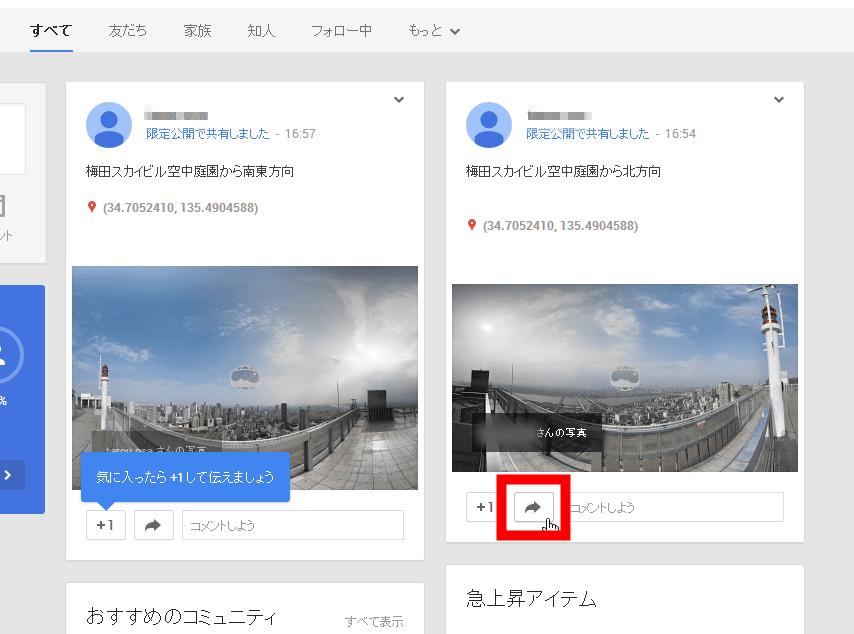
Click the "Share" icon at the bottom of Google+ posting page on the PC site.
Click the "Share" tab and select "Public Public" OK.
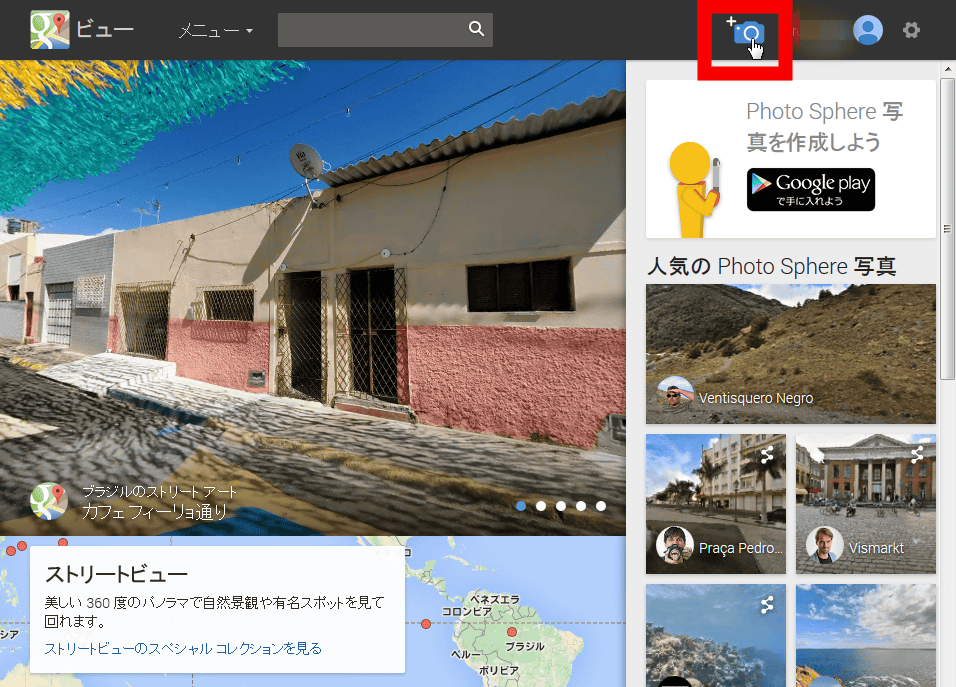
nextWith Google+ logged in,thispageAnd then click the "camera" icon on the screen.
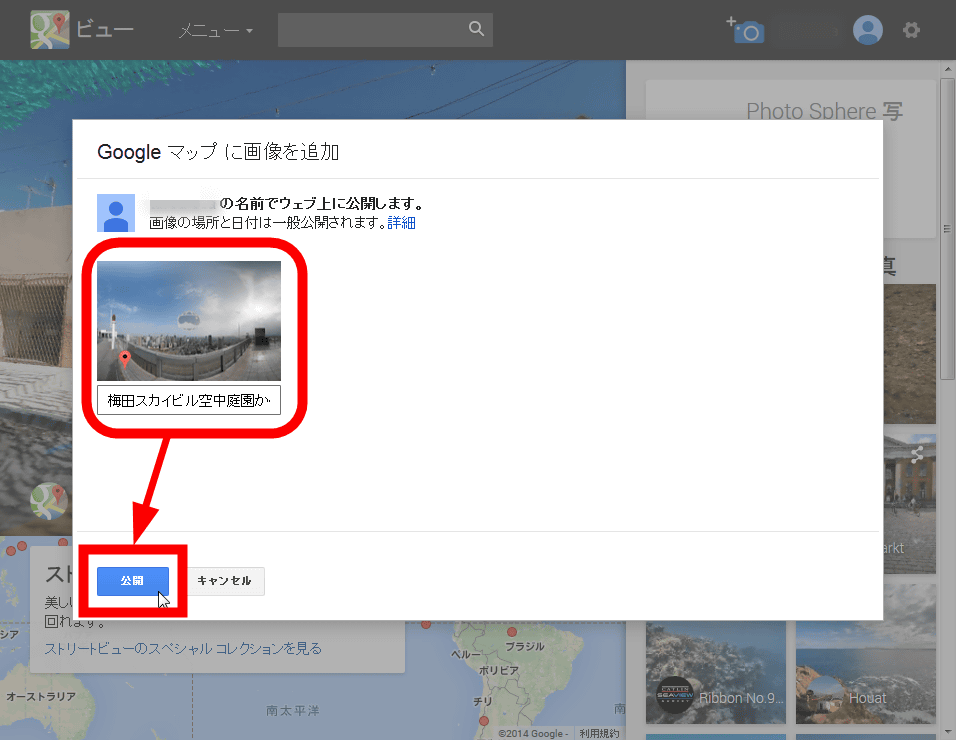
Click on the photo sphere image that you made public setting and click the check, then click "Select".

Confirm that the image has been added and click "Publish".
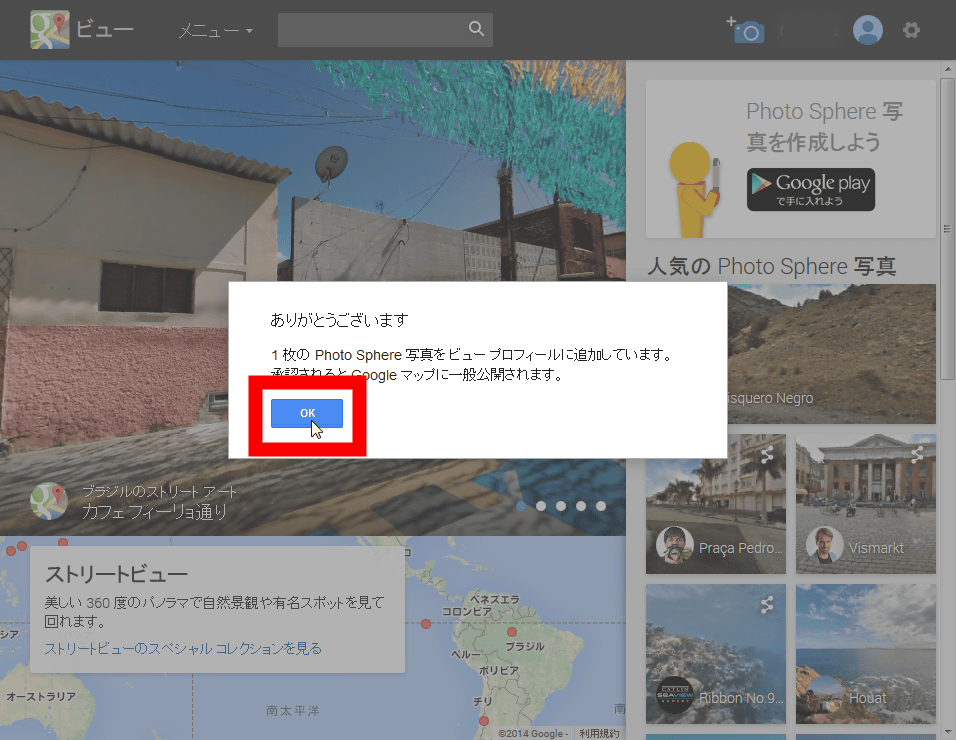
When the window "Congratulations" comes up, the application to Google Maps is completed. After the review, if there is no problem it will be sunny and will be visible to people all over the world. Please be aware that at the time of article creation, Photo Sphere photos posted on Google Maps are only 360 degree photo spheres, so be careful.
◆Lens blur
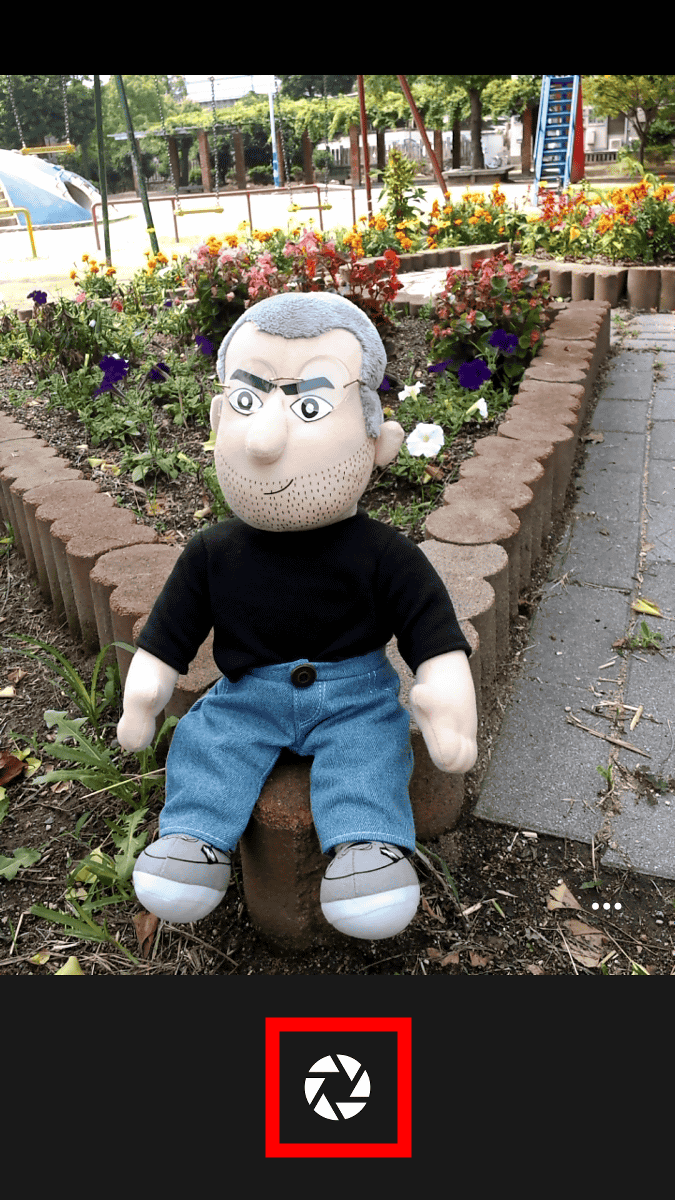
Focusing on people only and blurring the background Although photos are often used in portrait photography, you can easily take pictures of the background with smartphones by using the "lens blurring" mode of Google Camera. First, tap "Lens Blur".
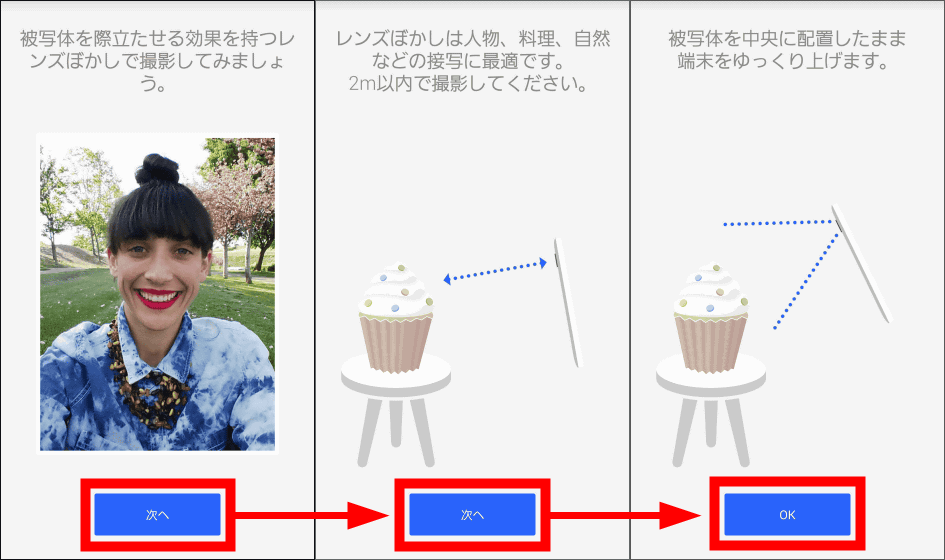
The tutorial starts. The point is that the subject is within 2 meters, and the terminal is slowly raised with the subject in the center.
Let's take a picture with a blurred background. Tap the shutter icon at the bottom of the screen in the lens blur mode.
The message "It will slowly raise the terminal with the subject in the center position" is displayed, so lift the terminal upward.
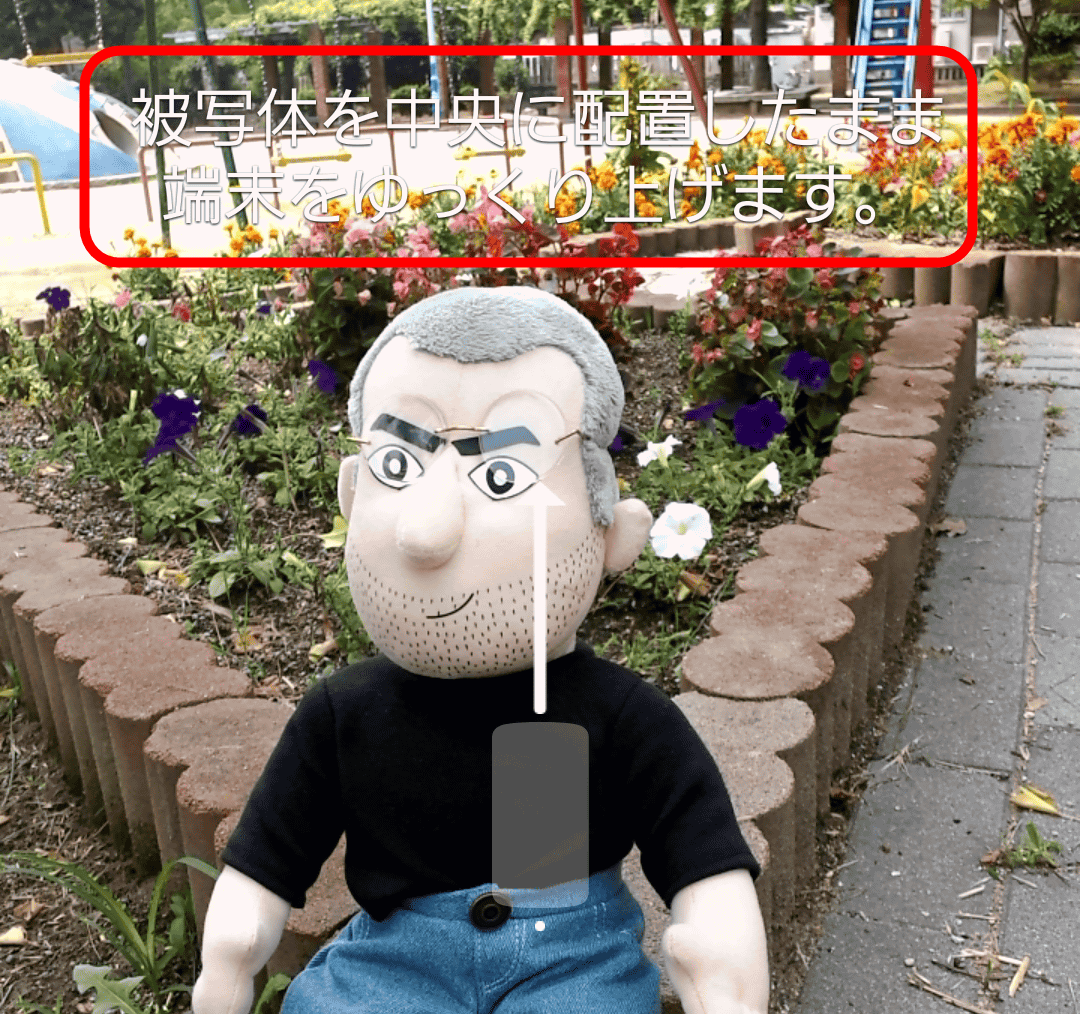
As the lifting speed is fast, it is warned that "the movement of the terminal was too fast", so it is a key to lift it slowly.
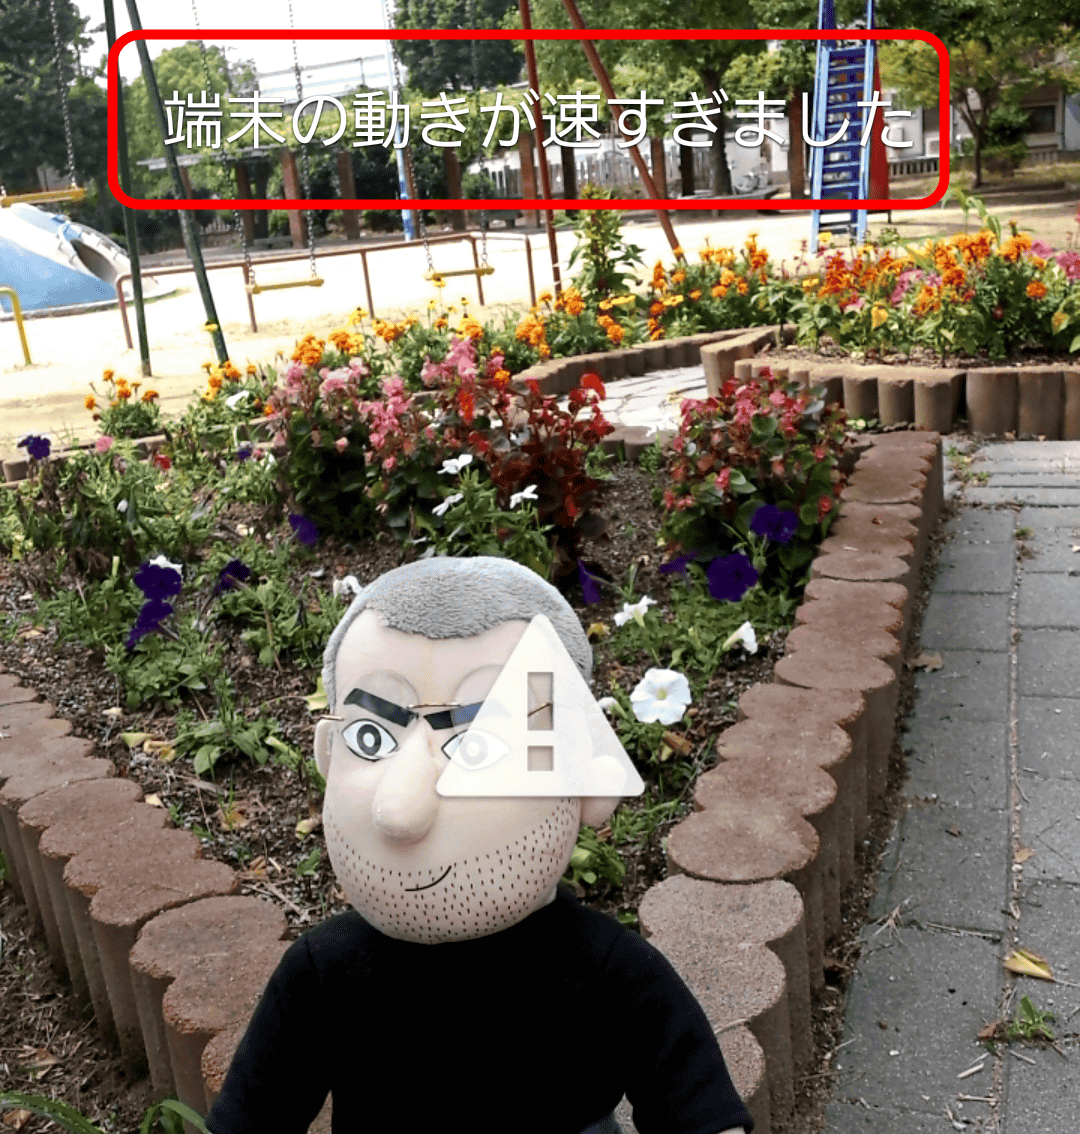
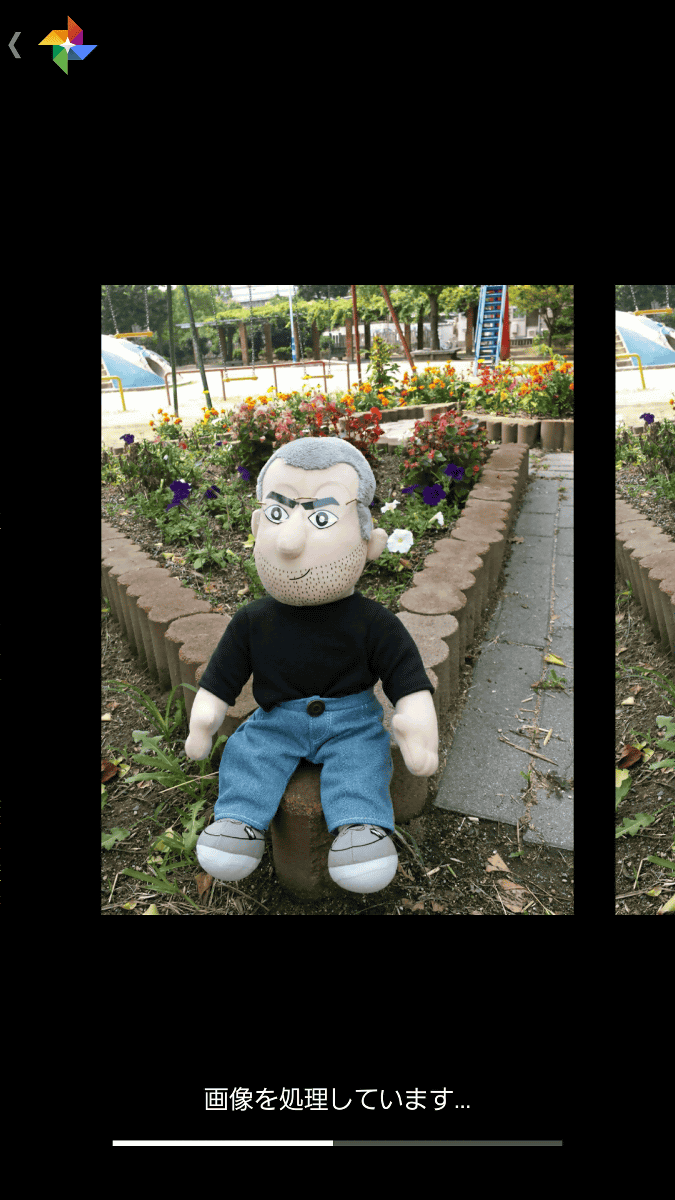
Image processing starts automatically when the terminal is lifted, so if you wait for a while ...
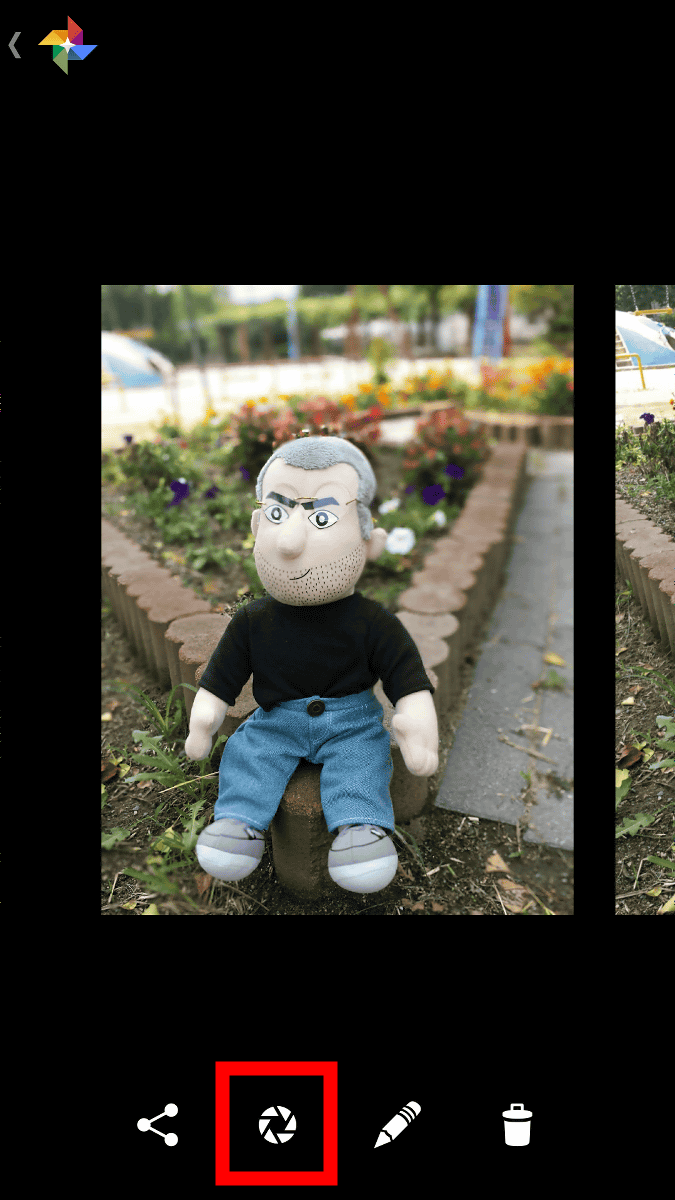
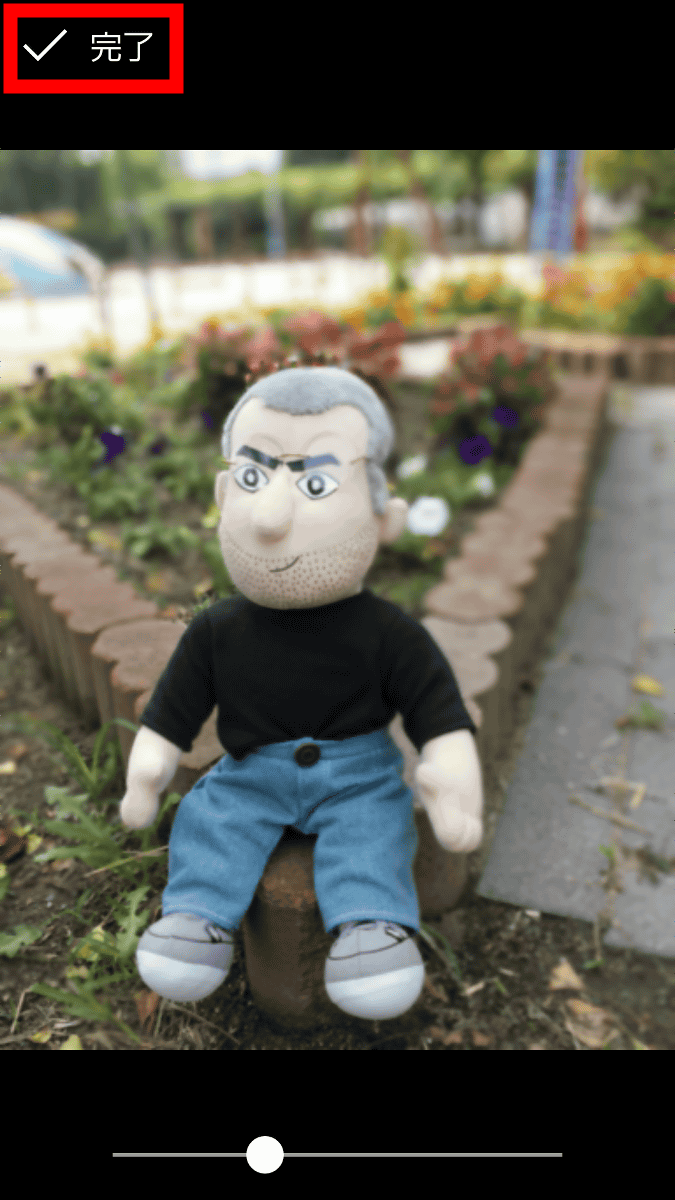
A finished picture with a background blurred like this. If you do not like the blurred taste, you can tap the shutter icon to fix it.
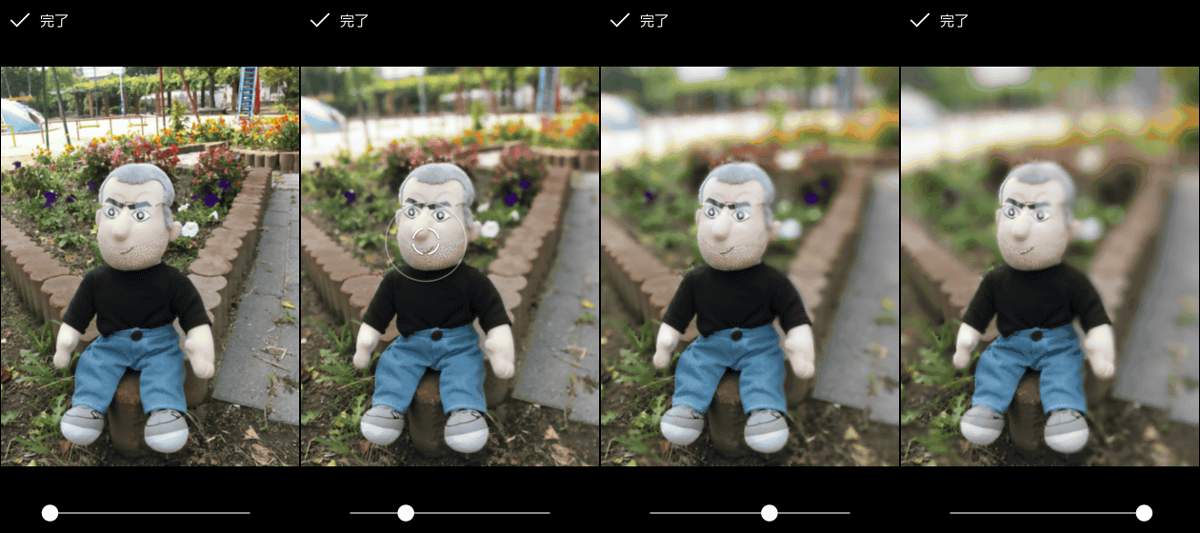
You can adjust the degree of the blur of the background by moving the seek bar at the bottom of the screen left and right. The seek bar gets blurred as it goes to the right, so while adjusting it ......
Tap "Finish" on the screen where you became a favorite blurred condition.
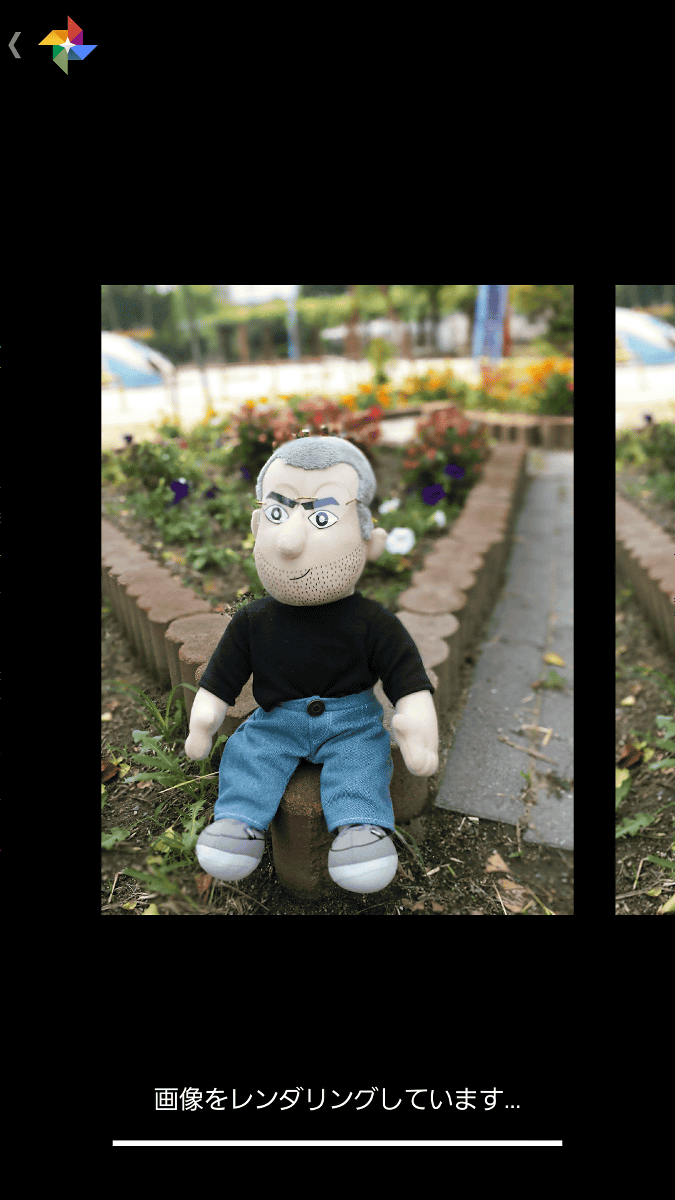
Since image rendering starts, wait for a while ......
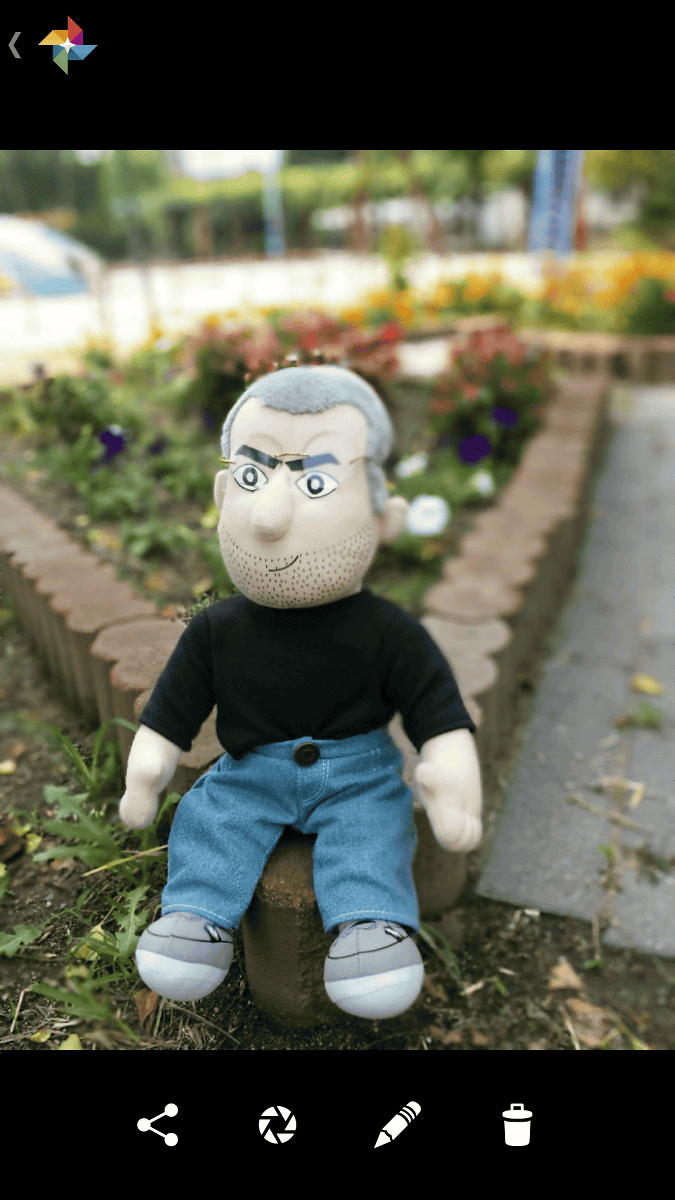
The blurred image of the background has been completed.
◆Panorama
Panoramic shooting is also available with Google Camera.

Panoramic photos are typically long horizontally pictures, but when you tap the icon at the bottom right of the screen ... ...
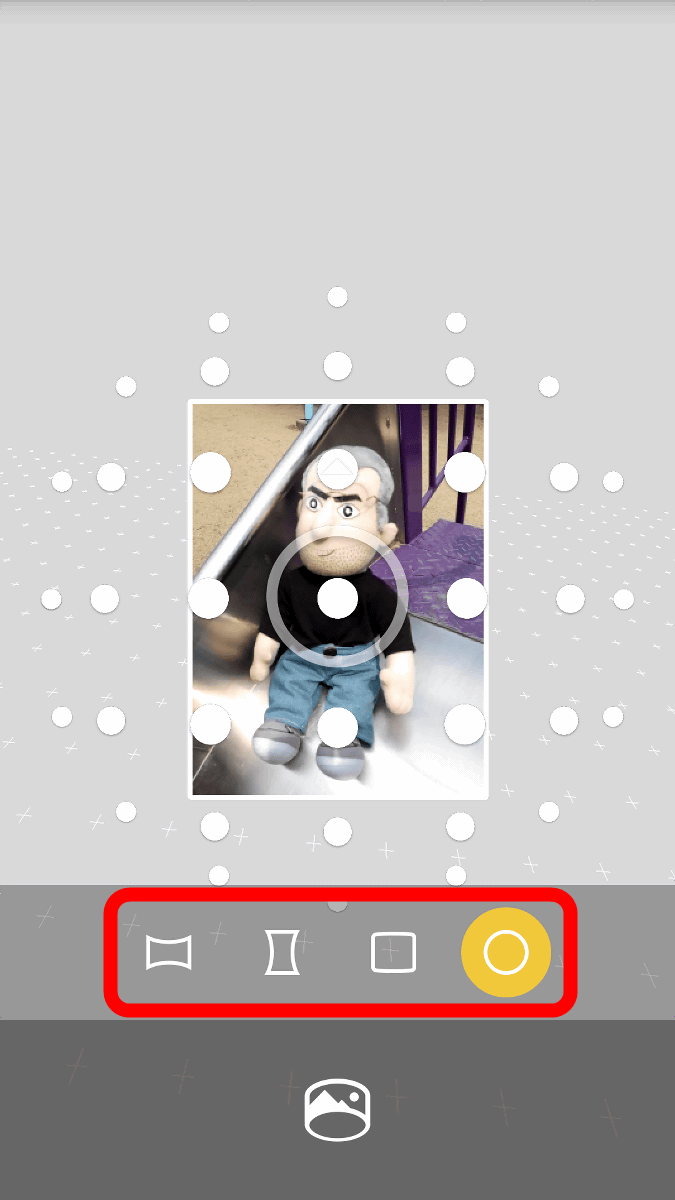
Icon will appear below. This represents "landscape mode", "portrait mode", "rectangular mode", "fisheye mode" from the left and you can shoot 4 types of panoramic photos.
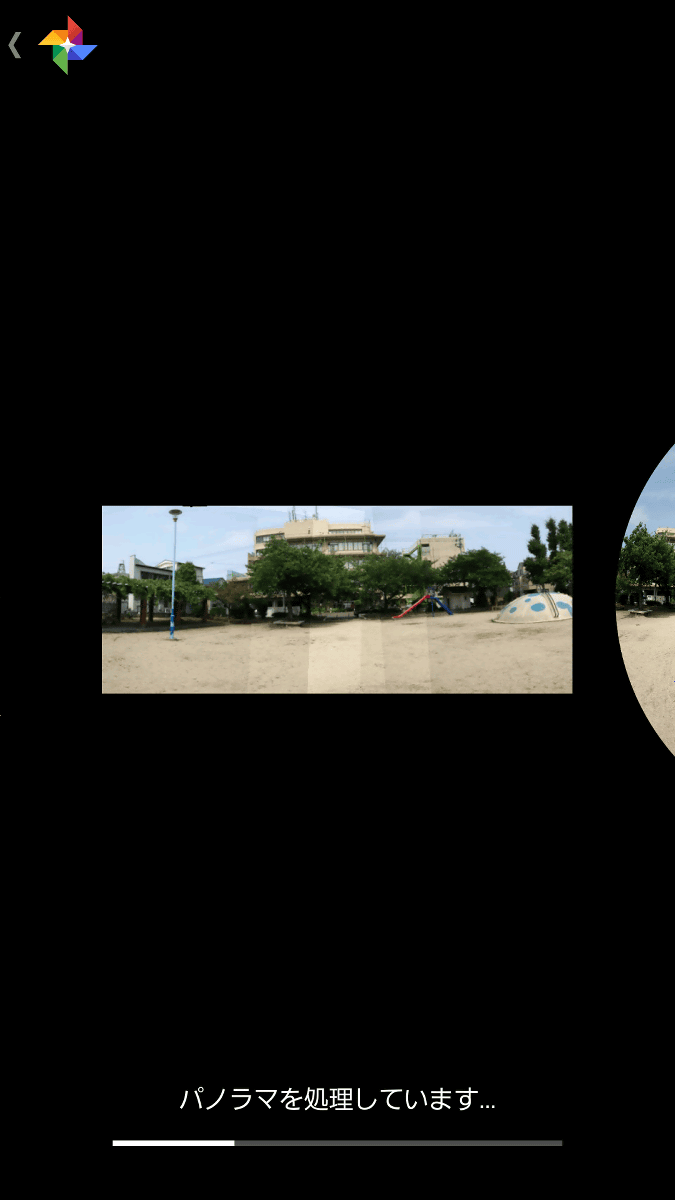
First of all, it is from a general landscape panorama shoot.
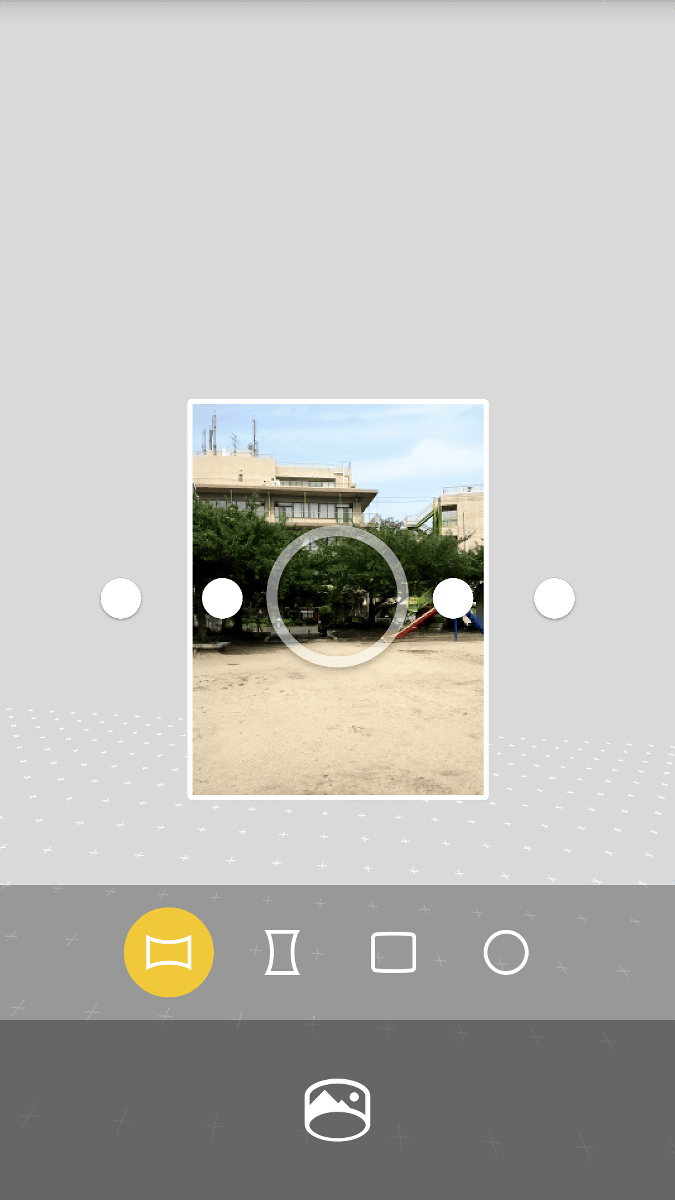
When you point the camera to ○ displayed on the screen, the shutter will automatically shut off, so shoot with Pasha Pasha.
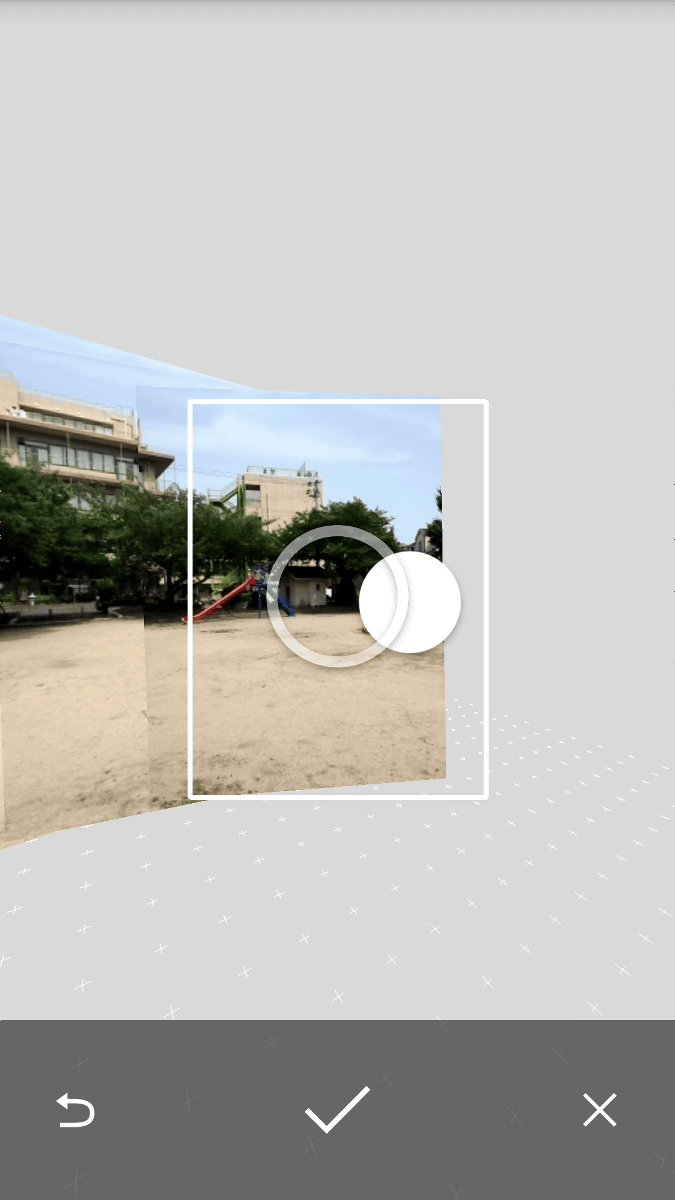
Move the camera left and right and tap the check icon at the bottom of the screen when shooting is completed.
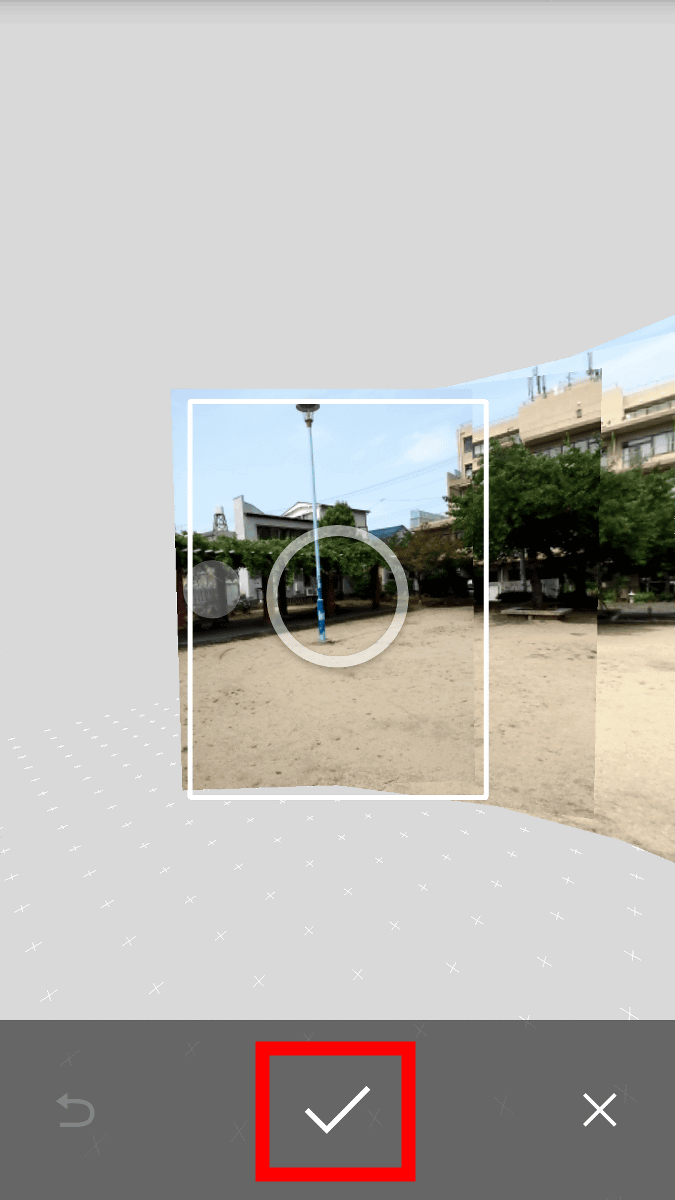
"Panorama is being processed ..." is displayed and waits for a while.
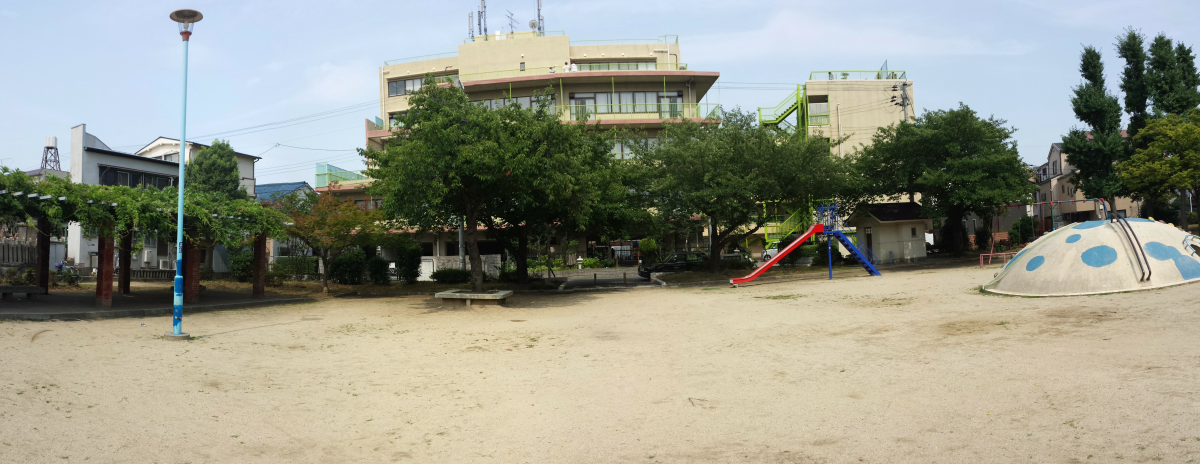
Such a panoramic picture of landscape has been completed with this feeling.
Next I will try a rectangle.
In the same way as before, move the camera according to ○, when 9 pictures are taken, processing starts automatically.
A large rectangular photograph is completed like this.
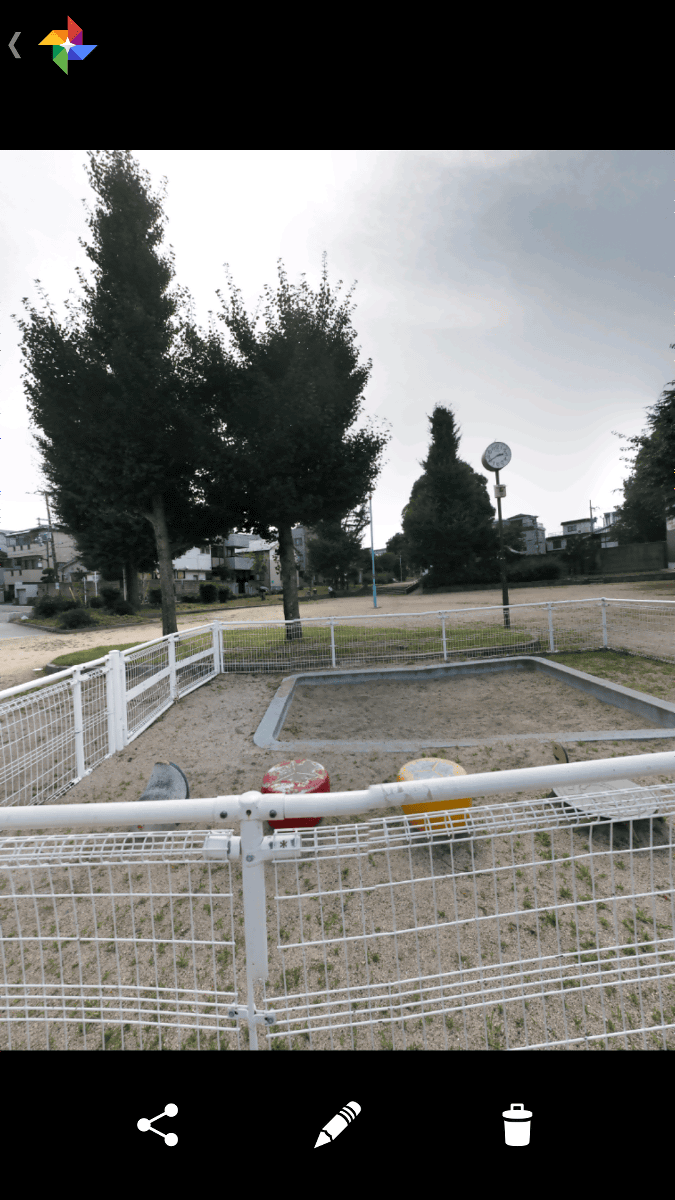
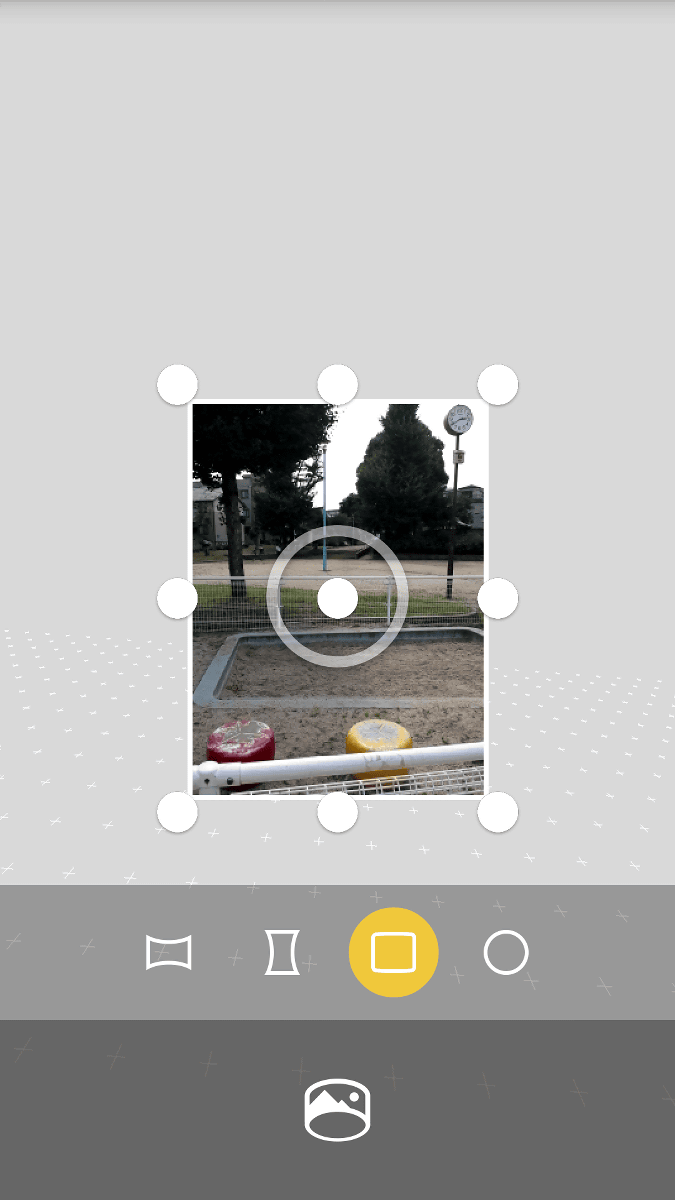
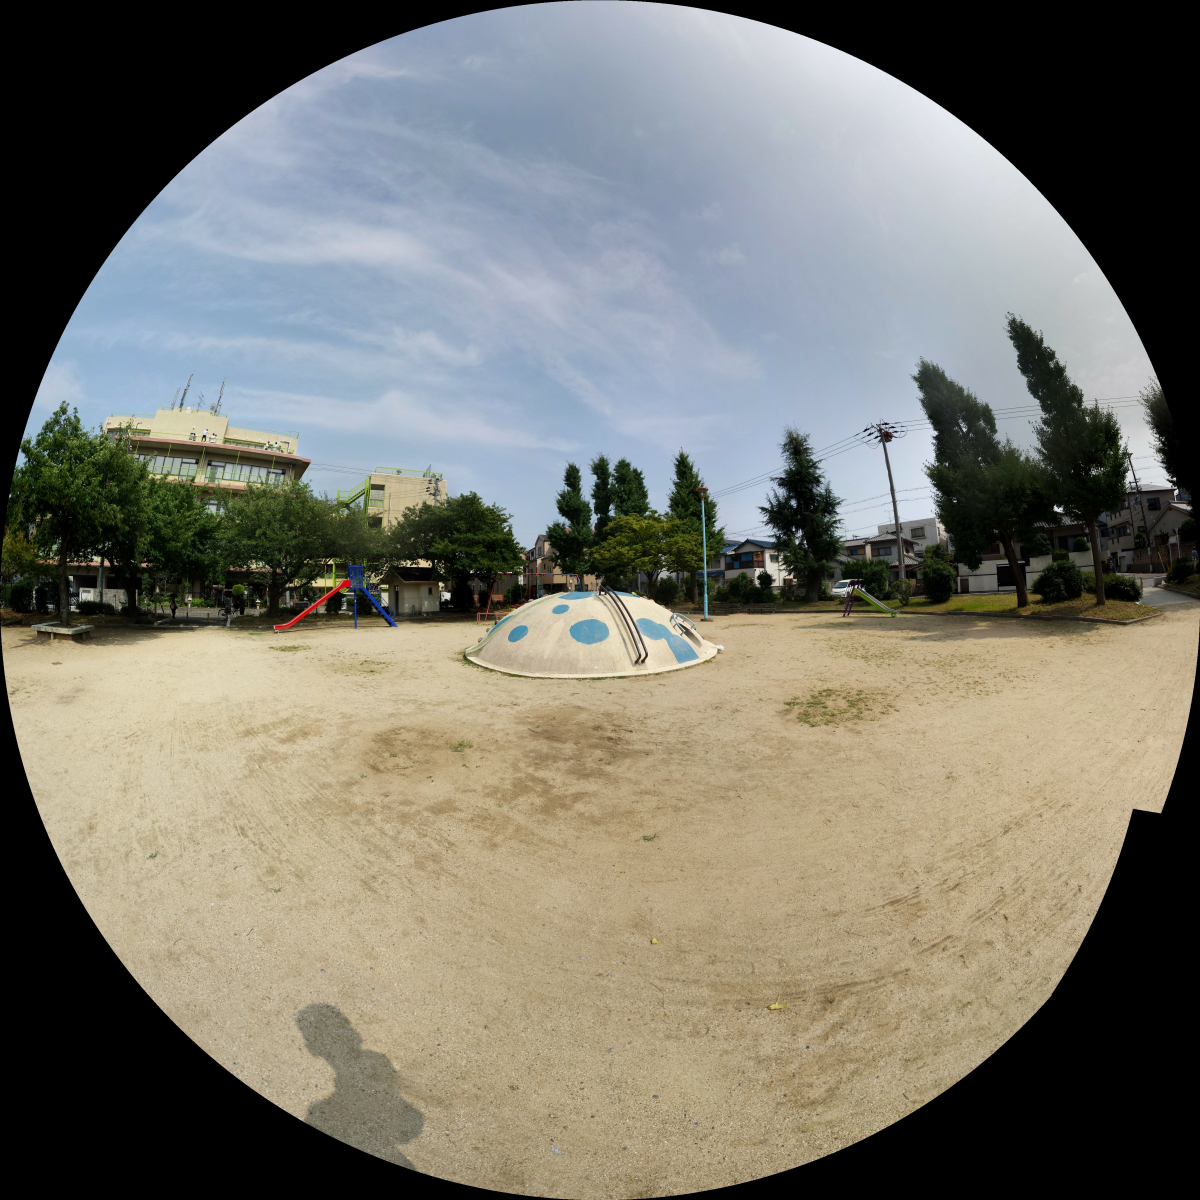
Finally challenge the fisheye mode. It is okay to shoot all these ○.

Tempo well Pasha Pasa.
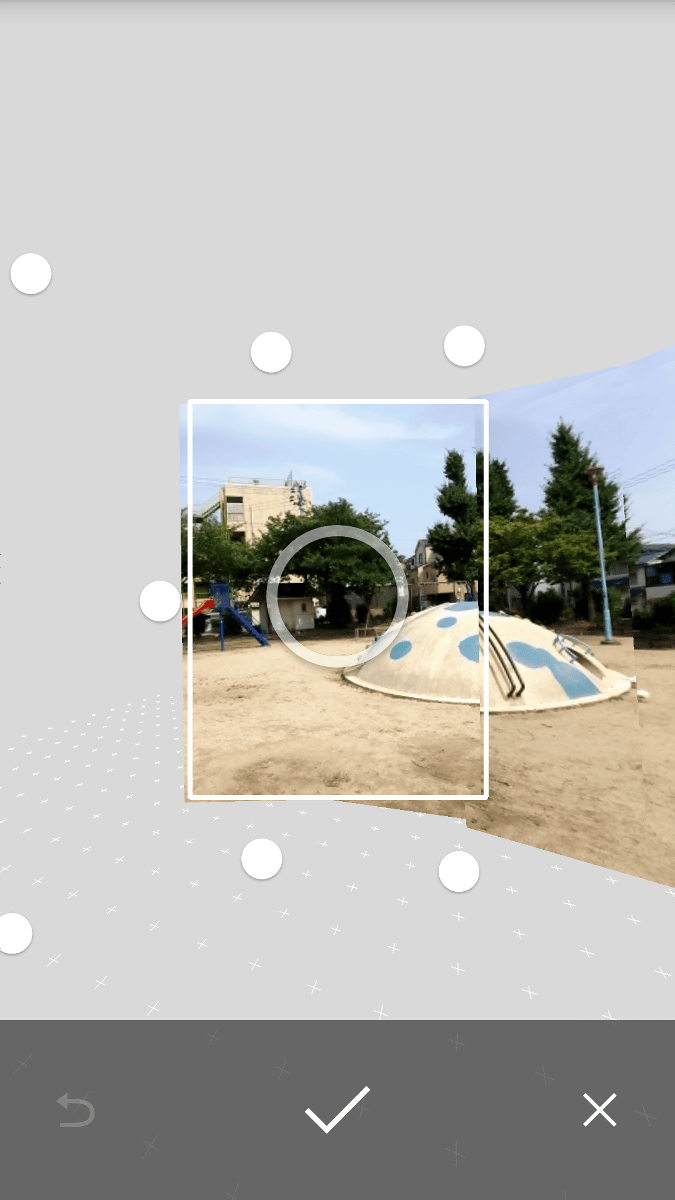
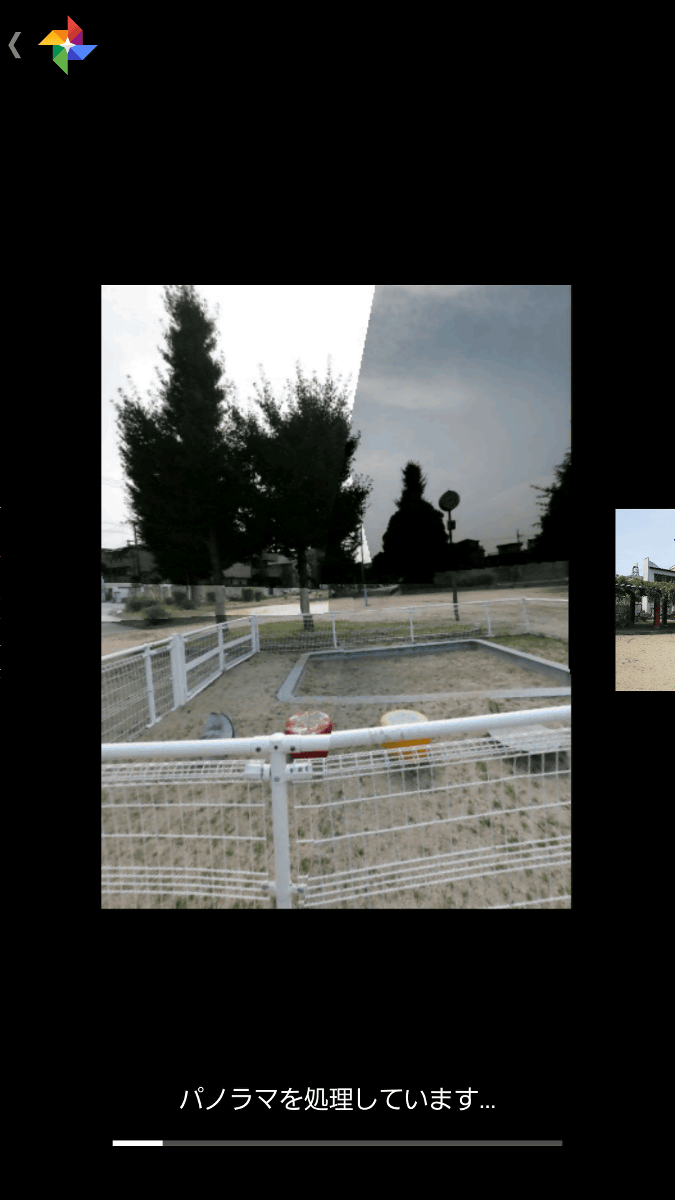
Because the number of photos to be synthesized is large, image processing requires the longest time so far.
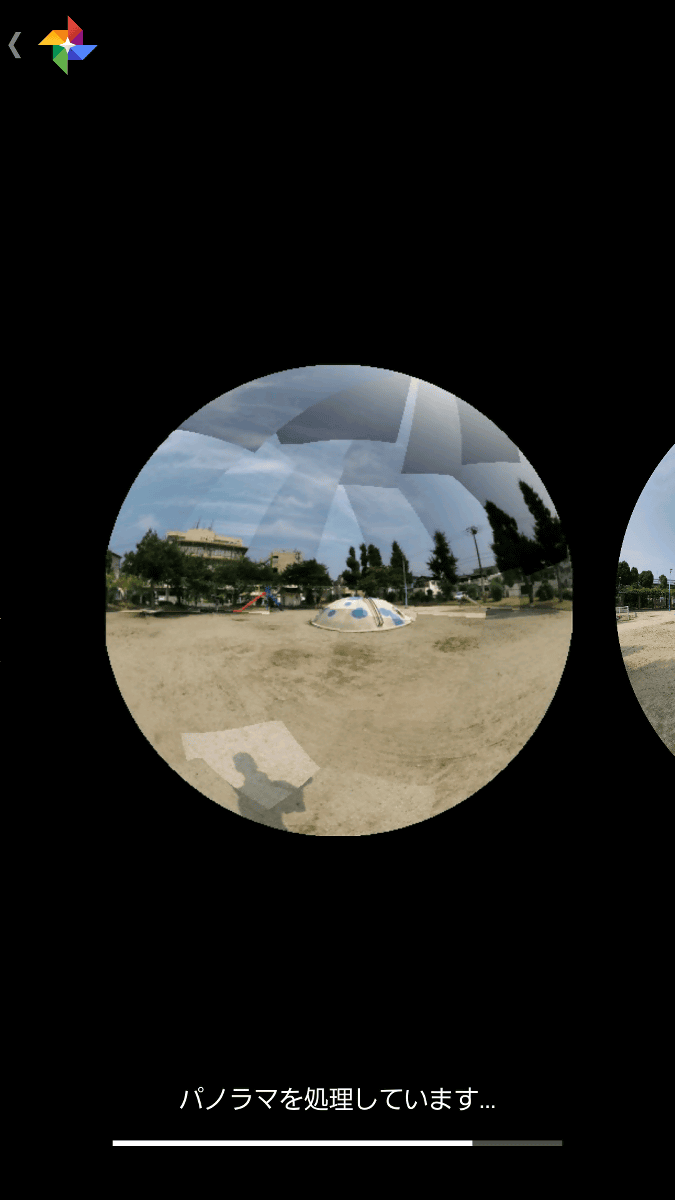
A little circle is not connected, but I was able to take a picture with a fisheye lens.
Although it is a smartphone camera that is already realizing the compact digital camera class image quality, using "Google camera", in addition to a single-lens reflex-like blur photo or a fisheye lens-like photo, 360 degree panoramic composition It was designed to be able to shoot funny pictures such as Photo Sphere pictures which are impossible with compact digital camera.
Related Posts:


in Software, Smartphone, Review, Posted by darkhorse_log