Wireless network camera "Camera first shot! HD" also has night vision mode and built-in temperature sensor so that you can watch video with smartphone
Easy initial setup that allows you to see the camera image from smartphone in less than 5 minutes after opening the box, multifunctional network camera with microphone · speaker · infrared human body sensing · night vision mode · built-in temperature sensor But"One camera shoot! HD"is. I tried to defeat actually use because it earnestly Incorporating the function of the extent of whether even this for the price of about 30,000 yen.
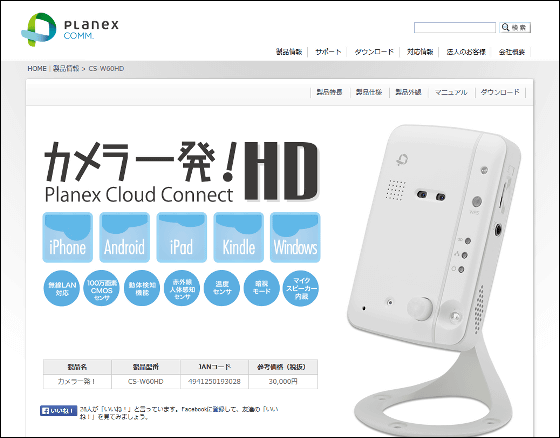
One camera shoot! | CS-W60HD | PLANEX
http://www.planex.co.jp/products/cs-w60hd/
◆ Photo review
One camera shoot! The HD package looks something like this.

In the box there is a warranty card · manual · ID / Password card · LAN cable · main unit · AC adapter.

This is one camera! The body of HD. There are three holes in the foot part that supports the main body so that it can be screwed.

Looking at the main body from the right side looks like this, there are microSD card slot and audio output terminal on the side.

There is only a hole on the other side.

The front of the main unit is like this, the hole in the front left is the speaker, the two black parts next to it are the cameras.

There is a power connector and an Ethernet port on the back from the left.

One camera shoot! The main body of HD is about the same height as the iPhone 5 and it is quite compact.

◆ Camera one shot! Connect HD to the network
Next, camera one shot! Connect this to the network so that HD video can be seen from smartphone and PC. One attached camera LAN cable! Plug in the HD Ethernet port ......

Connected to the Wi - Fi router used in the home. This time I use it in the editorial department of GIGAZINEAterm WG 1800 HPI will connect it.

And also an AC adapter ......

Install it.

If you connect the LAN cable and the AC adapter for about 1 minute, the Network light in the middle of the three lamps in front of the main unit lights blue, the Status lamp in the bottom lights red, this one camera shoot! Installation of HD is completed. Since it is only connecting the LAN cable and the AC adapter, if you are accustomed to such wiring work, the operation will be completed in less than 3 minutes.

◆ Connection from iPhone application
Next, install "iPod touch 1 camera!" Of the iPhone application and one camera from the smartphone! Set to view HD video.
One iPhone, iPod touch, one camera for iPad delivered on the iTunes App Store!
https://itunes.apple.com/jp/app/kamera-yi-fa!/id604696078
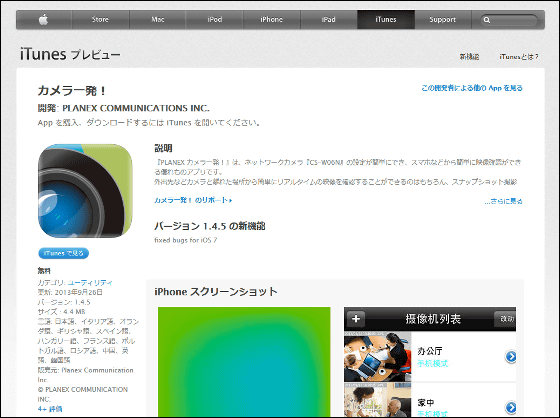
Applications can be installed free of charge from the App Store.
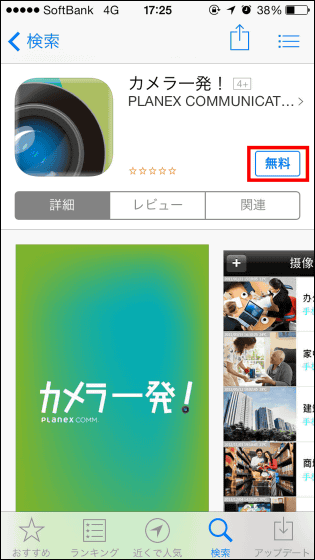
When launching the application, the screen is pure white at the first start and there is nothing. So tap the "+" icon at the top left of the screen.

Then this screen opens, so enter the camera name, camera ID, and password from the top.
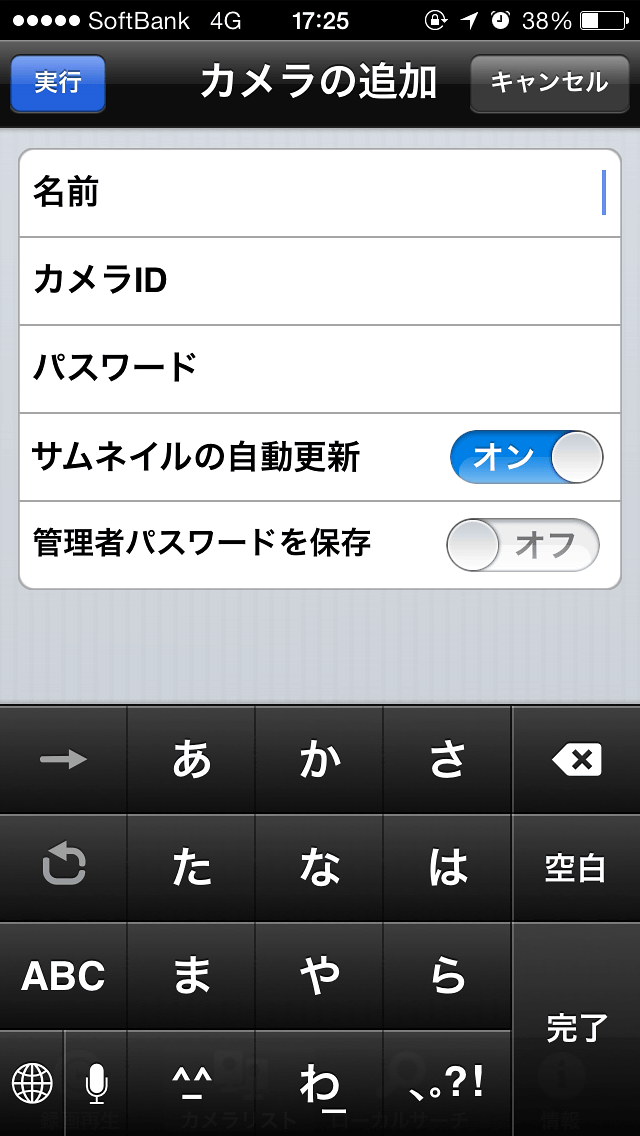
Enter the camera ID and password on the back of the attached ID / Password card.

After entering the name · camera ID · password, tap "execute" at the upper left of the screen.

Then tap "OK".
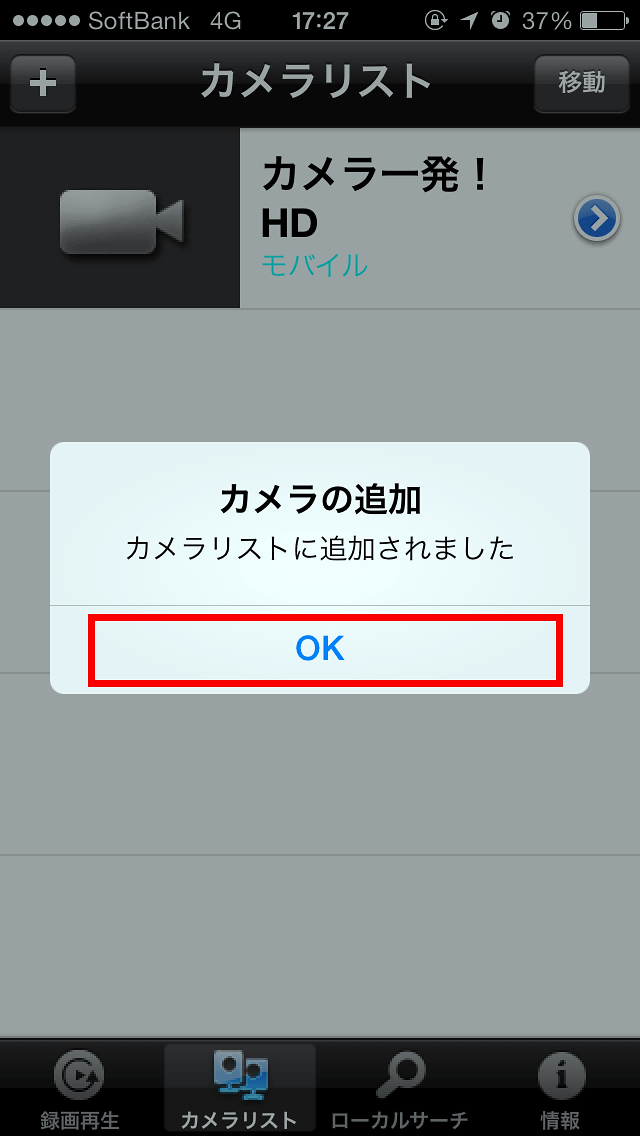
"Camera one shot! HD (name of input camera)" was added to the camera list, so tap this.

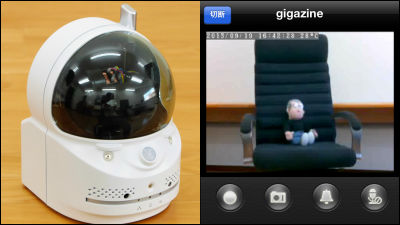
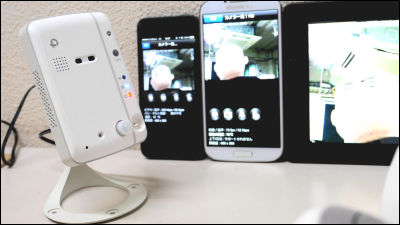
Then one camera like this with such feeling! You will be able to watch HD video. It does not take time to connect and there are no difficult setting procedures and so it is very easy.

A camera with a smart phone mobile network! If you connect to HD, you can see how much time you can watch the video in the following movie.
A camera with a mobile network! Connecting to HD and like this - YouTube
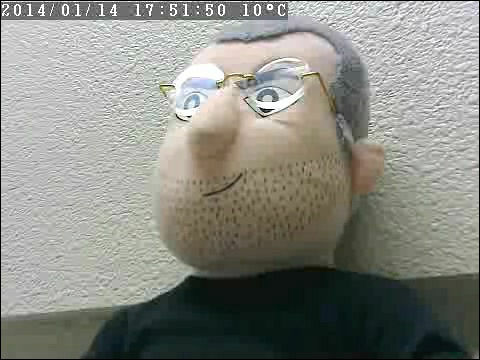
Since images are projected on the screen with such feeling when connecting ...

pinchIt is possible to enlarge or reduce the screen by operation.

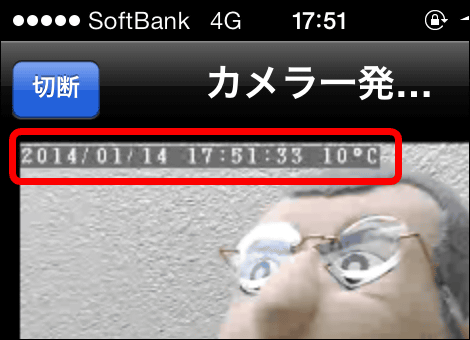
In addition, one screen on the screen when connecting! The ambient temperature of HD and the resolution of the projected image are also displayed.

The date, time, and temperature were also displayed on the upper left of the image.
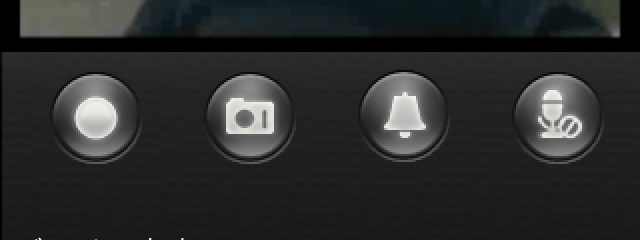
The four icons in the center of the screen are Record, Camera, Alarm, Mic icon from the left.
Tap the recording icon Tap the recorded movie, tap "Record playback" at the bottom left of the screen and tap "Camera first shot! HD".

Tap the recorded date ......

Tap the movie you want to play.

It is possible to see the movie recorded at any time by this method.

You can also save the movie in a microSD card that can be inserted next to the main unit.

And then tap the camera icon, one camera shot! Save snapshot from HD projected image.
Tap on the alarm icon to hear such a warning sound like a camera! Ring from HD.
One camera shoot! HD warning sounds like this - YouTube
One camera with a microphone function! It is also possible to call someone near HD. Actually it will look like this. (Bell alert)
One camera with a microphone function! Talk to someone near HD - YouTube
In addition, one camera! Because there is a microphone in HD, it is also possible to listen to the sound of the camera side through the application.
One camera shoot! Listen to the sound of HD side with smartphone - YouTube
By the way, one camera! The HD sound collecting microphone is in a small black hole part at the lower left of the front of the main unit.

One camera shoot! Daytime lens (left) and night lens (right) are mounted on the main body of the HD ... ...

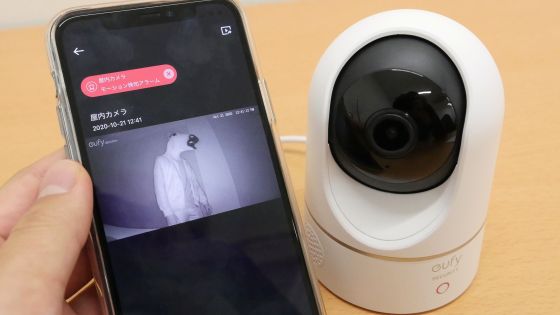
There is also an infrared LED at the lower right of the front of the main unit, so even if the area becomes dark by combining it with a night lens, the subject can be shot (infrared shooting mode).

The image taken with normal shooting (left) and shooting in infrared shooting mode (right) is like this.

The light sensor in the upper right corner of the front side will recognize the ambient brightness, so automatically switches to infrared shooting mode when it gets dark.

◆ Camera one shot! Wi-Fi connection for HD
One camera shoot! Since HD can also connect with Wi-Fi, it can be installed in places where wired LAN connection is not possible. If you want to switch to Wi-Fi connection, first disconnect the LAN cable from the main unit ......

Press the WPS button of the Wi - Fi router (button labeled Easy Start in case of Aterm WG 1800 HP) ......

One camera afterwards! Just press the WPS button on the front of the HD.

The main unit front lamp lights up like a movie as below and ......
One camera shoot! When pressing the HD WPS button, three lamps are chika chika - YouTube
When the three lamps are lit up like images (Network lamp is blue, Status lamp is red), Wi - Fi connection setting is successfully completed.

◆ Connect from Android application
One camera shoot! In addition to the application for the iOS terminal, there are Android application and Kindle application, the operation method on each terminal is almost unchanged.
One PLANEX camera! - Android application on Google Play
https://play.google.com/store/apps/details?id=com.planex.CameraIppatsu
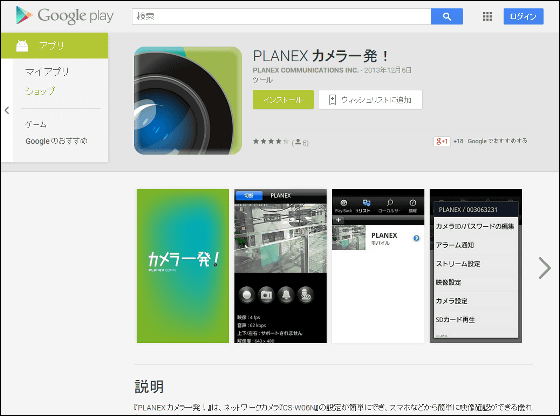
One camera for Android device! You can install apps from Google Play.
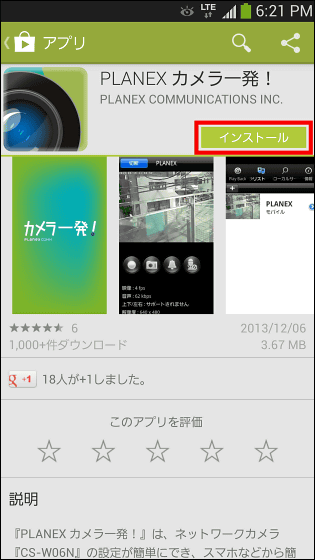
Tap the "+" icon in the upper left of the screen.

After entering camera name, camera ID and password, tap "OK".

Tap 'One camera shot! HD (name of input camera)' that appeared in the camera list.

This completes the connection.

◆ Connection from Kindle application
Next I will try to connect from the Kindle application.
Amazon.co.jp: One PLANEX camera! : Android App Store
http://www.amazon.co.jp/dp/B00BQUI5A0/
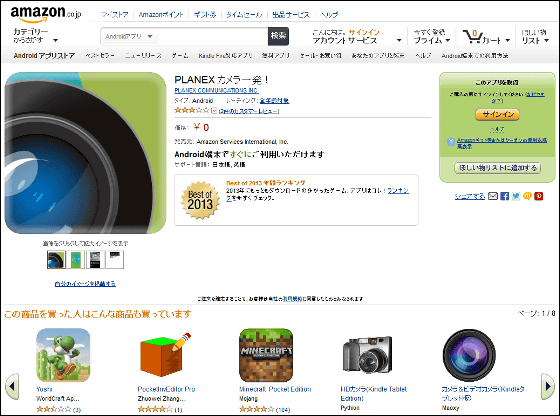
First of all, search the application store for "PLANEX camera one shot!" And install it.

Launch the application and tap the "+" icon in the upper left of the screen.

After entering camera name, camera ID and password, tap "Update" at the upper right of the screen.

Tap 'One camera shot! HD (name of input camera)' added to the camera list.

This completes the connection.

By setting up to this point a camera from any of the iPhone, Android terminal, and Kindle! You can see HD video.
One camera at the same time with three of GALAXY S4, iPhone 5, and Kindle Fire! Connect to HD - YouTube
◆ Connection from Windows PC
In addition, one camera! If you want to view the HD video from the PC screen, you need to install special software.
Download | Camera one shot! For Windows PC | Planex
http://www.planex.co.jp/support/download/camera1/camera1_win.shtml
Click "Download" at the bottom of the page.
Since the software license agreement is displayed, after reading well and agreeing, click "Agree and download" at the bottom of the screen.
As the page switches, the download will start after a while and click "OK".
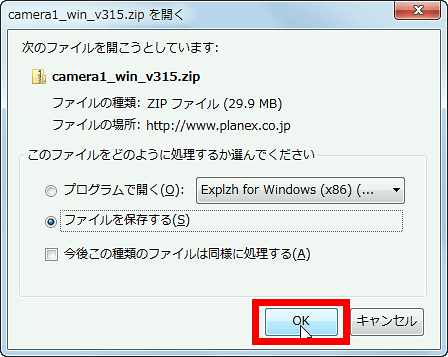
Expand the downloaded file "camera1_win_v315.zip".
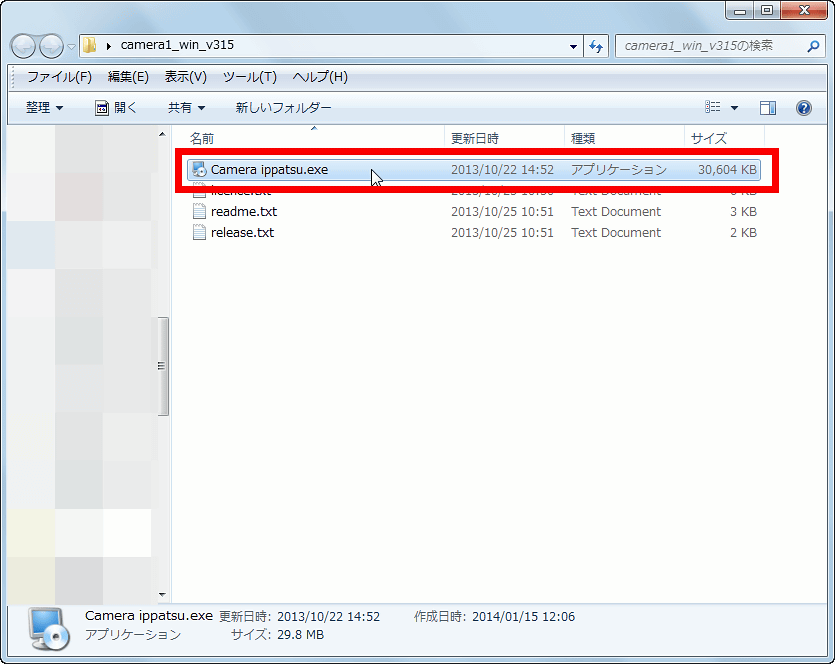
Launch 'Camera ippatsu.exe' in the expanded folder.
Click "OK".
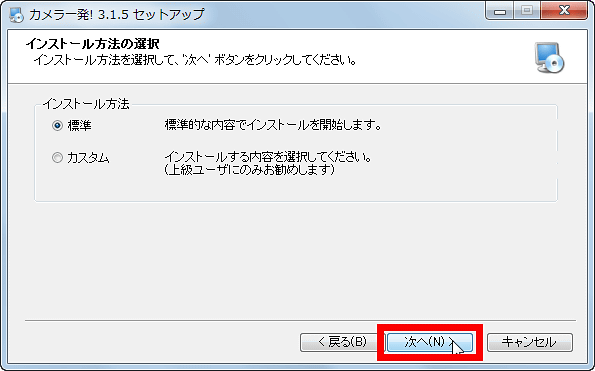
Click "Next".

Click "Next".
Click "Finish" to complete installation.

The two software installed in the PC are "camera one shot!" And "camera one shot! Playback".
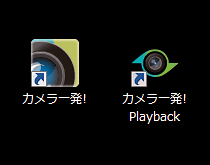
To see the image of the camera, activate "Camera one shot!"
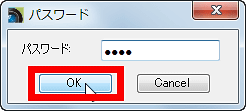
The starting screen looks something like this. Since there is a column called "auto search" at the left end of the screen, click on what is written on the ID / Password card from among the camera IDs displayed there.

Also enter the password written on the ID / Password card and click "OK".
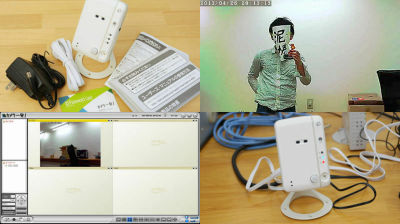
Then one camera like this with such feeling! It will be able to connect to HD.

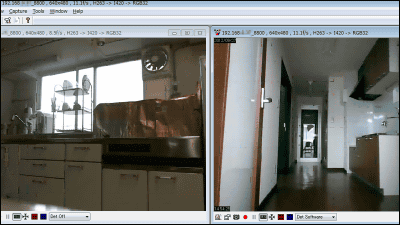
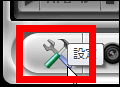
At the bottom of the window there is a button to change the splitting method of the screen ......

It makes it 1 screen display ......

You can split the screen up to 36 partitions. This is one screen with 36 cameras on one screen! It is also possible to display the images at the same time.

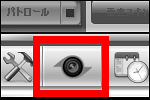
There is an icon like this in the upper right corner of the window, the left camera icon is for saving the snapshot from the video and the right circle icon is the video recording button.

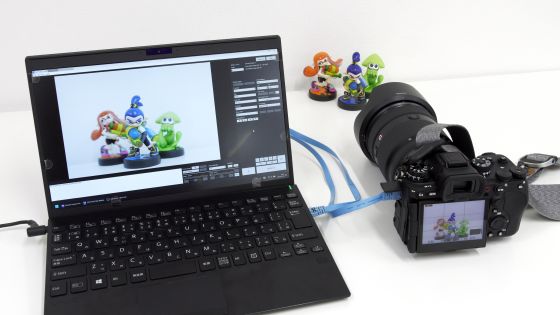
The snapshot taken from the PC is much higher than the one taken from the smartphone.

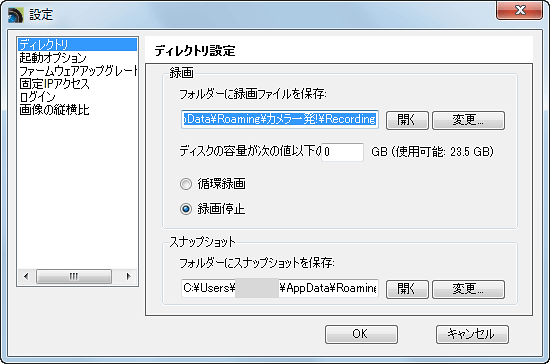
Then click the setting icon in the lower left of the screen.
The setting screen opens, and you can change the storage location of recorded movies and snapshots from here.
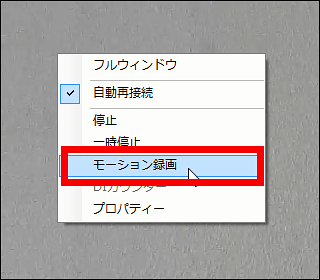
Another camera for PC! With software, it is also possible to detect the moving object in front of the camera by recording "Motion Recording" from the right click and record the state.
◆ Cut the recorded movie only to the necessary part
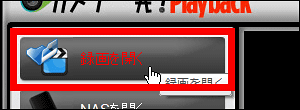
After recording the movie, click the icon next to the setting icon.
Then one camera! Playback will start up.

Click "Open Recording" on the upper left of the screen.
As you move to the screen to manage the recorded data, open the date you recorded the movie you want to play back and click the camera ID under the "camera name" section.

The playback button becomes clickable so clicking on this ... ....
One camera shoot! You will return to the Playback screen and the recorded movie will be played.

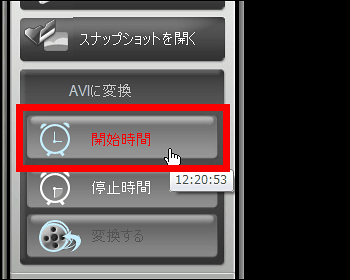
Click "start time" on the left side of the screen where you want to cut out this movie.
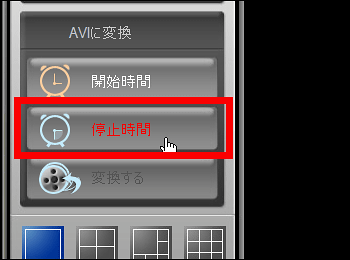
Click "stop time" after playing to the necessary place.
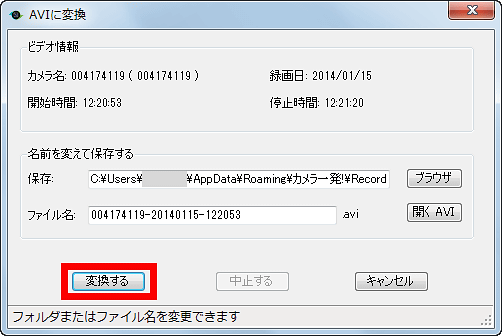
Then click on the "Convert" icon so click on it.
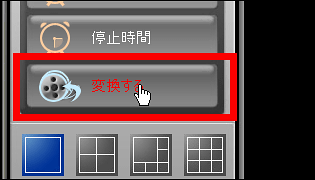
If you click "convert" on this screen, conversion of the movie starts ......
Click "Open AVI" when conversion is completed.
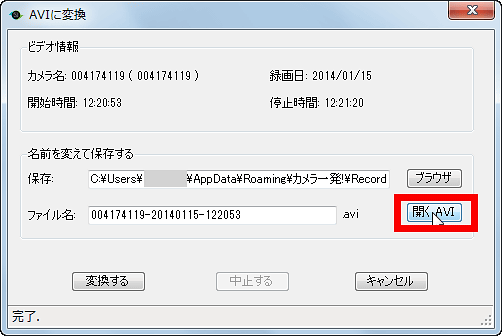
The cut out movie will be saved in avi format.

Record with motion recording, even one camera! The movie cut out & converted by Playback is like this.
A movie taken with motion recording looks something like this - YouTube
◆ Advanced setting & more advanced alarm function
Tap the icon next to the camera name displayed in the camera list if you want to set the resolution and brightness of the video viewed from the smartphone yourself.

Then one camera! The HD setting screen will be displayed. In this screen you can make detailed video settings.

Video one camera! The bandwidth when transferring from HD to the smartphone can be selected from 32 Kbps to 2 Mbps.

Four types of video resolution from 320 × 240 to 1024 × 768 can be selected. Changing the resolution significantly changes the time it takes to load on connection.

The frame rate can be selected from 1 fps to 30 fps.

In addition, you can set video color, brightness, sharpness, sensitivity in dark places, etc. in the video setting.

In addition, one camera! Tap "Camera setting" to fully utilize HD alarm function.

Authentication is necessary to change this camera setting and mobile setting, and if it is in the initial state, enter "admin" for ID and "password" for password.

Tap "Schedule".

Tap 'Speaker alarm'.

Then you can set the speaker alarm trigger.

Tap "Motion Detection", tap "Update", and the motion detection function is now turned on.

One camera shoot! When you turn on the motion detection function of HD, an alarm will sound when something moves in front of the camera.
One camera shoot! I tried playing a speaker alarm with HD motion detection function - YouTube
Furthermore, it is also possible to send mail to a specific address during speaker alarm operation. For that setting, tap "Email Alarm" in "Schedule".

Please turn on "Email Trigger" and "Send Email" and enter the destination address of the mail in the destination field.

Then, at what timing the alarm sounds and you choose whether to send mail. For this time, select "human body sensing" and tap "Update".

When an alarm sounds, mail with a snapshot taken by the camera will be sent to the entered mail address with such a feeling like this.

In addition, one camera shot! HD can be purchased with Amazon tax at 29,24 yen.
Amazon.co.jp: PLANEX camera one shot! Built-in speaker / microphone 1 million pixels wired / wireless LAN compatible network camera CS-W60HD: personal computer · peripheral equipment

Related Posts: