I tried using "Transporter" which can handle data on the cloud as a local file
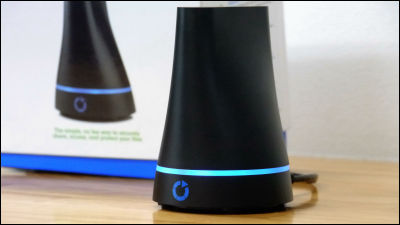
Personal cloud storage that can handle data on the cloud with the same operability as a local file and can share and synchronize data among multiple users by fully synchronizing data is called "Tarnsporter (transporter)"is. Using a transporter, it is said that everyone participating in the transporter network can handle local folders inside the PC like "external storage on the cloud", so I tried it at once.
Why Transporter | Transporter
http://www.filetransporter.com/why-transporter/#transporter
◆Opening and appearance check
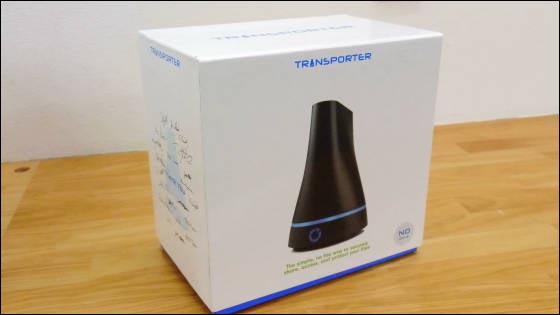
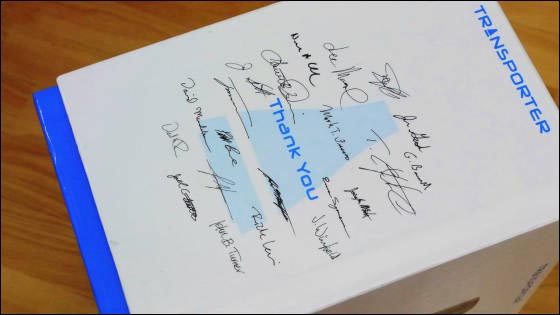
Here is a box of transporters.
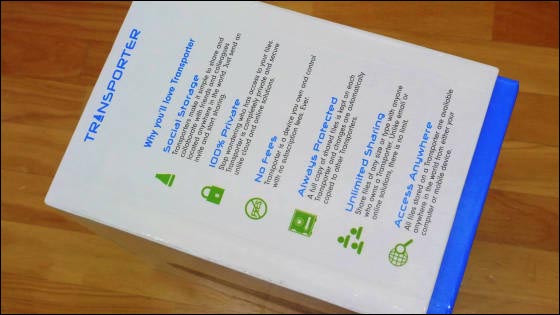
Explanation on the right side.
On the left side, signs of the development team are drawn.
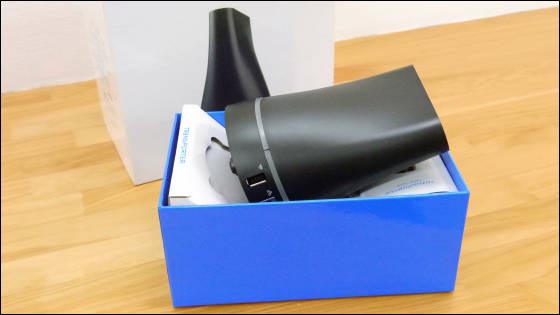
When lifting the box up, the transporter body in a lying down state came out.
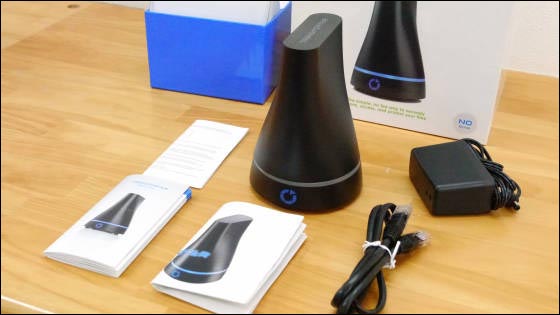
Inside, there are 3 transponder bodies, AC adapter, LAN cable, and instruction manual.
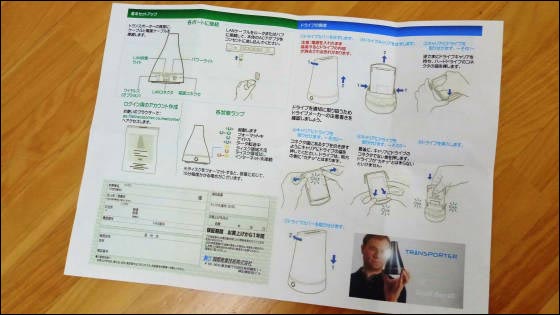
All boxes were written in English, but it is safe because Japanese instruction manual is prepared perfectly.
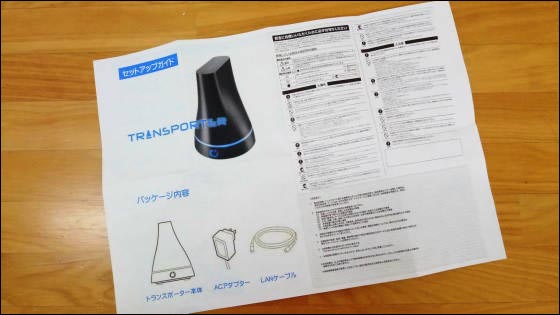
The back side is the way the left page is used, the right page is how to set the storage.
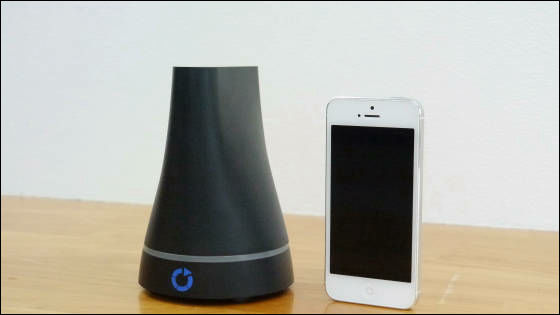
The size of the transporter main body is 14 cm in height, the bottom is a circle with a diameter of 10 cm, and it is about the same size as a general wireless LAN router. The picture looks like compared with iPhone 5.
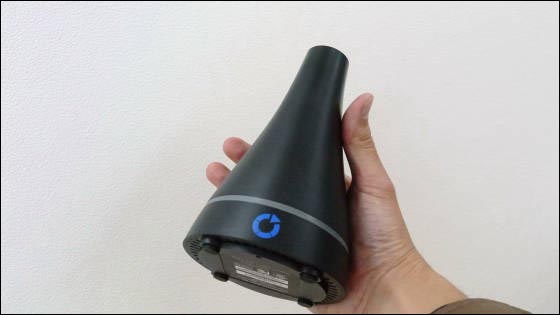
Having it with your hands like this.
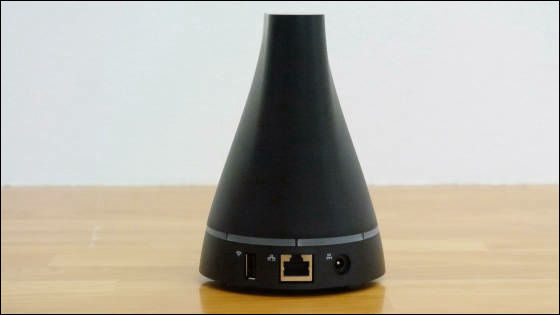
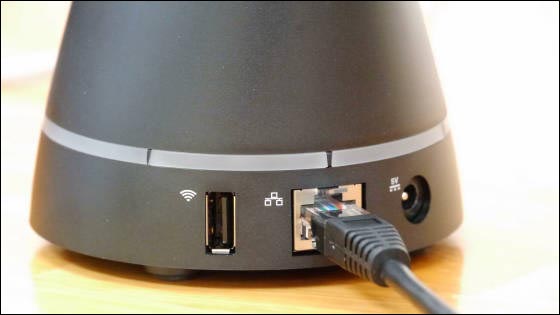
In the lower part of the back, the USB adapter, LAN terminal, power jack for optional wireless adapter is attached, and these three are the only external terminals.
◆Installing Internal Storage
First, install the built-in storage. Removable by turning the drive cover of the transporter body counterclockwise.
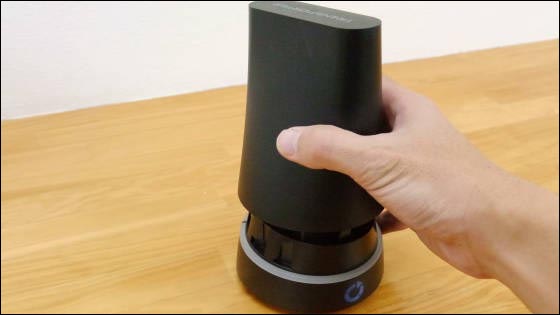
When the drive cover is removed, a drive carrier appears.
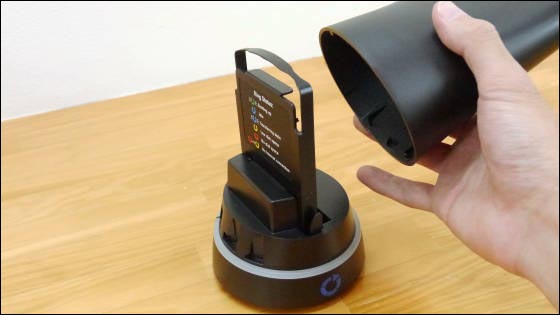
For transporters, 2.5 inch size hard disks · SSD can be used as storage.
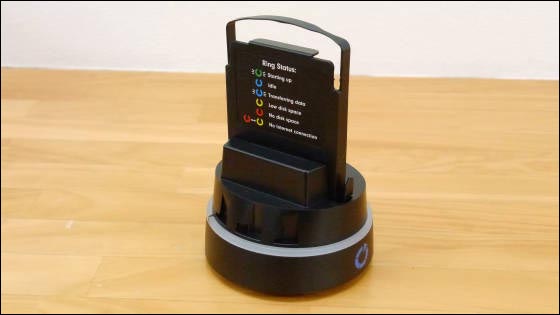
The storage is attached to the drive carrier and docked vertically to the S-ATA connector of the photo.
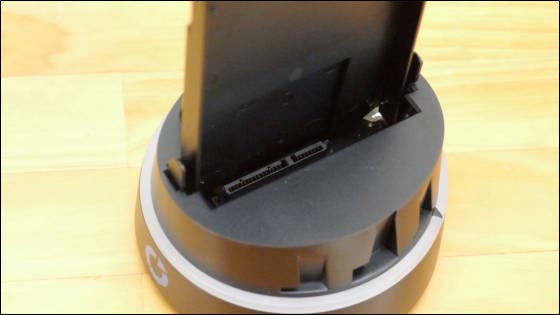
To remove the drive carrier, simply pinch the connector part and pull it upward.
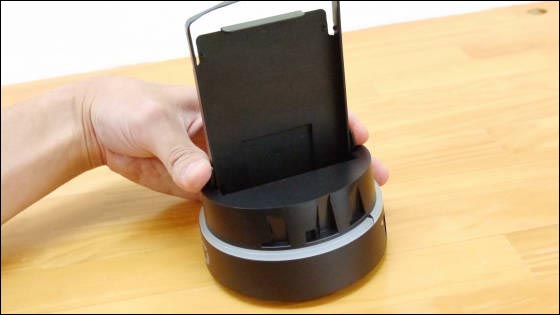
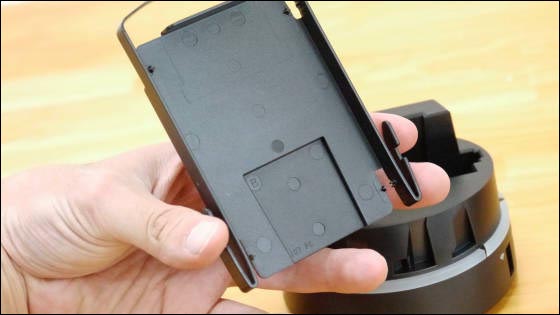
The drive carrier has protrusions matching the screw holes of the 2.5 inch storage, so that the drive can be held tightly without using screws etc.
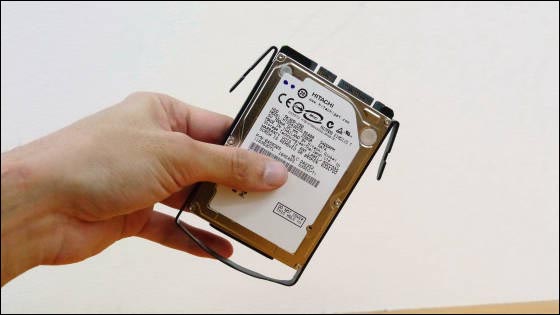
This time, I tried using the hard disk for storage.
If you insert the storage into the main body together with the drive carrier OK.
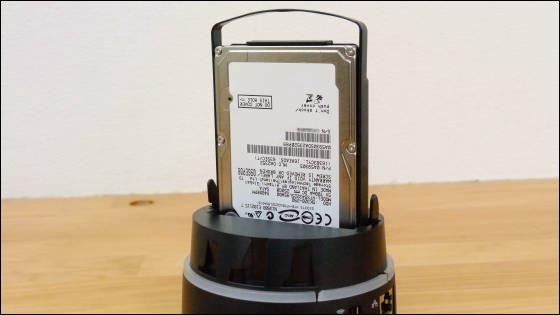
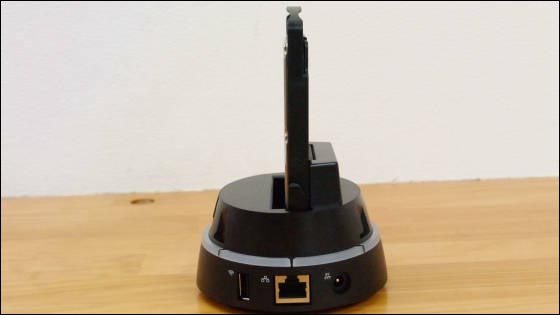
Viewed from the side. Installation of the storage is completed by attaching the cover.
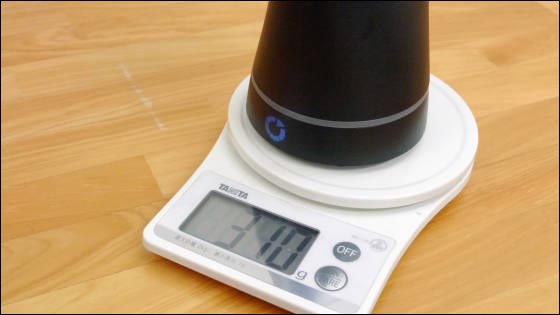
Furthermore, when we weighed the weight of the transporter with the hard disk built in, it was 310 grams.
◆Pre-setup work
I will start set-up at once. Connect to the router or hub using the supplied LAN cable and connect the transporter to the network.
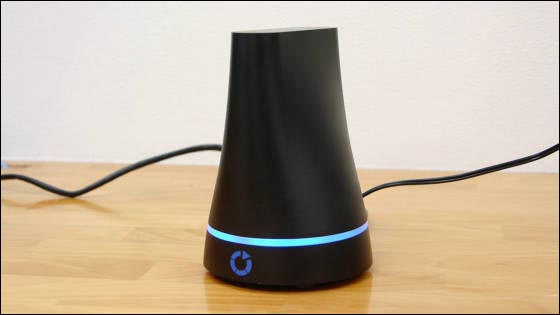
After setting the power connector, the setting is completed. Setup will start automatically. Although the built-in storage is formatted during setup, formatting does not cause problems even when data is loaded, so pre-formatting work is unnecessary.
The state of automatic format / setup can be confirmed with the following movie. In addition, the movie is fast-forwarded halfway.
The state of "Transporter" format looks something like this - YouTube
The LED lamp starts flashing green, and it turns to flashing alternately green and blue in about 1 minute ... ....
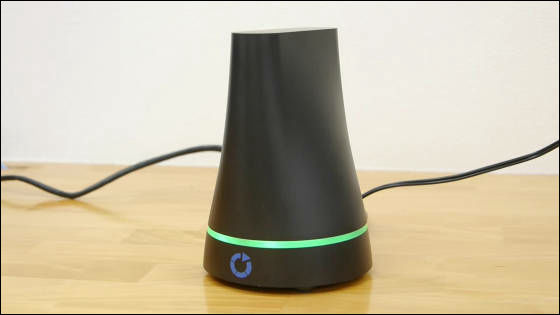
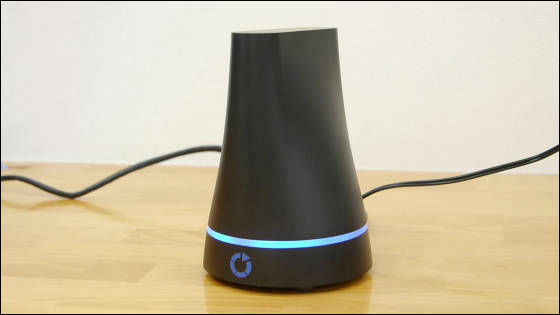
I got blue lit in about 8 minutes from there. Preliminary setup is complete if blue turns on. In addition, this time I used 250 GB hard disk, but with larger capacity hard disk it may take some time.
◆Create a Transporter account
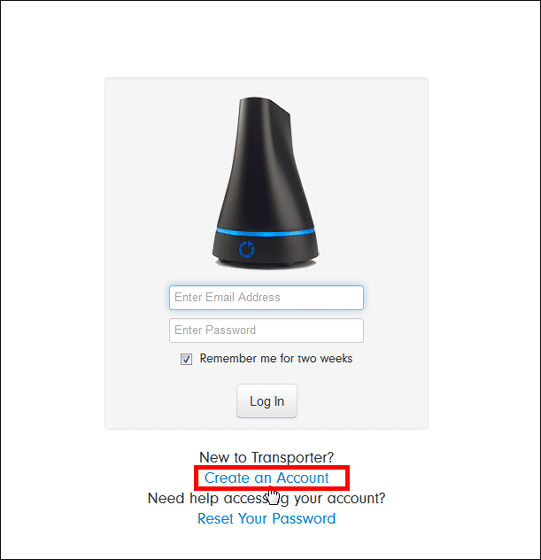
When setup is complete, create a Transporter account. In the address field of the browser,Go.filetransporter.com/welcomeAfter entering and moving it will become the sign up screen, click "Create an Account".
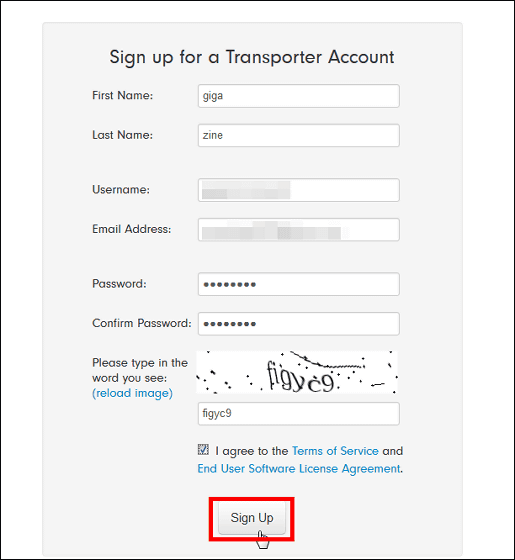
Please input name, user name, e-mail address, password and click "Sign Up".
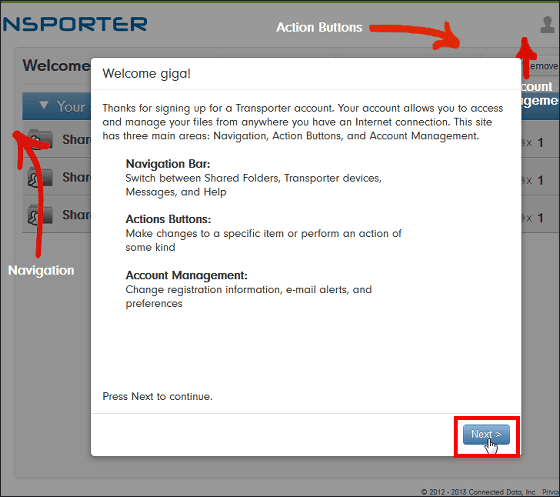
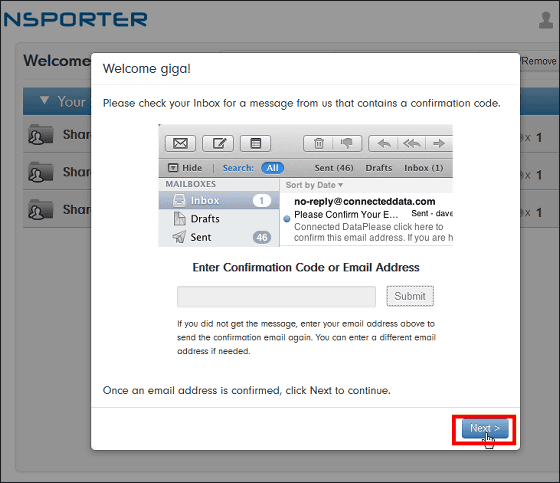
Click "Next".
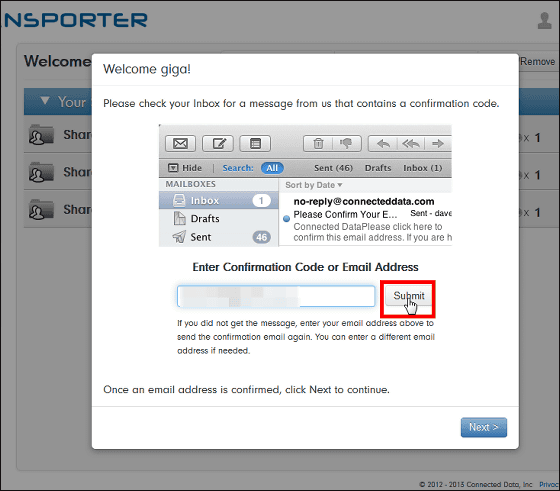
Enter the e-mail address you specified earlier and click "Submit".
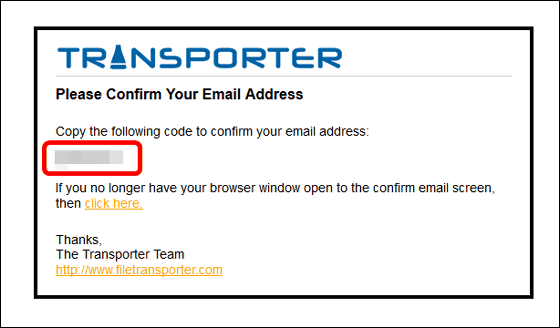
Copy the 7-digit character string entered in the mail body that arrived.
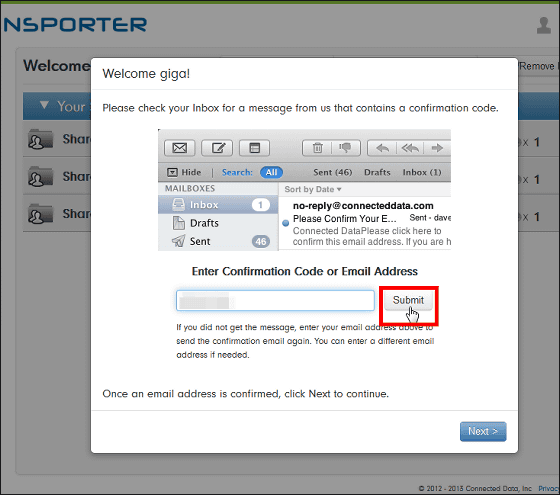
Enter a 7-digit character string and click "Submit".
Click "Next".
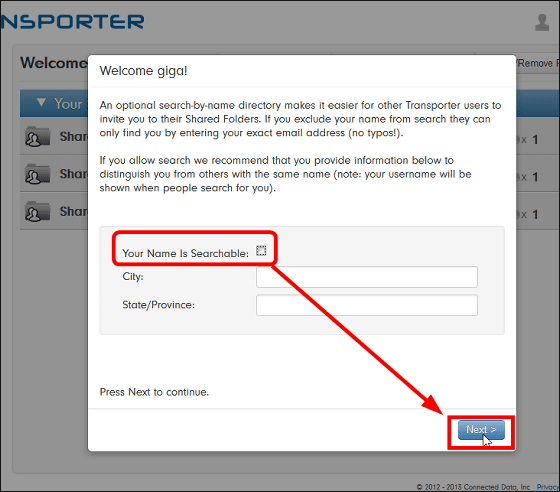
Uncheck "Your Name is Searchable" and click "Next".
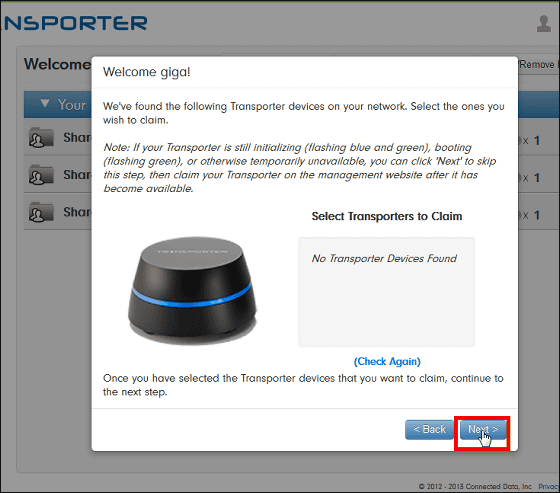
Click "Next".
◆Installing dedicated application
Next, download "Transporter Desktop" suitable for your OS. Since this time installing on Windows, click "Software for Windows".
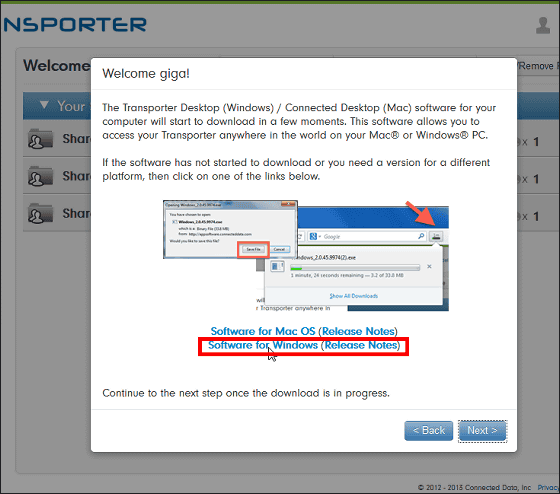
Click "Save file".
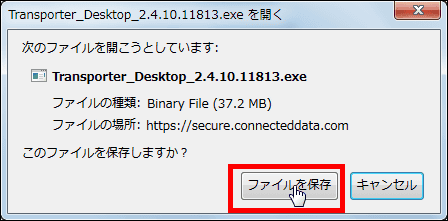
Install the special application "Transporter Desktop" on the PC. Run the downloaded installer.

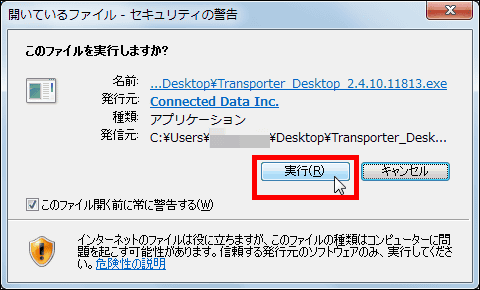
If security warning appears, click "execute".
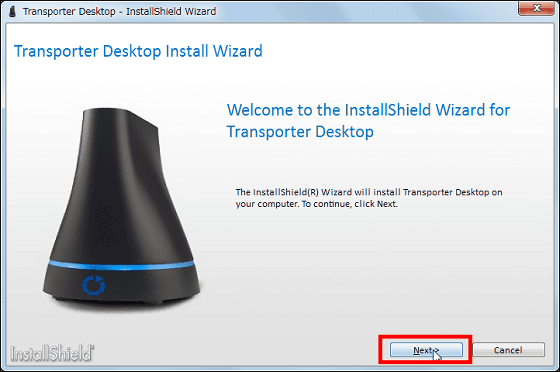
Click "Next".
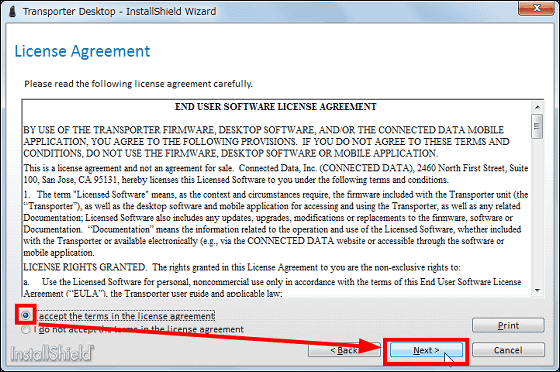
Please check "accept the terms in the license agreement" and click "Next".
Click "Next".
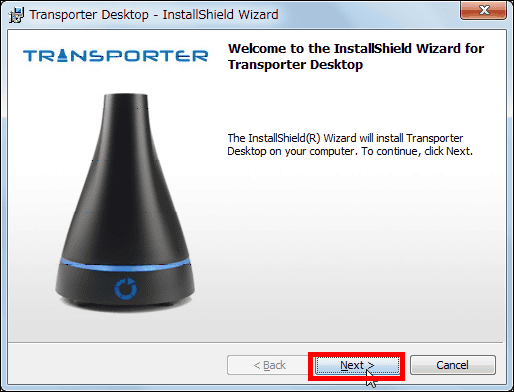
Click "Next".
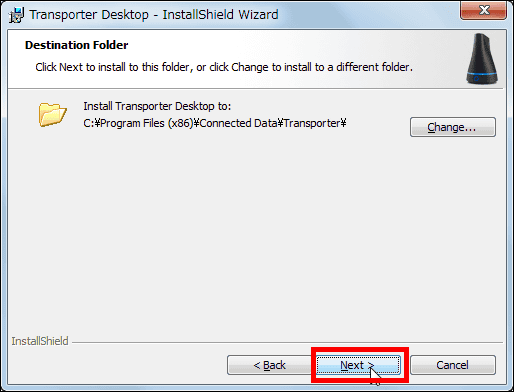
Click "Install".
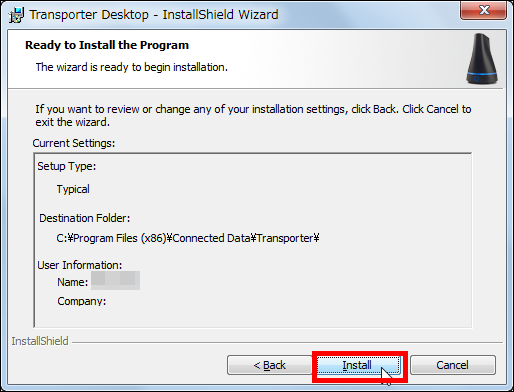
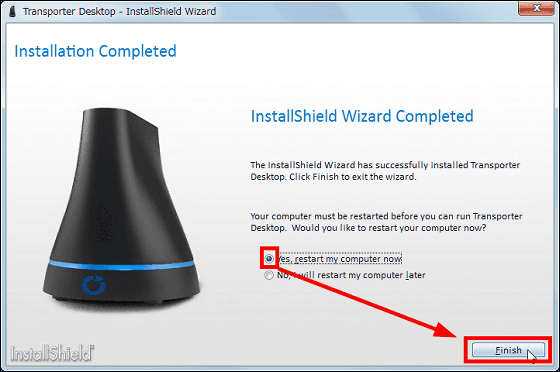
Click "Finish".
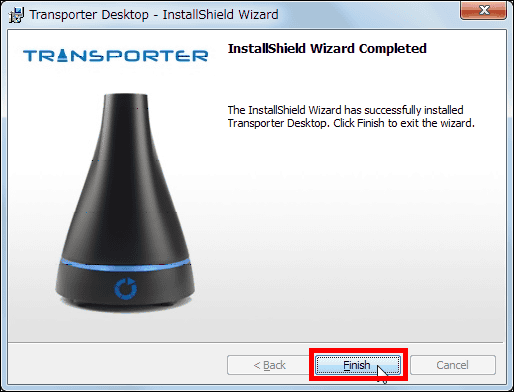
Check "Yes, restart my computer now" and click "Finish" to restart the PC.
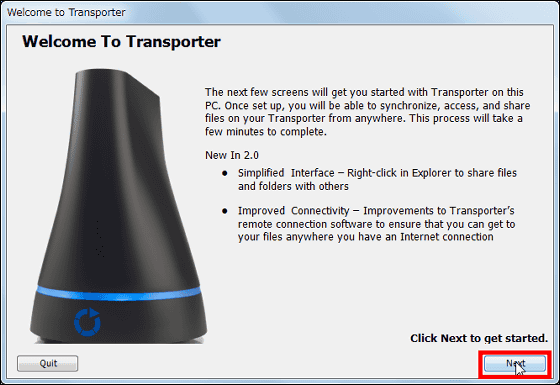
After restarting, the "Welcome to Transporter" window will be launched automatically, so click "Next".
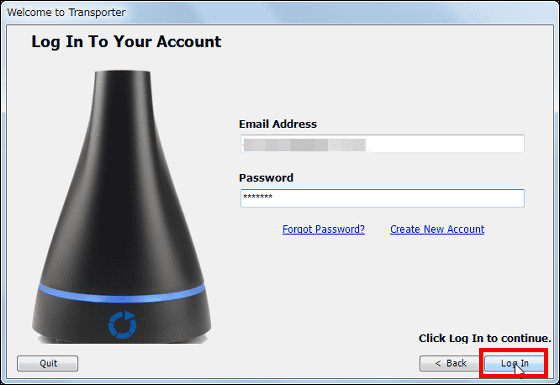
Enter the registered e-mail address and password and click "Log In".
Click "Next".
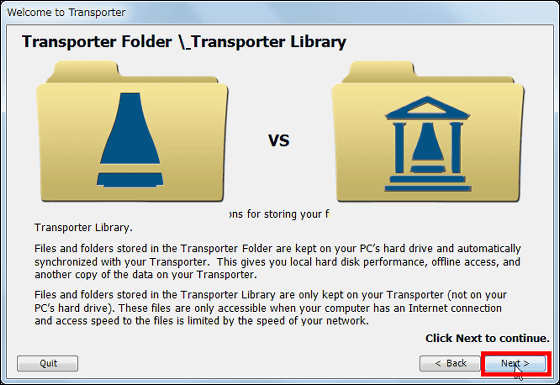
By default, it is set to synchronize data in "C: \ user \ user name \ Transporter" folder (shared folder) with the transporter. You can change the setting of the shared folder later, so click "Next".
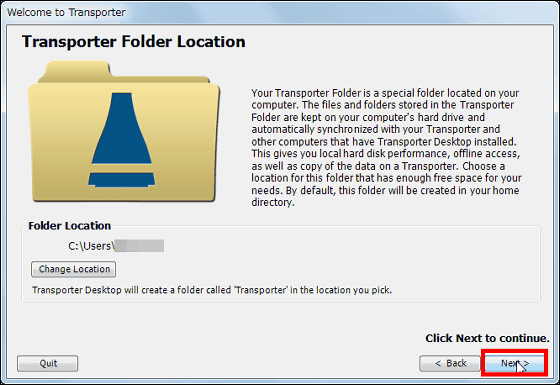
Click "Done".
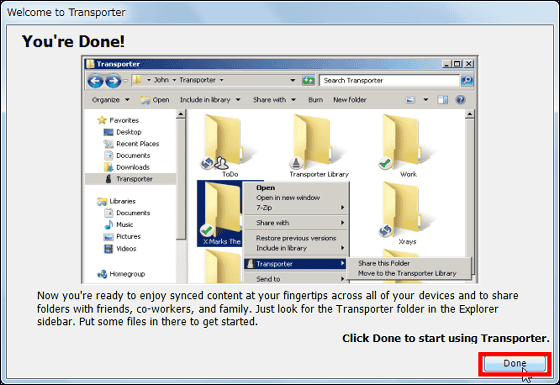
Click "Close". Installation of Transporter Desktop is now complete.
◆Try to synchronize data automatically
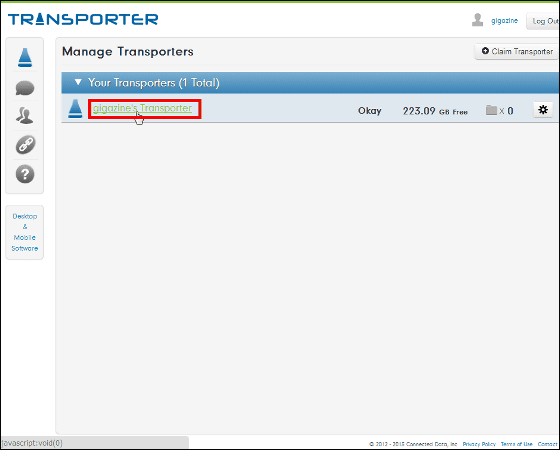
This is,Transporter siteIt is the top screen logged in. The transporter site is mainly used to confirm various status information such as the synchronization / sharing status of the data of the transporter network, and does not operate files in the shared folder from here. On the top screen, you can see that a capacity of 223.09 GB is available.
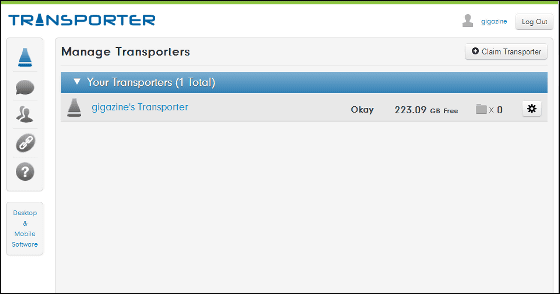
Click the link in the center of the screen.
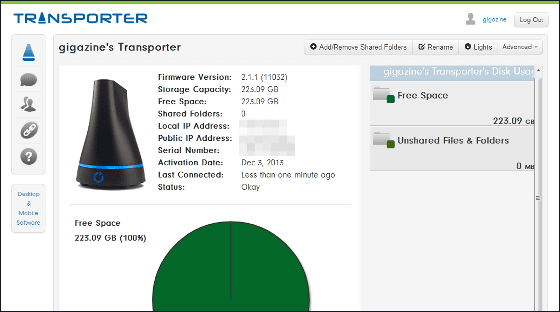
Information such as the transporter's IP address and serial number was displayed.
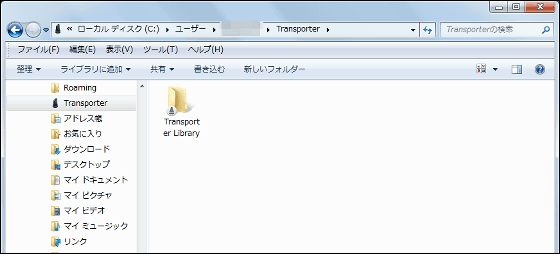
Here, when you open the shared folder "C: \ user \ user name \ Transporter", you can confirm that the "Transporter Library" folder is generated.
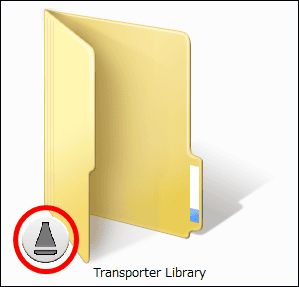
"Transporter mark" at the lower left of the folder icon indicates that it is a folder to be synchronized with the transporter.
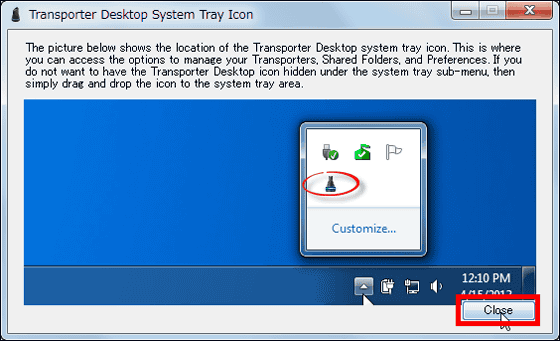
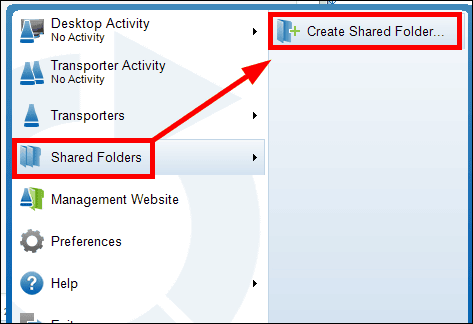
Try creating a new folder to be shared and synchronized. Click the "Transporter Desktop" icon in the task tray ... ...

Click "Shared Folders", then "Create Shared Folder".
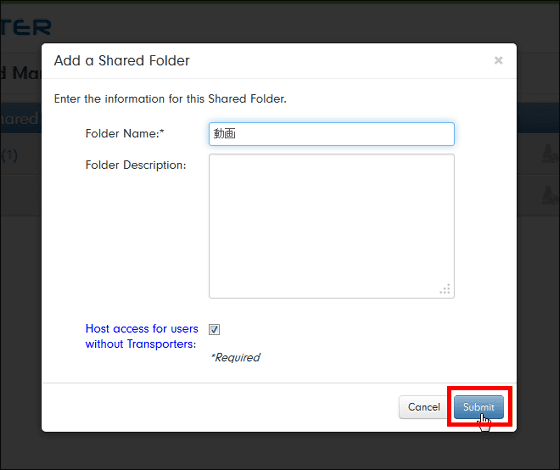
After entering the folder name, click "Submit". This time I attached folder name "movie".
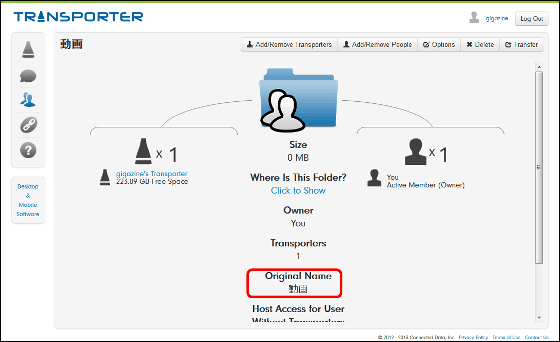
The "video" folder is added to the transporter site, and you can confirm that the folder has been created on the transporter network.
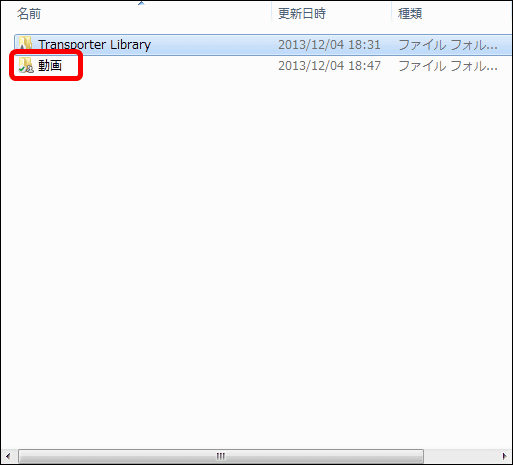
Here, when opening the shared folder, a folder called "movie" was created. Storage of the transporter and shared folder are always synchronized, and this synchronized shared folder can be used by people participating in the transporter network.
If I copy a movie of 7 MB to "Movie folder" as a test ... ...
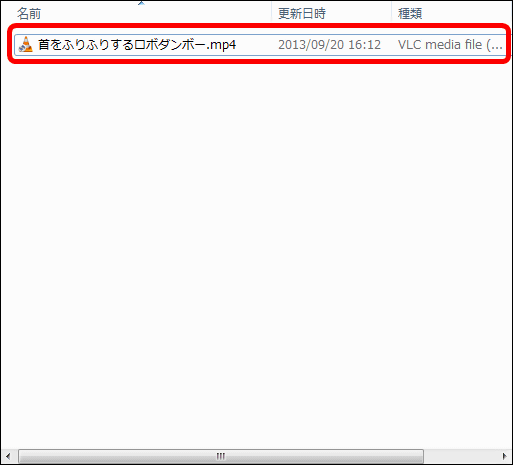
Immediately, the file was copied to the video folder of the transporter.
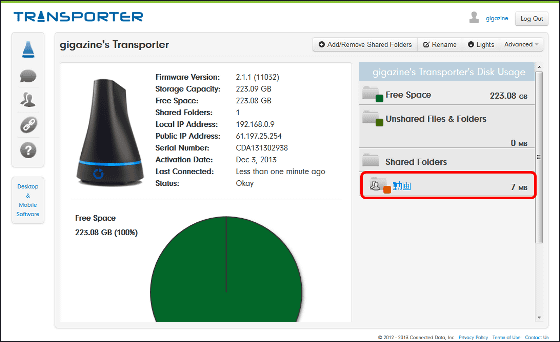
When synchronization is completed, "Transporter mark" at the bottom left of the folder changes to "check mark", so you can confirm the completion of synchronization.

◆Try syncing with network members
The data on the transporter can be shared by multiple users, and in an environment where you can access the Internet, the local folders (shared folders) of all transporter network participants are always synchronized with the transporter. Therefore, users participating in the transporter network can use shared data as a local file in their own PC.
So invite your friend to the transporter network and add it to the shared members. Since sharing settings can be done on a folder-by-folder basis, the owner of the transporter can individually specify private folders that you do not want to share with others and folders you want to share with others.
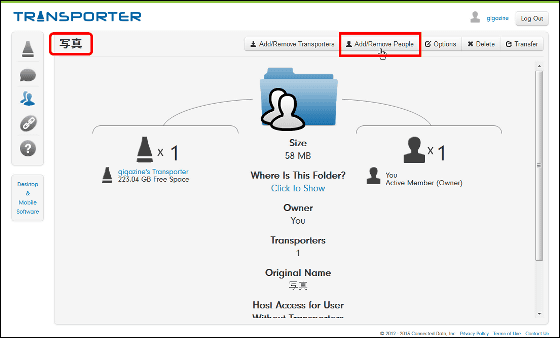
At the transporter siteOn the screen of the folder you want to shareClick "Add / Remove People". For this time, I will share a folder called "photo".
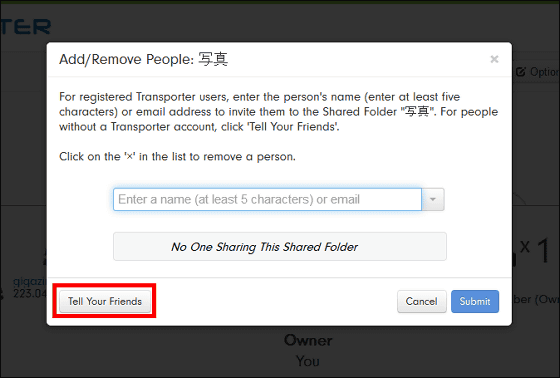
Click "Tell Your Friends".
Enter the email address of the person you want to invite and click "Submit".
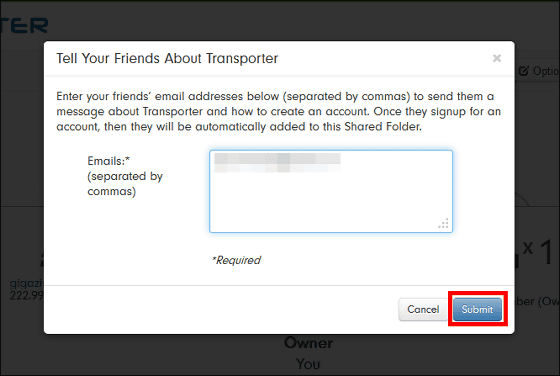
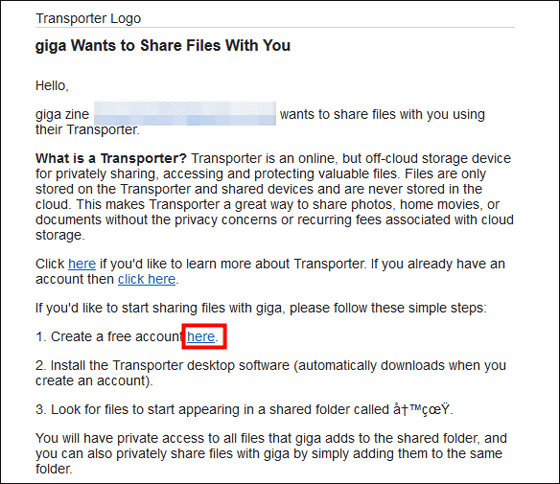
People who are invited will receive an email with contents like photos. Click "here". The Transporter account creation screen will be launched, so create an account as before and install Transporter Desktop.
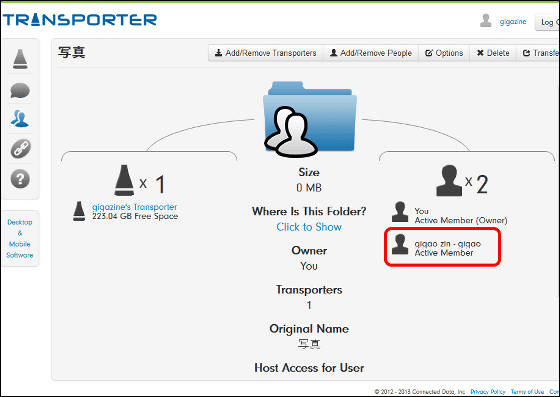
When the invited person installed Transporter Desktop, it was added as a "new member" sharing "photo" folder.
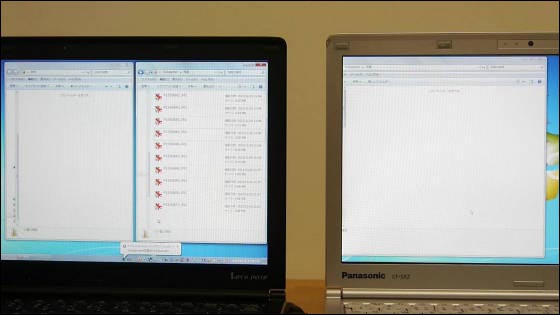
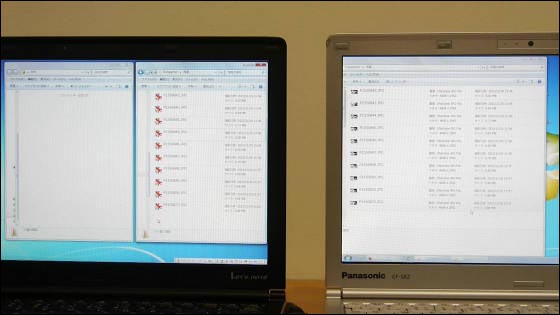
In fact, let's try to automatically synchronize the data of the "photo" folder with the local shared folder of the new member. One file was a 6 MB image file, and I tried to share a total of 58 MB files in total of 10 files. A state in which files are synchronized and shared fully automatically from this movie. The left is the screen of the transporter owner and administrator, the right is the member's screen.
When you share a file with "Transporter" like this - YouTube
The transporter owner selects 10 image files totaling 58 MB ... ...
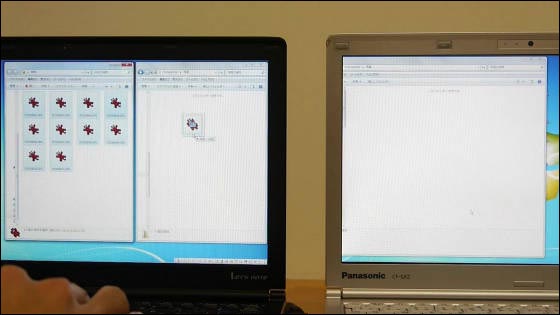
Move to the "image" shared folder.
After a while, ten image files were created in the "image" shared folder of the member.
This time, select 10 image files from the member's shared folder ... ....
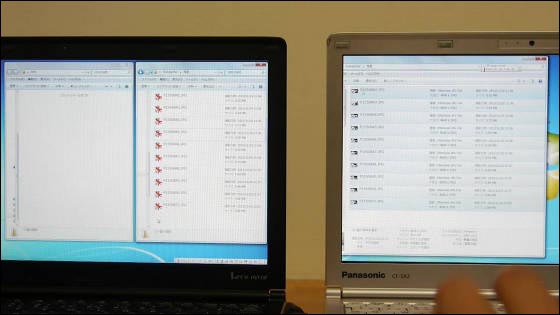
Deleting all the files ......
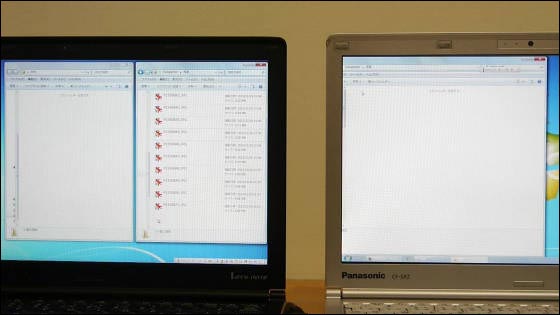
After a while the file was deleted from the shared folder of the transporter owner.
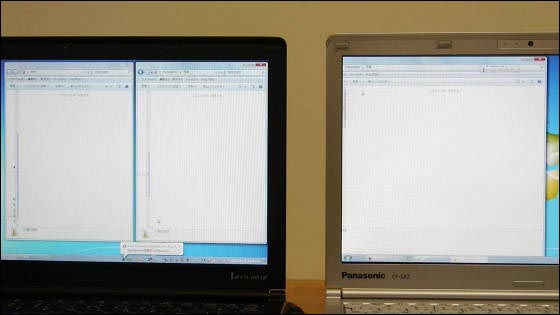
In this way, if you are in the net environment, you can always synchronize the data with the transporter so that the data on the cloud can be handled as a local file. Also, since members who are allowed to participate in the transporter network can also use the data as a local file, it seems as if it is like "borrowing shared external storage on the cloud" or "NASIt makes it easy to share files with a feeling like "to make it."
◆bonus
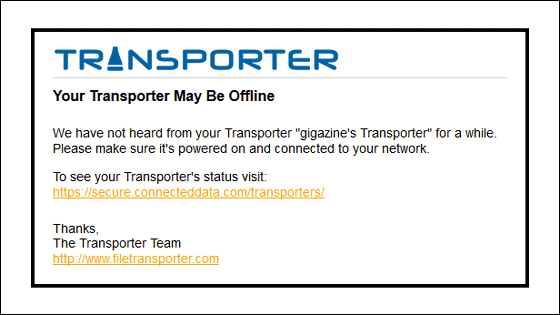
When it becomes impossible to synchronize by turning off the transporter or disconnecting the network, an alert mail like a picture arrives in about 30 minutes from that state, and it tells us that it can not be synchronized.
◆Summary
The transporter is a personal cloud storage that synchronizes data on the cloud to the local file of the local PC fully automatically without causing any special action, and comfortable data management is possible with less time lag of synchronization. Furthermore, as if to "create shared external storage on the cloud", it also has the convenience of sharing files with members of remote areas, once comfortable enough to feel that you can not relinquish as you feel the convenience It is possible to exchange data to.
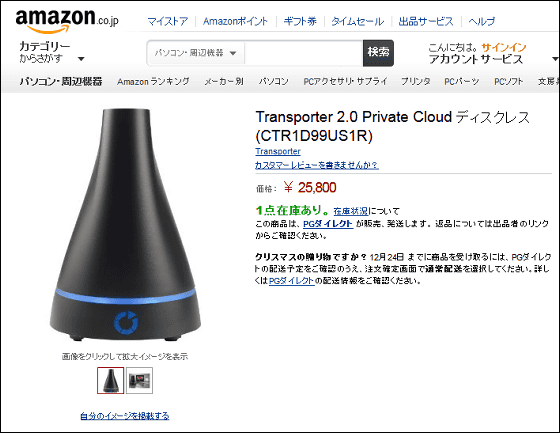
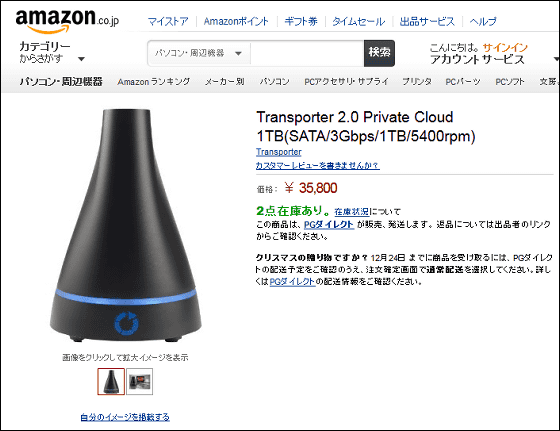
In addition, the transporter has no storage of 25,800 yen (tax included), 1 TB built-in hard disk type is 35,800 yen (including tax).
Amazon.co.jp: Transporter 2.0 Private Cloud Diskless (CTR 1 D 99 US 1 R): Personal Computer · Peripheral Equipment
http://www.amazon.co.jp/dp/B00FZDPHNW
Amazon.co.jp: Transporter 2.0 Private Cloud 1 TB (SATA / 3 Gbps / 1 TB / 5400 rpm): Personal computer · peripheral equipment
http://www.amazon.co.jp/dp/B00FZEOQQA
Related Posts:

