Initial setting summary for introducing the strongest NAS · Synology's 5-bay upper model "DiskStation DS1517 +"

It is known as NAS of iron plate which covers a wide range from personal use to small business use as it is more suitable for calling "server" than called "NAS" anymore, multifunctional and high performanceSynology (Synology)A new model with 5 bays in the DiskStation series "DS1517 +"Appeared in April 2017. What is the performance of the latest model of strongest NAS? So I decided to actually introduce it to GIGAZINE Editorial department and explore the true value of it.
DS1517 + - Products | Synology Inc.
https://www.synology.com/ja-jp/products/DS1517+
◆ Appearance check
DiskStation DS1517 + of 5 bay NAS is in a large box of 45 centimeters × 35 centimeters × 20 centimeters. Furthermore, since the product warranty for domestic genuine products is five years, it is safe.
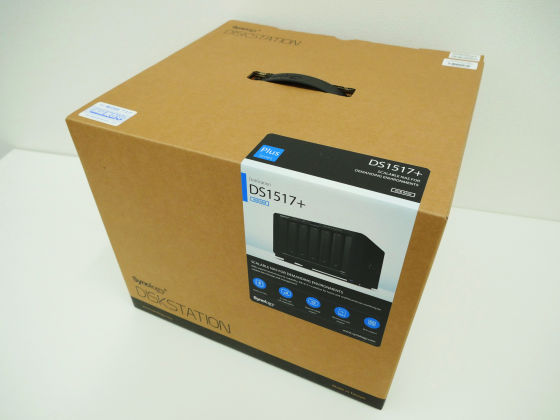
The inside of the box was DS1517 + main body, power cable, key for drive tray × 2, screw × 24, LAN cable × 2, simple instruction · written guarantee.
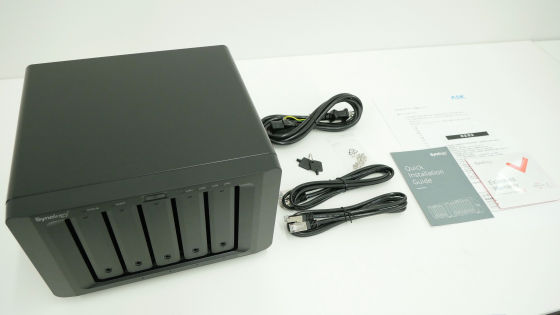
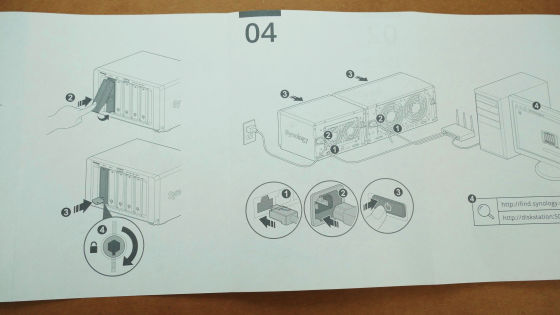
Besides, there are no brief instructions in the illustration.
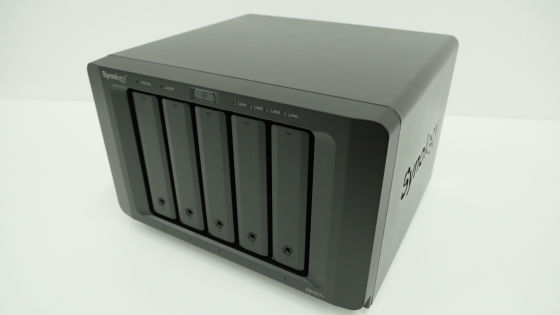
The DS1517 + is a 5-bay NAS that can hold up to five 3.5-inch / 2.5-inch storage. CPU is Intel Atom C 2538 (4 cores maximum 2.4 GHz), memory is 2 GB or 8 GB. Although I am using the 8 GB model in the review, it is possible to add DDR 3 memory by myself as the 2 GB model.
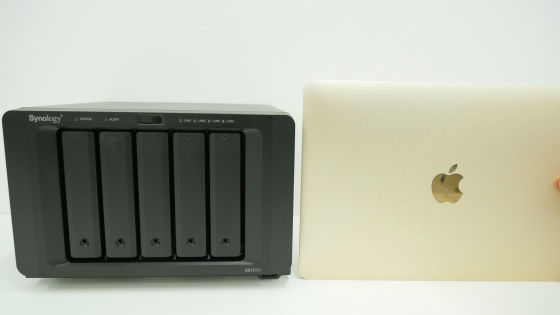
Footprint is about the same as MacBook.

The size is 250 mm width × depth 243 mm × height 166 mm.
There are five trays on the front where you can exchange the storage tool-free.
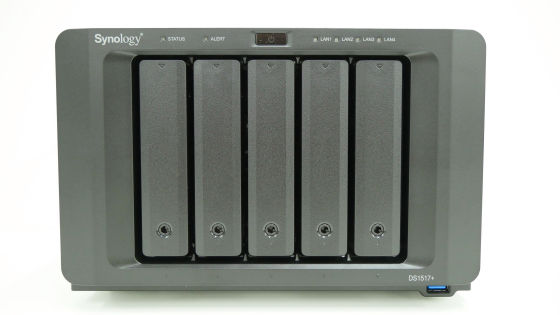
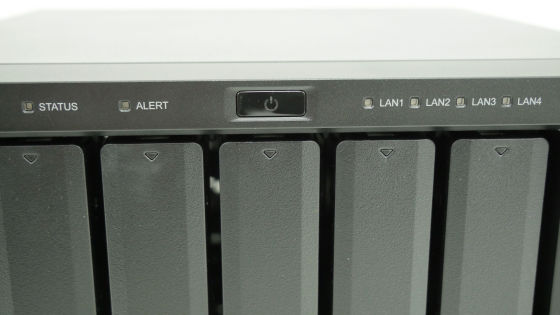
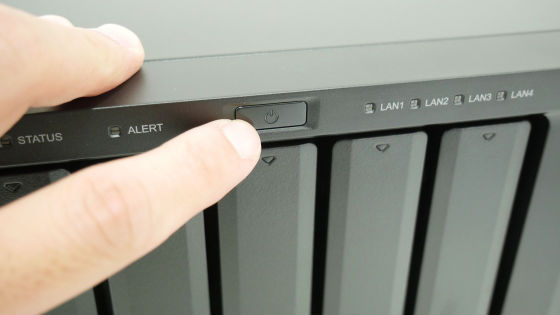
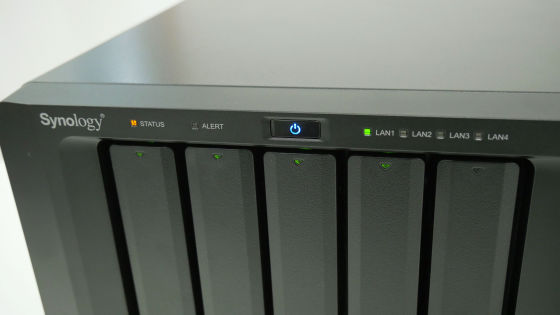
"Status Indicator" which displays the status of the system from the left, "Warning indicator" which issues a warning of the fan and temperature, "Power button", "LAN indicator light" is installed from the left.
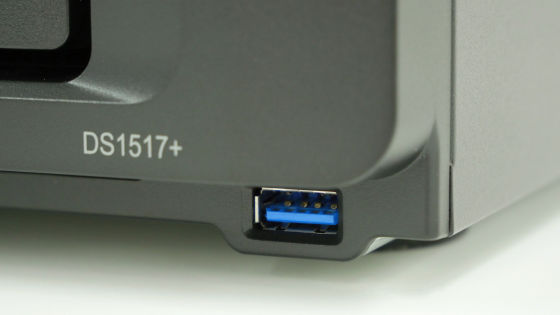
USB 3.0 port on the lower right of the front.
Synology logo on the left and right sides.
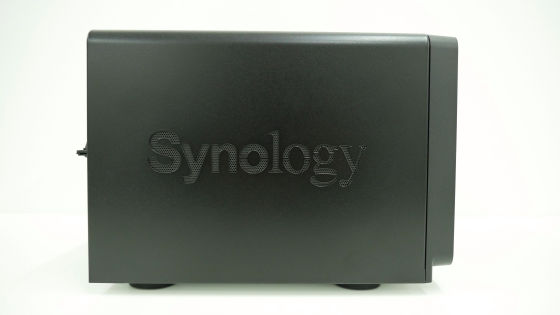
The logo is mesh for cooling.

back
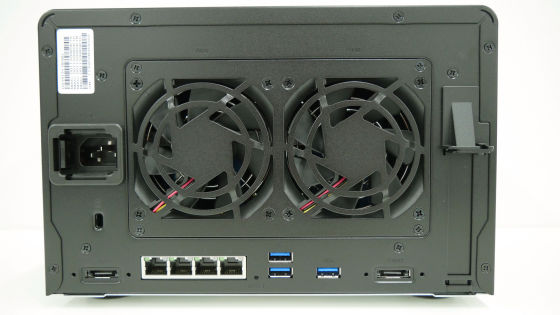
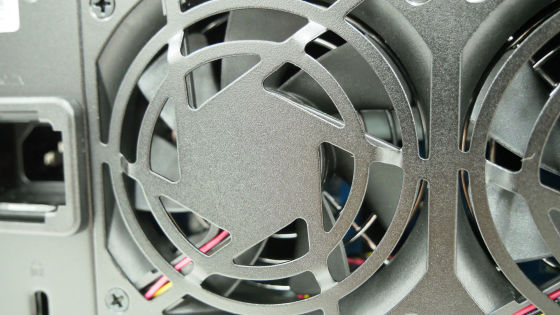
Two 8 cm fans are installed. This fan is interchangeable.
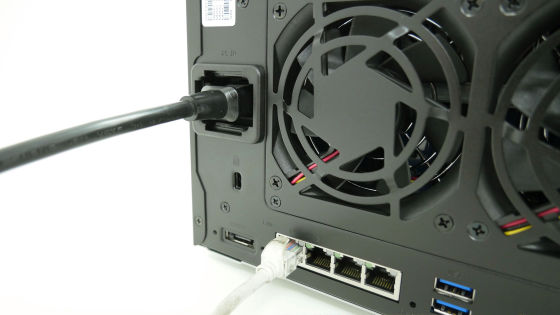
Power port
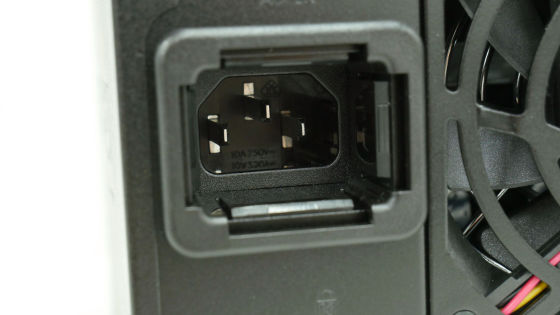
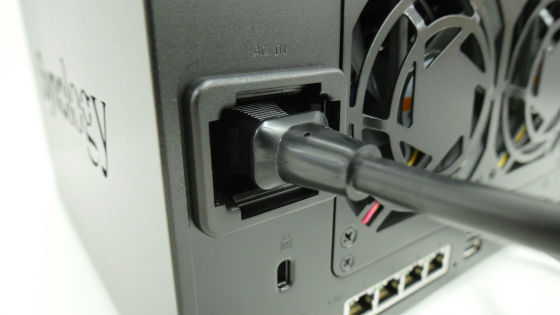
Because the port is deep, you need to plug the power cable deep into the power cable.
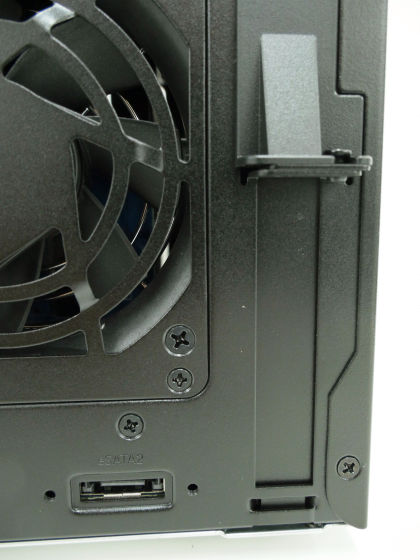
In the bottom left is an eSATA port that connects the security slot and the external storage or Synology expansion unit. There are two eSATA ports in total, one on each side.
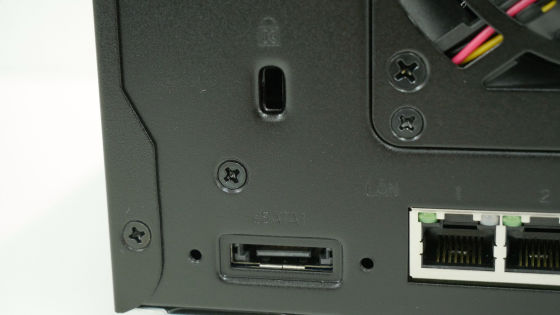
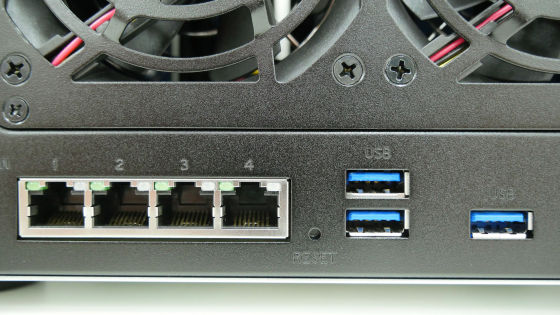
There are four LAN ports. By inserting multiple LAN cables, you can use the link aggregation function to prevent speed degradation at the time of access concentration. Three USB 3.0 ports are also installed.
◆ Extensibility
· PCI-Express
On the back right is a PCI - Express expansion slot.
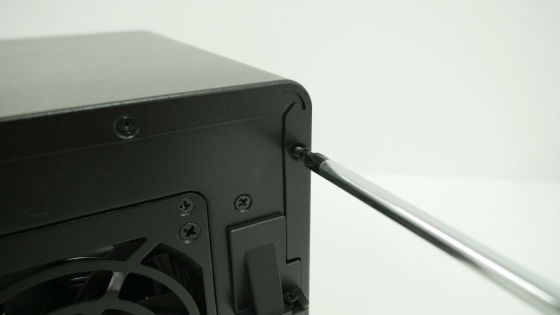
To access the expansion slot, remove the six screws on the back ... ...
Pull up the cover to the top, then pull it out to remove it.
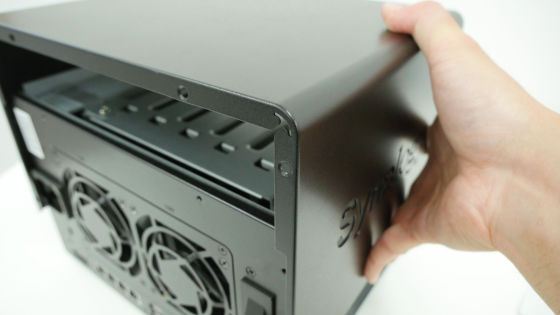
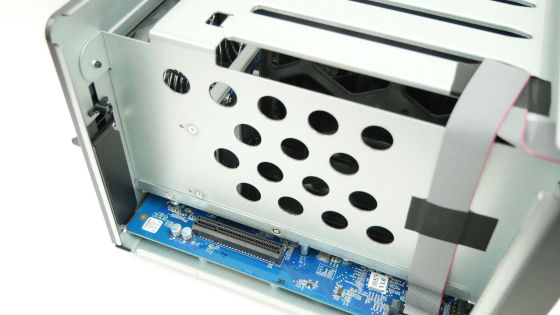
PCI - Express (x8) slot was confirmed. You can add M.2 type SSD (SATA connection) to the optional M2D17 adapter card and add it as high speed cache storage.
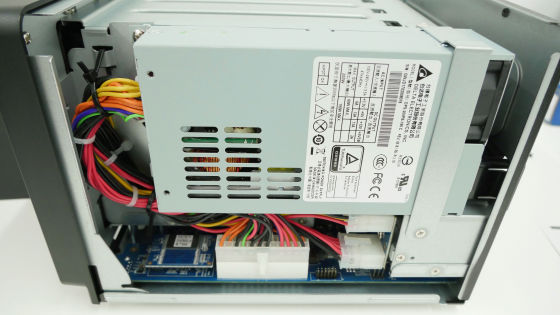
A power supply unit is installed on the opposite side of the expansion slot.
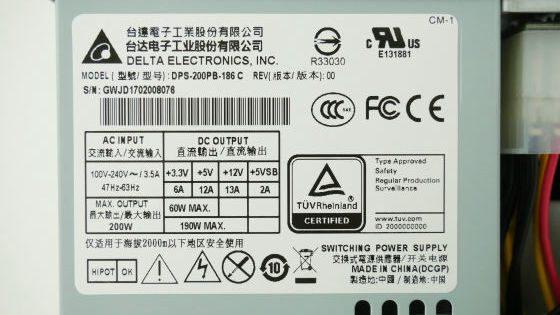
It was a 200 W power supply.
·memory
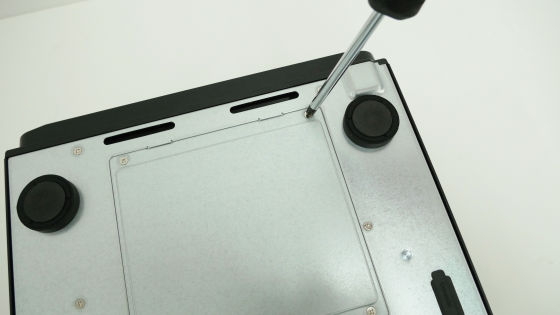
The DS1517 + can also replace the memory. Access the memory slot from the bottom.
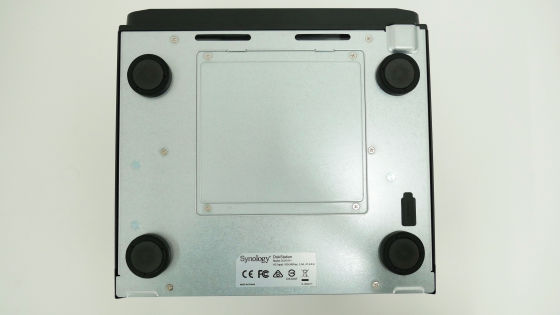
Remove 4 screws around the square plate ... ...
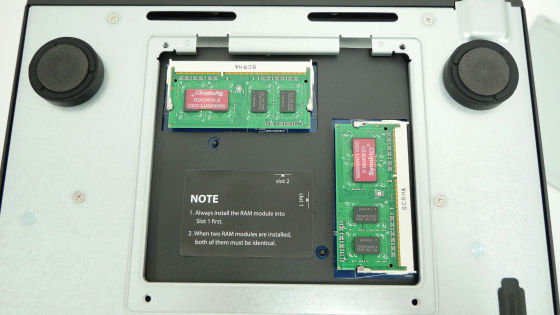
I removed the plate and the memory appeared. The 8 GB model used for the review had 2 DDR 3 memories of 4 GB installed.
·fan
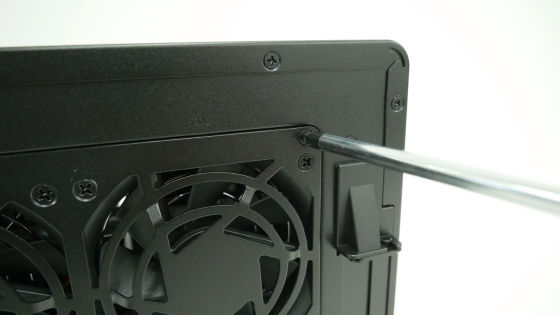
Rear fans can also be replaced. Remove 4 screws on the back ... ....
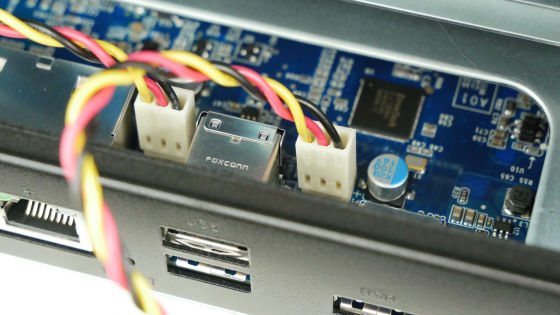
Each fan separates the fan. Although the fan was 3 cm thick, it can be used even with a thick fan because there is enough clearance.
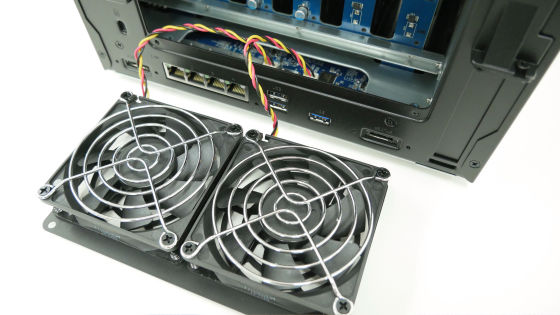
It is a 3-pin type general 8 cm fan, so it is relatively easy to replace it with a fan with quiet performance.
◆ Installing the HDD
The DS1517 + is capable of attaching / detaching the HDD without a tool such as a driver. Pushing the bottom part of the drive tray with your fingers ......
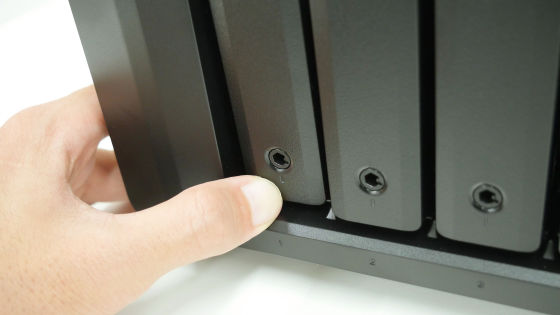
The lock is released with the clicking sound.
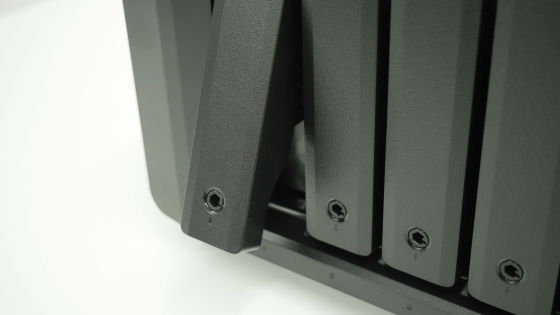
Afterwards if you pull out the drive bay OK.
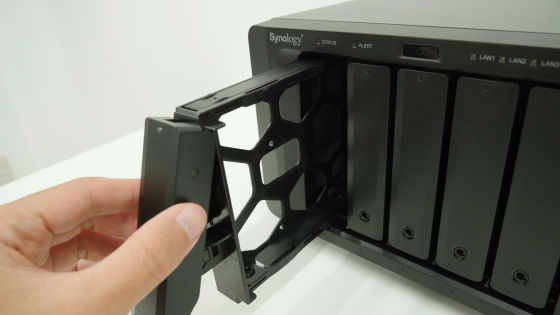
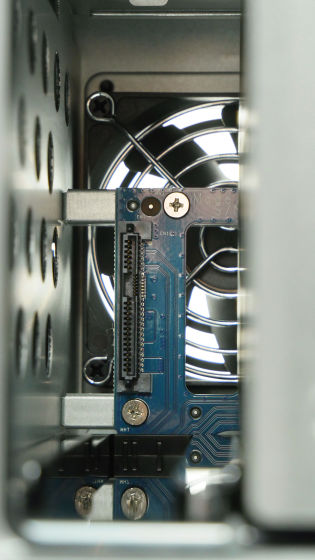
I could see the SATA and power connector when I looked inside.
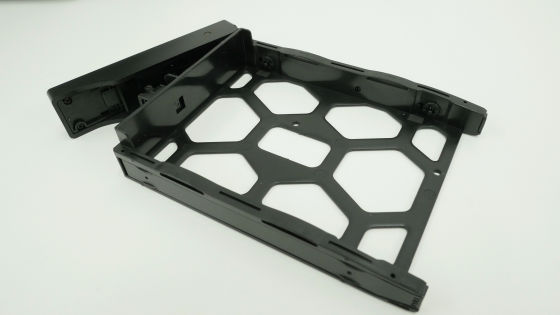
The drive bay is made of plastic.
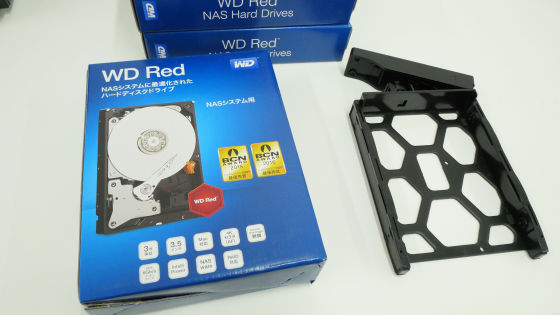
This time, Western HDD as HDD for NAS "WD80EFZX"(8 TB model) using four,RAID 10I will join you. Because it is RAID 10, capacity will be used at half of 16 TB.
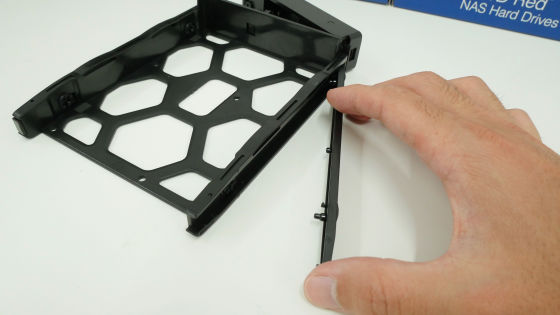
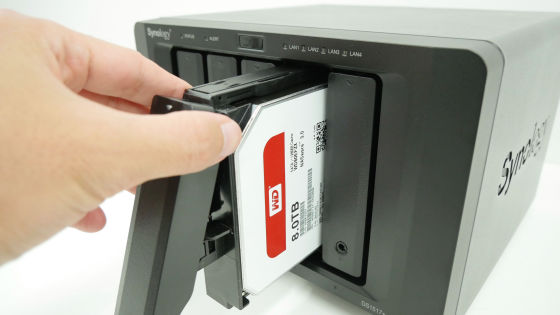
HDD installation is also tool free. Remove the fixing panel on the side ... ...
Fit the HDD from above.
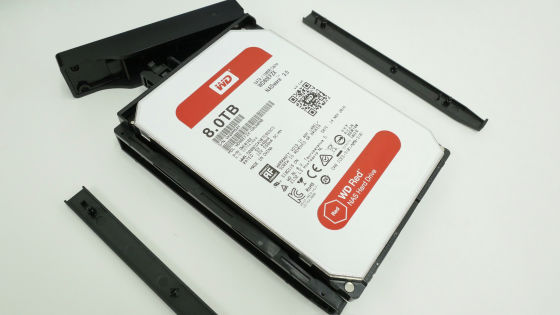
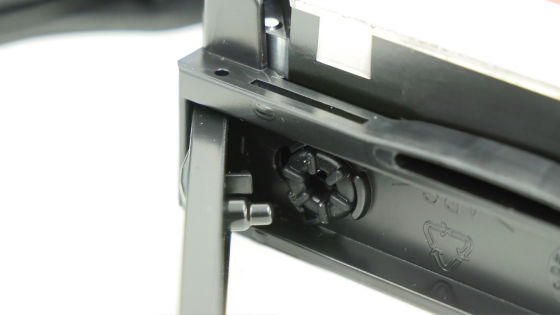
Since there are hooks and bush pins on the fixed panel, it is OK if it fits into the hole and restores. The HDD could be fixed easily.
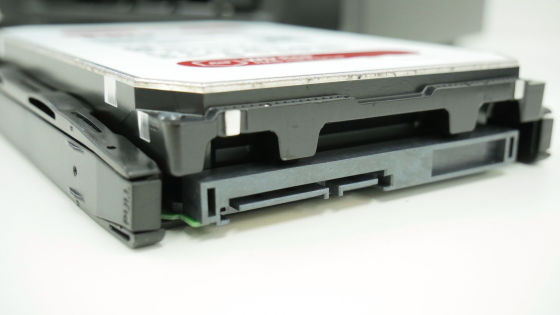
Attach the HDD so that the connector comes to the front in the front (in the picture on the front side) side.
For 3.5 inch type HDD, it is possible to fix with tool free using fixed panel, but if you use 2.5 inch type storage, you can fasten the storage with 4 screws from the back side of the drive bay and fix it. Ali is a 2.5 inch SSD aiming for super high speed performance.
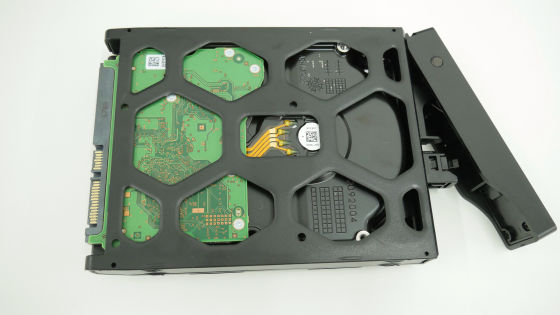
After that, return the drive bay to the tray as it is ......
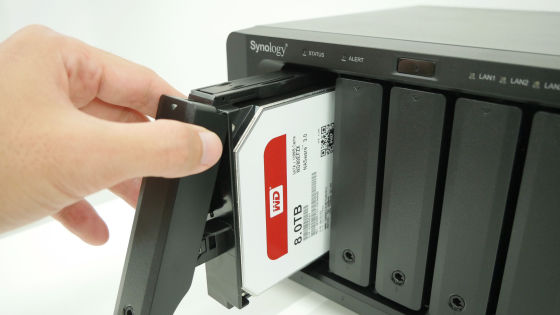
If you hear a click when you press the tray with your fingers, you can fix the HDD.
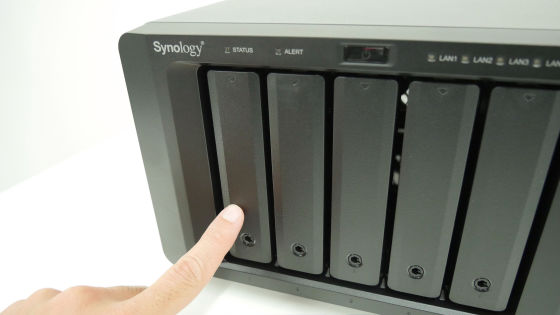
Each drive tray is equipped with a lock.
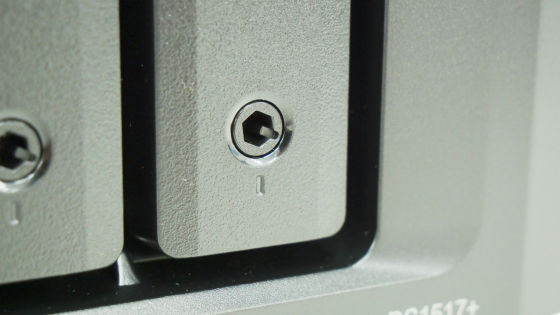
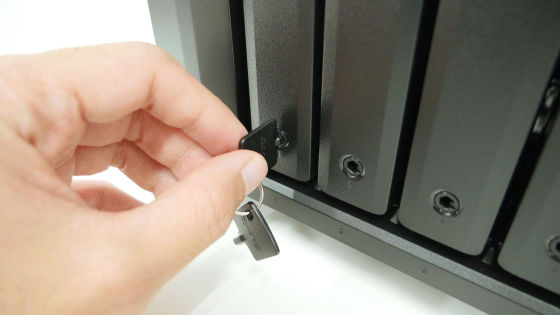
After inserting the HDD, it is safe to lock it by turning the key to the right for safety.
HDD insertion completed from tray 1 on the left to tray 4.
After installing the HDD, insert LAN cable and power cable ......
Turn on the front power button.
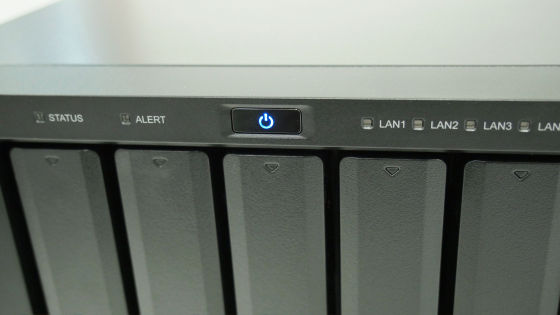
The blue LED lamp glowed.
When the power is turned on, the indicator at the top of the drive tray where the HDD is inserted glows green.
◆ Initial setting
· Installing DSM
The first task is for the NAS OS "DiskStation Manager(DSM) "installation. When you start up the browser on a PC connected to the same network as the DS1517 + and access it by entering "find.synology.com" in the URL field ...,
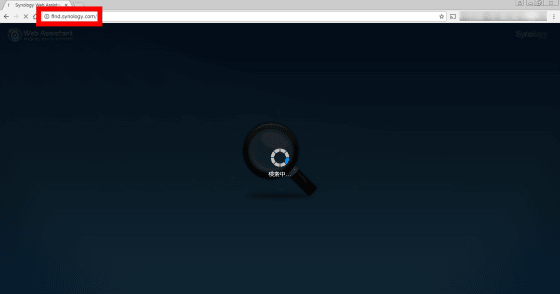
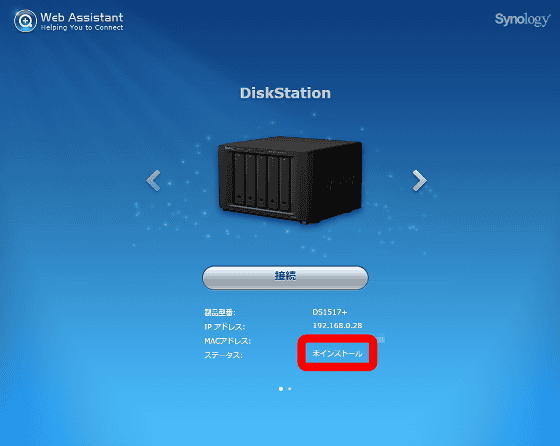
The connection screen will be displayed. If you are already using another Synology NAS, make sure that the status is "not installed" so that you do not accidentally initialize the existing NAS.
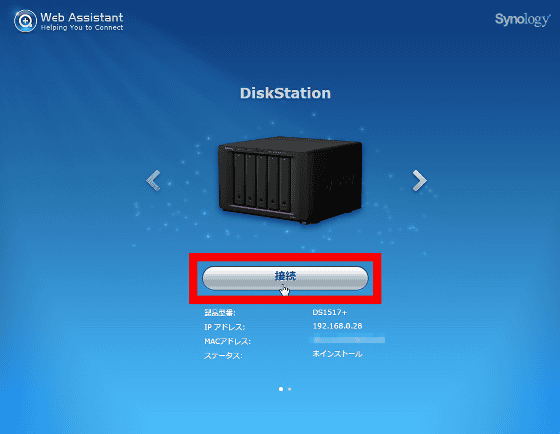
Click "Connect".
After waiting for a while ... ....
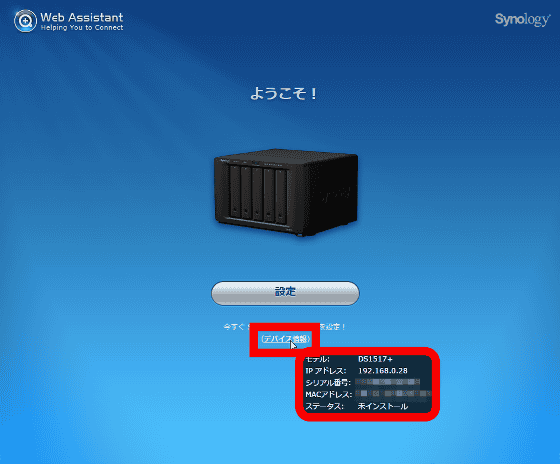
"Welcome!" Was displayed. If you mouse over the "Device information", the status of the NAS will be displayed.
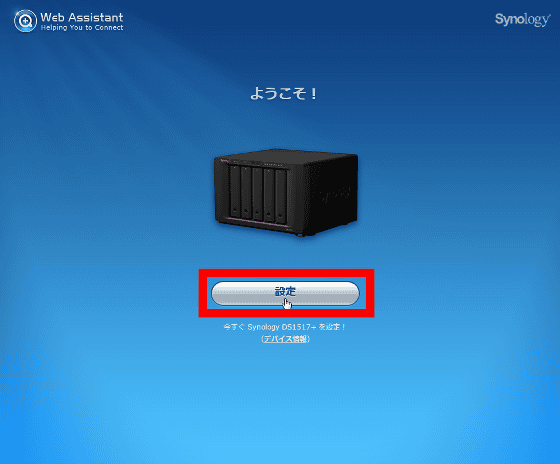
Click "Setting".
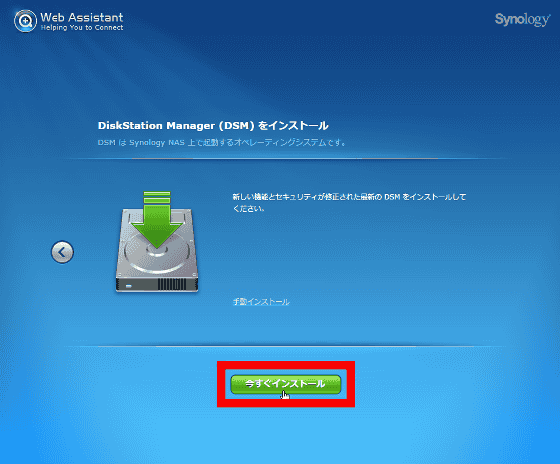
Click "Install now".
Click "OK" to initialize the hard disk and install DSM.
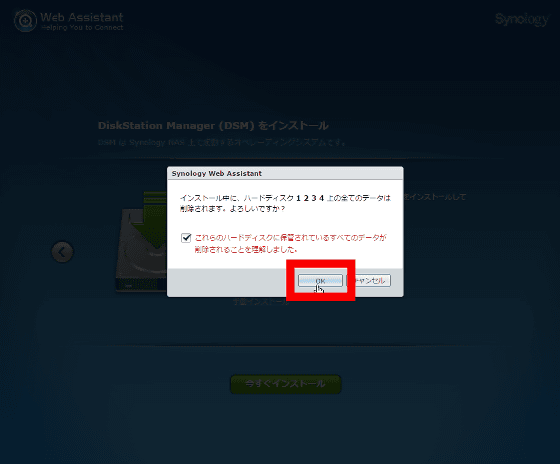
The installation work should be about 4 to 10 minutes. Wait for the work to finish.
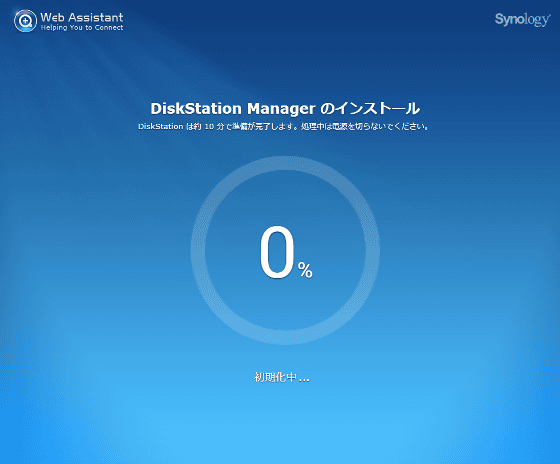
A countdown called "10 minutes to complete restart" started, but it does not take much time. DSM installation & reboot is completed in about 5 minutes with 4 TB HDDs in 4 states.
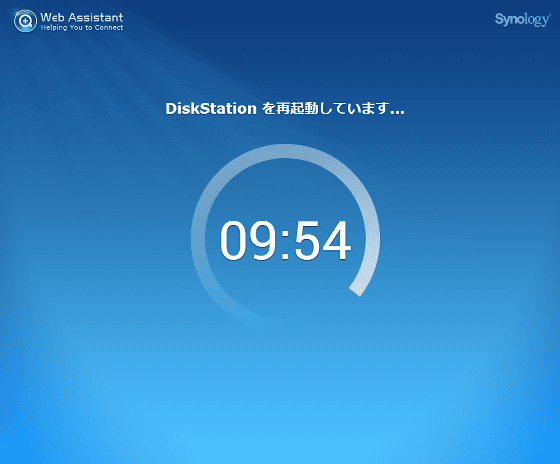
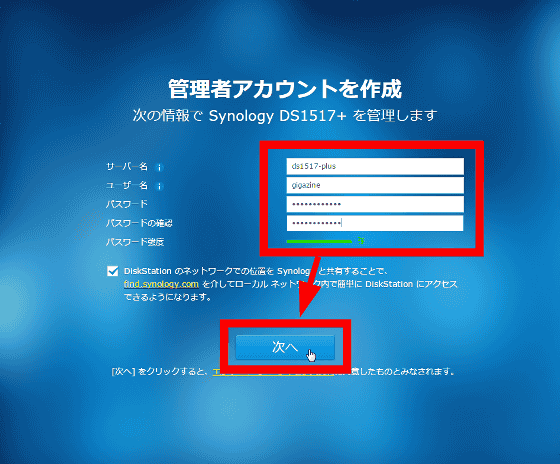
When the DS1517 + restarts, the creation screen of "administrator account" is displayed.
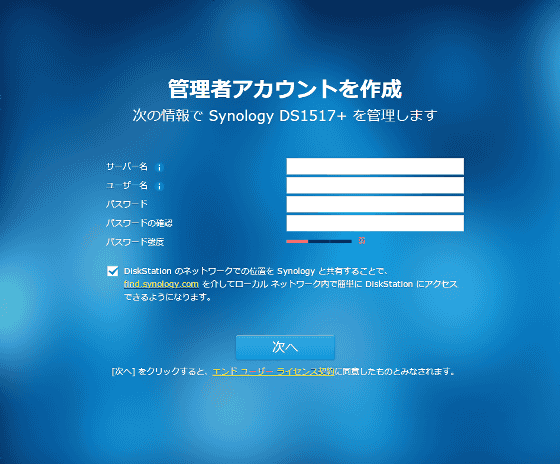
Set the server name, user name, password and click "Next". Note that these information can be changed again after setting.
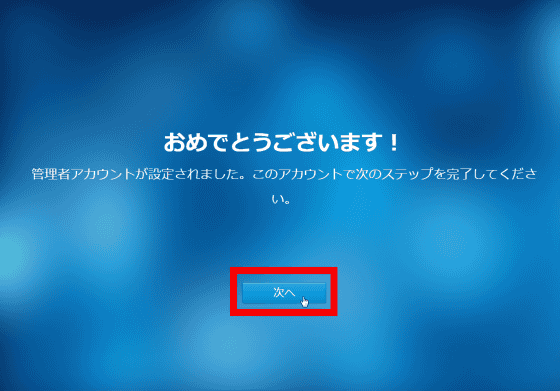
When "Congratulations!" Is displayed, click "Next".
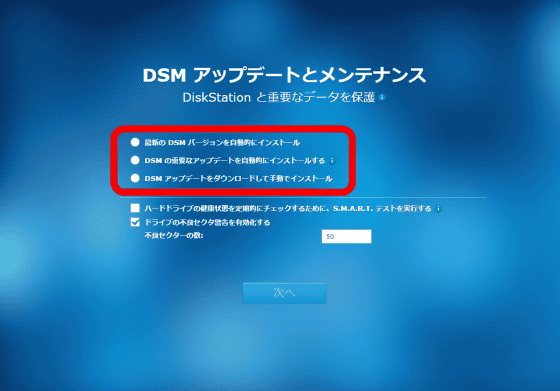
The screen for updating DSM will be displayed. About the update It is necessary to select from among three of "Automatically install latest DSM version", "Install important updates of DSM automatically", "Download DSM update and install it manually".
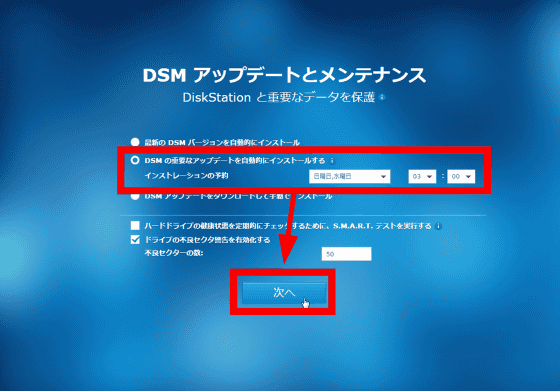
It is troublesome to manually update it, but it is also troublesome to start updating while working so that it is automatic ... ... so that we access the NAS of "Sunday and Wednesday midnight at 3 o'clock" twice a week I decided to specify the time that would be less. Of course, you can change the update schedule later. Click "Next".
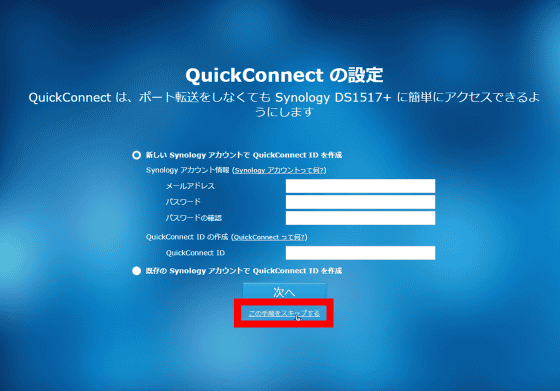
If you register the Synology account, you can use "QuickConnect" function which makes it easy to access the DS1517 + without port forwarding. For now, if you prefer to prioritize the configuration task, click "Skip this step" OK.
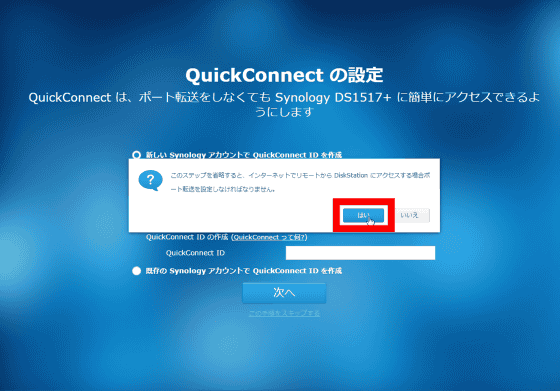
Click "Yes".
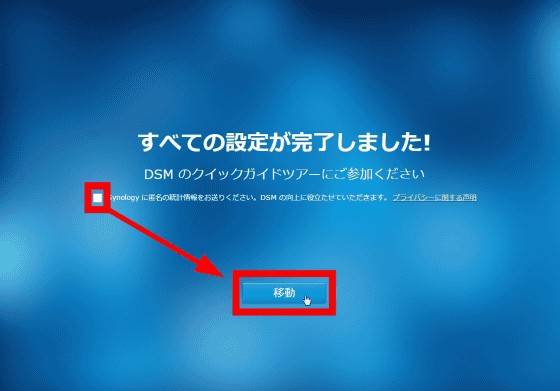
The message "All settings completed!" Is displayed, please remove the check mark of "Please send anonymous statistical information to Synology" and click "Move" to complete the DSM installation work.
· Hard disk volume setting
DSM operates from the browser. The tutorial begins when DSM is started for the first time, and there are explanations of various buttons, so clicking and reading will be OK.
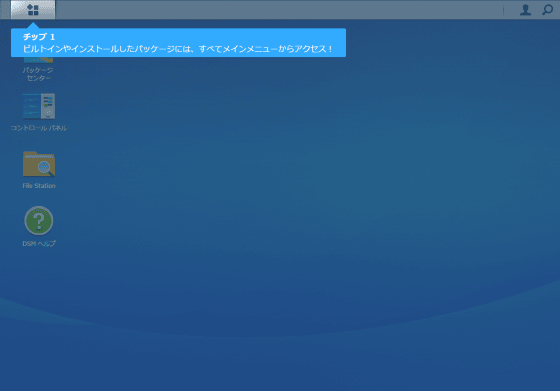
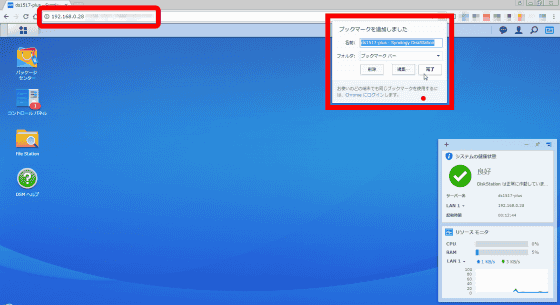
After you complete the tutorial, make sure that the URL specific to your browser is displayed, save it as "bookmark" at this point, it will be easier to access the DSM desktop from the next time.
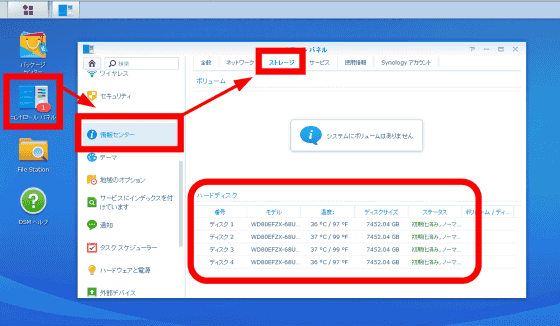
By clicking "Control Panel" → "Information Center" → "Storage" tab on the DSM desktop, you can display the HDD status. I was able to confirm that all HDDs were working without any problems.
· RAID construction · Volume creation such as Btrfs specification
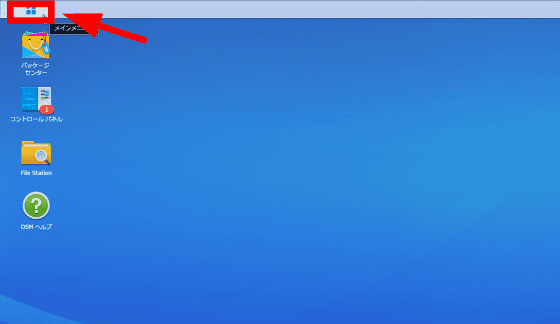
Next, we will move on to the RAID setting work. Click the "Main Menu" button on the task bar at the top of the screen.
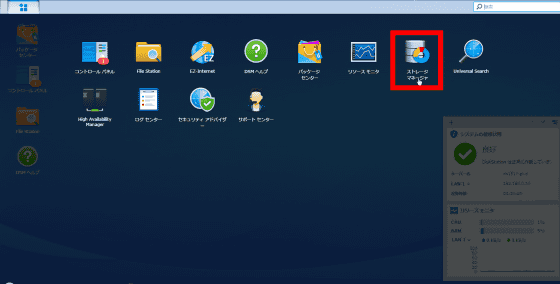
Click "Storage Manager".
The Storage Manager window will start up.
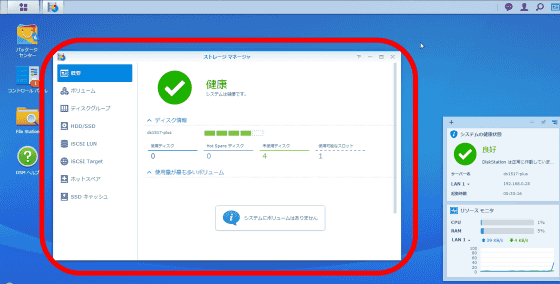
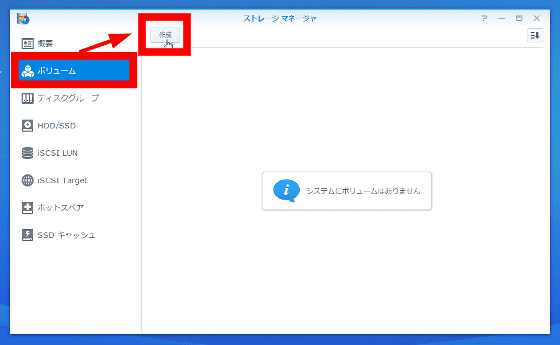
Click "Volume" → "Create".
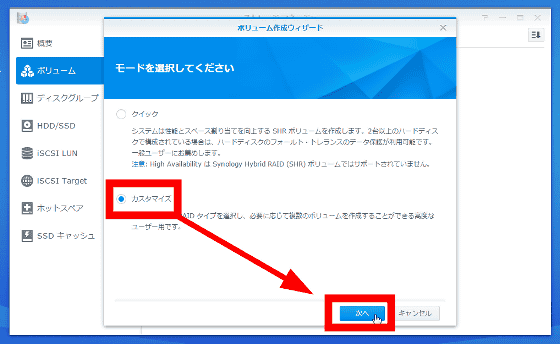
If you have one HDD, specify "Quick" OK. In this example, we will configure RAID 10 with 4 HDDs, so click "Customize" and press "Next".
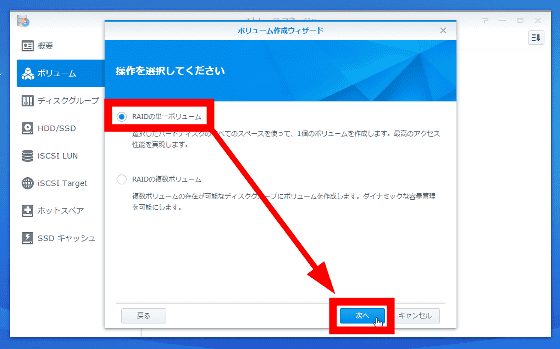
If you create multiple volumes separately, select "Multiple volumes of RAID". Since this time it creates with a single volume, select "Single volume of RAID" and click "Next".
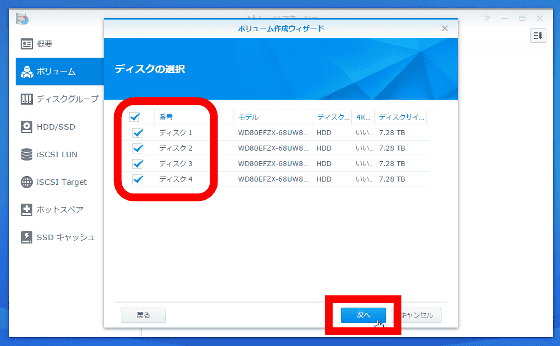
When you have confirmed that all "Disks" are checked, click "Next".
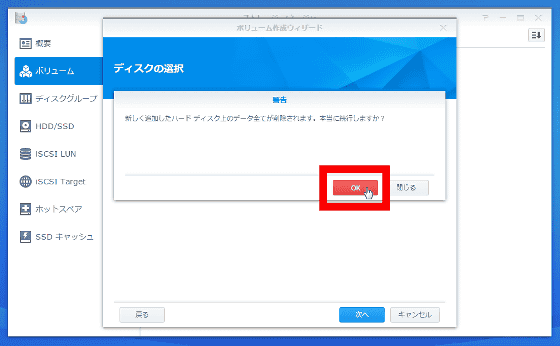
A warning that "data on the hard disk is deleted" appears, so click "OK".
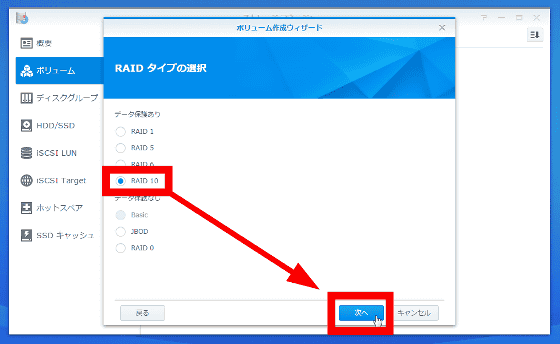
Next select the RAID type. For this time, select "RAID 10" and click "Next".
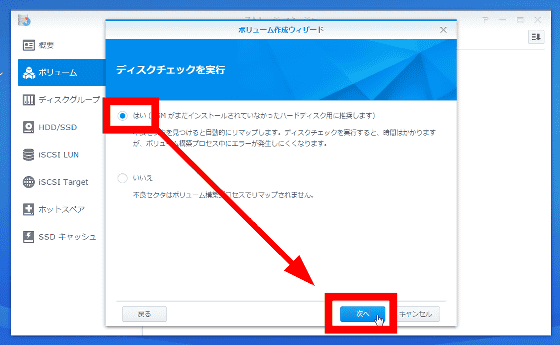
Select whether to execute disk check. In order to reduce the possibility of error occurrence, it is recommended to check the disk, but it may take several tens of hours in the case of large capacity HDD, so it is OK if you select working time.
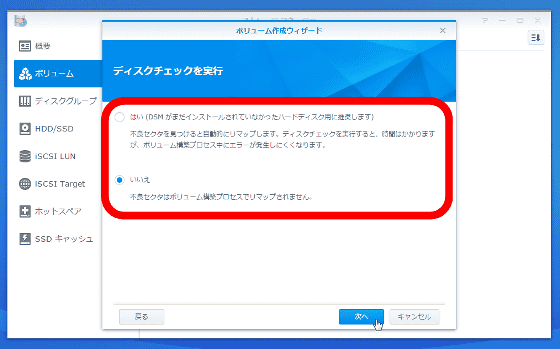
Select "Yes" and click "Next".
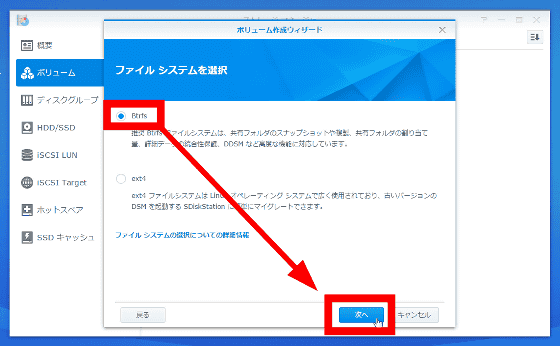
Next is the selection of the file system. DS1517 + is a file system "BtrfsThere is no hand not to use because it corresponds to (B Tree FS). Select "Btrfs" and click "Next".
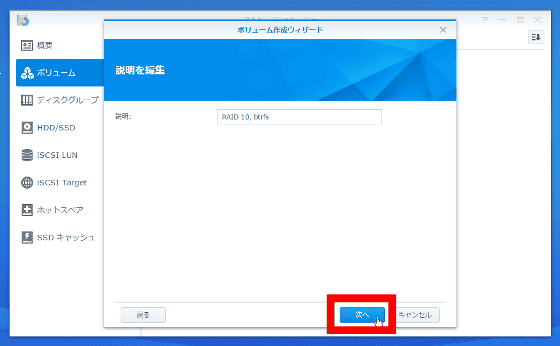
If necessary, fill in a note in "Description" and click "Next".
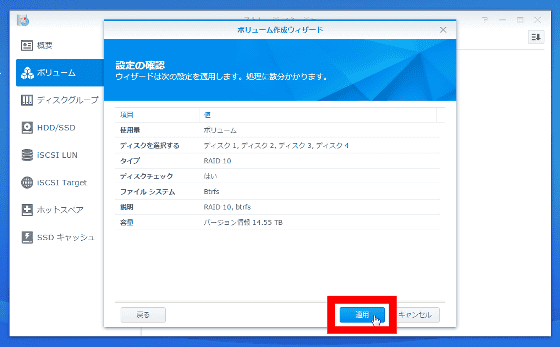
After confirming the setting, click "Apply".
Disk check has started. Depending on the capacity of the HDD it will take a very long time, but wait until the check is completed without shutting down the DS1517 +.
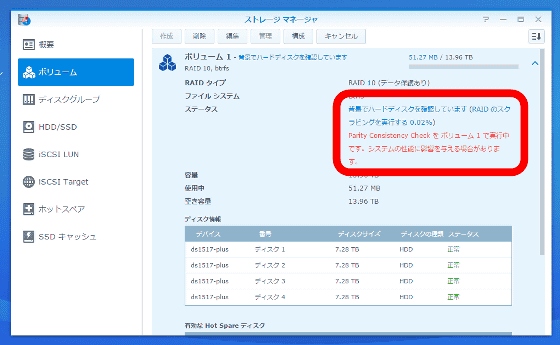
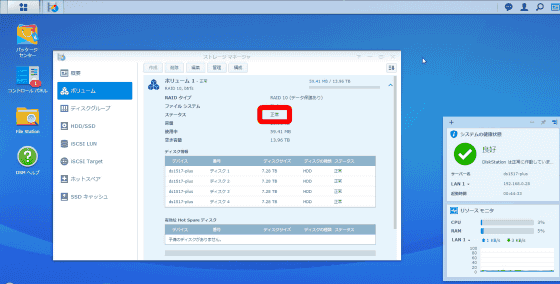
When the status changes to "Normal" the initial setting is completed. You will be ready to use the NAS.
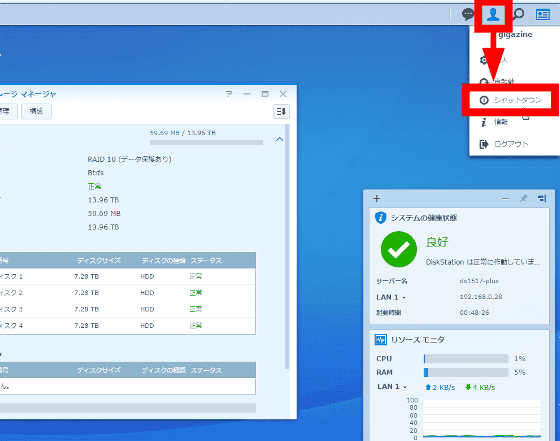
Finally, shut down the DS1517 +. It is possible to shut down even if the power button is pressed for a long time until a buzzer sound like "beep" is received, but it is also possible to operate on the DSM from the browser. Click "icon" on the task bar → "shut down".
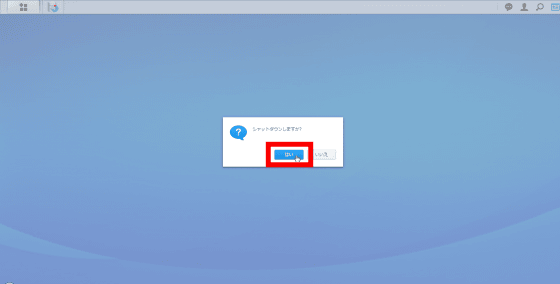
You can turn off the DS1517 + by clicking "Yes".
So, with the installation of HDD, software DSM installation, volume setup including RAID etc., it became ready to use NAS. Next time, we plan to do "file sharing setting" so that multiple people can use DS1517 +.
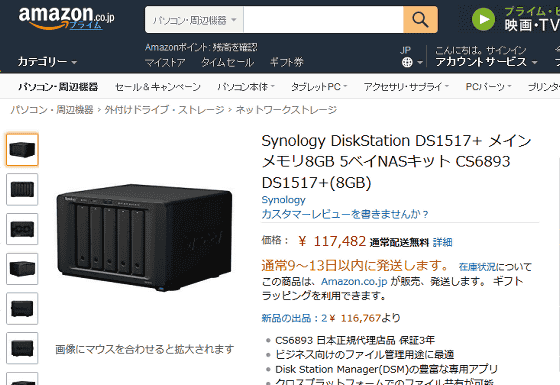
The DS1517 + (8GB memory model) used in the review is on sale at Amazon with 117,482 yen (free shipping).
Amazon | Synology DiskStation DS1517 + main memory 8GB 5 bay NAS kit CS6893 DS1517 + (8GB) | Synology | network storage | personal computer / peripheral equipment
· Continued
Procedure to create shared folders with Disk Station Manager (DSM) and share and save access logs within the group & mail notification when trouble occurs Summary

Related Posts:

