How to convert video files for PlayStation Vita, tips etc. Conclusion
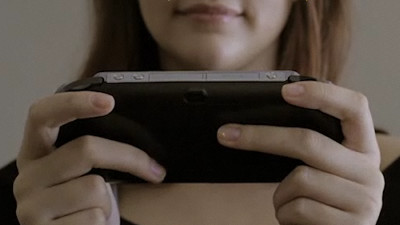
On December 17PlayStation VitaSince it was released, soonTaking advantage of cooperation function with torne and comfortable commuting lifeAlthough it is sending, but because it is too comfortable to watch recorded programs one by one, at the end there is no program to watch at hand.
In PS Vita, in addition to recorded programs, I can properly reproduce even encoded video that I encoded by myself, so I thought whether to put the video that was in hand at the end from one end and see it ...... As it is not necessary to see it as it is, a bit of setting and tips became necessary, so I tried writing an article instead of a memo.
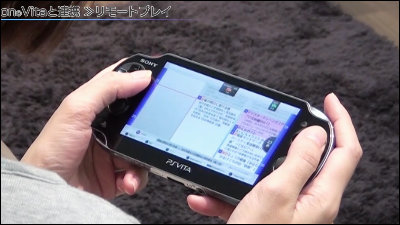
First, Vita's screen size is 5 inch organic EL display. The main unit resolution is 960 x 544,The resolution when torn exports with high resolution is 720 x 480It has become.
Actually tried with various sizes, it was playable if it was HD 720p (1280 x 720) size. Also,Supported codecs are MPEG-4 Simple Profile (AAC), H.264 / MPEG-4 AVC High / Main / Baseline Profile (AAC)So,If you convert it to mp4 of 720p OKabout it.
If it is an mp4 file whose resolution is 1280 x 720 or less, you can just copy it as is, but it is not just that kind of file. For example,Yoshida-kun of hawk's claw announces unofficial slogan of Shimane prefecture without permission"Since the original resolution of the movie is 1440 x 810, it can not be played on Vita because it is slightly big. "What do you want to do, Yoshida-kun!" As soon as we convert the video, we will be able to play it on Vita.
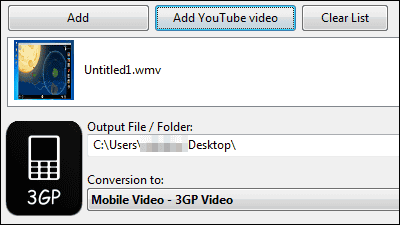
To use it is free video conversion software "Freemake Video Converter".
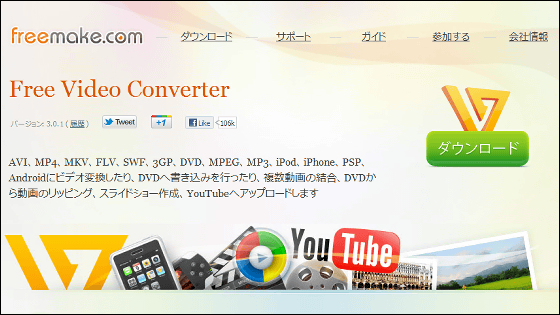
First, download the software ......
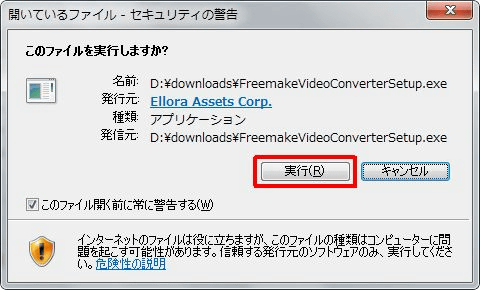
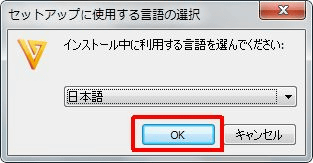
Launch the installer. Because Japanese is available, it is easy.
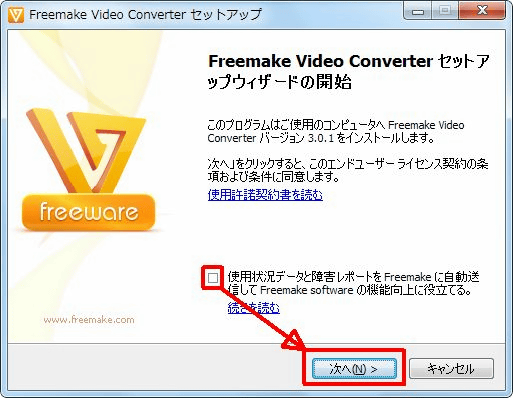
Please uncheck and click "Next".
Select Advanced, uncheck it and click "Next".

Please uncheck and click "Next".

Click "Next"

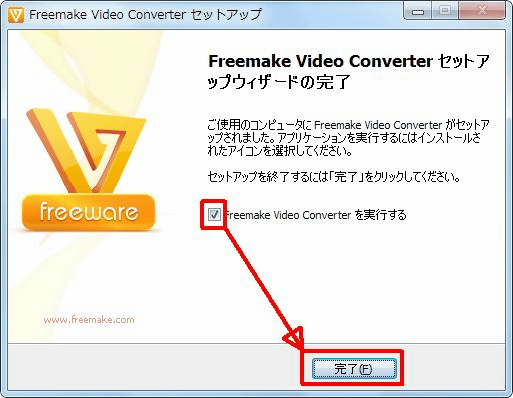
Confirm that the check is on and click "Finish"
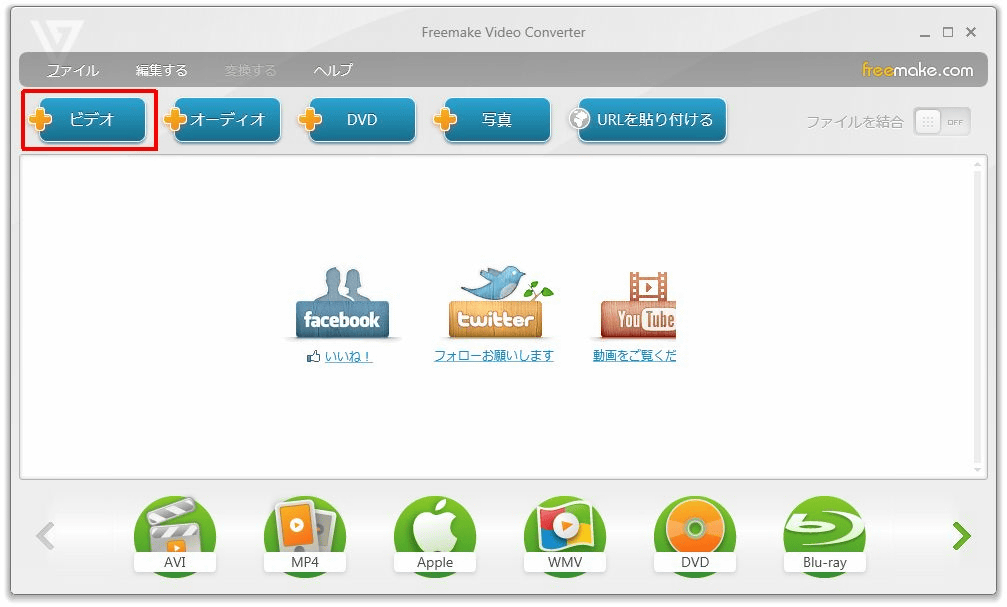
This starts Freemake Video Converter. Click "Video" and select the file you want to convert.
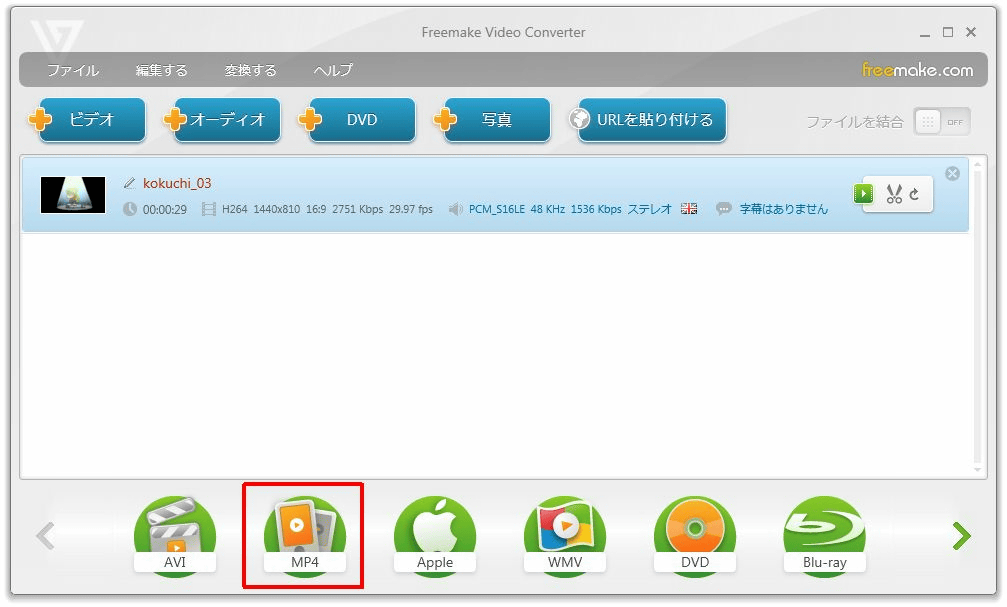
When the file is added, click "MP 4" in the menu below.
Select "HD 720p" for the profile and click the customize icon below it.

Make the name easy to understand "PS Vita", confirm that the frame size is "1280 x 720" and click "OK".

Click "Convert"

This will start converting the file
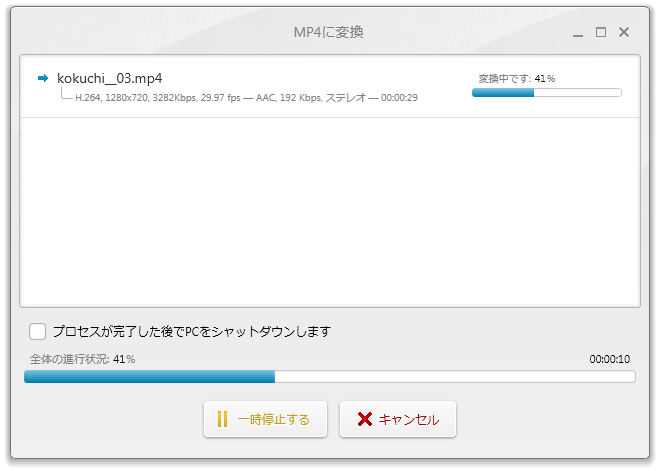
Originally it was a file of 30 seconds, but conversion was completed in 1 minute which is twice the real time (CPU of the notebook PC used is 2.66 GHz of Intel Core 2 Duo CPU P 8800). Now PS Vita has become a playable format.

People who want to convert even a little bit to high speed or want to compress the file size are charged softwareTMPGEnc Video Mastering Works 5There are also hands to use. In the case of this software,Configuration file for encoding movies for PSVitaThere are people who are publishing, so if you use it OK. The resolution is 960 x 544.
Actually converting ....
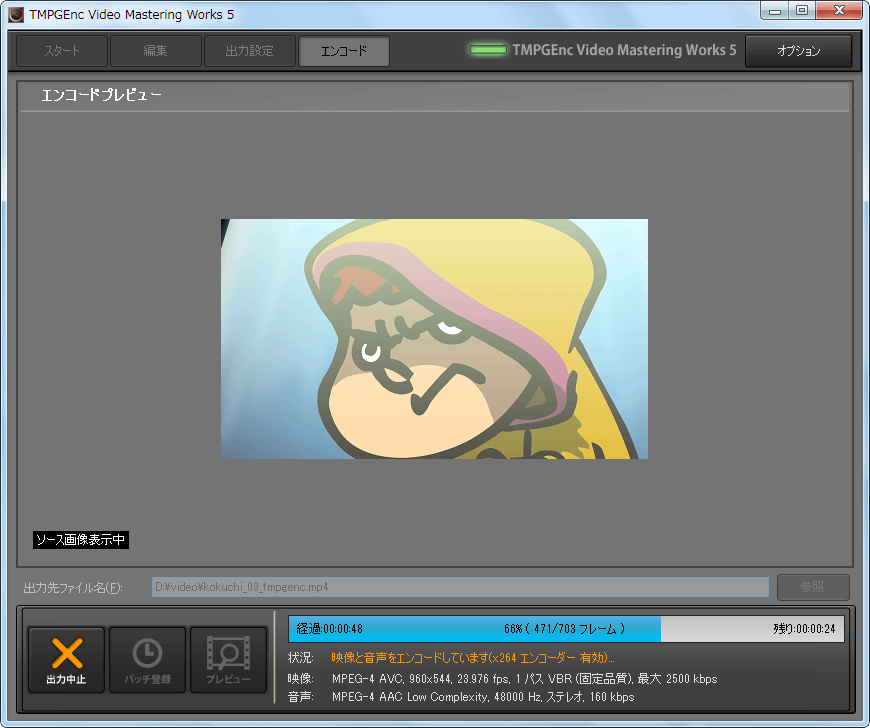
Conversion completed. Original movie file (MOV format) from above, 1280 x 720 MP4 file converted with Freemake Video Converter, 960 x 544 MP4 file converted with Freemake Video Converter, 960 x 544 file converted with TMPGEnc Video Mastering Works 5.

If you actually try to synchronize this folder with Vita, it will look something like this. Since it does not correspond to the MOV format file, it is not displayed in the list and only the three MP4 format files are visible. If it is a copyable file you can check like this.

I was able to check playback at Vita.

By the way, for those who say "I do not want to encode files, I want to end it soon ..."How to transfer videos to PSVita without re-encodingThere are also things. This is in the MP4 file header without changing the resolutionlevelIt converts it into a file that can be played even by Vita by rewriting it. However, if the resolution is too high, such as full HD, it will not be a format that can be played with this method, so proper file conversion is necessary.
Related Posts: