A summary of how to use the GainExpress SLM-441 digital sound level meter, which allows real-time monitoring and charting of noise levels on a PC.
GIGAZINE has reviewed numerous laptops and mini PCs, and one thing we always check is the noise level from the cooling fans. We found the GainExpress SLM-441 digital sound level meter on Amazon, which is inexpensive, supports data recording and output, and allows for real-time monitoring on a PC, making it seem like it would enable more accurate noise measurement. So we added it to
SLM-441 Decibel Meter Datalogger Sound Level Tester Noise Decibel Reader Monitor SPL Meter with 43,000 Data Record, Visual Alarm, A/C Weighted, PC Connection Colored Screen Display for Home, Classroom, Traffic Noise Monitoring etc. - Gain Express
https://www.gainexpress.com/products/slm-441
Amazon.co.jp: Decibel Meter Data Logger Digital Sound Decibel Meter, Sound Level Meter with 43,000 Data Recording and Export, Rechargeable Noise Meter with A/C Frequency and DC Output, 3-Color Alarm, Real-Time Measurement: Industrial & Scientific Supplies

·table of contents
◆Appearance & Contents
◆Startup & Initial Setup
◆Calibrate using a calibrator
◆Actually measure noise levels in various locations.
◆Connect to a PC for real-time monitoring and data retrieval.
◆Appearance & Contents
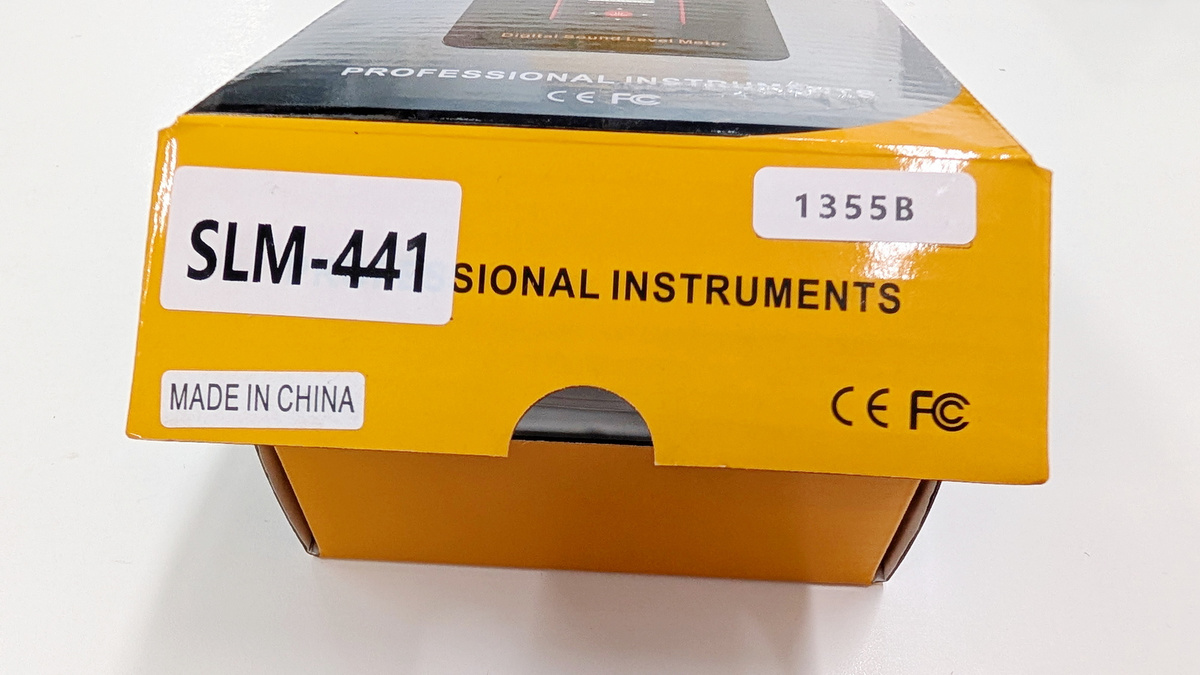
This is what the SLM-441's packaging looks like.

GainExpress is a measuring instrument manufacturer established in Hong Kong in 2003, and its products had a 'MADE IN CHINA' sticker on them.
This is what it looks like when you open the box. It contains the instruction manual, the main unit, and accessories.

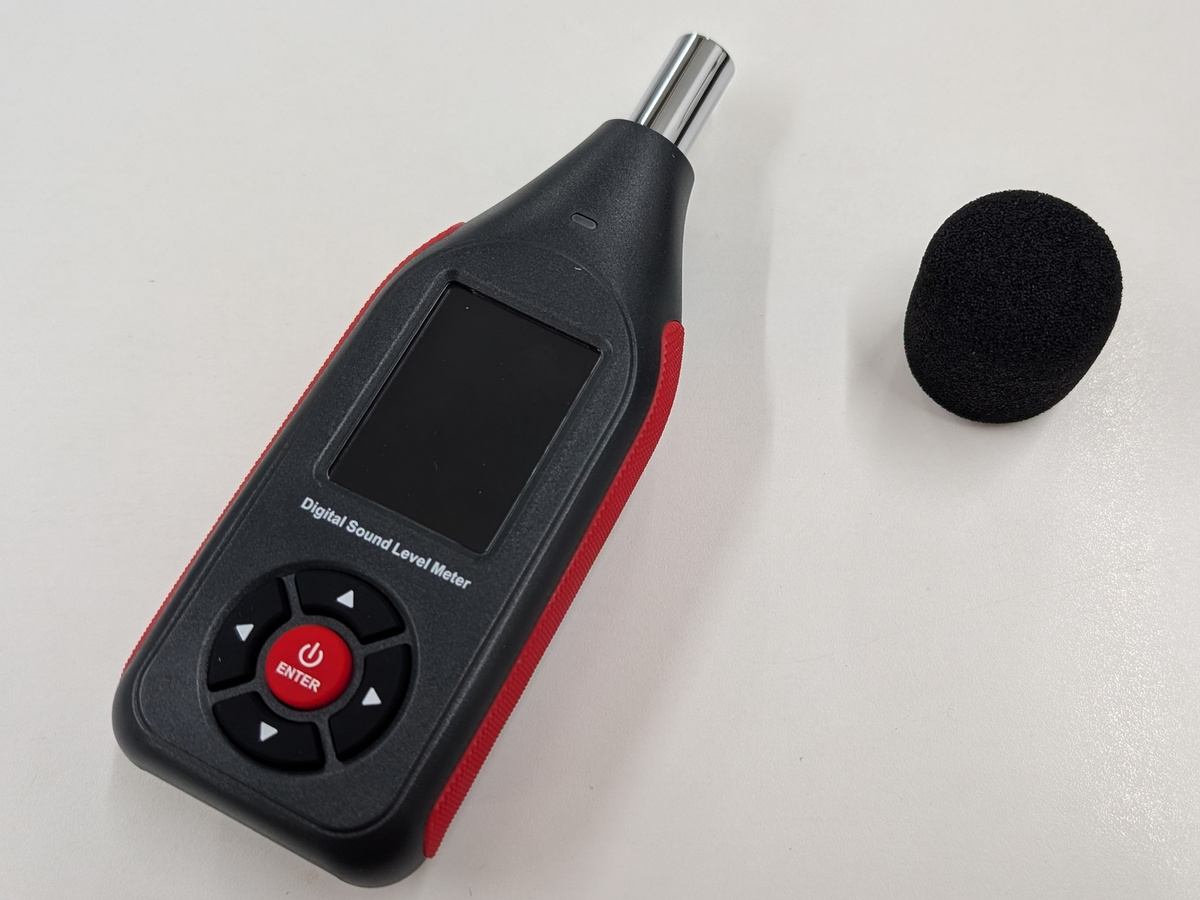
The SLM-441 unit and a sponge ball that serves as a microphone hood for wind protection.
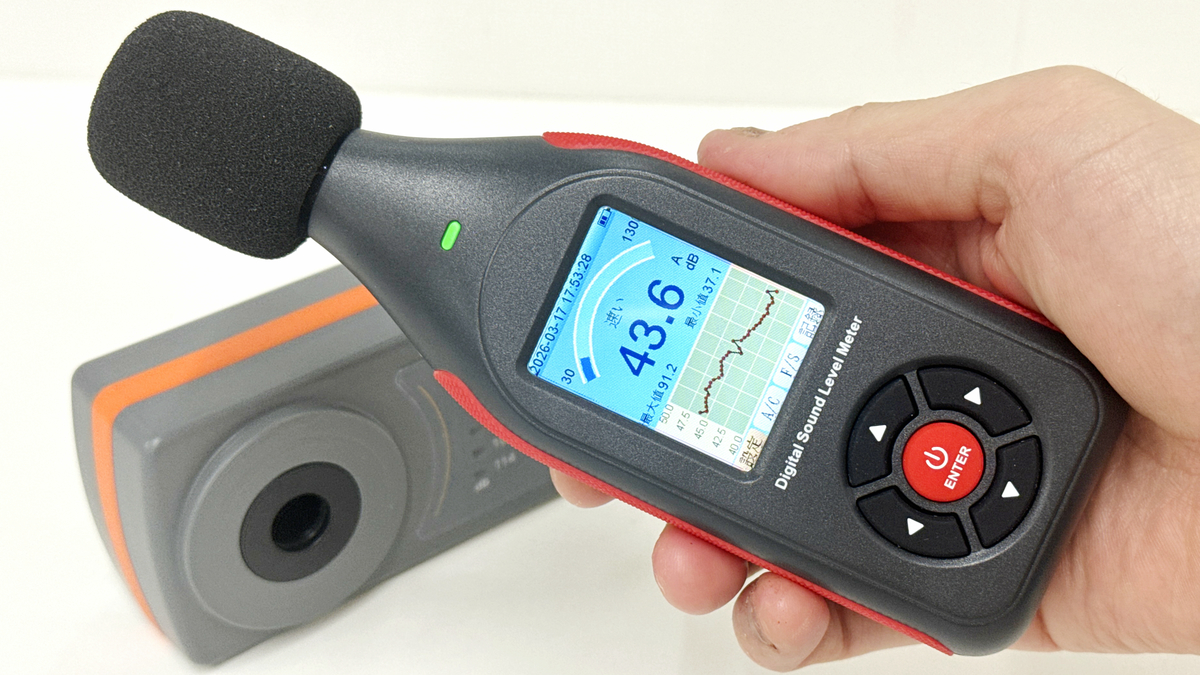
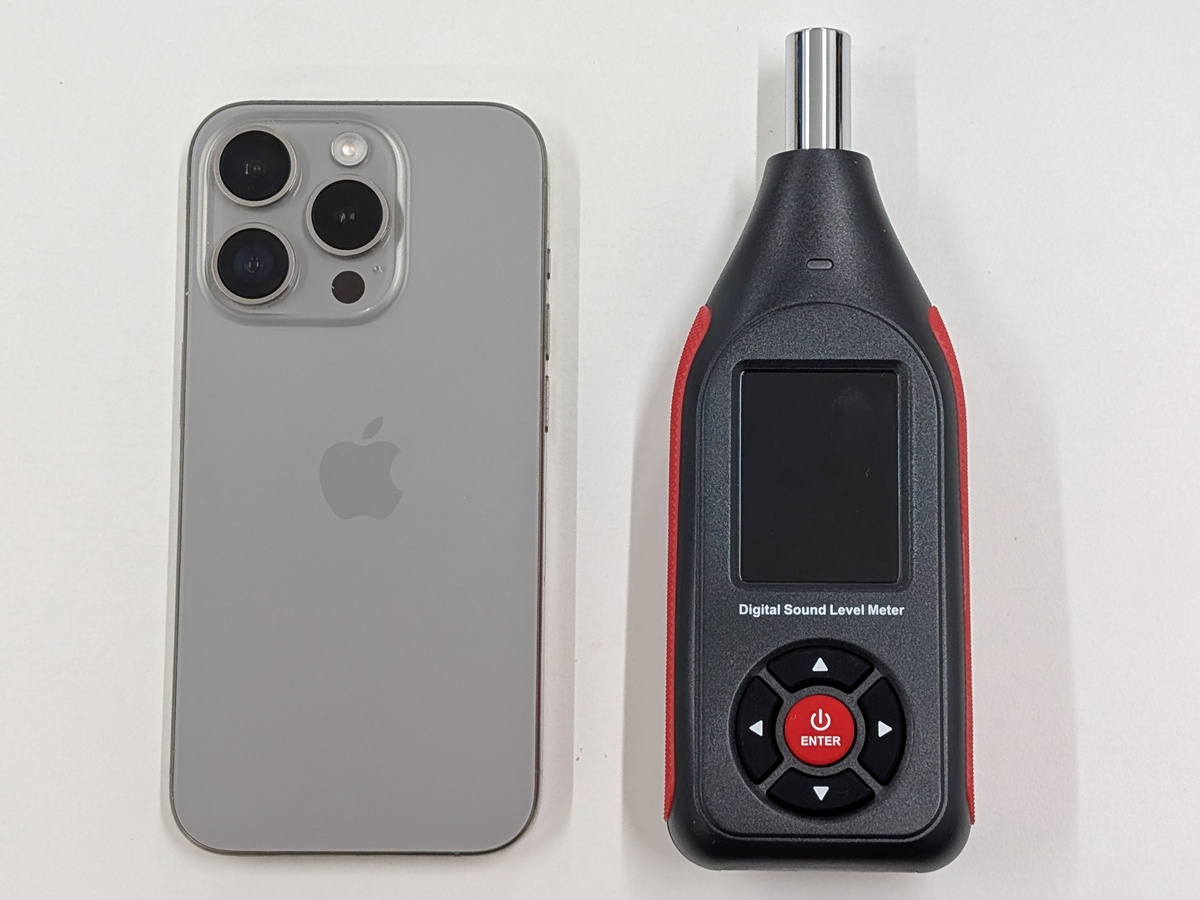
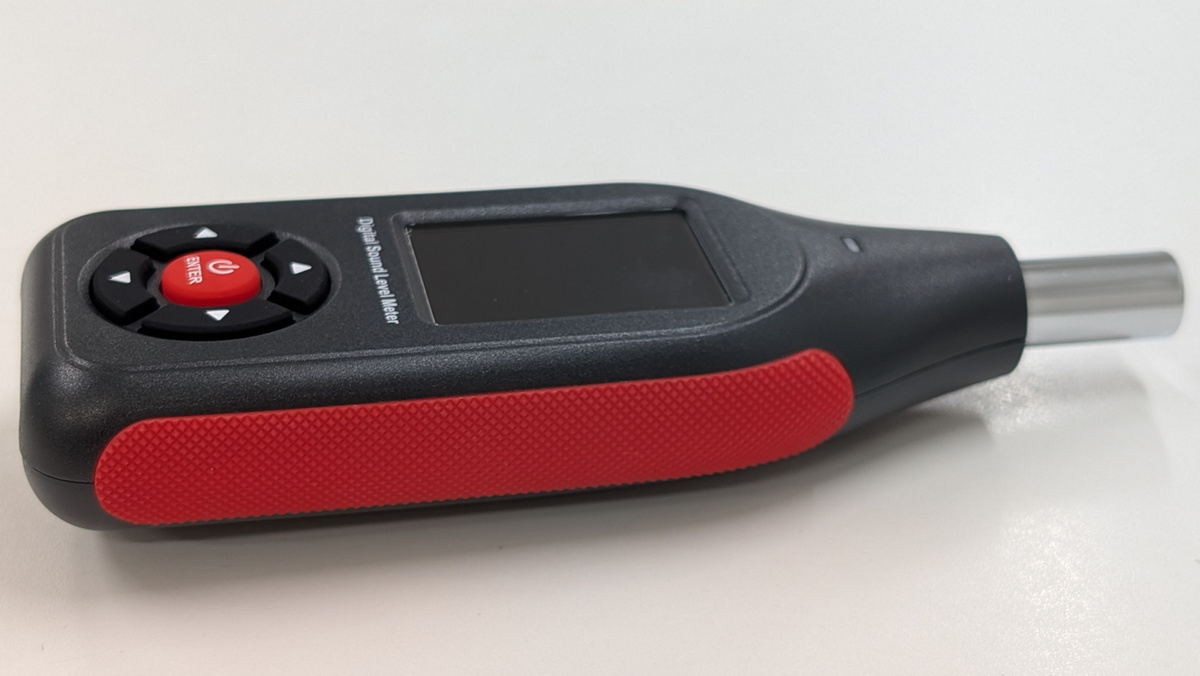
The dimensions are 56mm wide x 160mm deep x 31mm thick, and it weighs approximately 114g. Here's a comparison with the iPhone 15 Pro, which has a long side of 146.6mm. On the front, there's an LED indicator, an LCD monitor, up/down/left/right selection buttons, and a central power button.
The left side has a rubber grip with checkering.
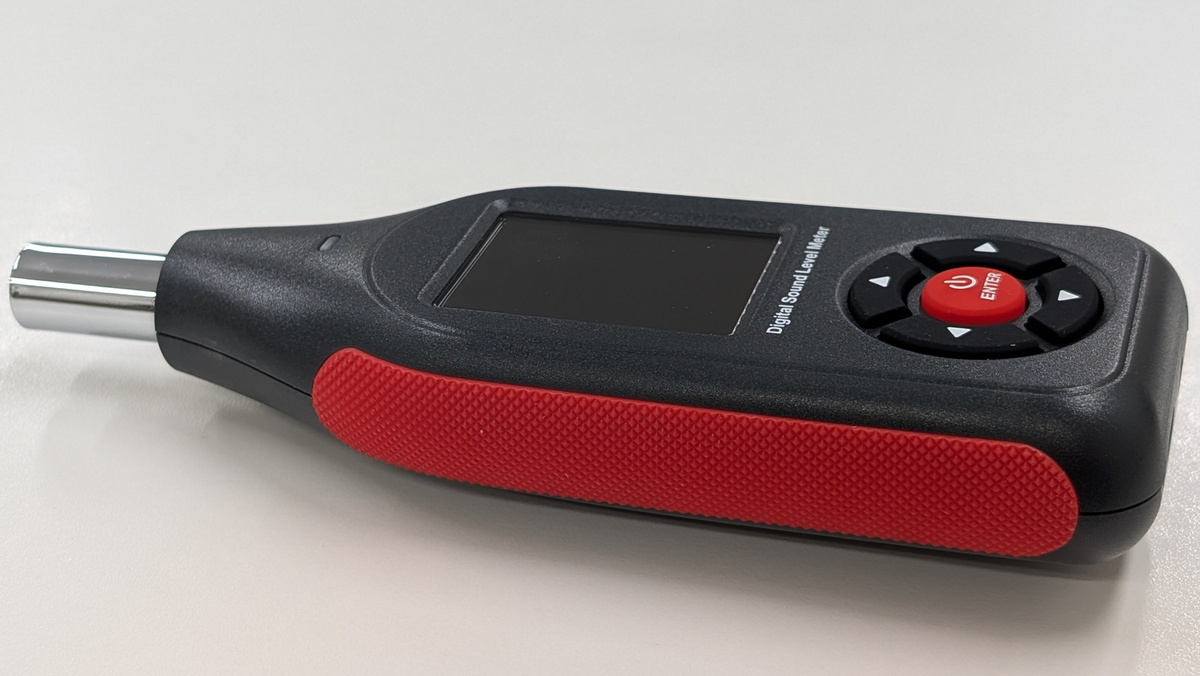
The right side also features a rubber grip with checkering.
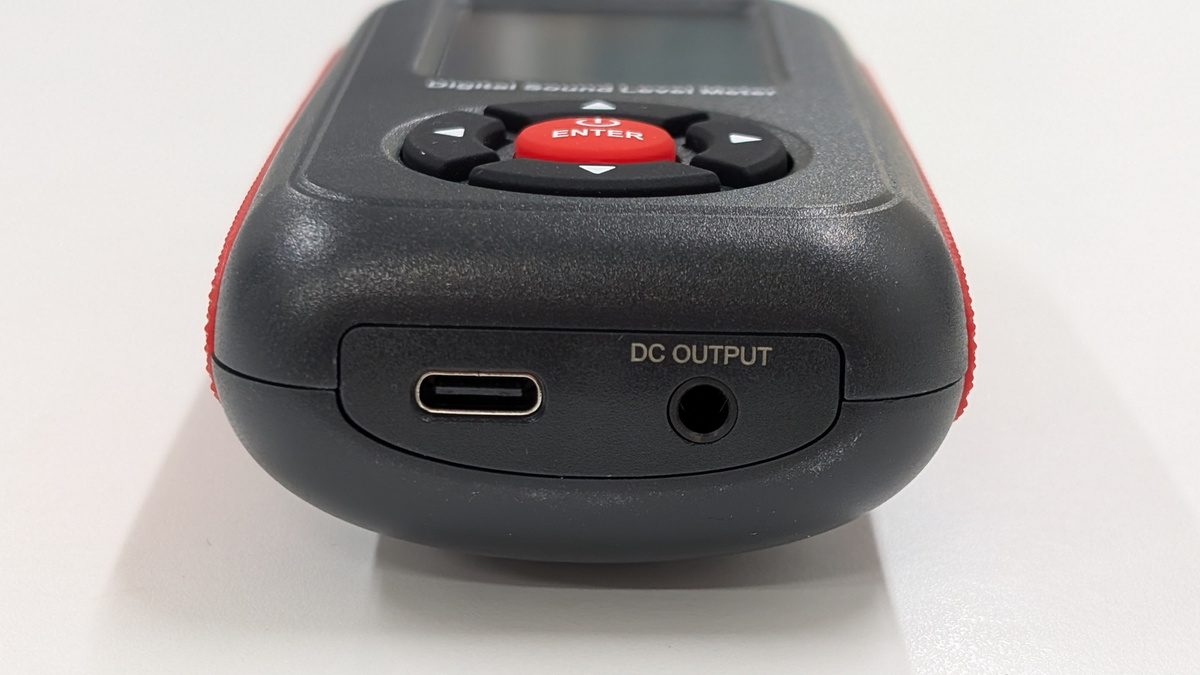
The bottom features a USB-C port for connection and charging, and a DC output port that can output noise levels proportional to the voltage. The nominal battery life is 8 hours, and the charging time is 1.5 hours. The DC voltage range is 300mV to 1200mV, and the impedance is 120R.
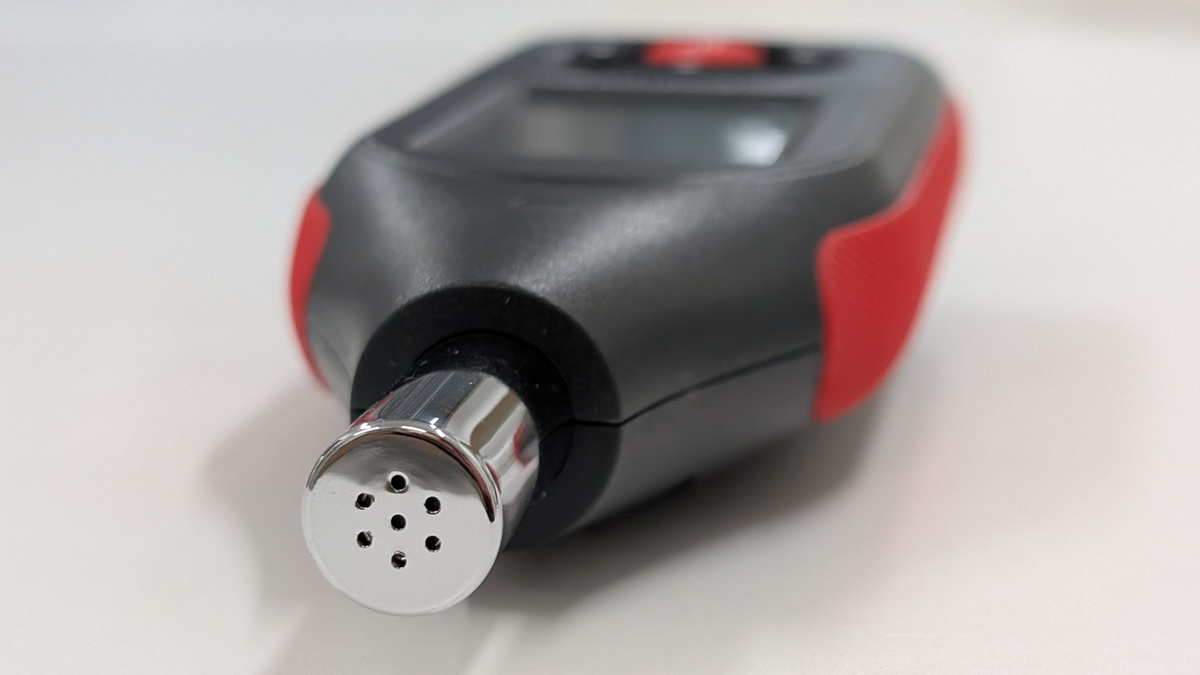
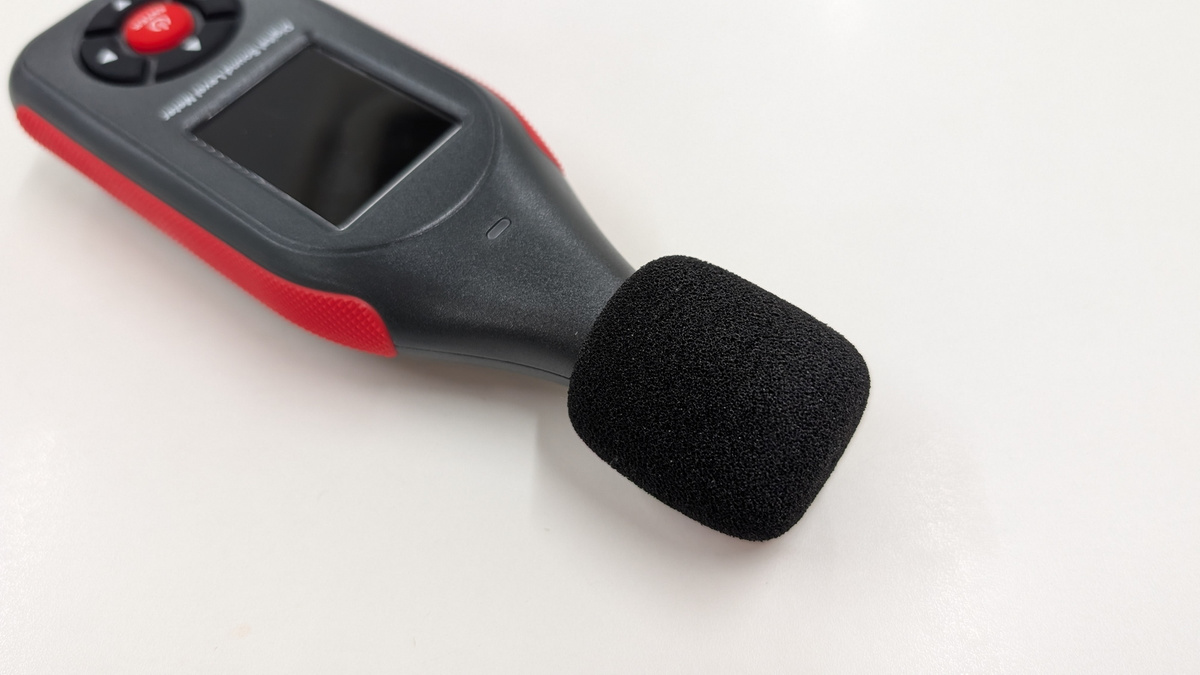
This is the condenser microphone section. It can measure in 0.1 dB increments within a range of 30 to 130 dB.
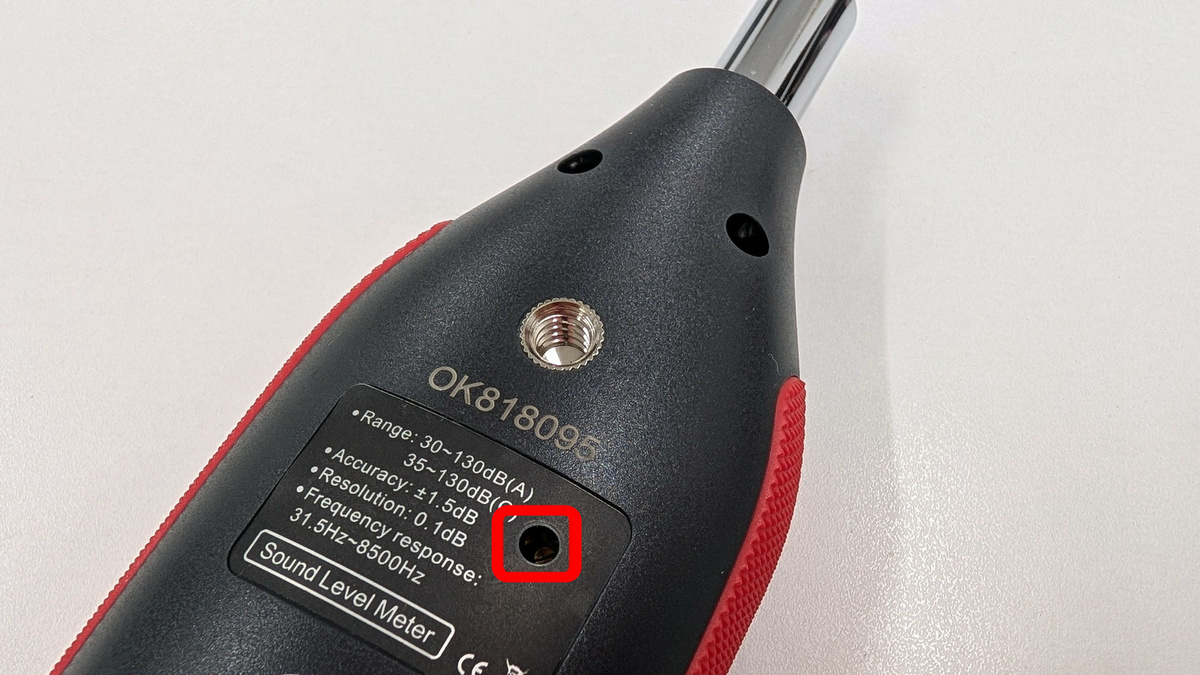
This is what the back looks like.
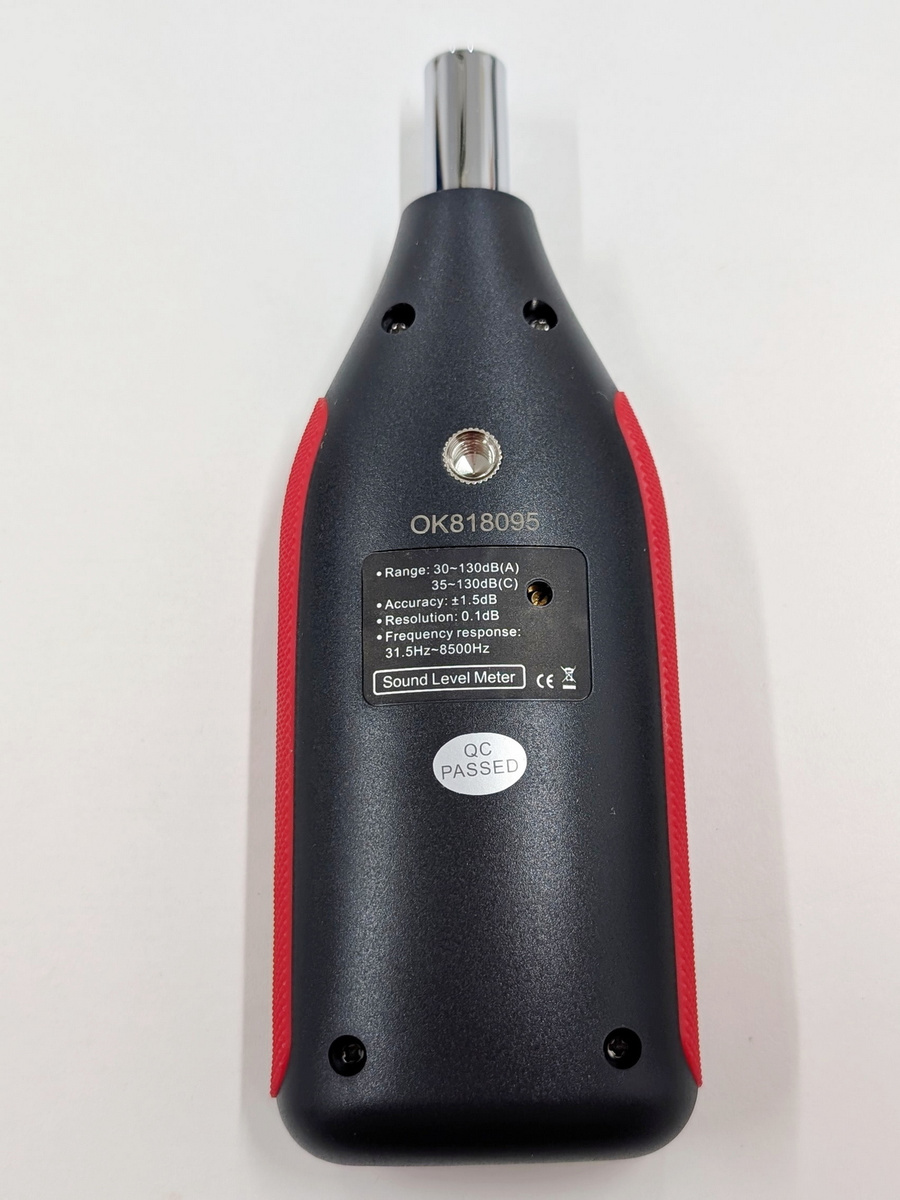
There is one screw hole for attaching it to a tripod. The area enclosed in the red frame is a screw hole for calibration.
Place a sponge ball over the condenser microphone.
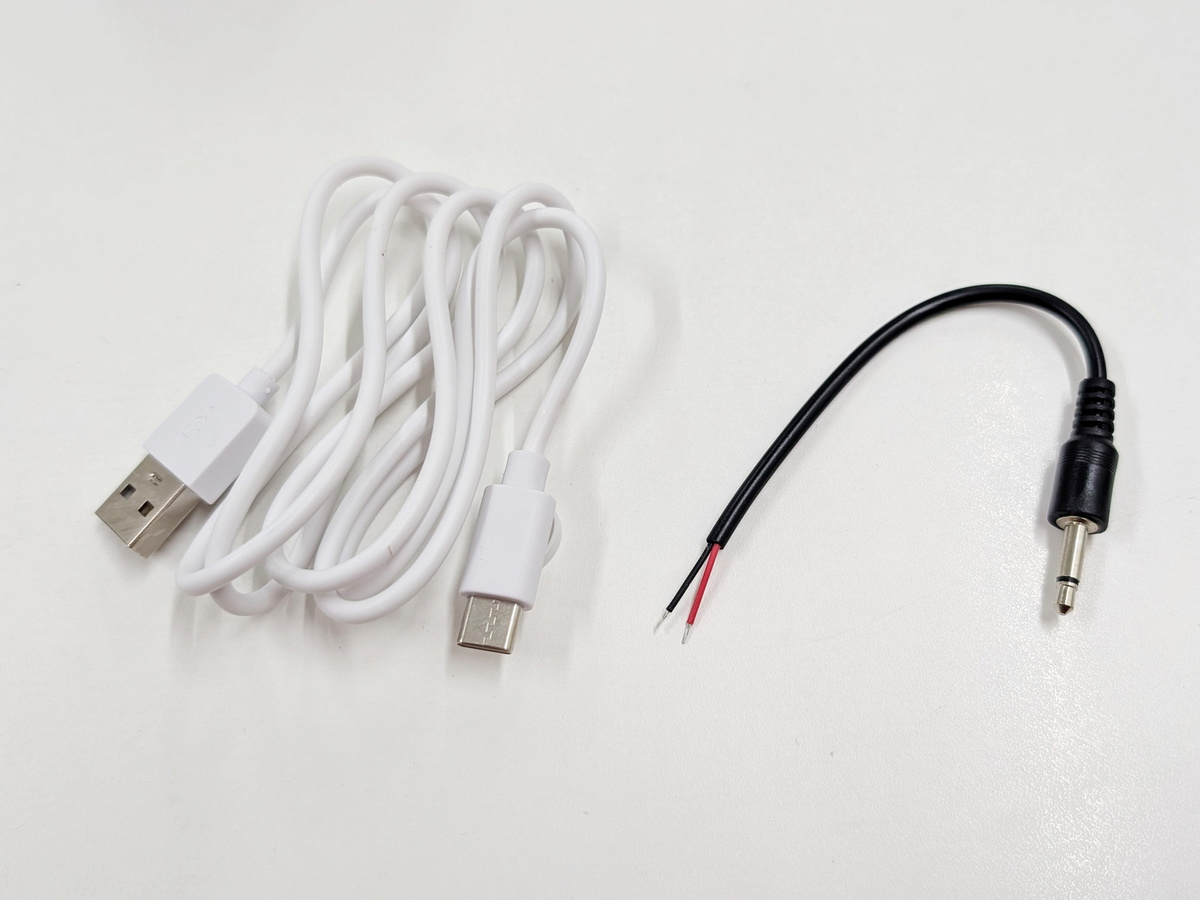
The included accessories were a USB-A to USB-C cable and a DC output cable.
◆Startup & Initial Setup
Pressing the center button on the device will turn on the LCD screen and power it on. To turn it off, press and hold the power button.
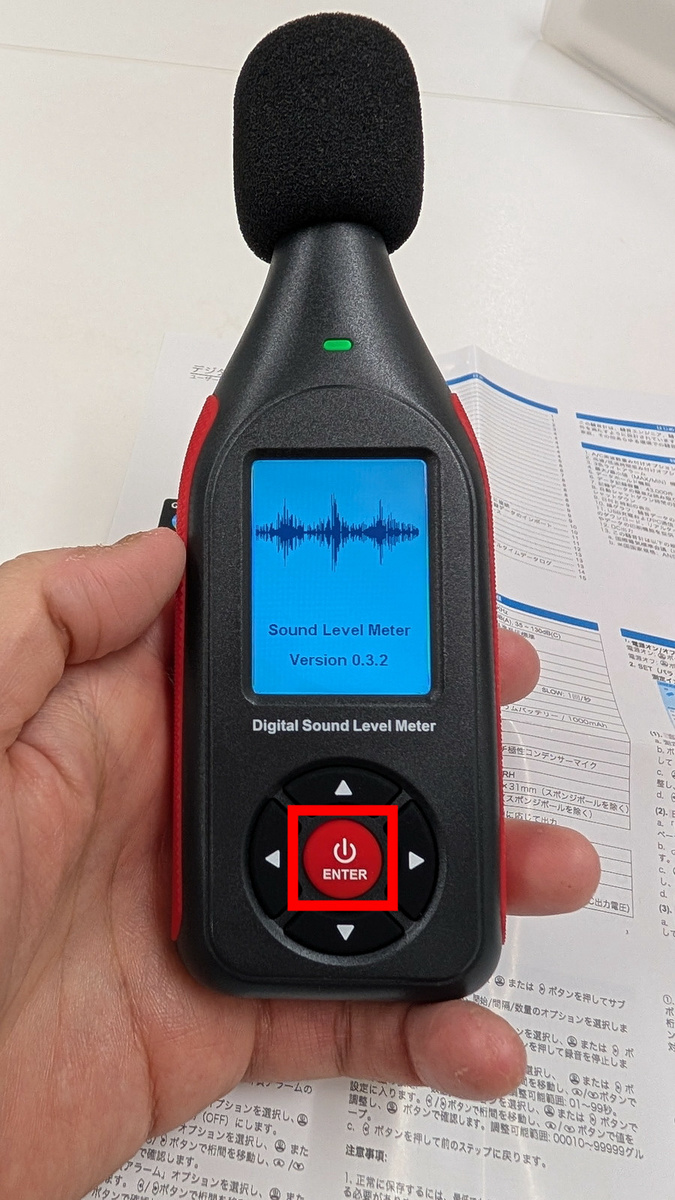
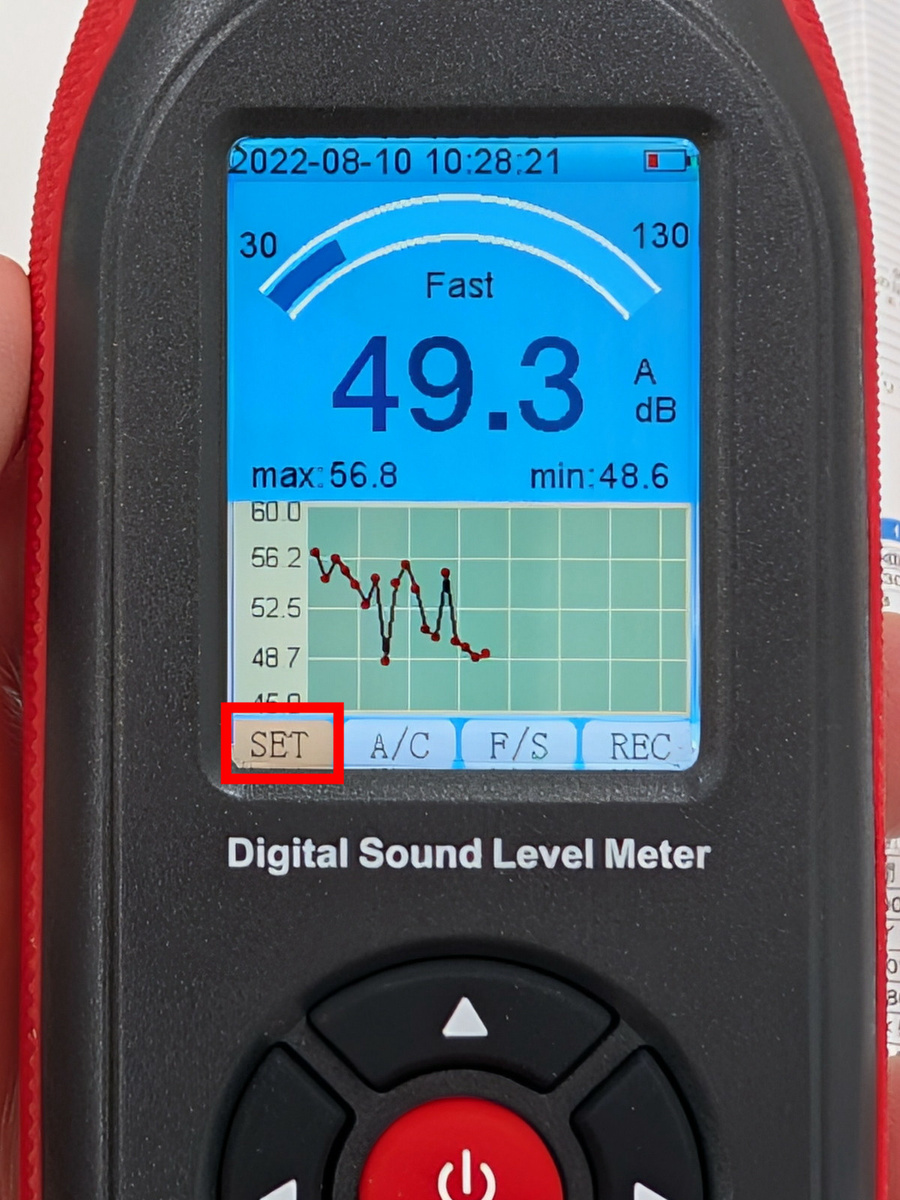
This is what the screen looks like immediately after startup. After the first startup, you will need to configure the settings. Use the up, down, left, and right buttons on the device to move the cursor, and the center button to select. Select 'SET' from the bottom menu and confirm.
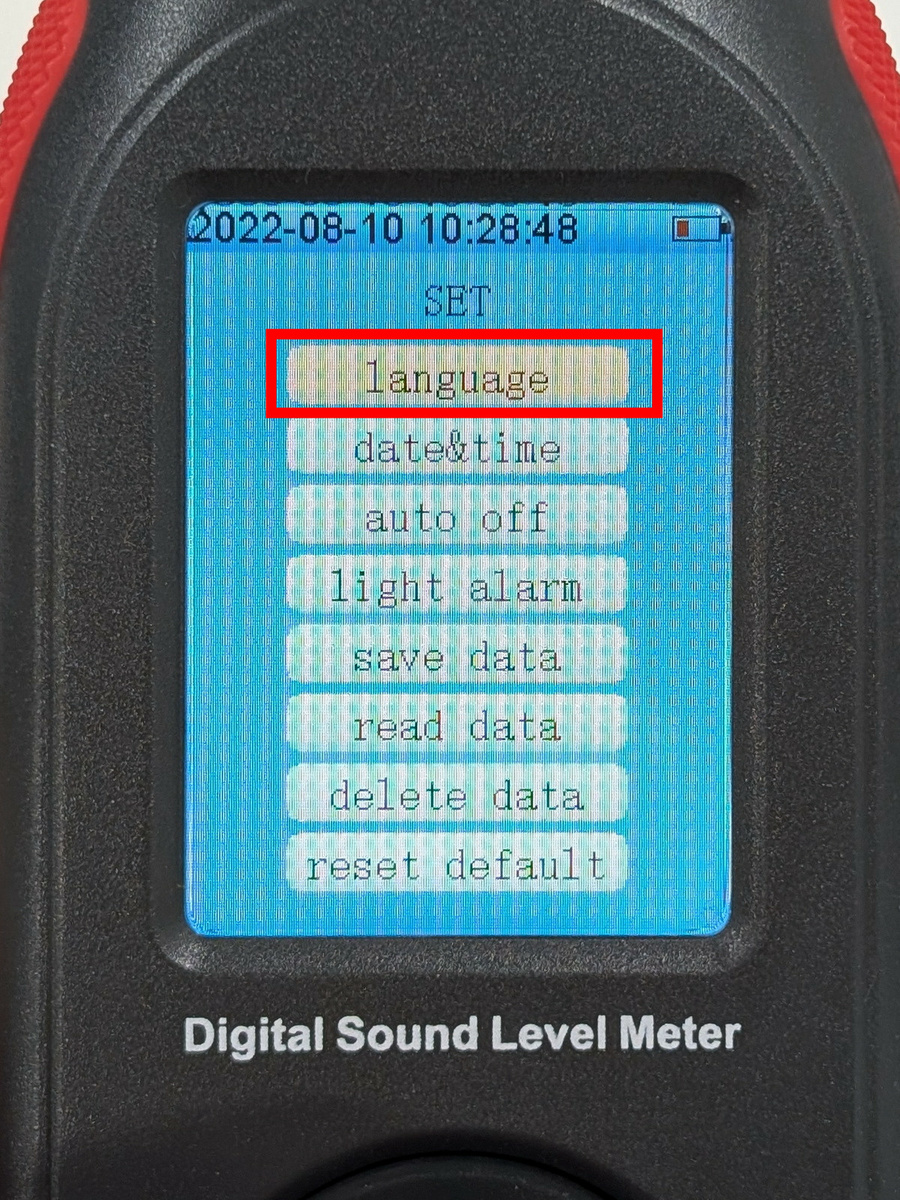
The settings screen appeared. Select 'language'.
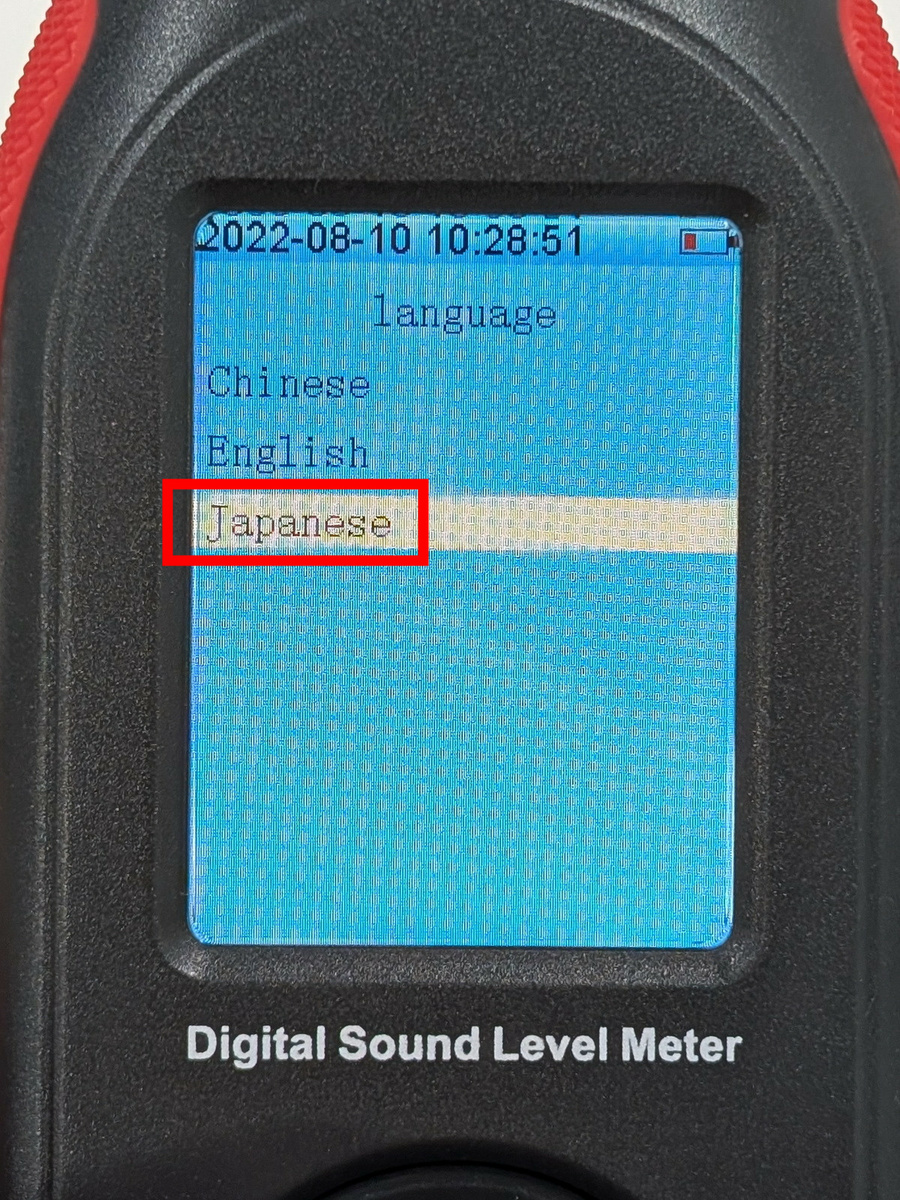
Select 'Japanese'.
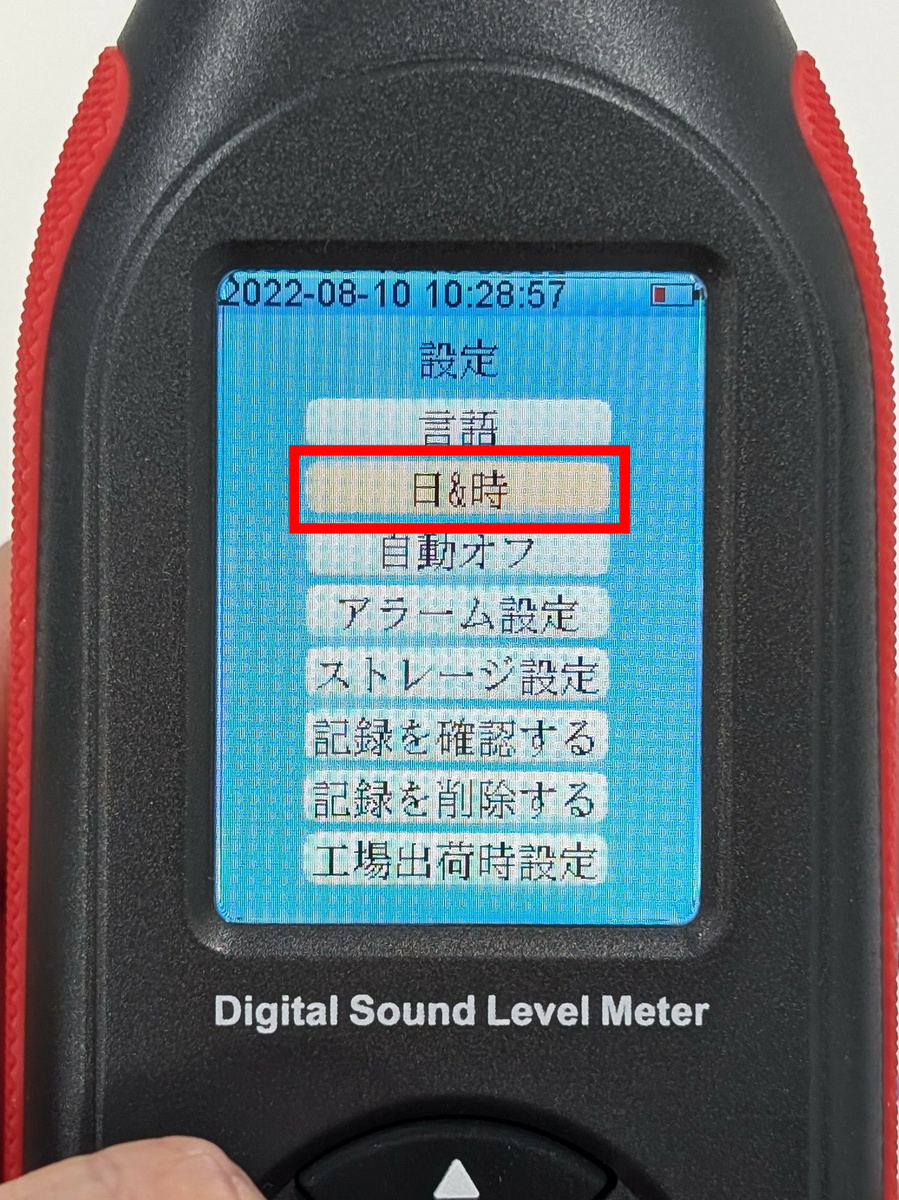
Press the left button to return to the settings screen, select 'Day & Time,' and enter the current time. This time will be displayed in the data log, so it needs to be set accurately.
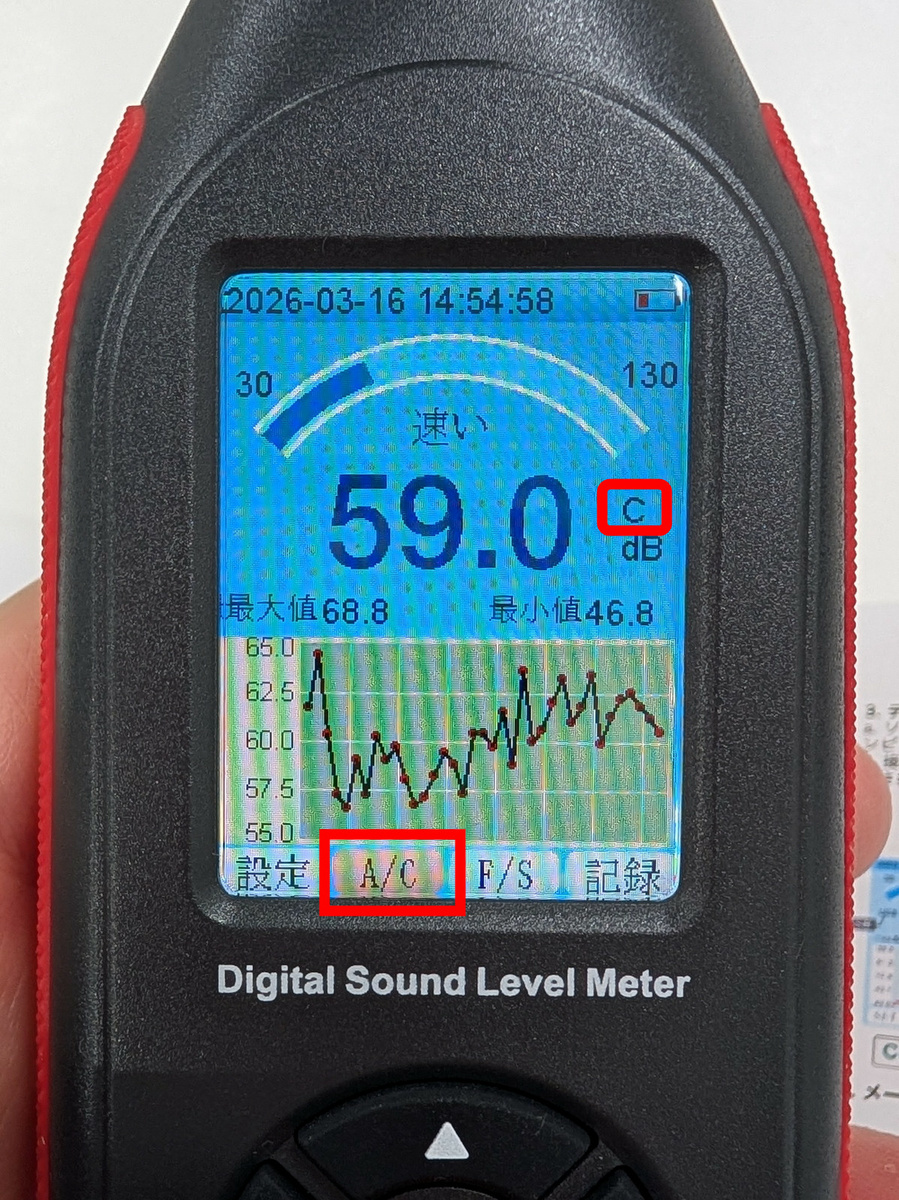
Once the initial setup is complete, you will return to the home screen. The 'A/C' option in the bottom menu allows you to select frequency weighting. 'A' is the setting for general sound level measurement, while 'C' is the setting for checking the low-frequency components of sound.
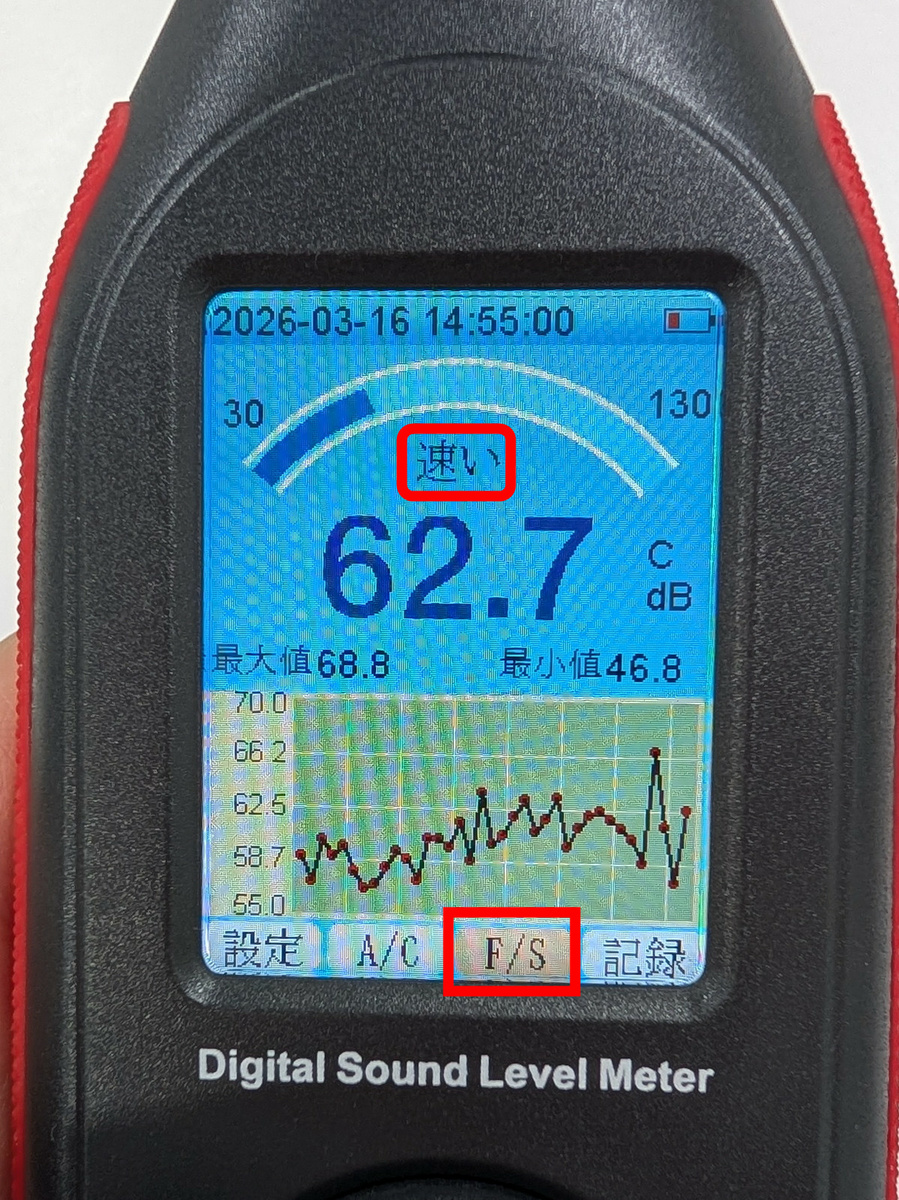
In 'F/S,' you can choose between 'Fast,' which performs sampling 8 times per second, or 'Slow,' which performs sampling once per second.
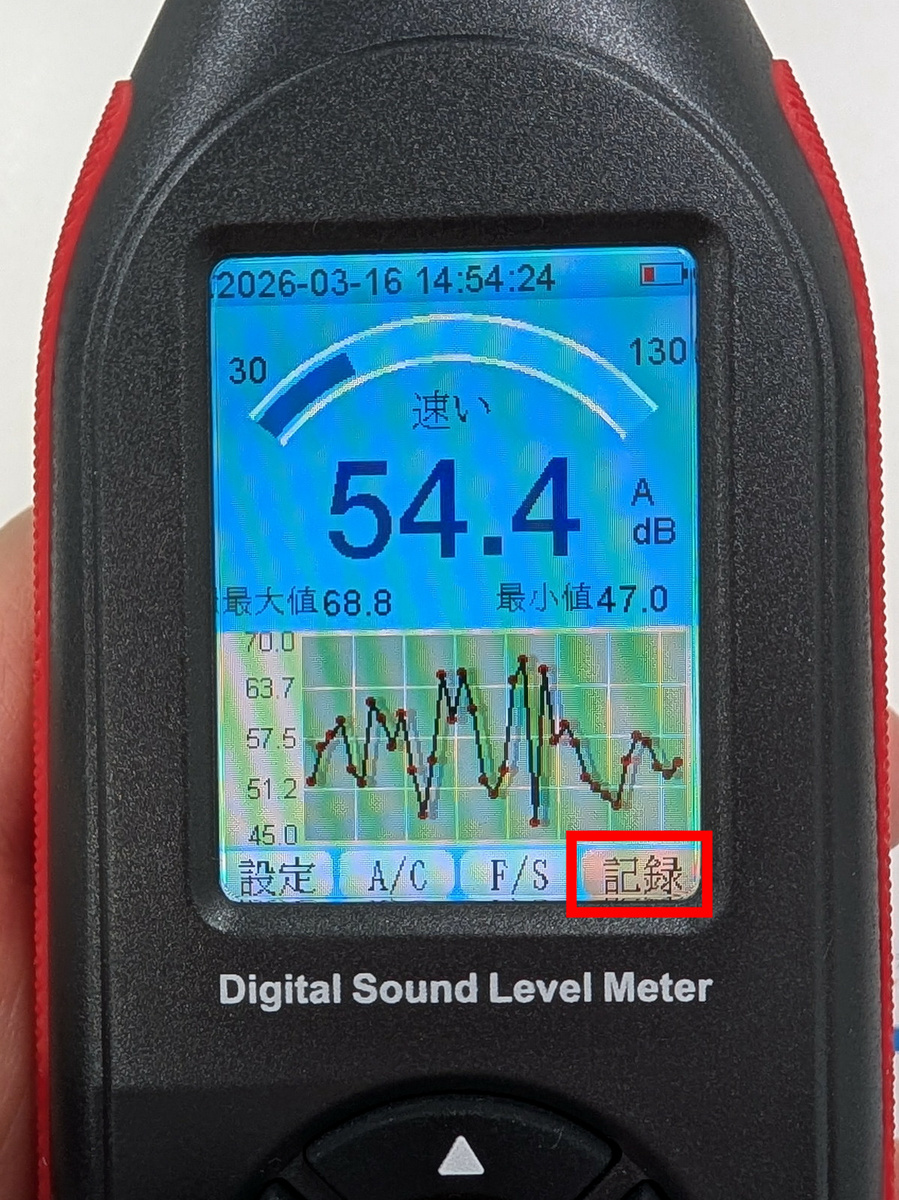
Pressing the center button in 'Record' will start recording the noise level, and pressing it again will end the recording.
◆Calibrate using a calibrator
While it can measure noise levels as is, the SLM-441 needs to be calibrated for more accurate measurements. For calibration, we will use the ' 8930B Compact Sound Level Calibrator ' that was also provided as support.
8930B Compact Sound Level Calibrator 114dB / 94dB / 104dB Calibration Level For 1/2' 13.2mm Microphone Size Sound Level Meters - Gain Express
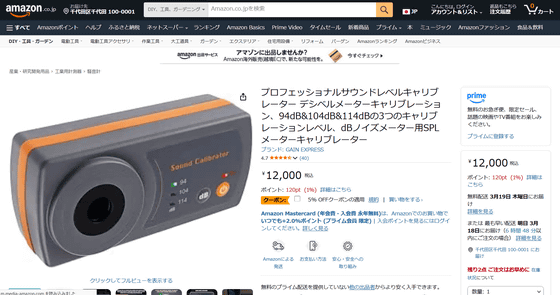
Amazon.co.jp: Professional Sound Level Calibrator Decibel Meter Calibration, 3 Calibration Levels: 94dB, 104dB & 114dB, SPL Meter Calibrator for dB Noise Meter: Industrial & Scientific Supplies
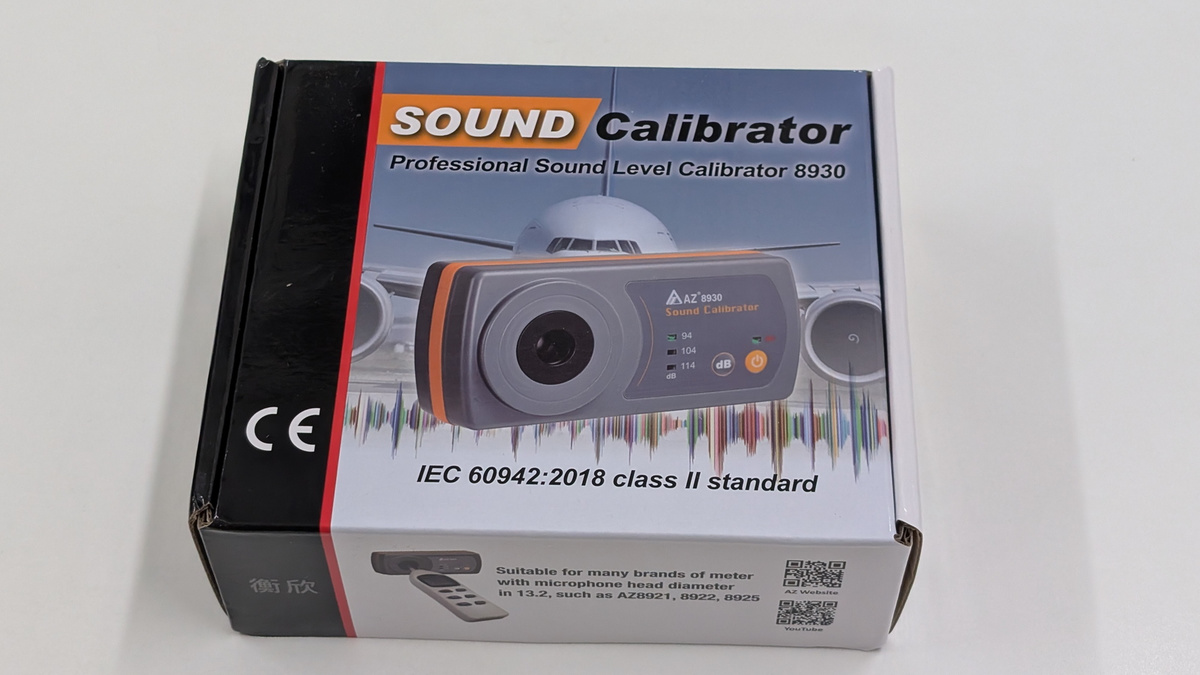
This is what the packaging for the 8930B Compact Sound Level Calibrator looks like.
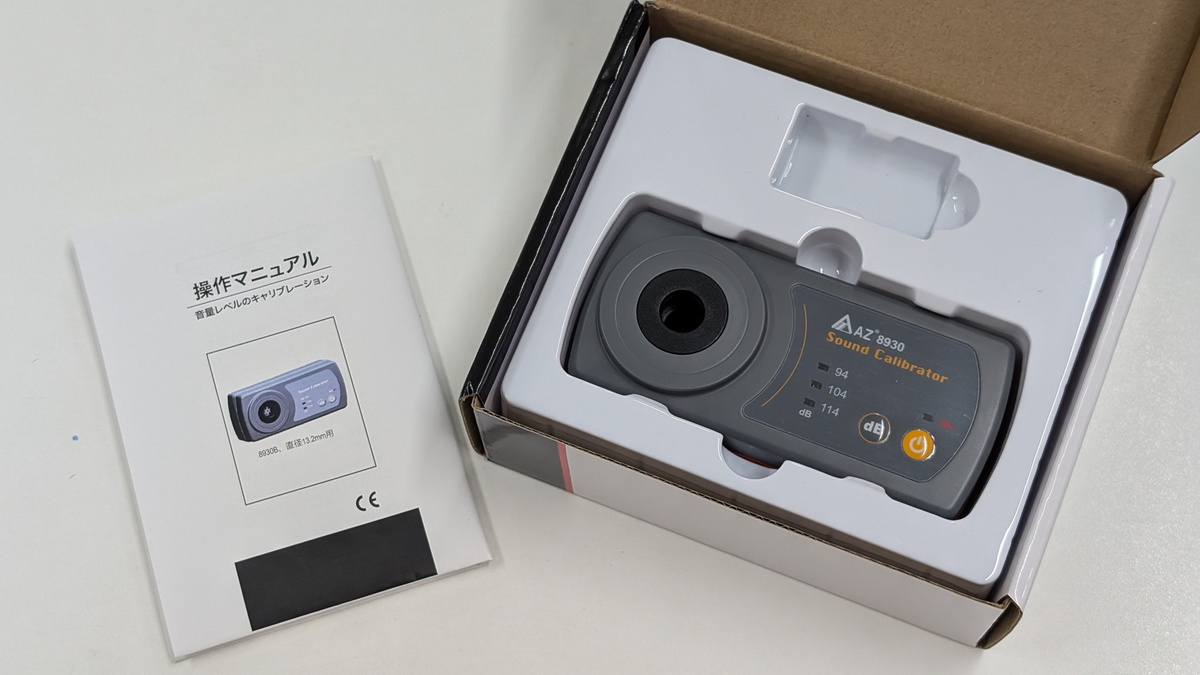
When I opened the lid, all I found inside were the instruction manual and the main unit.
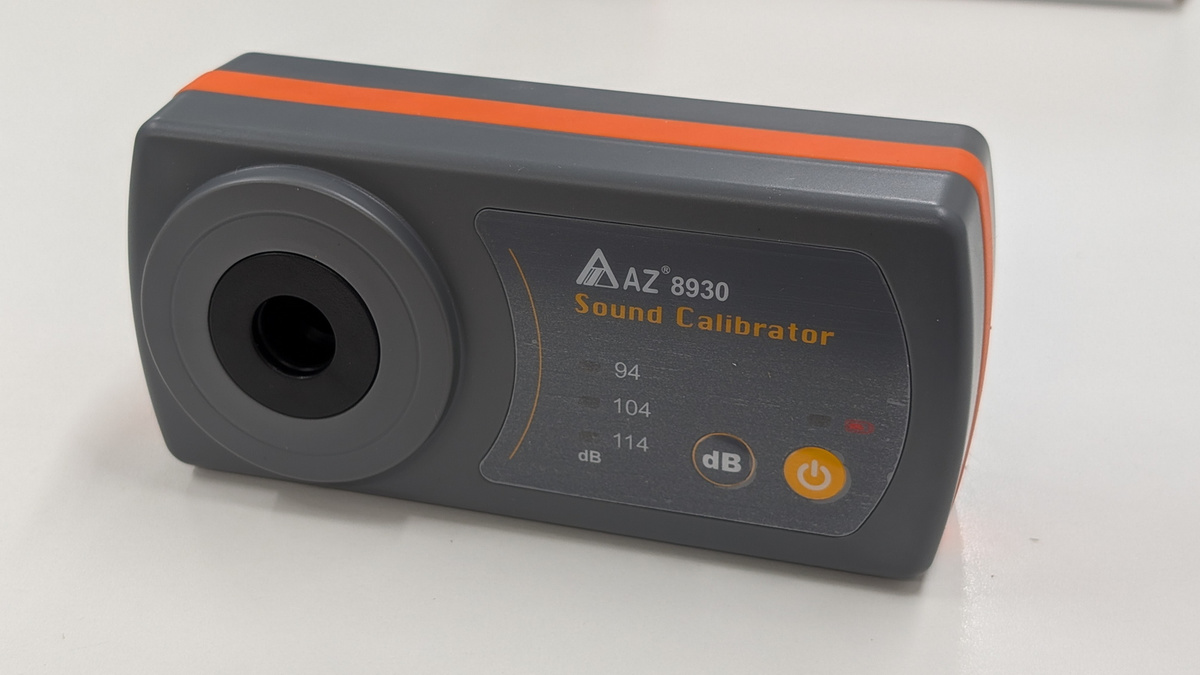
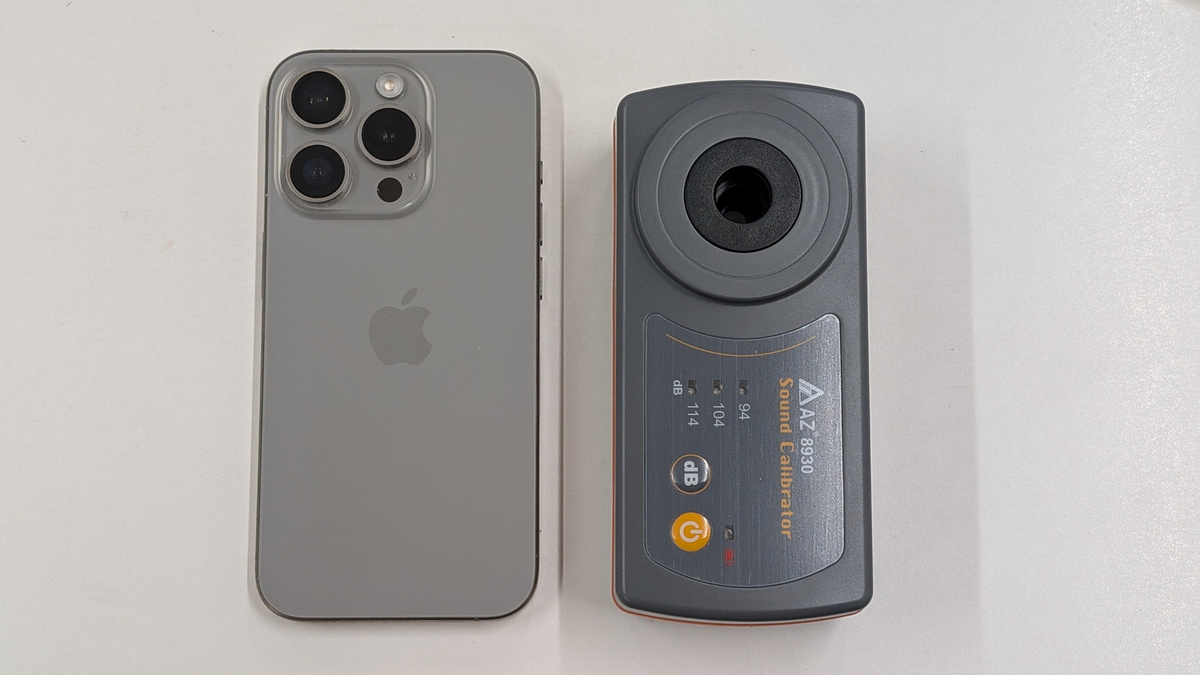
8930B Compact Sound Level Calibrator Unit
The dimensions are 130mm wide x 60mm high x 37.5mm thick. The weight is 400g.
Here's a size comparison with the iPhone 15 Pro, which has a long side of 146.6mm.
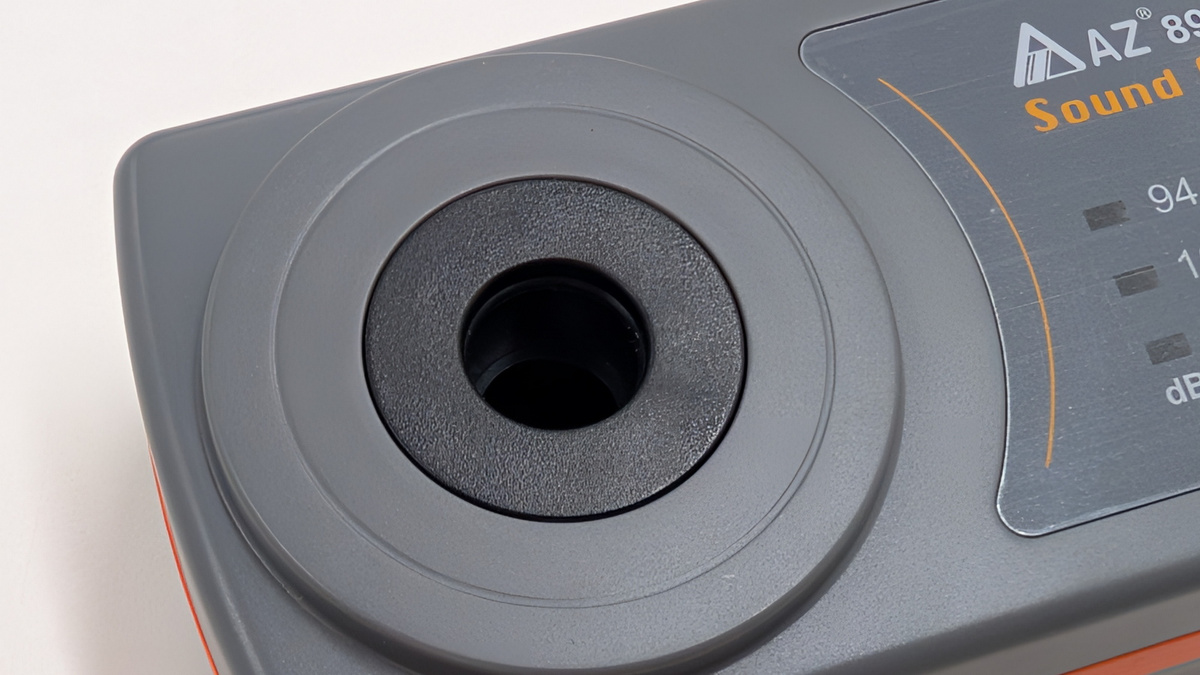
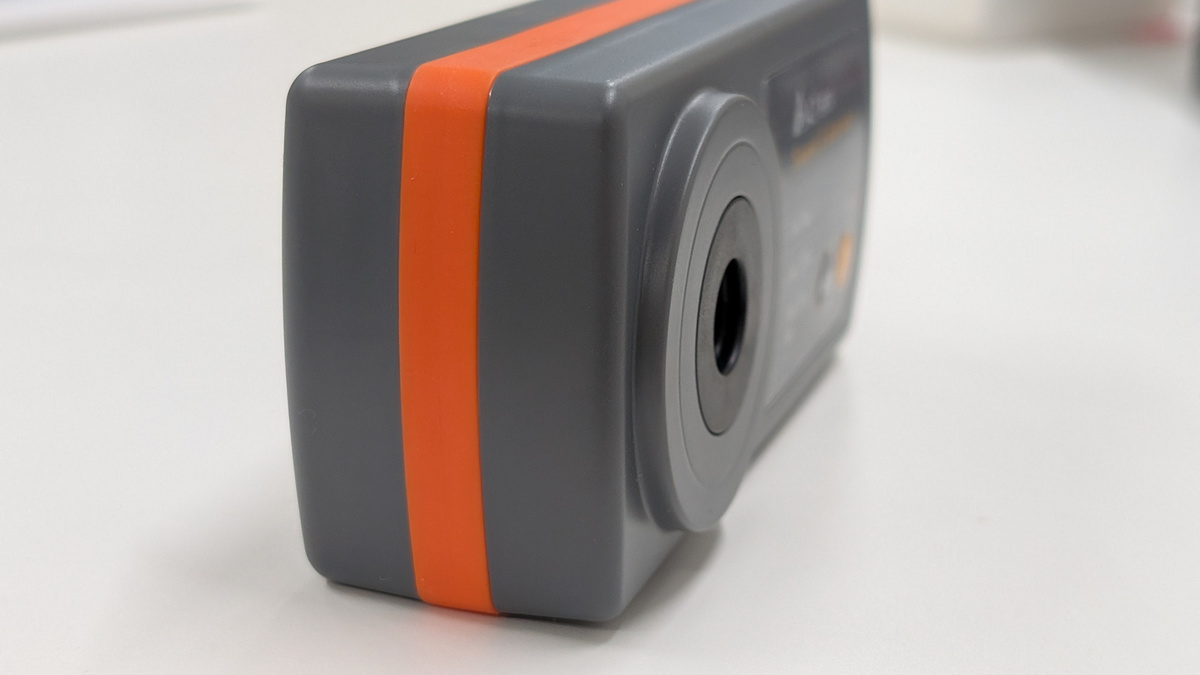
On the front, there is a microphone cavity for inserting the microphone of the sound level meter.
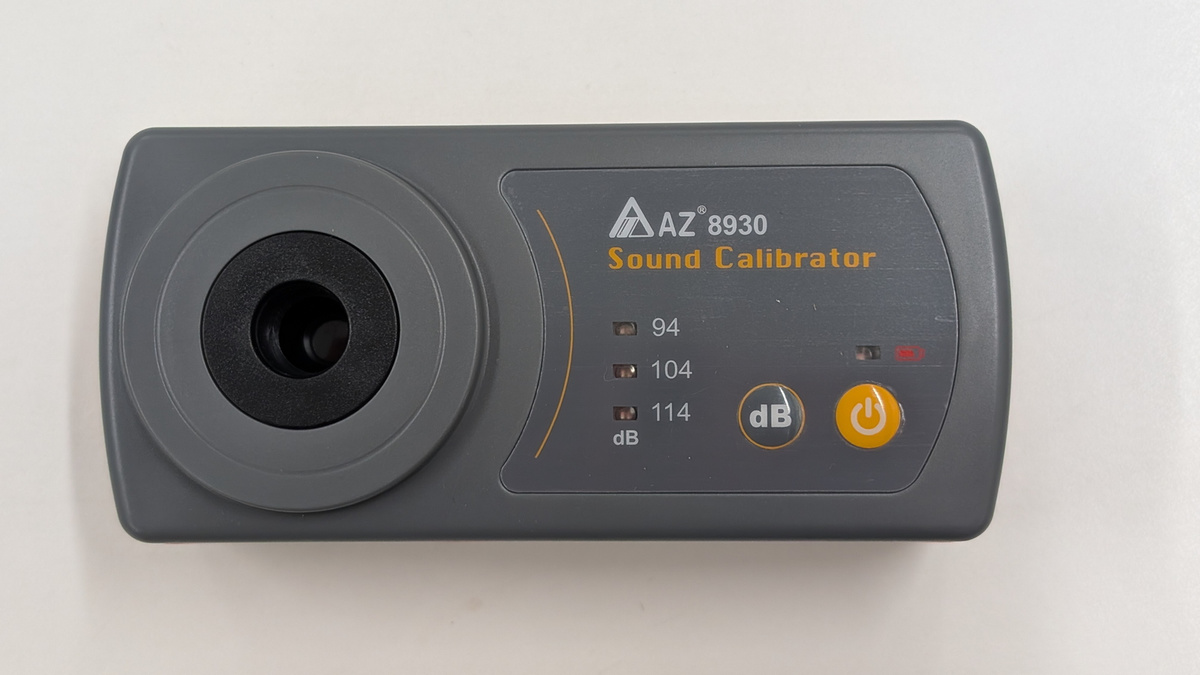
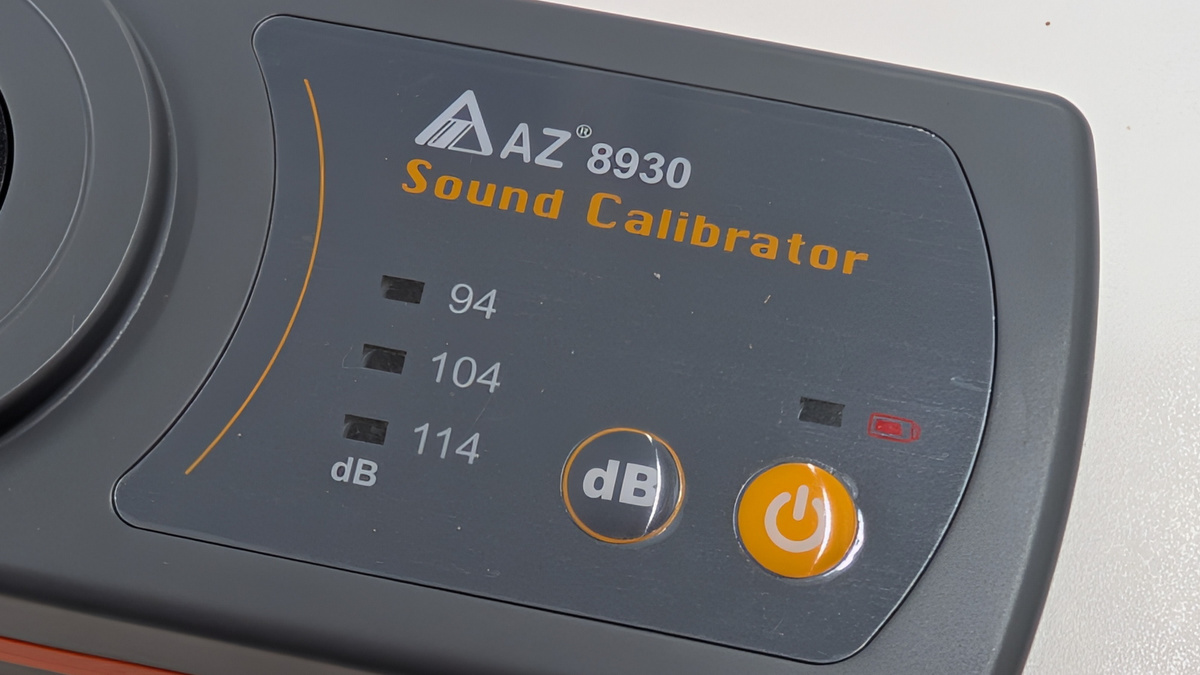
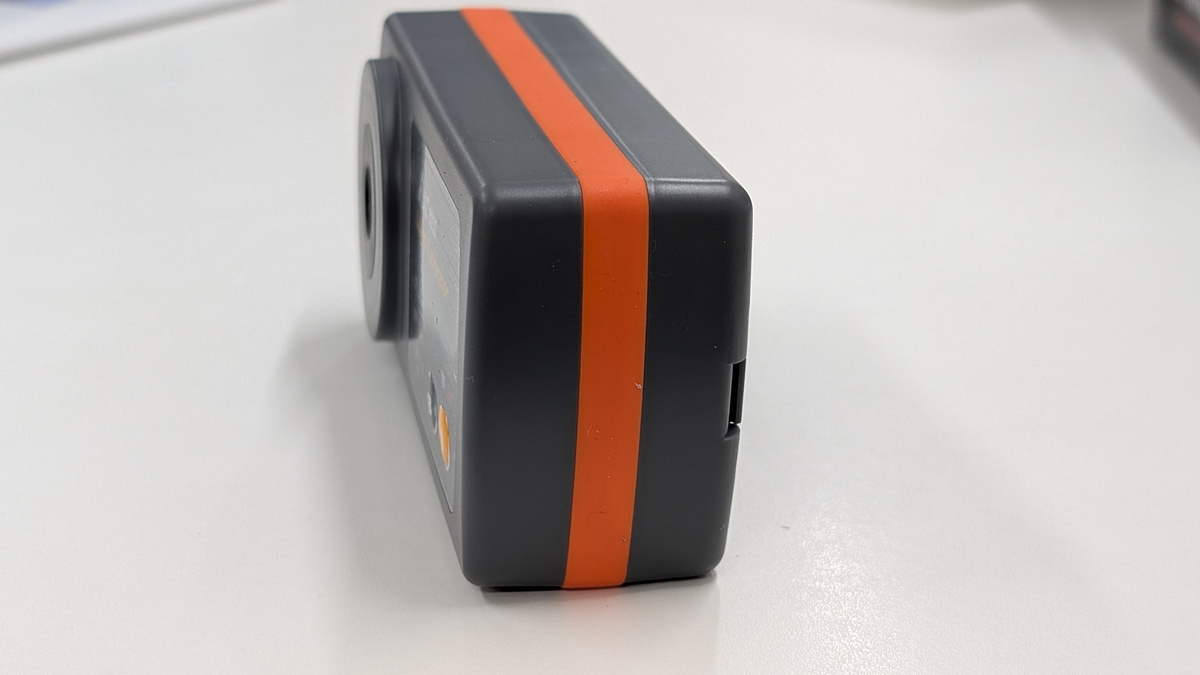
Control panel. You can choose from three calibration sound levels: 94dB, 104dB, and 114dB.
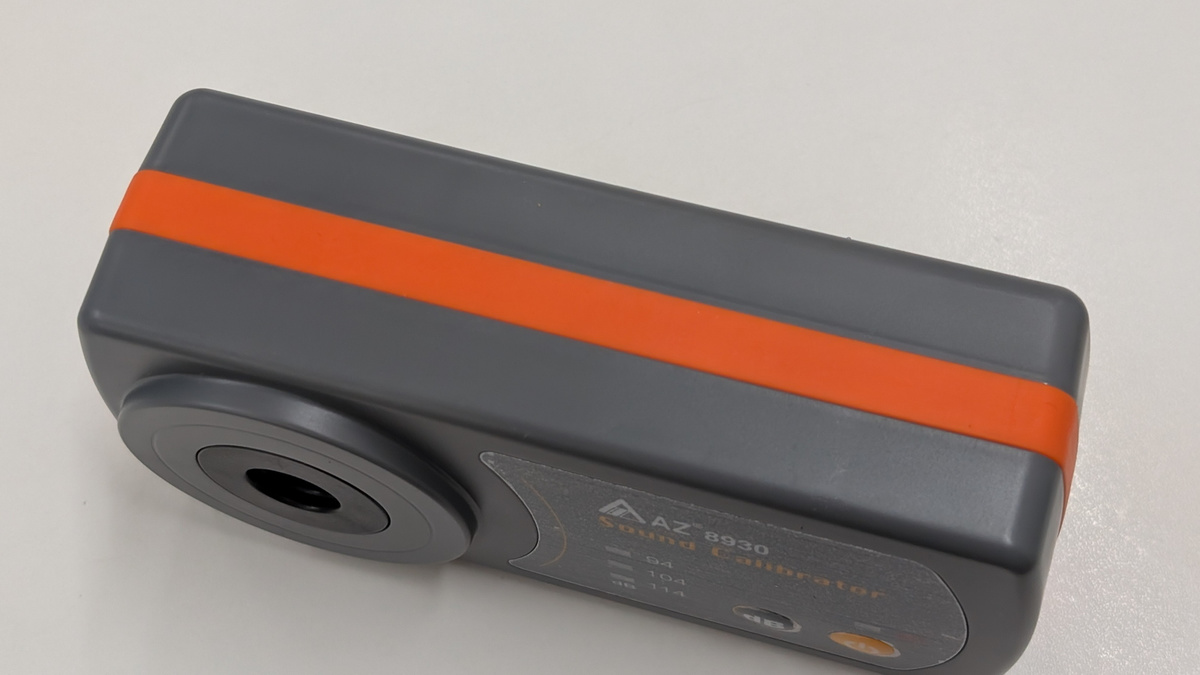
Top surface
Bottom
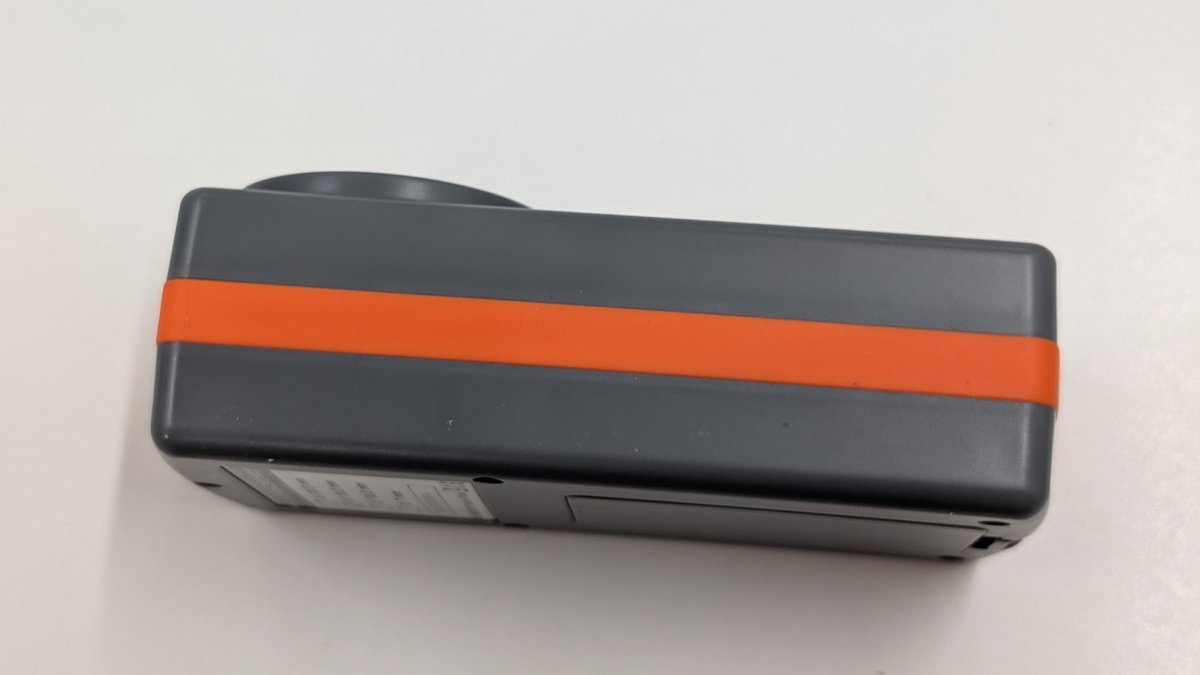
Left side
Right side
This is what the back looks like.
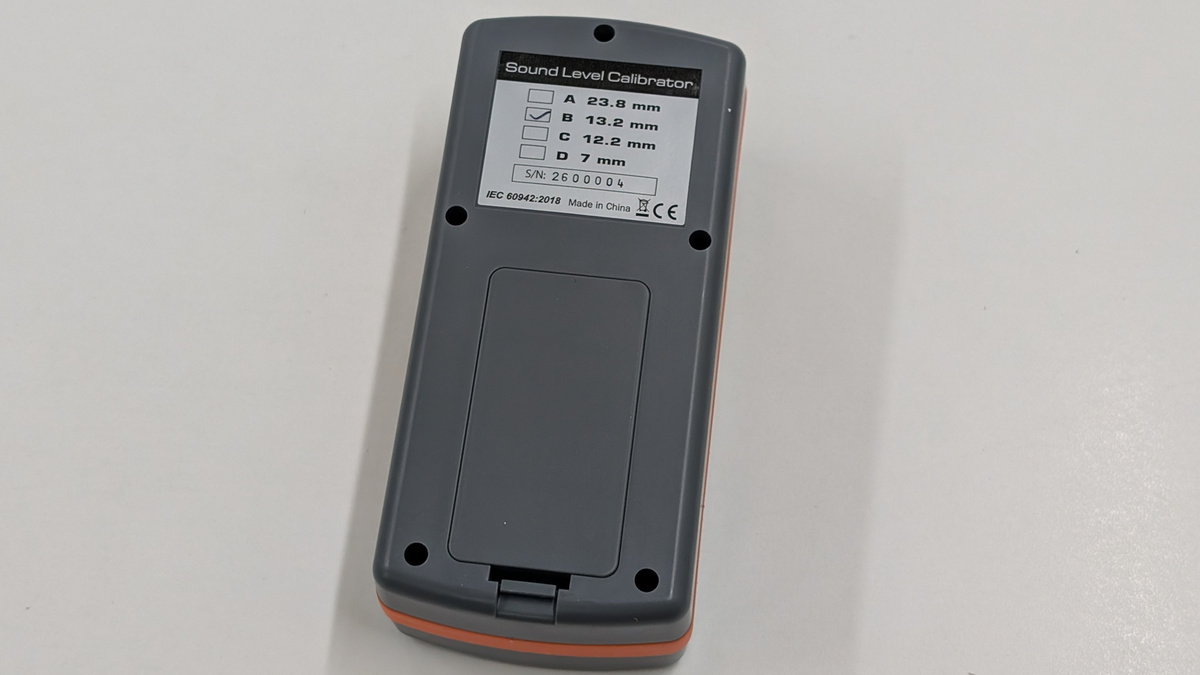
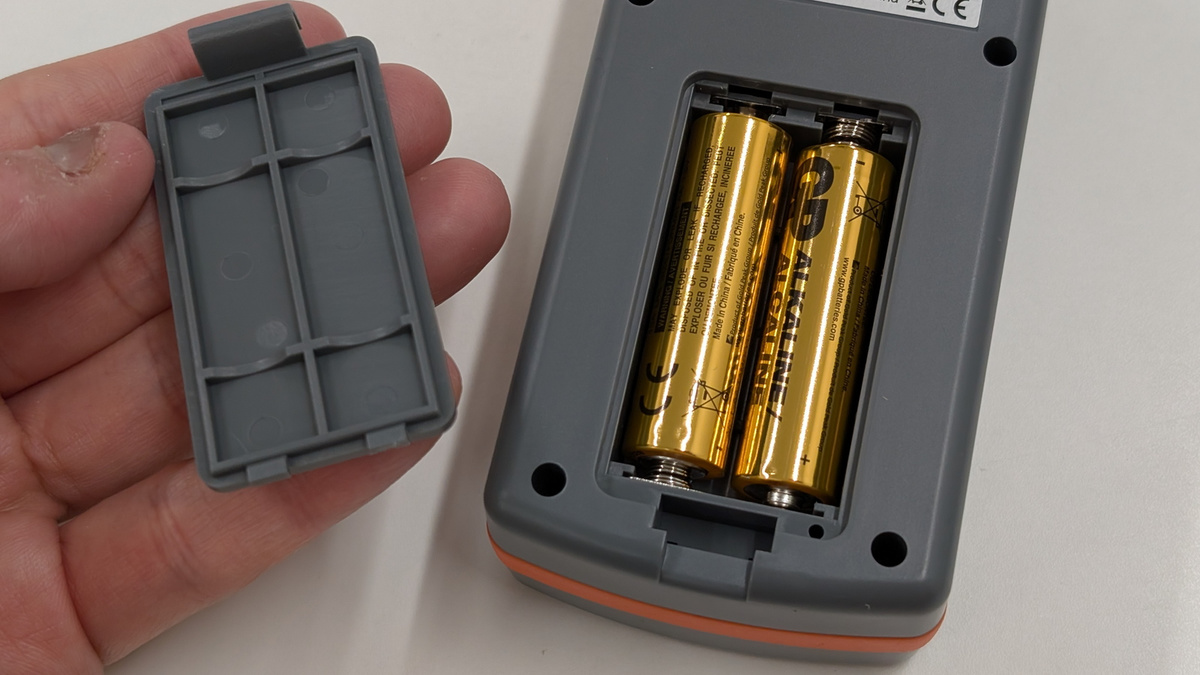
It is powered by two AA batteries.
Before calibrating the SLM-441, first set 'A/C' to 'A' and 'F/S' to 'Fast'.
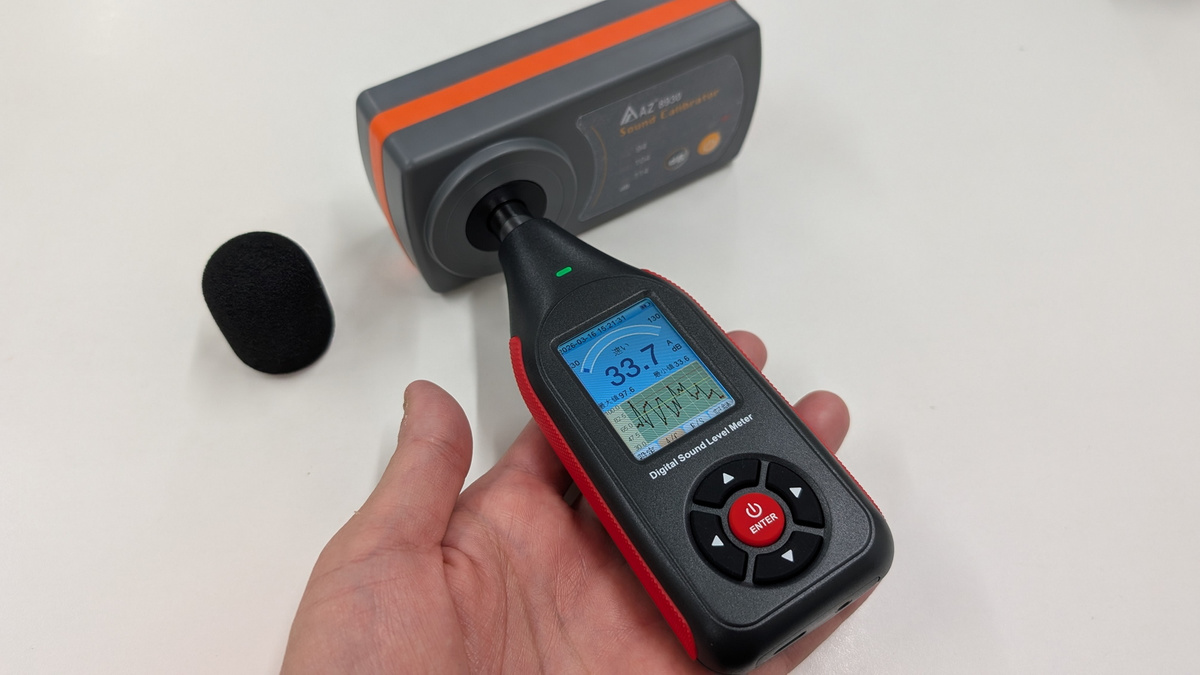
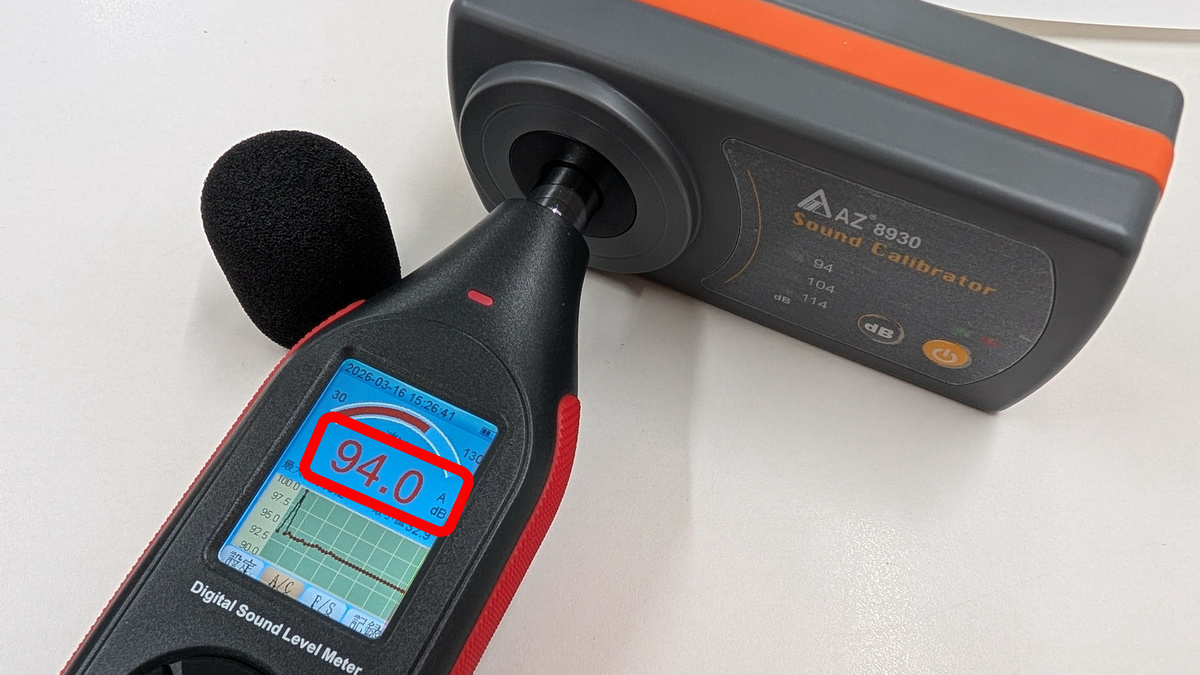
Remove the sponge ball and turn on the power, then insert the condenser microphone into the microphone cavity.
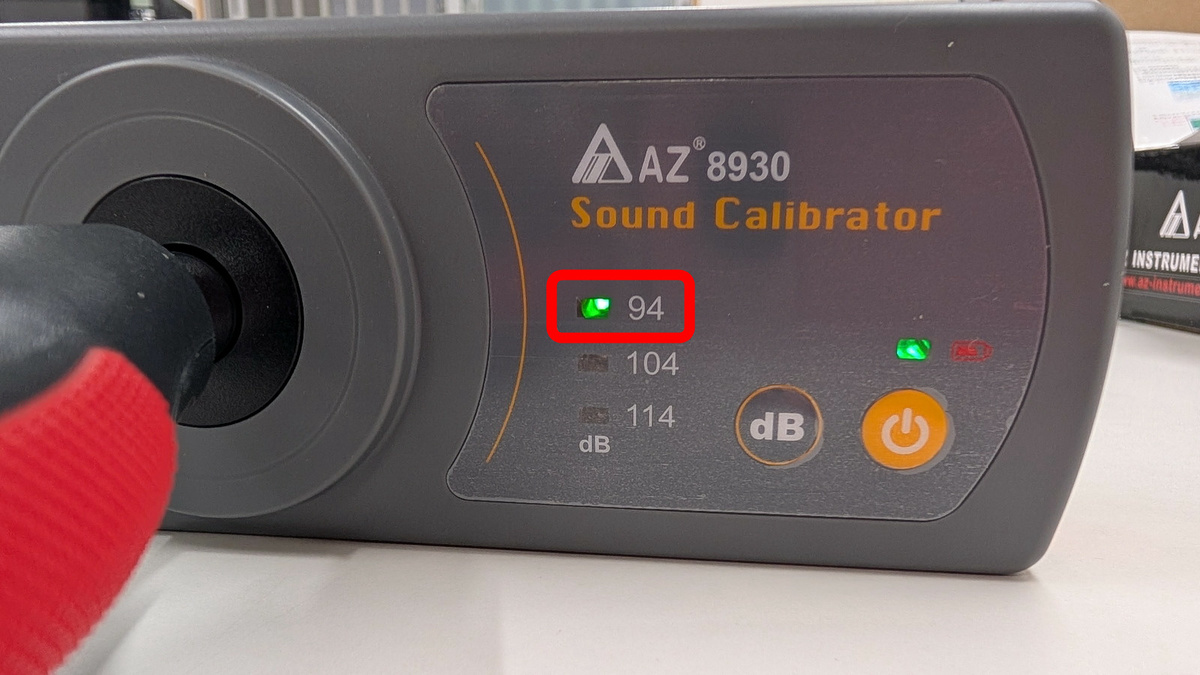
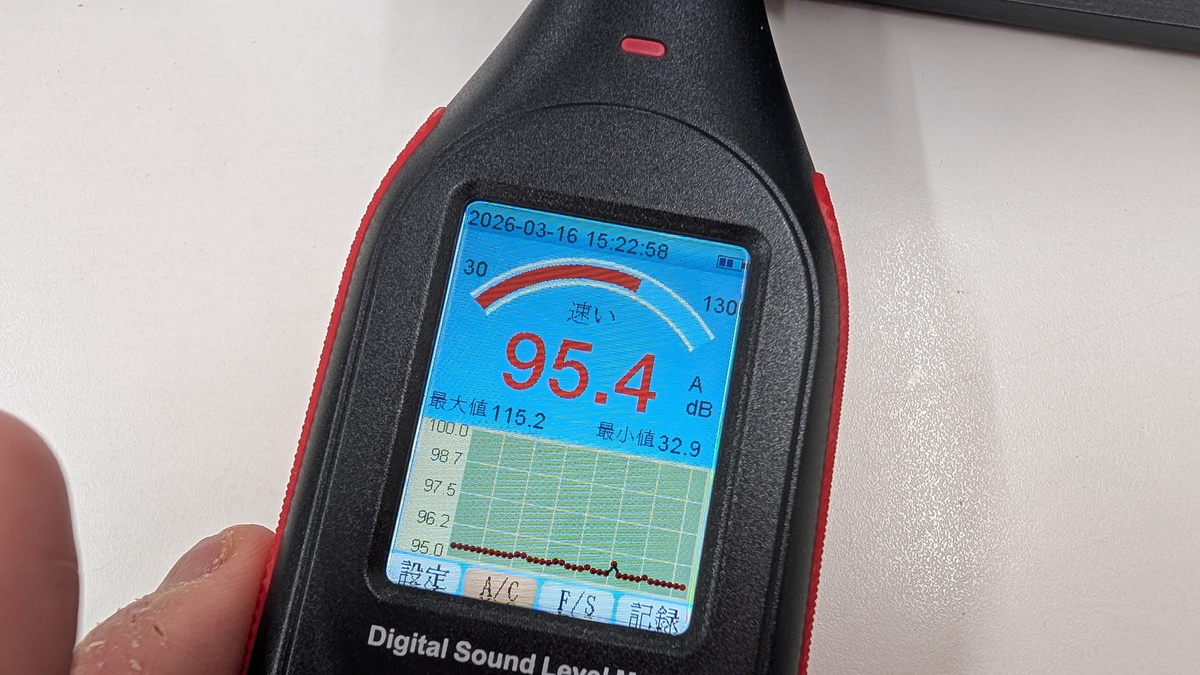
Turn on the 8930B compact sound level calibrator and set the sound to 94 dB.
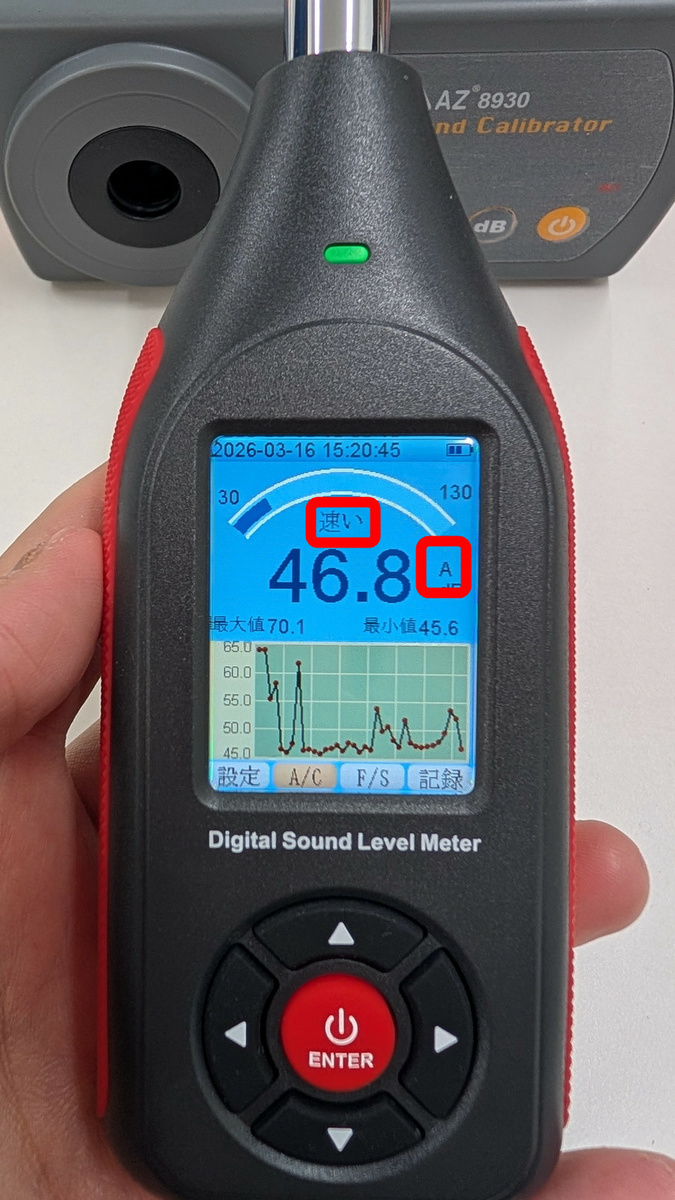
The SLM-441 showed a reading of 95.4 dB.
Insert a small flathead screwdriver into the calibration screw on the back and turn the screw at the back.
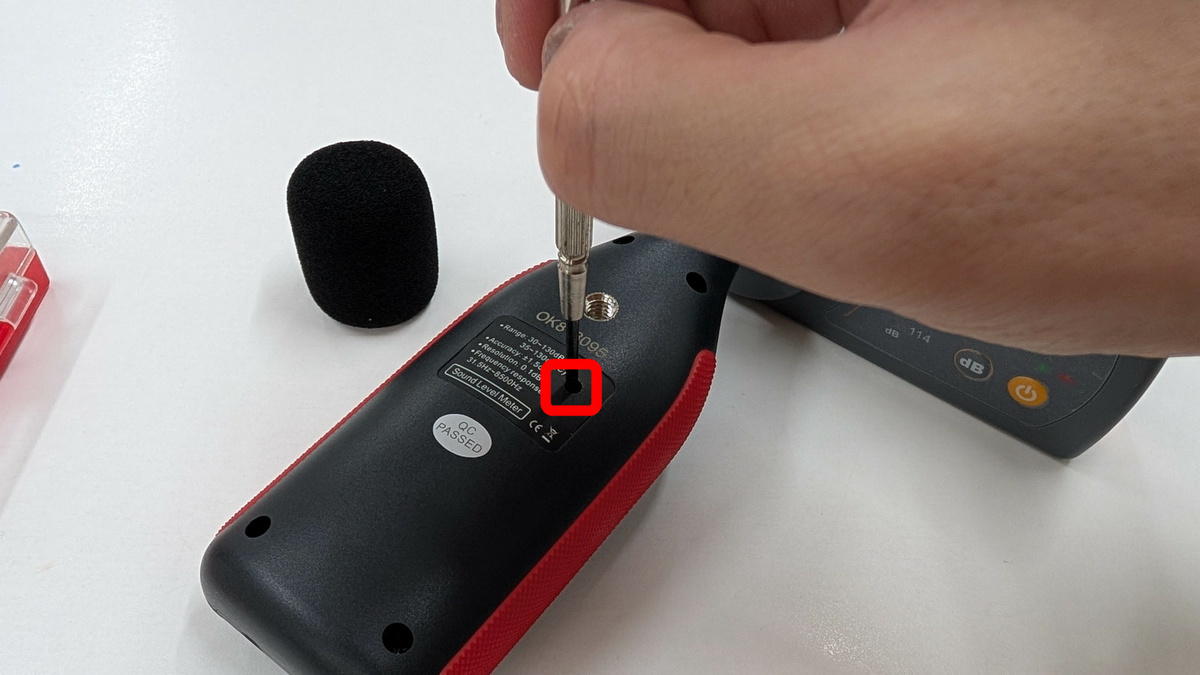
Calibration is complete when the value displayed on the SLM-441's LCD screen reaches 94.0 dB.
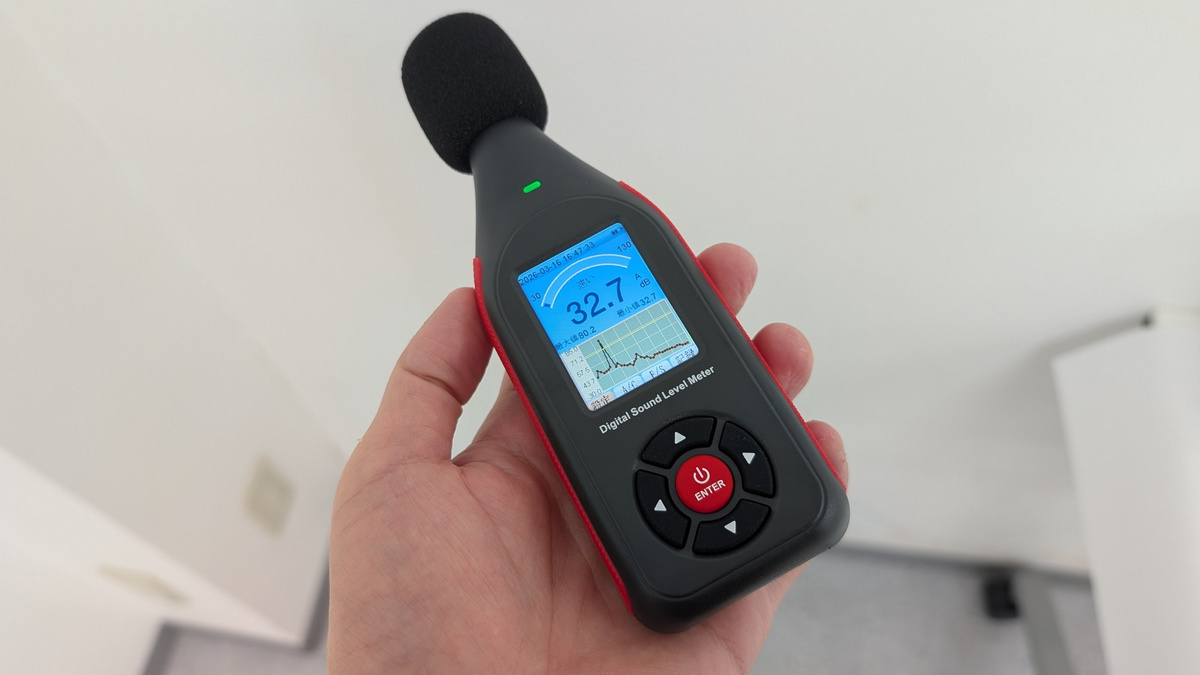
◆Actually measure noise levels in various locations.
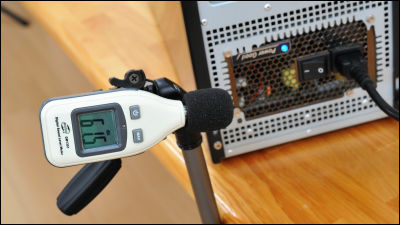
Now that proofreading is complete, I first checked the noise level in the conference room at the GIGAZINE editorial office. Construction was underway in the adjacent building, causing slight vibrations and noise, but it was generally around 30 dB.
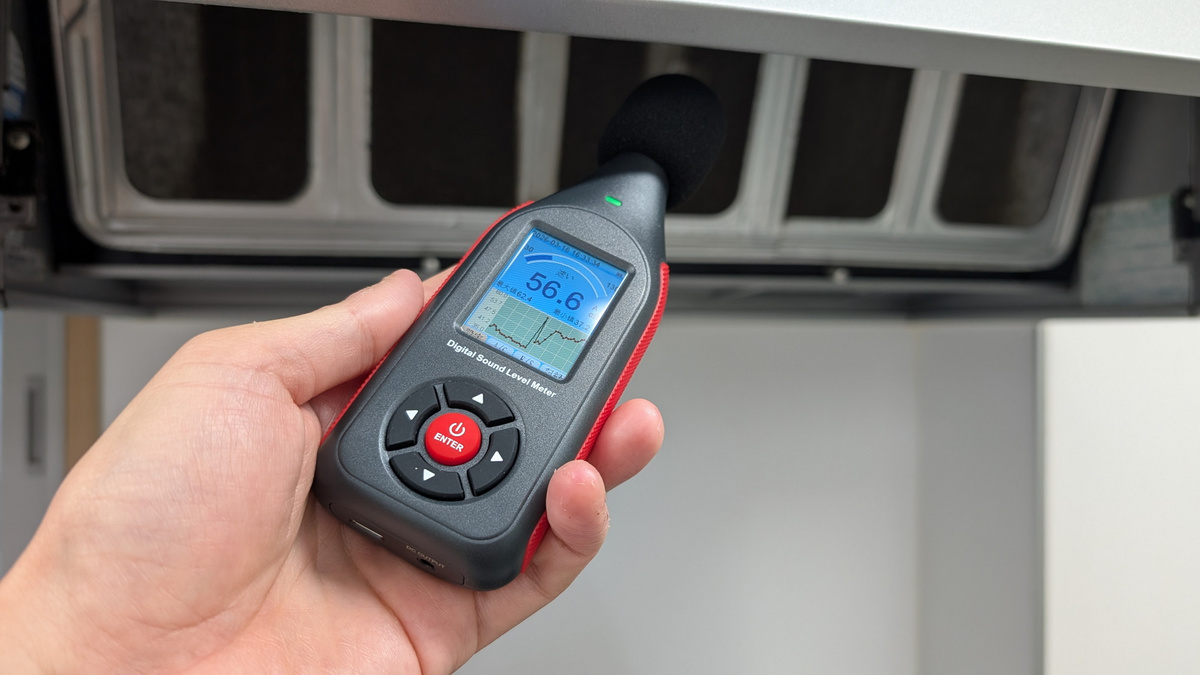
When I turned on the exhaust fan in the kitchen and took a measurement, it exceeded 55 dB.
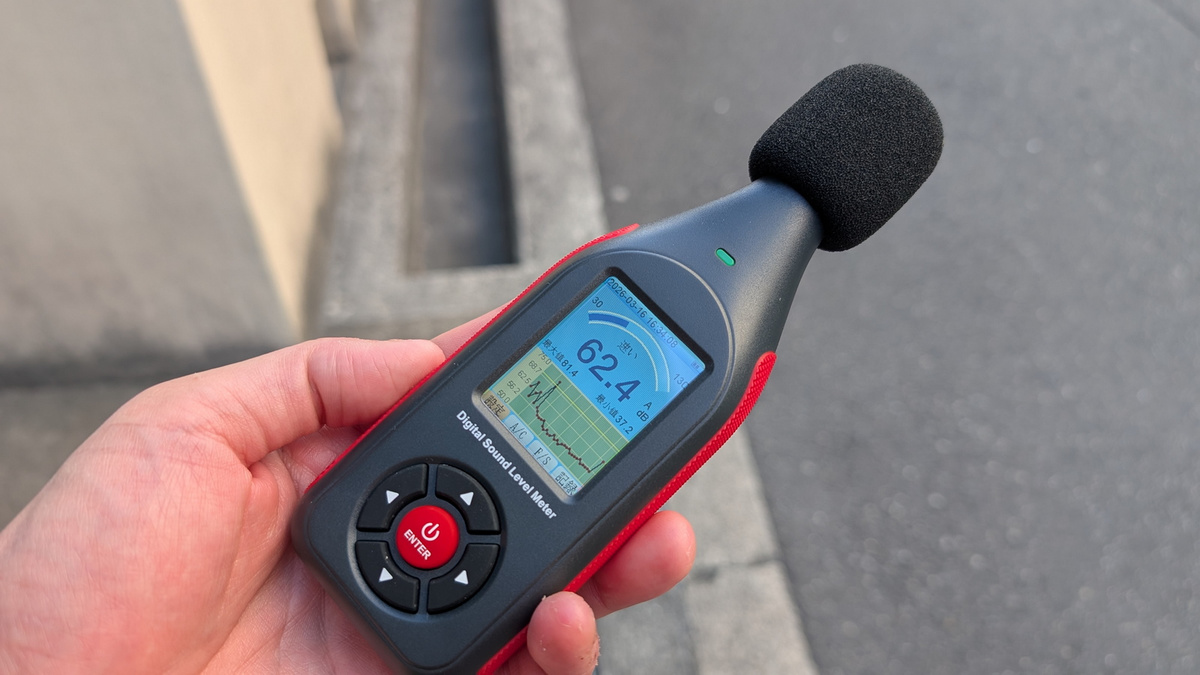
When I went outside, the noise level exceeded 60 dB.
When measured in front of a building under construction with a soundproofing sheet covering it, the noise level exceeded 70 dB.

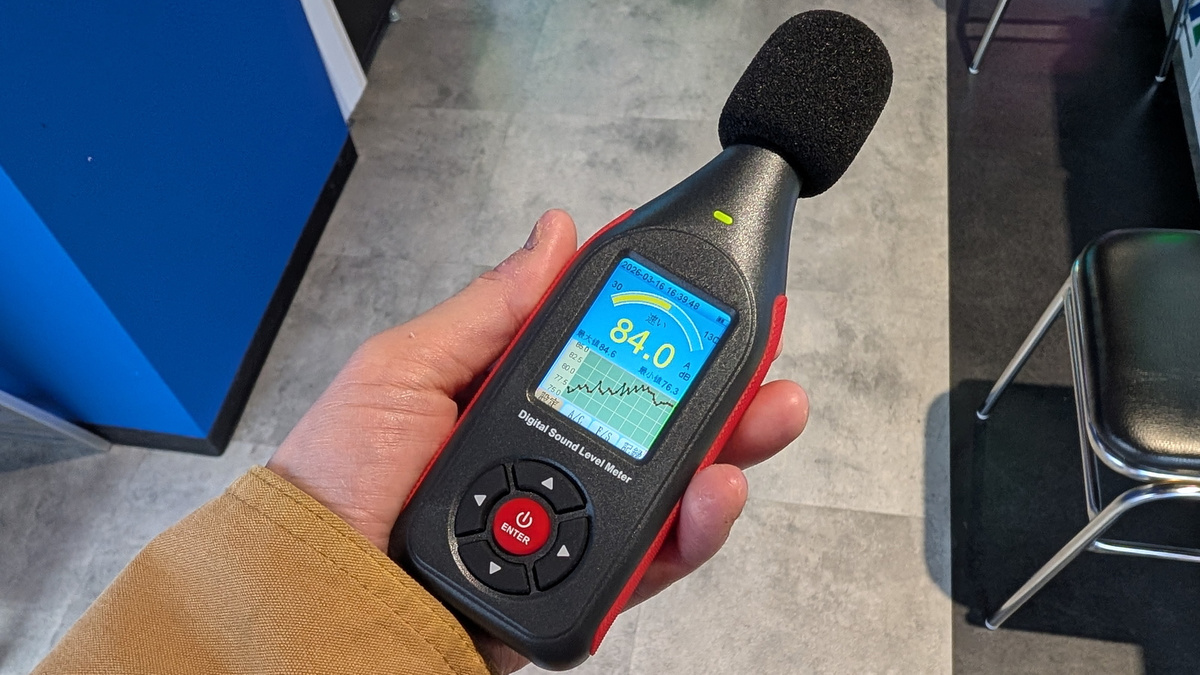
Many people were engrossed in games at the arcade, and the noise level exceeded 80 dB.
◆Connect to a PC for real-time monitoring and data retrieval.
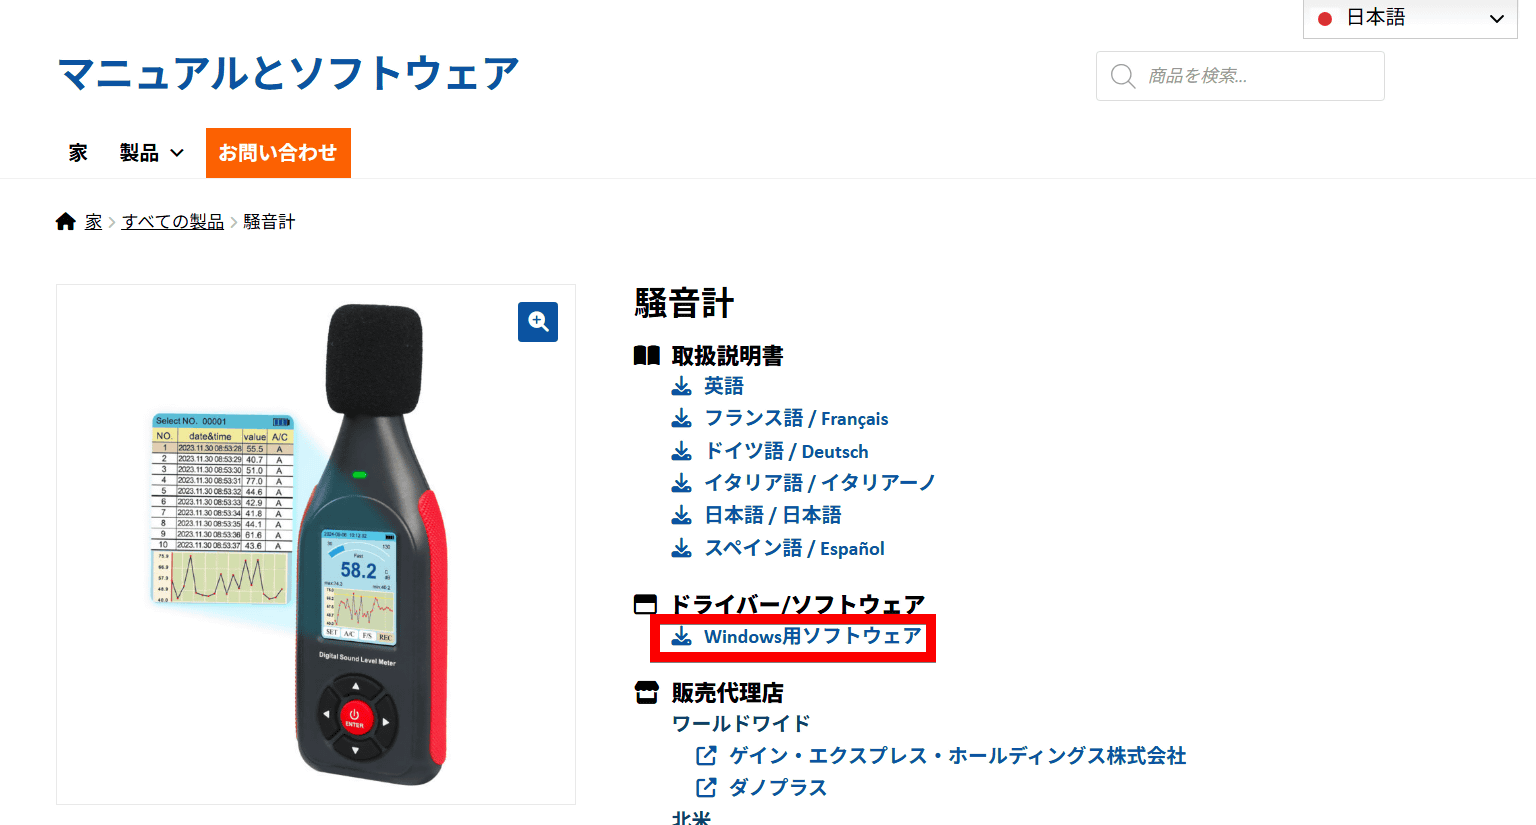
The SLM-441 can be connected to a PC using its dedicated software, 'Sound Lab,' to perform real-time measurements and retrieve logs recorded on the SLM-441 unit. The software can be downloaded from the following link.
Sound Level Meter – Manuals & Software
As of the time of writing, Sound Lab is only available for Windows. Clicking 'Software for Windows' will allow you to download an EXE installer. The file size is approximately 4.7MB.
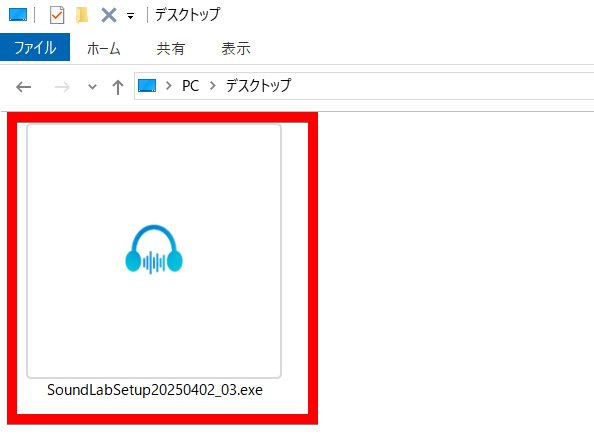
Launch the downloaded installer.
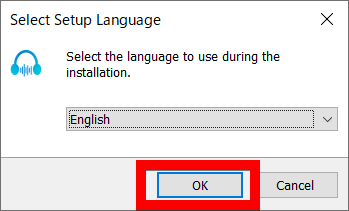
The software language can be selected from English and Chinese. This time, select 'English' and click 'OK'.
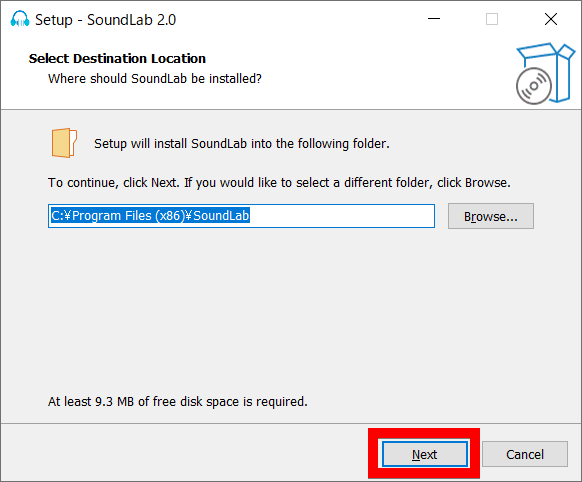
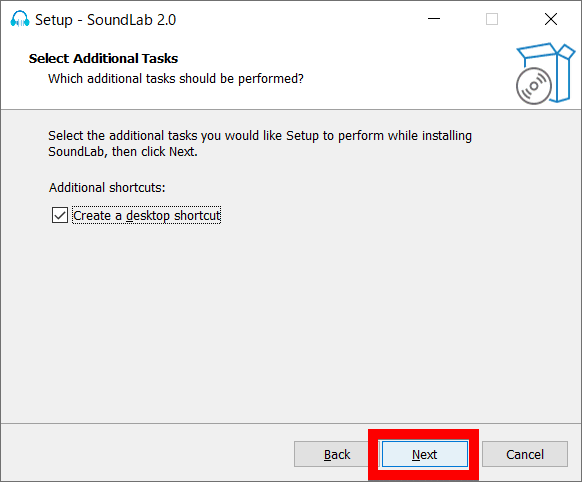
After selecting the installation folder, click 'Next'.
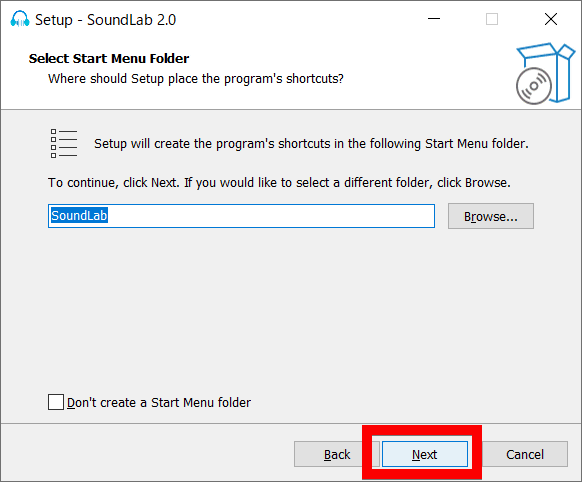
Click 'Next'.
Click 'Next'.
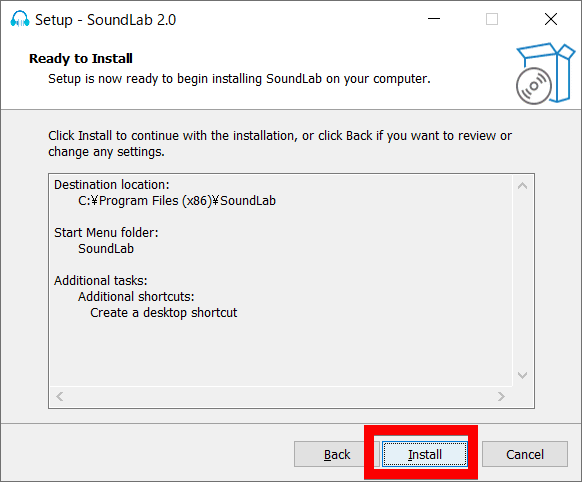
Click 'Install'.
Once the installation is complete, click 'Finish'.
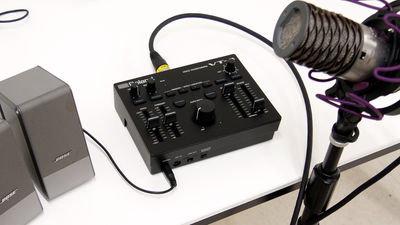
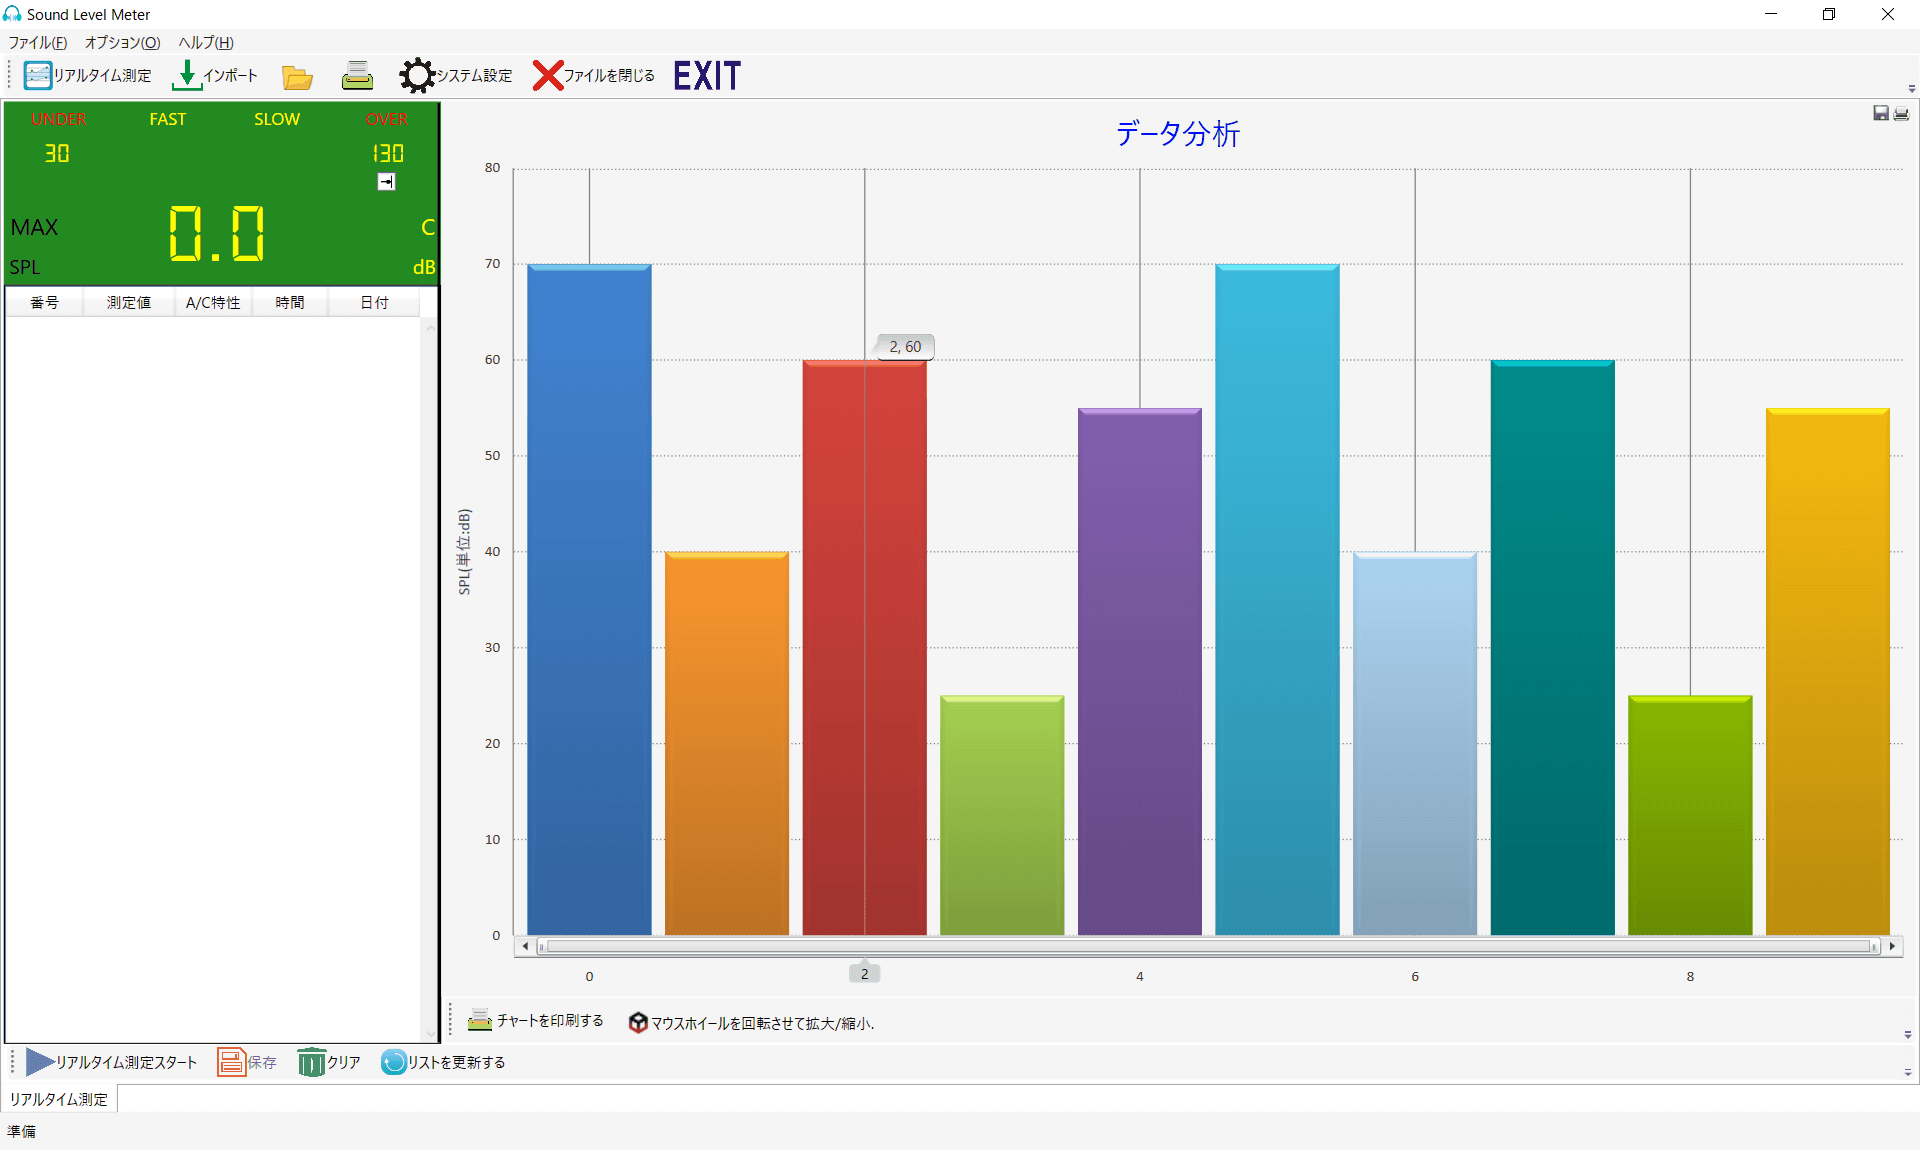
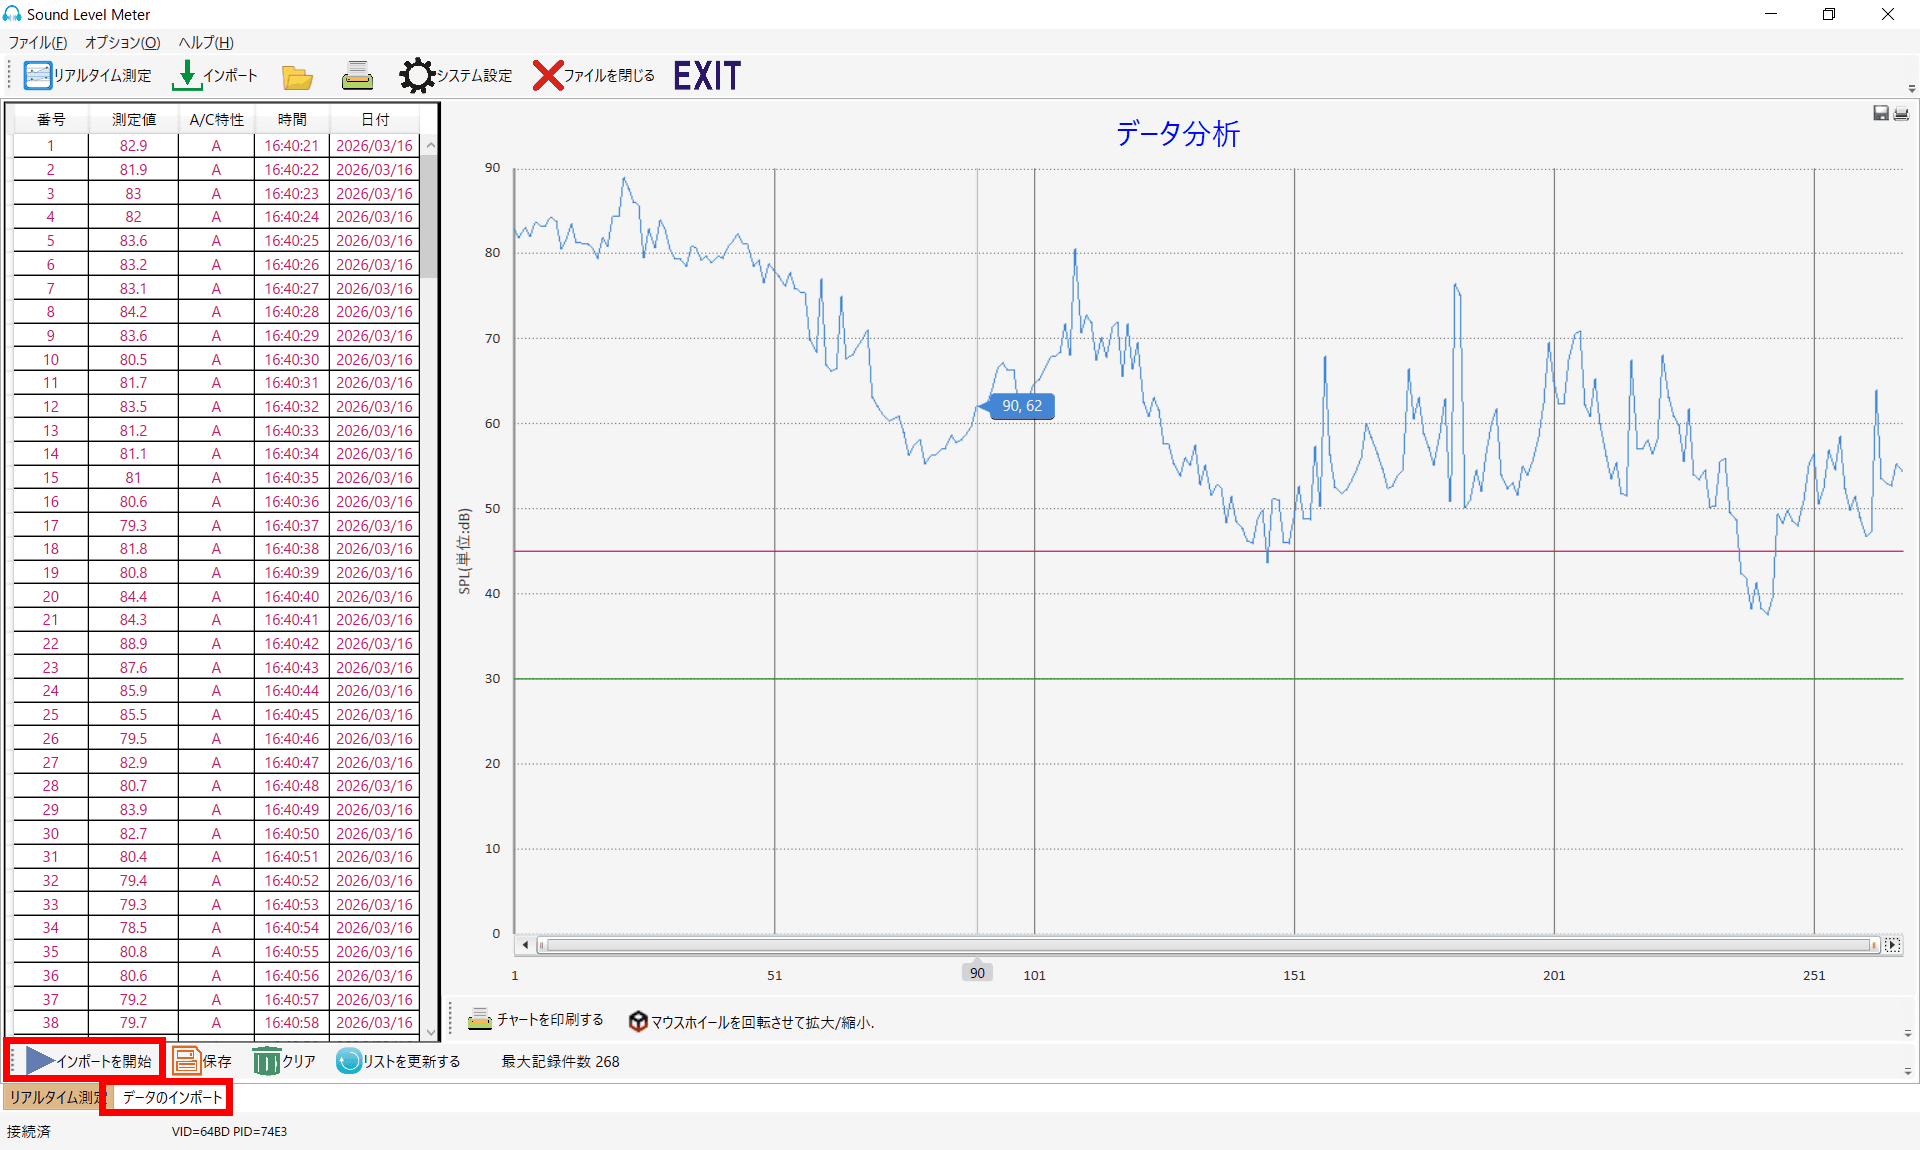
Sound Lab's UI looks like this.
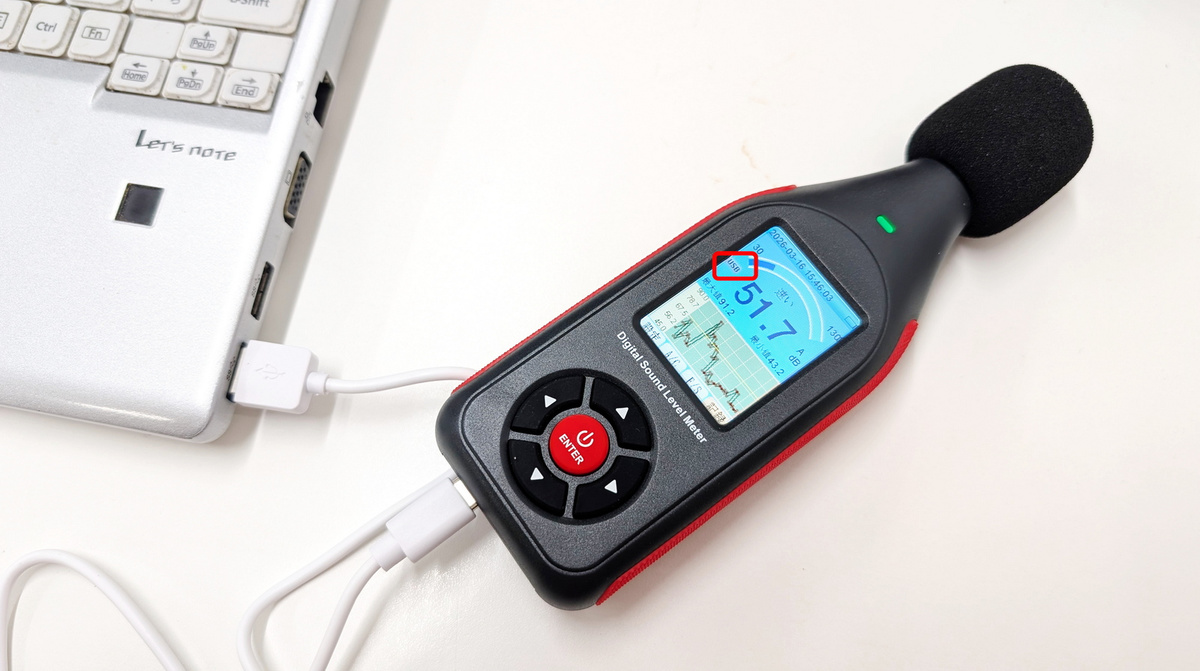
With the power on, connect the SLM-441 to your PC using the included USB cable. Once successfully connected to the PC, 'USB' will be displayed on the LCD screen.
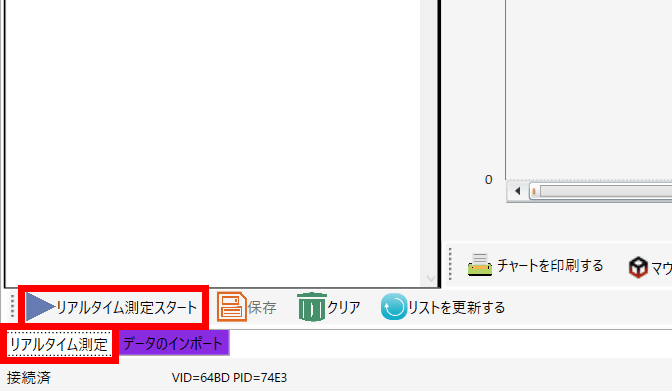
Select the 'Real-time measurement' tab in the bottom left and click 'Start real-time measurement'.
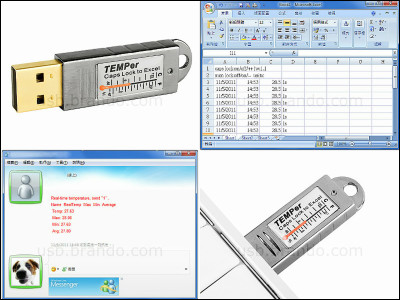
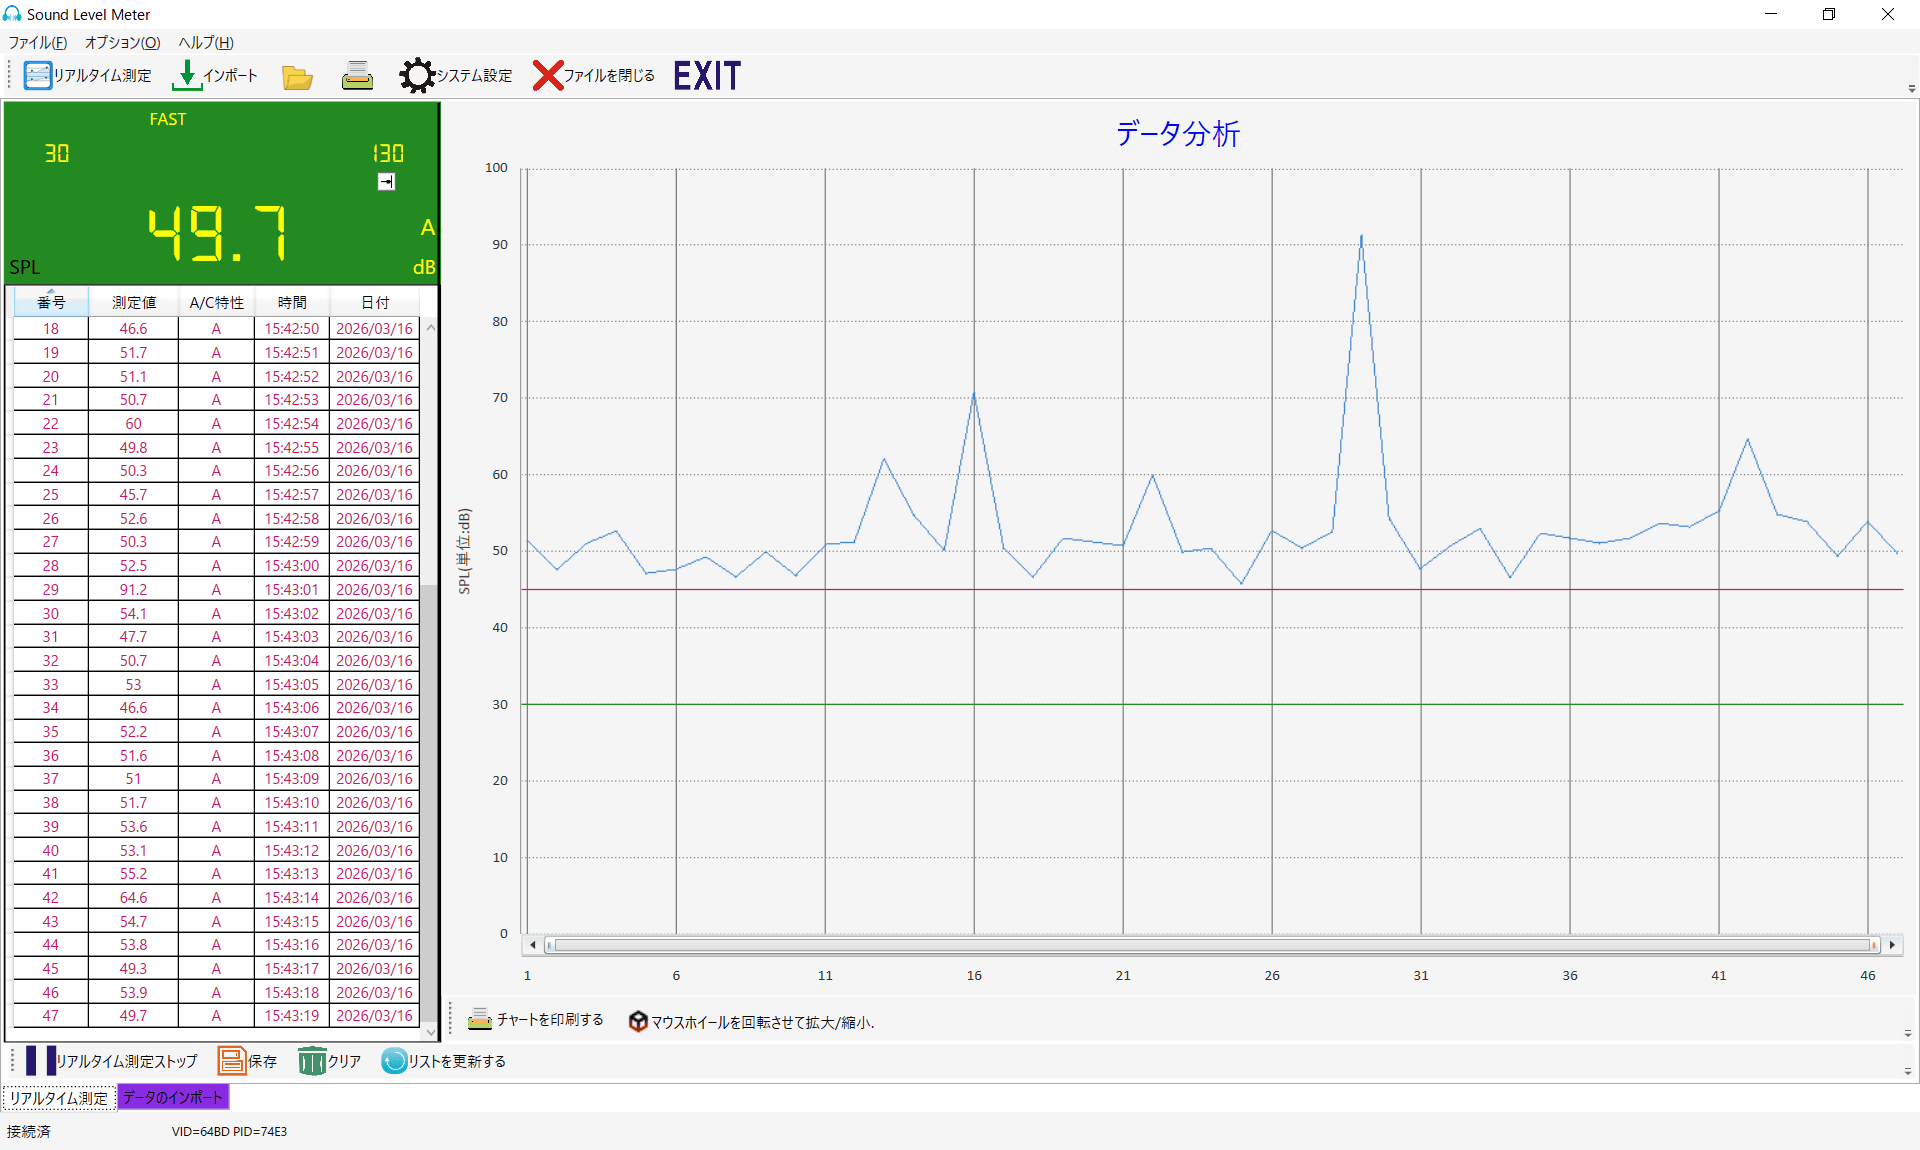
The measurement results are then displayed on Sound Lab immediately. The left side shows the data number, measured value (dB), A/C characteristics, time, and date, while the right side displays a chart with measured values on the vertical axis and time progression on the horizontal axis, which updates in real time.
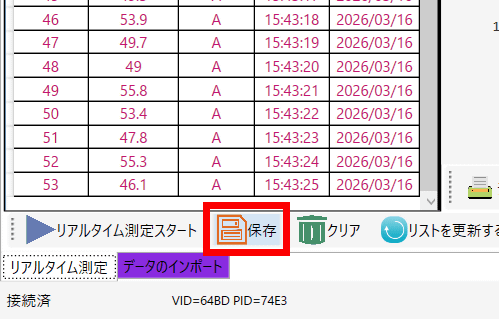
The measured data can be saved in Excel format by clicking 'Save'.
Additionally, clicking 'Print Chart' will print out the chart displayed on the right.

Furthermore, by selecting the 'Import Data' tab, you can extract the data directly recorded on the SLM-441 unit. Below is an extracted measurement record of a few minutes spent walking outside the arcade.
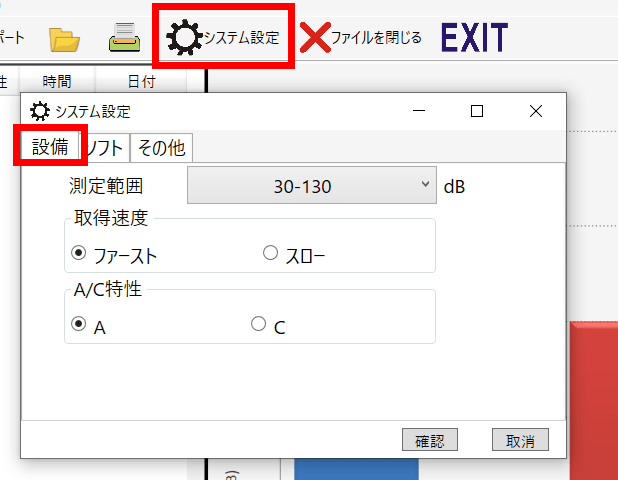
In 'System Settings,' under 'Equipment,' you can change the measurement speed and A/C characteristics of the connected SLM-441.
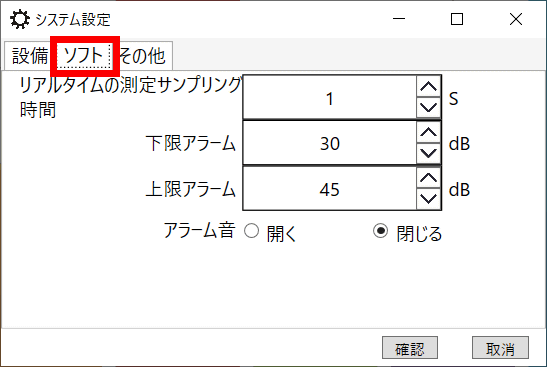
The 'Software' allows you to set the real-time measurement sampling time, as well as the lower and upper limits for triggering an alarm based on the measured value.
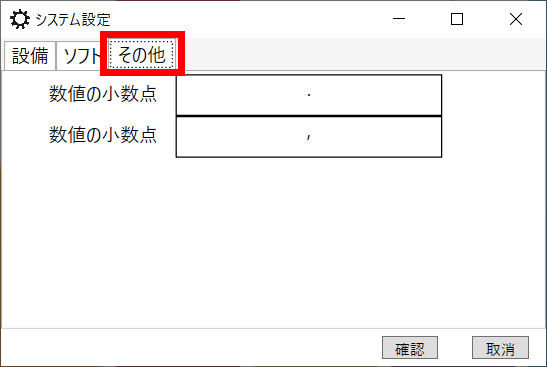
Under 'Other,' it was possible to set the decimal representation of numerical values.
The SLM-441 is available for purchase on Amazon.co.jp, and at the time of writing, it was priced at 6,999 yen (including tax). Additionally, the 8930B compact sound level calibrator used to calibrate the SLM-441 can be purchased for 12,000 yen (including tax).
Amazon.co.jp: Decibel Meter Data Logger Digital Sound Decibel Meter, Sound Level Meter with 43,000 Data Recording and Export, Rechargeable Noise Meter with A/C Frequency and DC Output, 3-Color Alarm, Real-Time Measurement: Industrial & Scientific Supplies
We would like to express our sincere gratitude to our readers for their support, including the SLM-441 and calibrator. We appreciate your continued support!
- Material support (Amazon Wish List)
https://www.amazon.co.jp/hz/wishlist/ls/378VT986Z3V8T
• Financial support, part 1 (one-time donation)
https://gigazine.net/news/about/
• Financial support, part 2 (monthly or annual regular payments)
https://gigazine.net/club/
Related Posts: