A review of the Raspberry Pi Compute Module 5 development kit that can be used to create a small, robust PC that looks like a NUC

The '
Raspberry Pi Compute Module 5 – Raspberry Pi
https://www.raspberrypi.com/products/compute-module-5/
Raspberry Pi Development Kit for Compute Module 5 – Raspberry Pi
https://www.raspberrypi.com/products/cm5-dev-kit/
The contents of the Development Kit for Compute Module 5 and details of each part are summarized in the following article. This time, we will actually combine the parts of the development kit to create a small PC.
I received the development kit for the industrial Raspberry Pi 'Raspberry Pi Compute Module 5', so I took a closer look at the contents and the installed chips. Review - GIGAZINE

The development kit includes the official case, official I/O board, Raspberry Pi Compute Module 5 main unit, screws, and official cooler.

Remove 4 screws and 4 spacers from the bag containing the screws. There are thin and thick spacers, but we will use the thin ones this time.

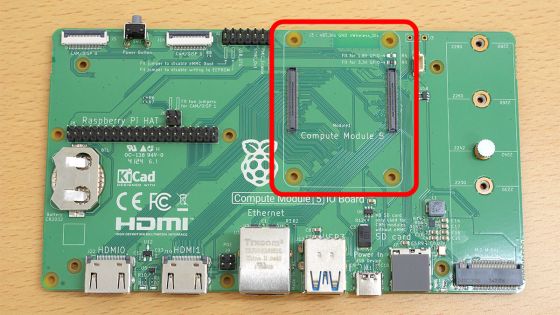
First, attach the Raspberry Pi Compute Module 5 to the area enclosed in the red frame on the I/O board.
Fit the connection terminals on both ends of the back of the Raspberry Pi Compute Module 5 into the terminals on the I/O board.
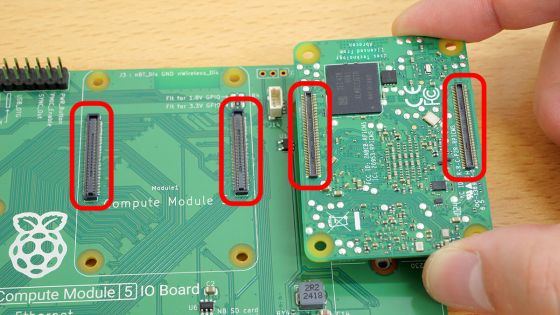
Simply align the terminals and press down from above to secure them in place.
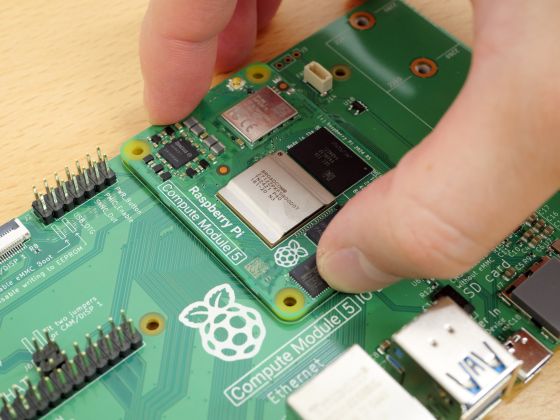
Next, push the spacer into the gap between the Raspberry Pi Compute Module 5 and the I / O board. Align the holes on the boards with the holes on the spacer.
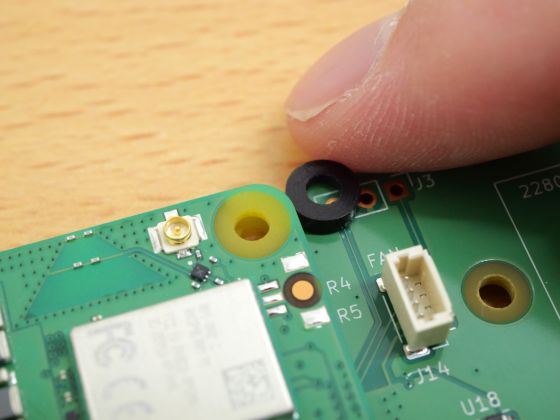
Once all four spacers are pressed in, place the cooler on top.
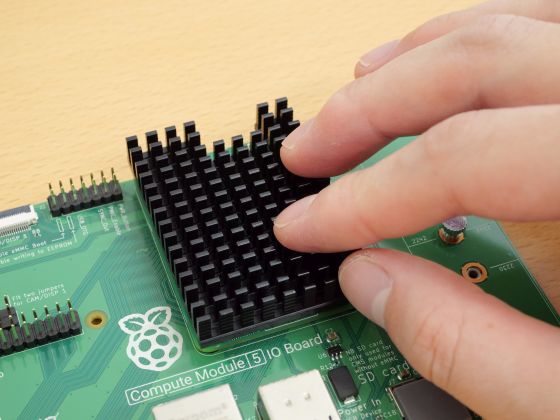
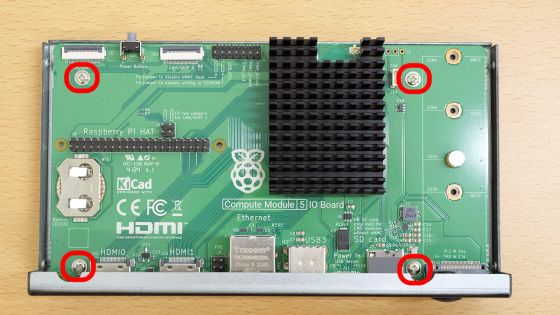
Flip the I/O board over and secure the Raspberry Pi Compute Module 5 and cooler with the screws.
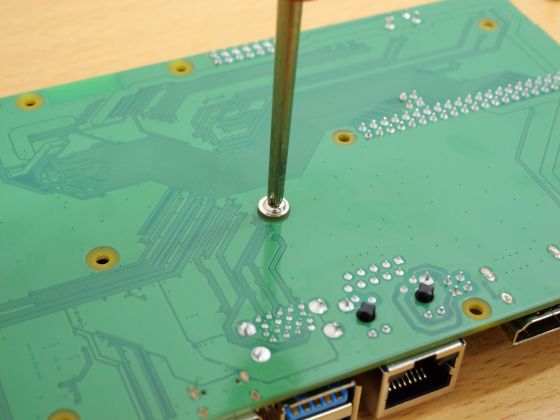
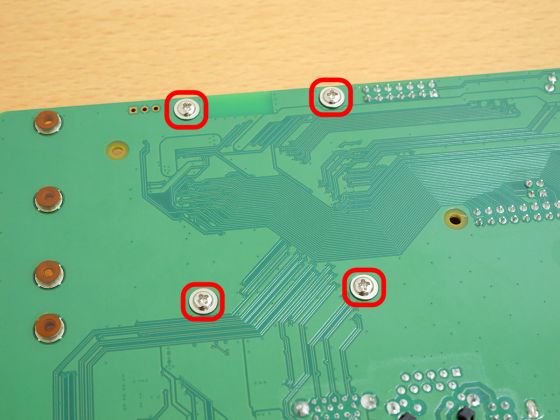
Just screw it in place in four places on the back of the I/O board.
Next, insert the I/O board into the case.
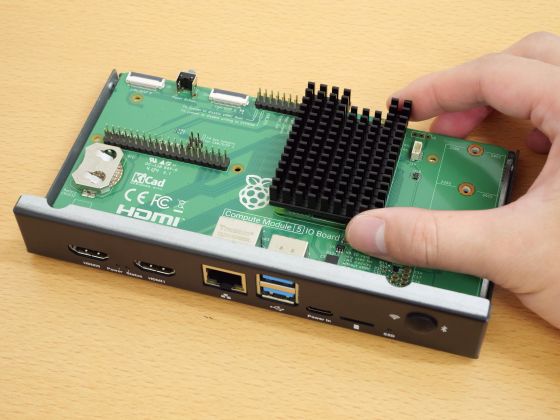
Screw the I/O board into the case.
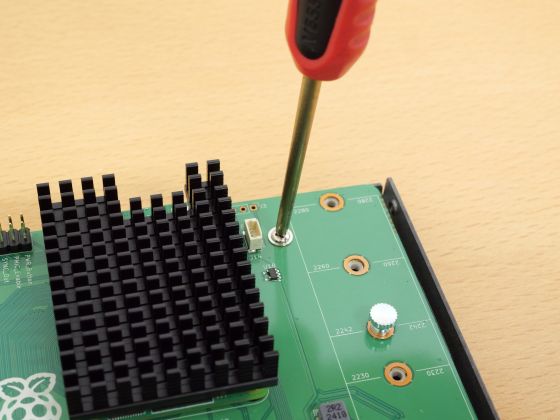
Once you screw it in place, it's fixed.
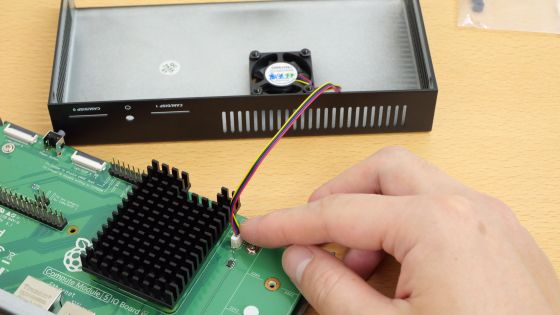
Next, connect the fan cable from the case to the I/O board.
Finally, close and secure the case lid to complete the setup.
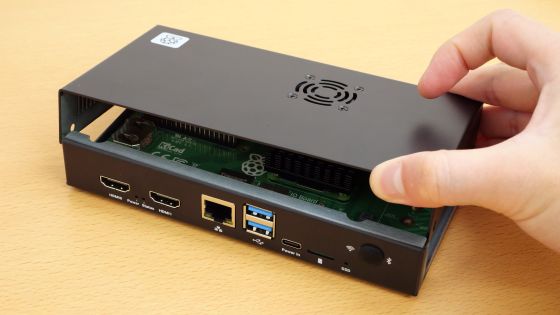
However, something was interfering with the lid and it wouldn't close.
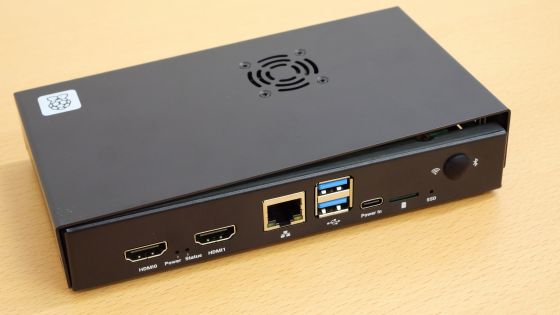
After checking the cause, it was found that the 'fan installed in the case' and the 'cooler attached to the I/O board' were interfering with each other. It seems that only one of the fan and the cooler can be installed at a time.
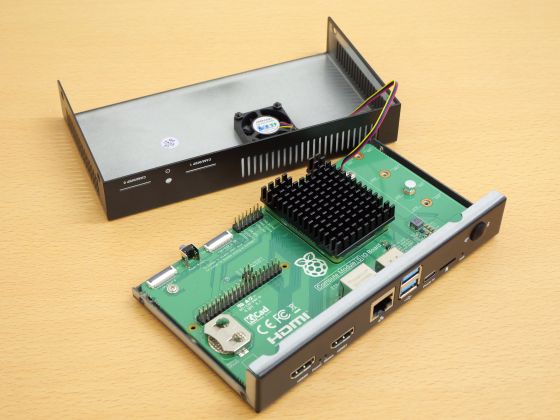
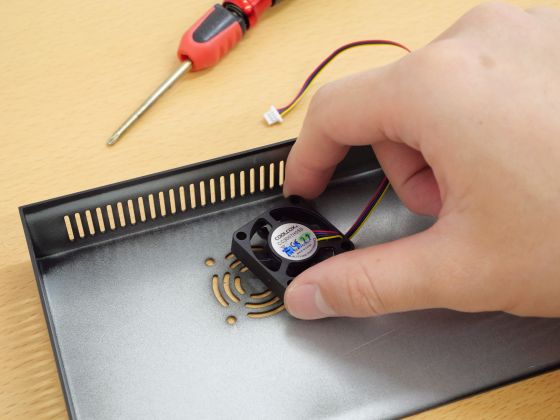
This time I decided to remove the case fan.
Close the lid again.
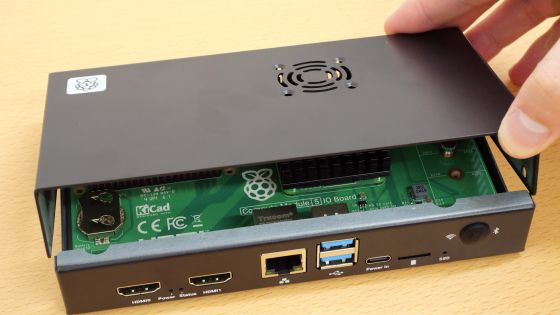
This time it was tightly closed.
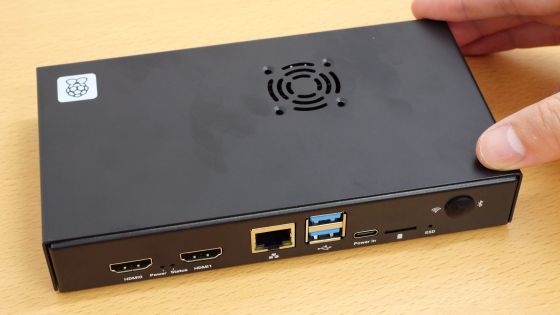
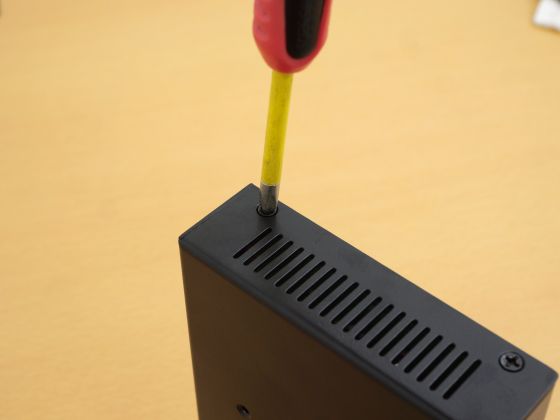
Screw the four corners of the case into place.
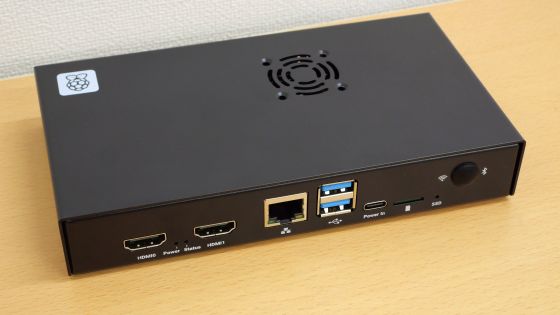
This completes the assembly process. The case has a very sturdy finish. Another nice feature is that it uses a regular HDMI port, unlike the Raspberry Pi 5's micro HDMI port.
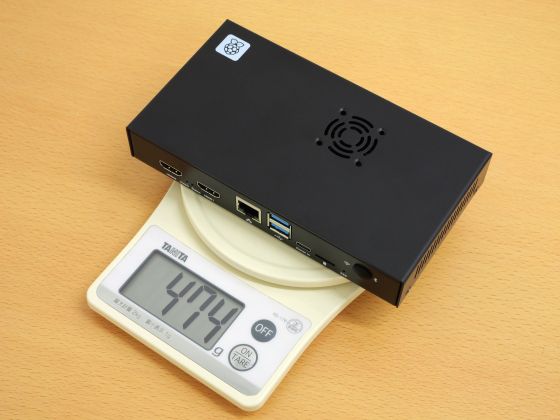
The actual weight of the Raspberry Pi Compute Module 5, official I/O board, official cooler, and official case combined and excluding the case fan was 474g.
Continued
You can check the steps to install and start the OS on the Raspberry Pi Compute Module 5 in the following article.
Summary of steps to install and start the OS on the 'Raspberry Pi Compute Module 5' which cannot be booted from a microSD card - GIGAZINE

Related Posts:


